Talk to Aratak (Optional)
While you don’t have to speak with the chieftain, he does give you a little more insight into the way things work around here. He’s standing only a few feet away from Burgrend. Aratak is not a gracious host, though, and seems to be irritated by Aloy’s questions. After a short conversation with him, you can move on.
Before leaving the settlement of Song’s Edge, you’ll see that two new side quests have appeared. You can pick these up from Burgrend and an NPC named Laulai, or you can come back for them later.
Find Naltuk
Head out of the area by following the path towards the North and continue to head in the direction marked by the waypoint. Along the way there will be a fork in the road – to the left is a Carja camp, and another fire for you to light. Do this, then continue along the road until you find Naltuk – he’s crouched down, observing a new, odd-looking machine.
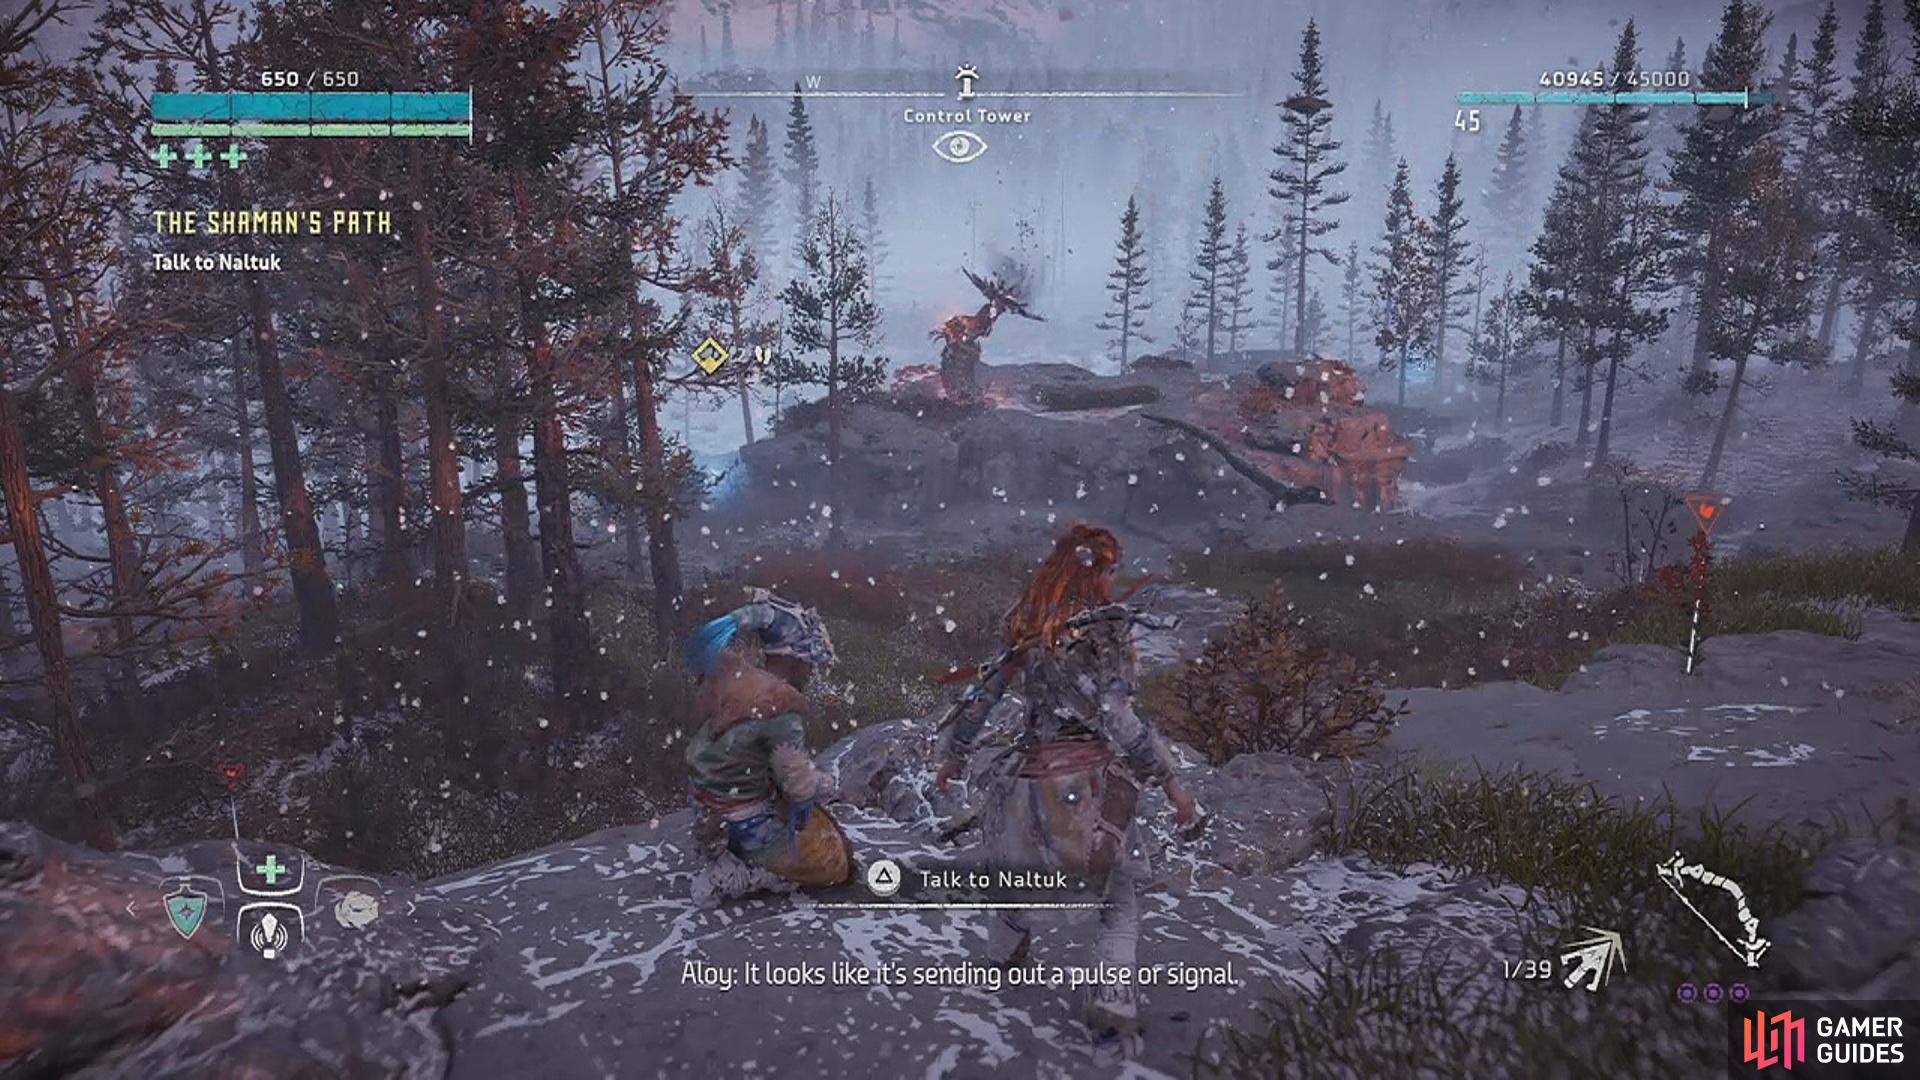
Naltuk and the first Control Tower
Talk to Naltuk
Strike up a conversation with the apprentice to learn about the Daemonic machines called Towers. But when asking after Ourea, Naltuk won’t tell you how to track her down. In response, Aloy offers to destroy the Tower in exchange for information. Naltuk believes that you won’t succeed, so now it’s time to prove him wrong.
Destroy or Override the Tower
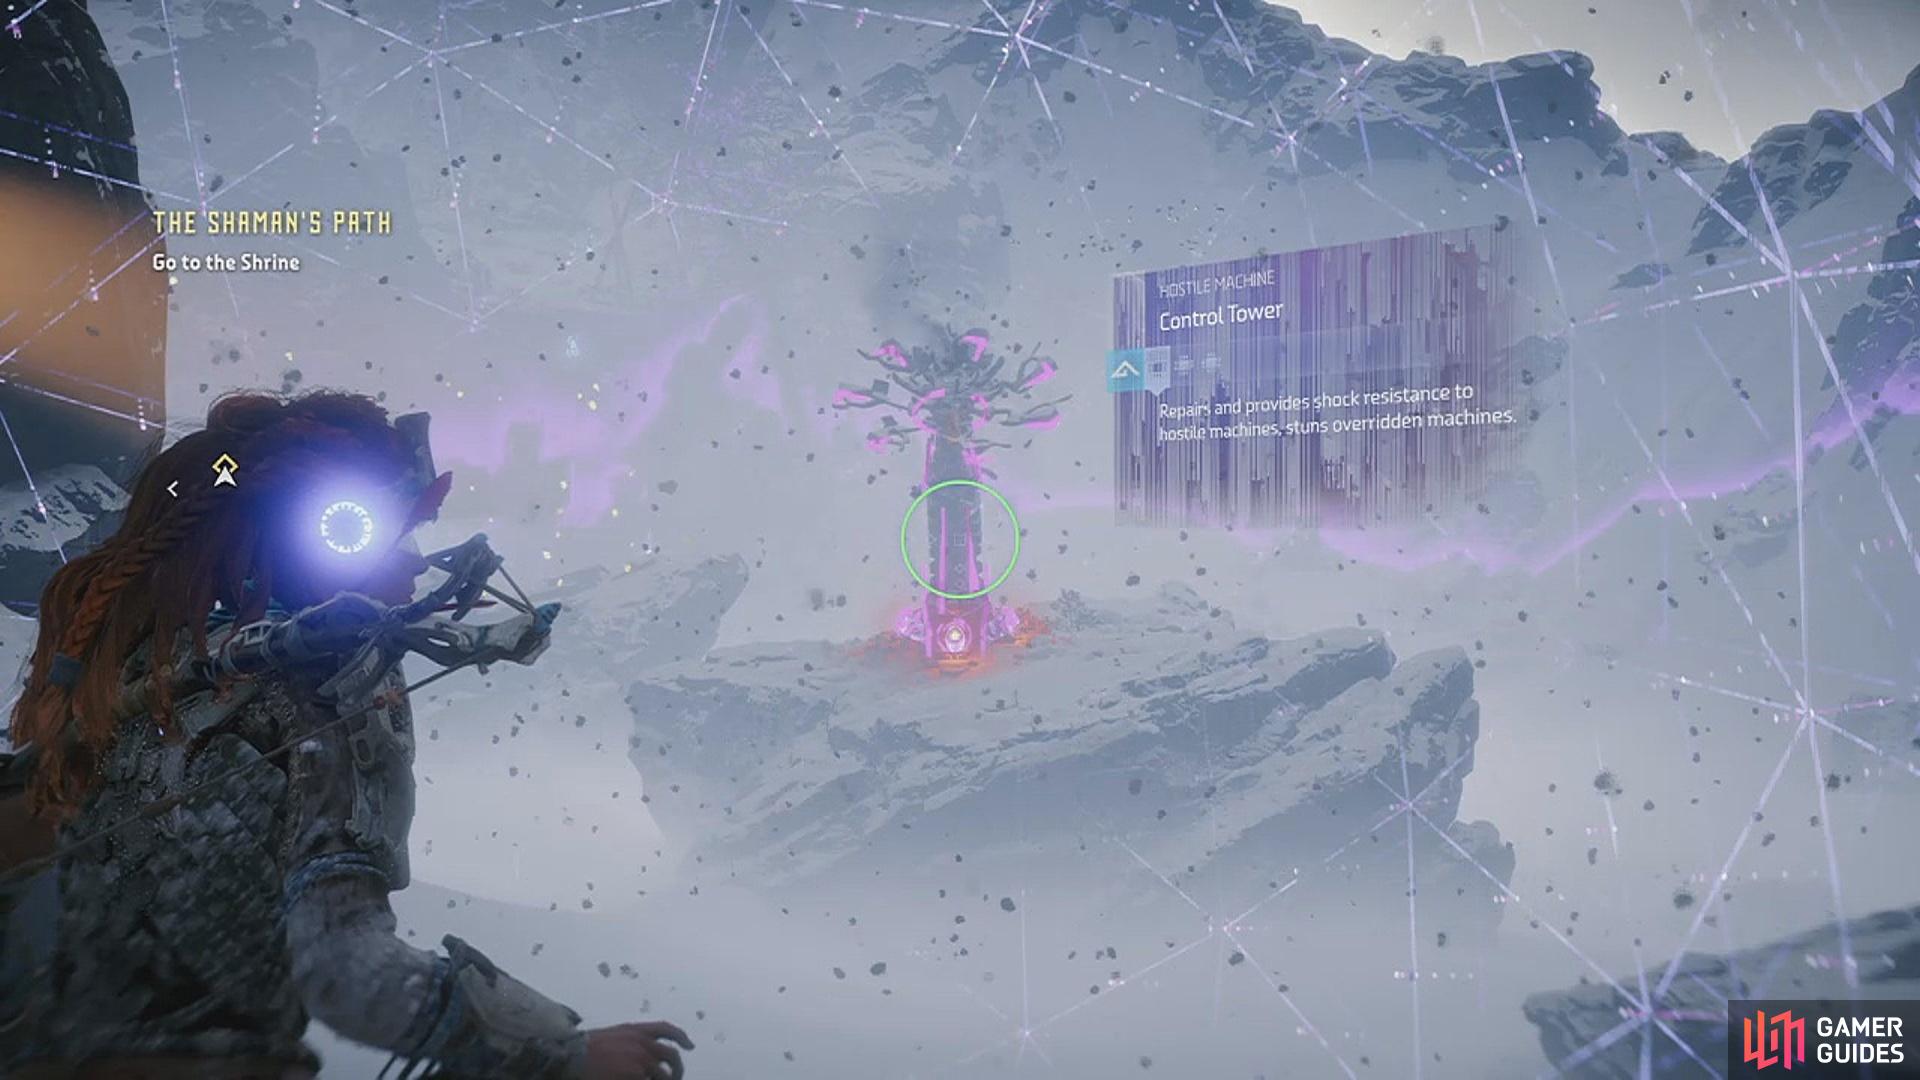
Straight ahead is a control tower. It emits a pulse that can damage Aloy’s health, or, if you’re using the Shield Weaver armour, it can temporarily take down that armour’s shield. In addition to this, the Tower’s pulse can regenerate the health of any other machines within close proximity. It just so happens that, in this area, the Tower is surrounded by three Daemonic Scrappers as well as a Daemonic Longlegs.
Choosing to destroy the Tower is clearly the easier option. On it’s side is a power cell that you can shoot off with just a few arrows – it will disable the Tower, and then you’ll be prompted to Kill the Machines. If you choose to override it, however, it’ll be best to avoid the other machines until you’ve managed to sneak over by using the cover of the long grass. Once overridden, focus on taking out the Scrappers and the Longlegs, finally returning to Naltuk who seems to have changed his tune.
Now he believes that you are exactly the person Ourea should speak to about the Daemons. Gather whatever information you want from your conversation with him, and proceed on to your next objective.
Find the Shaman’s Path
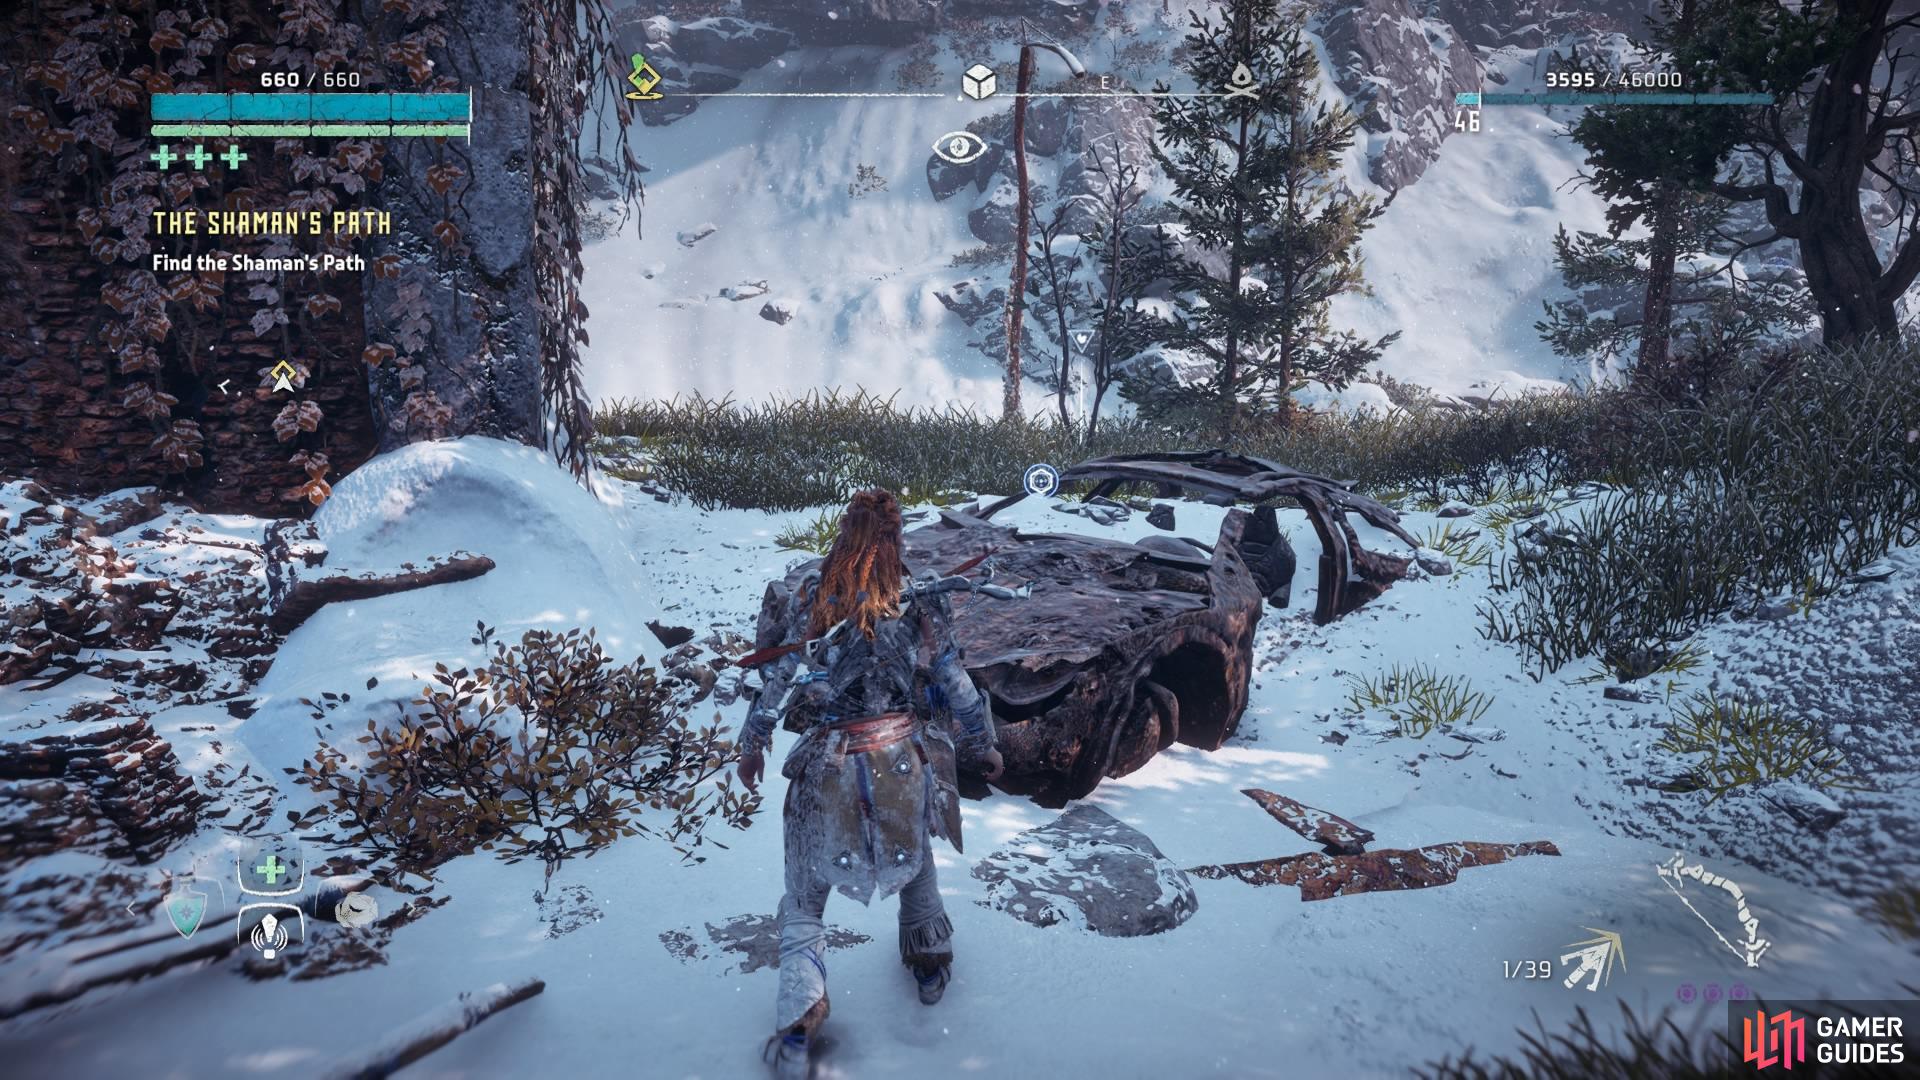
Continue to follow the main path towards the Icerasp Mountains in the north and you’ll eventually come across a small ruin with a burnt-out car. Here you can pick up the first Text Datapoint – Return to Singapore.
Text Datapoint - Return to Singapore sitting on the remains of a burnt out car.
Cross the wooden bridge to your left to reach a campfire and a trade merchant standing just below a wooden arch. Follow the waypoint marker on the screen, moving up the hill and around the rocky cliff edge, until you reach a wall with hand hold markings. Just traverse up and cross the wooden bridge at the top, and eventually you’ll see the blue glow of an entrance to a cave in the mountain. There’ll be another campfire just outside - save if you must, and head inside the cave.
Activate the Ritualistic Marker (Optional)
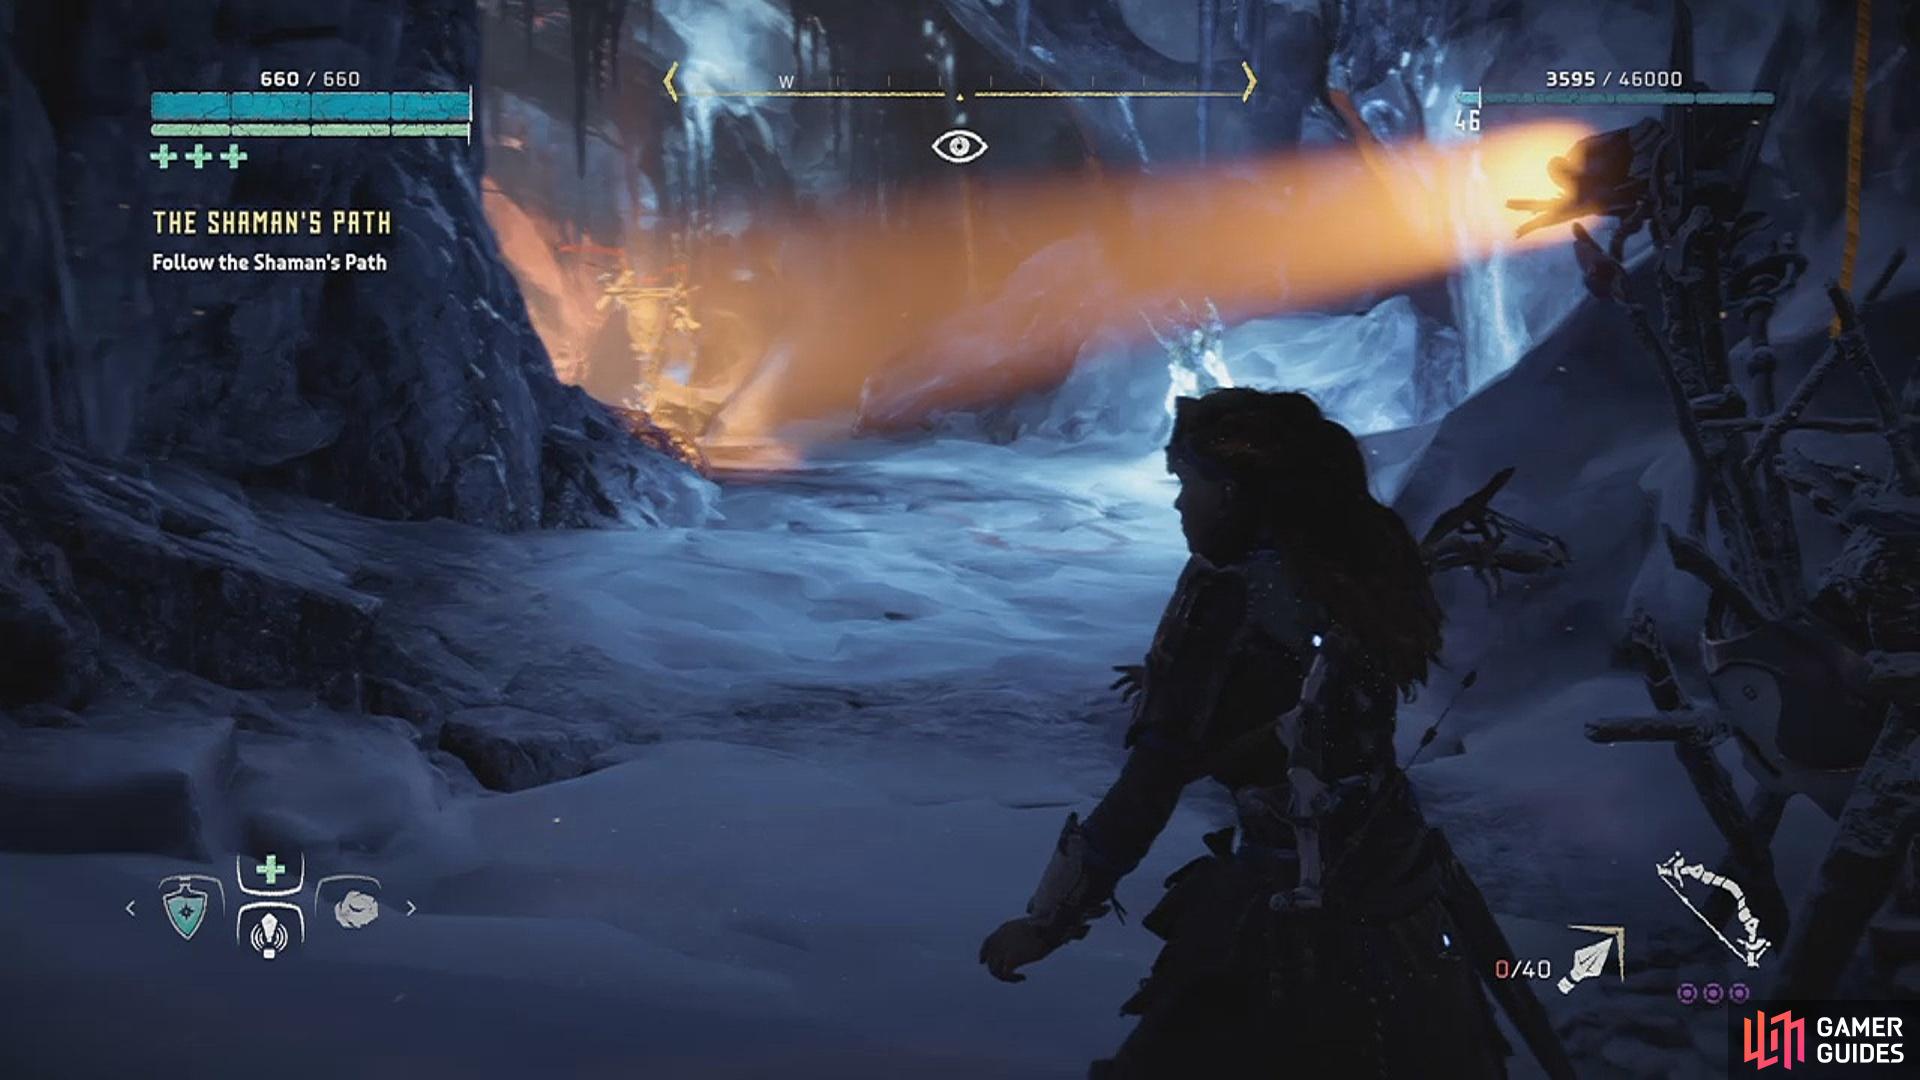
You don’t have to use these if you would rather find your own way through the cave, but activating these markers shines a light in the right direction to go. All the lights will be pointing upward, but pull the rope using triangle and they’ll fall to land on the next marker ahead.
Activate the ritualistic markers to help guide the way.
Just past the second marker you can head off to the left to find a dead-end tunnel with a loot crate. There are a few tunnels just like this, so feel free to explore them of your own accord.
Follow the Shaman’s Path
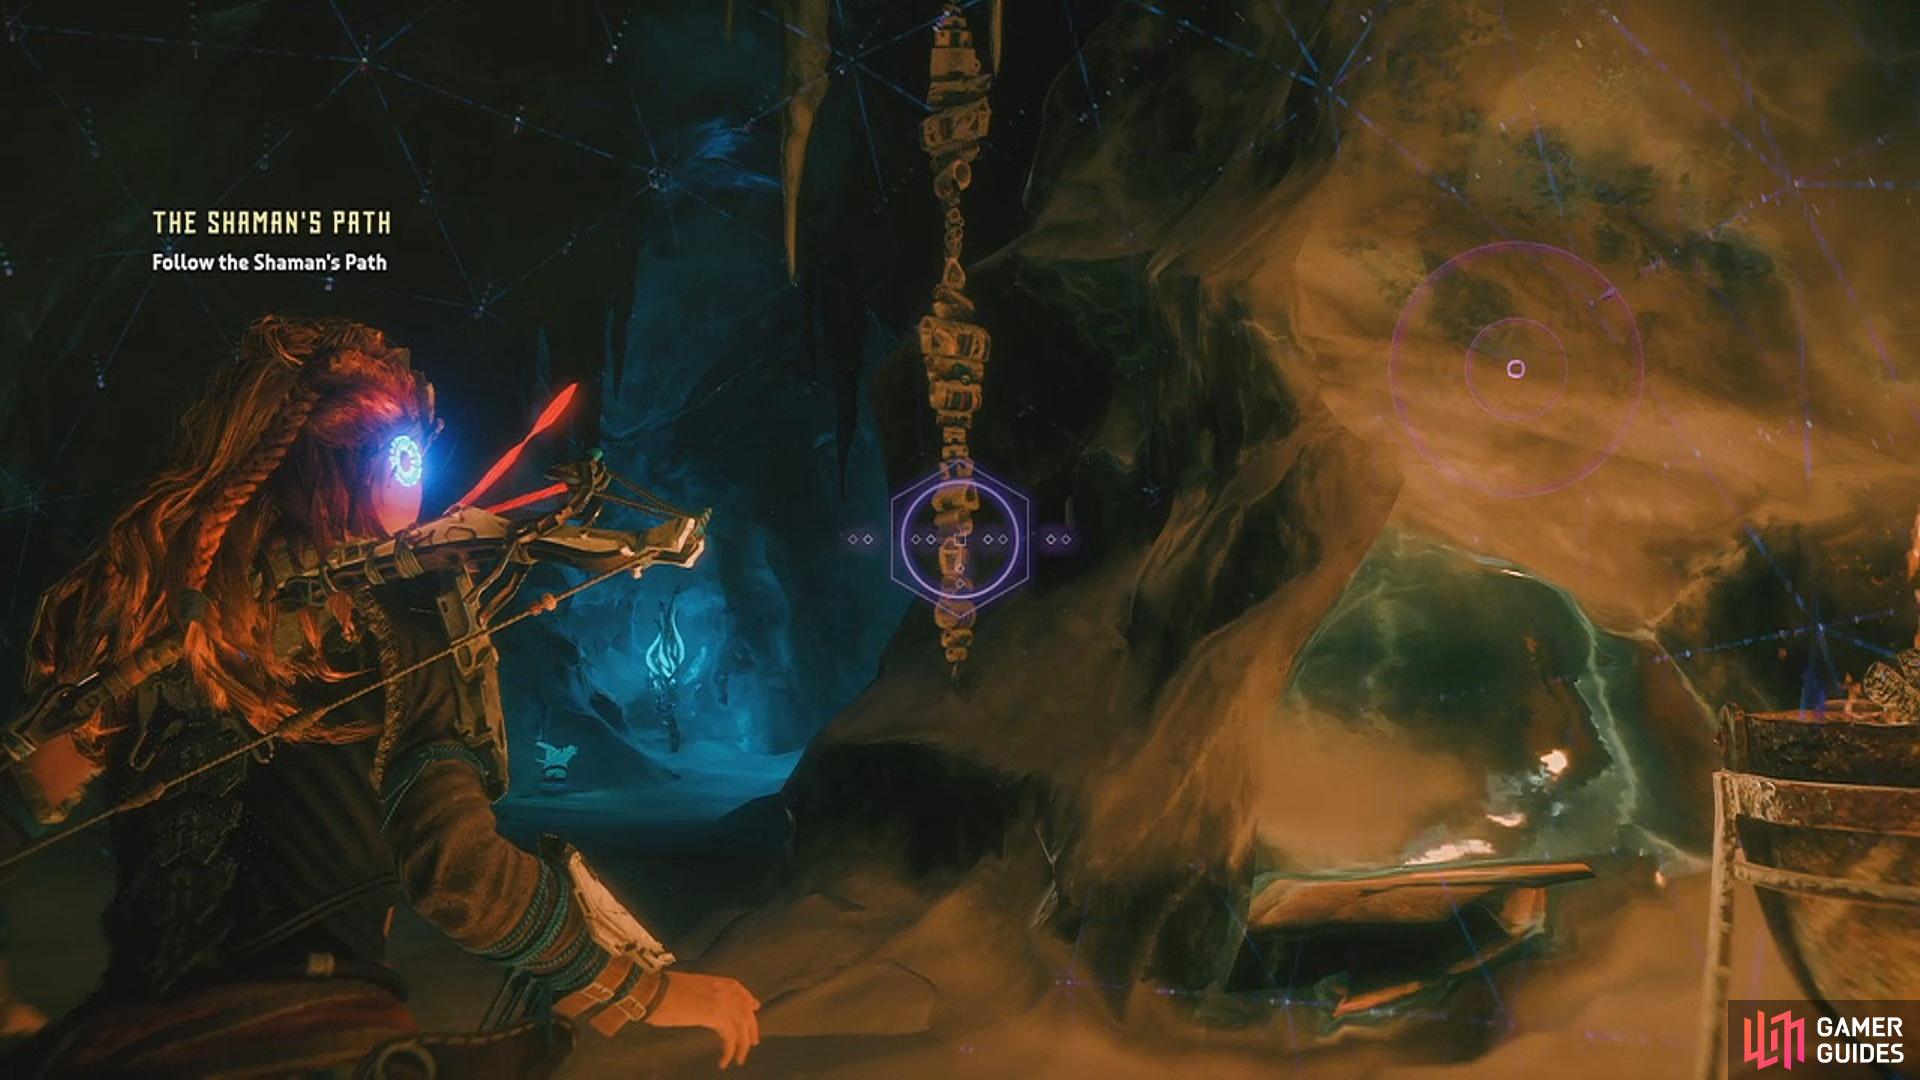
Following the path, Aloy will mention something about wind chimes. If you peer up, you’ll spot a spinning chime made up of metal fragments hanging from the ceiling of the cave – they have been placed here to help you find your way. Your Focus can pick up their location, so activate it whenever you reach one to highlight the sounds they make echoing off the walls.
Use your Focus to locate the wind chimes.
When you turn the first corner there will be a fork in the path. If you look to your right you’ll notice another chime hanging from the ceiling, but go straight ahead and you can turn left into another tunnel to grab the loot at the end. Turn around, run straight ahead again, and there’ll be some more. Go back the way you came to follow the second wind chime, and at the top of the slope will be a yellow rope for you to cross. Using your Focus here will highlight the next wind chime straight ahead. You’ll come to a small open area with the path continuing to lead forward, but you can go left again to grab the loot at the end of another tunnel.
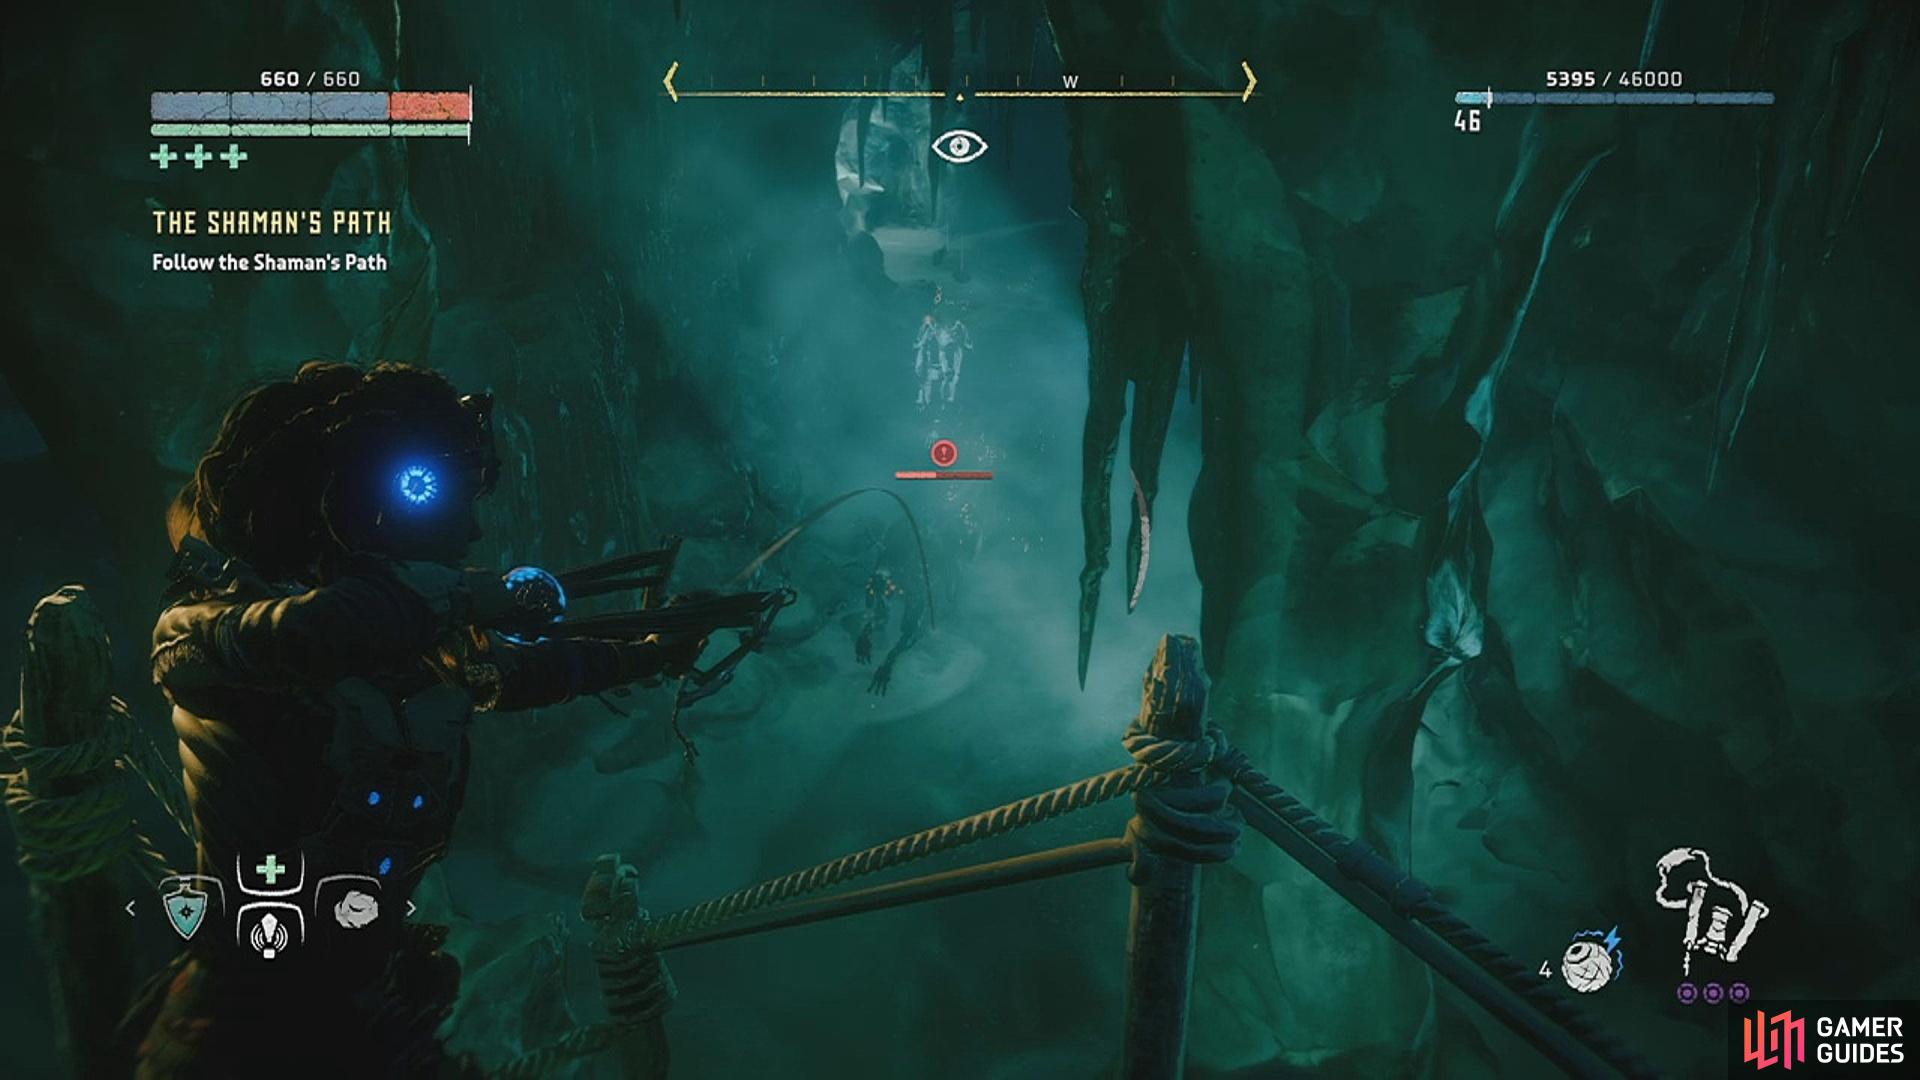
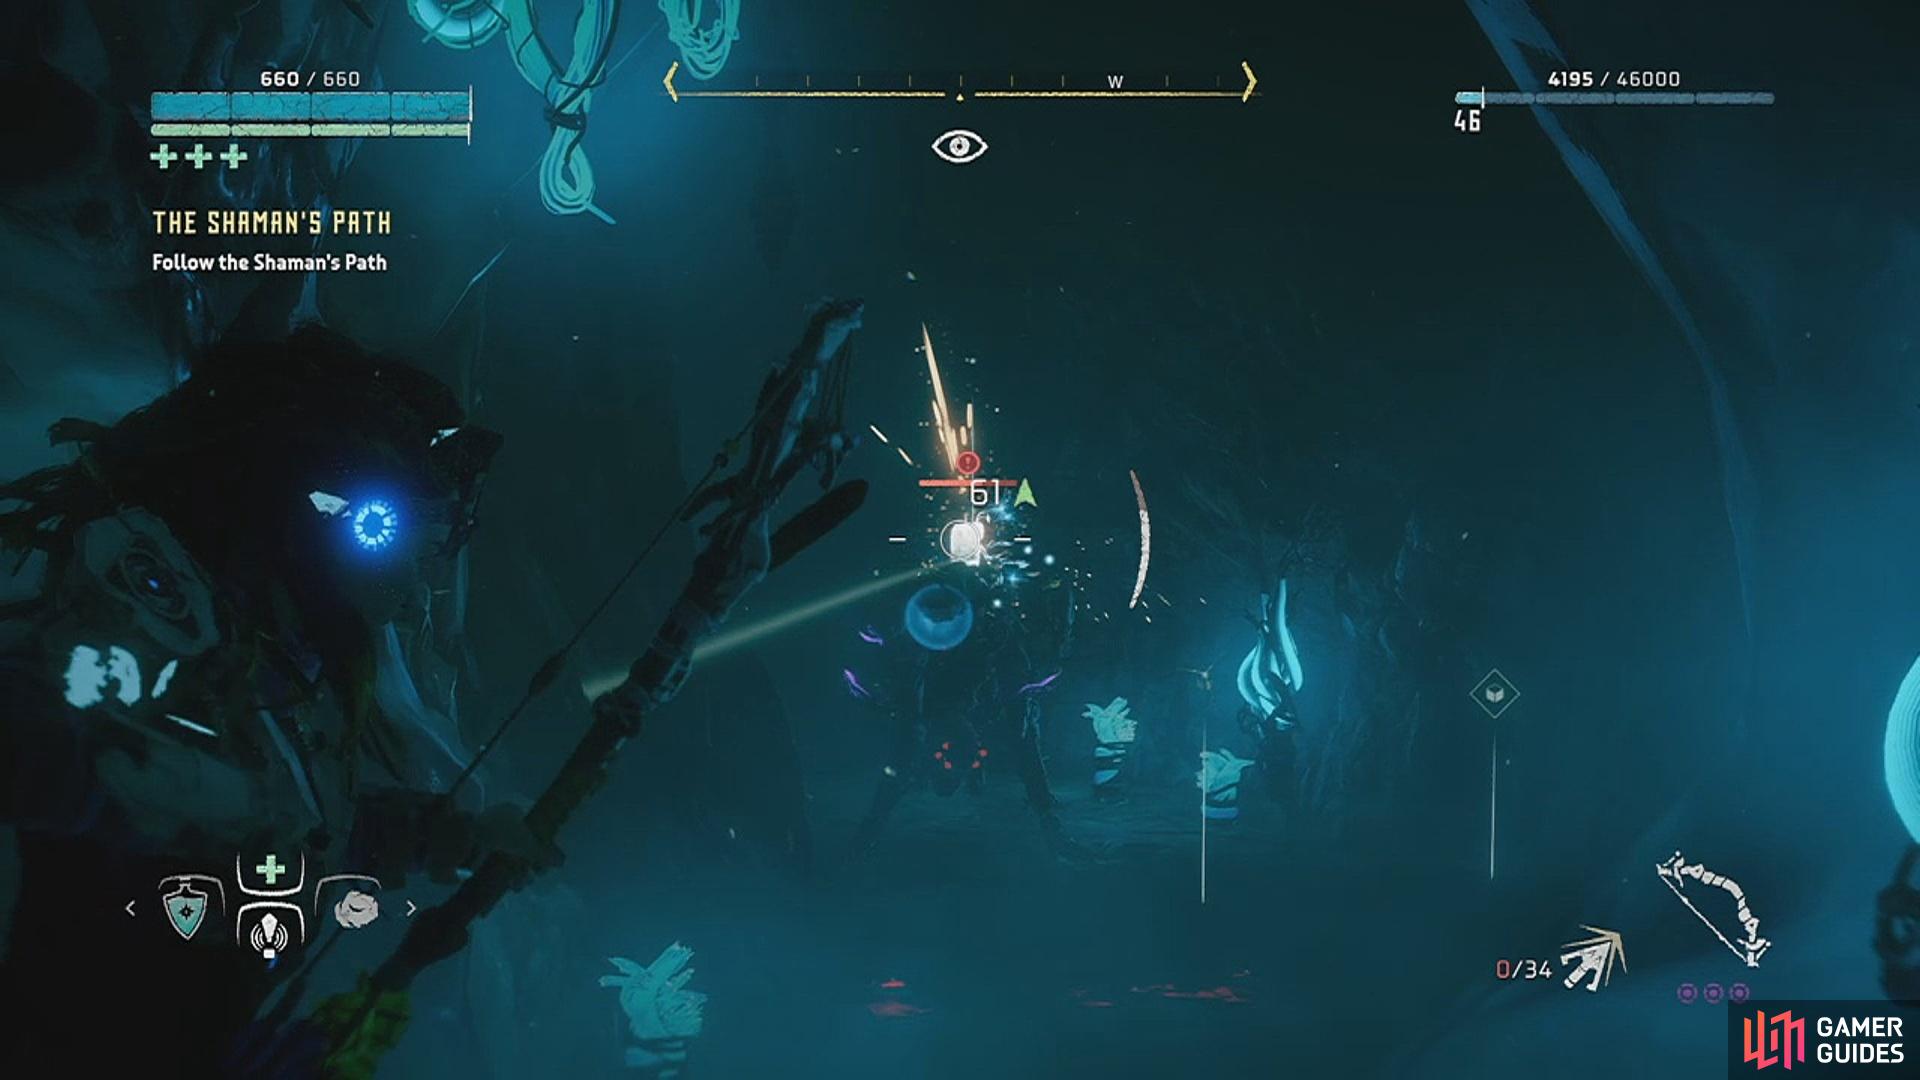
The next wind chime is hiding behind some stalactites on the ceiling but running past them will lead you to a dead-end. What you need to do is stand under the chime and turn around. You’ll see the path you just came from and another tunnel right next to it with a wind chime. Head towards it and you’ll be able to see a hand hold straight ahead that leads up. Hop up this first ledge and turn around to jump to the next hand hold behind you. Go up and walk forward a little to see the path that cuts off to the left. Going this way will lead you directly to an area of Daemonic Stalkers – avoid them for now, because there’s an easier way to take them down.
Where you came up from the ledge, go forward instead until you see another yellow rope. Aloy will automatically withdraw her bow; below you are the Stalkers prowling the area you come to if you went left. Cross the two ropes and head through the tunnel – there’s a wind chime ahead and a short path to your right with loot at the end. Grab the loot to obtain a handy health potion, because now you’ll have to fight the Stalkers if you want to get through.
(1 of 2) Use the yellow wires for a better advantage
Use the yellow wires for a better advantage (left), Daemonic Stalkers (right)
They work the same way as ordinary Stalkers, so you won’t have to adjust the way you usually fight them. Aiming to knock off the component that allows them to go invisible will be a huge advantage, and you can use the tunnel to grab their attention. We advise balancing along the two ropes that got you into this tunnel to begin with - from here, you can see them frantically running around below and use the concentration meter to knock off their components easily. Once they’re both down, you can collect the Metal Vessels and Echo Shells, and loot their bodies. Make your way into the area they inhabited below via the tunnel and find the exit on the opposite side of the room to the left.
Congratulations! You made it through the cave.
You’ll come out to a beautiful view of the snowy mountains with a wooden bridge that doesn’t actually lead anywhere – it’s more like a look-out spot, but potentially a great place to mess around in Photo Mode if you wanted to take a few minutes. If not, head down the trail to the left. There are still a few ritualistic markers along the way, so activate those if you want a little guidance.
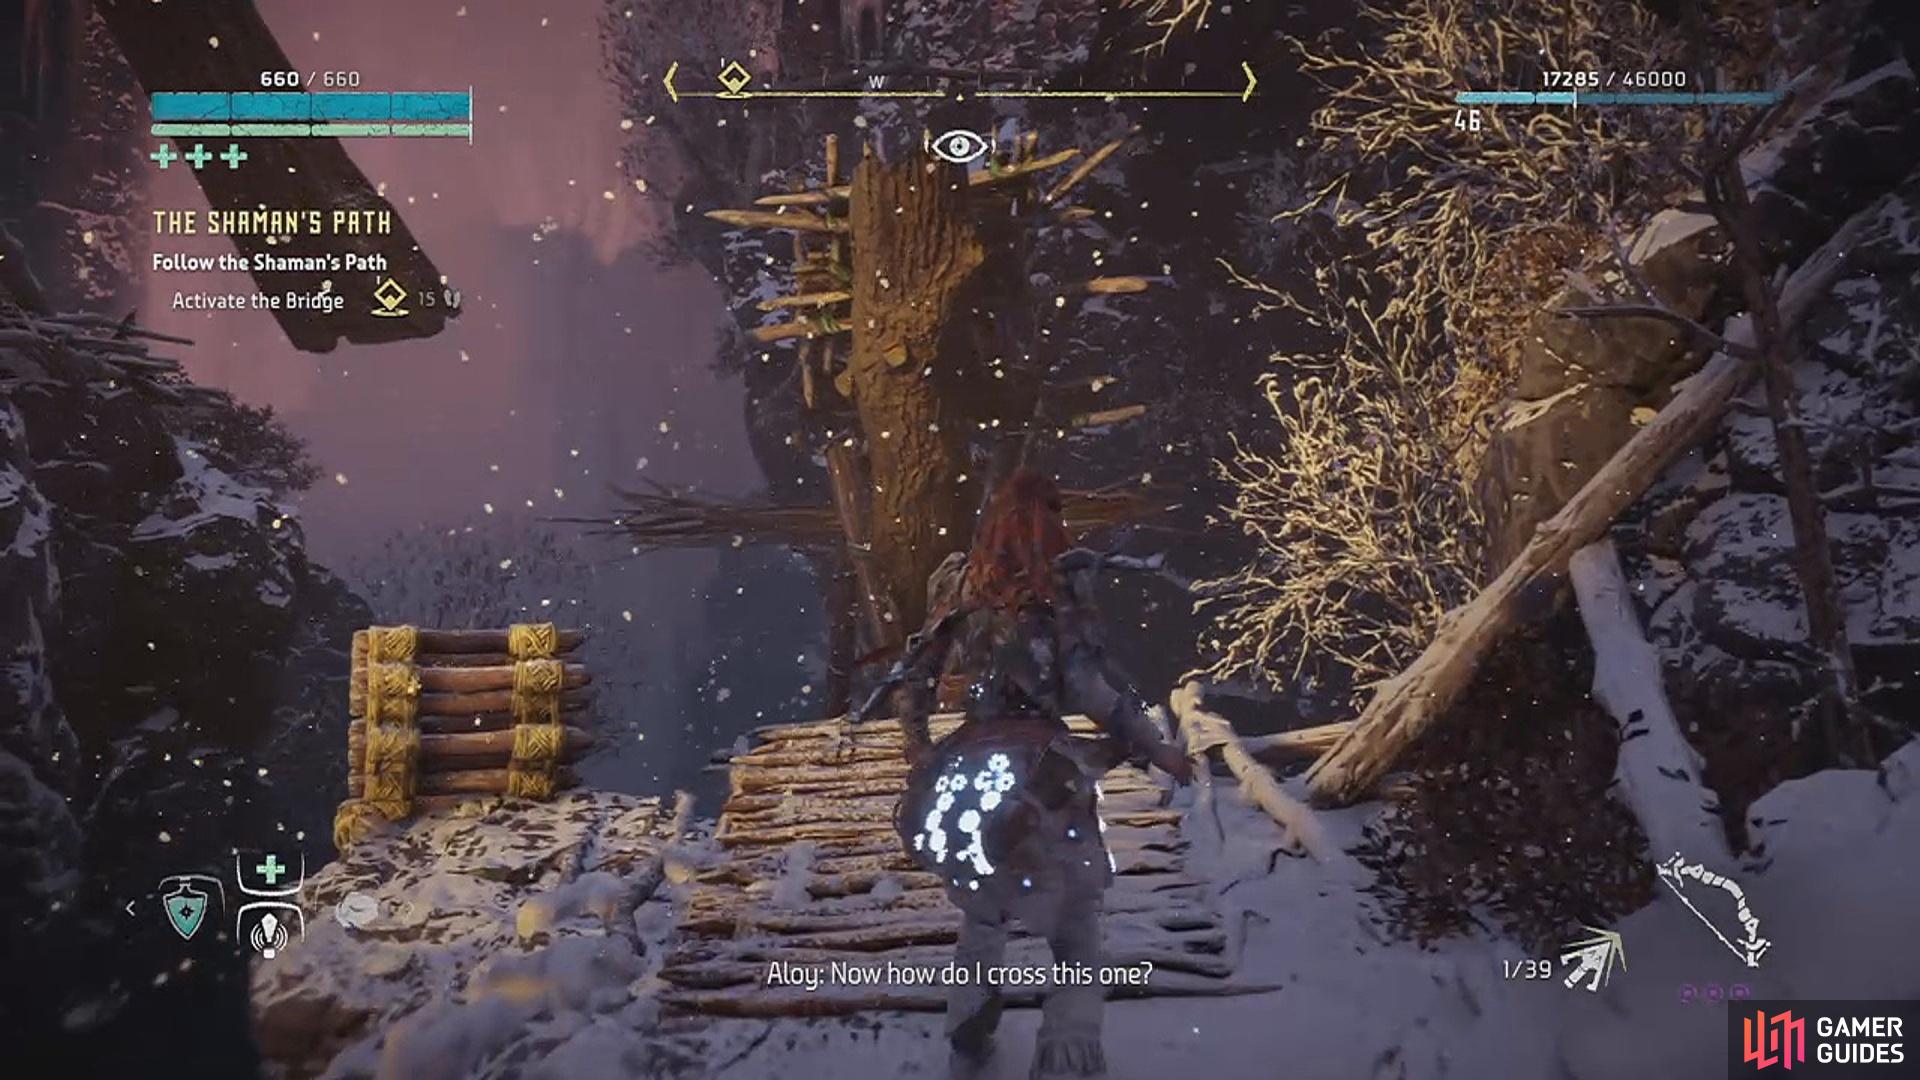
The trail is pretty straightforward, eventually coming to the first water-operated bridge by the falls. Simply wait for the mechanism to fill with water and it will rise, enabling you to cross to the other side. Activate the ritualistic marker if you want to and reach over the next gap via the zipline. You’ll come to the next water-operated bridge but it’s … well, not operational. You’ll be prompted to Activate the Bridge, requiring you to find a way to release the water.
Kick down the ladder to find a way around.
To your left is a platform you cannot reach, but just in front of you is a rolled up ladder: interact with it to have Aloy kick it down, and then head down the ladder to find another leading up to the platform you couldn’t reach before. Just keep to the left and you won’t miss it; you can follow the blue crystals again if you’re still uncertain.
Once at the top, Aloy will tell you what to do – pull the rope and the water will release above you. Ta-da! The bridge is working again! So, head on back and cross over to the other side. As usual, keep following the path – there’ll be another marker to show where you need to get to – and hop onto the yellow wire to make it over another gap. Once on the other side, glance left of the bridge to see the handholds that take you up the side of the cliff. Follow this route to find a loot box perched on a platform above, and then rappel back down to get back to the yellow wire you crossed earlier.
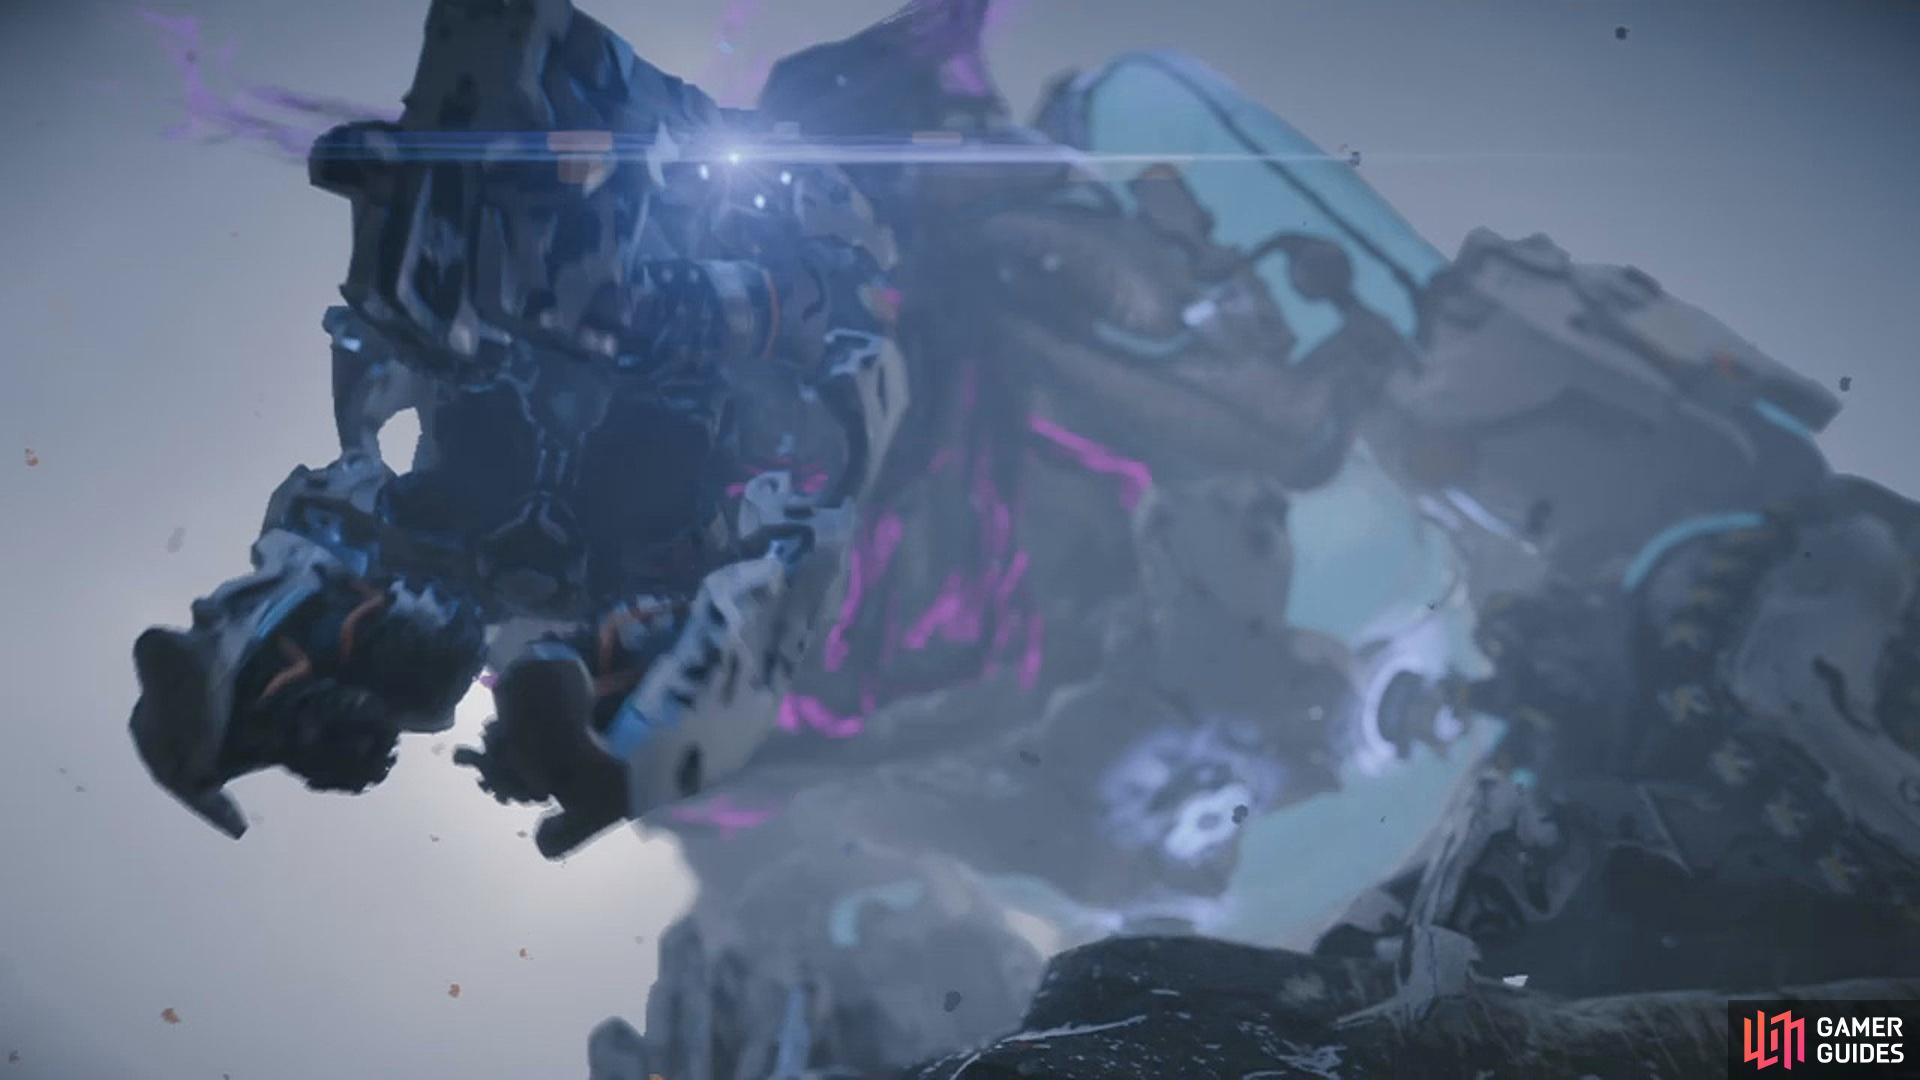
This time, go across the water-operated bridge and continue along the path until you make a large jump that will prompt a short cutscene. There’s a new machine of some kind lurking below, and it has Aloy feeling nervous.
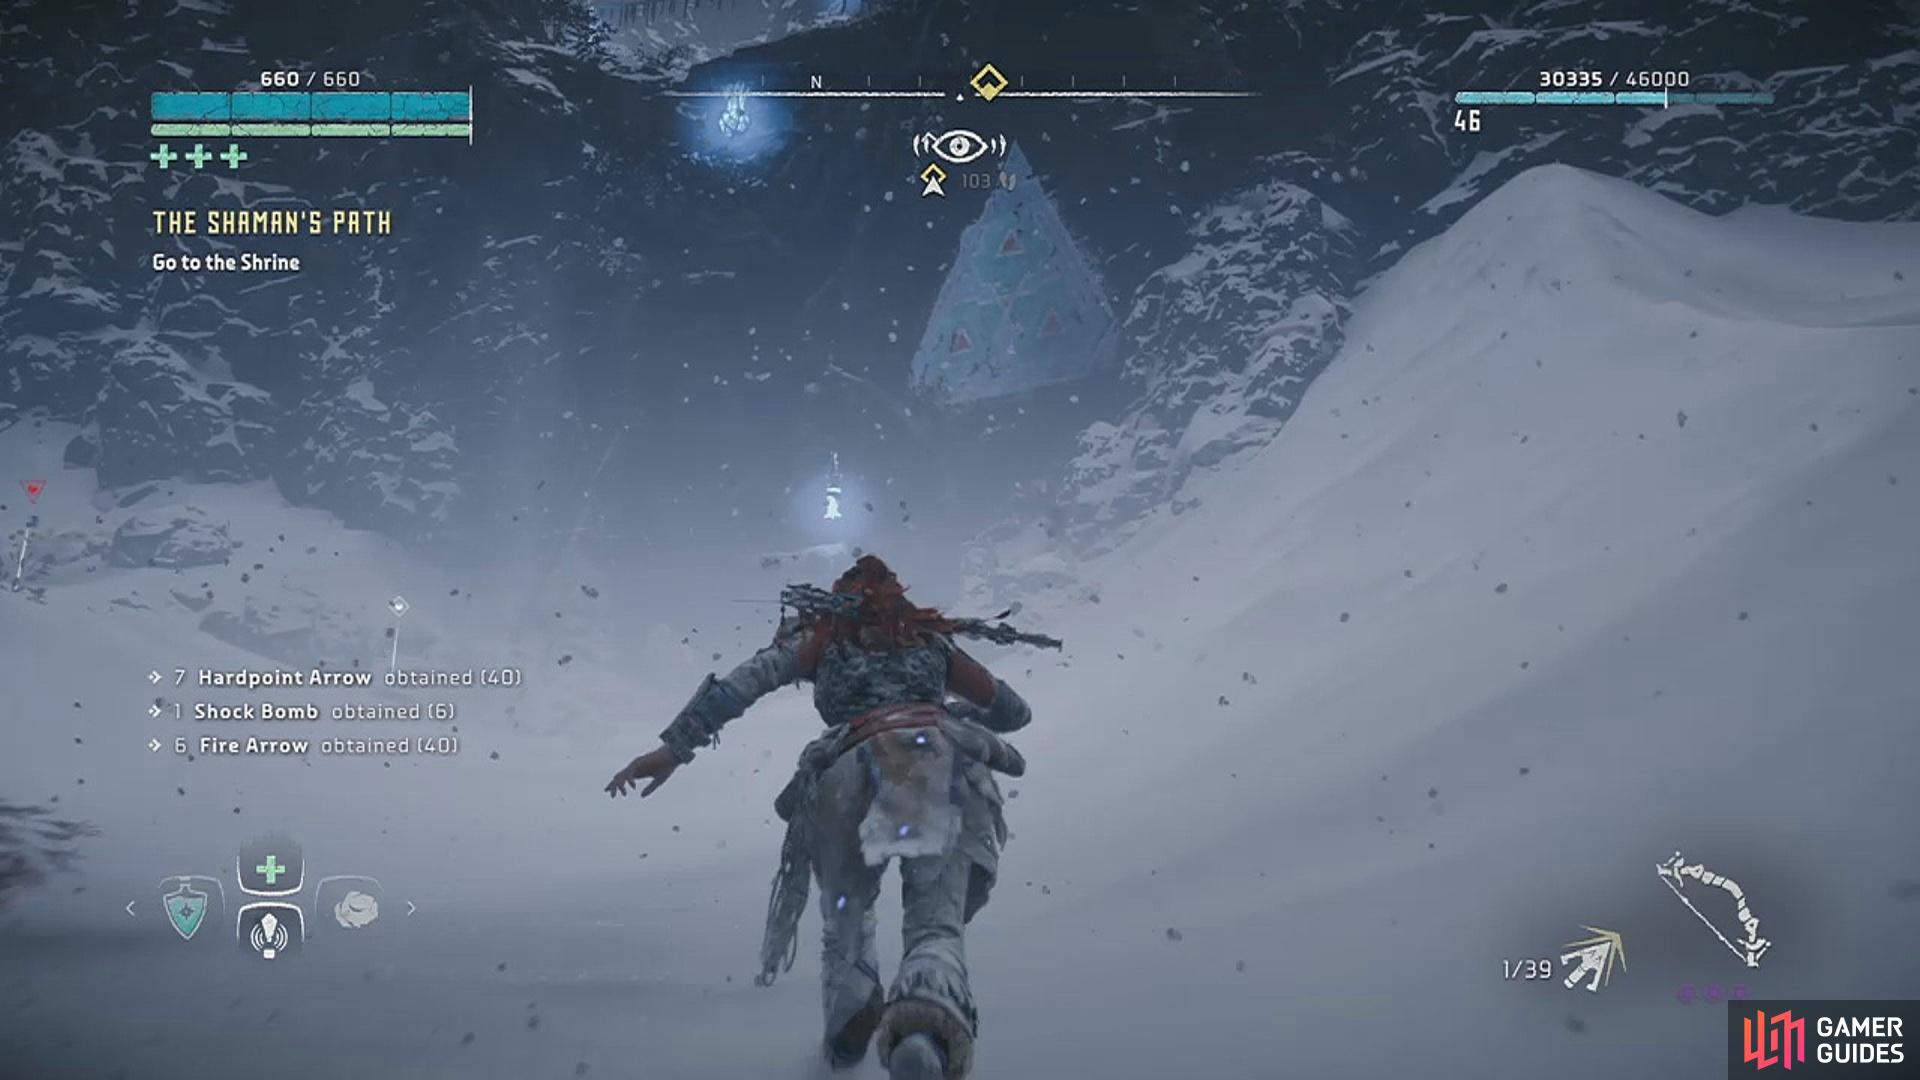
There are blue crystals, ritualistic markers, and wind chimes to guide you, but the path ahead is pretty straightforward. Continue straight ahead until you find the campfire and save your progress if you need to.
Go to the Shrine
You’ll have noticed by now that there is a control tower nearby, and when you drop down into the suspicious-looking open area, it’ll prompt another cutscene where Aloy hides from the new Daemonic machine that was prowling around earlier.
New machine: Daemonic Frostclaw
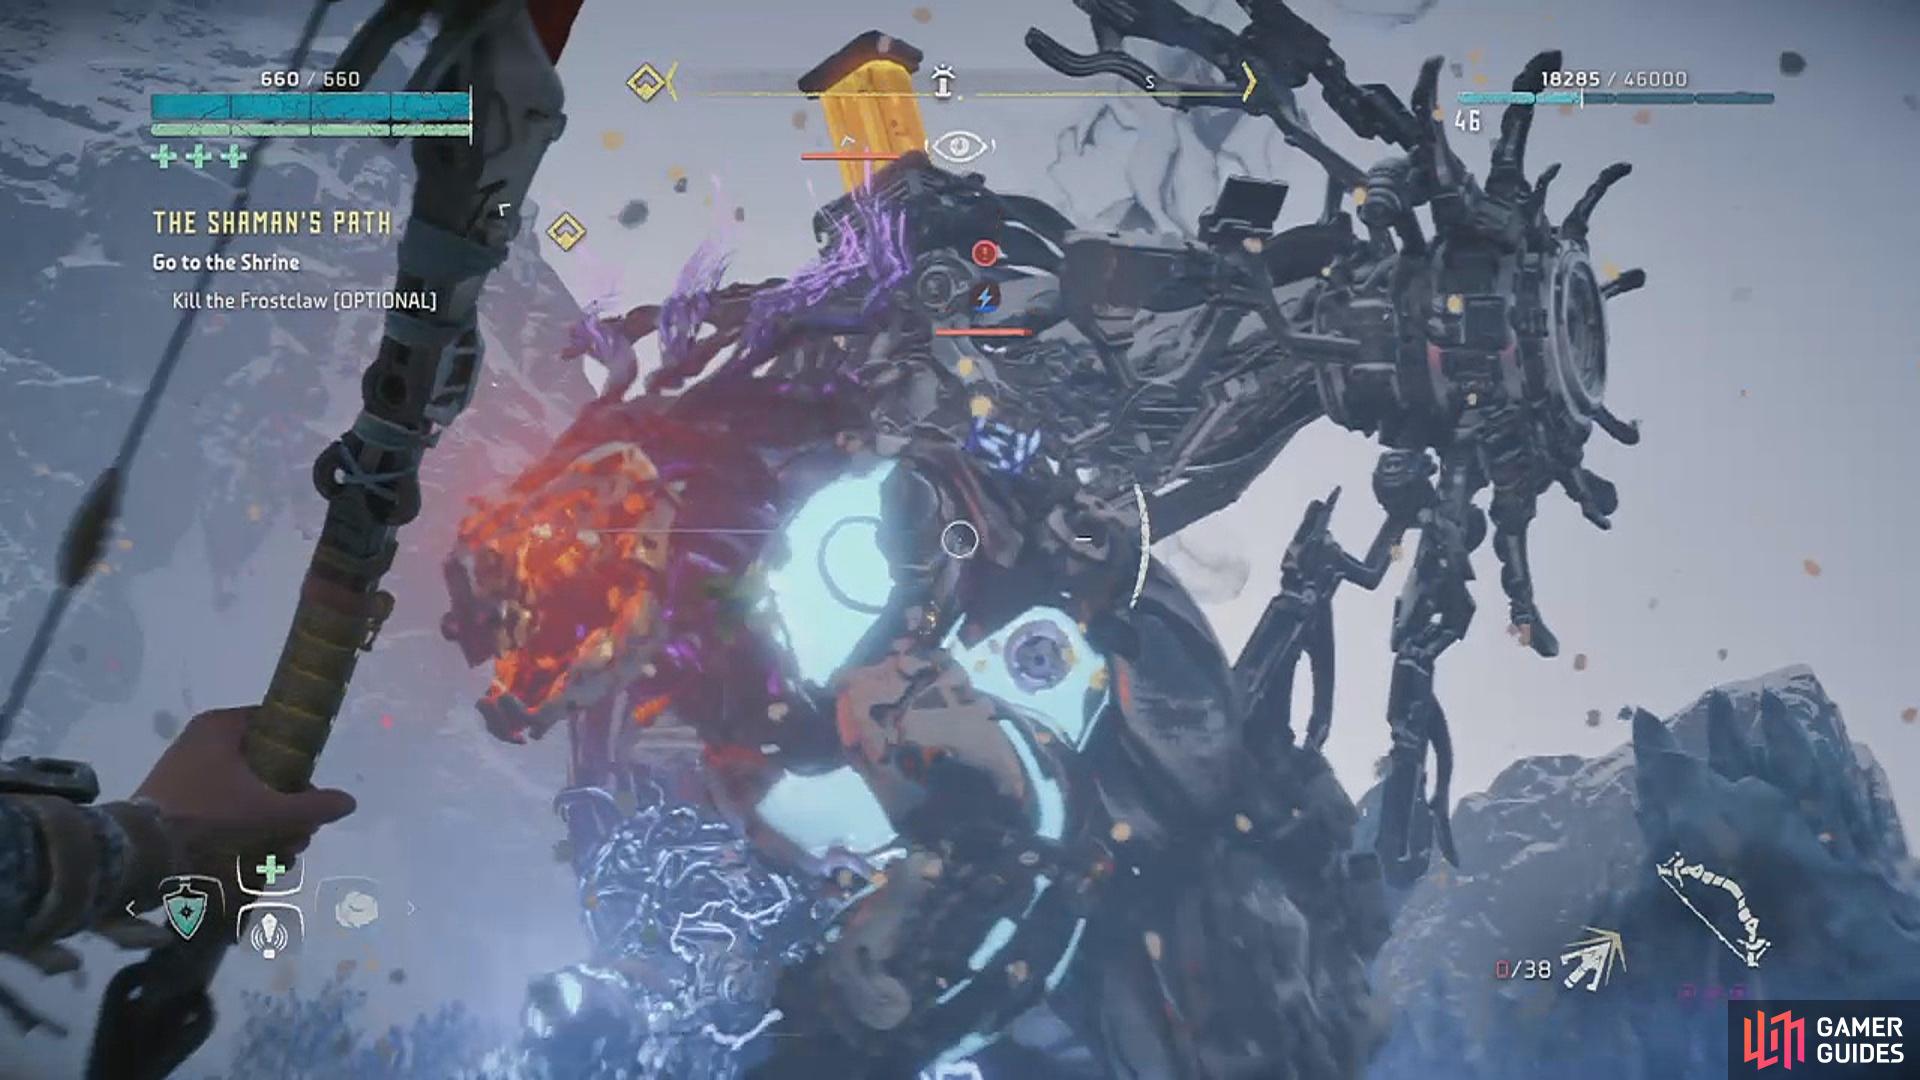
The Frostclaw, a machine with the likeness of a bear, is your next opponent. You are now prompted with two new and completely optional objectives: Defeat or Override the Tower and Kill the Frostclaw. If you don’t wish to do either of these things and just want to continue with the quest, then make sure you know where the Frostclaw is before you make a run for it towards the waypoint marker. However, if you want to take on the challenge, you’ll benefit from taking out the control tower first – the Frostclaw has a lot of health and the Tower will only continue to restore any damage you make.
Scanning the machine will show you that it has two Freeze Sacs on either side of its body, as well as a Freeze Unit on its chest. As probably expected, this thing is strong against freeze damage and therefore weak against fire. Also note that it has a strength against both Shock and Corruption, too. Sticking with a combination of fire and hardpoint arrows (or even Tearblaster if you prefer) should help you get the job done; it has plenty of weak spots to take advantage of, so aim to knock off as much armour as possible.
(1 of 2) Disable the Tower first
Disable the Tower first (left), and aim to knock off the Frostclaw’s armour (right)
A good tactic for this fight is hit-and-run – cause some damage, knock off a component if you can, and then run away. Hiding will throw it off your trail and you’ll be able to keep the upper hand. If it stands up on its hind legs and you have a good angle, take the opportunity to knock off the Freeze Unit on its chest. There are power cells on its rear end that you can destroy to stun the machine as well. When enough components have been eliminated, send it up in flames and let the fire damage do its work. Whatever approach you choose, proceed with caution. The Frostclaw might be slow-moving, but you don’t want to get hit by its charge.
Once the machine and the Tower are both down and you’ve reaped the benefits, head back on track towards the waypoint by traversing your way up the cliffs. You’ll know you’ve reached the top when you see a yellow wire.
Enter Ourea’s Retreat
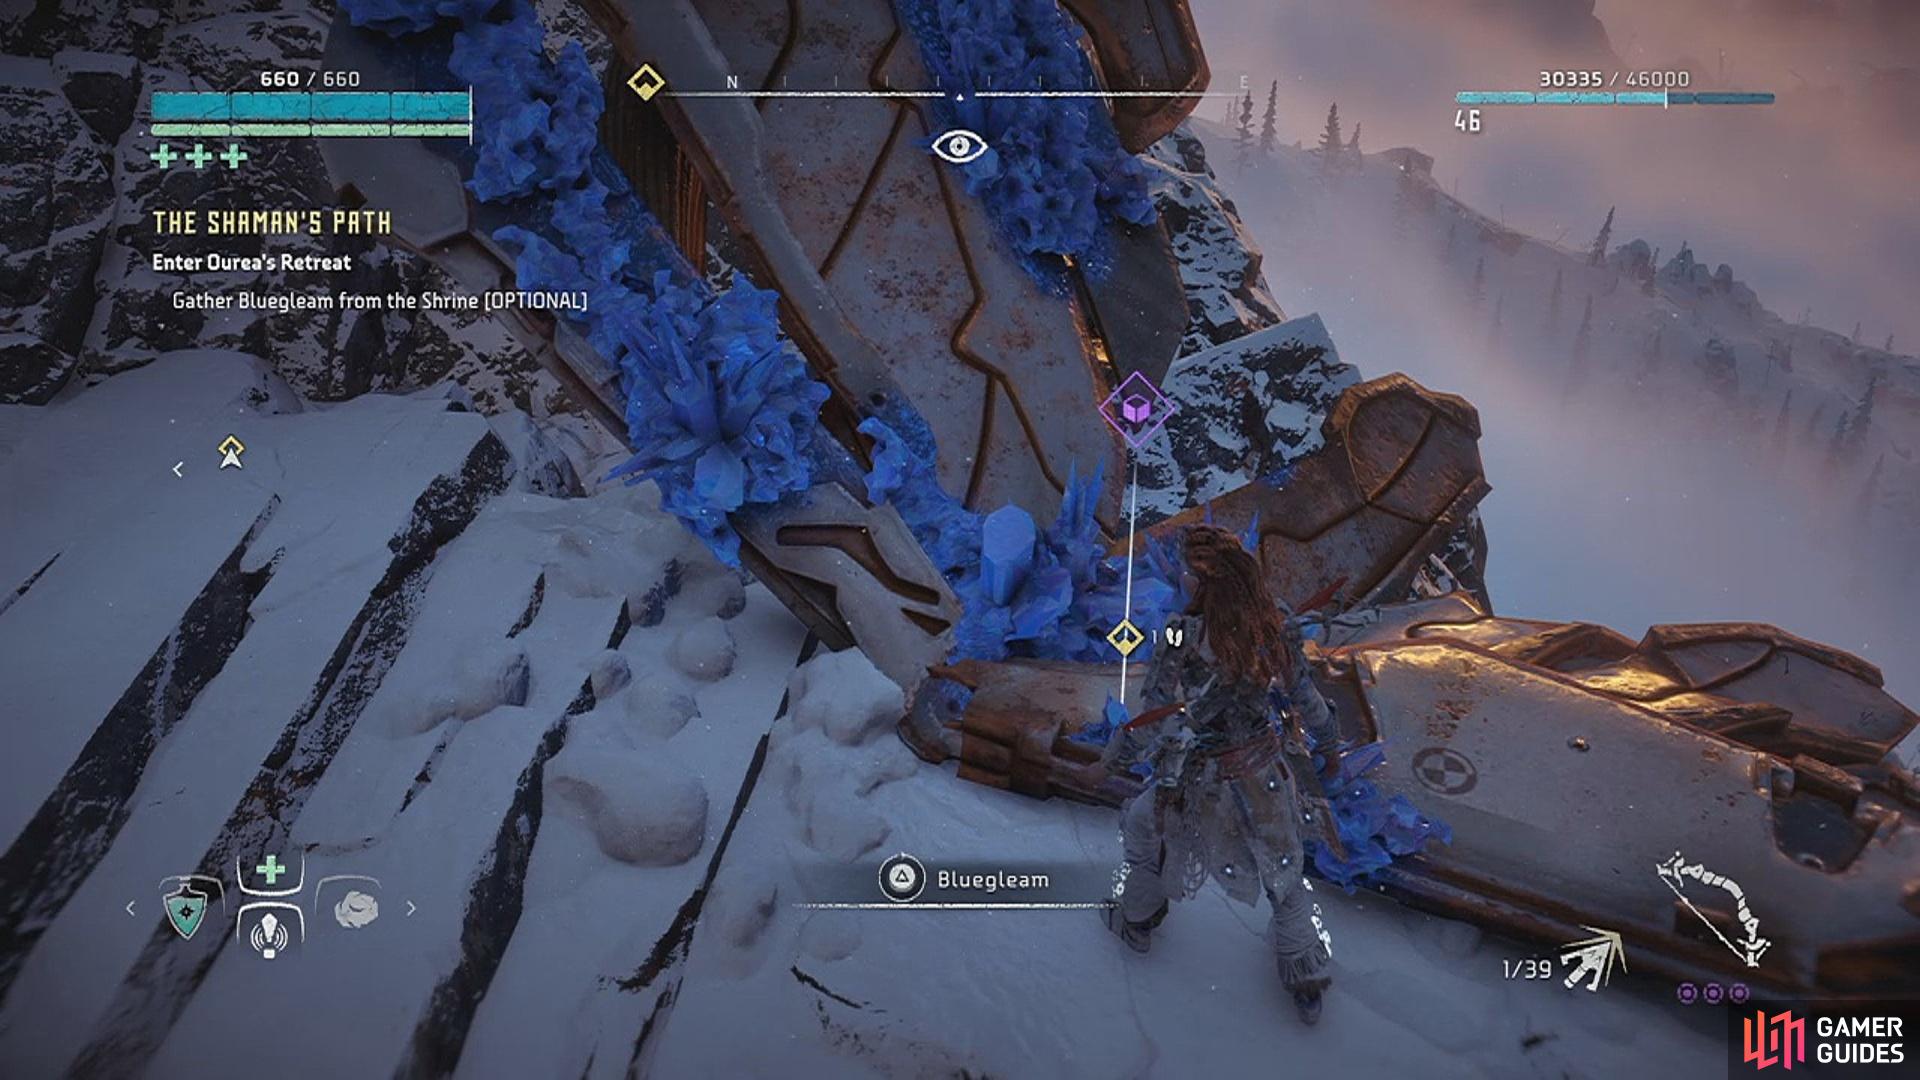
Cross over the wire and you’ll be prompted with Gather the Bluegleam from the Shrine (Optional). As the acting currency to special merchants throughout the Cut, it’s worth collecting if you wish to purchase some new powerful weapons and armour.
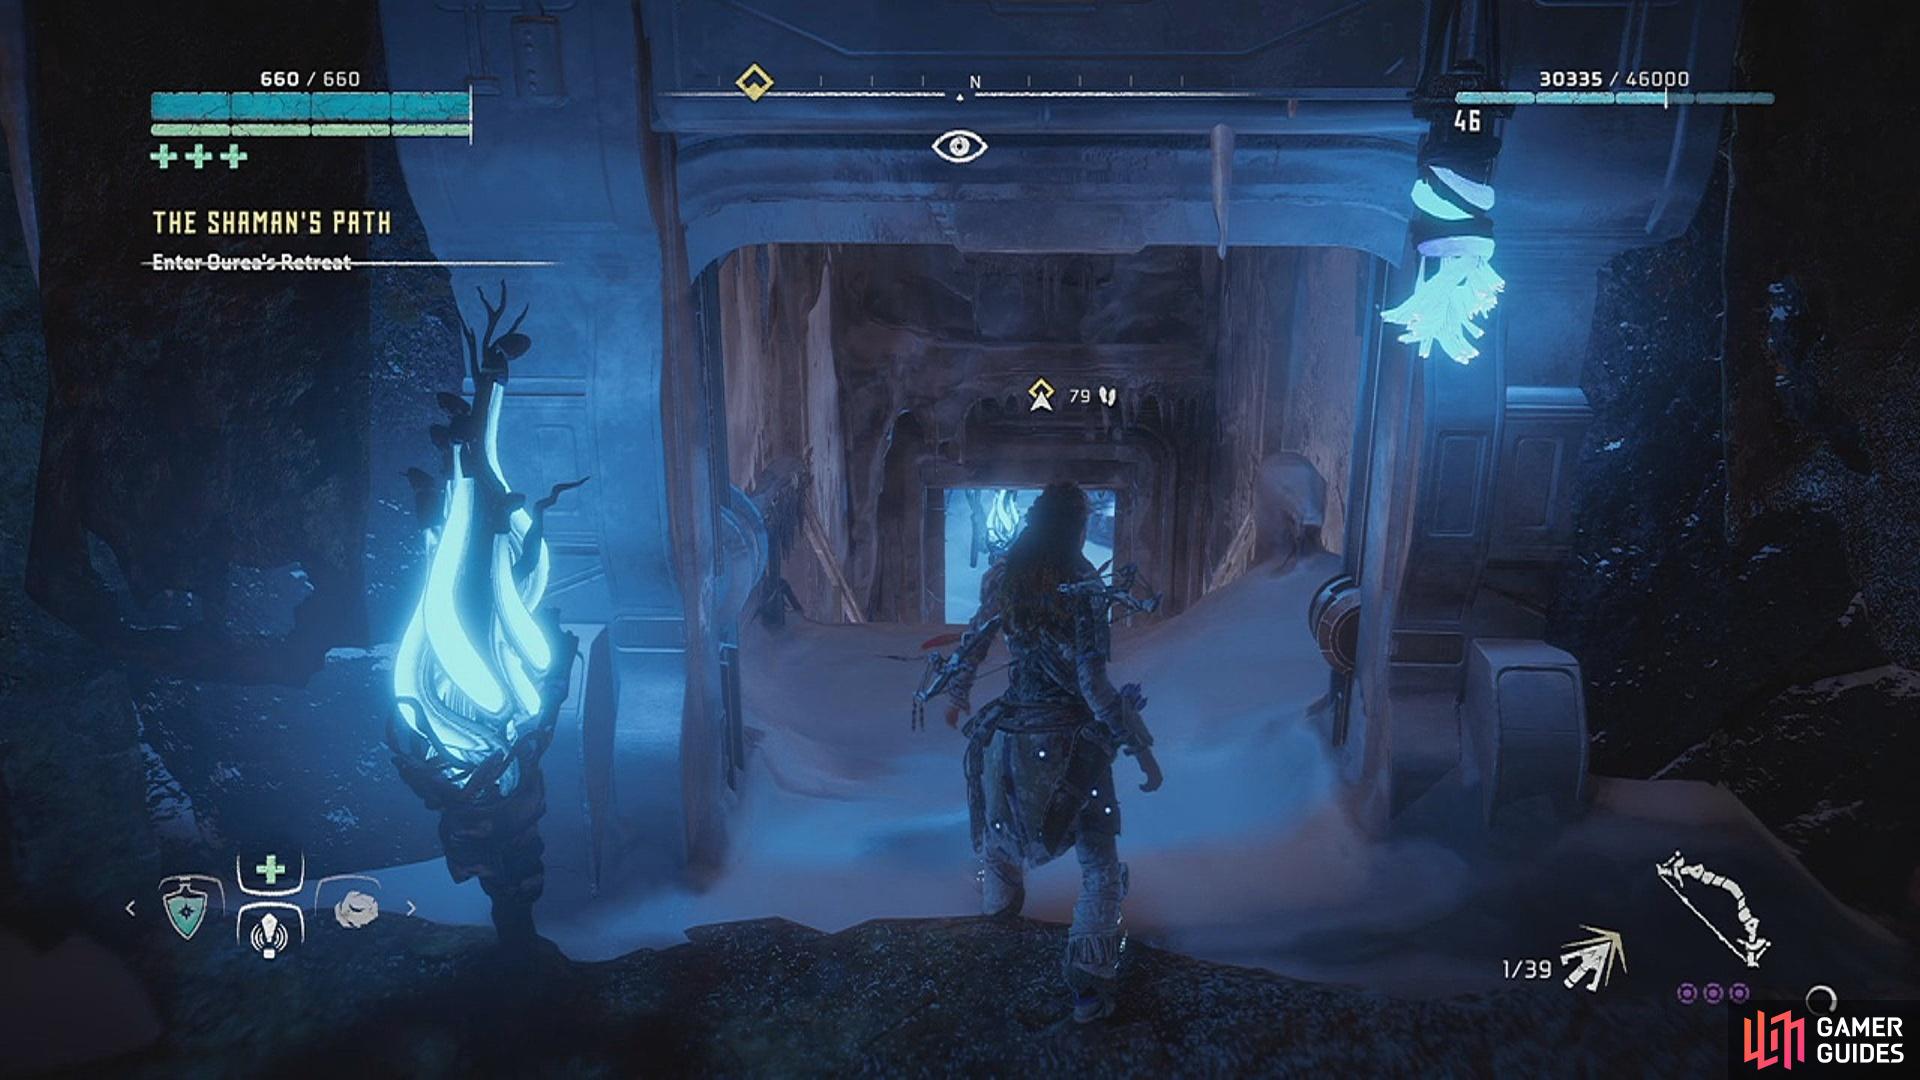
Keep following the waypoint marker up the mountain and you’ll reach the ancient door to Ourea’s retreat in no time.
(1 of 2) After defeating the Frostclaw seek out the blue painting
After defeating the Frostclaw seek out the blue painting (left), and gather the Bluegleam once you reach the Shrine at the top (right)
Explore Ourea’s Retreat
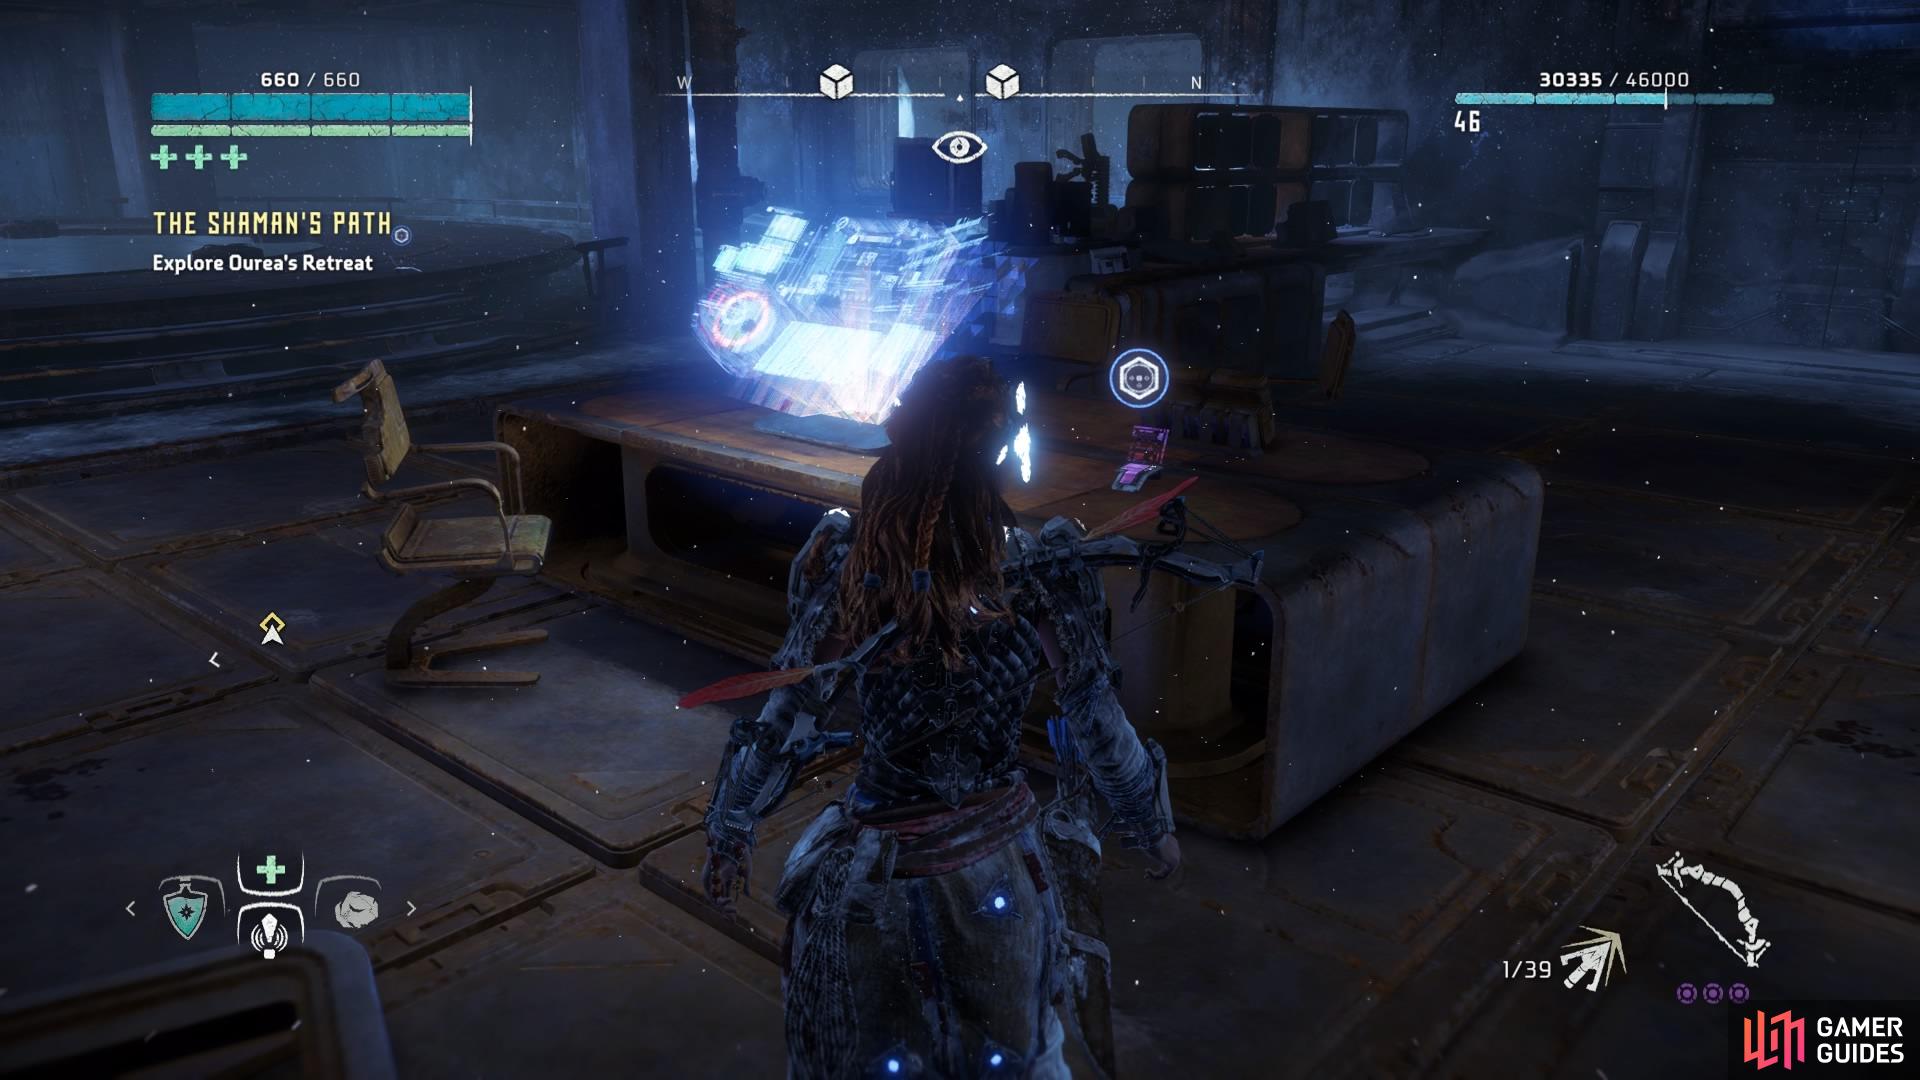
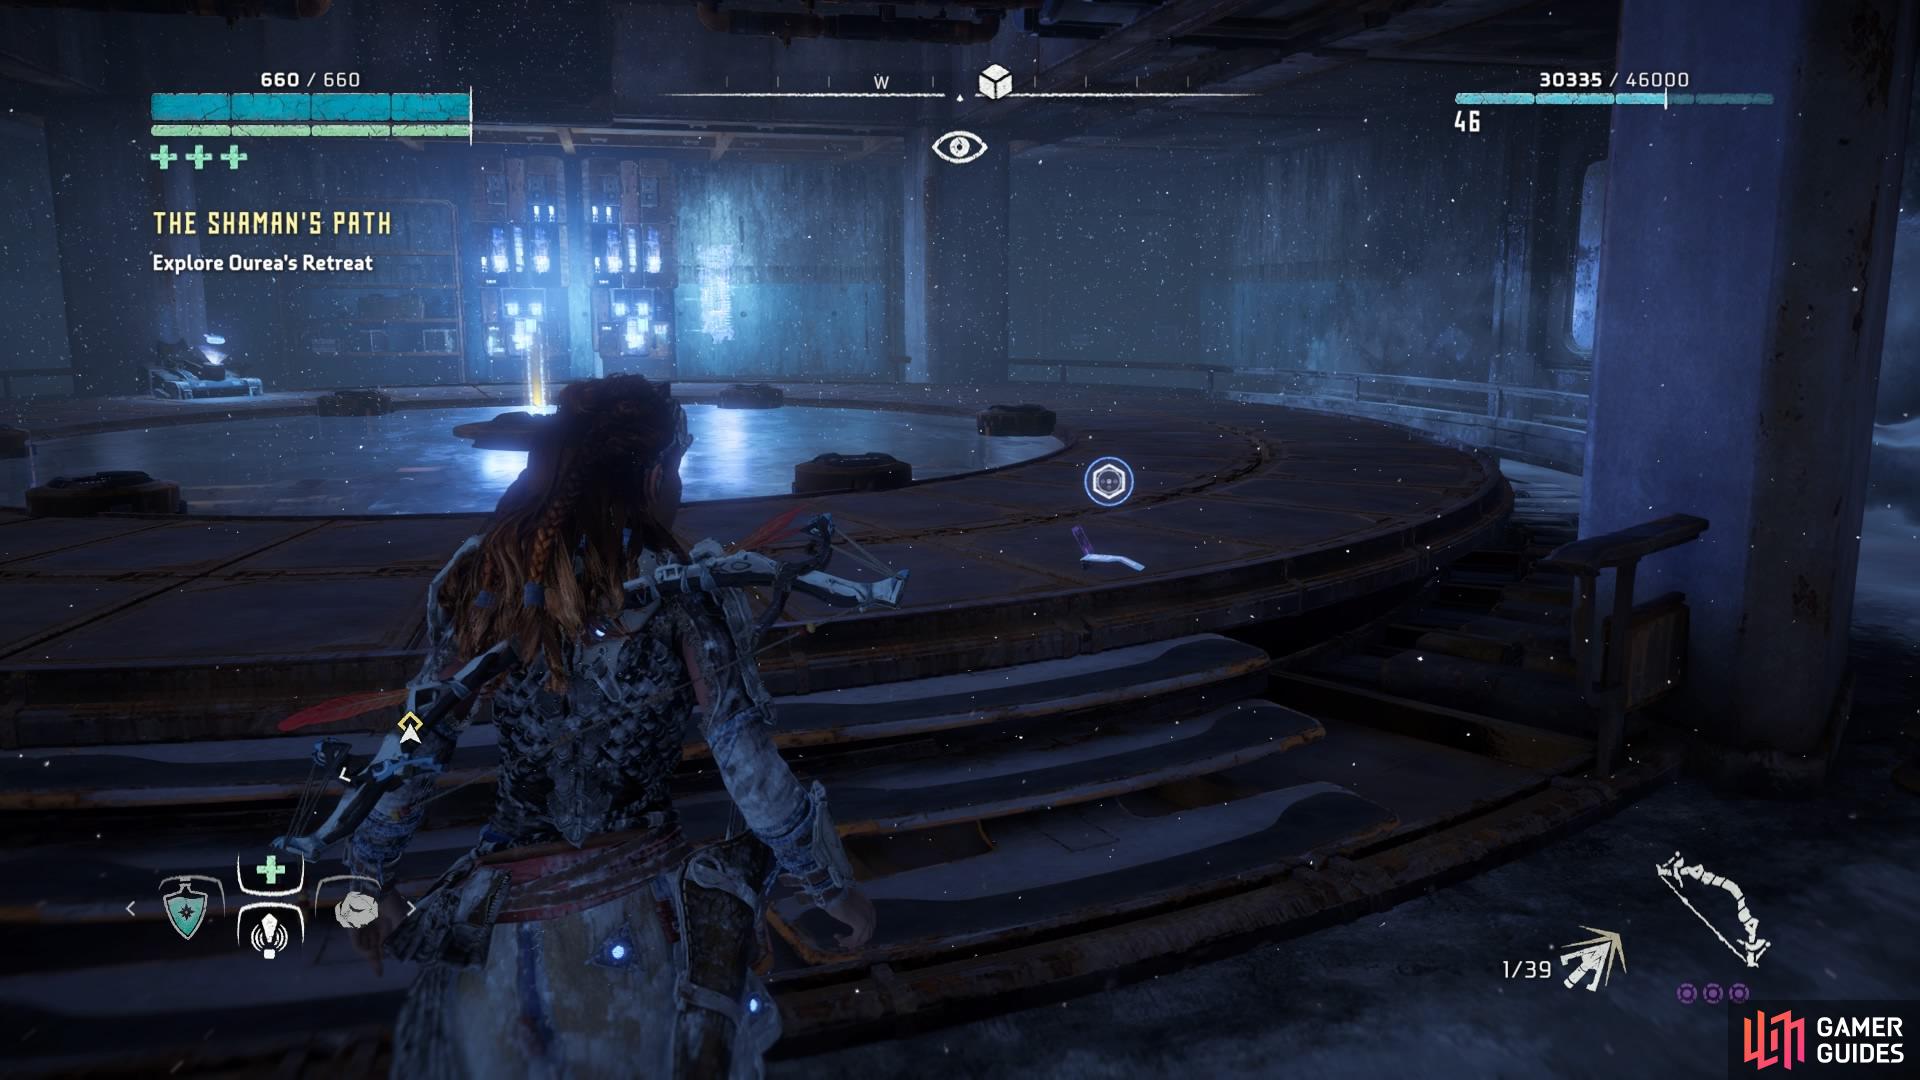
This place is rather straightforward to navigate, so once you’re inside you should be able to follow the halls with ease. There are blue crystals for guidance in here, too. You’ll come across Audio Datapoint – Firebreak Upgrades almost instantly, so make sure to pick it up with your Focus before you continue. Keep following the halls until you come upon a large room with a huge door at the back - there are more datapoints in here, so grab those before you do anything else.
Open the door to Ourea’s retreat.
First, go to the room immediately to your left. You’ll find Audio Datapoint – Supply SNAFU on a shelf. Leave the room and head straight for the next one in the top right – as soon as you walk in there’ll be Audio Datapoint – Oh-Point-Six right in front of you. Come back out and look to your left where you’ll see another doorway. Head in there and follow the hall into another room where you can go straight to the back, around the wall, to find Audio Datapoint – Thanksgiving lying on what appears to be a snow-buried desk. Now go back to the main room to get working on the bunker door.
Restore Power to the Door
When you head towards it you’ll be prompted to Investigate the Door where, once you’ve used your Focus, you’ll discover that you need to first reroute the power before you can even go through. Your objective will then be to Investigate the Source Node, so return to the first room on the left where you collected the datapoint on the shelf. At the back of this room, on the right, is an open vent in the wall covered at first glance by some crates. Follow the vent through to the next room where you can pick up two more datapoints.
The first is lying on the desk as soon as you come out of the vent – Audio Datapoint – OMG Blevins. The second is lying on the source node that takes up almost the entirety of the room – Text Datapoint – The Door, Again.
(1 of 2) Audio Datapoint - OMG Blevins
Audio Datapoint - OMG Blevins (left), Text Datapoint - The Door, Again (right)
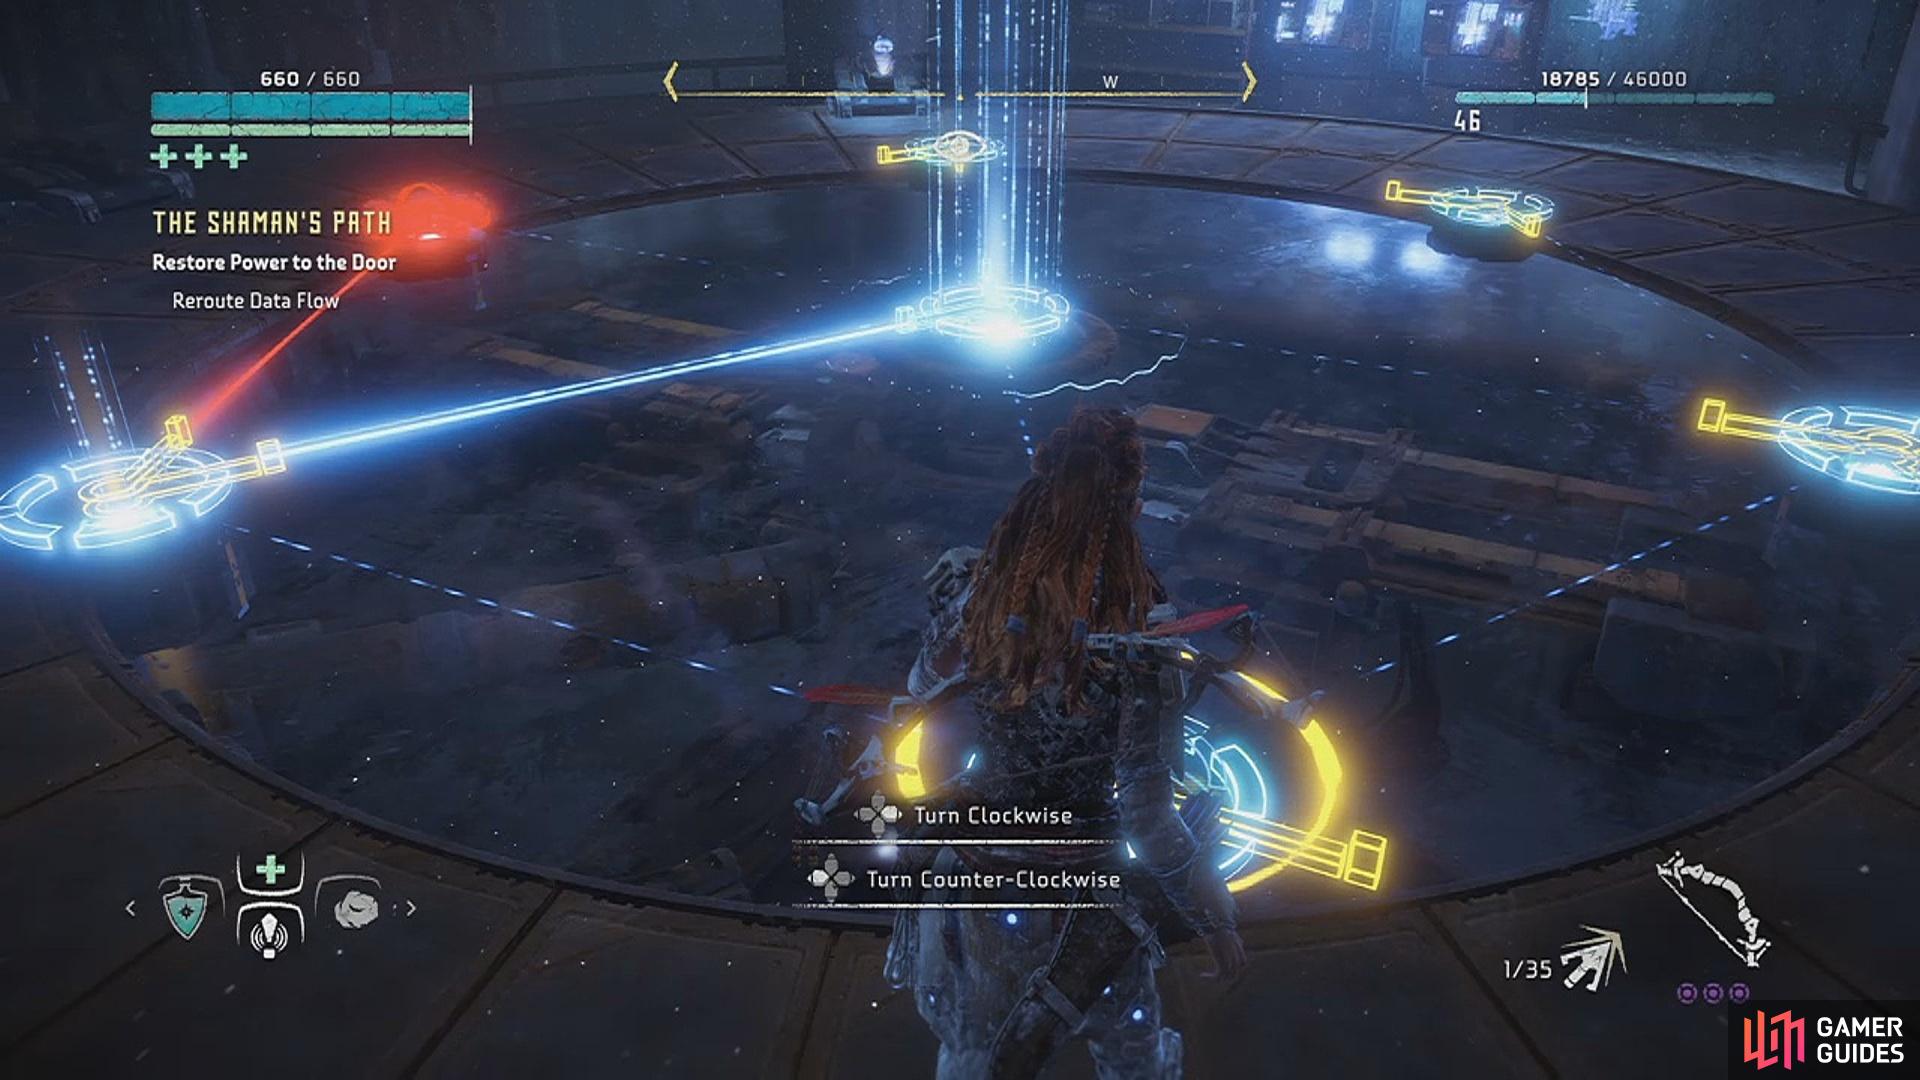
Step up on to the source node and override the system to activate the next objective, which is to Reroute Data Flow. When Aloy jams her spear into the access point and tinkers with the data, the board will light up with a puzzle-like problem for you to correct. Each node on the outside ring needs to be connected to let the light flow back to the middle, but you can ignore the broken node lit up in red. If you stand next to a node you’ll see that you can use left or right on the d-pad to turn it clockwise or counter clockwise. A stream of light will signify when the nodes are connected to one another via the yellow prongs, and the solution to this puzzle is actually rather simple.
Complete the puzzle to open the bunker door.
There are two nodes either side of the red one - just turn these two nodes away from it, and turn the bottom middle node clockwise, and the light stream should reroute back to the middle. Once this is done, your objective will revert back to Explore Ourea’s Retreat. Leave the room via the vent again and return to the bunker door that you can now open to reveal an elevator shaft. It’s not a dead-end – there are handholds on the left side for you to climb up, so follow this route until you reach another vent at the top.
The vent will lead to a tunnel, which will take you back outside again.
Find Another Entrance to Ourea’s Retreat
You’ll discover a new campfire, so treat the campfire marker as your waypoint on the compass bar. Go right and just keep following the path – it’s difficult to stray from it so you should reach the campfire easily and quickly. Once there, save your progress and continue up the metal stairs to the next ancient door.
Enter Ourea’s Retreat
Once inside, there’ll be a Text Datapoint – Stage 2 Complete lying on a small crate - grab this and head down the stairs. Moving forward you’ll see that there are two doors, one on either side of the room. Check the door on the left first and enter the room to find Audio Datapoint – Menu Prank on the table, then proceed through the door on the right and down the hall. When you open the door to the next room, it’ll activate a cutscene to reveal the notorious Ourea.
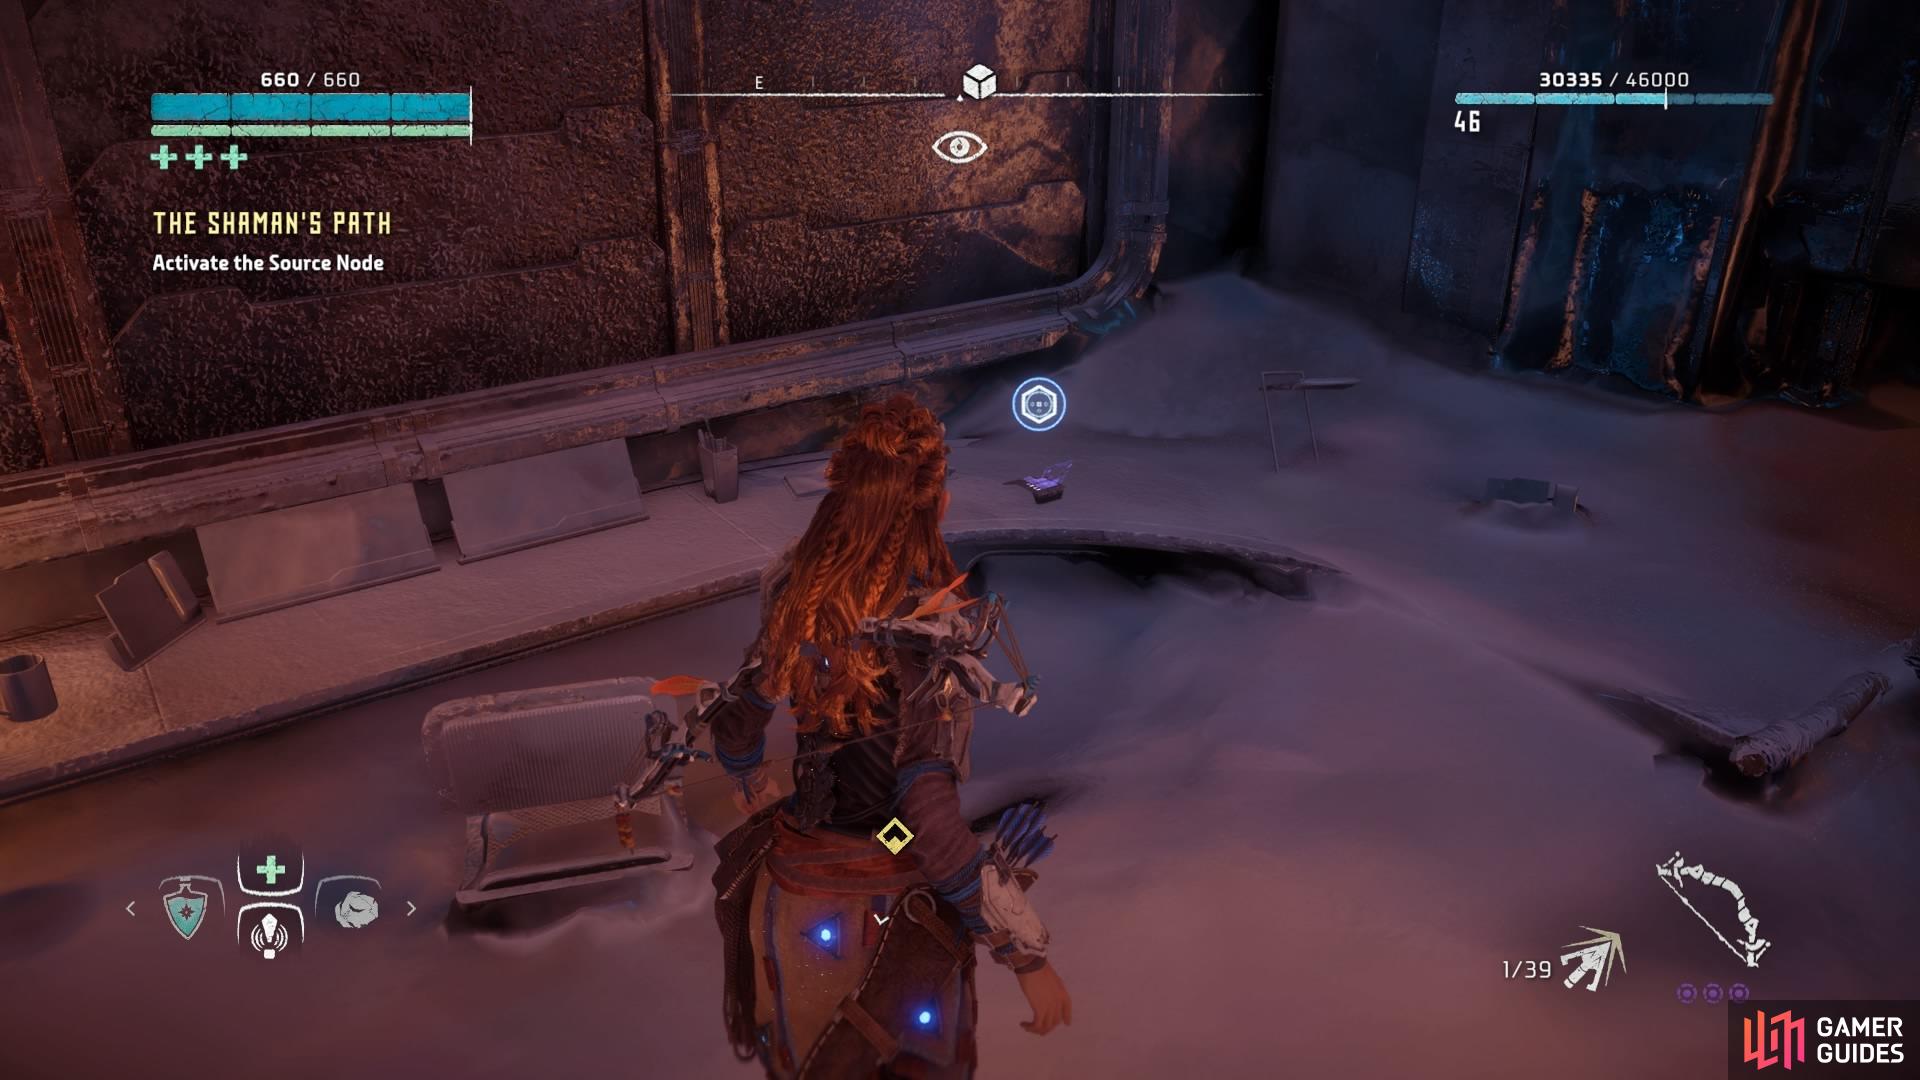
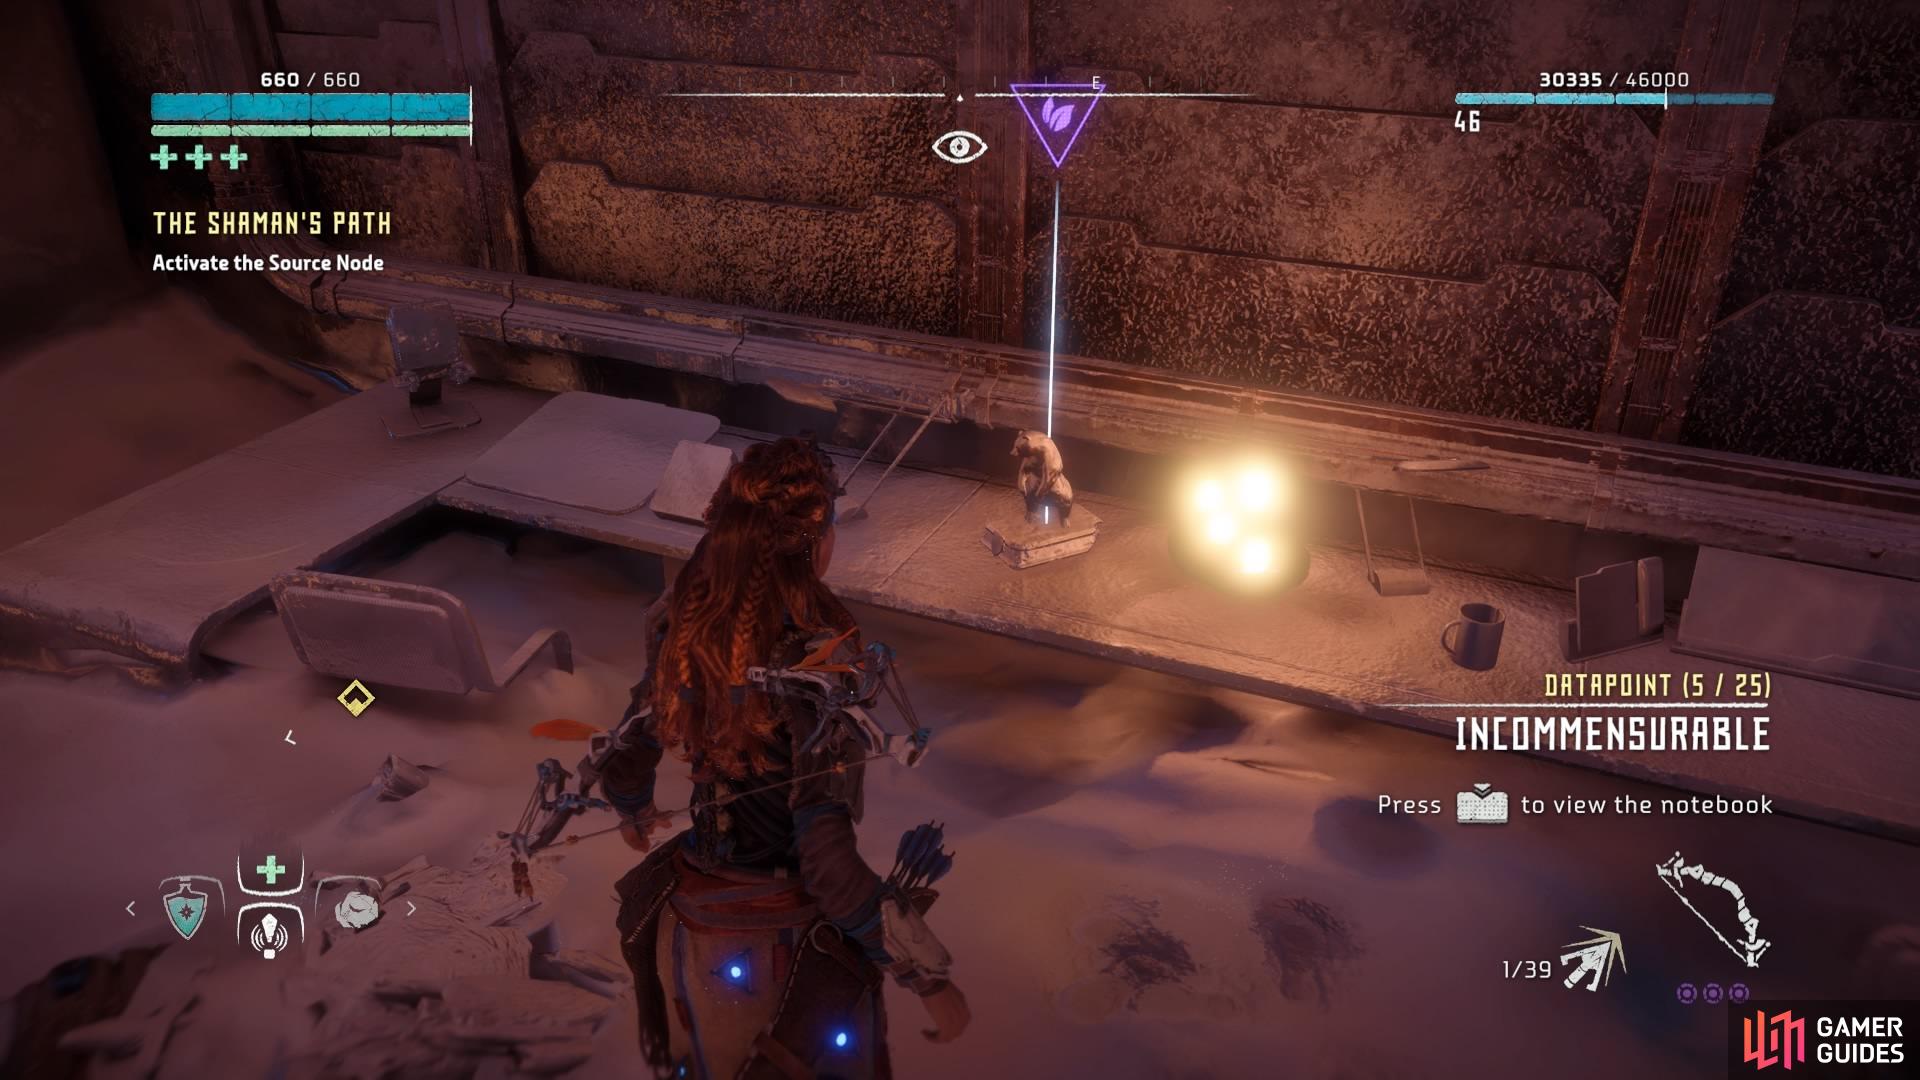
Once the cutscene is over, you’ll have to Activate the Source Node, but on the platform there’s a Text Datapoint – Security Measures that you might as well pick up first. Additionally, on the back-left side of the room is a desk with Audio Datapoint – Incommensurable as well as Animal Figurine 4 – your first figurine!
(1 of 2) Audio Datapoint - Incommensurable
Audio Datapoint - Incommensurable (left), Animal Figurine - 4 (right)
As with the last puzzle, have Aloy start it up to reveal the nodes. There’ll be another broken one, so ignore it. This time, there are two rings of nodes that you need to correct to reroute the light stream back to the middle. Start from the inner ring and work your way outward until the light stream is connected accordingly. Once the puzzle is complete, you can have your first in-depth conversation with Ourea. She has some unexpected challenges for you that Aloy reluctantly agrees to, but she will also offer you a new weapon.
When the conversation is over, and you’ve gathered all the information you want, seek out the Stormslinger weapon lying in a crate nearby. The quest is now complete!

 Sign up
No Comments