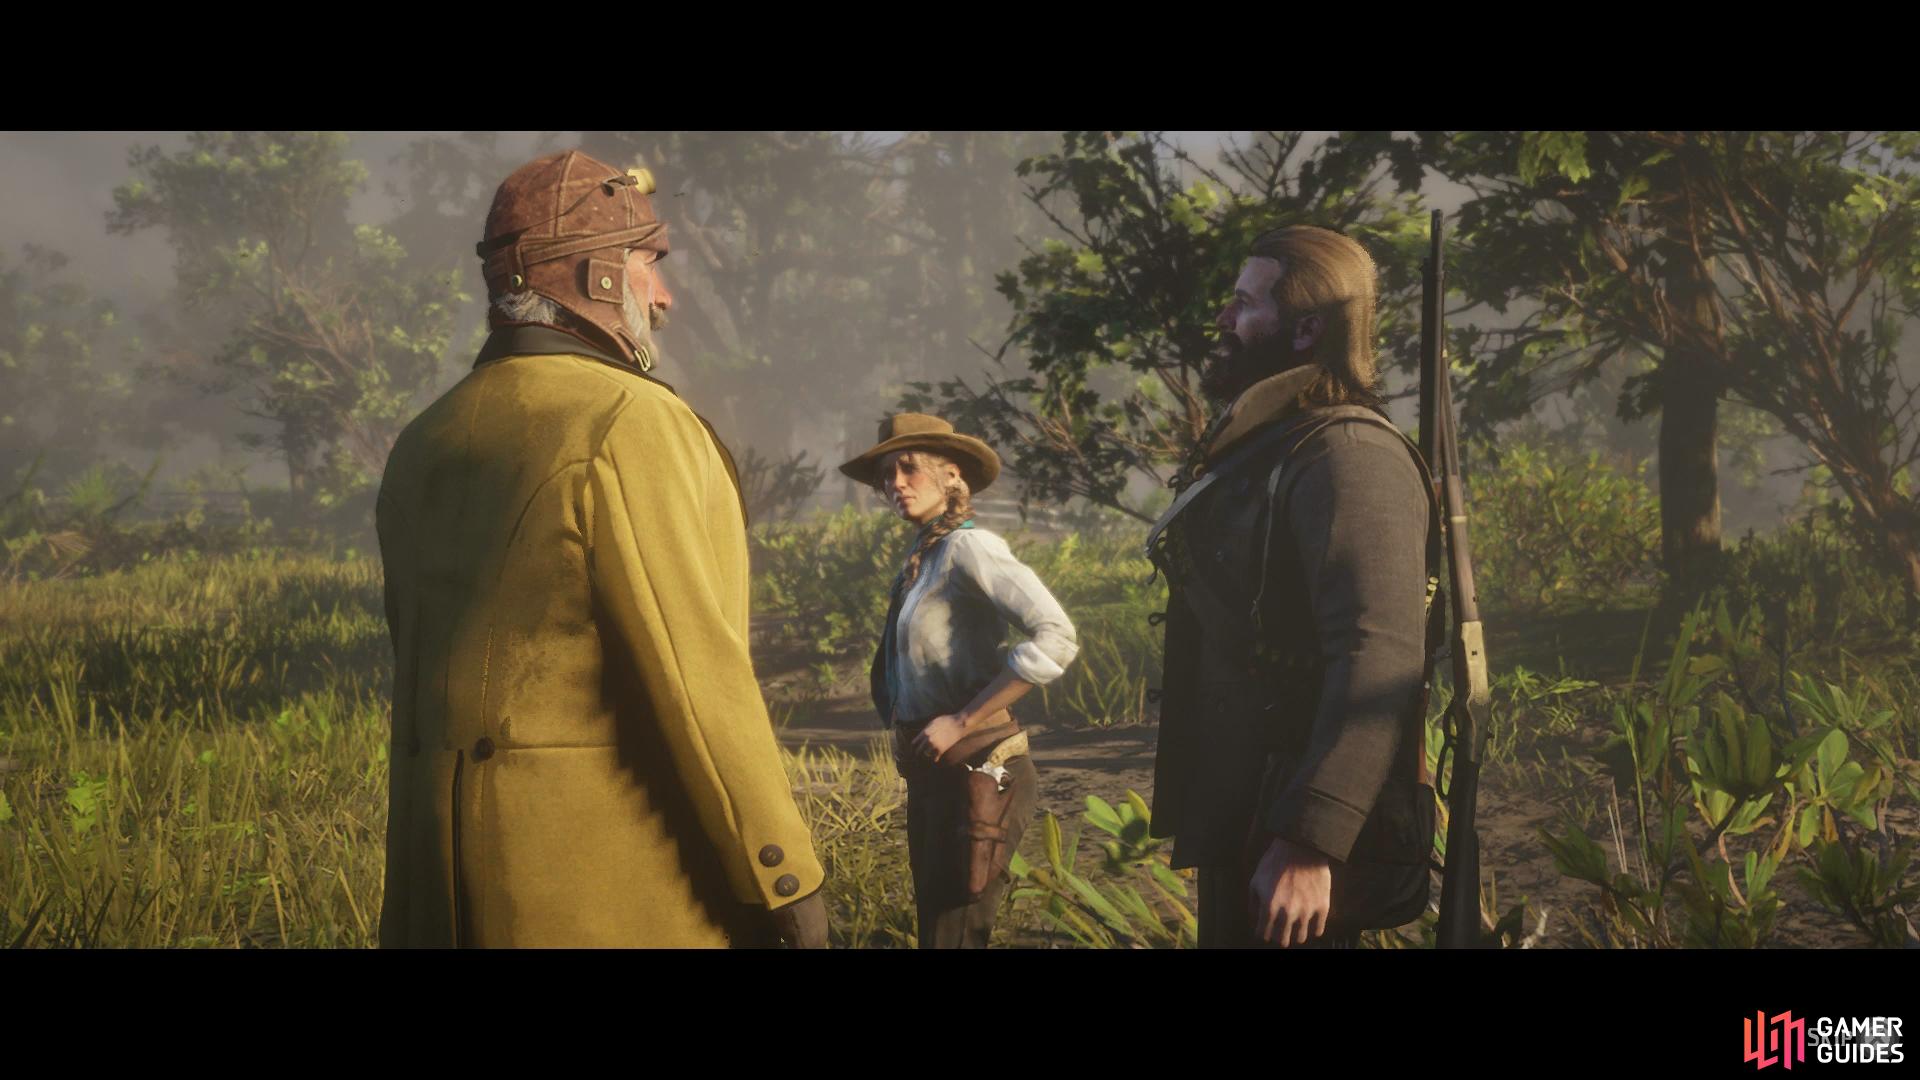
You’ll find Sadie in the Saint Denis saloon and she’ll ask for your help to free John. First on the agenda is to see if John is actually at the penitentiary and she’s rented out a hot air balloon to help you get up high enough. Follow her out of Saint Denis and over to meet the eccentric Mr. Bullard.
You’ll now be controlling the balloon as Arthur and you can Ascend using the [R2]/[RT] button. Pay special attention to the Ascend icon in the bottom right, you’ll notice the bar fills as you hold the button in and that there’s a mark on the bar to denote the correct altitude. The name will also turn yellow once you reach this altitude as well and for the Gold Medal, you’ll have to stay inside this yellow marked area for the duration of the mission. Aim to keep the bar filled in the middle of the yellow section, that way you won’t be caught out when the winds change.
(1 of 2) Keep the altitude at the yellow marked section of the bar for the whole mission
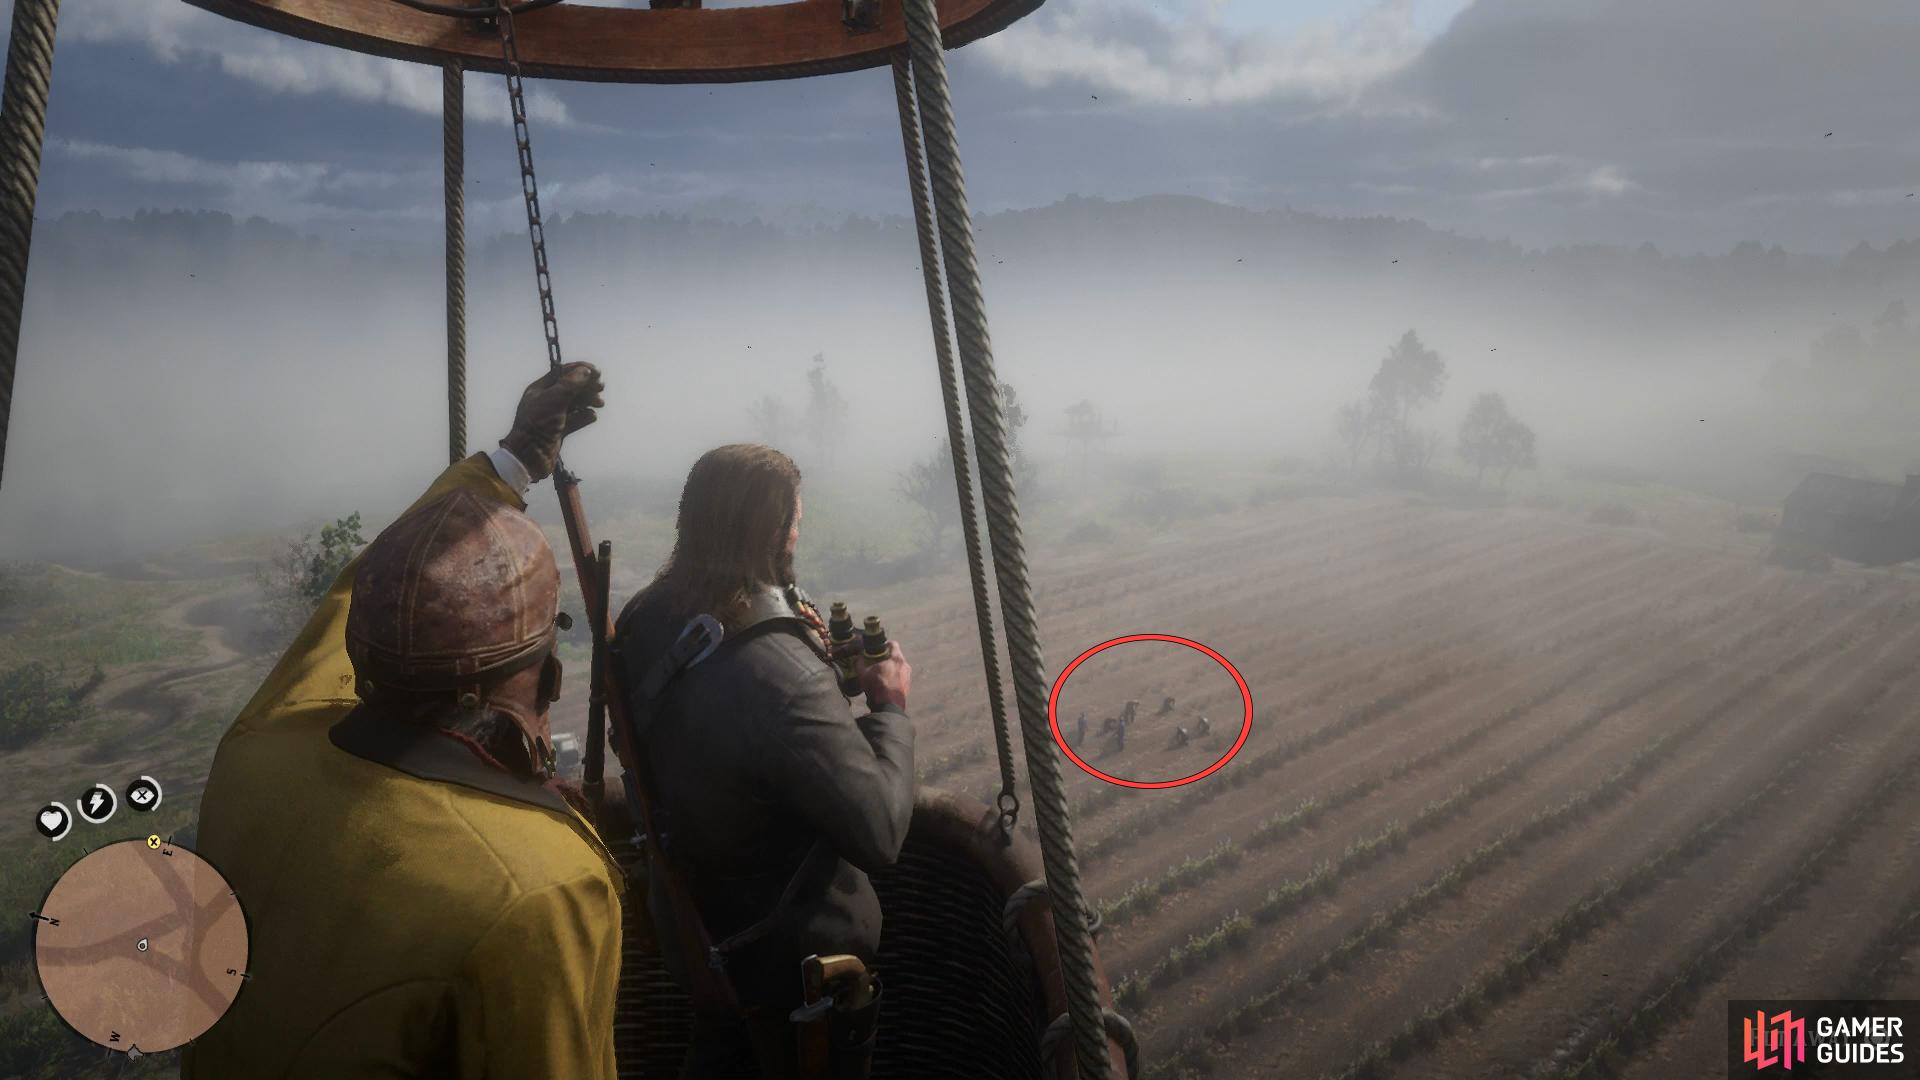
Keep the altitude at the yellow marked section of the bar for the whole mission (left), John can be found to the left of the penitentiary. (right)
Once you reach Sisika Penitentiary, Mr. Bullard will take over as Arthur attempts to find John with his binoculars. There are three locations for you to check but the one you’re looking for is the left of the three target areas, you’ll find John in the fields. The guards will begin shooting at you at this point, Ascend and reach the correct altitude to get out of there as quick as possible.
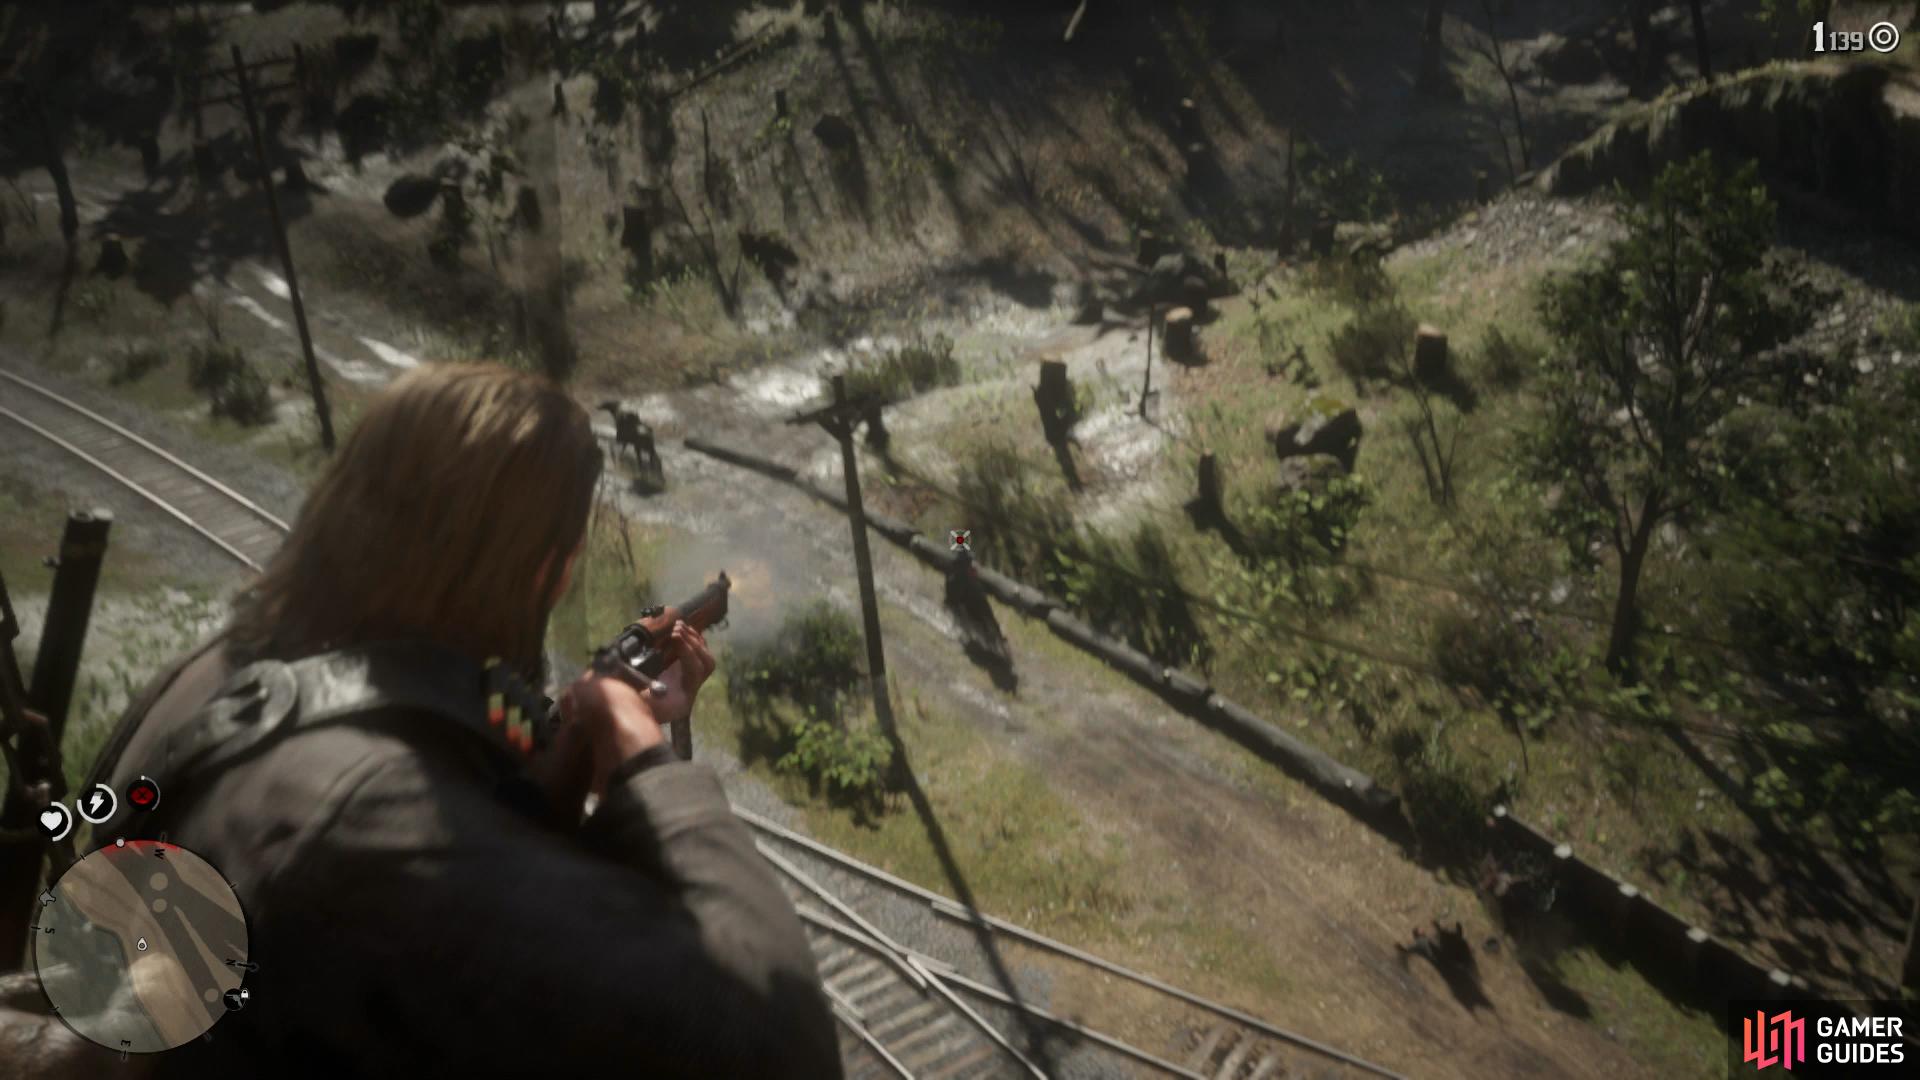
Unfortunately you’re not out of the woods yet, it seems Sadie has managed to cause some trouble with the O’Driscolls and is being chased by them. You’ll need to help Sadie by taking out the O’Driscolls from the balloon however note that you need maintain 70% accuracy for the mission so be sure to use Dead Eye to aid you in this. More importantly, you need to aim for at least five headshots during this section and there are more than enough targets for you provided you make use of Dead Eye (Snake Oil is great here).
Use Dead Eye if you have trouble nailing headshots from the balloon.
Mr. Bullard’s luck runs out at this point as he’s hit by a stray bullet and plummets to the ground. Arthur throws a rope out for Sadie but you’ll have to deal with the incoming bridge first. Ascend to the ideal altitude and then get ready to release as soon as you pass over the bridge, the target altitude will drop massively as you need to lower the balloon for Sadie. Once she’s on the rope, pull her up as quickly as possible before she’s shot.
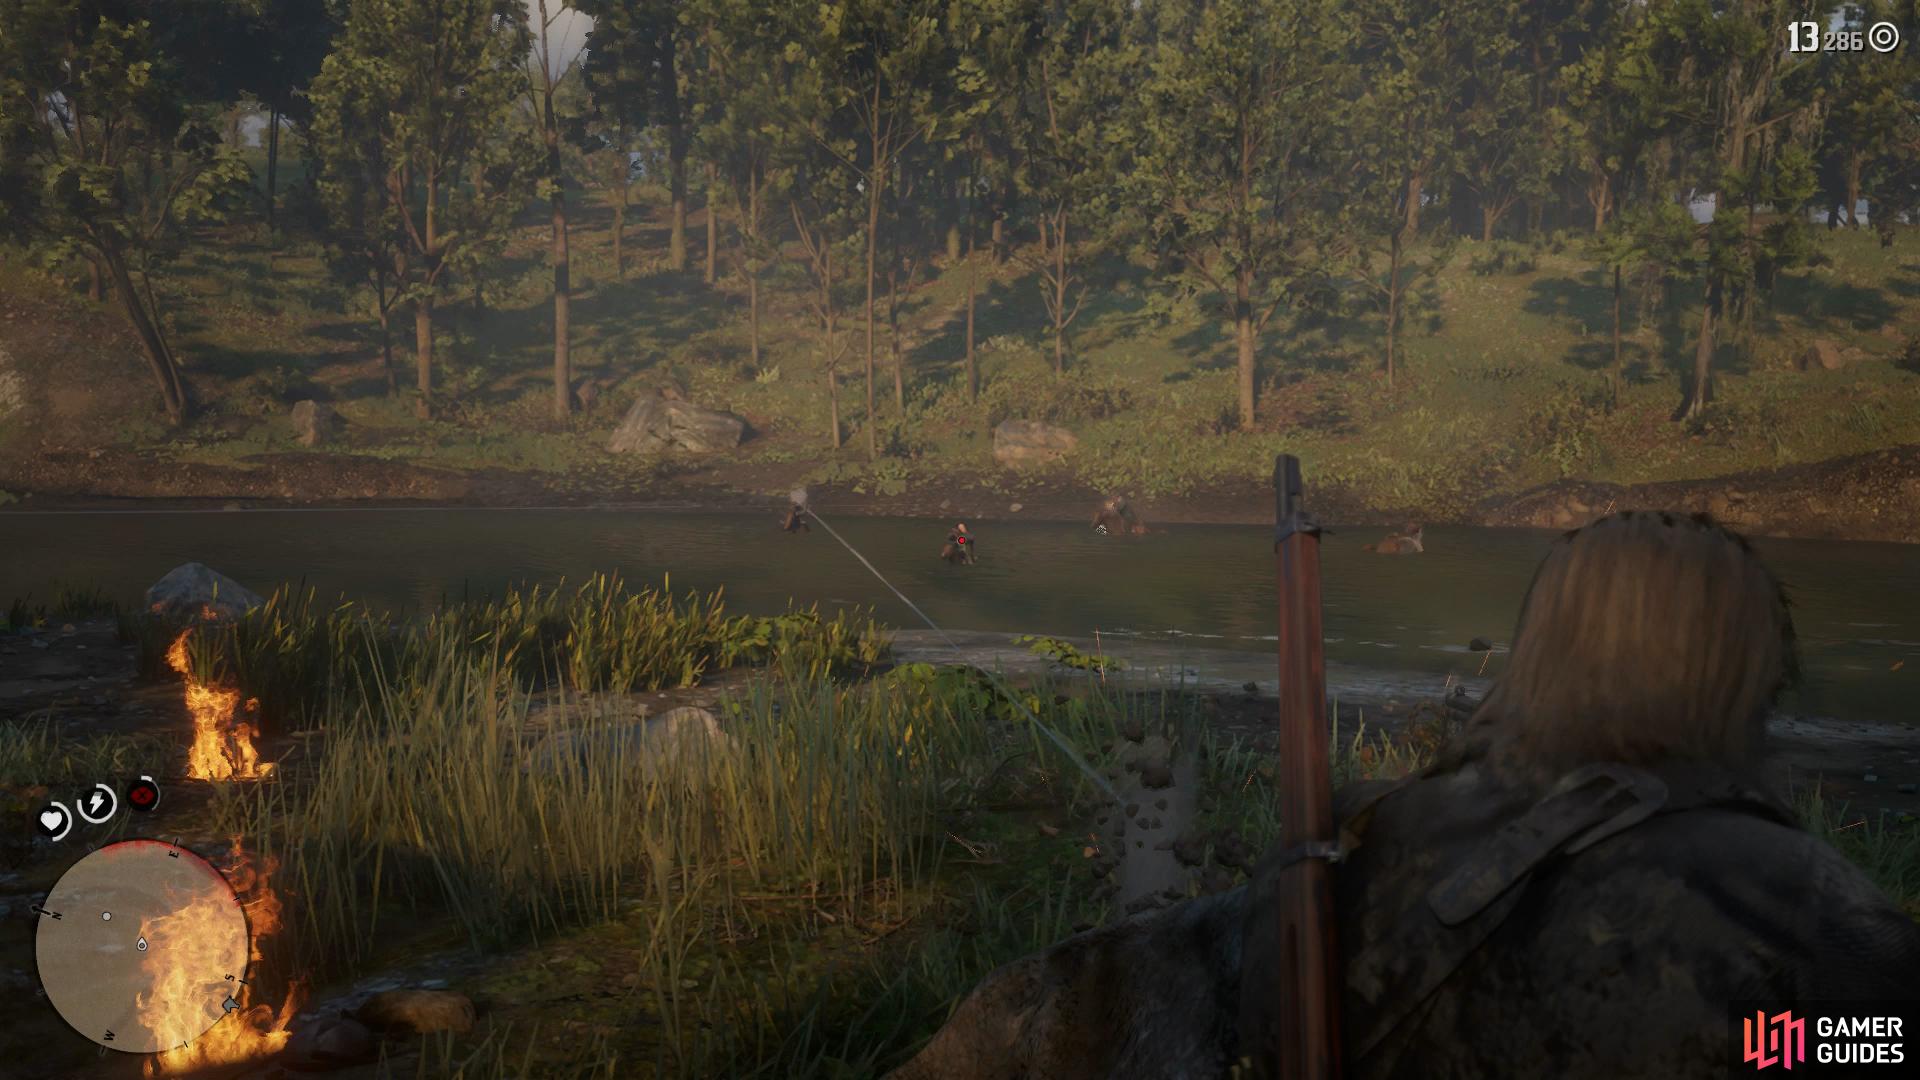
The balloon now crashes however the threat is not over, the O’Driscolls have followed you to this location. Take cover and begin picking them off as they head over the stream on their horses. Remember, you need to maintain the 70% accuracy here but you don’t need anymore headshots and there’s no time limit so take it easy and plan every shot. After you kill the initial wave from the front, turn behind you to find more coming at you, take cover at the rocks or trees and continue picking off the many O’Driscolls. Once the final enemies fall or flee, head back over to Sadie to end this hectic mission.
Accuracy is king during the final shootout, prioritize if over everything else.


 Sign up
No Comments