The crafting system is at the heart of the gameplay loop in Avatar: Frontiers of Pandora. It grants access to some of the best equipment in the game, both in terms of armor and weapons, but the intricacies of how it works can be difficult to grasp at first since there’s a relatively steep learning curve. On this page, we’ll guide you through how to gather materials throughout the Western Frontier in the three main regions of Kinglor Forest, the Upper Plains, and the Clouded Forest. Along the way, we’ll explain the differences between Fine, Superior, and Exquisite materials and crafting designs, but we’ll also help you understand how to get the best quality versions of them using the Hunter’s Guide.
The world in Avatar: Frontiers of Pandora is rich in all kinds of weird and wonderful flora and fauna.
Crafting Material and Design Rarities
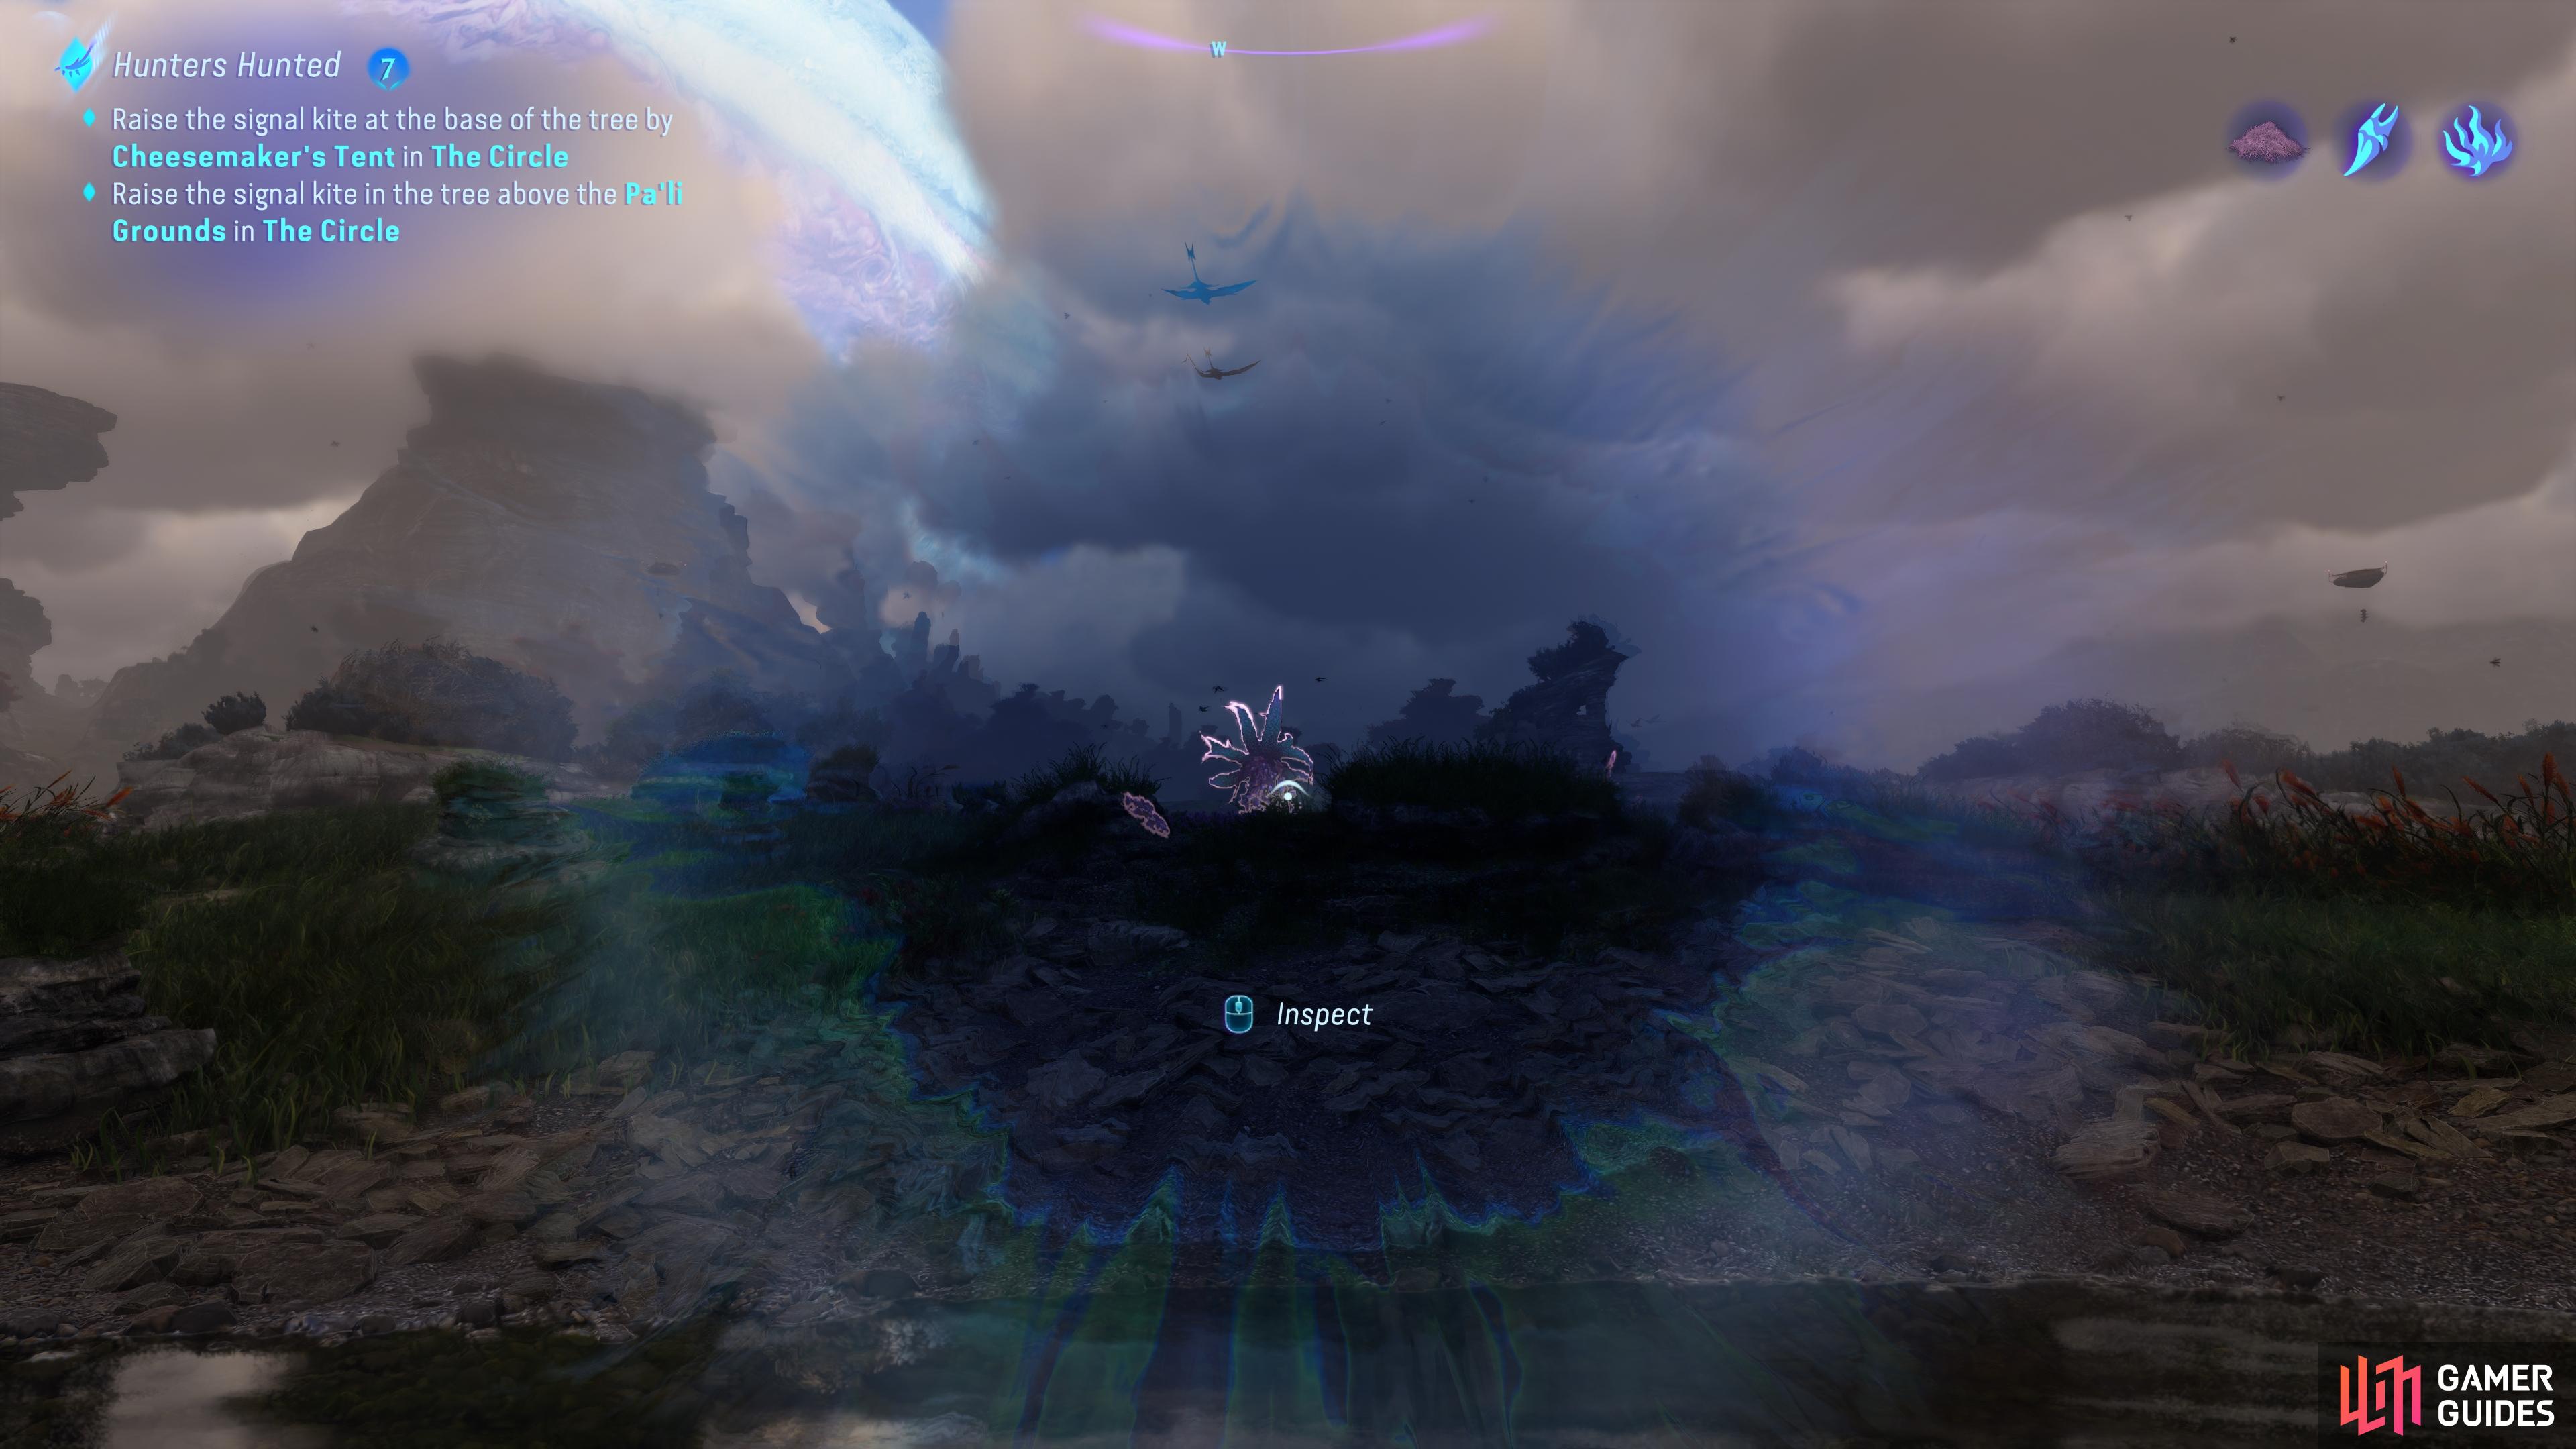
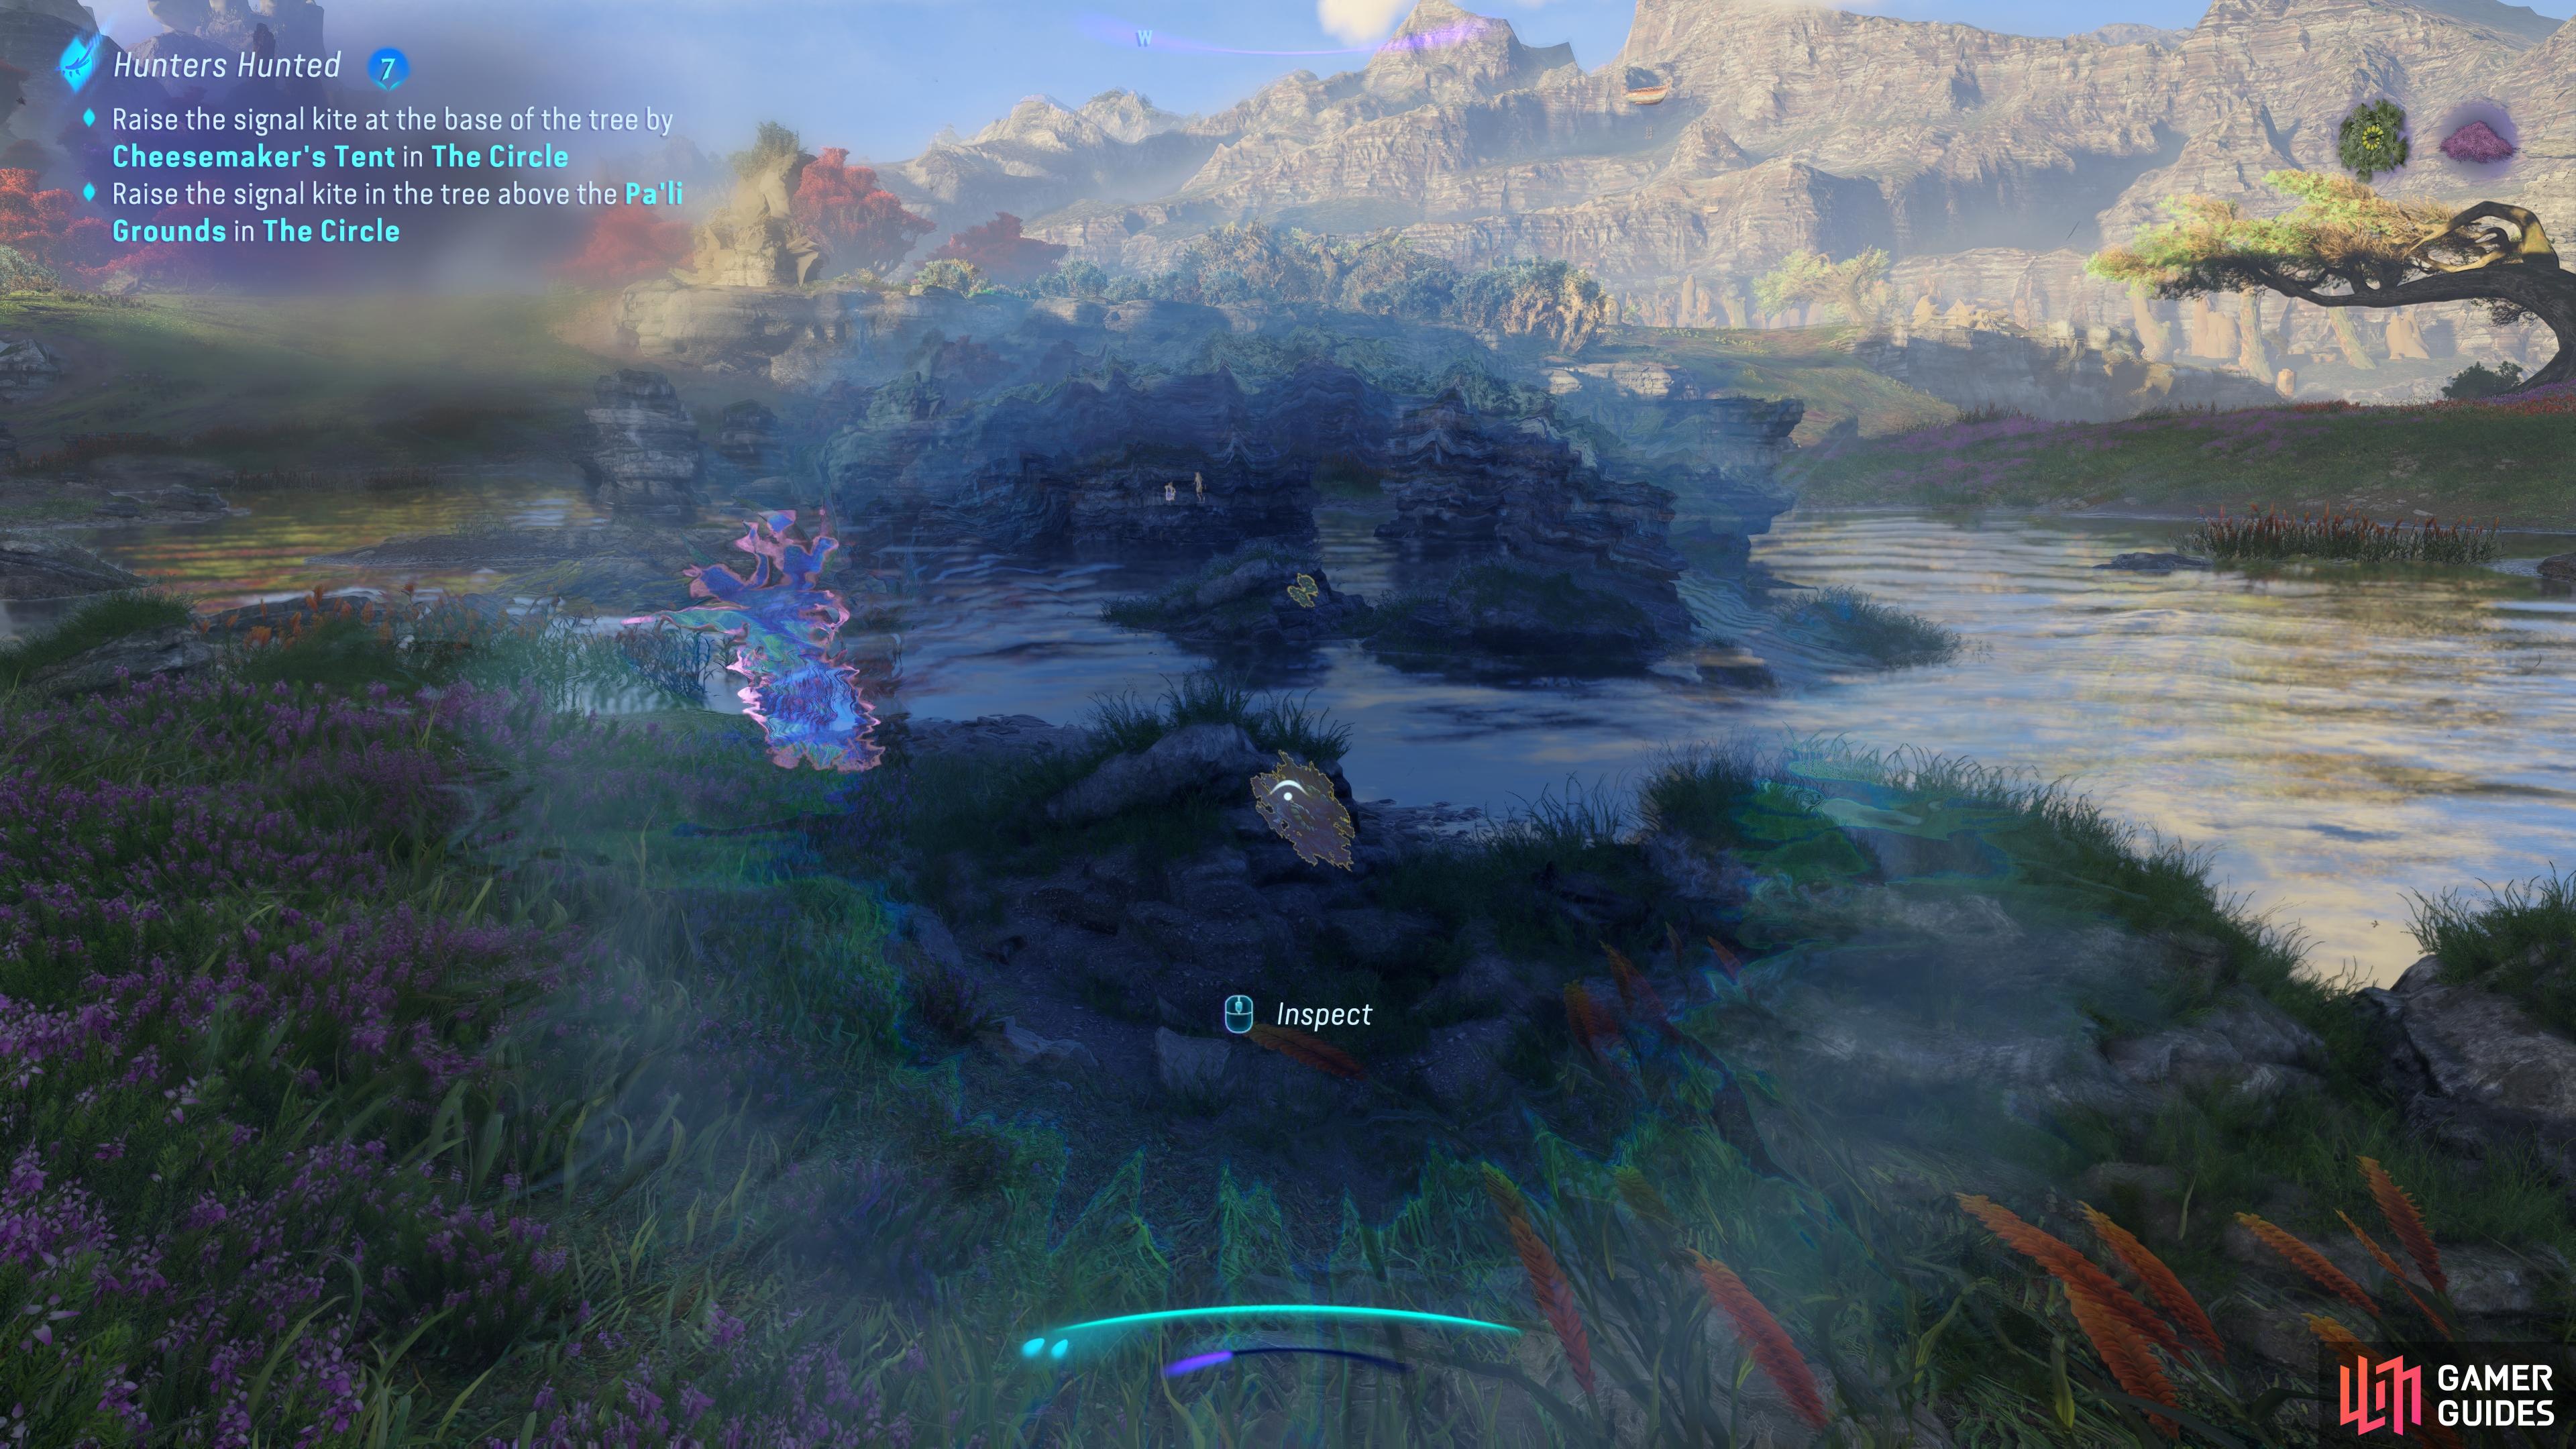
As you play through Avatar, you’ll find that you come across materials of three different types in the wild: Fine, Superior, and Exquisite. Not all materials will be defined by these three categories since some have a single purpose, such as Dapophet plants which are exclusively used as healing items for your health pouch. However, any materials that are used in crafting can be found in their Fine, Superior, and Exquisite variants. You can see the rarity of a material at a glance by using your Na’vi sense, which will allow you to inspect it from afar and see the color associated with it, as shown in the screenshot below.
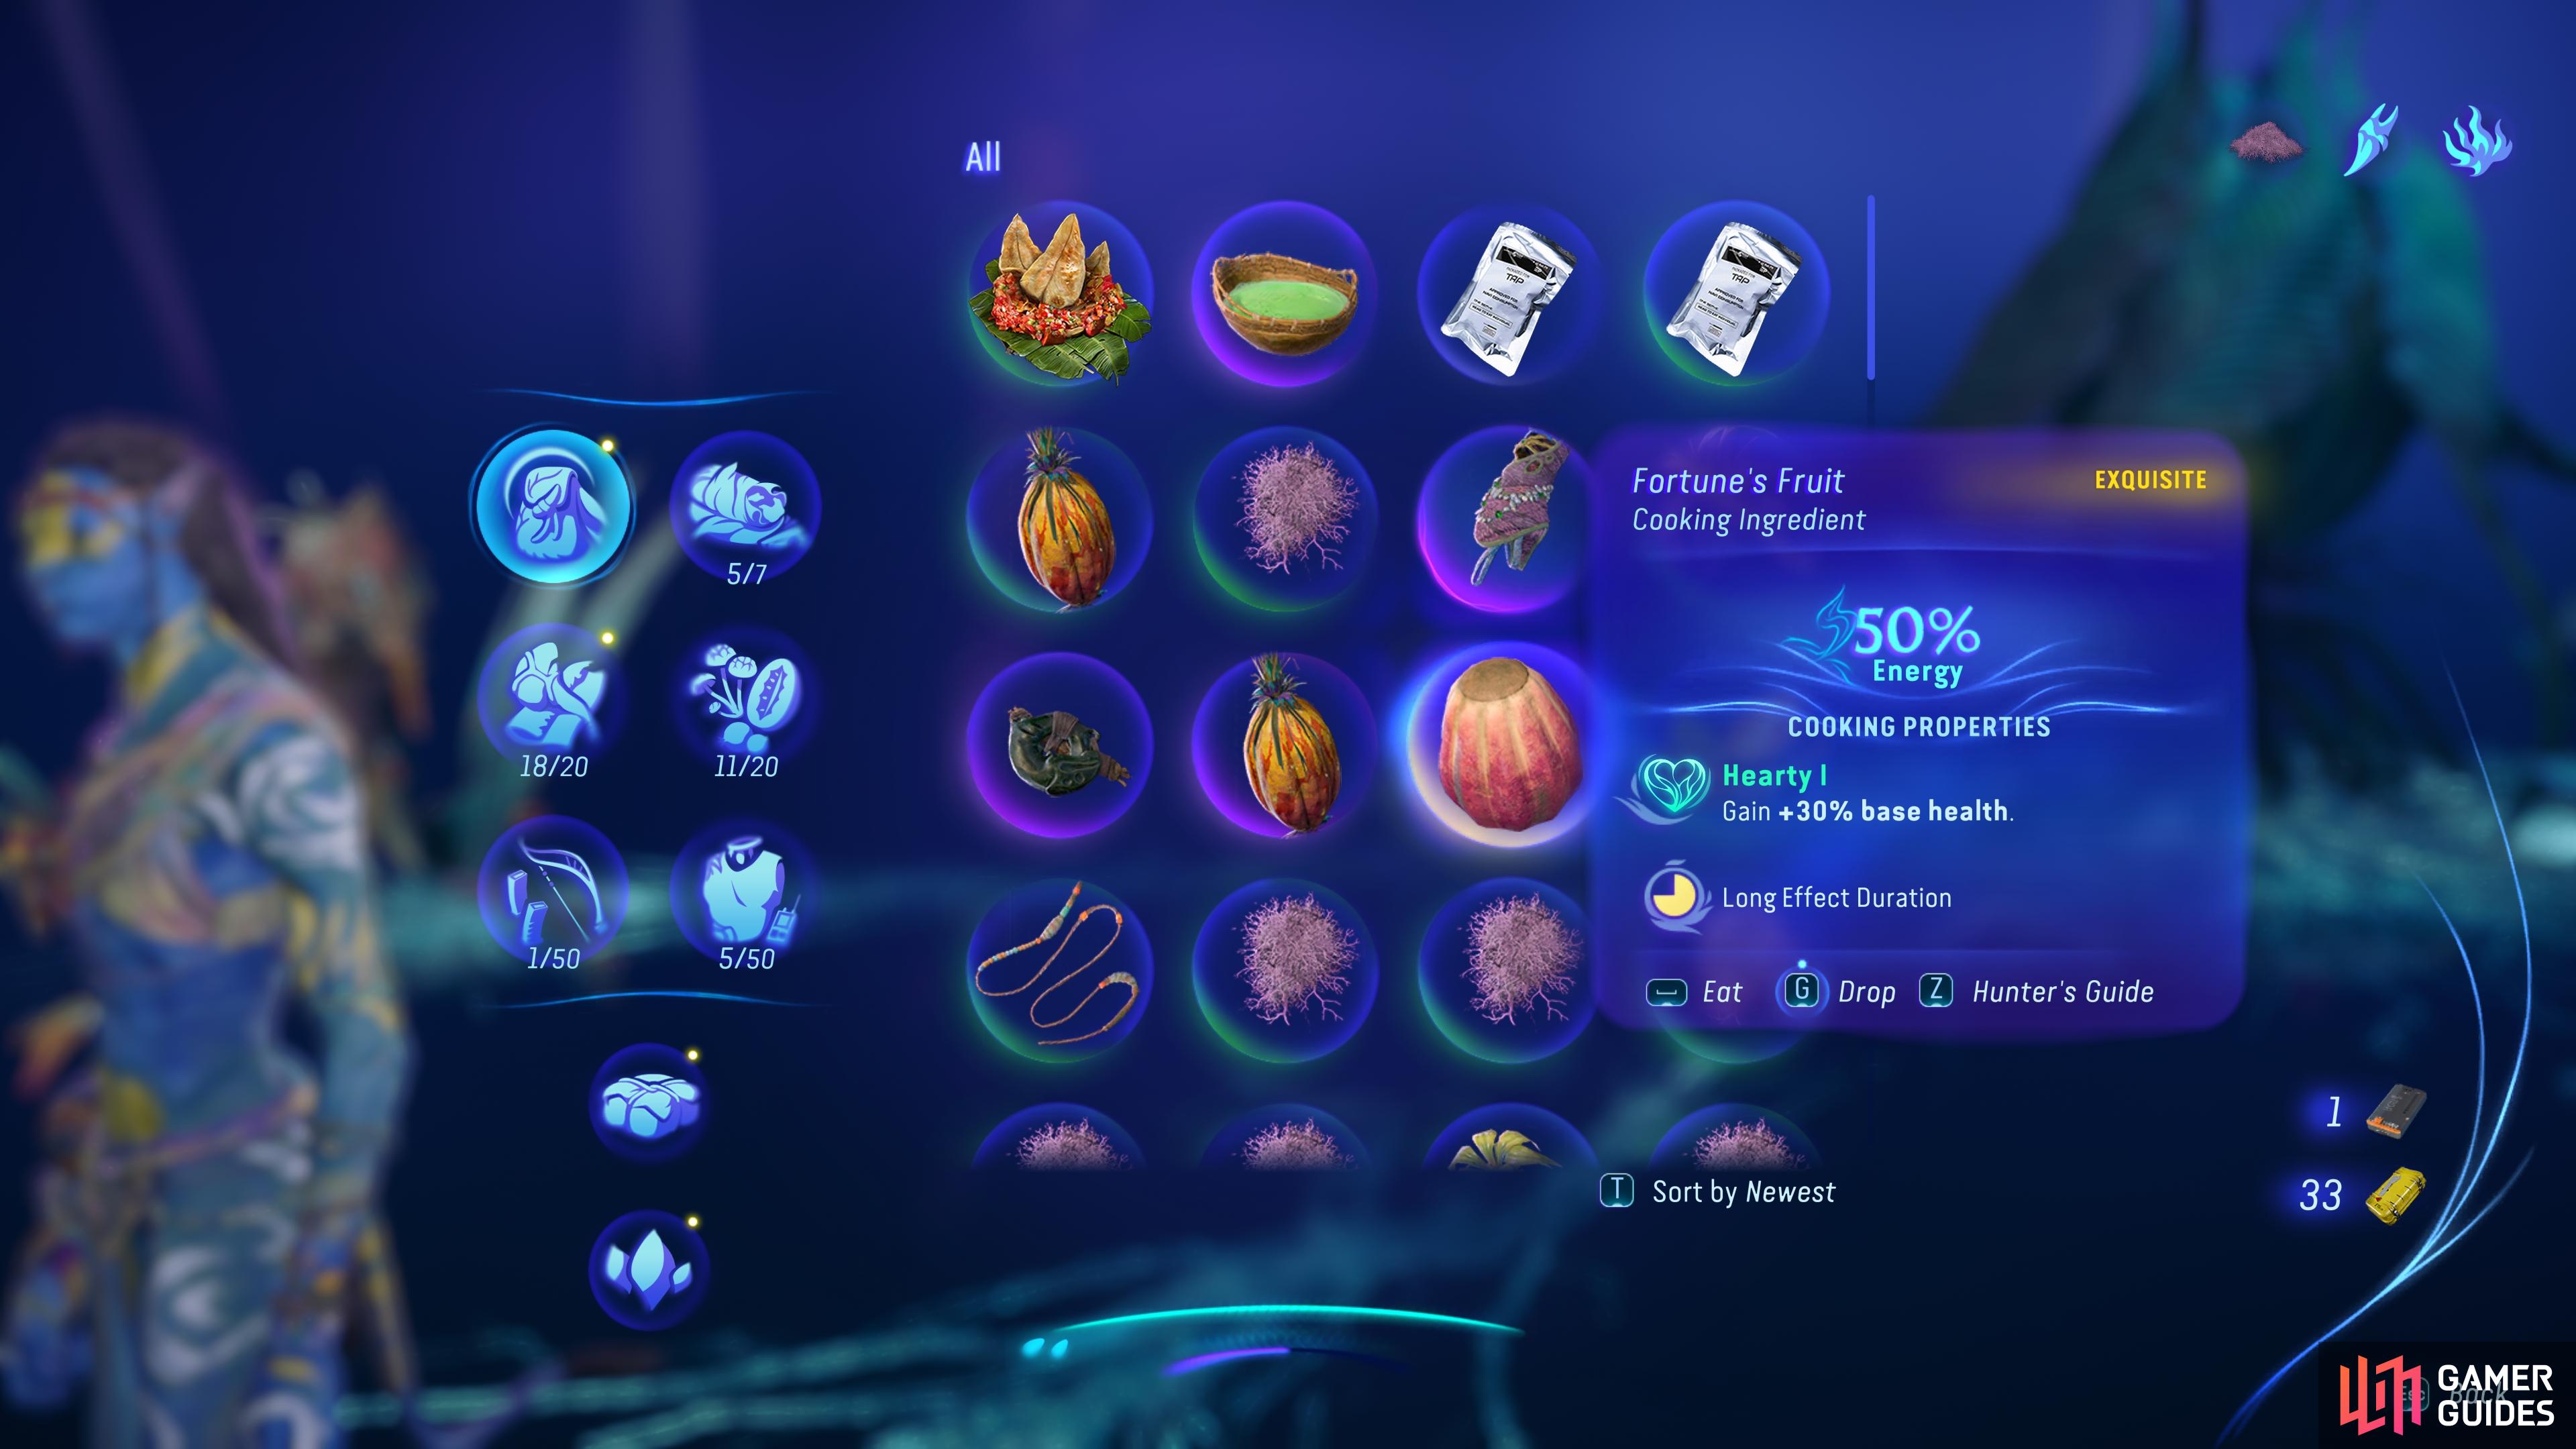
Other than inspecting materials with your Na’vi sense to check their rarity before you harvest them, you can always just pick them anyway and then inspect them in your inventory, where you’ll see their rarity clearly stated in the top left of the pop-up box as you hover over the material.
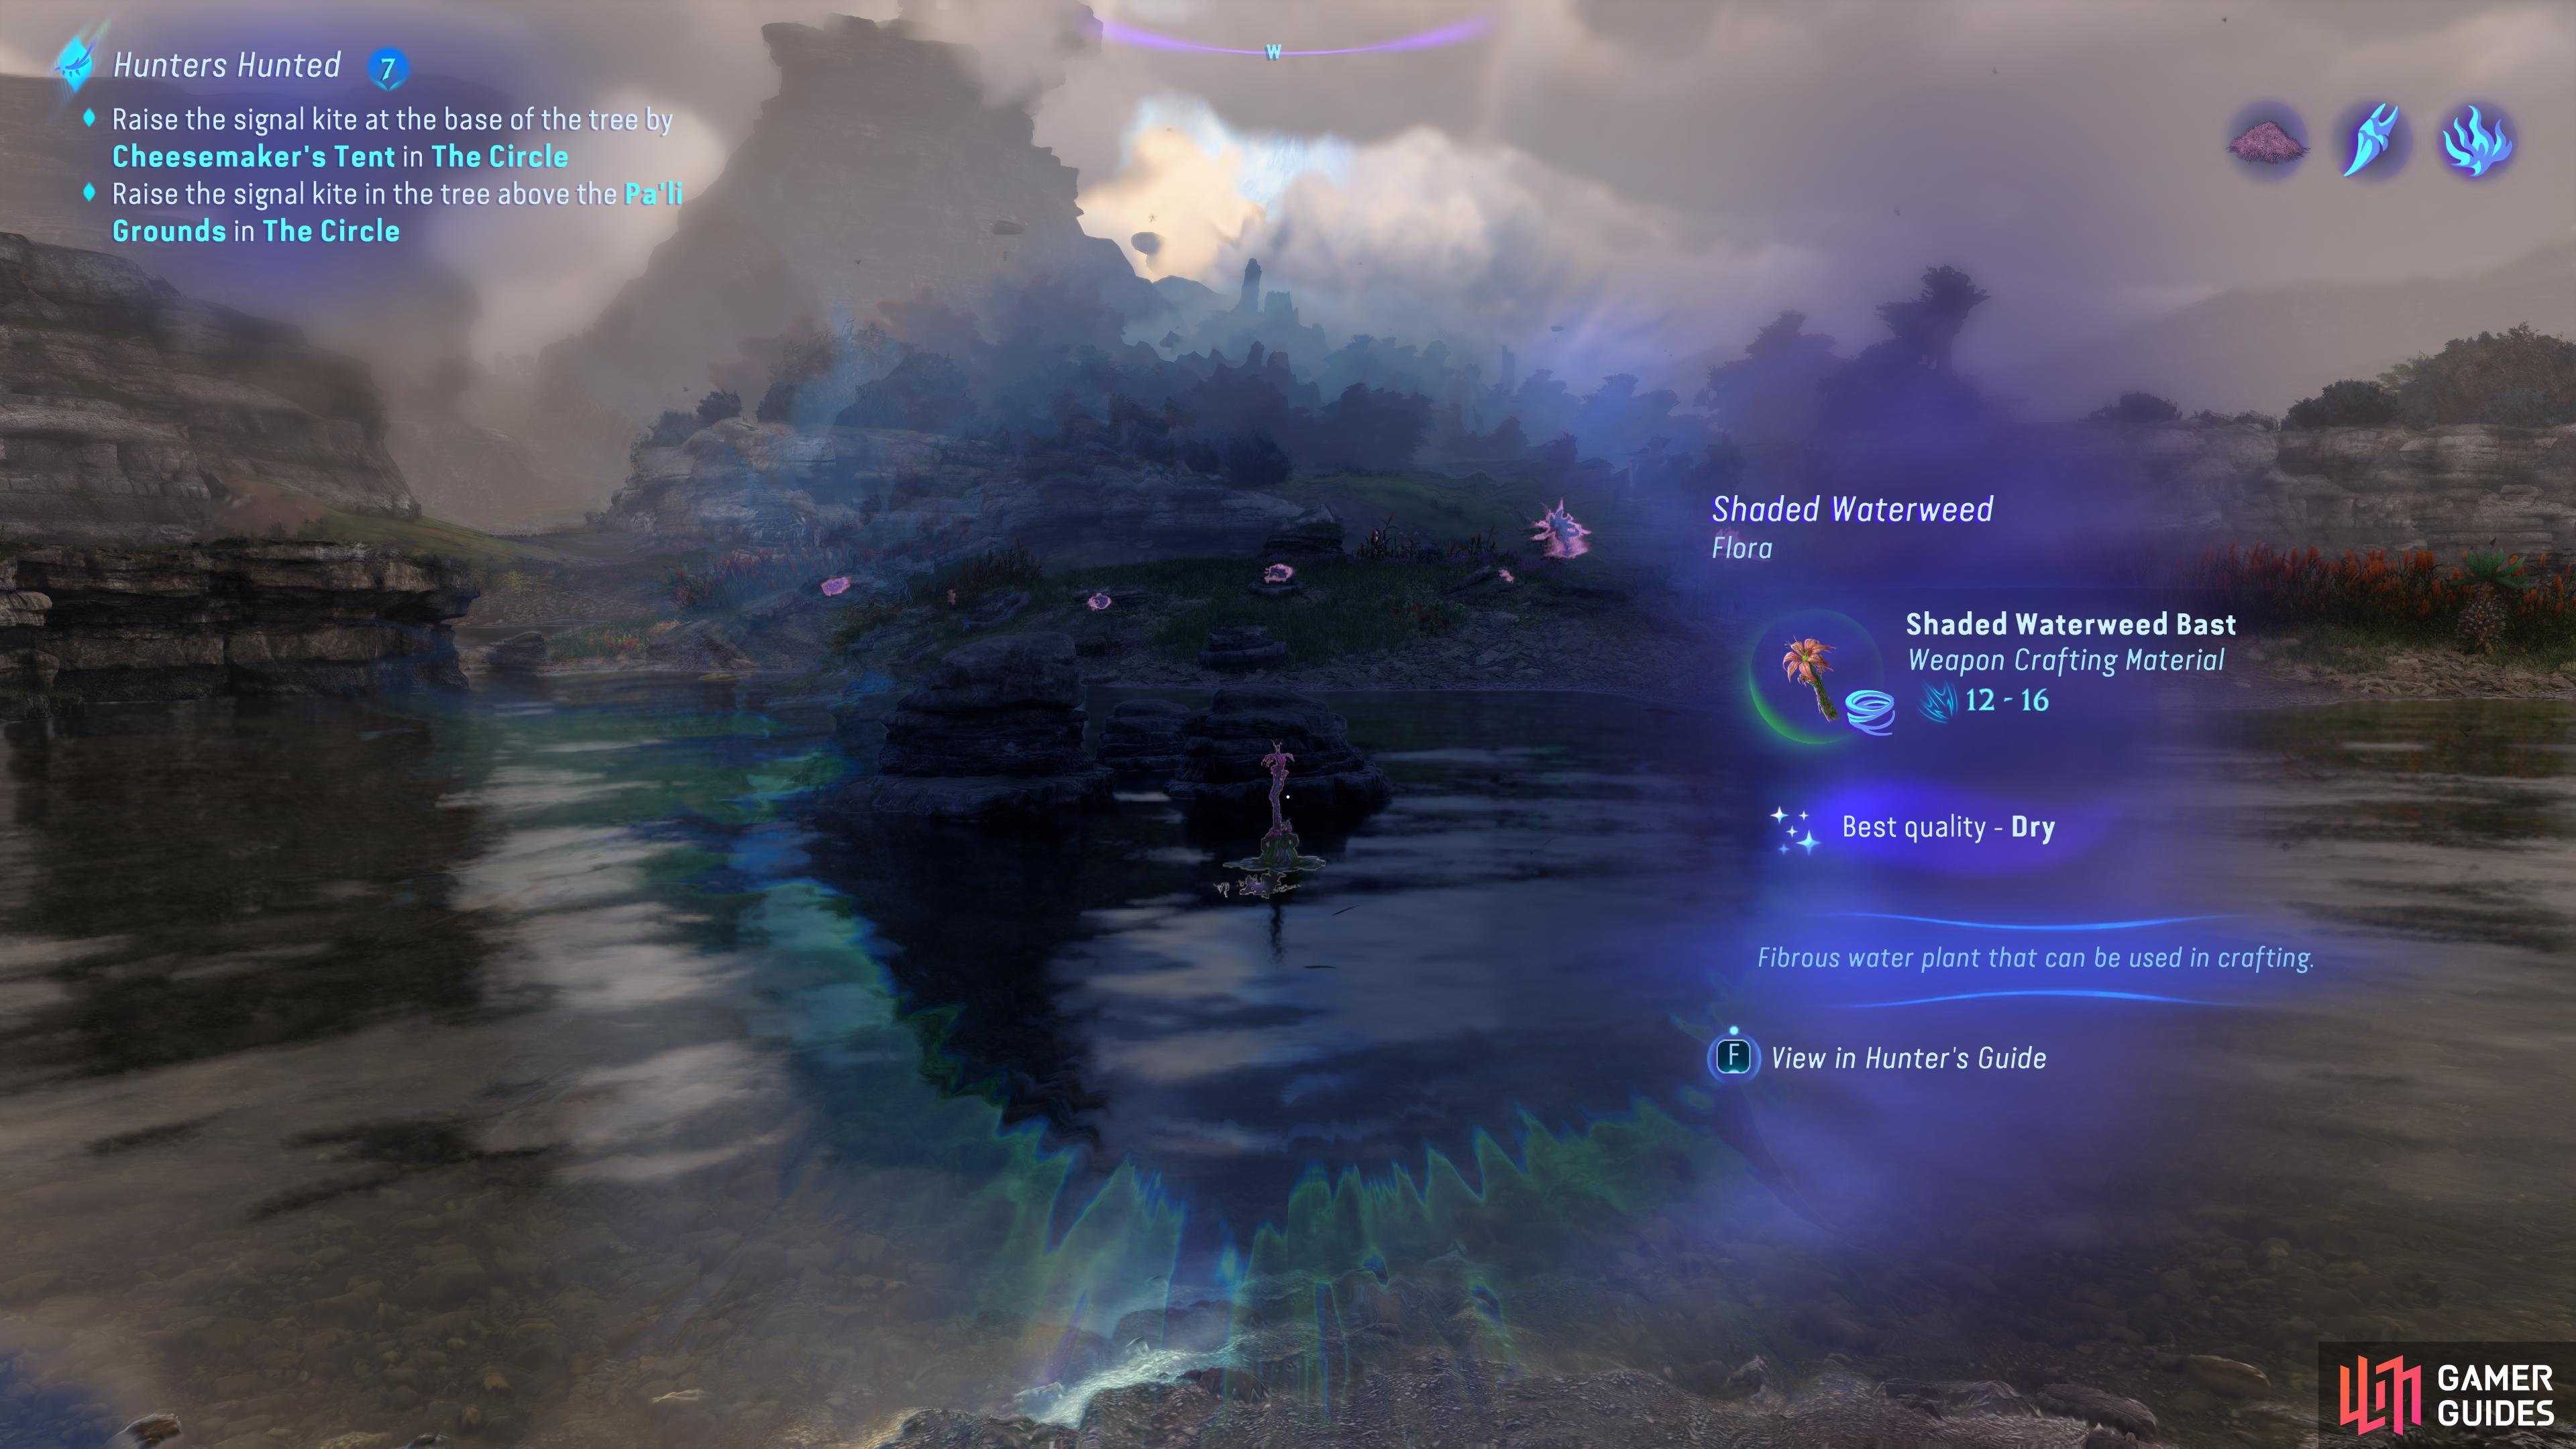
(1 of 2) You can hover over most flora and fauna to inspect their basic details, but also log them in your Hunter’s Guide.
You can hover over most flora and fauna to inspect their basic details, but also log them in your Hunter’s Guide. (left), You can see the green tint around the icon for this Shaded Waterweed, indicating that it’s of Fine rarity. (right)
Where to Find Rarer Materials in Different Biomes
The methods for identifying different rarities of materials are simple enough but finding them in the first place can be more difficult. This is because you need to explore specific biomes which can be identified on the map. To see the different biomes in a particular region, check the bottom left of the screen as you have the map open and use the button to toggle between showing or hiding the biomes. Most biomes cover a wide area so they’re easy to spot, but some, such as marshlands, can be present on a tiny portion of the map, so it’s important to look carefully for these to avoid missing them.
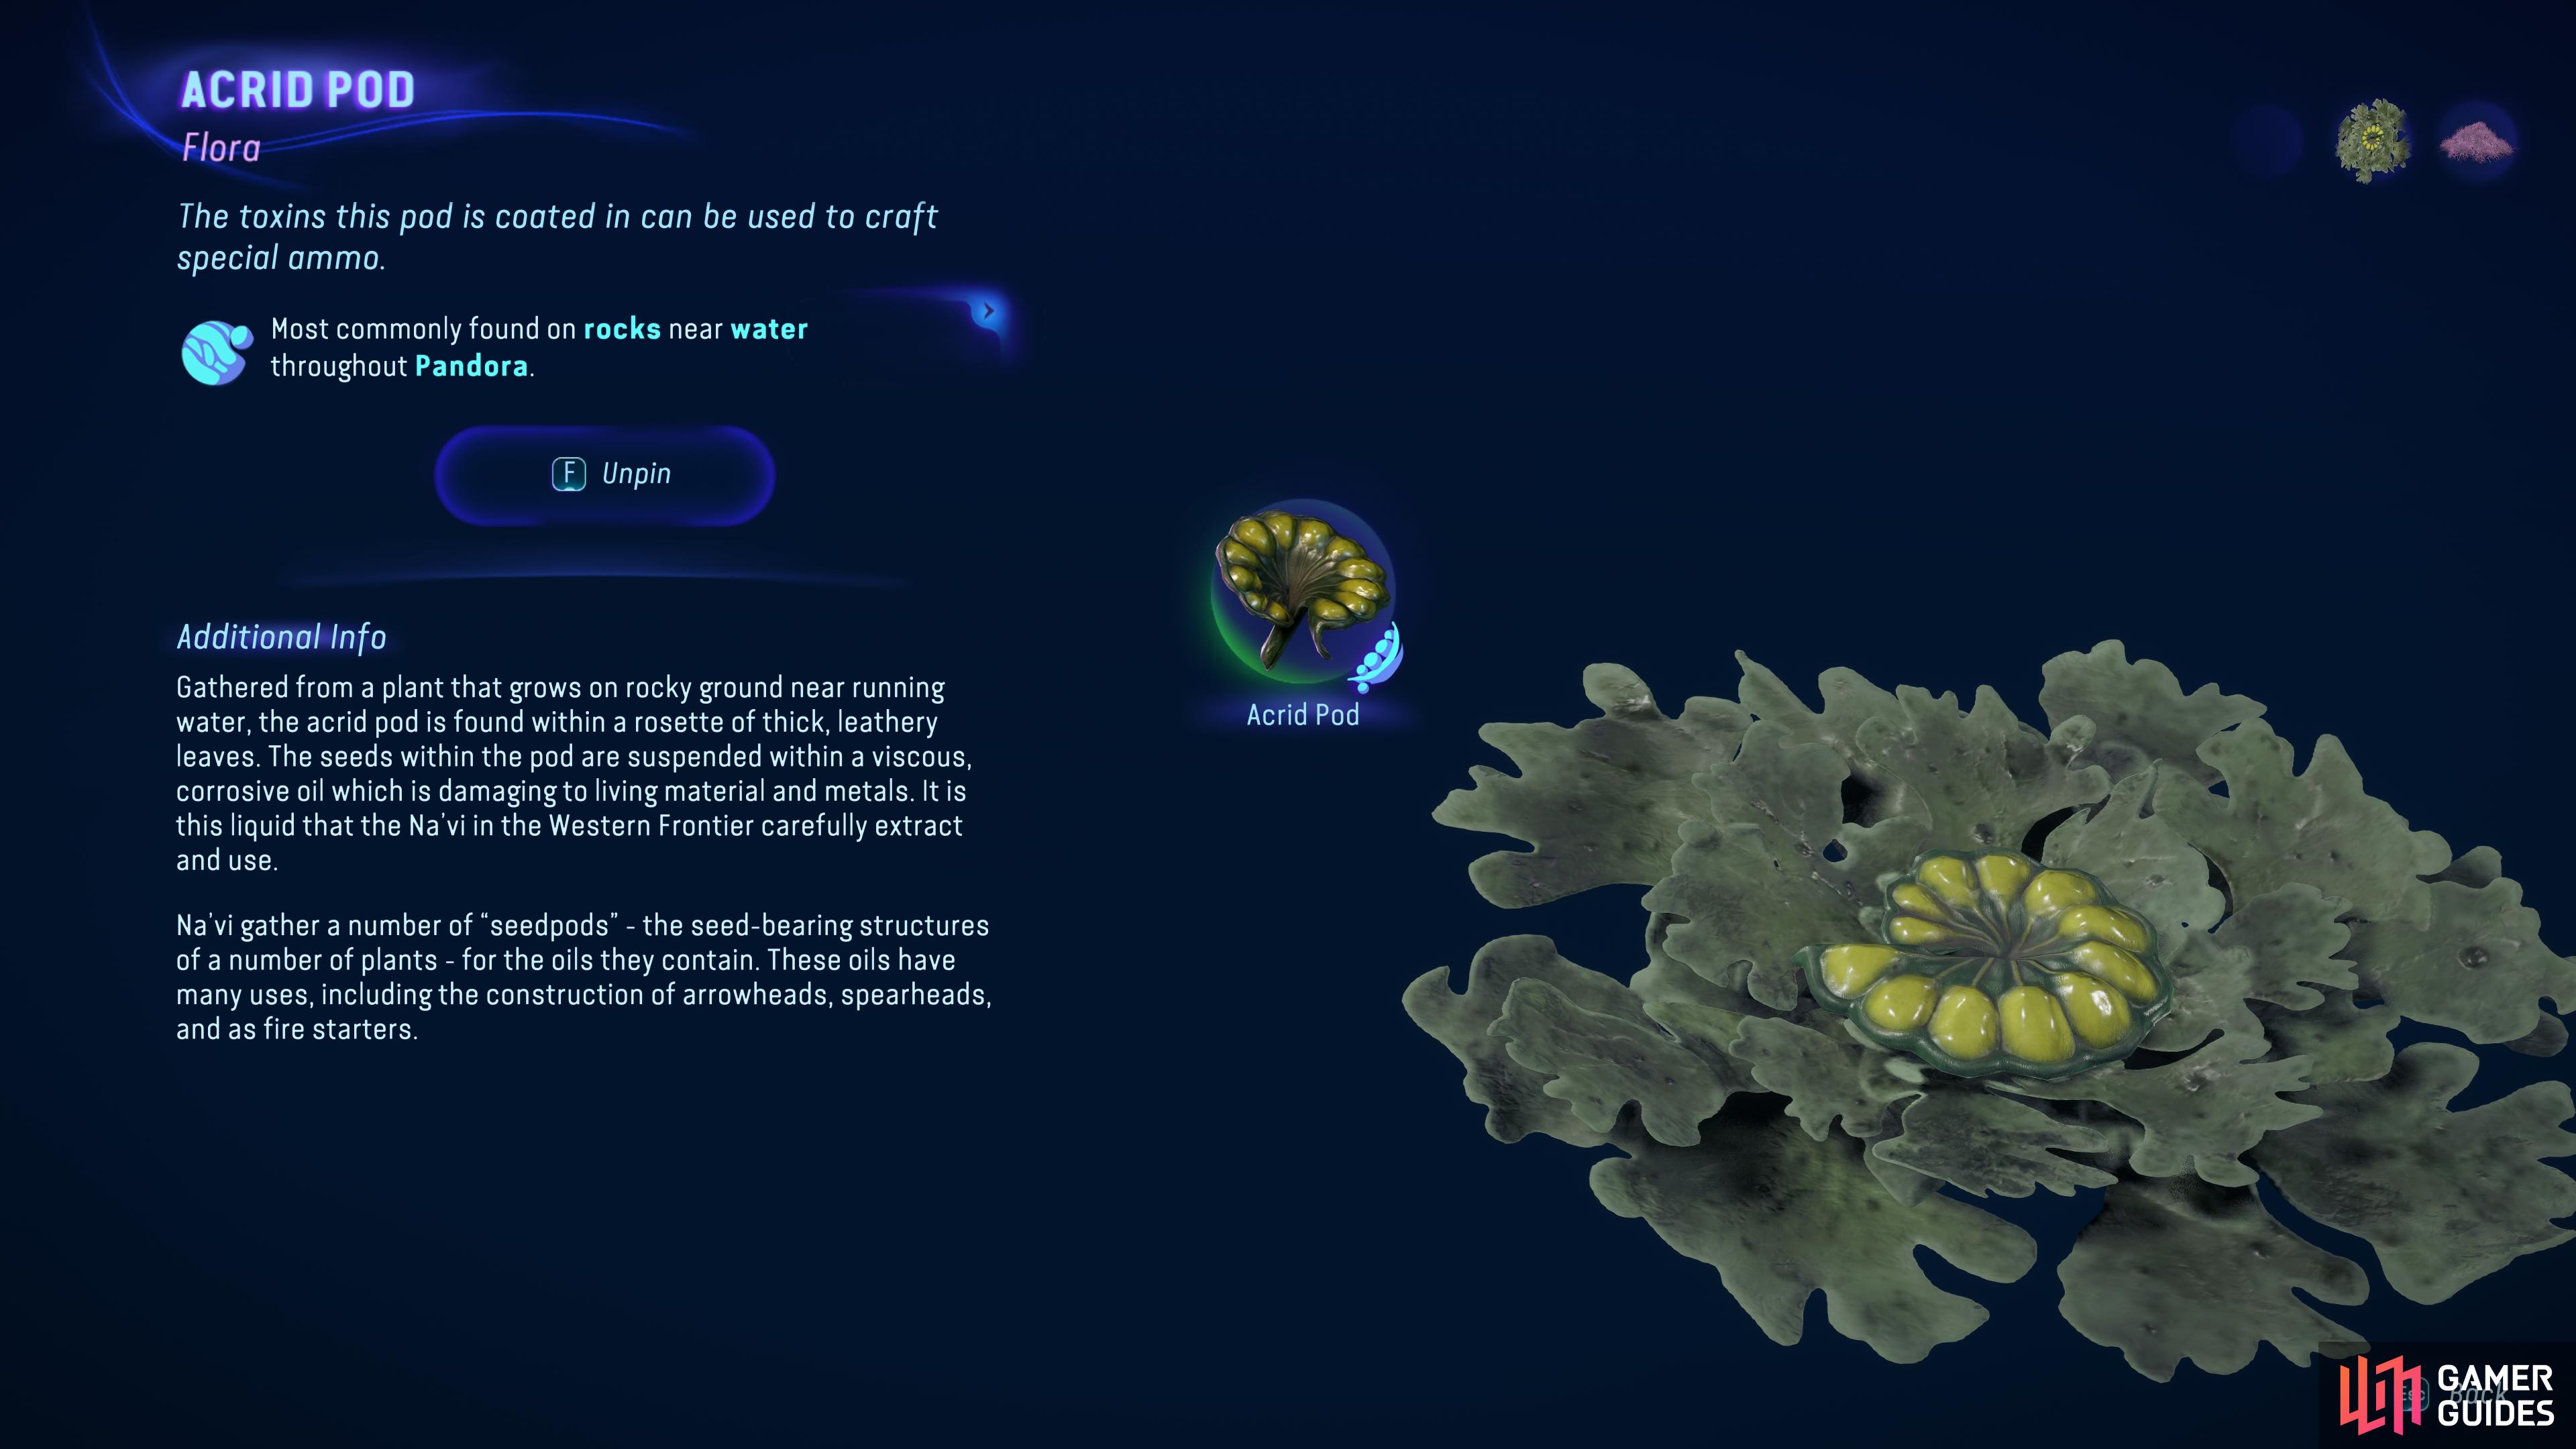
To discover which biome a rarer version of a material can be found in, you’ll need to check your Hunter’s Guide from the main menu. Here you can search for all the materials known to you, and you’ll get a detailed breakdown of where their common and rarer variants can be found. You’ll see that not only the main region is listed for each variant, but also the biome or sub-region in which they can be found. You can even click the button prompt to be shown a relevant biome or sub-region automatically on the map, making it easy to place a custom marker there.
Although some materials can be found across different regions in their Fine variants, it’s important to remember that rarer versions (such as Superior and Exquisite) can only be found in specific regions. This is why it’s so important to check your Hunter’s Guide to see exactly where you need to be searching for a specific rarity of a material.
How to Pin and Track Materials
The specific regions where you’ll find different rarities of materials are clearly stated in the Hunter’s Guide, so you’ll have a rough idea of where to start your search in the world. However, finding the material in the wild can be trickier than it sounds. To improve your chances, you can pin the material to your tracked items from the Hunter’s Guide, and you’ll see it appear in the top right of your screen, where up to three pinned materials can be tracked at any given time. So long as a material is pinned, it will be highlighted in yellow as you scan the environment using your Na’vi sense, whereas unpinned items will be highlighted in red. This can help to distinguish between materials that have a similar appearance, such as different types of moss.
(1 of 2) You can pin a material from the Hunter’s Guide, which will then show up in the top right.
You can pin a material from the Hunter’s Guide, which will then show up in the top right. (left), A pinned material can be tracked using your Na’vi sense, where it will be highlighted in yellow. (right)
What’s the Difference Between Fine, Superior, and Exquisite Materials?
Now that you know how to identify and where to find the different rarities of materials, you may be wondering why you need to do this in the first place. The first thing to note is that some quests will require you to obtain materials of a specific rarity, such as quests given by cooks who task you with crafting a Superior or Exquisite dish. You can also loot some dishes, armor, and weapons that fall into one of these three categories as you explore RDA facilities or abandoned outposts, but it’s important to note that the best gear usually comes from crafting, so these aren’t your main priority.
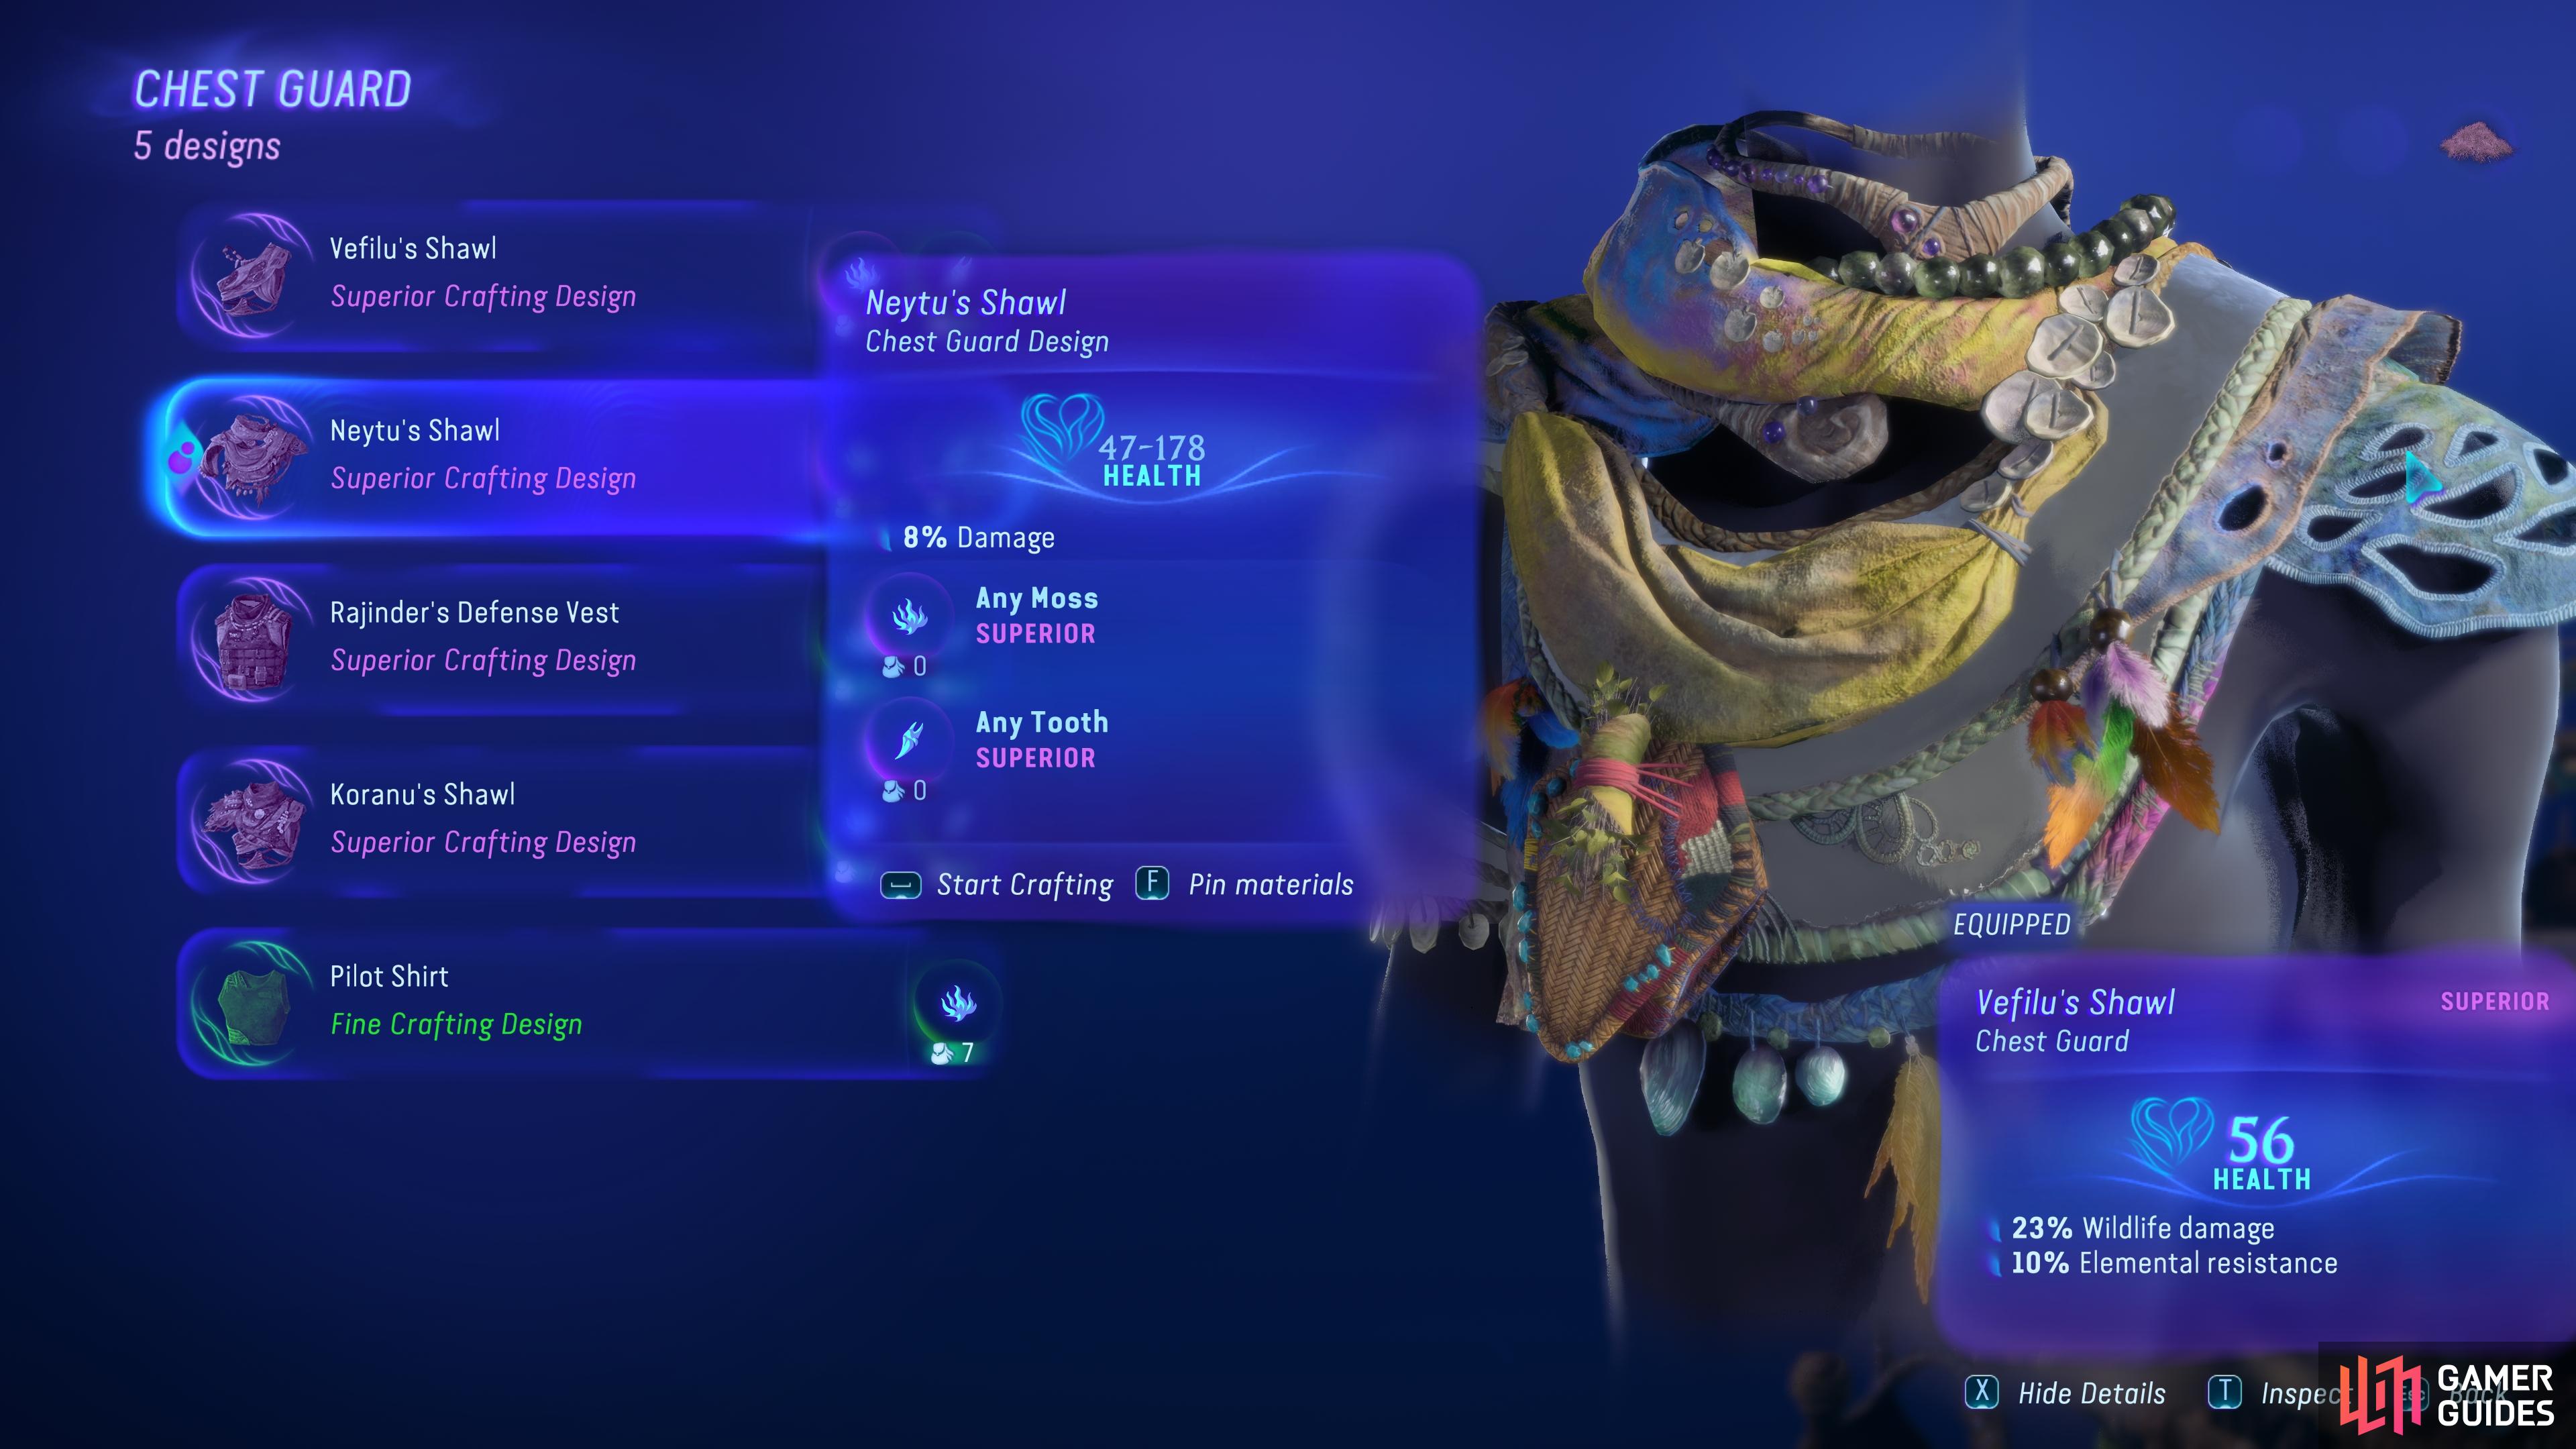
Aside from quests, you’ll often find that you can learn new recipes for armor and weapons by speaking with NPCs at different clan homes and camps, and you can also learn new recipes by completing quests. As you advance through the game, you’ll gain access to more Superior and Exquisite recipes, so you’ll need to start using materials of an equivalent variant if you want to craft them. Whenever you use the crafting table, you’ll be able to see exactly which rarity of materials you need to craft a specific item. You’ll also see that some recipes require any type of a specific material, such as “Any Moss”, but they may still require a Superior variant, rather than a Fine variant.
(1 of 2) You can see the rarity of material required for an item when using the crafting bench, and the potential range of its health or damage.
You can see the rarity of material required for an item when using the crafting bench, and the potential range of its health or damage. (left), Exquisite food will generally provide better buffs that last longer than Superior or Fine. (right)
In general, you can expect Superior gear to improve your Combat Strength more than Fine gear, and the same applies when you go from Superior to Exquisite. However, this isn’t the only thing that can influence the outcome of a recipe. If you want to craft the absolute best version of it, you’ll need to make sure that you meet the Perfect Gathering and Optimal Condition requirements, both of which we’ll explain in more detail below.
How to Get the Best Quality Materials
The differences between the rarities described above are only one part of the story when it comes to the fairly convoluted crafting system in Avatar. One thing that isn’t properly explained is that the Perfect Gathering and Optimal Conditions bonuses also affect the outcome of a recipe, but in ways that aren’t well defined.
In the most basic terms, if you meet both requirements, you’ll get an improved version of the gear that you’re crafting, with better stats than it would otherwise have. The stat that is often most significantly impacted is Health for armor and damage for weapons. You can see the potential range for these whenever you hover over an item in the crafting menu, and you can expect to achieve its higher range when using materials of the best quality.
What is the Perfect Gathering Bonus?
The first thing that you need to consider when gathering materials if you want their best quality versions is how you gather them. You should be familiar with the mini-game associated with gathering, where you need to pull in a specific direction without snapping the material to harvest it perfectly. This is the Perfect Gathering Bonus, and you’ll achieve it if you pull in the correct direction every time. However, it’s important to note that different types of materials require pulling in different directions. The mini-game is quite forgiving, so you should be able to avoid snapping most things, but you can further reduce the difficulty by adjusting the Gathering Complexity setting in the gameplay settings.
What is the Optimal Conditions Bonus?
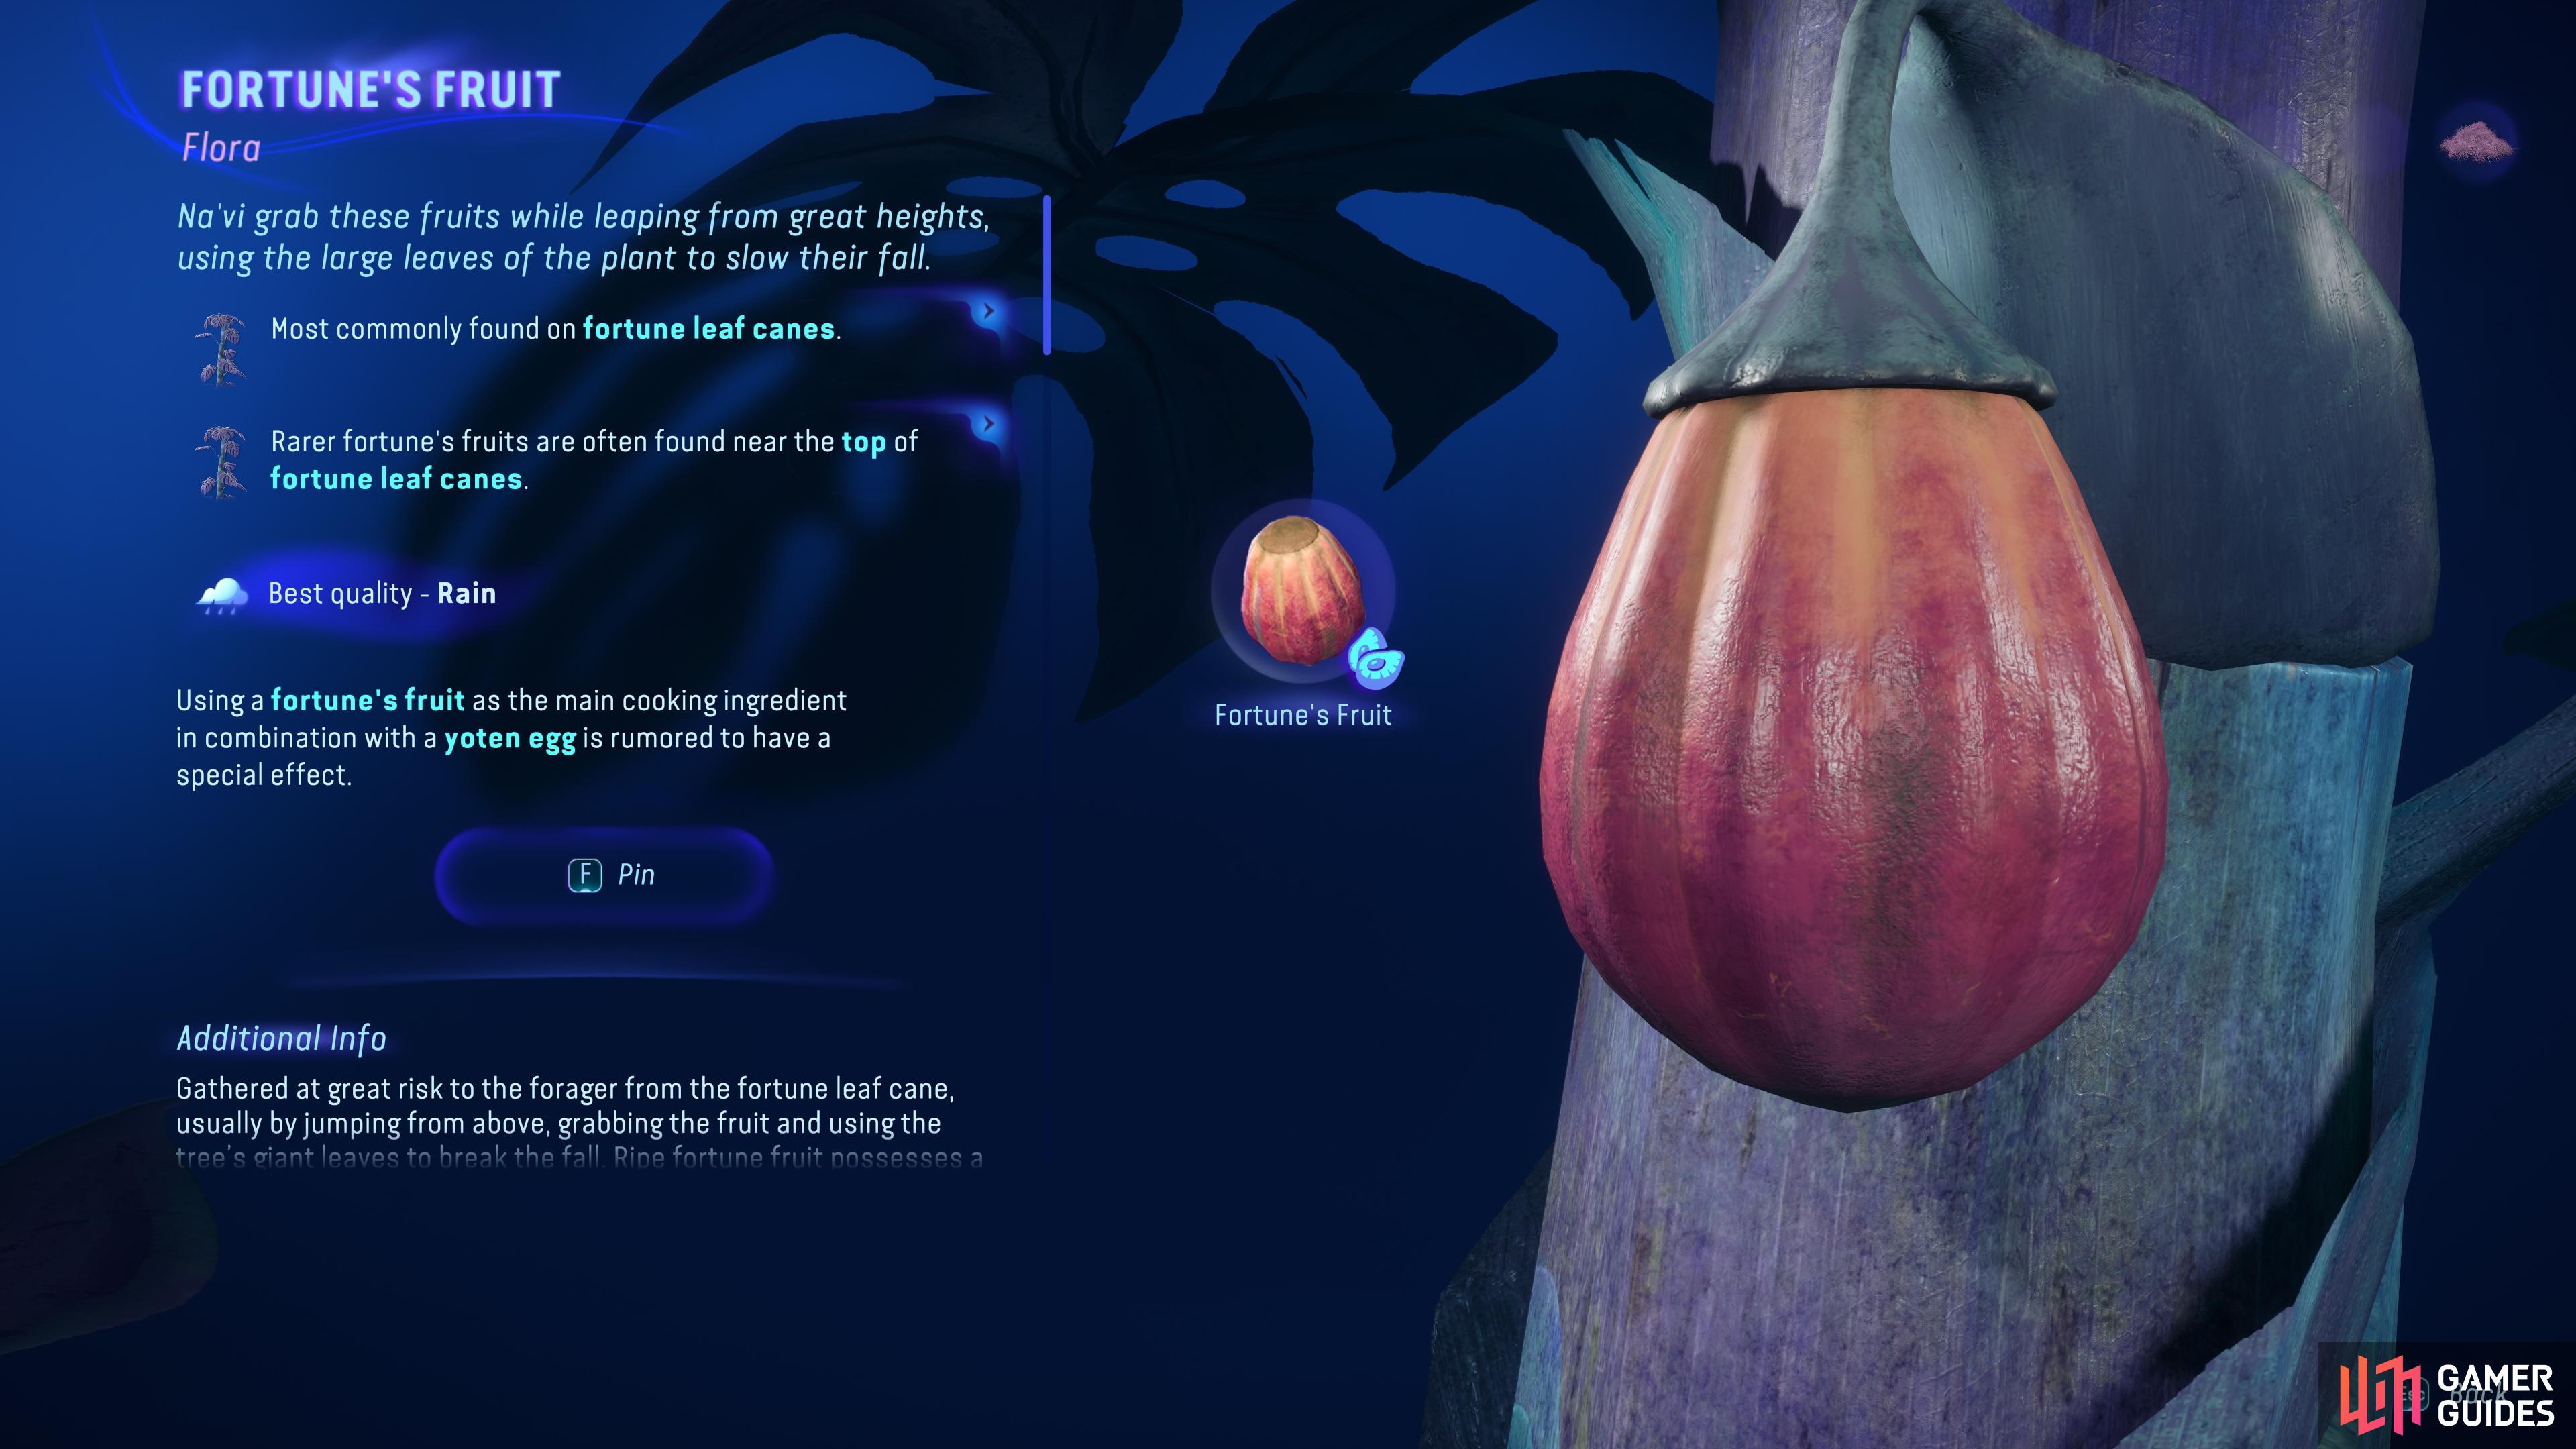
Whenever you inspect a crafting material in your Hunter’s Guide, you’ll notice that it has at least one “Best quality” condition listed. These usually come in the form of “Dry”, “Rain”, “Night”, and “Day”, and each one indicates a condition requirement for you to get the best quality version of the material that you’re harvesting. For example, if you want to harvest Fortune’s Fruit in its best quality, you’ll need to do so when it’s raining. The best way to force a specific weather condition or time of day is by resting at a campfire. These are often found at Na’vi settlements, so all you need to do is fast travel to one and interact with the fire to pass the time. You may need to do this multiple times in a row before you find the desired weather effect.
(1 of 2) You can inspect any material in your Hunter’s Guide to check its Optimal Condition bonus requirement next to “Best quality”.
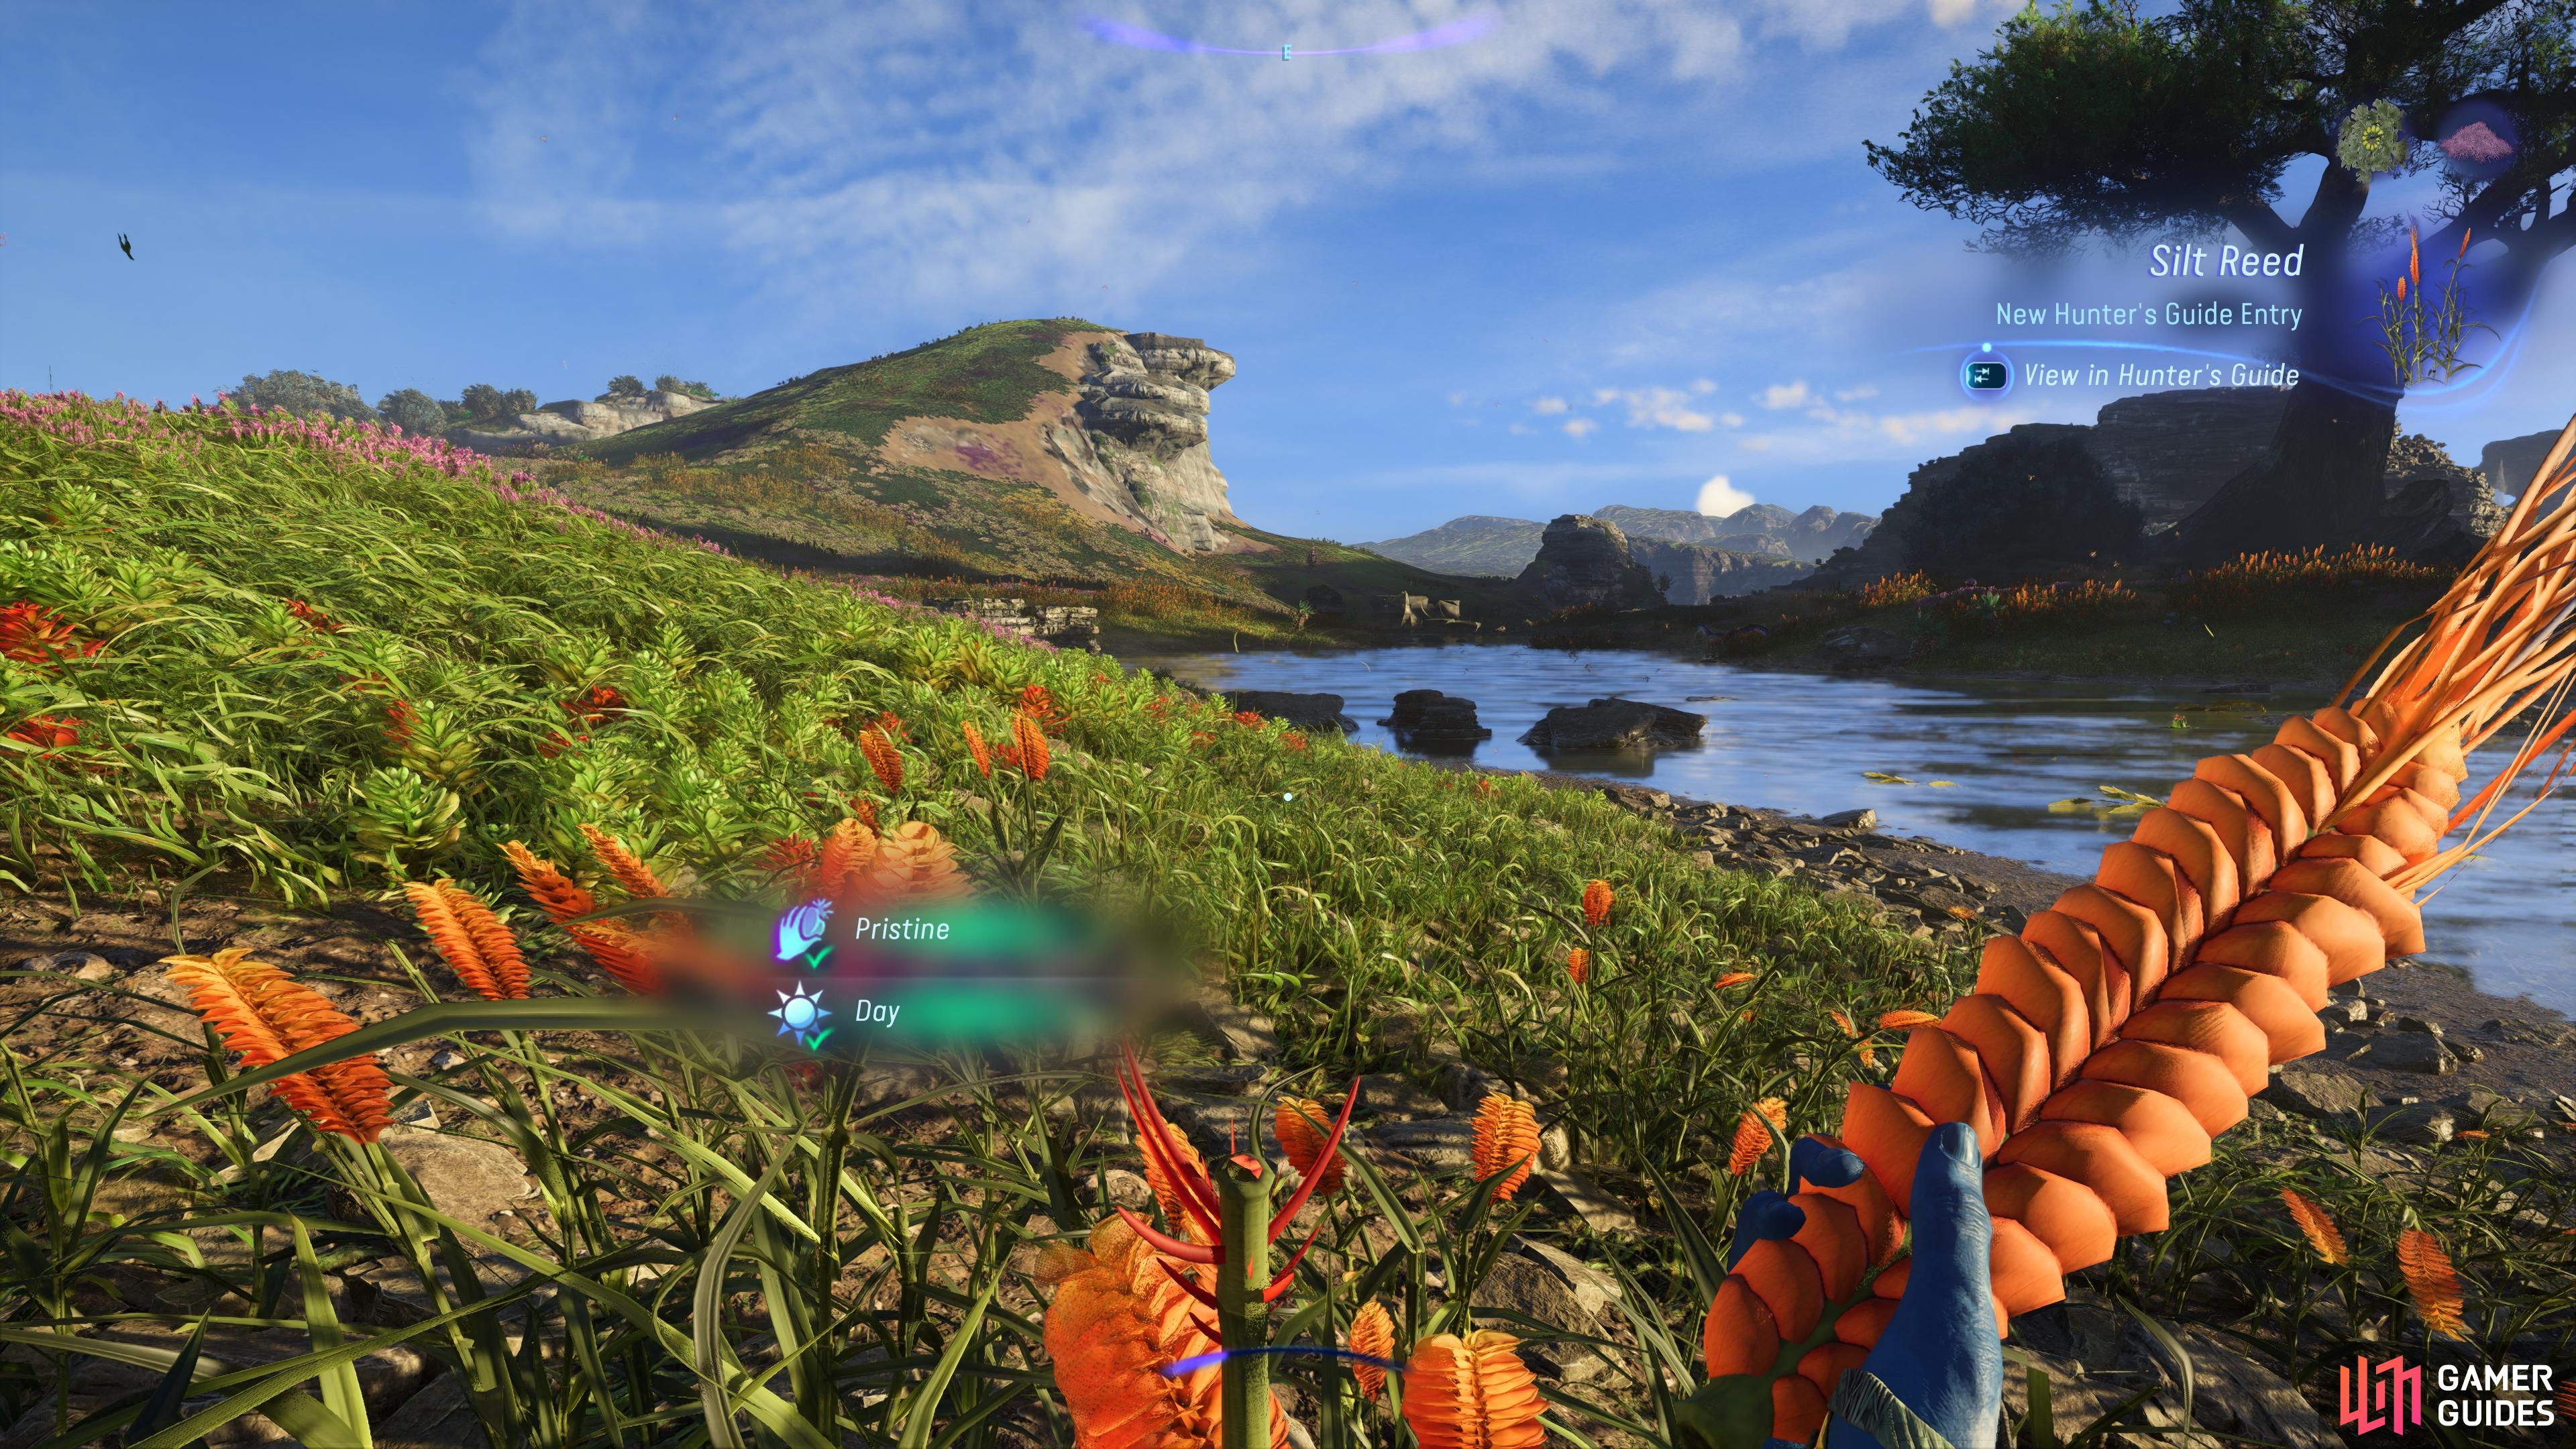
You can inspect any material in your Hunter’s Guide to check its Optimal Condition bonus requirement next to “Best quality”. (left), You’ll see two ticks if you harvest a material with the Perfect Gathering and Optimal Condition requirements met. (right)
If you harvest a material in the optimal conditions and you successfully complete the gathering mini-game, you’ll see two green ticks appear when it drops into your inventory, indicating that you’ve harvested the material in the best possible quality. If you fail one of these conditions, you’ll see a red cross there instead. Assuming you meet both requirements, you can now use the material in crafting recipes for food, armor, or weapons in the knowledge that you’ll be crafting the best possible version of it!
More Avatar: Frontiers of Pandora Guides
If you’re looking for more Avatar: Frontiers of Pandora Guides, including where to find some of the most useful materials in the game, be sure to check the links below.
 Sign up
No Comments