The Western Frontier is your oyster in Avatar: Frontiers of Pandora and unlike many Ubisoft games, it’s easy to get lost in the lush forests you’ll find. As you’re starting out in your adventure to discover what it means to be Na’vi, there are some essential tips you’ll want to pay attention to. This page will give you all the knowledge you need to hit the ground running!
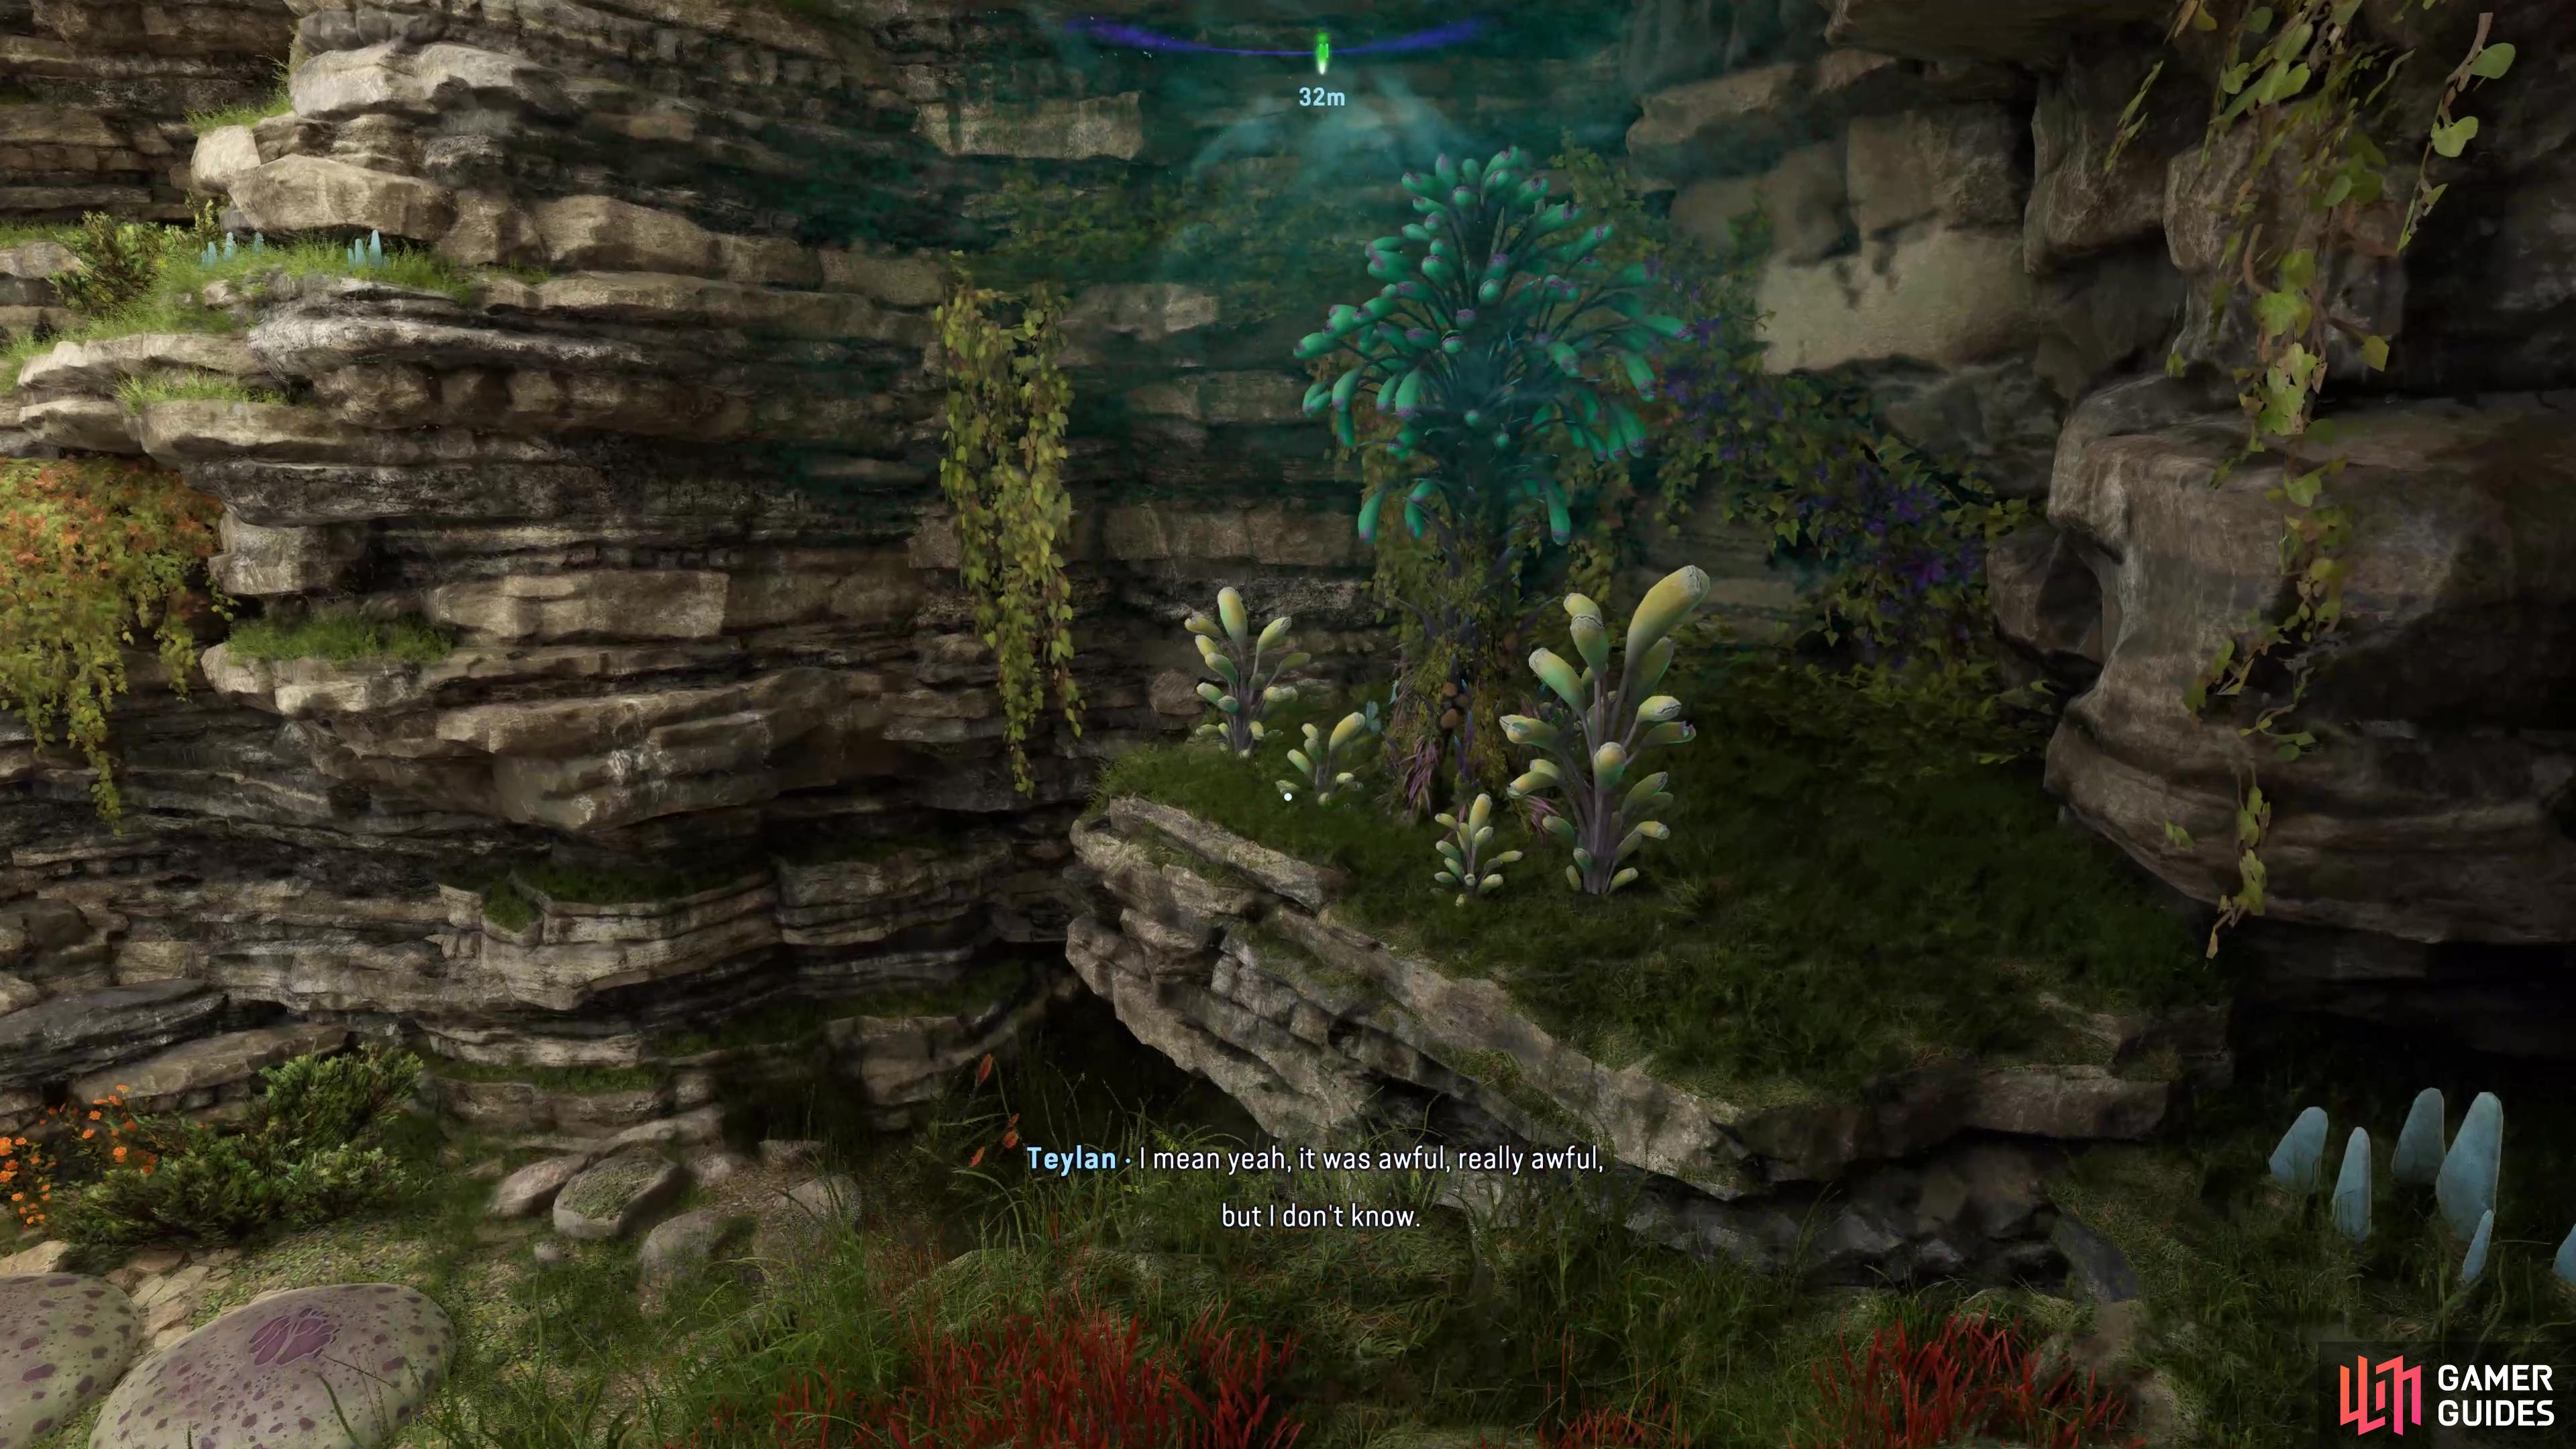
Remembering to use your Na’vi Sense is a key tip for beginners in Avatar: Frontiers of Pandora.
Use your Na’vi Senses!
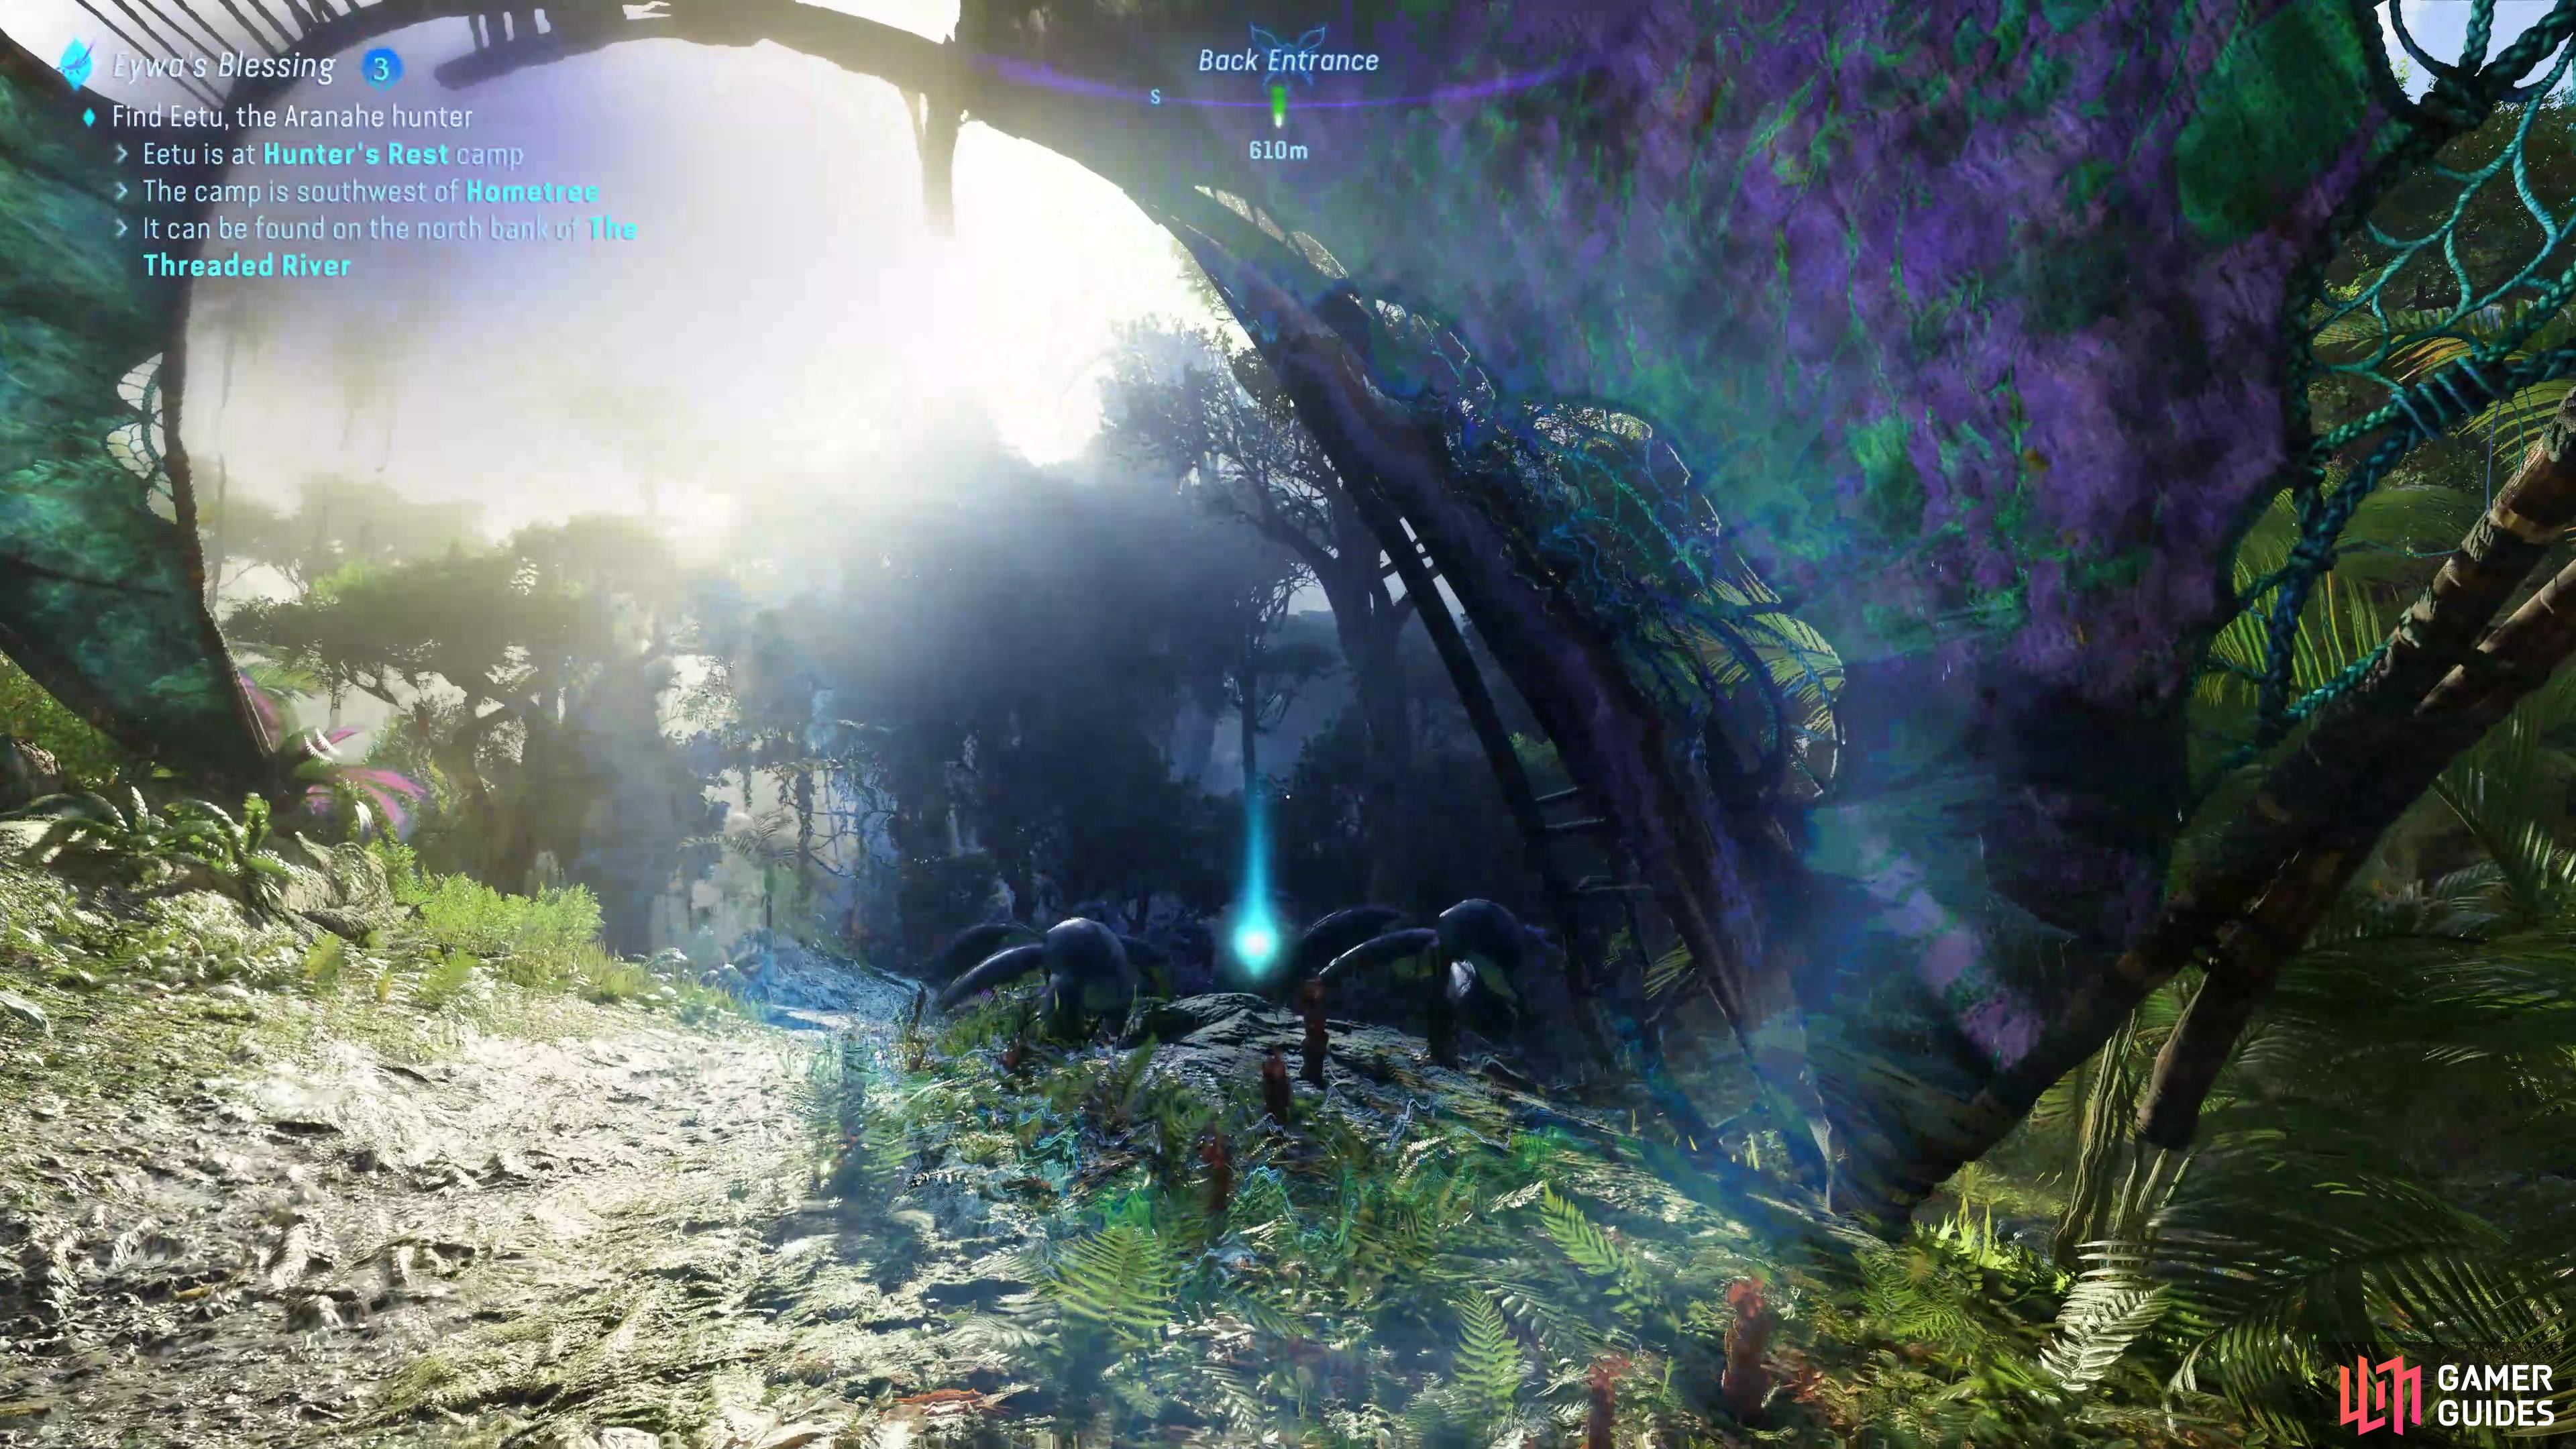
It may sound like a simple one, but one of the most common problems players will run into, especially early in the game, is that they get lost and don’t know where to go. The Kinglor Forest, the first major region you’ll traverse in Frontiers of Pandora, is a dense forest full of bountiful flora and fauna. While looking breathtaking, it can be easy to get caught up in all of the visual wonders, especially when you’re on a quest such as Becoming where you need to reach a certain location while on the clock.
Even with the “Guided” option selected in the settings, you’ll still only see your quest marker on the map screen, once you’re back to running around, you’ll see nothing other than a custom marker’s icon on your small compass above. So, how do you go about finding your way in this vast world? With your Na’vi Sense of course! The table below will show you how you can use this vital ability on your platform of choice:
| Platform | Button |
|---|---|
| PS5 |  R1 R1 |
| Xbox |  RB RB |
| PC |  X X |
When used, anything you can interact with will light up, and you can hover over it to learn more about it in your Hunter’s Guide, useful if there’s an unfamiliar plant or creature in your immediate vicinity. More importantly, it’ll show a blueish glow of where your current tracked quest objective is. This will make it easier to reach certain areas or track down a Na’vi looking for help!
Unlock Ancestor Skills
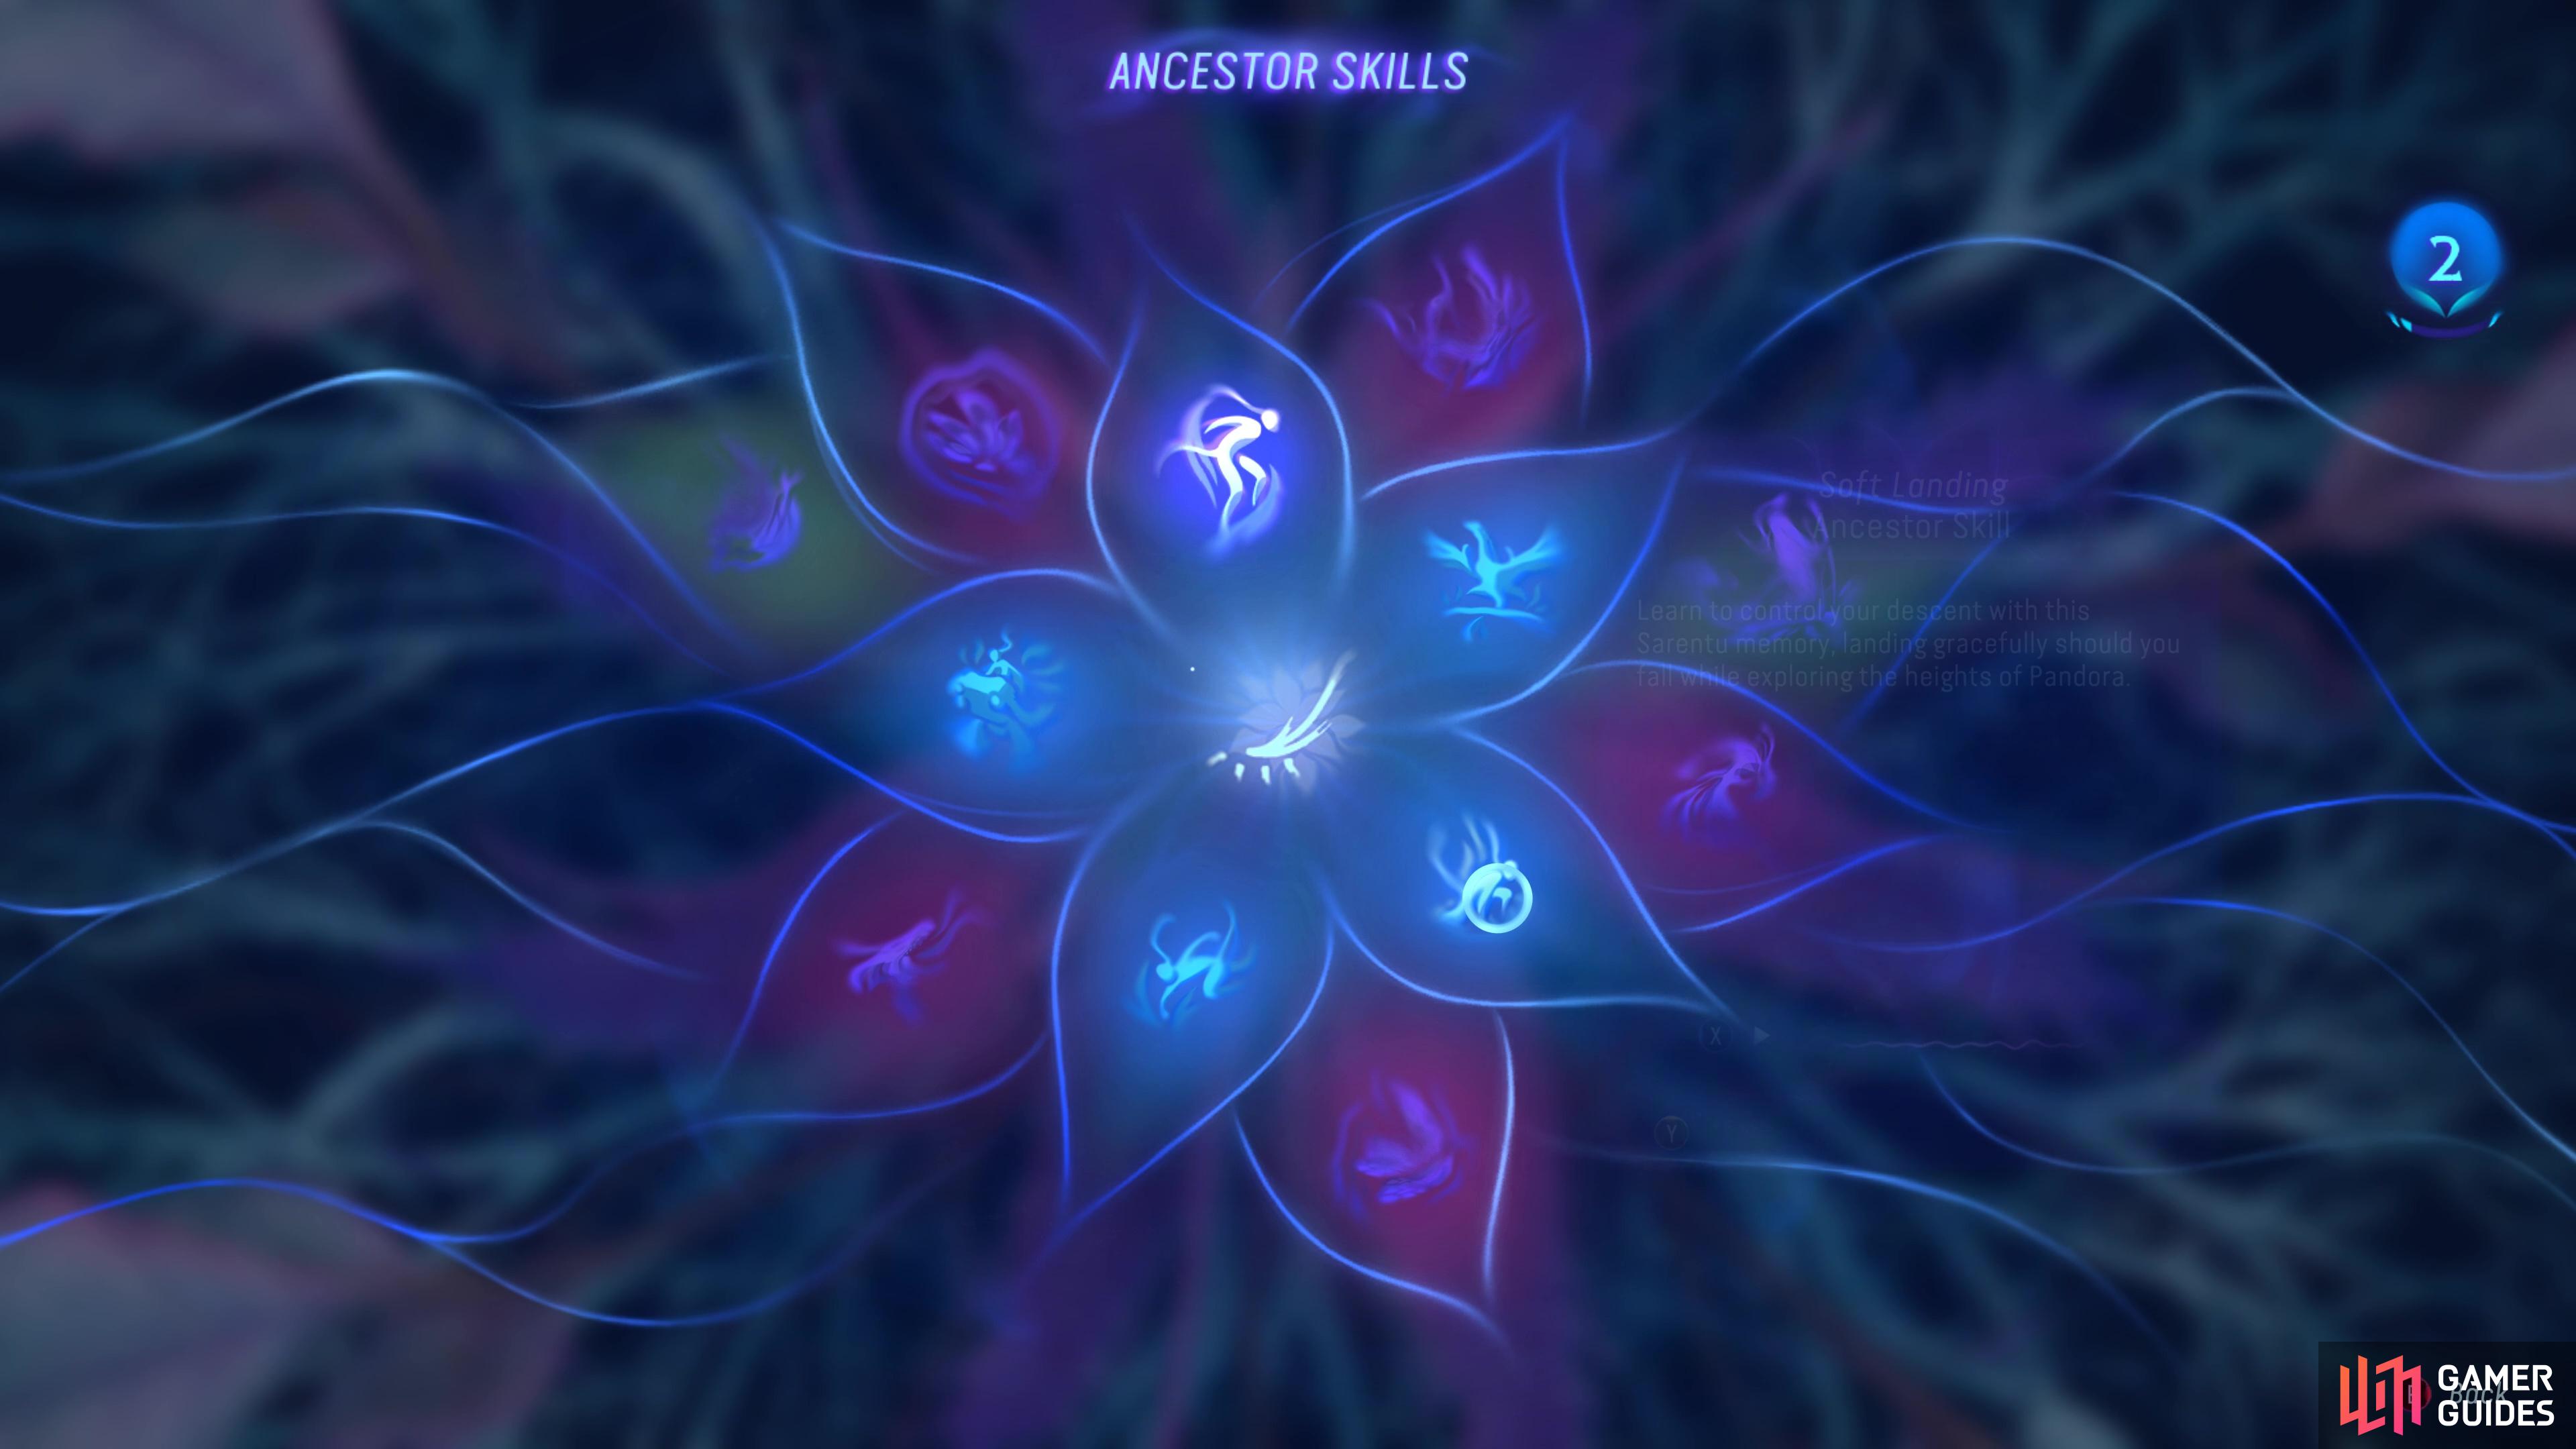
Avatar: Frontiers of Pandora has many skills for you to unlock across its various skill tress but there’s another category that exists outside of this system, Ancestor Skills. Shortly after the intro, you’ll be introduced to this during the Song of the Ancestors main quest, unlocking the ever-useful Air Boost skill in the process. Not only is this the only method of getting these Ancestor Skills, but you’ll bag two Skill Points for regular skills too, a two-in-one bonus!
Ancestor Skills contain many key features for your Na’vi, such as Air Boost.
You’ll be able to see the locations of Ancestor Skills on your map, or by going into the skills menu and clicking on the respective skill, you can then choose to show it on the map. During your adventure in Kinglor Forest, you’ll only be able to see the skills on the inner petals, of which there are five, but once you reach the other major regions, there will be many more you can seek out. Just beware that one of the Ancestor Skills in Kinglor Forest requires you to come back near the end of the game as you need to deal with an RDA facility that boasts a Combat Strength of 20!
Craft New Equipment
There are a lot of equipment slots in Avatar, five armor pieces and four weapon slots (you’ll need a skill to get the fourth). This plays an important role not only because it’ll make it easier to defeat enemies or avoid dying yourself, but because the main way to increase Combat Strength is through the quality of your equipped gear.
As a general rule, you’ll only find a few pieces of equipment as quest rewards now and then. Your primary method of acquiring new equipment is by visiting the various merchants in settlements where you can pick up any Designs they have on offer for free. Designs are essentially recipes, for which you can then use a workbench to use the various materials you’ve gathered to craft better pieces of gear. You can sidestep this by increasing your Favor with the various Clans and purchase equipment outright, but it’s much more efficient to craft your own.
When looking over a design, you’ll see the materials required (pay special attention as to whether you need a specific rarity for the material) to craft the piece, of which it will always be two different materials. This changes per equipment, so Moss will always be needed for Chest Guard upgrades for example. To make life much easier for yourself, utilize the handy Hunter’s Guide to seek out said materials, which brings us to our next tip.
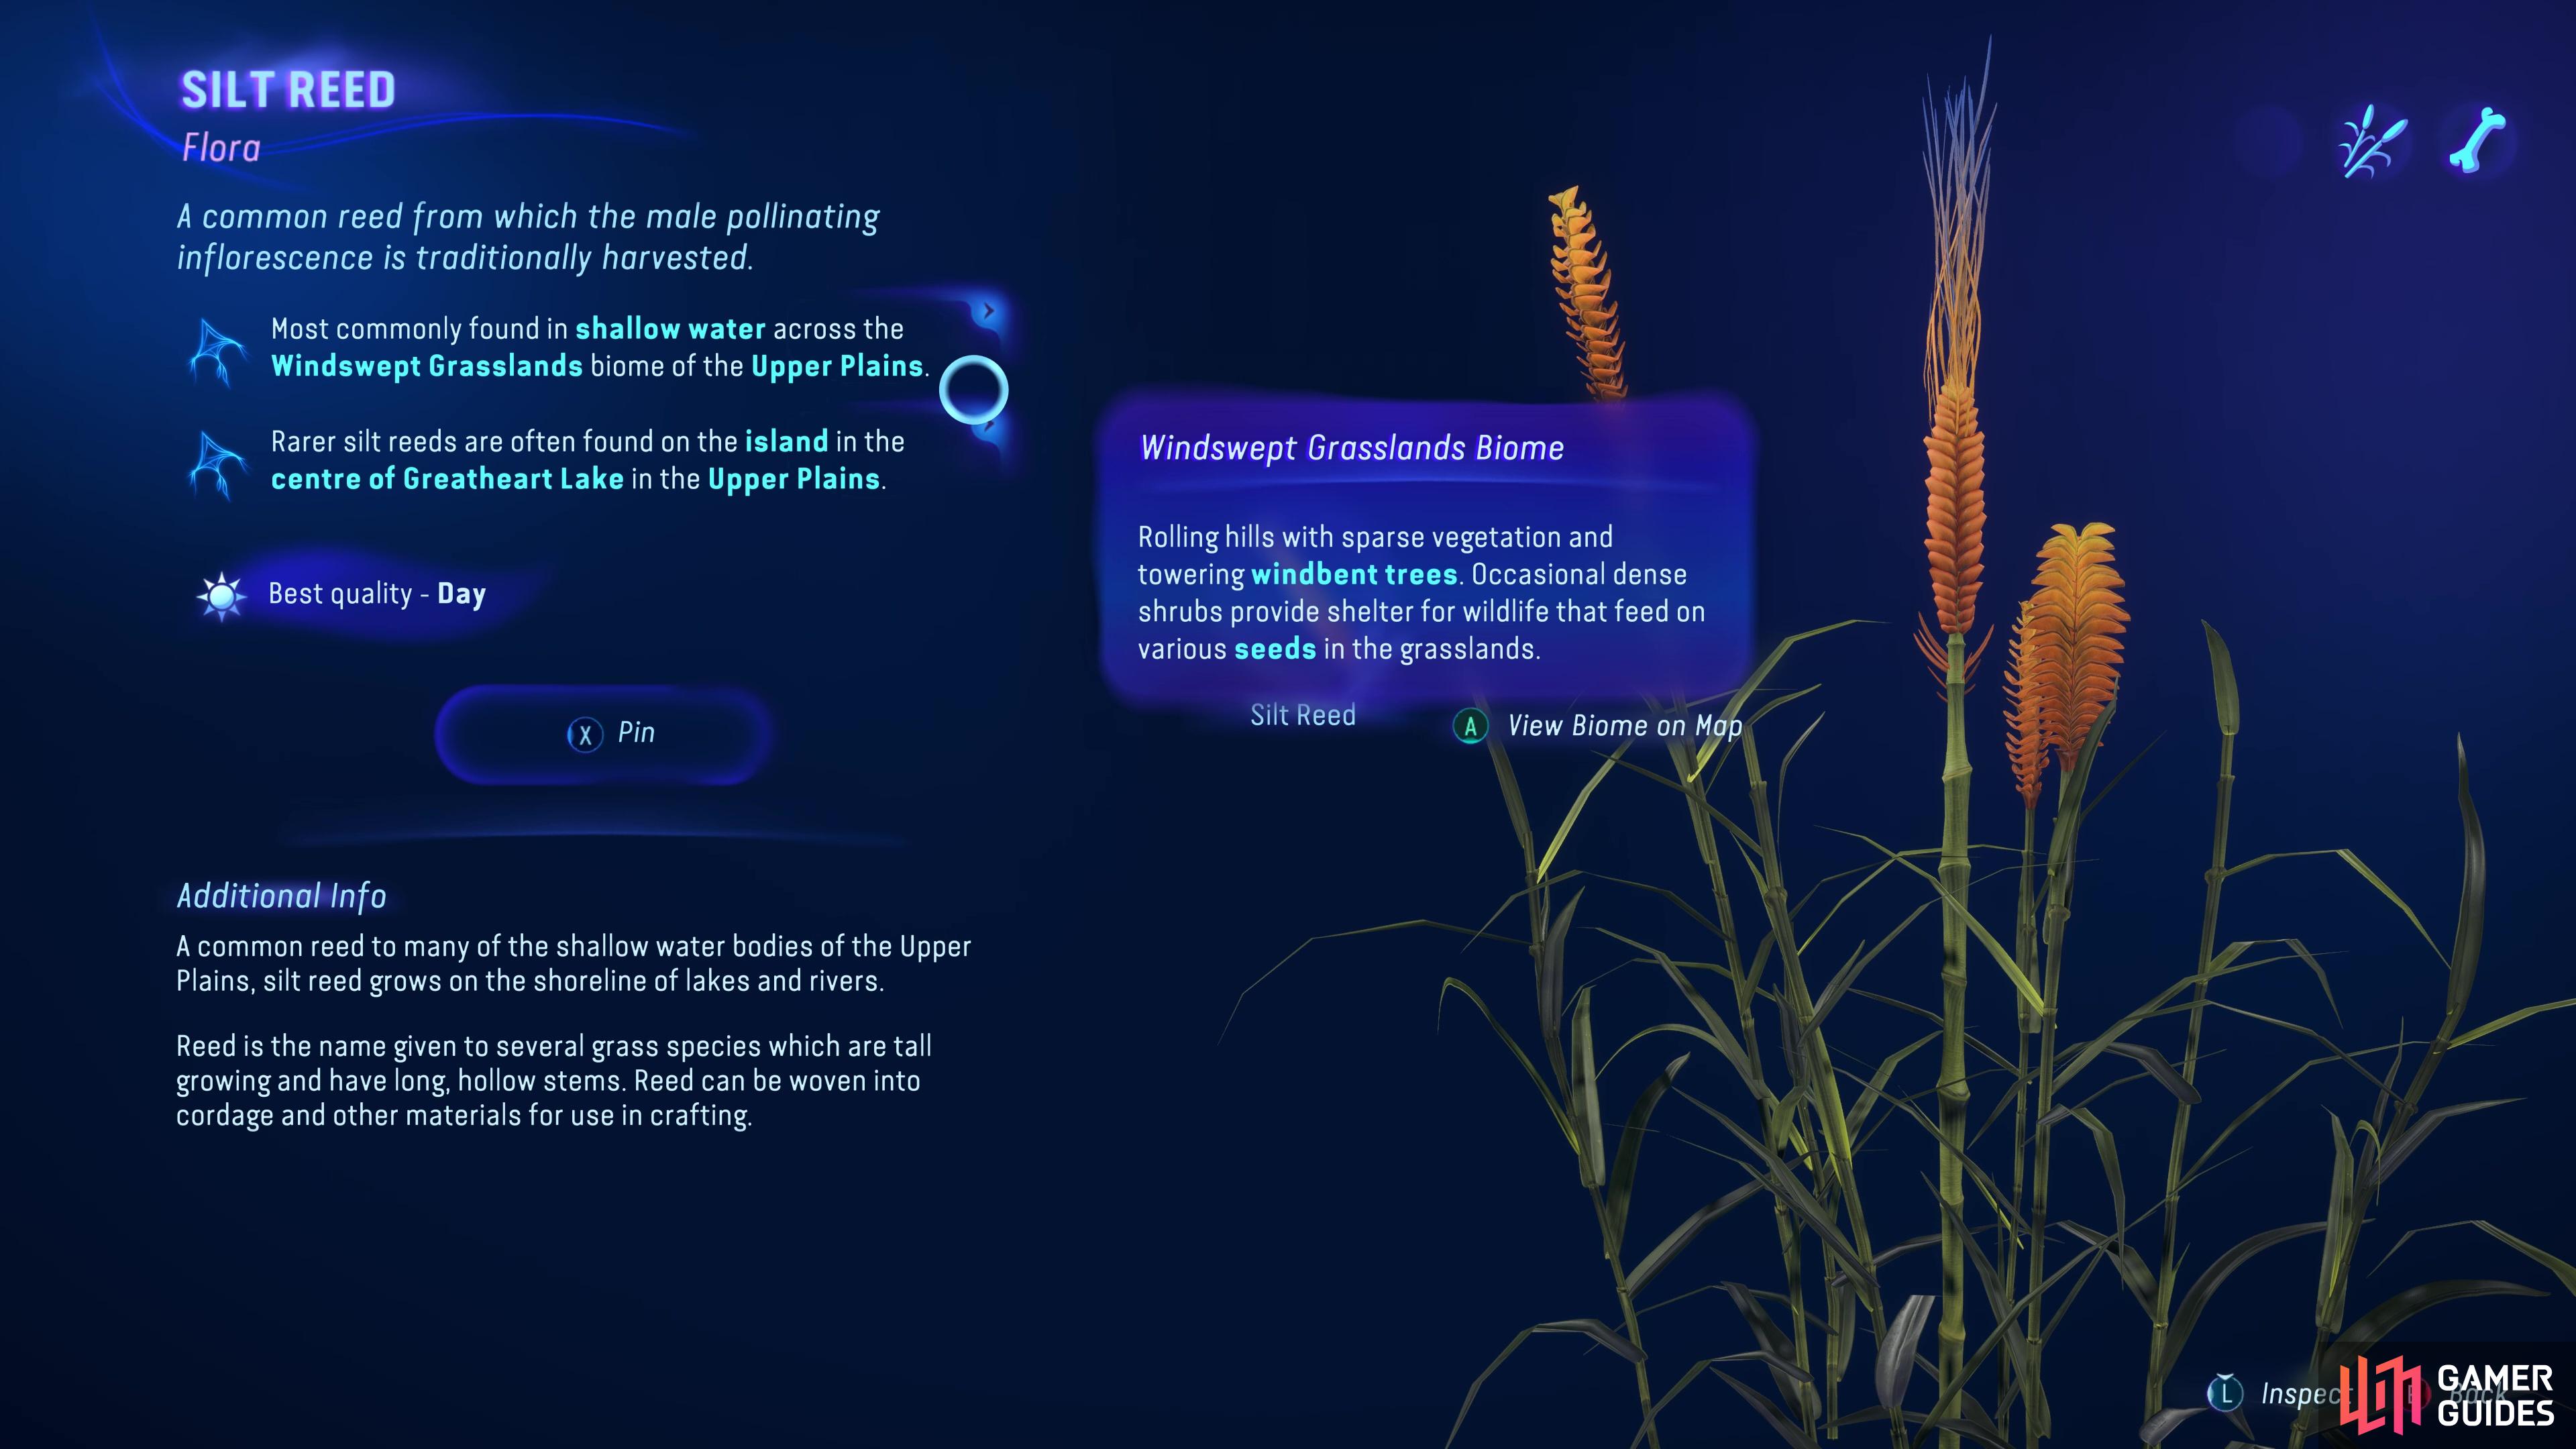
The Hunter’s Guide is an invaluable tool when looking to craft gear or search for resources.
Use the Hunter’s Guide
This is often an overlooked tool, but the Hunter’s Guide is an indispensable companion for your travels throughout the Western Frontier. When used with your Na’vi Sense, you can examine anything that highlights and it will be added to your ever-growing Hunter’s Guide. You can then refer back to it in the menu to pin flora and fauna locations, you’ll even get a handy hint about the locations where it appears and the types of conditions that will nail you rarer materials, a must for those who want to craft their own gear or cook their own food.
One particular use is for when you look to complete the various Clan Community Requests that you’ll find in the various regions. These quests task you with donating a specific item or meal to the different Donation Baskets at the various Clan settlements and will award you a huge boost in Favor, the currency needed to purchase equipment and materials from the various merchants. You can then turn that Favor into equipment which in turn boosts your Combat Score, it’s a handy gameplay loop!
Search for Collectibles
Exploration is at the heart of Avatar and along with all the various plants and creatures you can find, there are collectibles to seek out too. Chief among them are two specific ones, Bellsprigs and Tarsyu Saplings which increase your max health and grant skill points respectively. Not only does every one of these grant a little to your Combat Strength, but you’ll need to keep on top of this for survival purposes. It’s not nice going into an RDA facility, triggering an alert, and then going down in a few shots because you’ve not touched many Bellsprigs.
(1 of 2) You will see a purple glow when near collectibles
You will see a purple glow when near collectibles (left), this will lead you to Bellsprigs that increase your health. (right)
So, how do you find both of these elusive collectibles? You’ll want to make good use of both your map and Na’vi Senses. If you have a look at the map, you’ll notice purple markers that won’t tell you anything when you hover. This is the generic marker for anything collectible-related, but as you get closer, you will see a purple glow around the center of your screen that intensifies, which you can use to narrow down the location. This is the perfect time to use your Na’vi Sense to look in that direction and wait for the collectible in question to become highlighted, giving you an idea of where to go and find it.
More Avatar: Frontier of Pandora Guides
This should be enough to get you started, but it’s just the tip of the iceberg for what you can discover in Avatar. Check out the pages below to learn where you can find some of the trickier resources or how to get the game looking the best it can if you’re playing on PC!
 Sign up
No Comments