Once you’ve made it to Chapter 8 of Final Fantasy VII Rebirth and had your fun of the ![]() Gold Saucer, you end up getting stuck in the Dustbowl. In order to get out of there, you will have to do some Chocobo Racing, but the bird you will be using isn’t feeling too well. You will need to find some Sylkis Greens to feed Piko, of which there are six of them. Only three are needed to progress the story, but you can use the other three to procure some Chocobo Gear. This page will list all locations for the Sylkis Greens, as well as what you have to do to get them.
Gold Saucer, you end up getting stuck in the Dustbowl. In order to get out of there, you will have to do some Chocobo Racing, but the bird you will be using isn’t feeling too well. You will need to find some Sylkis Greens to feed Piko, of which there are six of them. Only three are needed to progress the story, but you can use the other three to procure some Chocobo Gear. This page will list all locations for the Sylkis Greens, as well as what you have to do to get them.
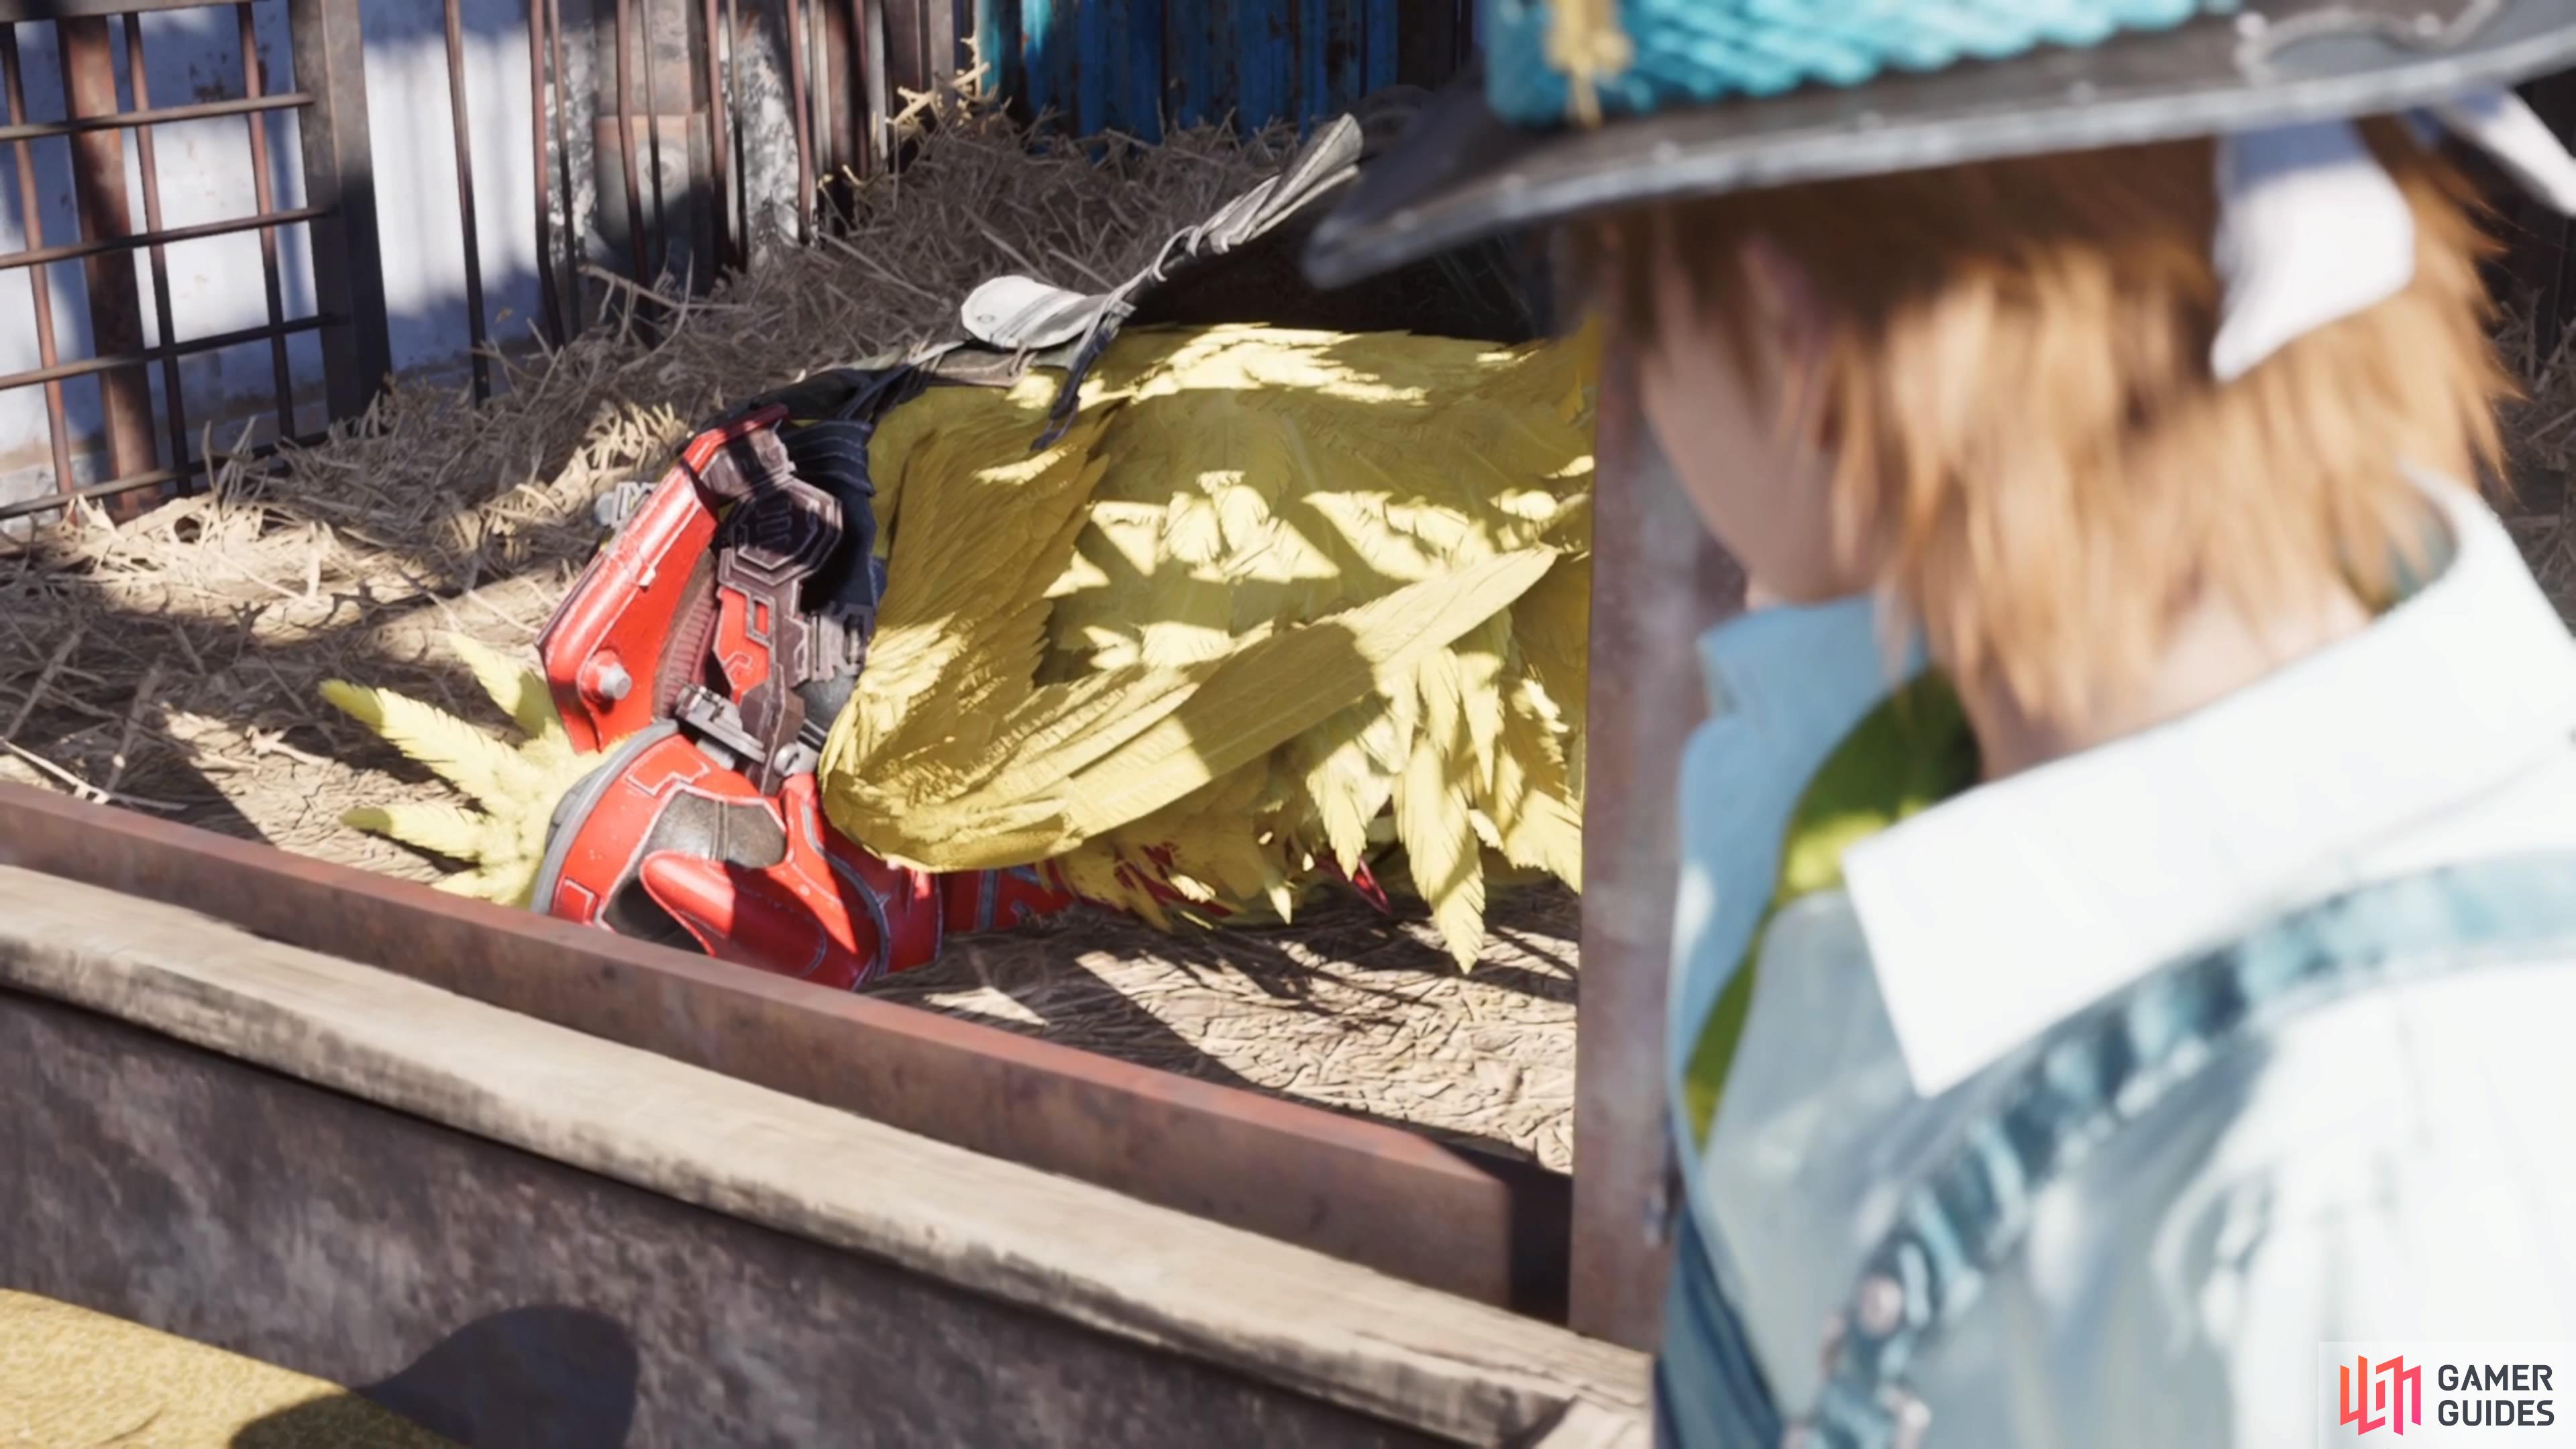
Before racing with Piko, you’ll need to get him some Sylkis Greens.
As mentioned above, there are a total of six Sylkis Greens to be found in the Dustbowl area. Of course, none of them will be given to you for free, since you will need to do something, either in the form of a minigame or simply defeating some enemies.
Desert Rush Minigame
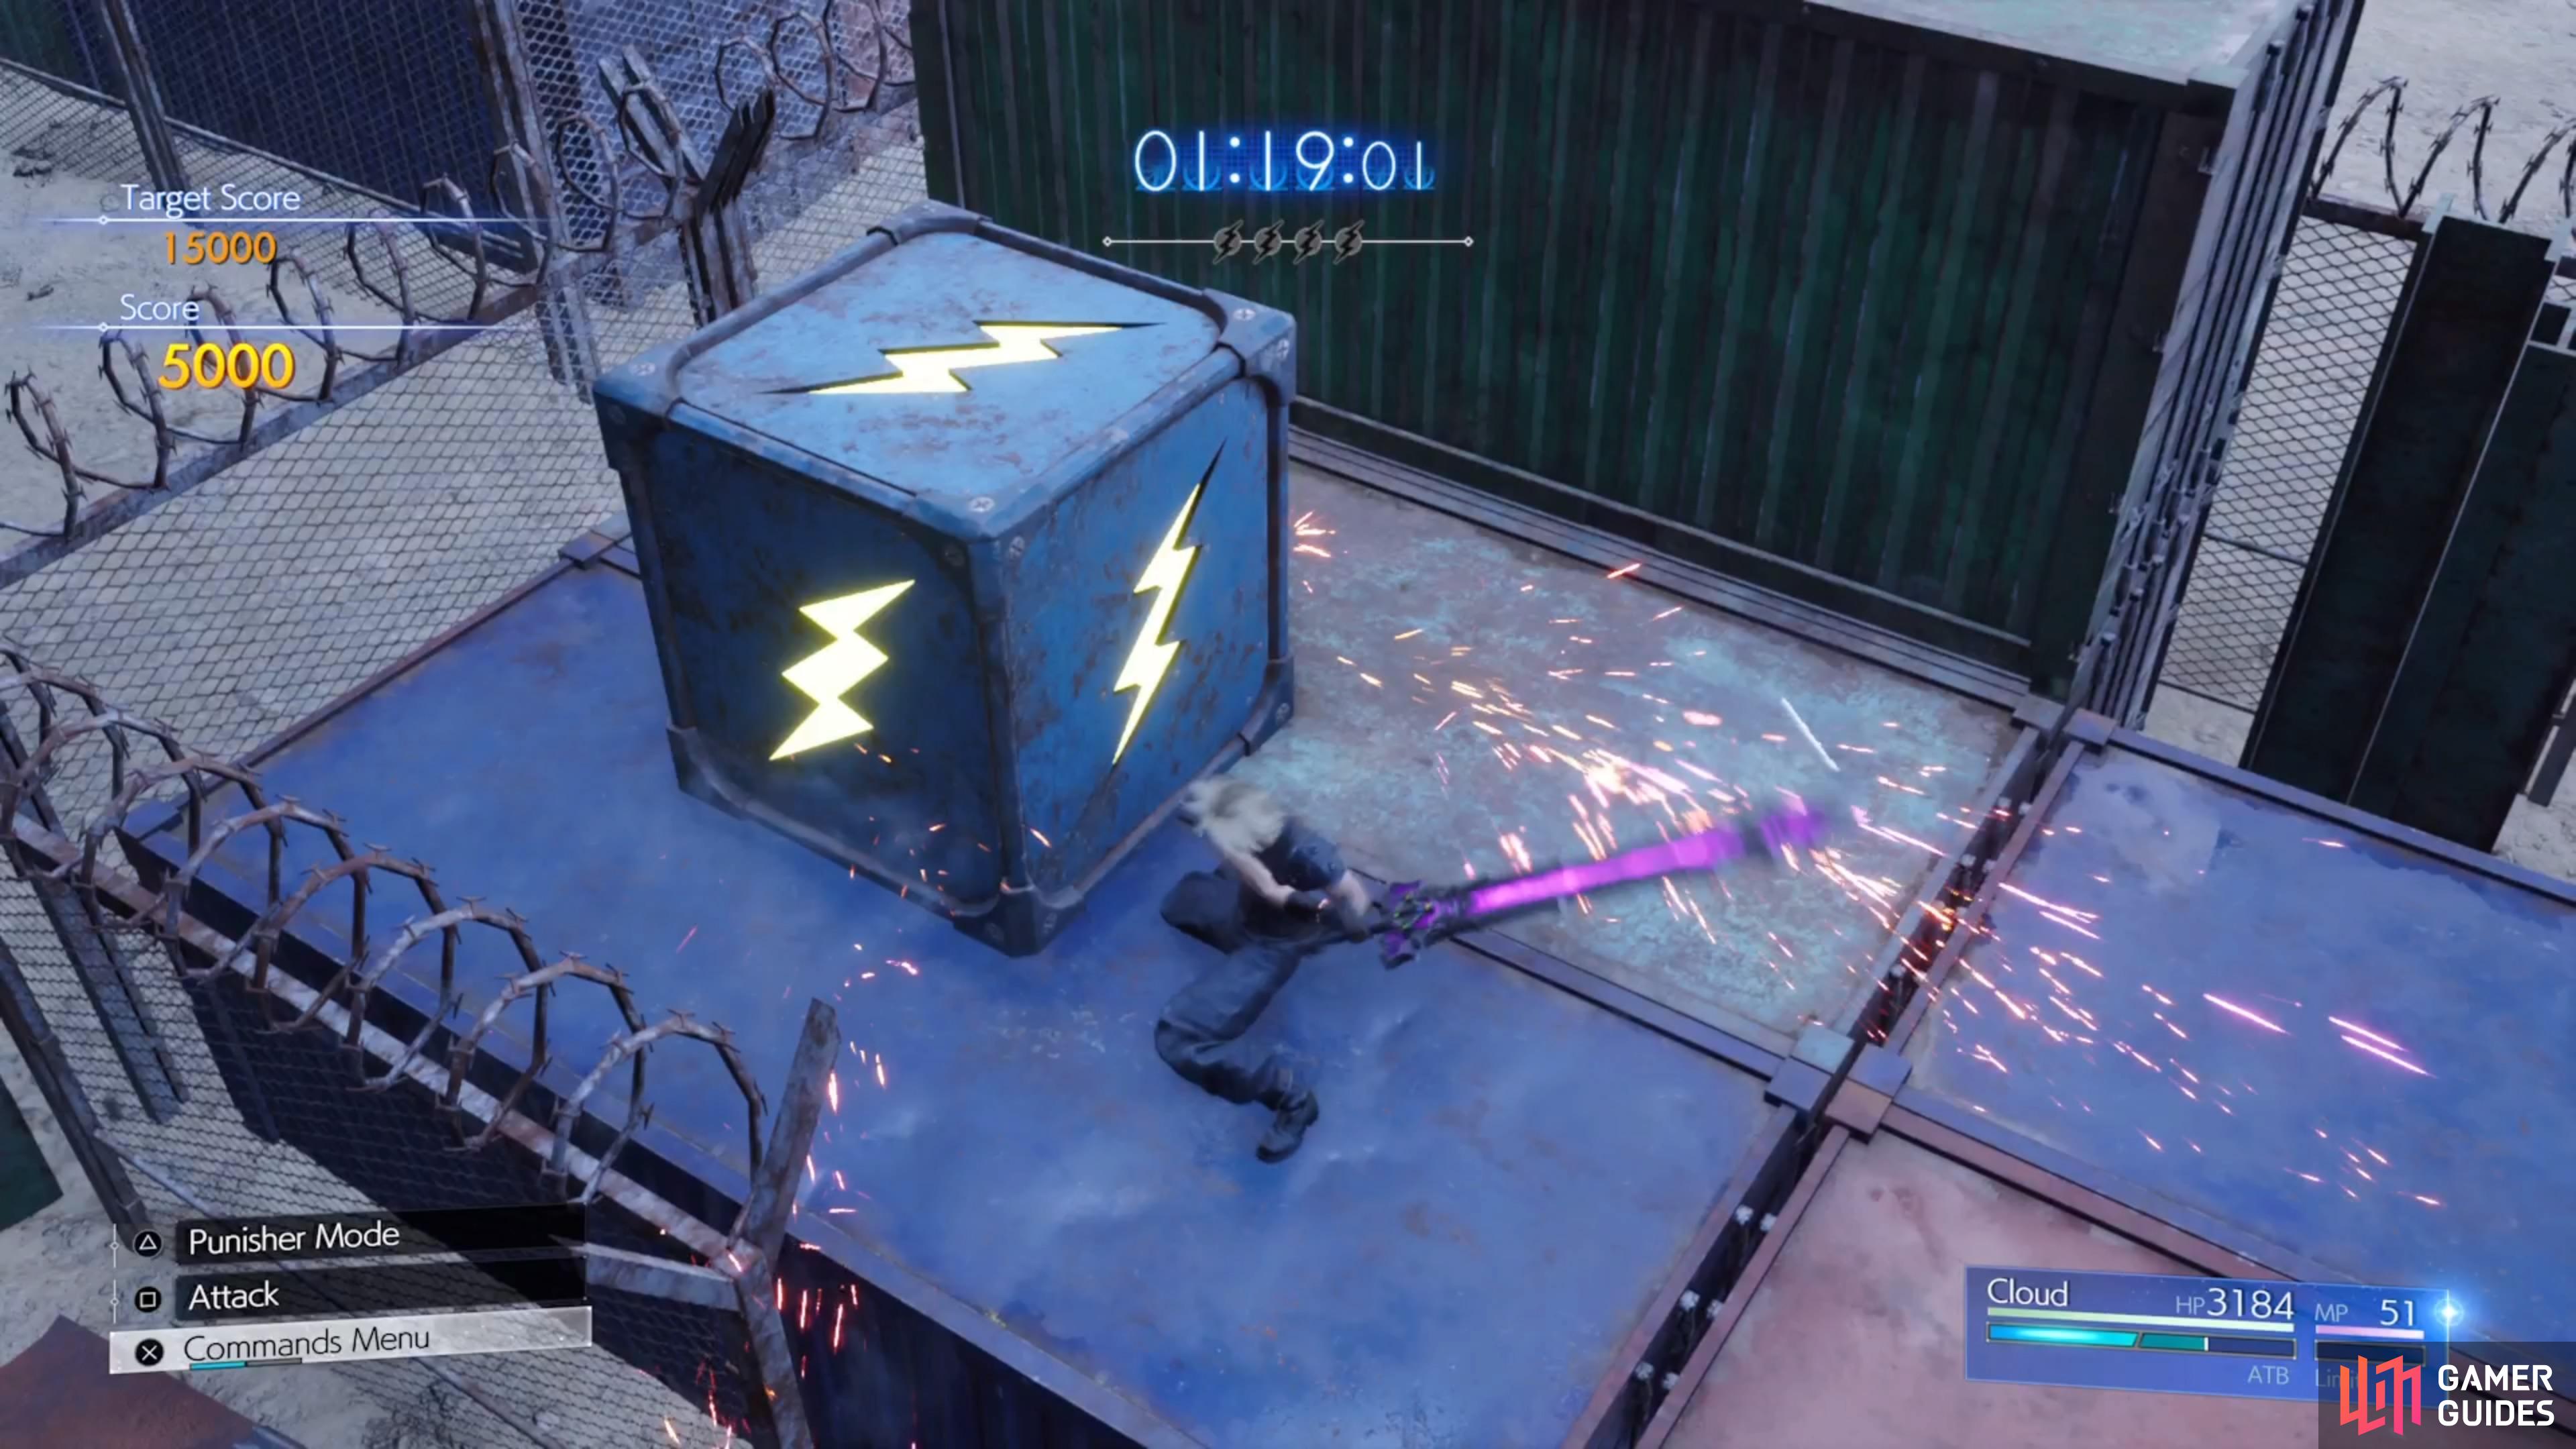
Similar to the Whack-A-Box minigame in Remake, you have to go around and destroy boxes to accrue points. Rebirth mixes things up a little bit by having Gear Boxes (big boxes with gears on them) that require you to destroy Shock Boxes (blue boxes with a yellow lightning icon) first. You don’t need to get the highest score to unlock the Sylkis Greens, as the first score (15,000 points) will be more than enough. You can find a more in-depth look at Desert Rush by heading to that page.
(1 of 2) You will need to break these Shock Boxes first
You will need to break these Shock Boxes first (left), before you can destroy the Gear Boxes. (right)
Peculiar Card Players - Card Collector
There is an elderly man who can sell you the ![]() Heavy Hitters Booster Pack for Queen’s Blood, but he also has some Sylkis Greens for you. He wants you to humble the three card players to the north by simply beating them. They shouldn’t be too difficult and you can use the Best Early Queen’s Blood Cards page to get started on a deck. You might need to make some minor tweaks, like getting the Dio card from the Gold Saucer, as it’s a pretty strong card. Here is a great deck that you can use if you’re having a lot of trouble:
Heavy Hitters Booster Pack for Queen’s Blood, but he also has some Sylkis Greens for you. He wants you to humble the three card players to the north by simply beating them. They shouldn’t be too difficult and you can use the Best Early Queen’s Blood Cards page to get started on a deck. You might need to make some minor tweaks, like getting the Dio card from the Gold Saucer, as it’s a pretty strong card. Here is a great deck that you can use if you’re having a lot of trouble:
 013 Crystalline Crab x2
 025 Ignilisk x2
 026 Capparwire x2
 031 Spearhawk x2
 107 Chocobo & Moogle x1
 014 Quetzalcoatl x1
 024 Zemzelett x1
 033 Shoalopod x1
 098 Titan x1
 095 Ifrit x1
 141 Dio x1
The only card you might not have, if you’ve been doing everything Queen’s Blood related, is Dio, which must be bought with GP at the Gold Saucer. If you don’t have it and are already in the Dustbowl area, then you will need to use something else. Beat all three players, then return to the old man to get your Sylkis Greens.
The Bartender’s Untended Garden
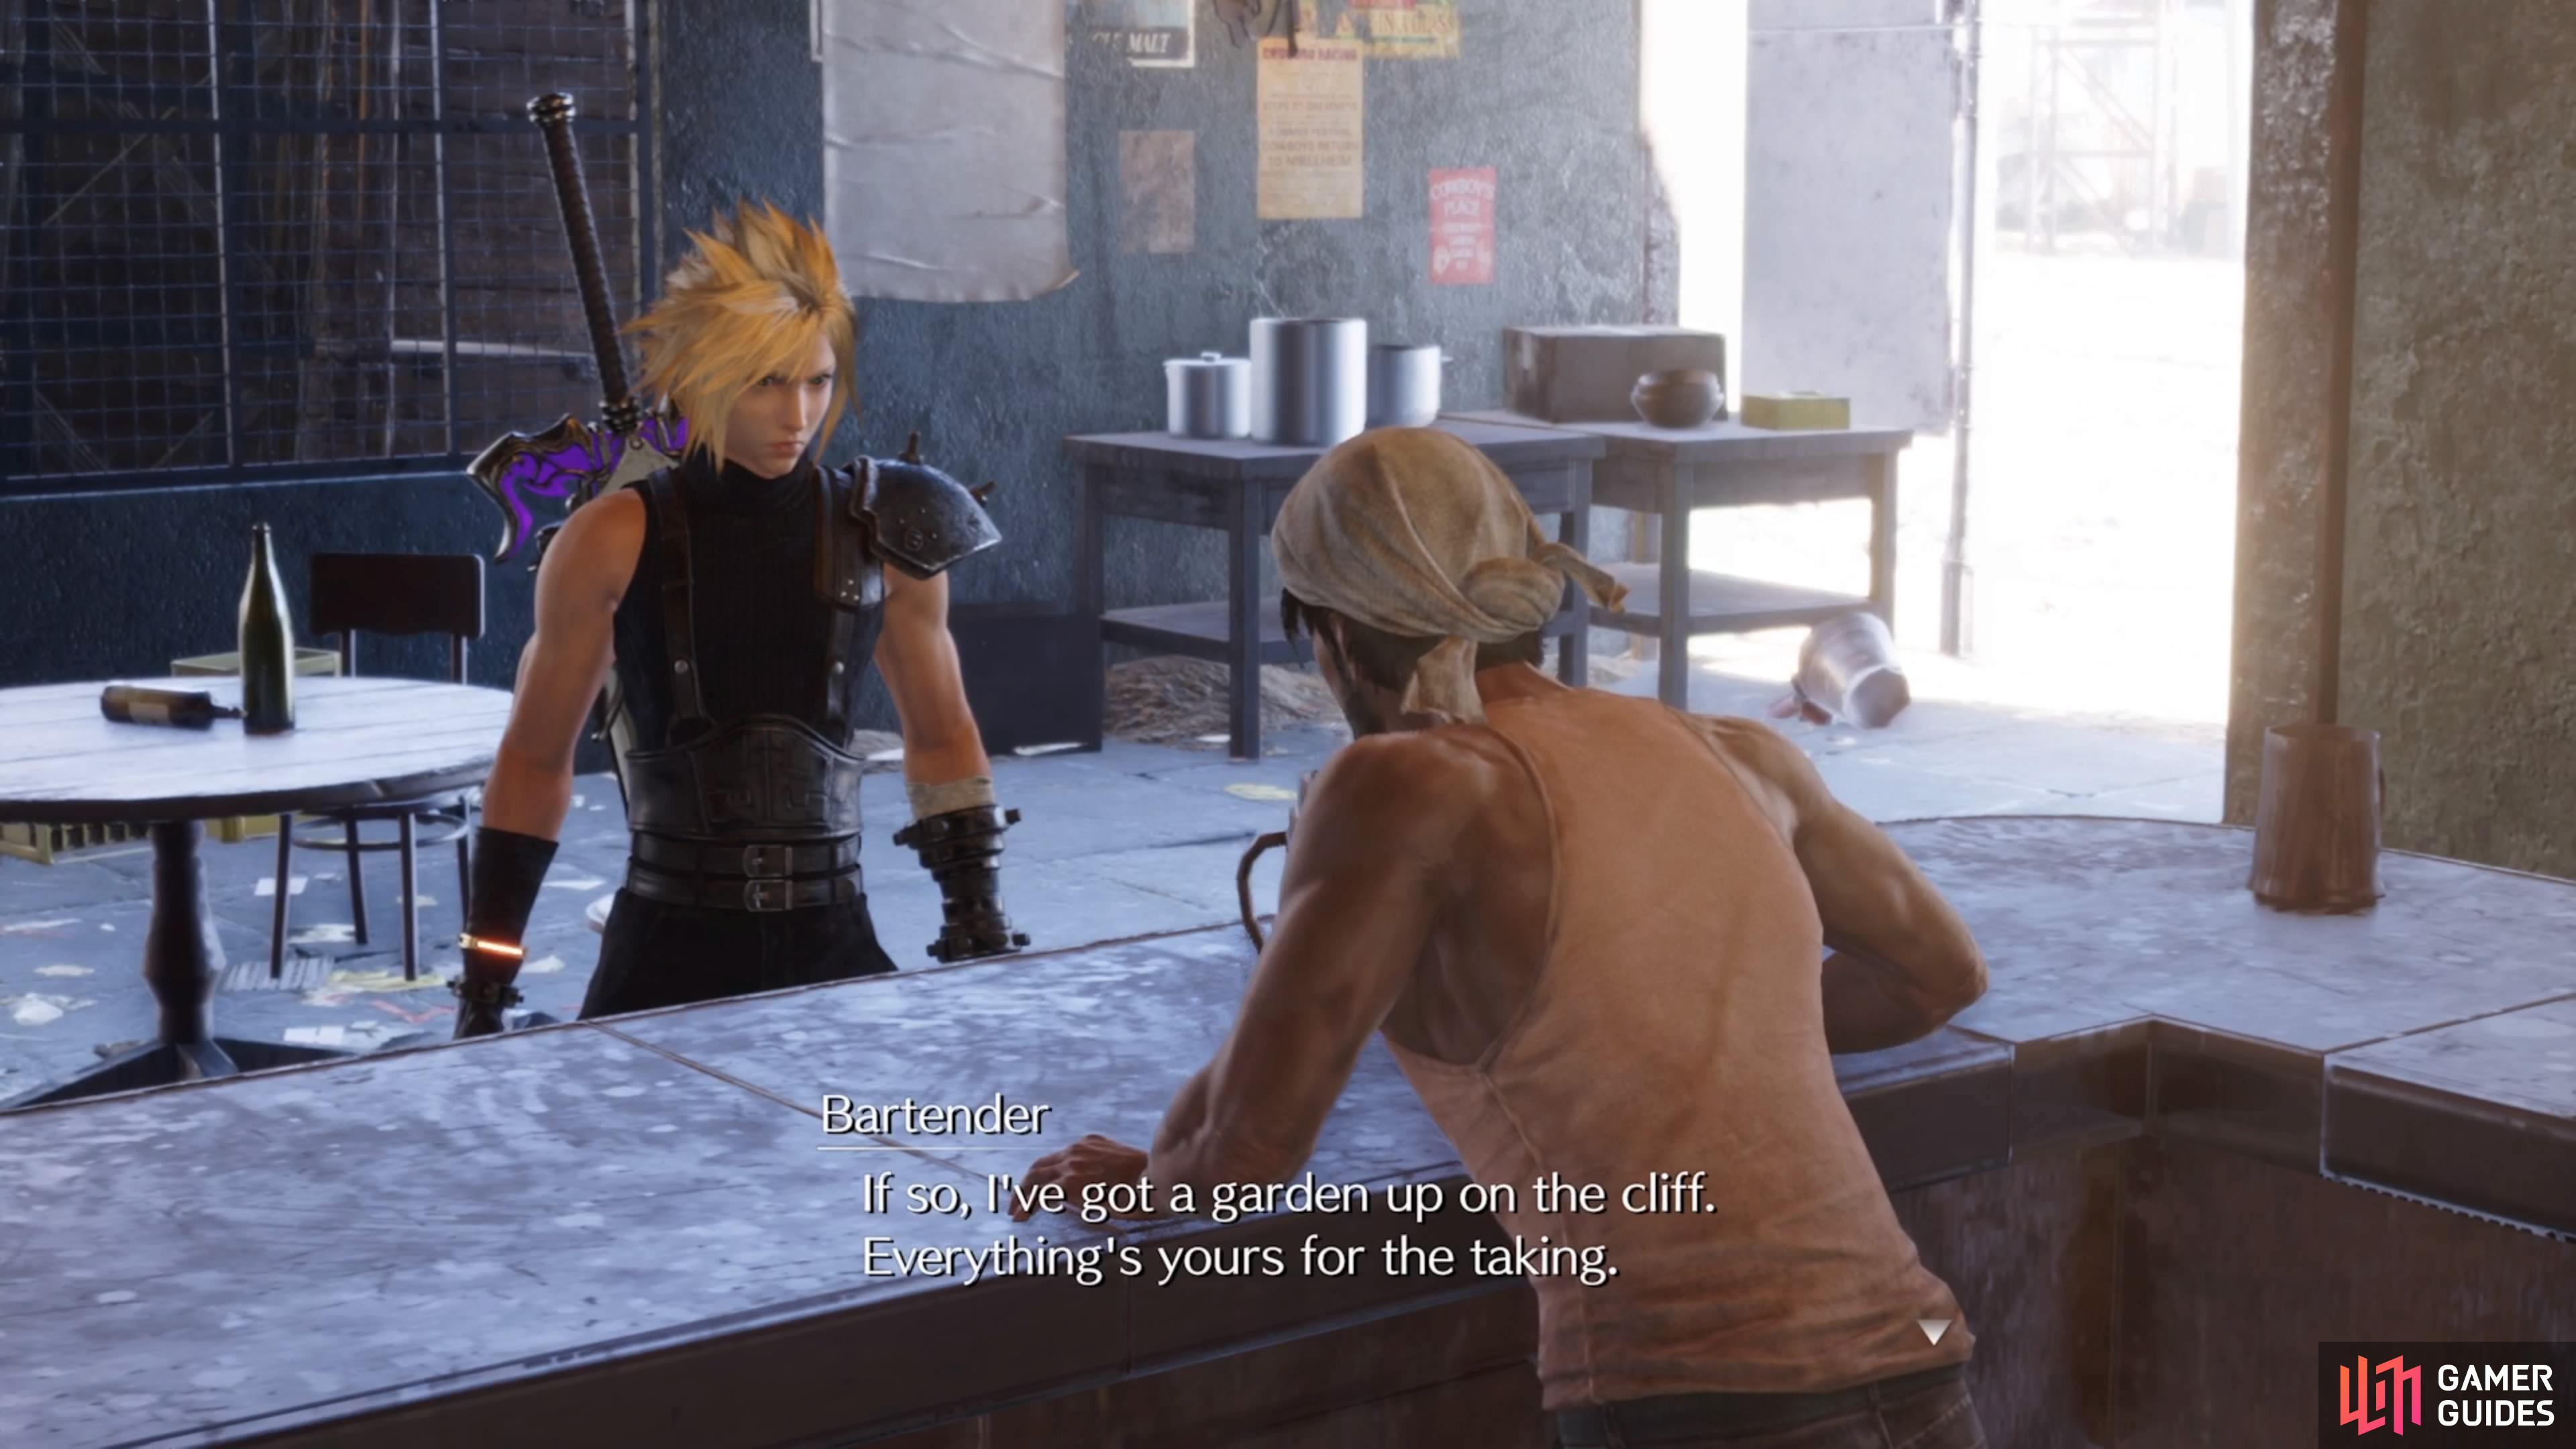
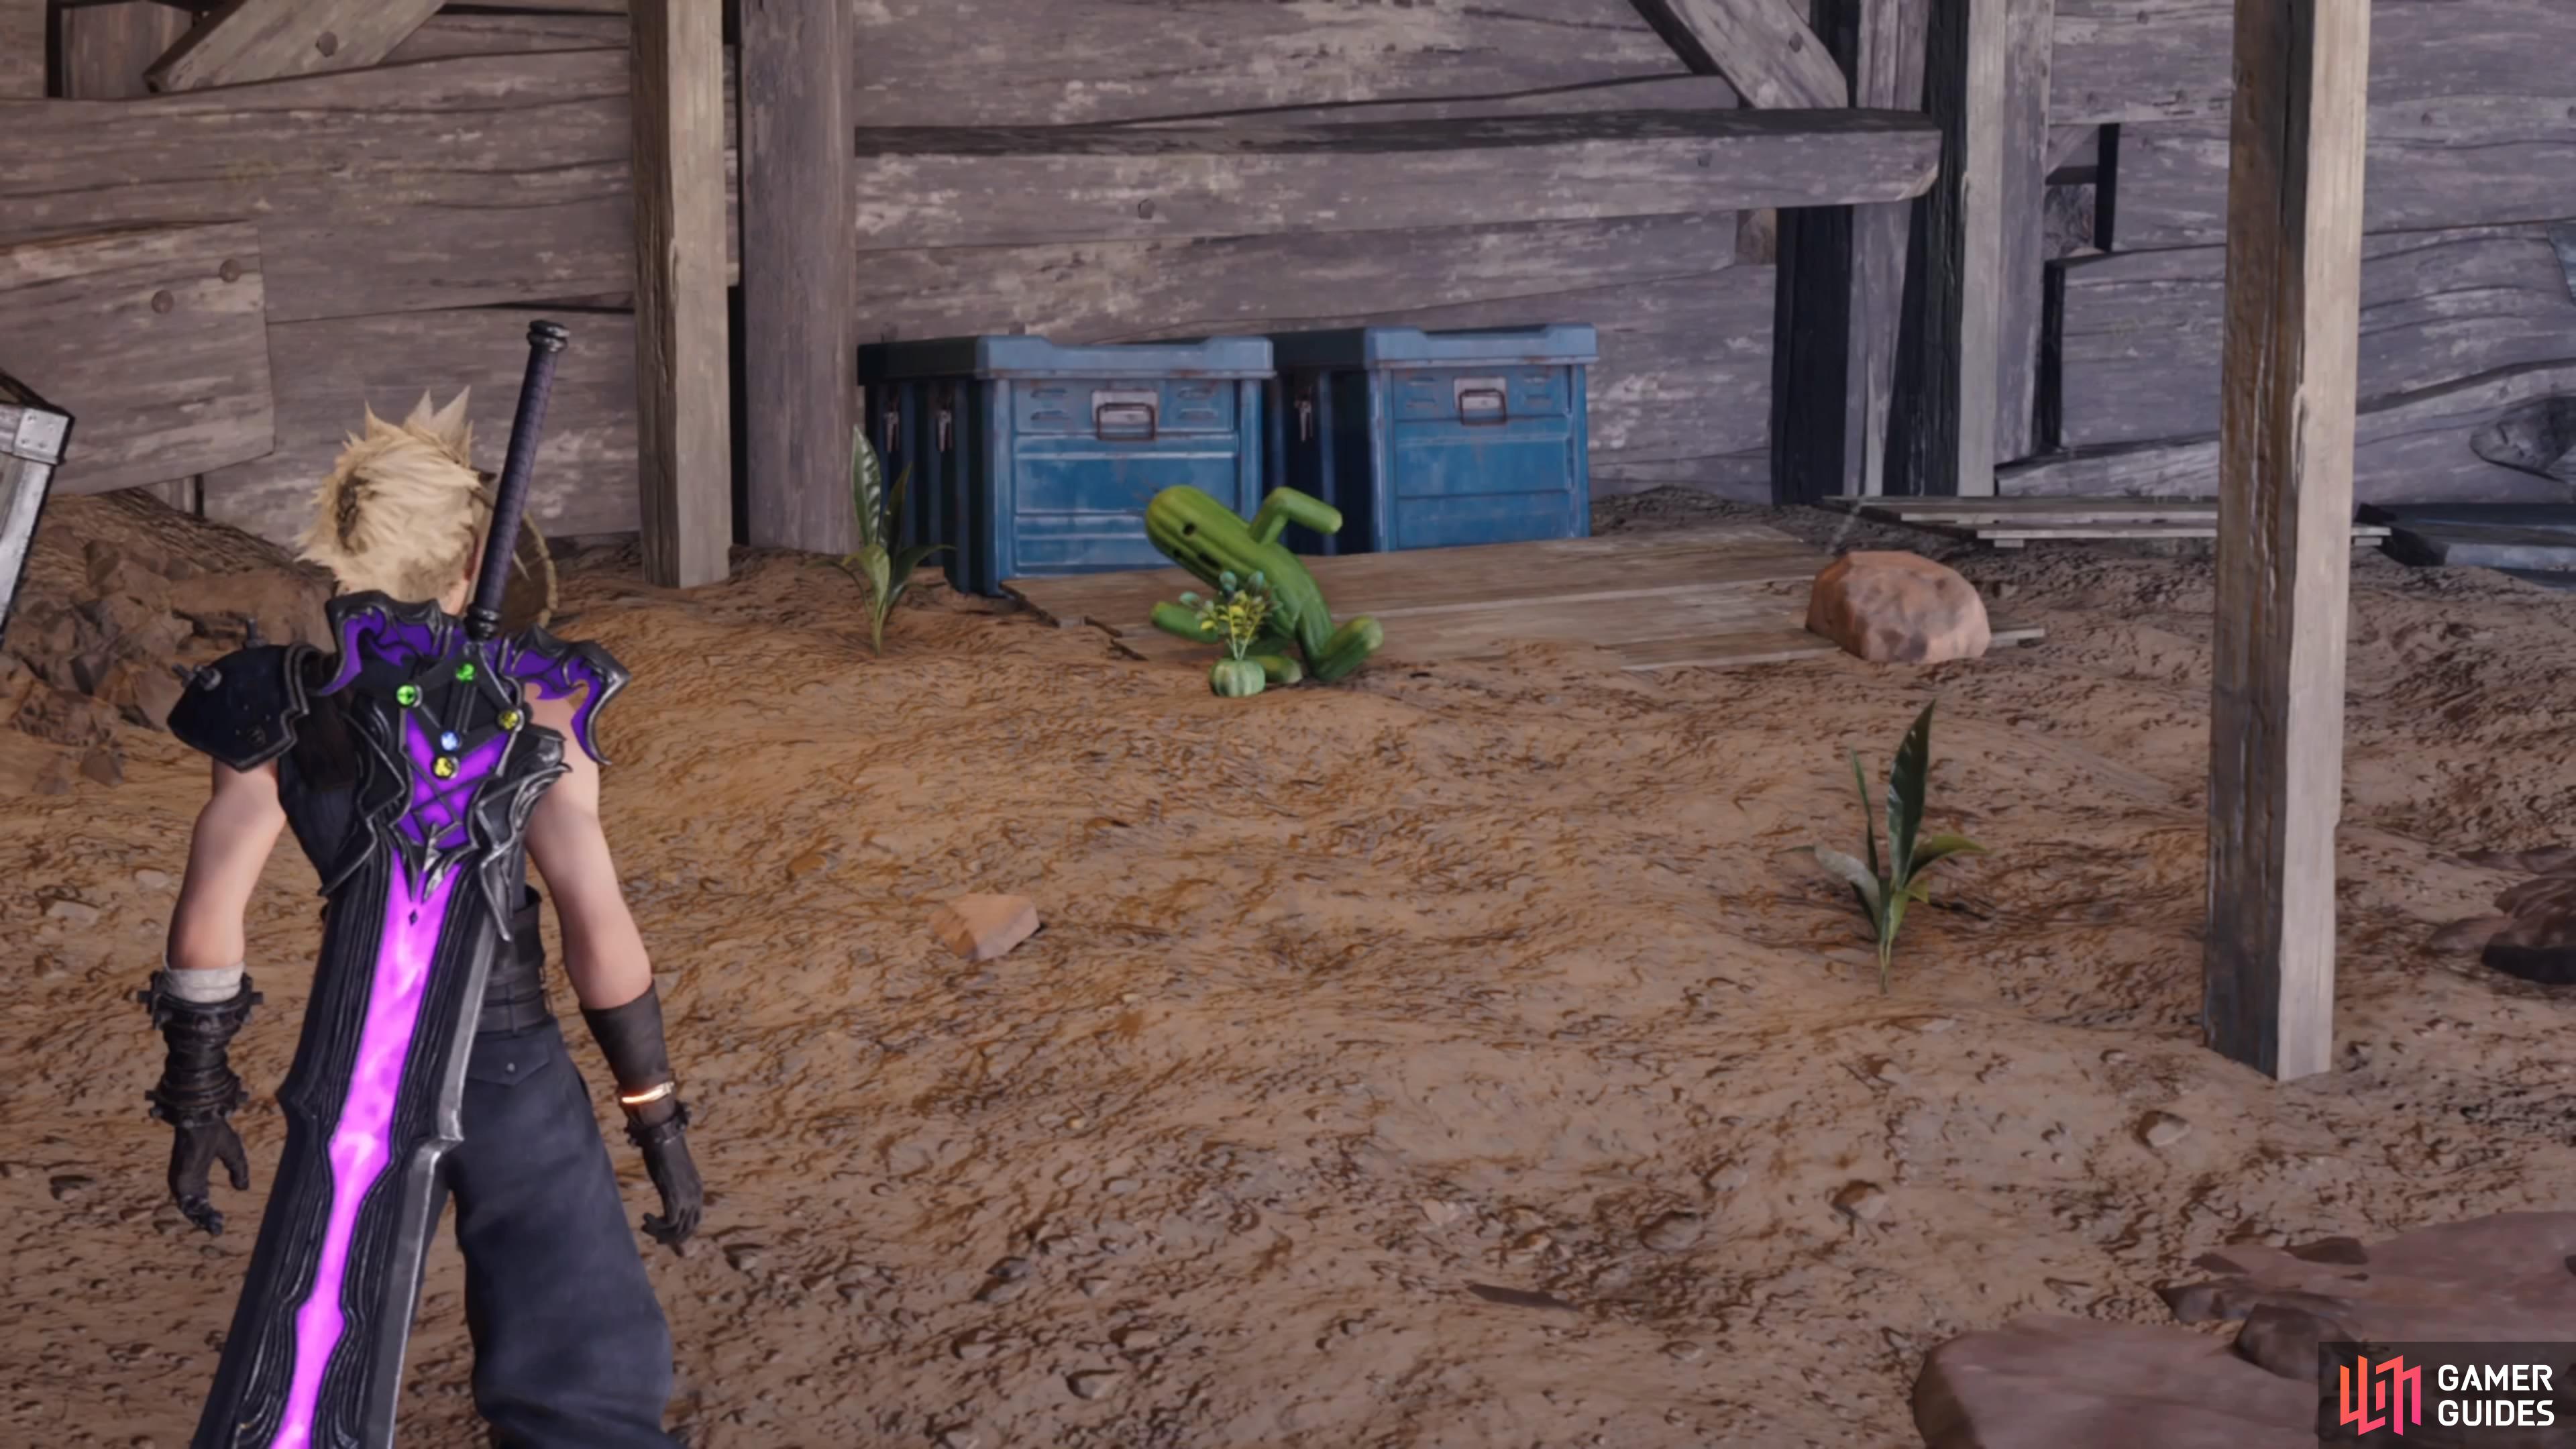
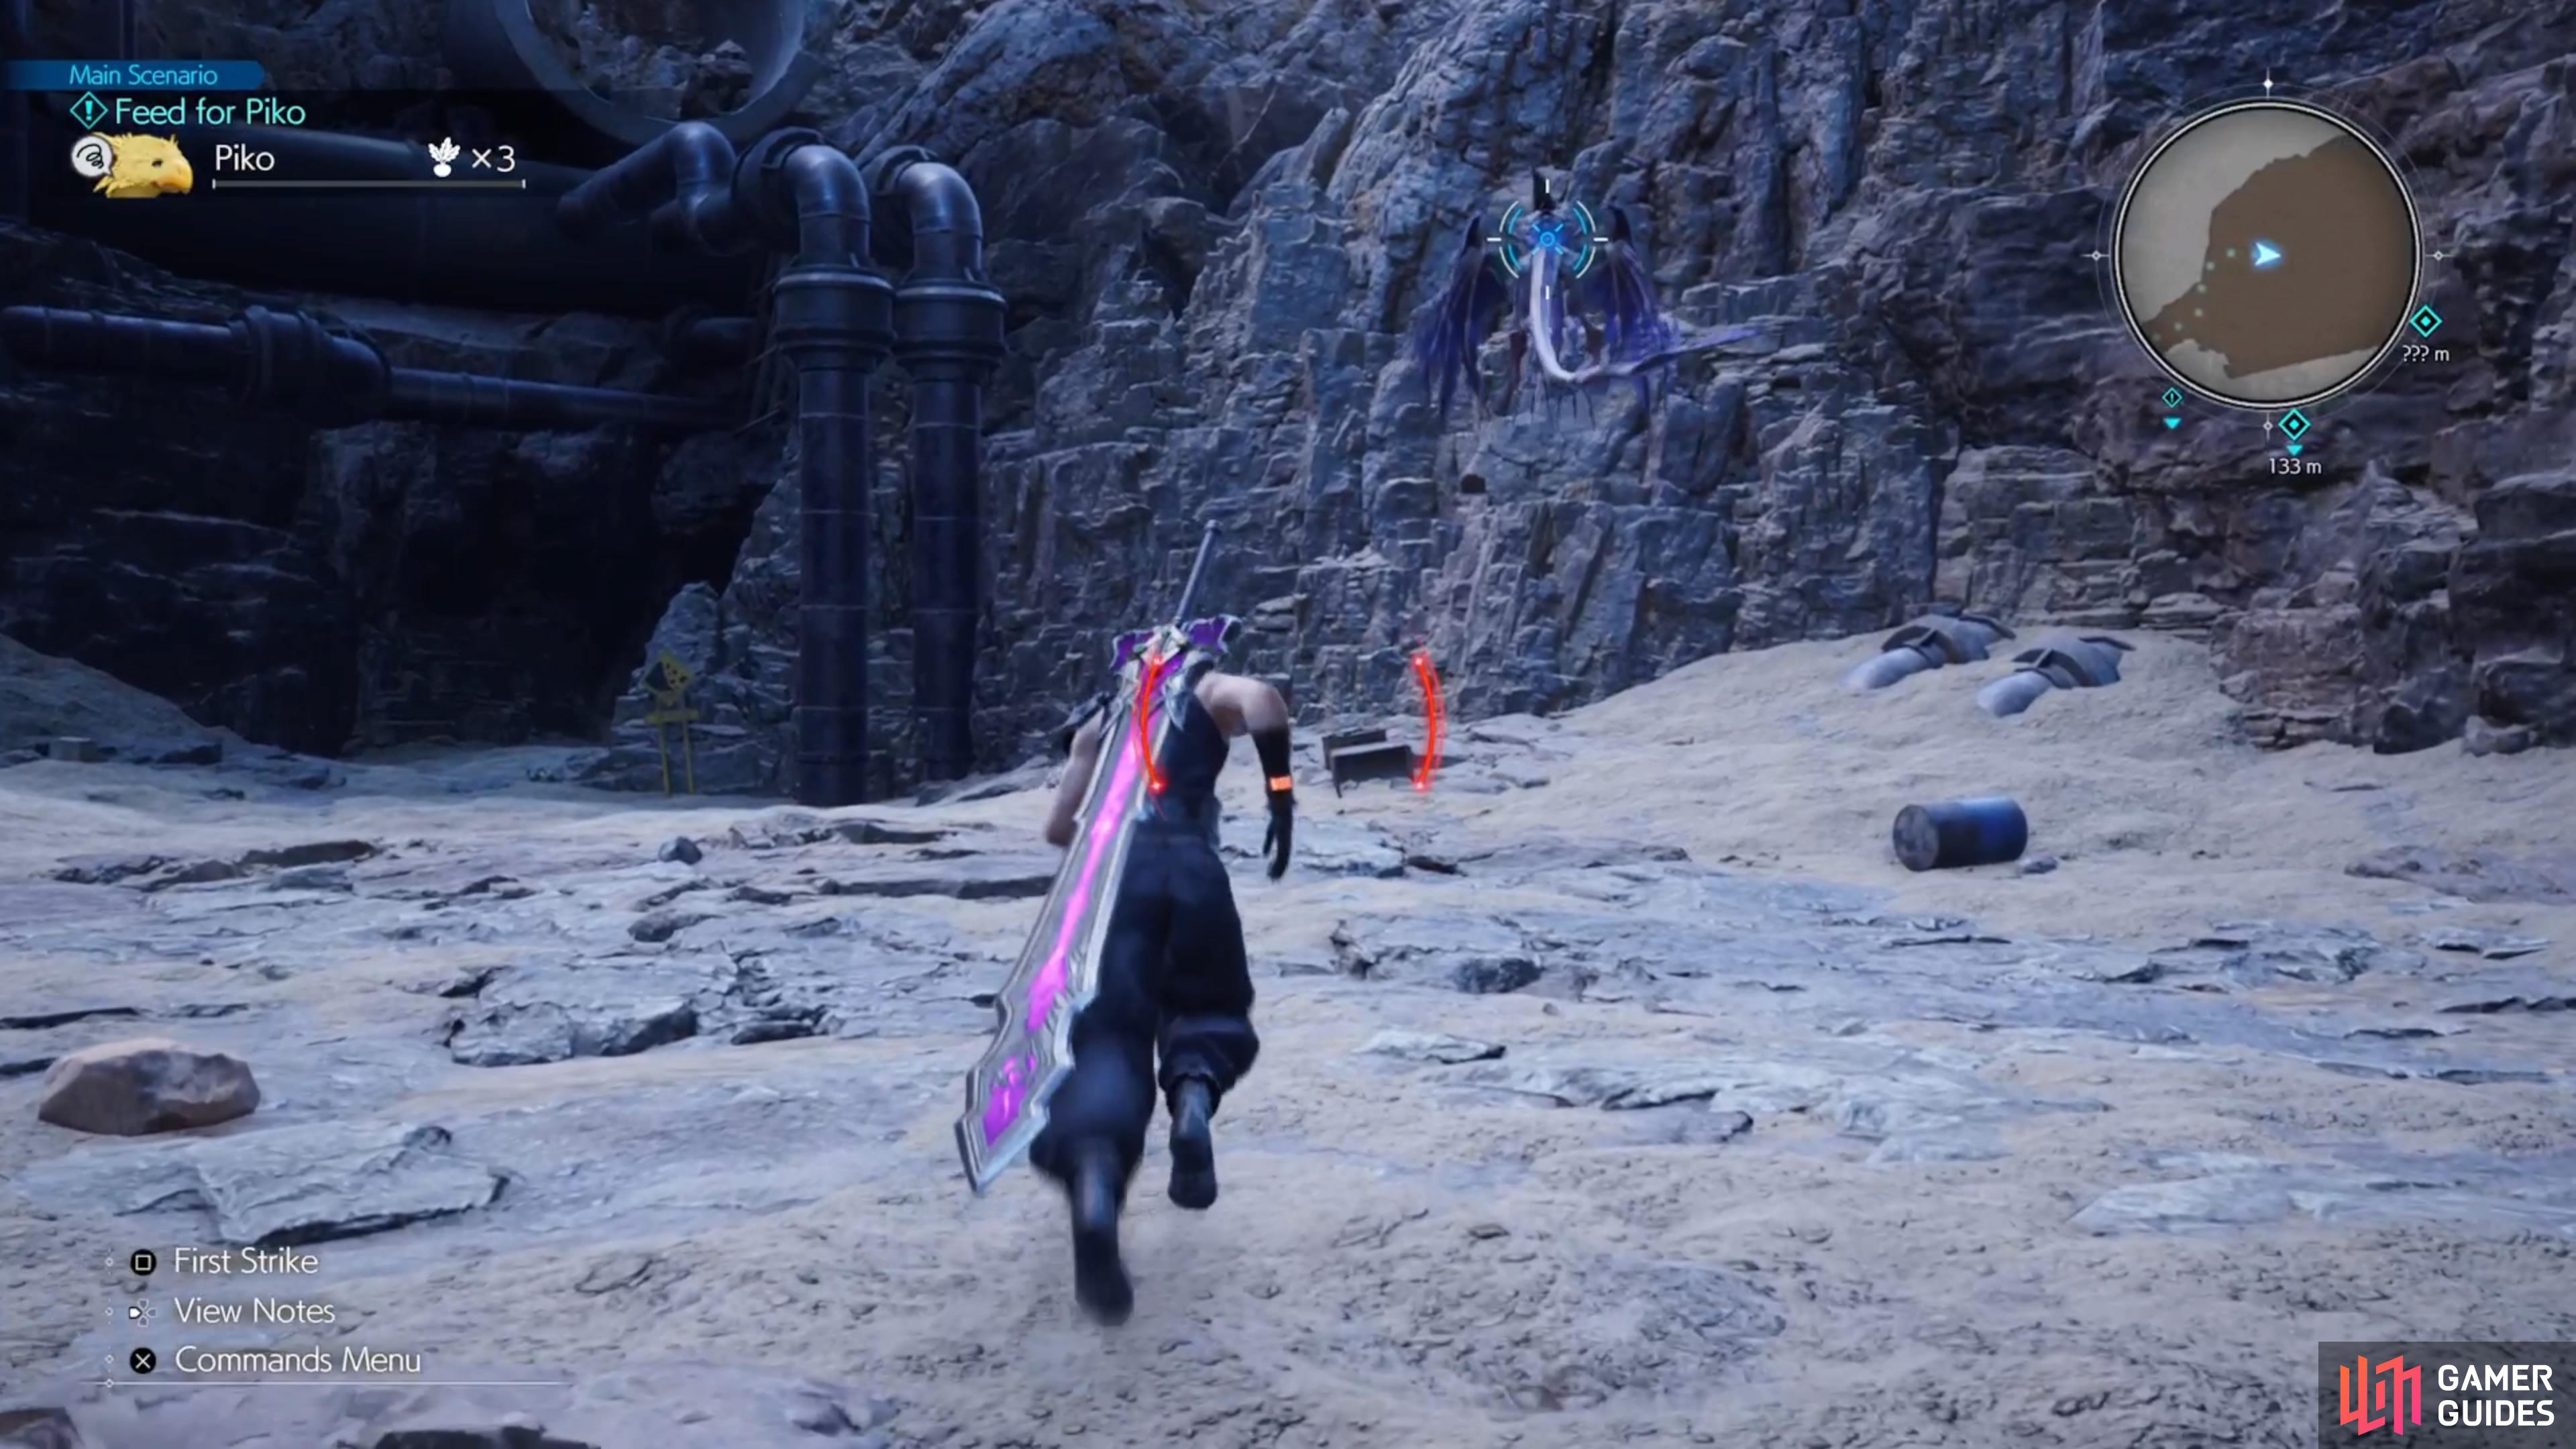
Find the bar in the Dustbowl and speak to the bartender inside, who says he has a garden he hasn’t tended to for a while and there might be some greens there. He hands you a key, so head to the northern side of the Dustbowl to find the door for it. Follow the path here, taking out the enemies as you go along (or just go past them, if you want), until you reach the garden. Unfortunately, the greens will be stolen by a ![]() Cactuar, who takes off, so you’ll have to give chase.
Cactuar, who takes off, so you’ll have to give chase.
(1 of 3) Speak with the Bartender to get a key to his garden.
At some point, you will fight a ![]() Cyclone Drake, which will be a new enemy, so make sure to Assess it. Keep hitting it to spawn little tornadoes (try to dodge these), or just use Aero to stagger it faster. After the drake, continue on and when you reach a split, go southeast to find a
Cyclone Drake, which will be a new enemy, so make sure to Assess it. Keep hitting it to spawn little tornadoes (try to dodge these), or just use Aero to stagger it faster. After the drake, continue on and when you reach a split, go southeast to find a ![]() Poison Materia. There are also a few chests you might find, so it’s always worth it to seek them out now. You will also come across a short grappling hook segment, but it shouldn’t be any problem. At the end, you will drop down a short ledge and encounter a group of Cactuars.
Poison Materia. There are also a few chests you might find, so it’s always worth it to seek them out now. You will also come across a short grappling hook segment, but it shouldn’t be any problem. At the end, you will drop down a short ledge and encounter a group of Cactuars.
How to Defeat the Cactuars in the Dustbowl
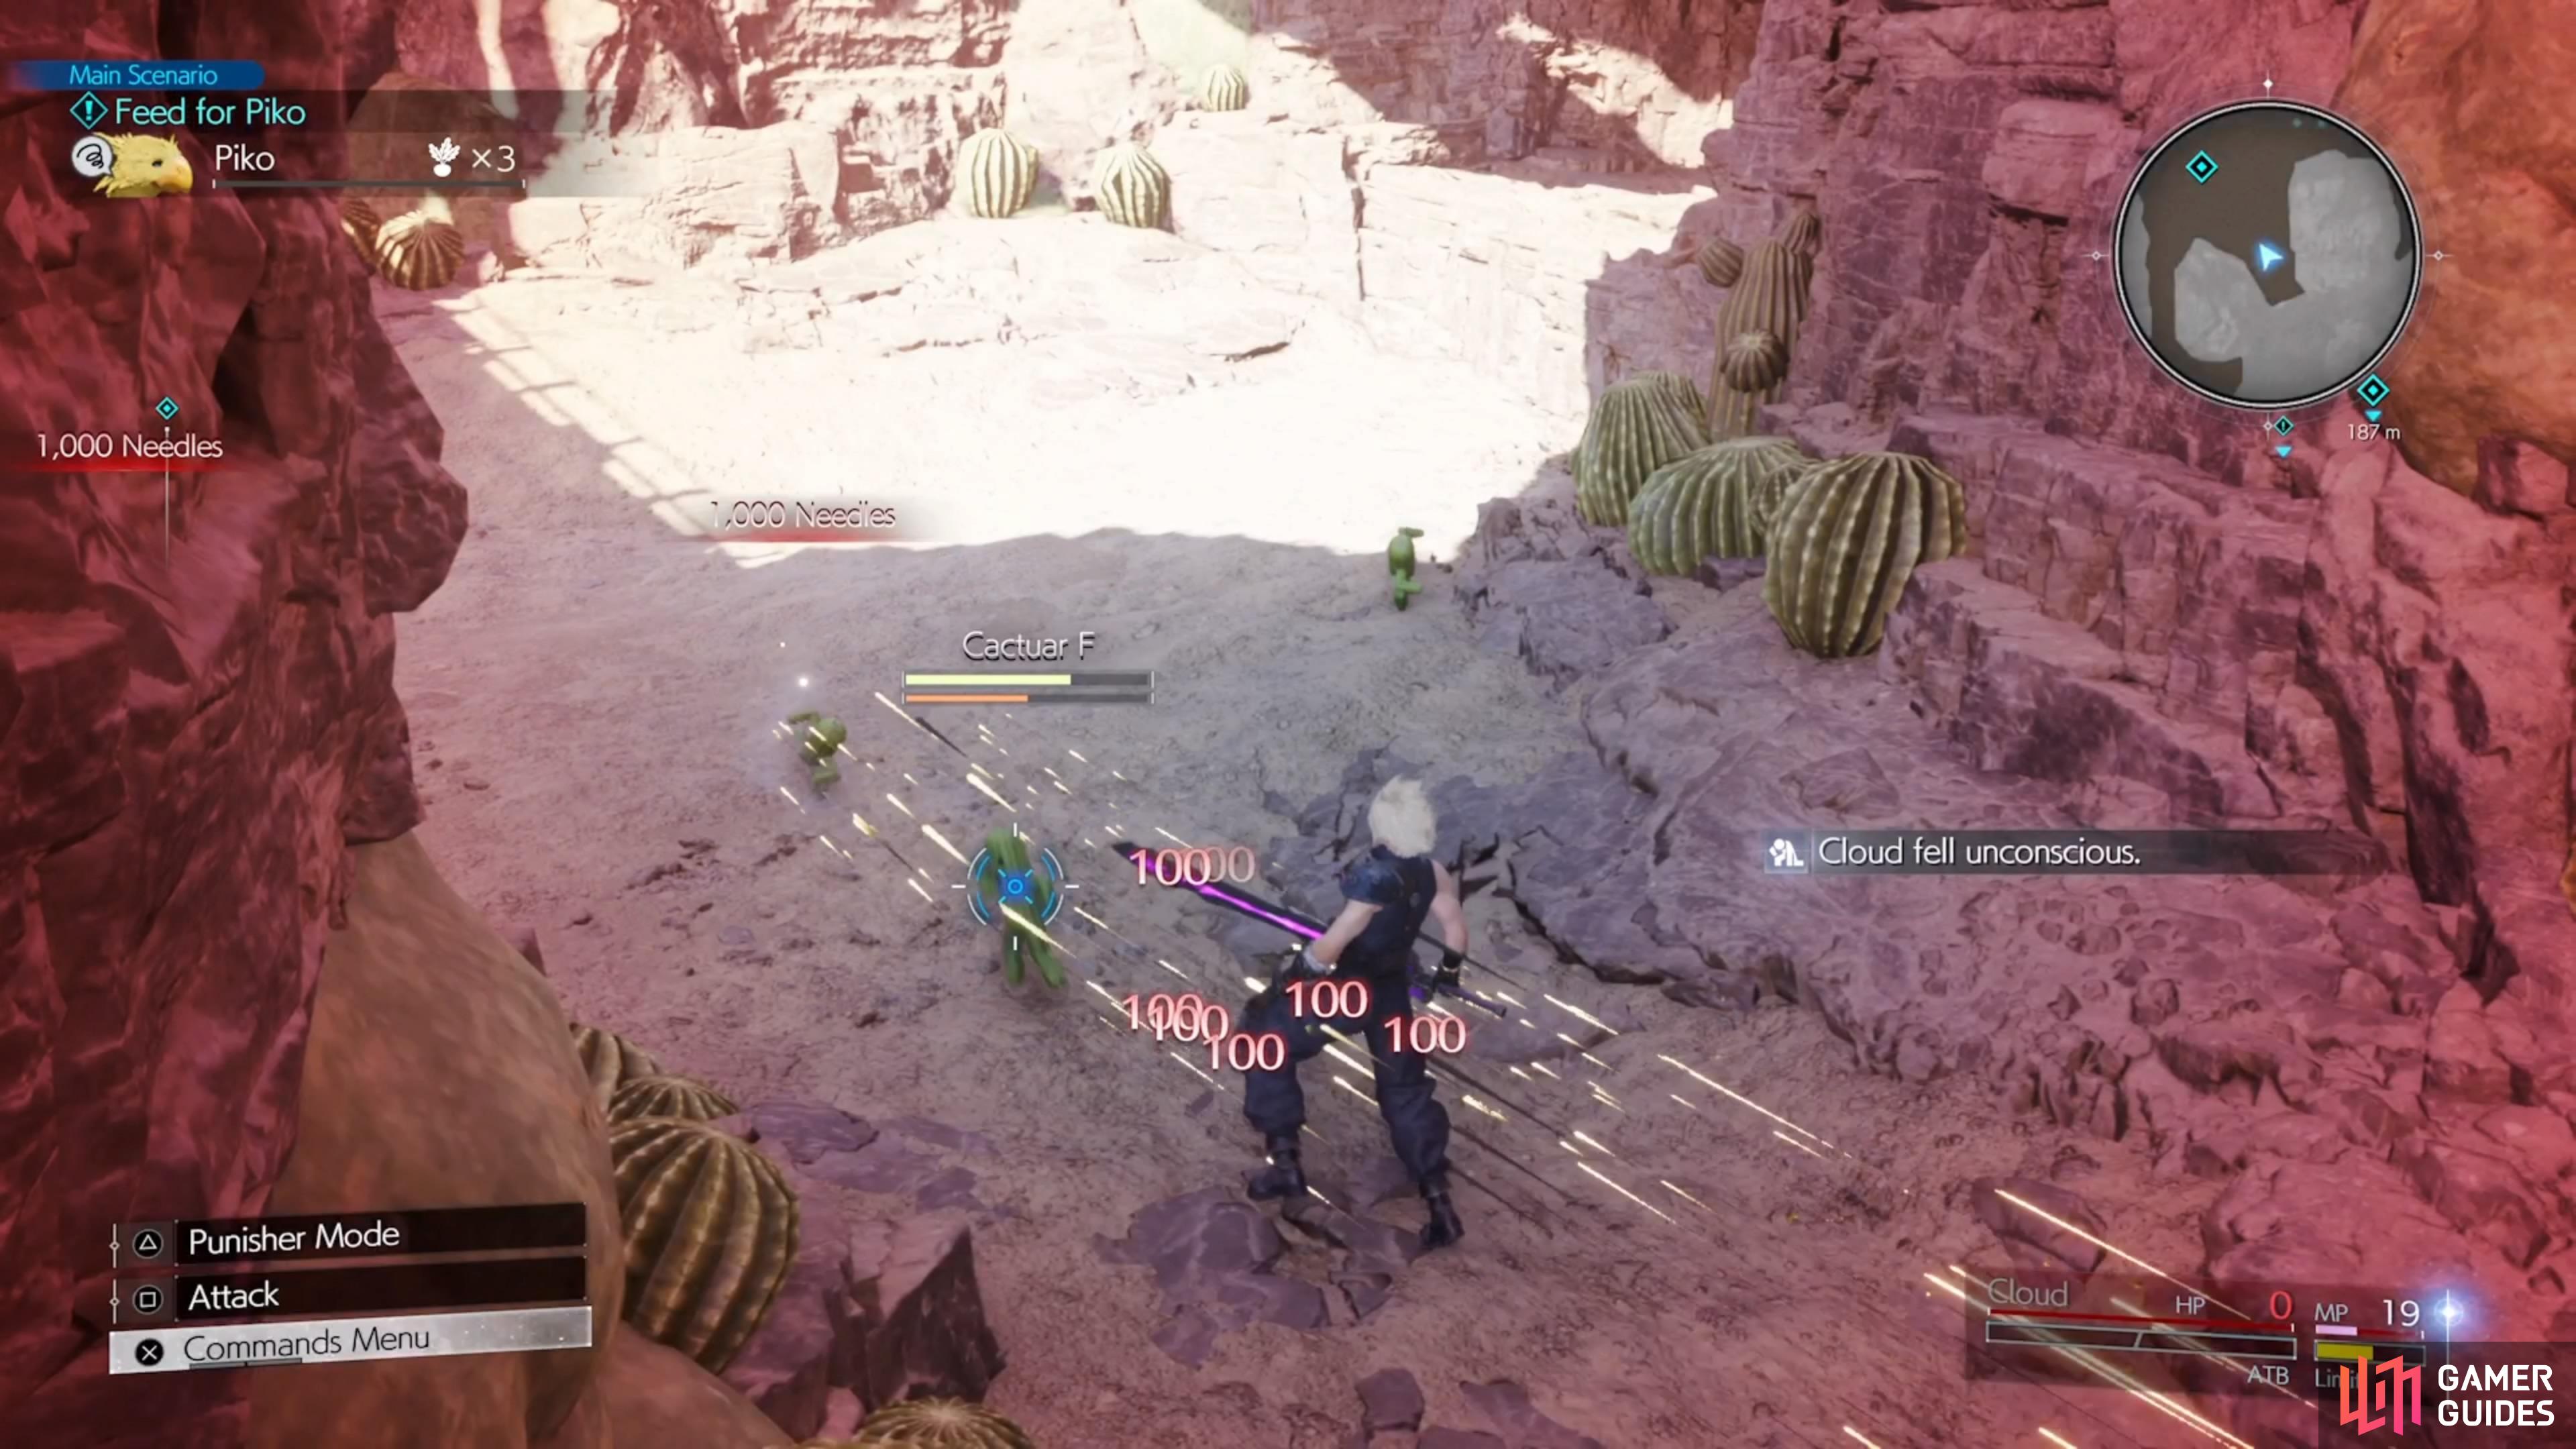
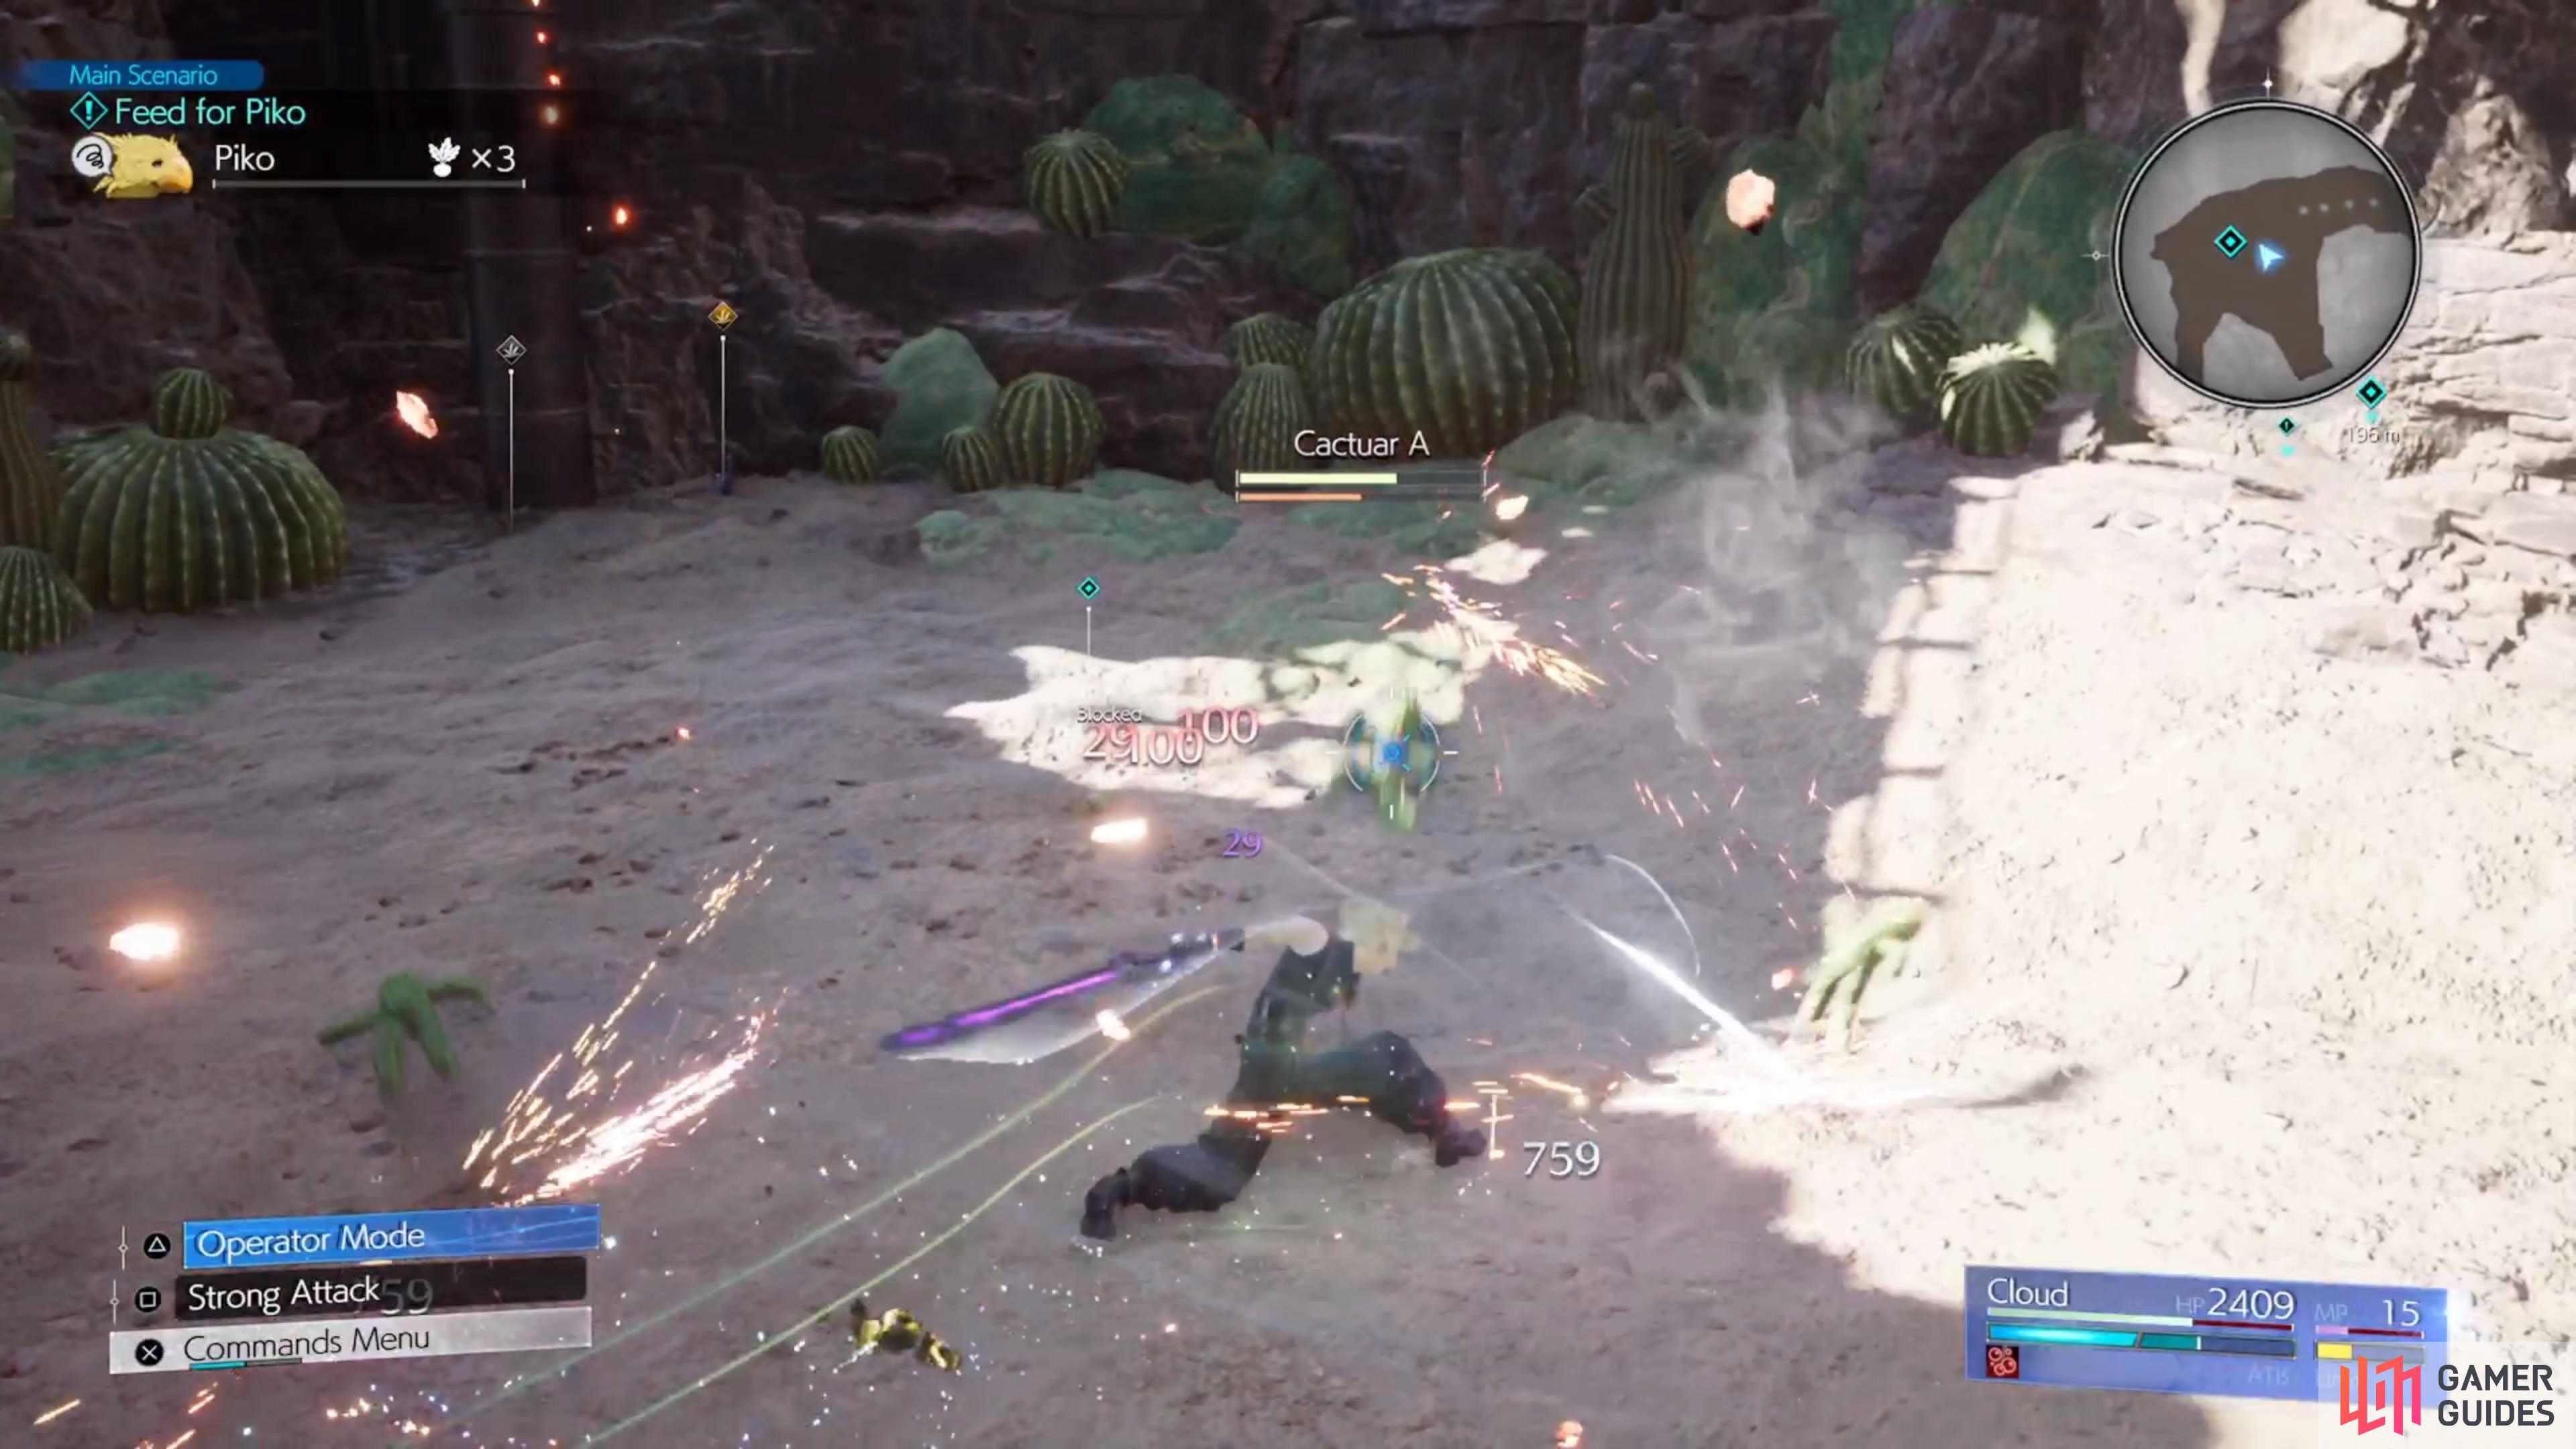
These Cactuars are mean and can quickly kill you in seconds if you’re not careful. The biggest attacks to avoid are 1000 Needles and 3000 Needles. If you see either of these names pop up, you just want to continually dodge until you’re clear of them. The other one that can hurt is Spine Spew, which is basically just them shooting needles into the air and having them rain down on the area. However, if you block while using Punisher Mode, then you can counter this attack and get some good damage on the Cactuars.
(1 of 2) The Cactuars can very quickly KO Cloud when you fight them.
The Cactuars can very quickly KO Cloud when you fight them. (left), Use the Punisher Mode’s parry whenever they do their Spine Spew attack. (right)
While you can use your ATB to do something like Triple Slash, which can pressure the Cactuars and help you hit them, it might be better off to save those for healing (Cura is probably the best). After defeating all of the Cactuars, you will be able to grab the Sylkis Greens off the ground, then take a zipline back to the Dustbowl.
Swindling Seminar
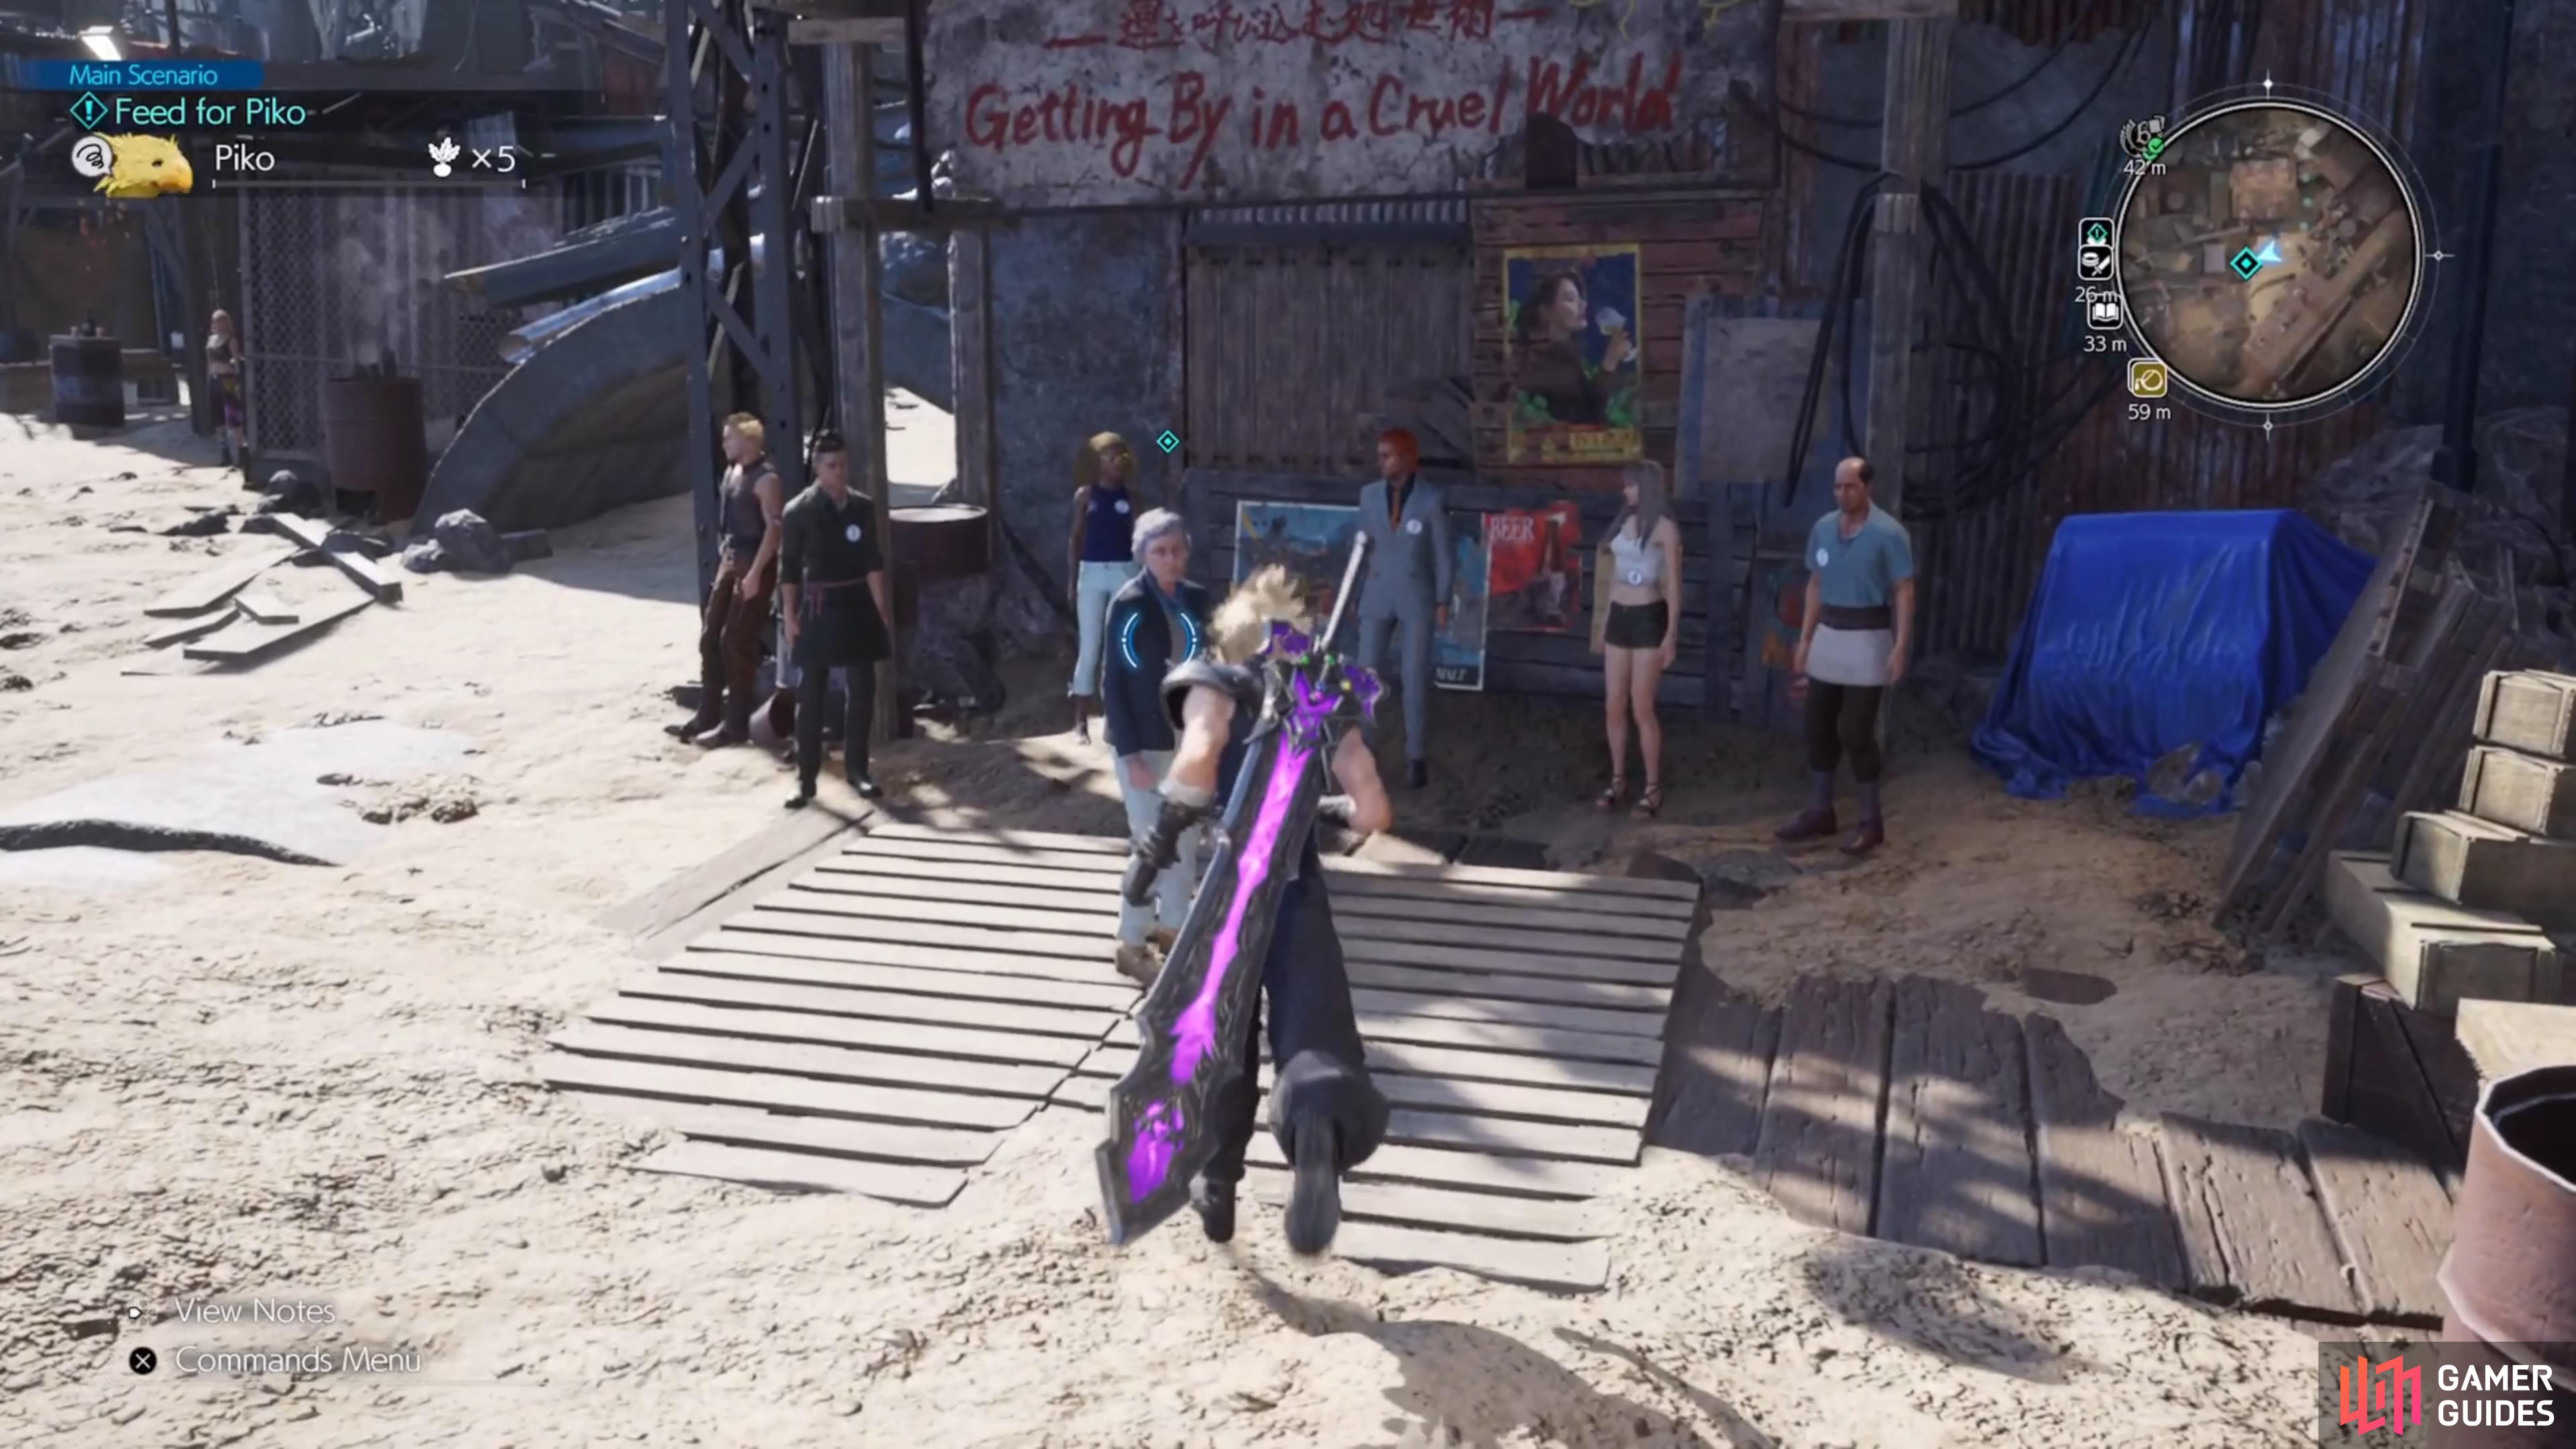
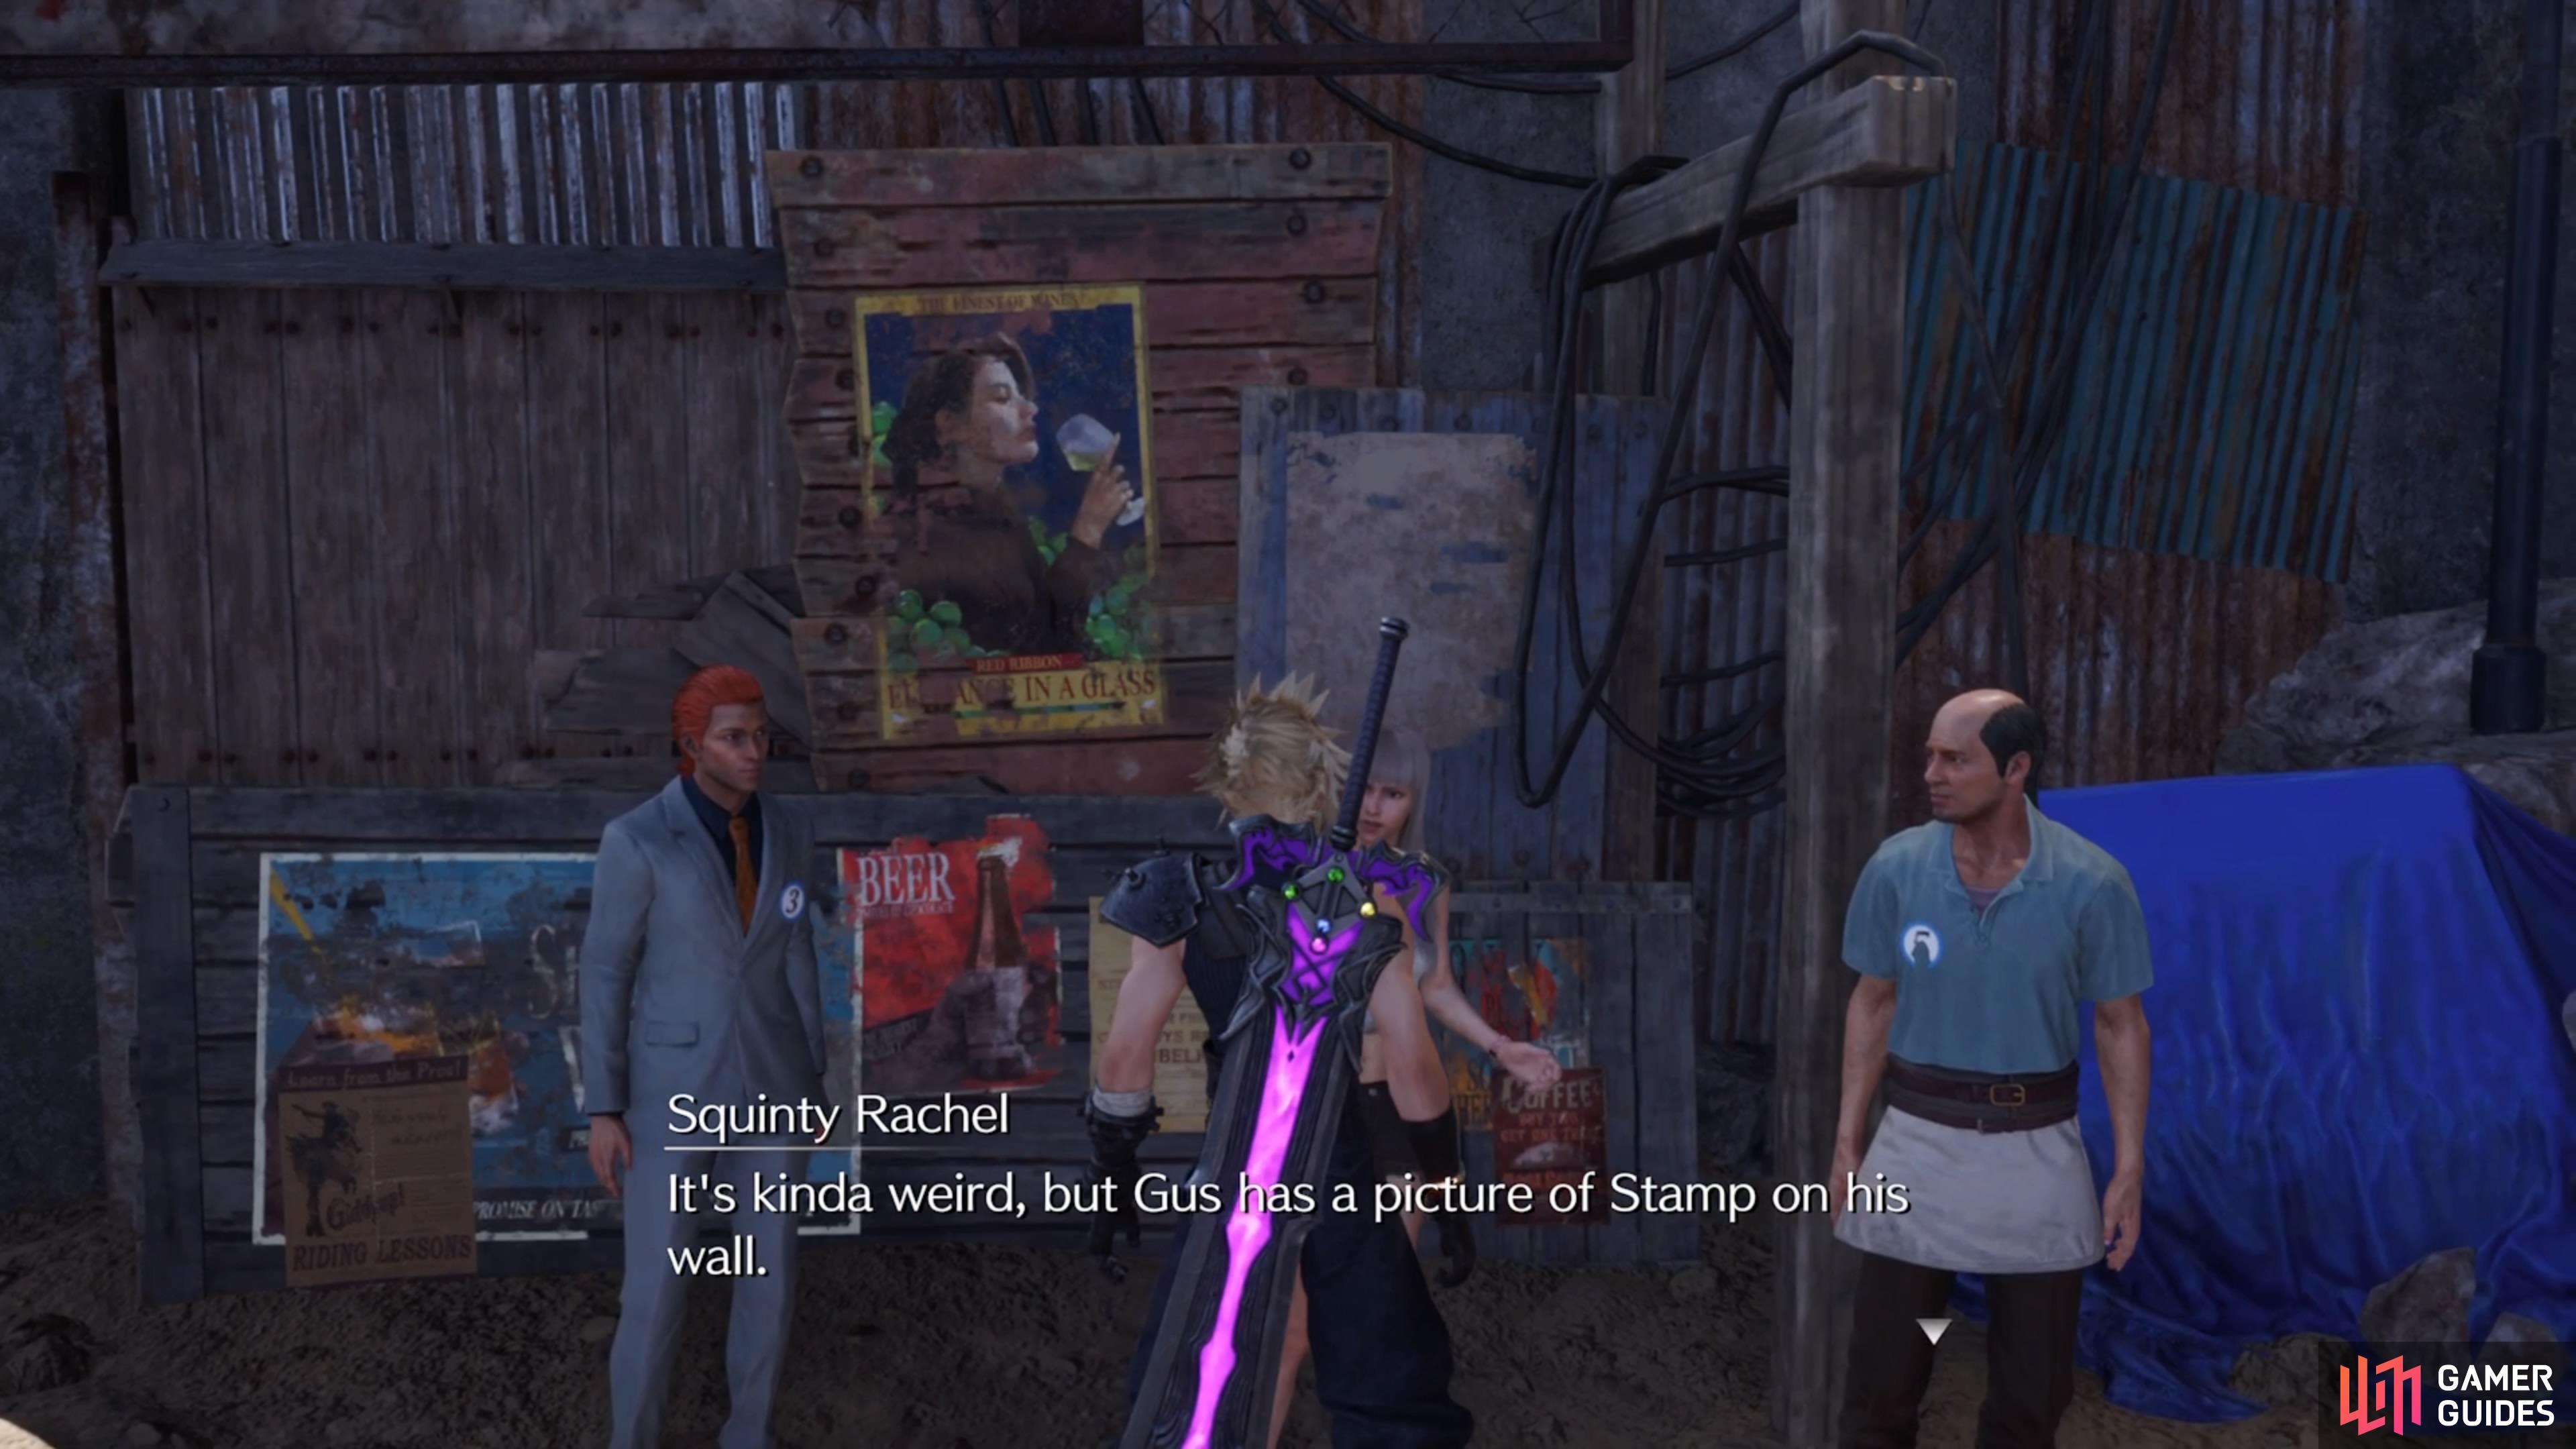
On the eastern side of the Dustbowl, you can crawl through a small passage to find an NPC that is talking about swindling. He will offer you Sylkis Greens, if you can tell which of the five NPCs near him is telling the truth. Each of the NPCs are numbered and the man will give you a map with the same numbers on it. The goal is to speak to each of the NPCs, see what they say, and then go to the corresponding spot on the map to see if they are lying or not.
| NPC | Lie or Truth |
|---|---|
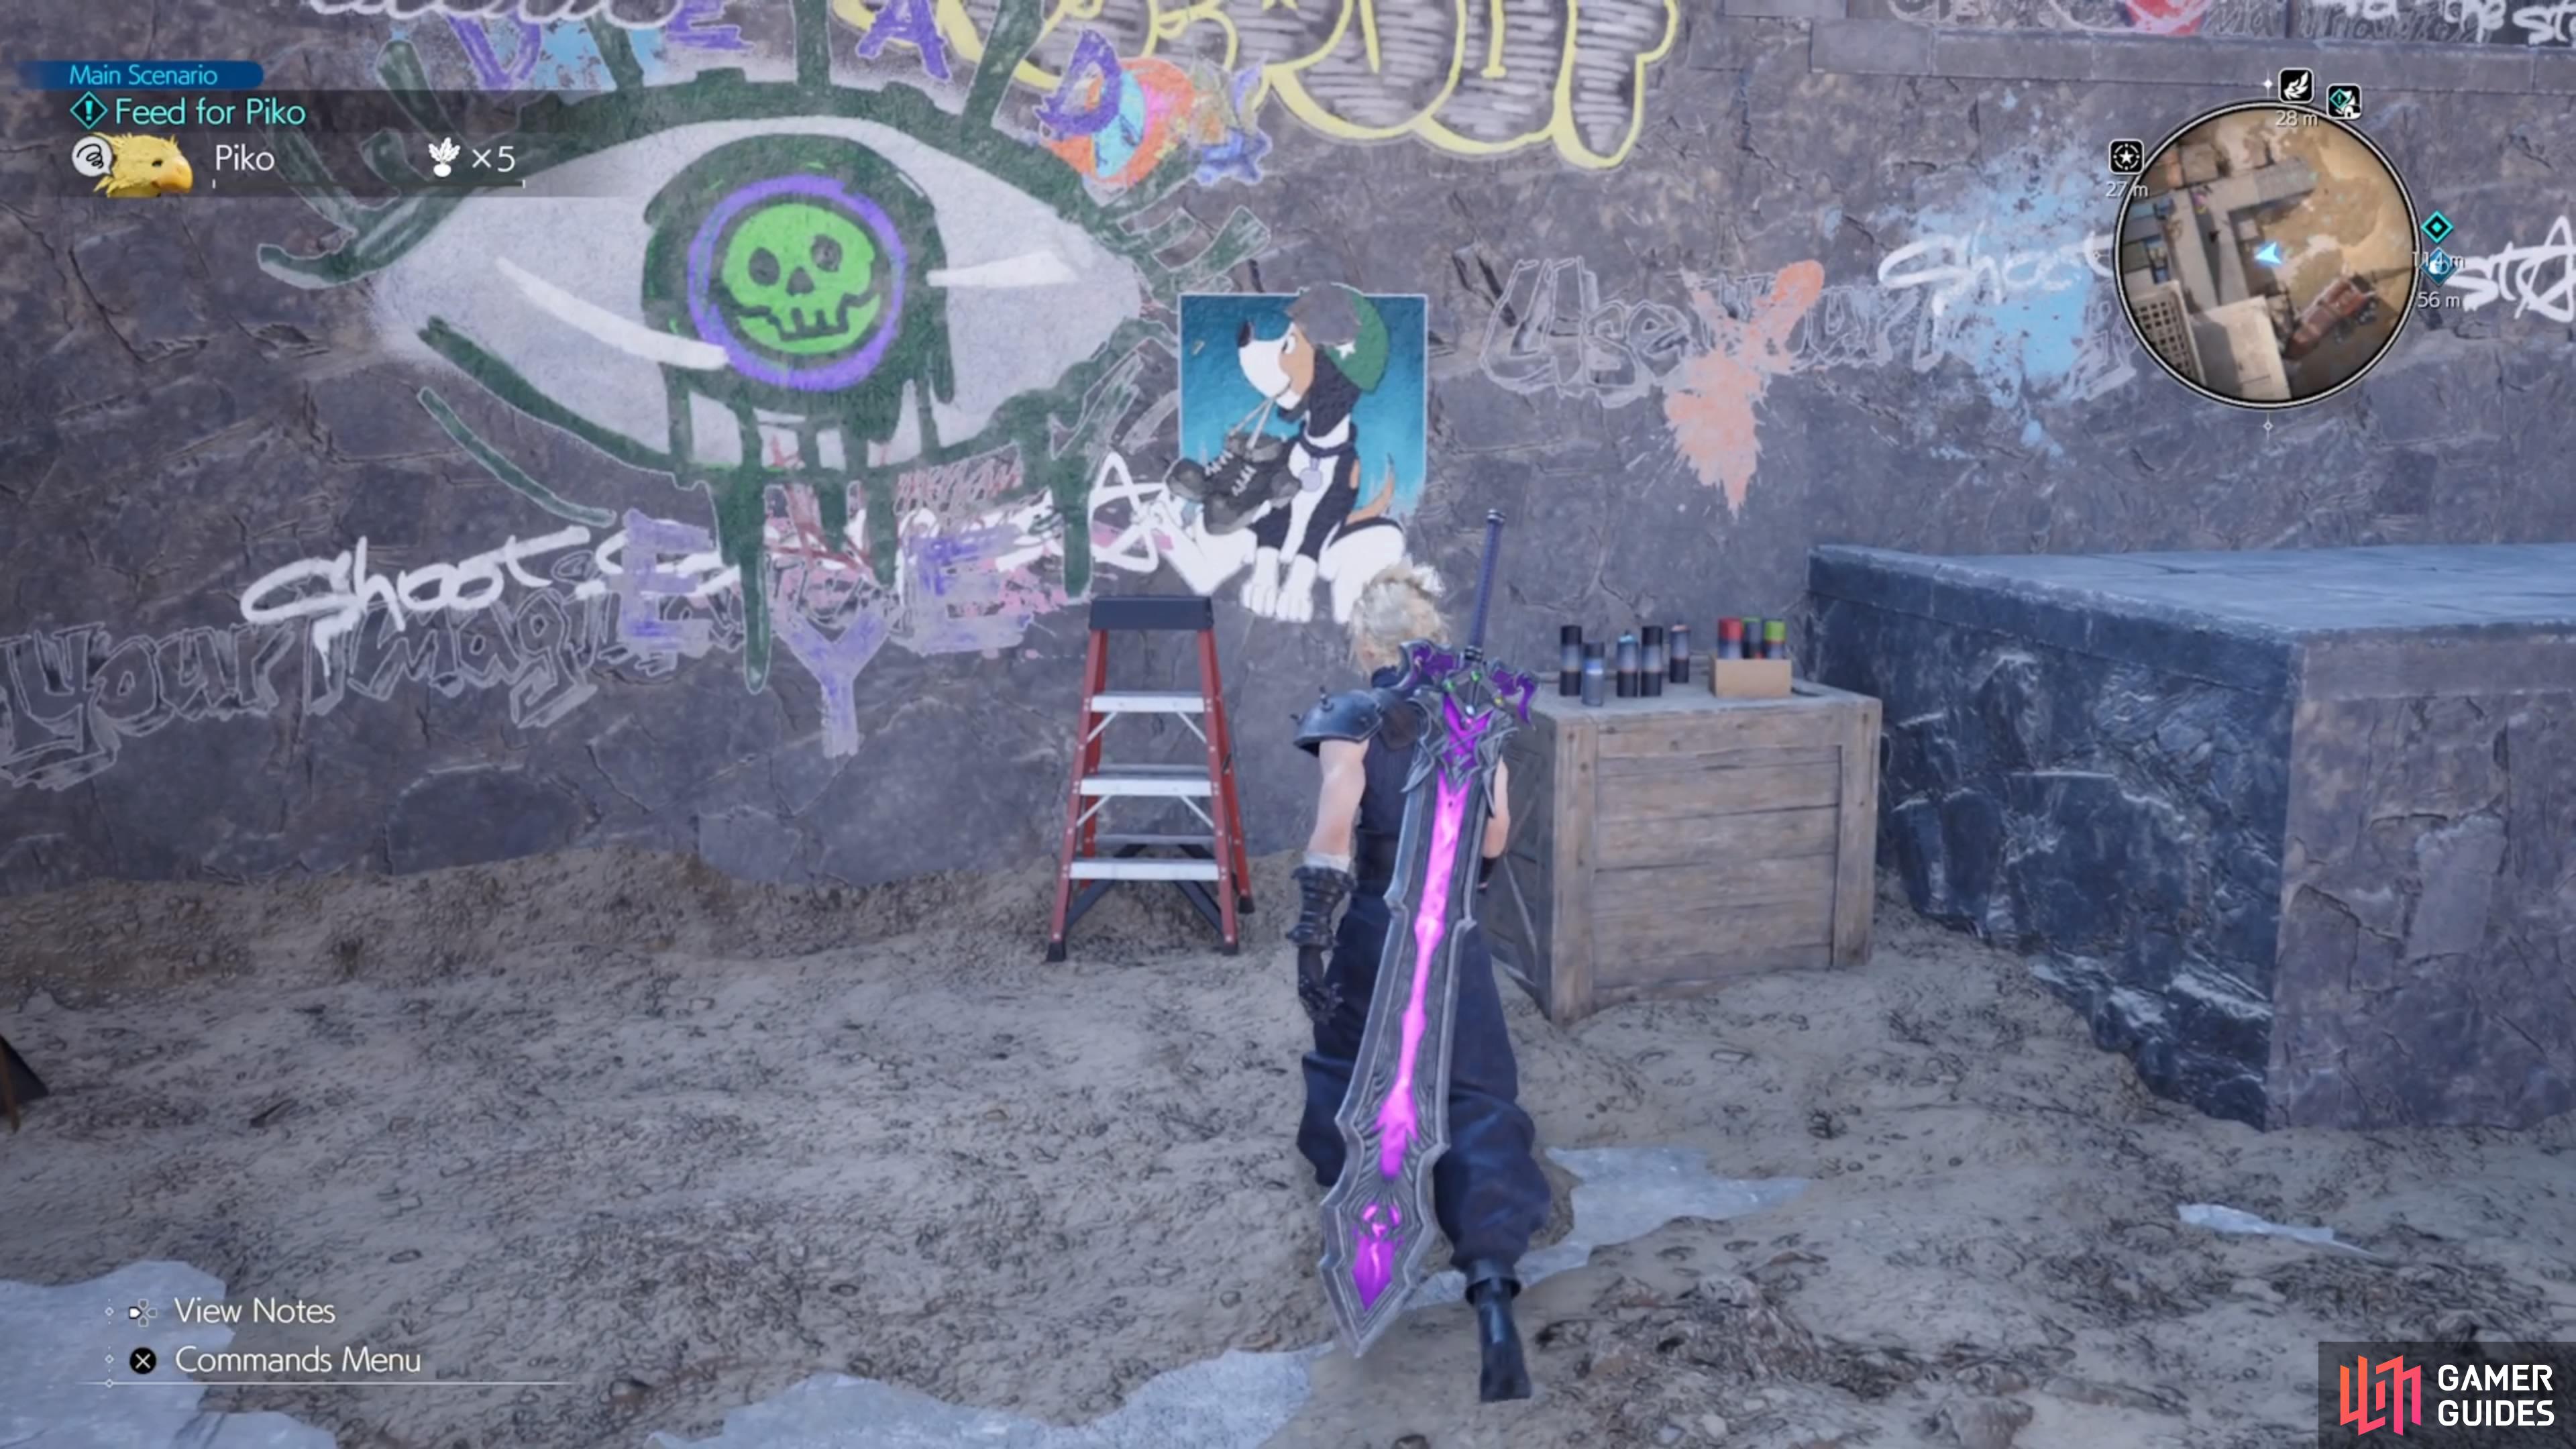
| Blowhard Georgie | Rare monster name in Beast Battleground ( |
| Squinty Rachel | Picture on the base wall right outside Gus’ compound (Stamp is right, No Cactuar is right also). |
| Sloppy Shawn | Talks about autobiography at bookstore (folios place); Gus is the right name attached to the book. |
| Knucklehead Toya | Talks about the weapon shop; If she says noisy and sells potions, that’s wrong. |
| Thirsty Usain | Go to the Bail Jumper Bar and inspect the drink on the side. Bartender mentions the name of the drink is Sunshine. If Usain mentions any other drink name, then he’s lying. |
(1 of 4) The Swindler NPC will ask you for 500 gil for each attempt.
The person telling the truth is randomized, so you will have to speak with each of them and discern the truth from their statements. It costs 500 Gil each attempt, should you get it wrong. Tell the first NPC who you feel is speaking the truth and should you get it right, then you will receive the Sylkis Greens.
Stalkers?
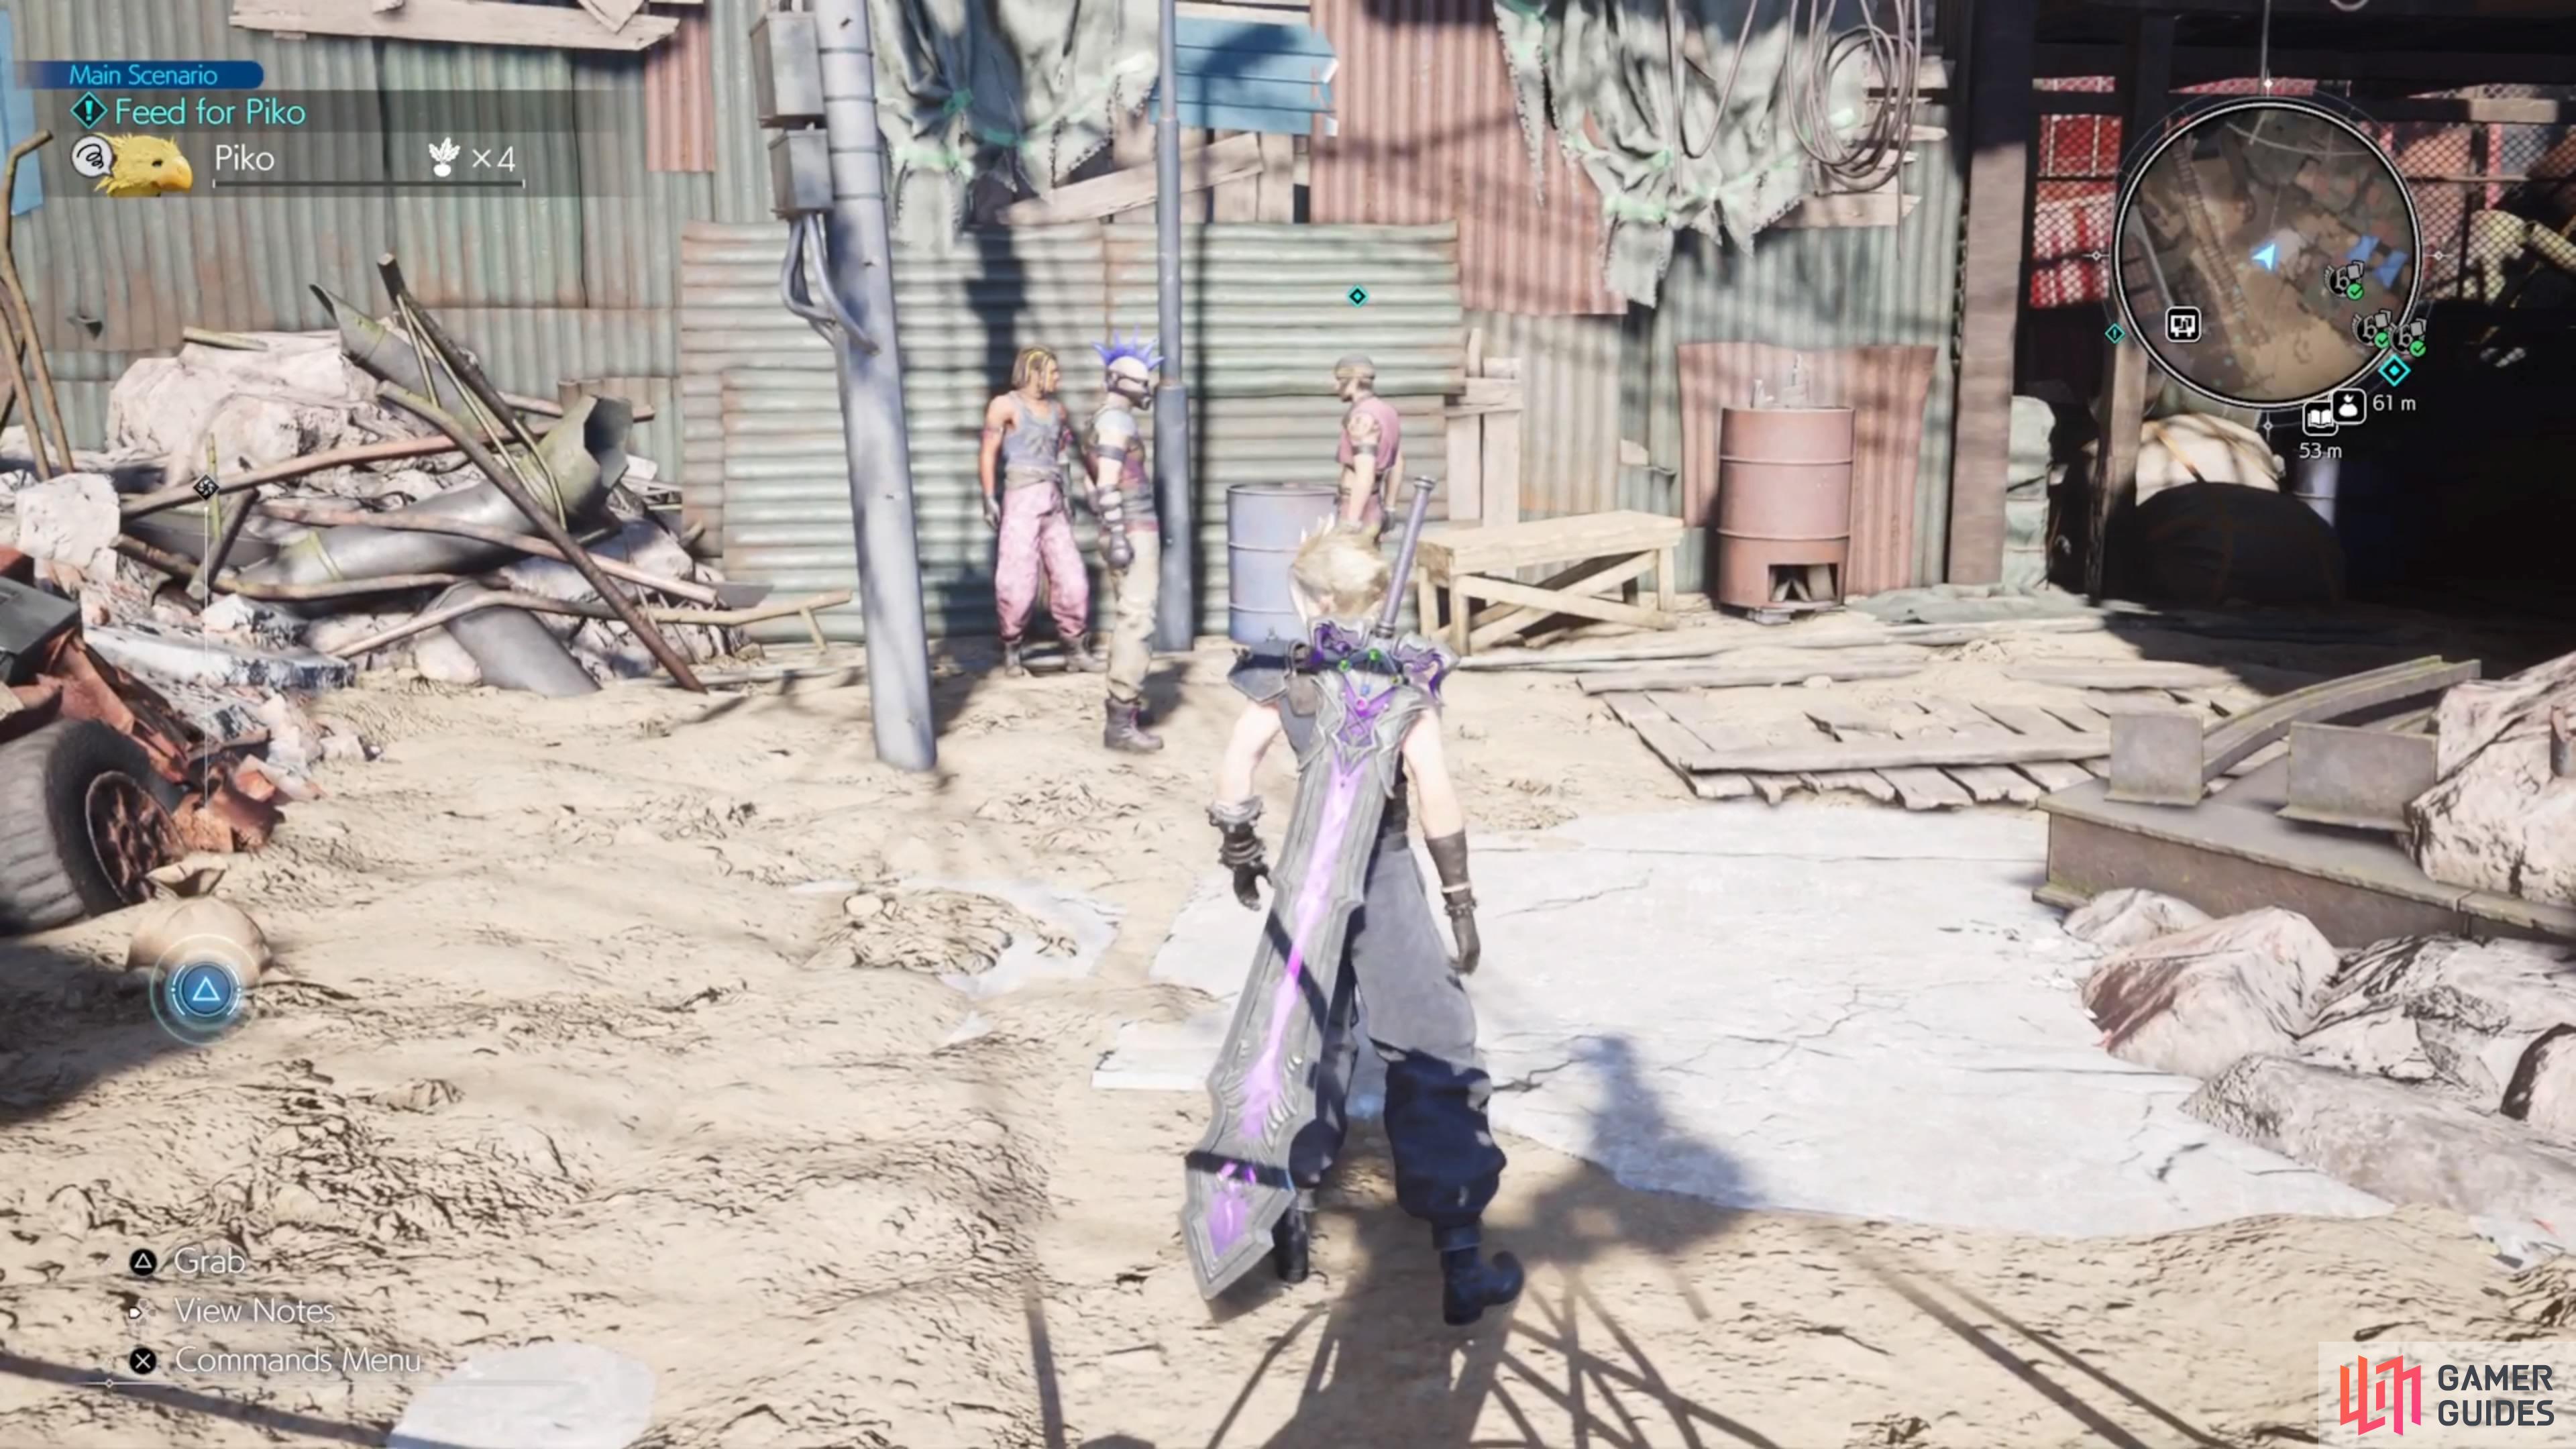
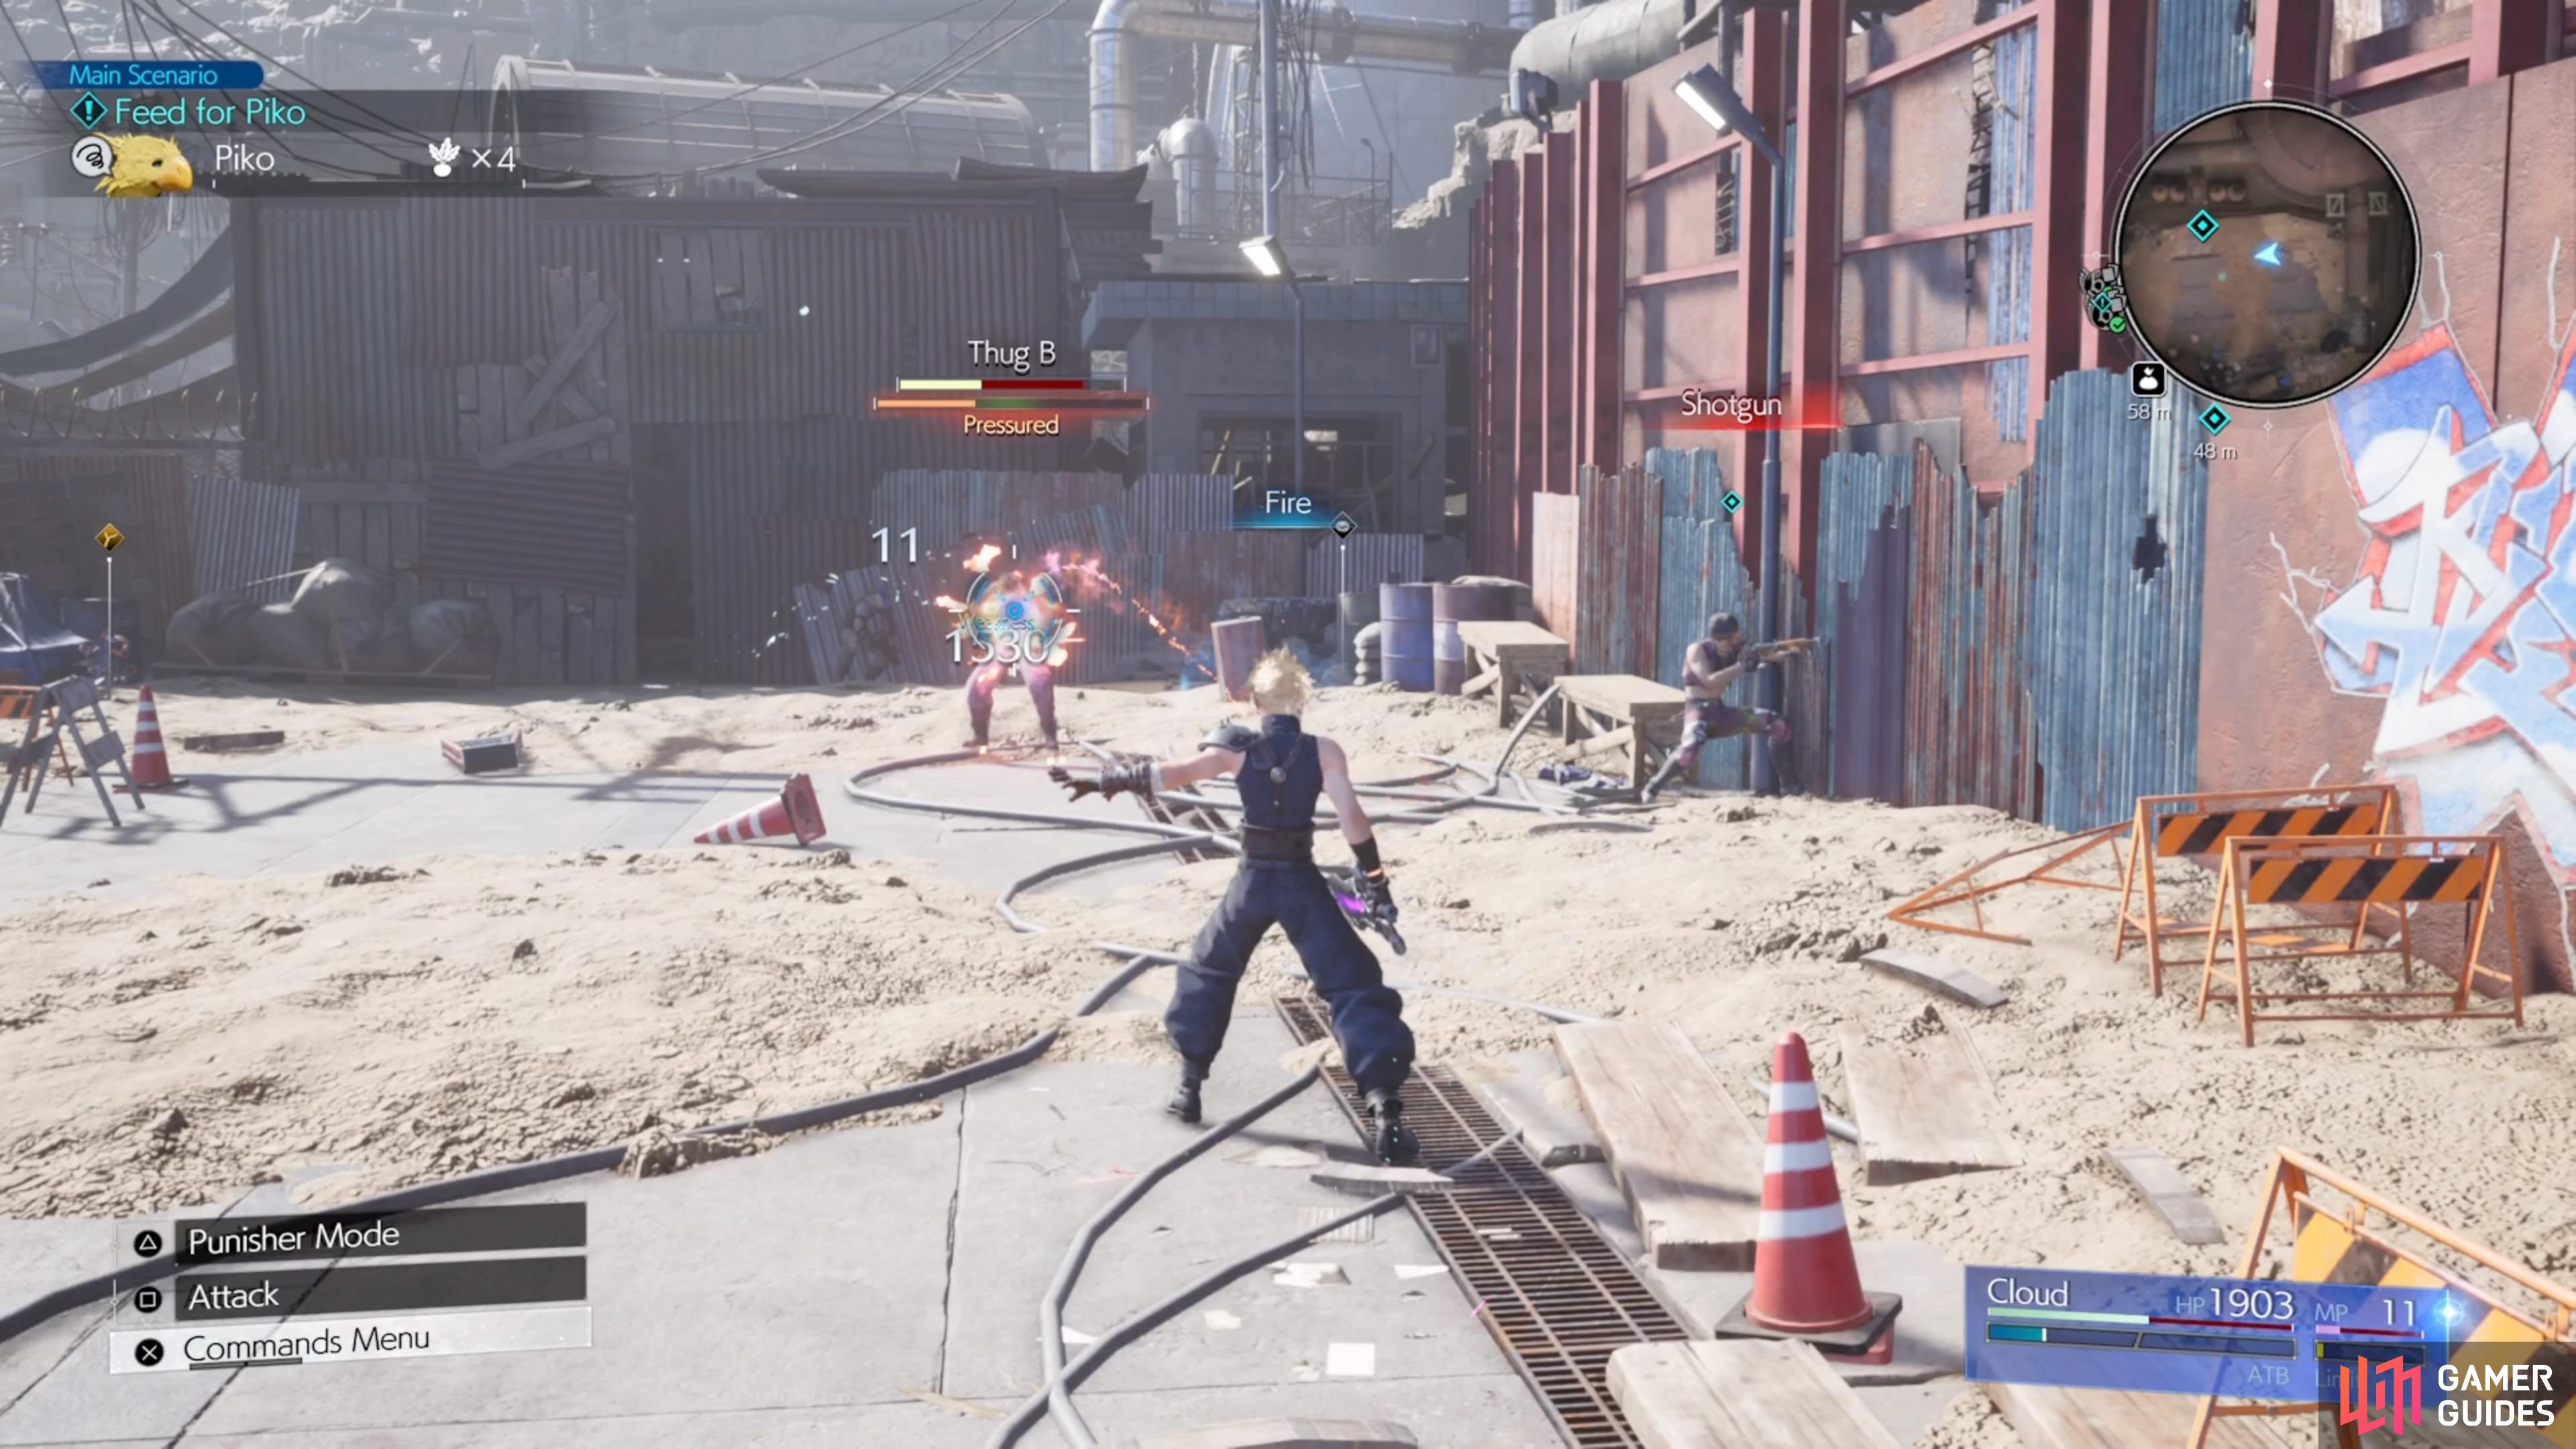
There are three men standing across from the noticeboard, so speak to the one and then go down the path to the right of him. You will find a chest at the end of the path, before going left, which contains 1,500 Gil. Squeeze through the small gap inside the building, where the three men will now attack you. One is equipped with a gun, another a shotgun and the third will use a flamethrower. The gun ones should be dealt with first, but overall, these three enemies shouldn’t really give you any troubles. ![]() Fire will work very well against them, since it not only does big damage, but it will also pressure them. They will hand over a Sylkis Green after the battle has been won.
Fire will work very well against them, since it not only does big damage, but it will also pressure them. They will hand over a Sylkis Green after the battle has been won.
(1 of 2) Follow these suspicious men to where they want you to go.
Follow these suspicious men to where they want you to go. (left), Using Fire is the quickest way you can dispatch them. (right)
Beast Battleground
In the same area as the Swindling Seminar, you will find a ladder in the bottom right corner. Head down here to find an arena you can participate in, with there being three matches. You’ll have to win all three matches to get the Sylkis Greens.
- Round 1: You’re up against two
 Ignilisk and a
  Grasslands Wolf. You shouldn’t have any problem with these.
 - Round 2: You will be fighting a single
 Bagnadrana. Attacking from the rear will do nothing, in terms of damage, so keep to the front. It is weak to ice and can pin you down with its one attack, so be careful of that.
 - Round 3: Up against an enemy named
 Test 0. It is quick and reminiscent of the Shinra dogs. Using Fire is good here, plus you can counter with Punisher Mode whenever it tries to run at you. You can also try to attack it whenever it “Plays Dead.”
(1 of 2) Once you have your greens, feed them to Piko to help him recover.
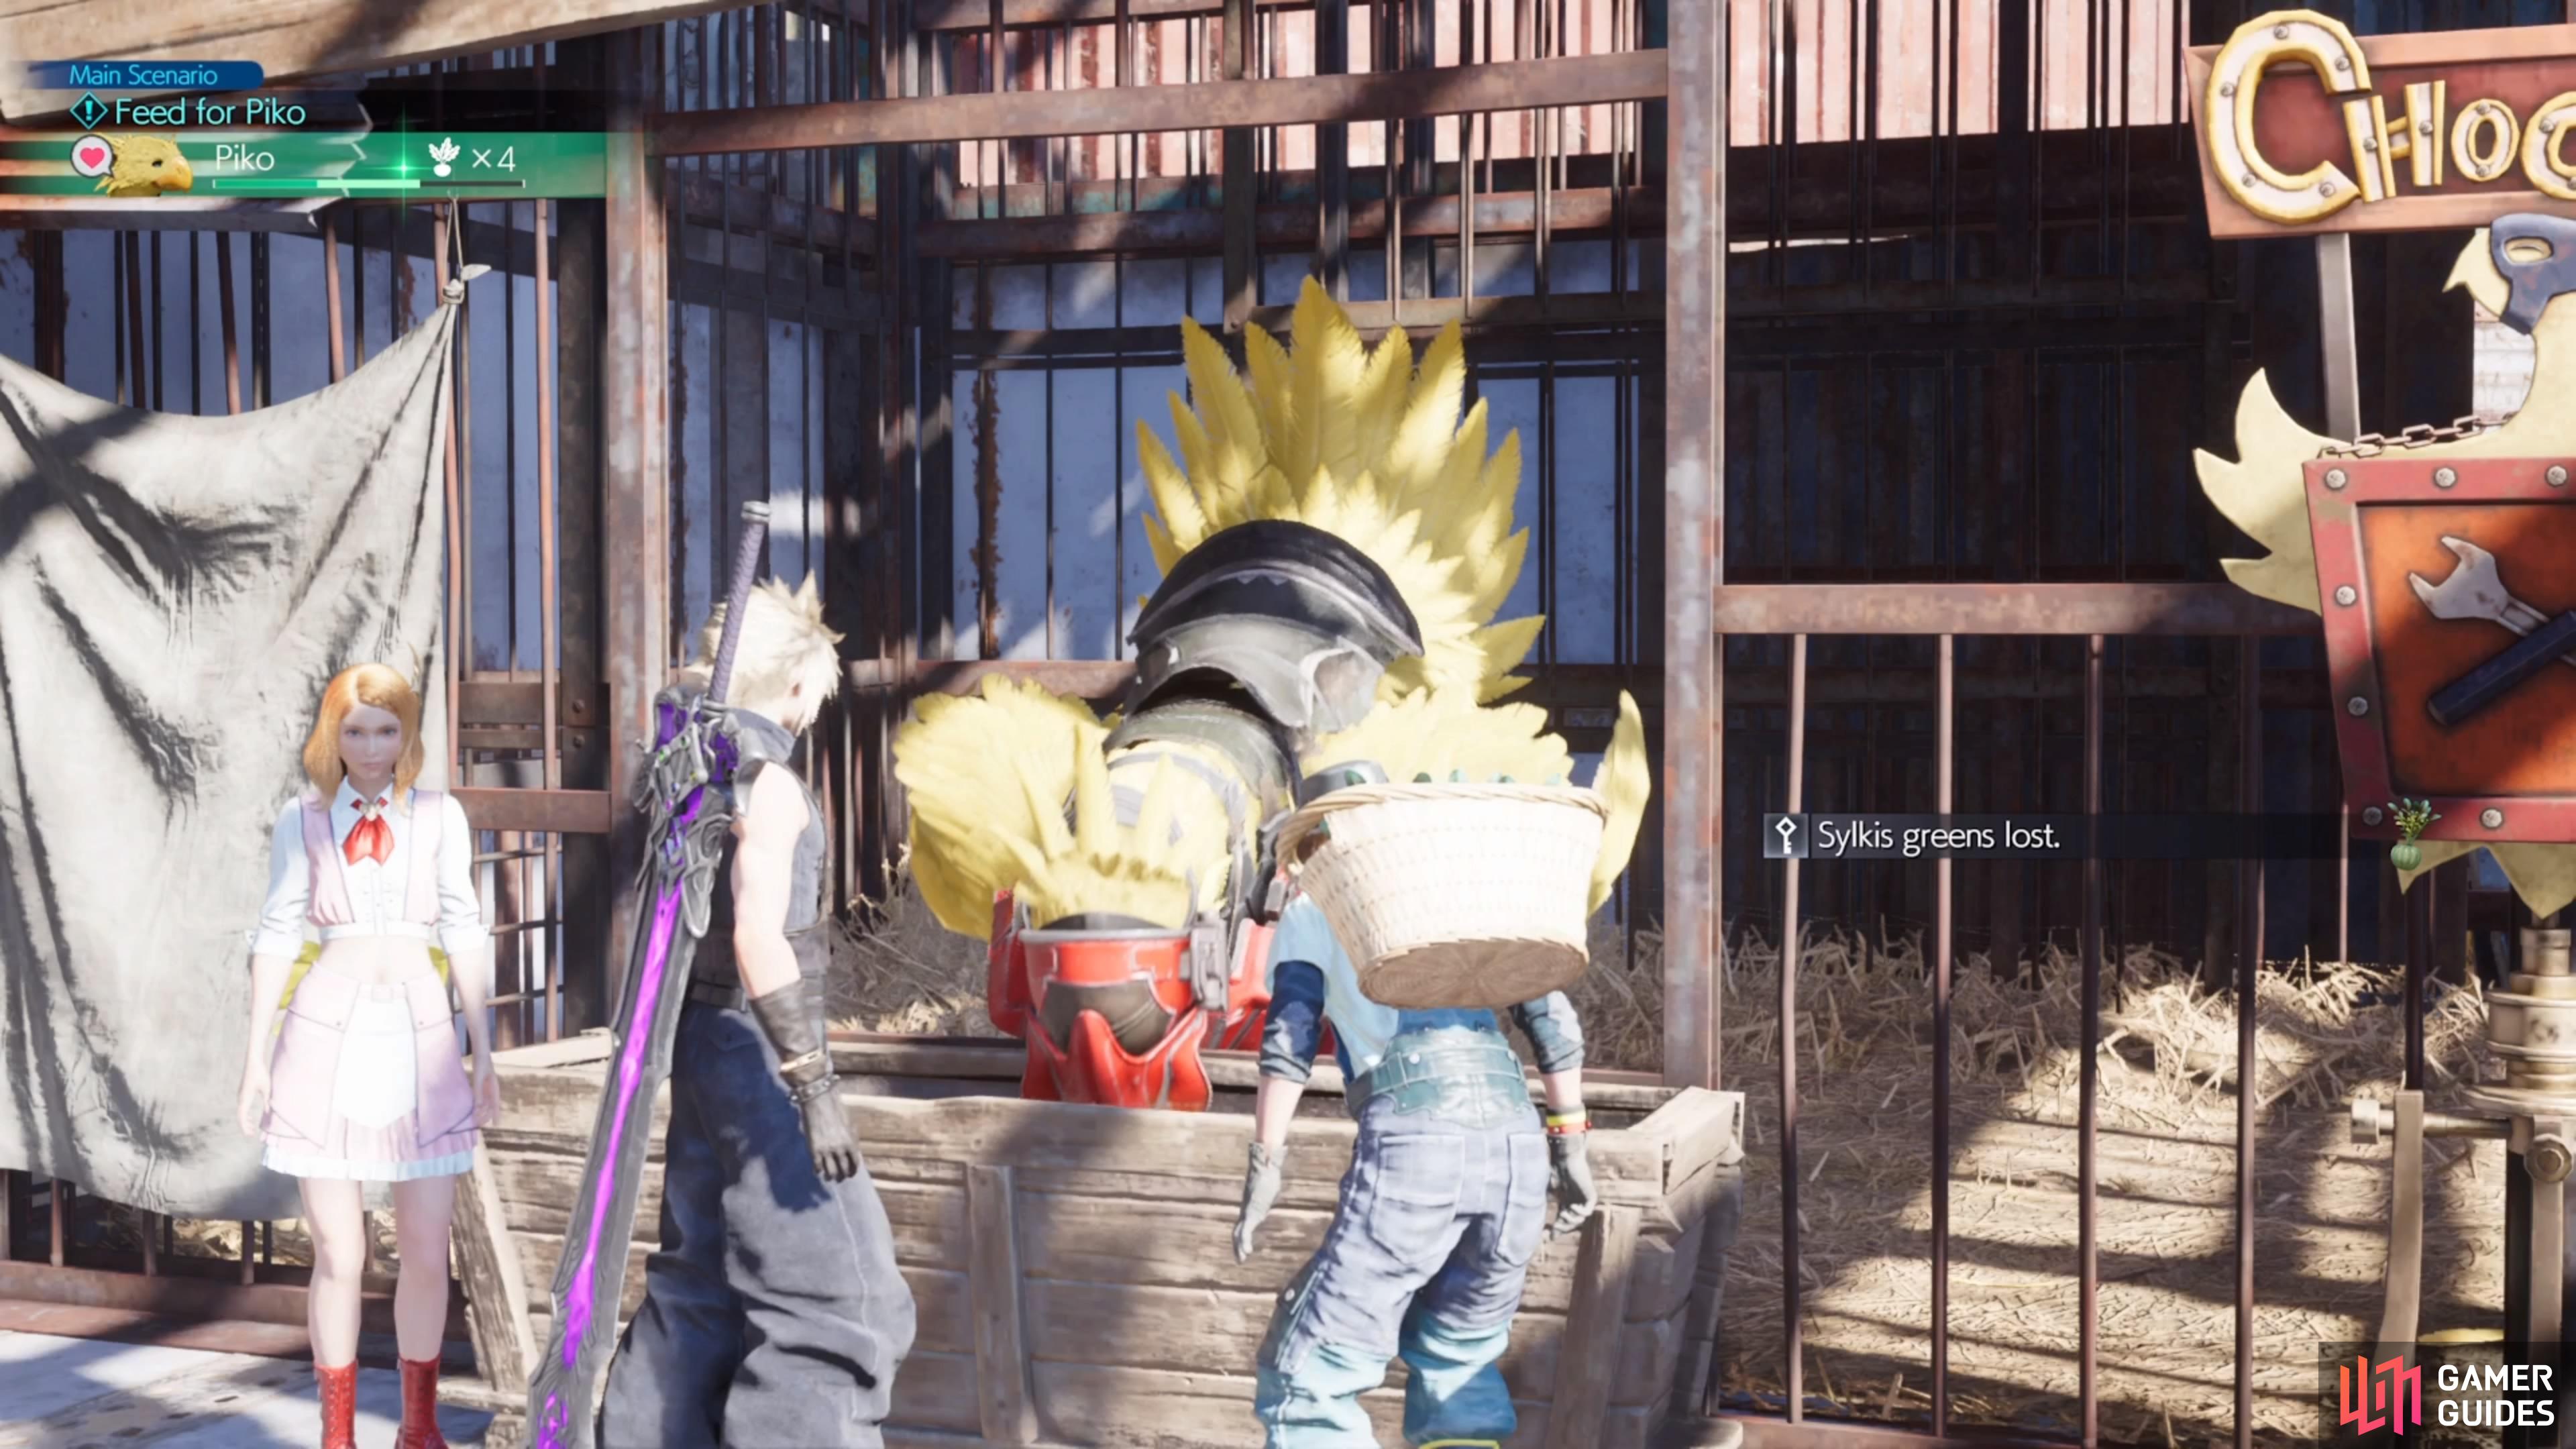
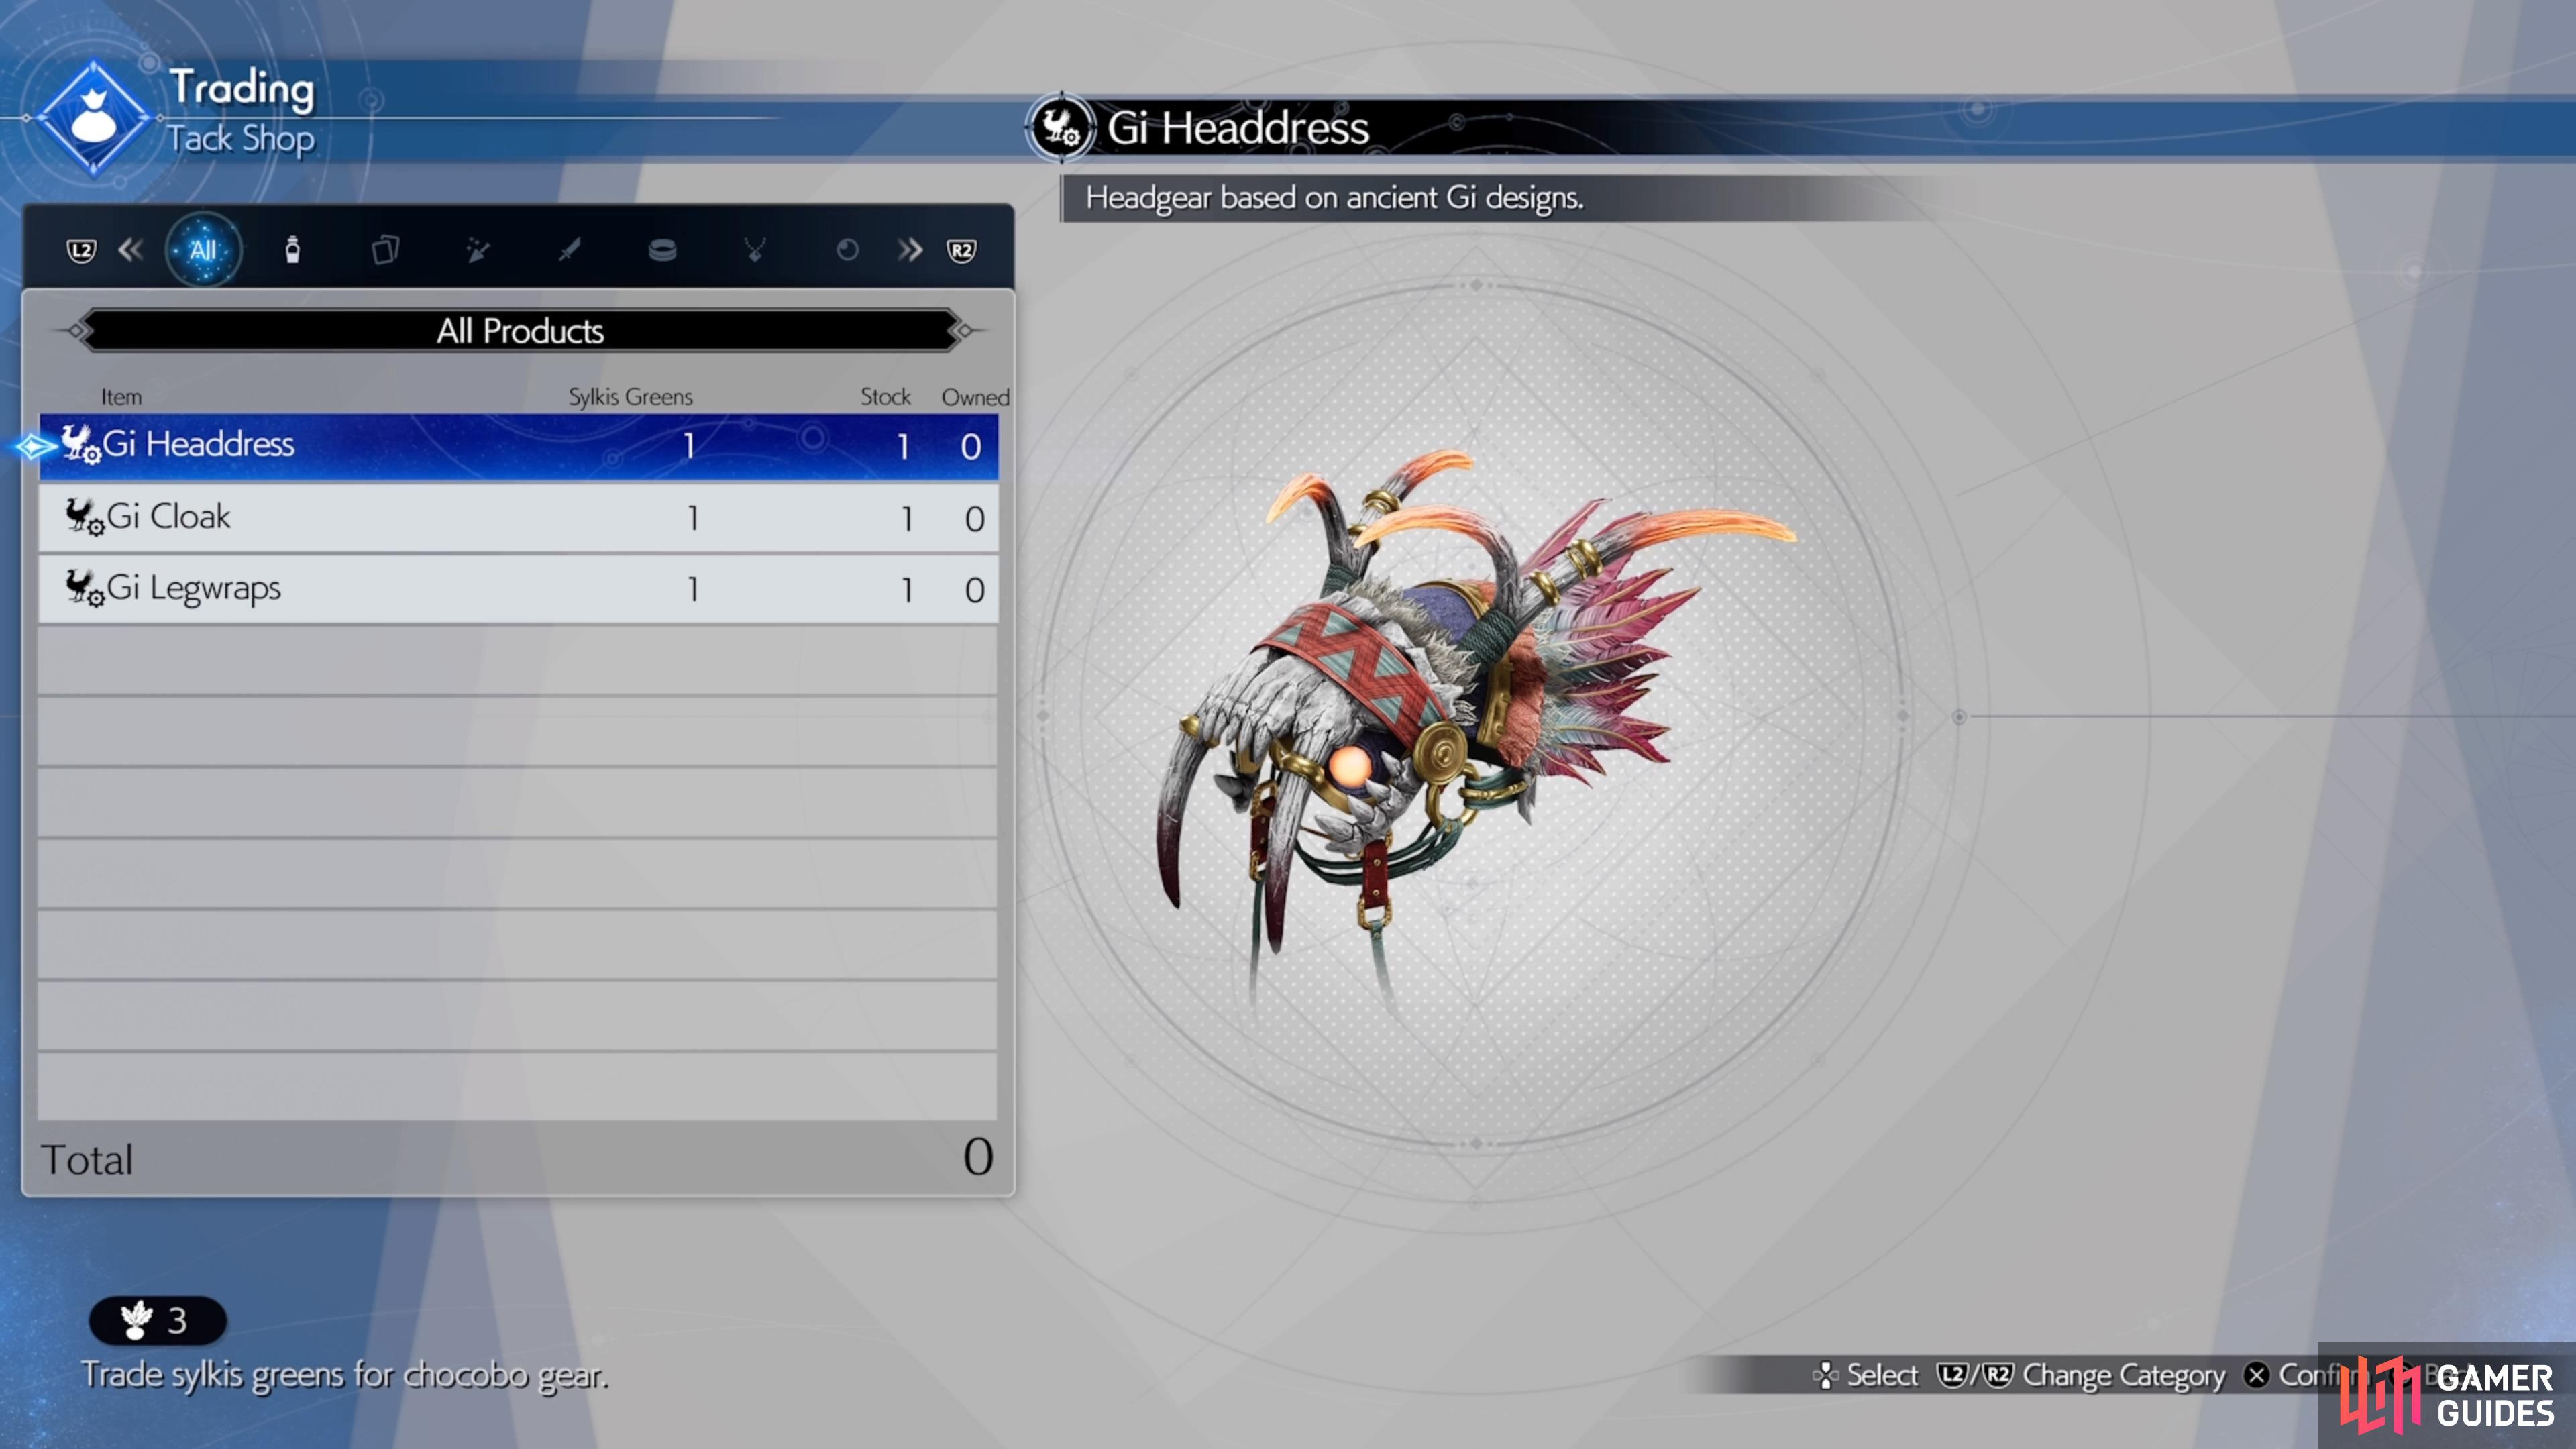
Once you have your greens, feed them to Piko to help him recover. (left), You can use the remaining greens to purchase the Gi Chocobo gear. (right)
Upon retrieving all six (or at least three) Sylkis Greens, return to Piko and feed him the greens, one by one. The third green will bring him to full health and you can use the remaining three to purchase the Gi Chocobo equipment from Esther.



 Sign up
No Comments