
The Protorelic is a chain of quests that started in the ![]() Grasslands, and continues throughout Final Fantasy VII Rebirth. The Protorelic in the
Grasslands, and continues throughout Final Fantasy VII Rebirth. The Protorelic in the ![]() Corel Region is one you won’t be able to do right away, as it’s in the desert portion. You will have to wait until Chapter 9 to be able to start this, but even then, you won’t be able to finish it until Chapter 12. It will involve you doing a minigame called Cactuar Crush, where you will need to beat down a bunch of
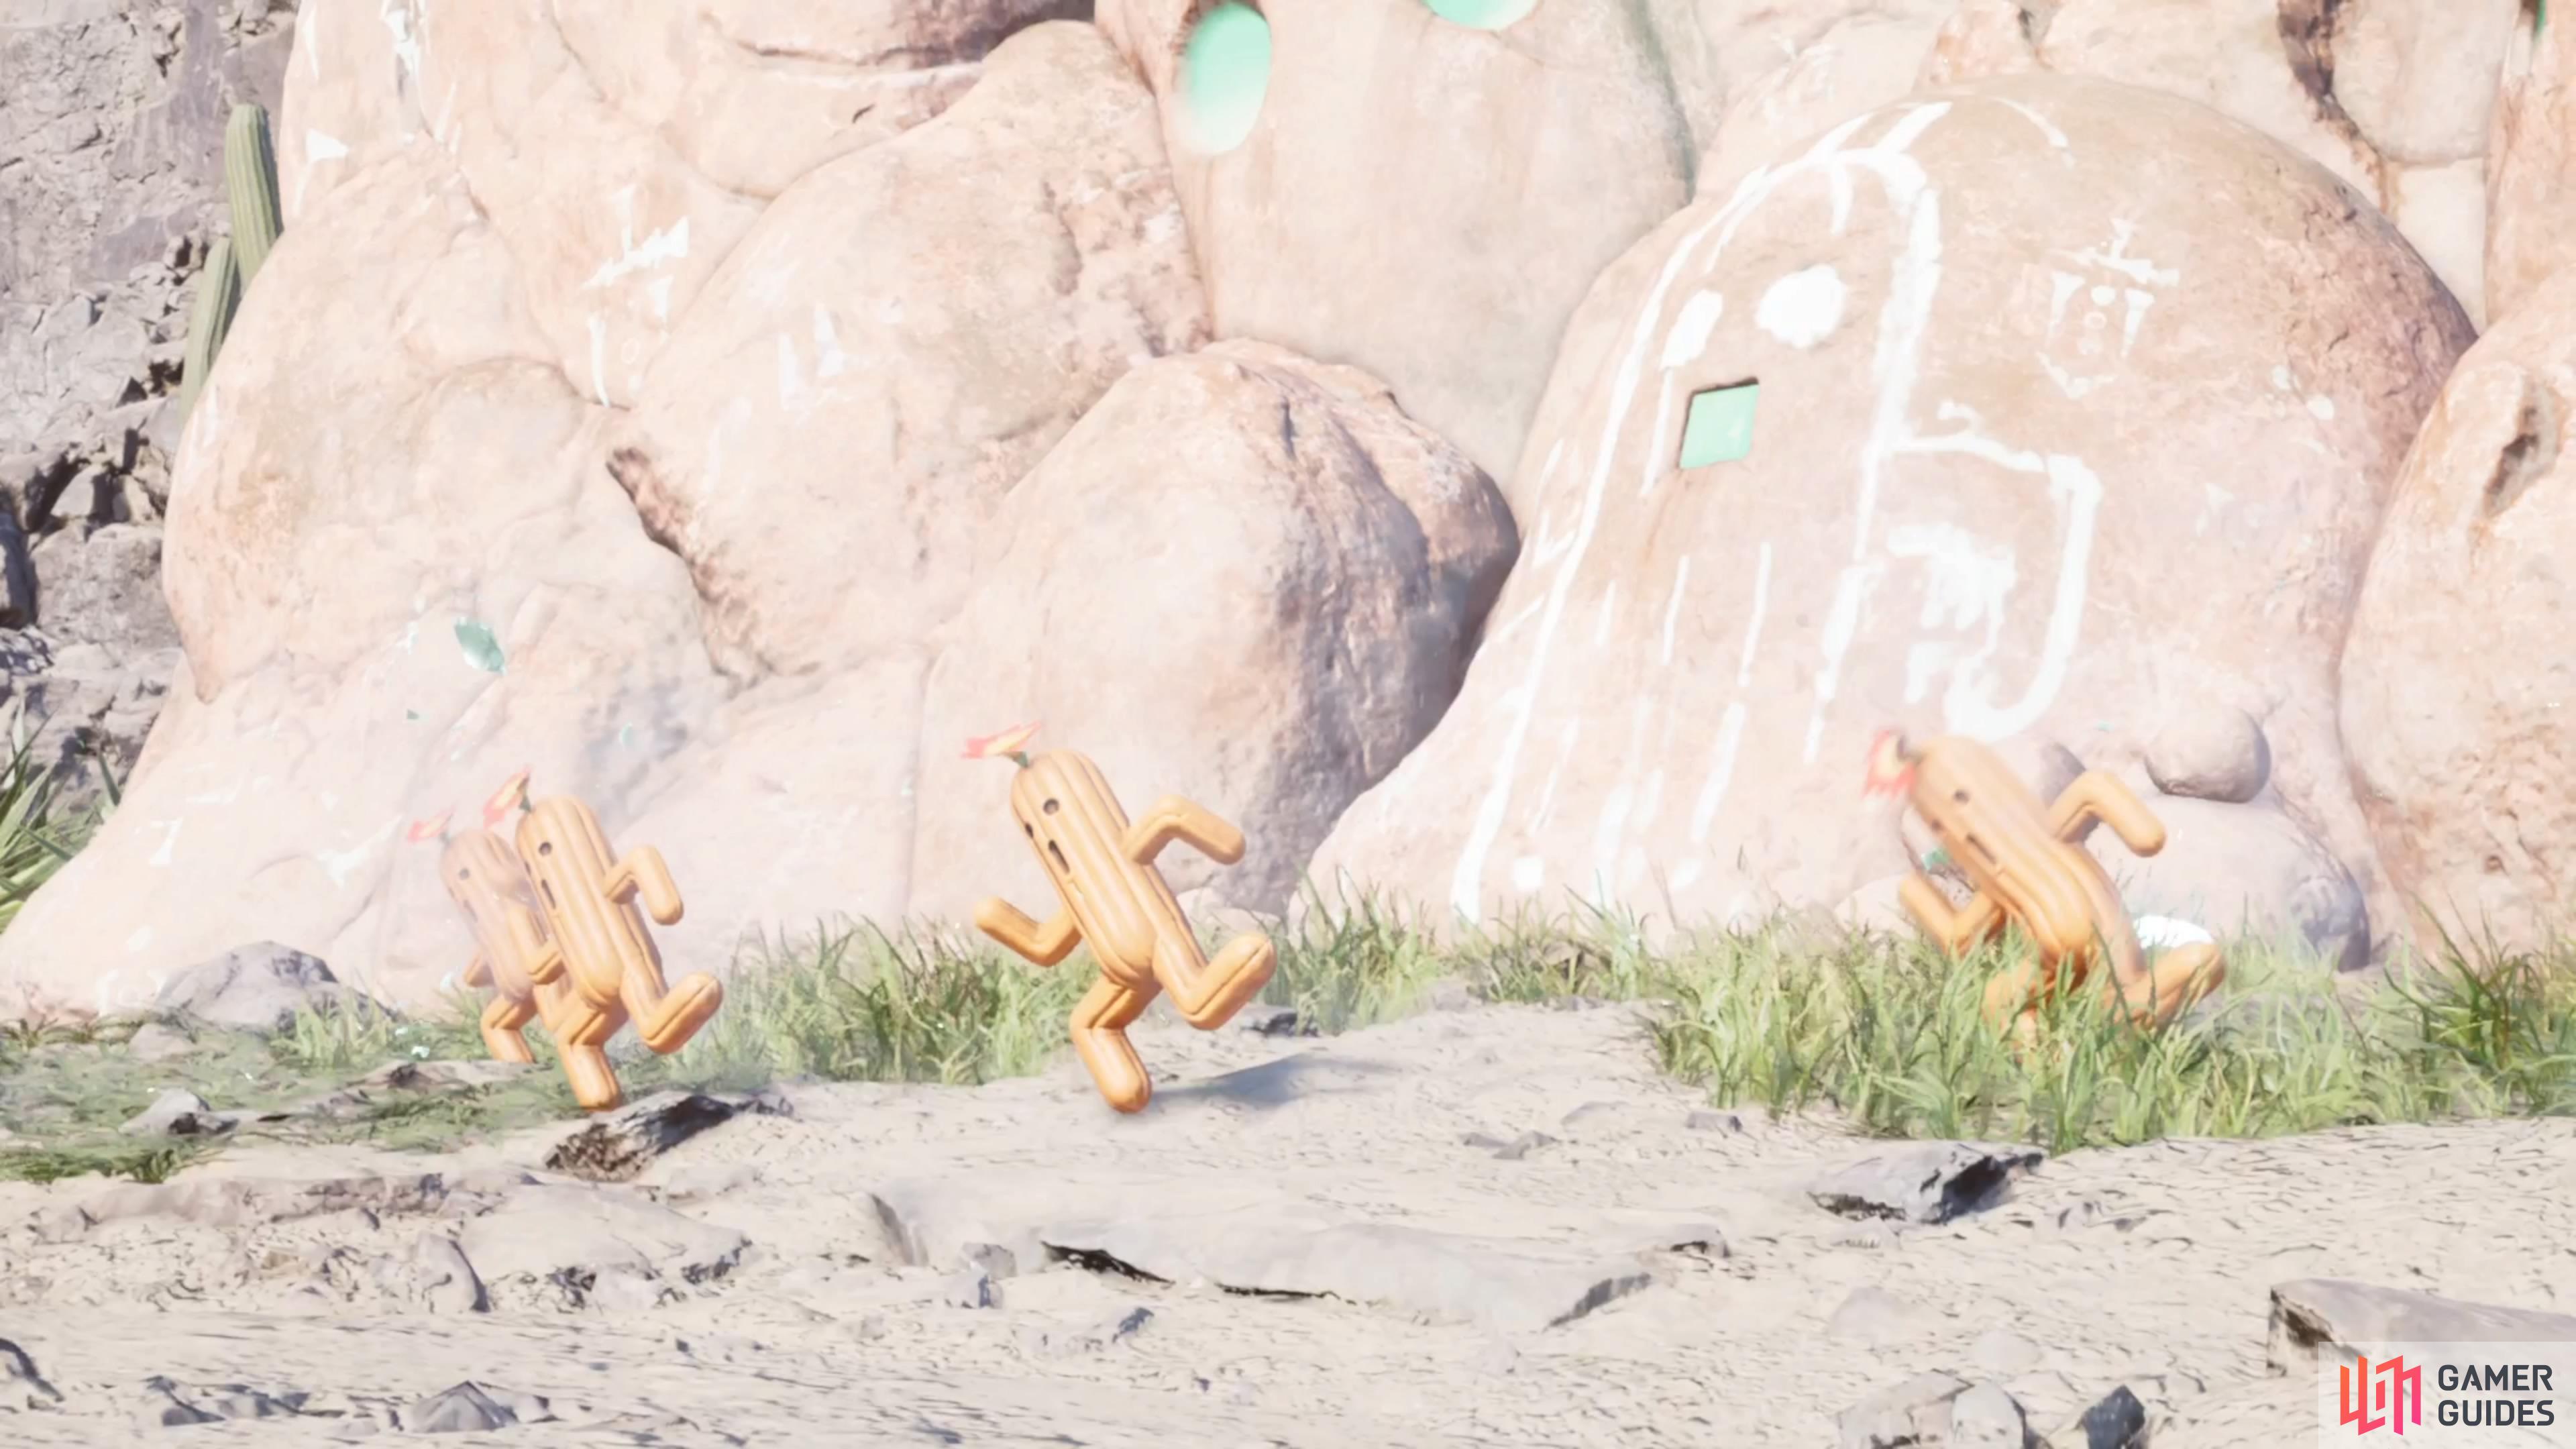
Corel Region is one you won’t be able to do right away, as it’s in the desert portion. You will have to wait until Chapter 9 to be able to start this, but even then, you won’t be able to finish it until Chapter 12. It will involve you doing a minigame called Cactuar Crush, where you will need to beat down a bunch of ![]() Cactuars.
Cactuars.
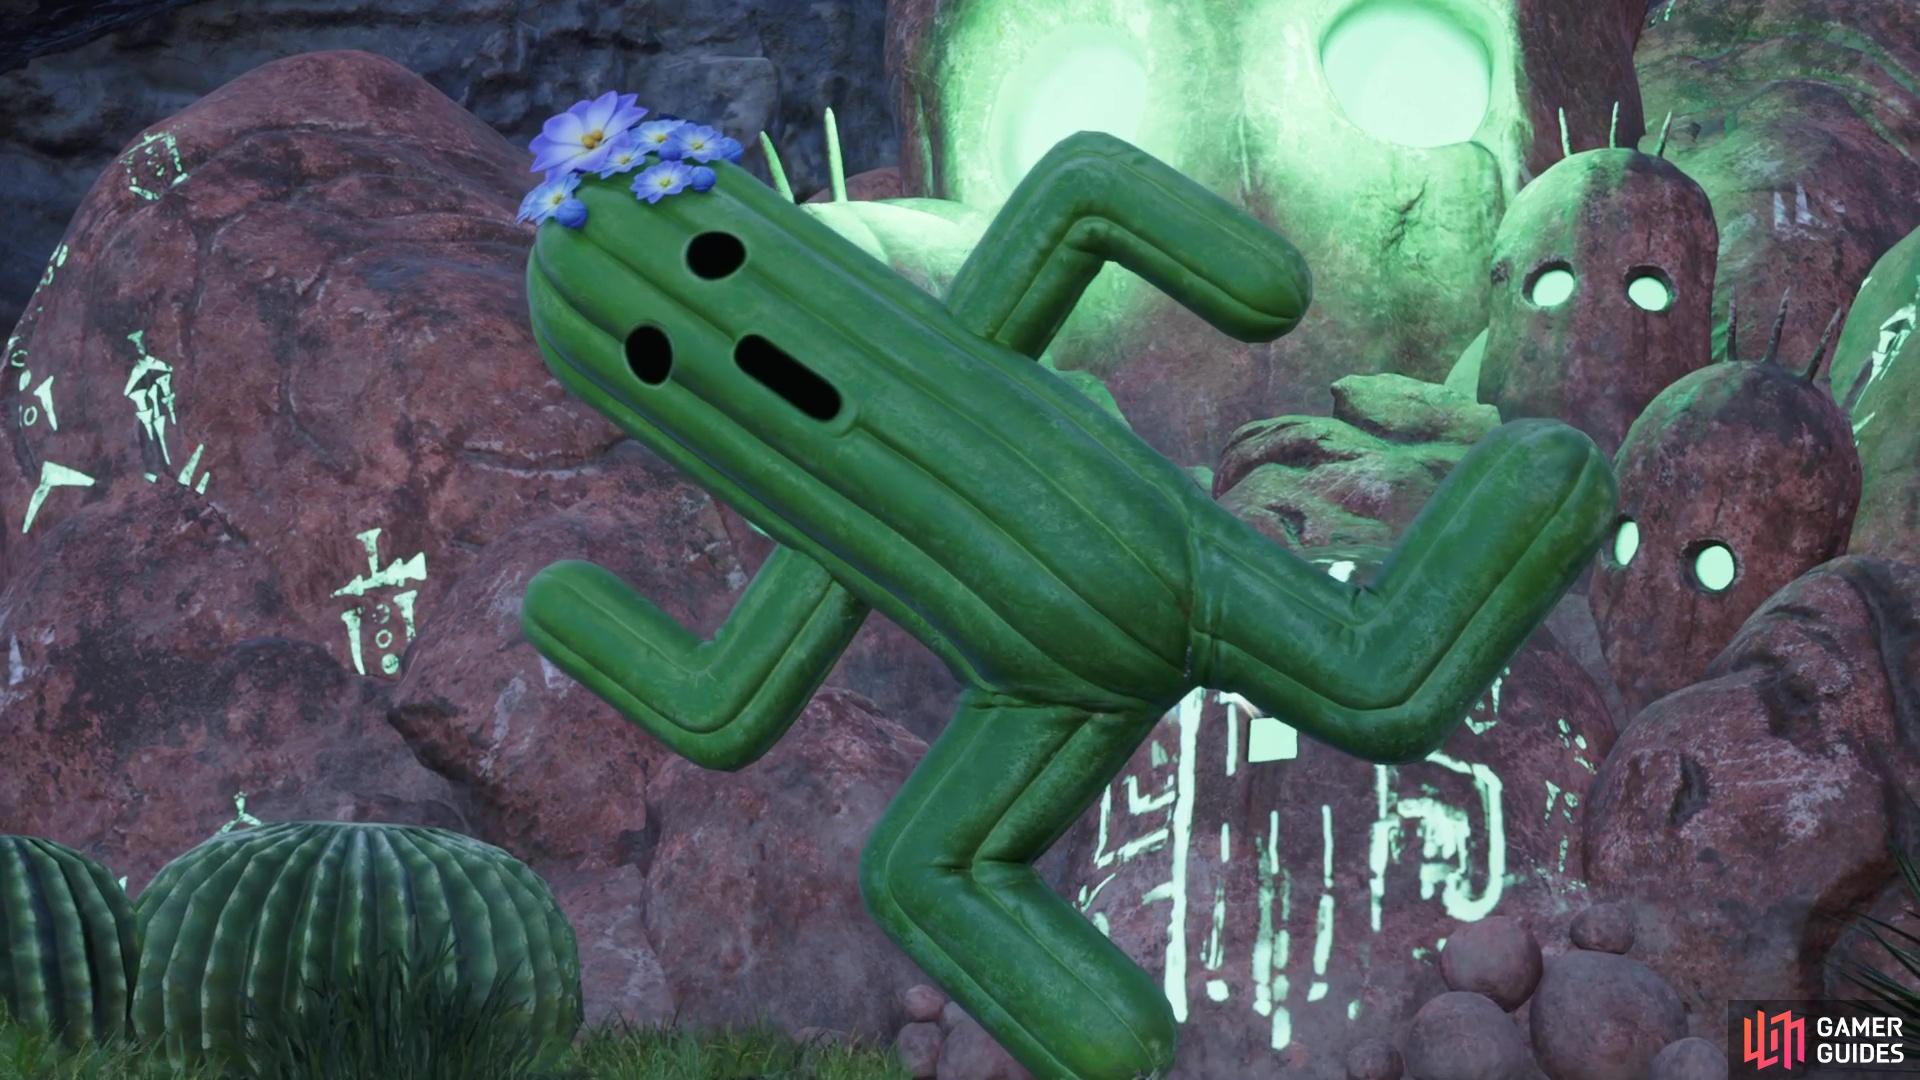
The Protorelic in the Corel Region will revolve around a lot of Cactuars.
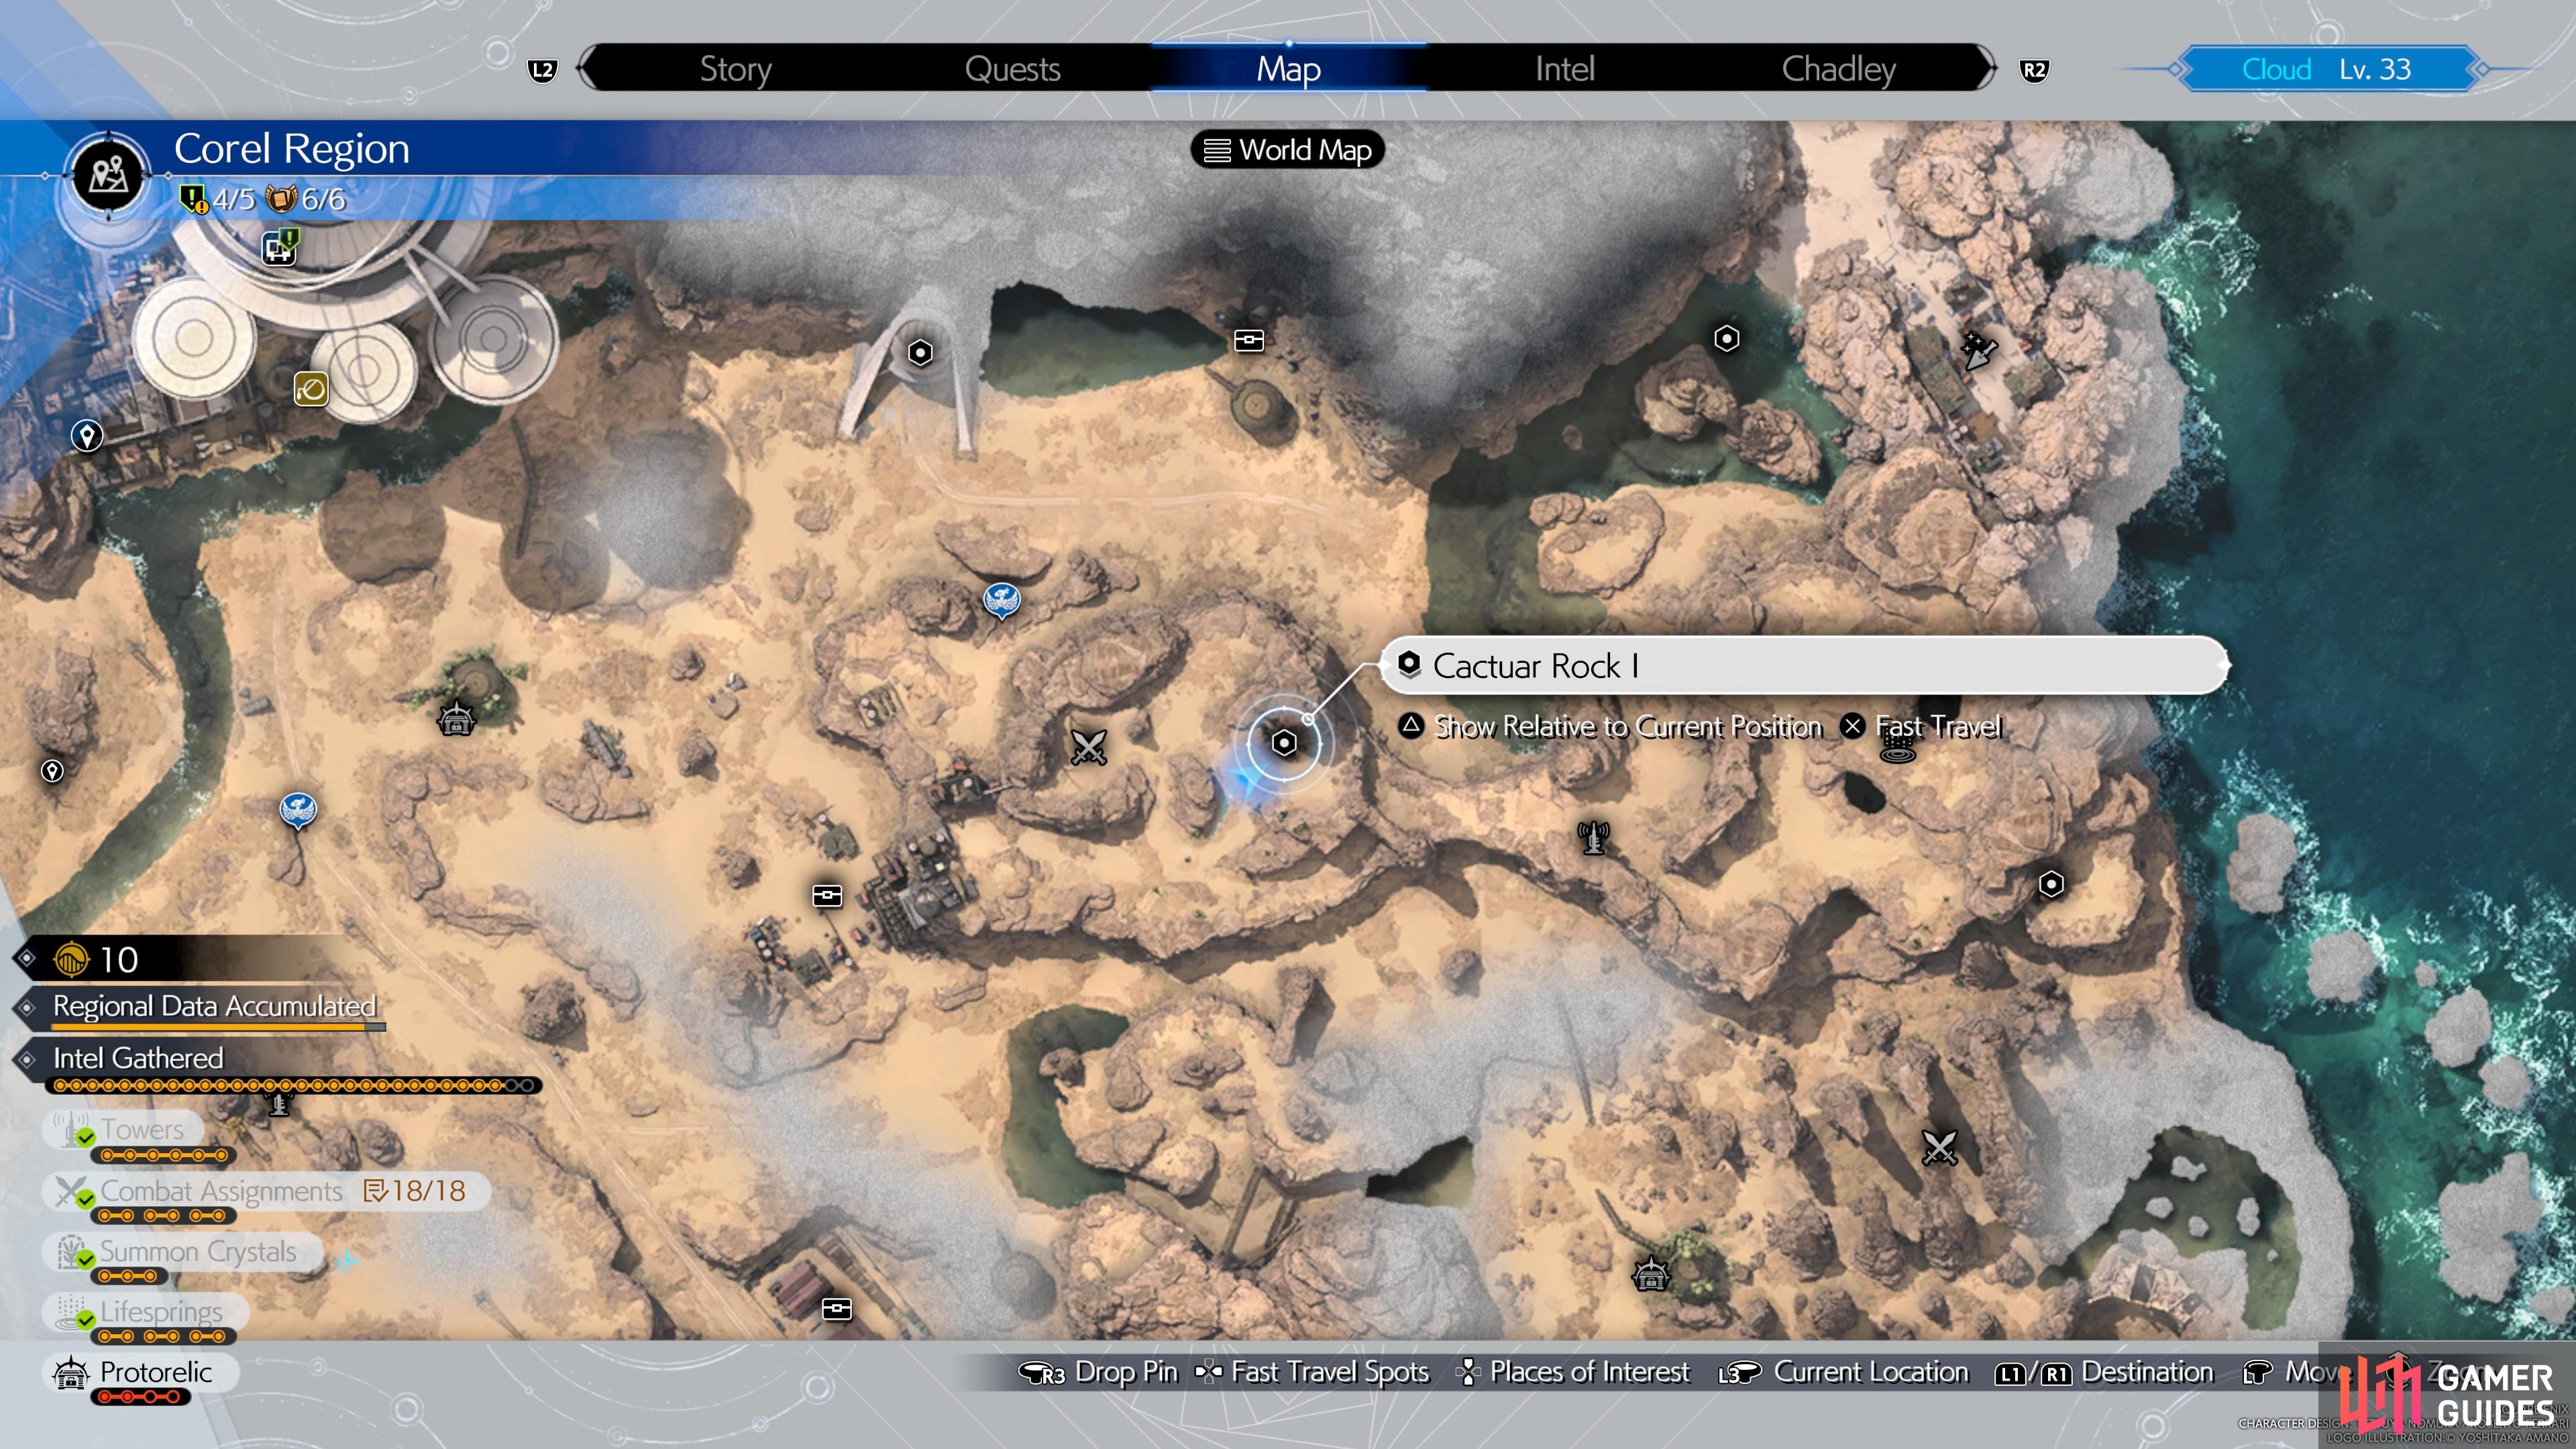
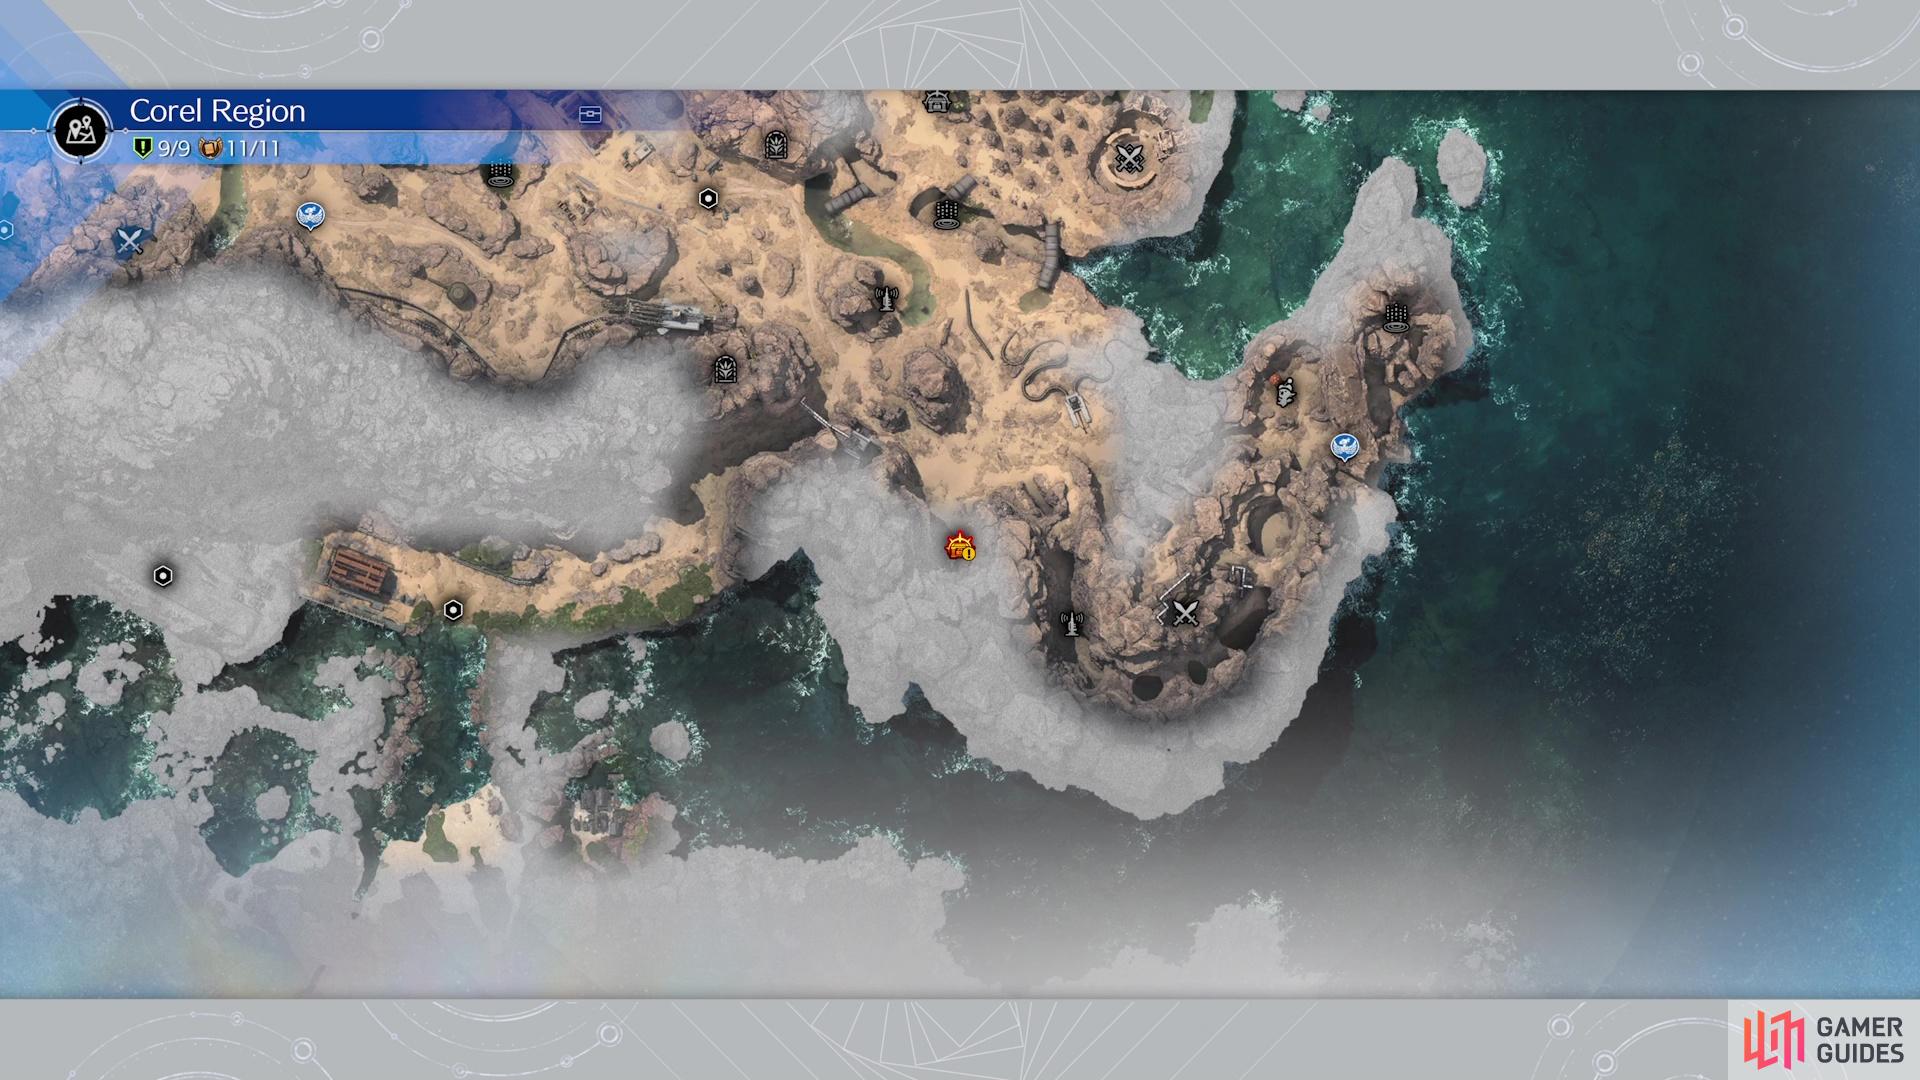
As mentioned above, you won’t be able to start the Protorelic in the Corel Region until you reach Chapter 9 of the main story. Once you have, activate one of the towers in the desert area and you should receive a call from Chadley, putting Phenomenon Intel 1 on the map. As you approach the building, you will see a cutscene with a giant sand creature, then you will be able to get started. Basically, the Protorelic stuff in the Corel region boils down to doing two things. First, you’ll have to use a Cactuar statue to find a Cactuar Rock, then after going back to the reactor, you do the Cactuar Crush minigame.
Where to Find Cactuar Rock I
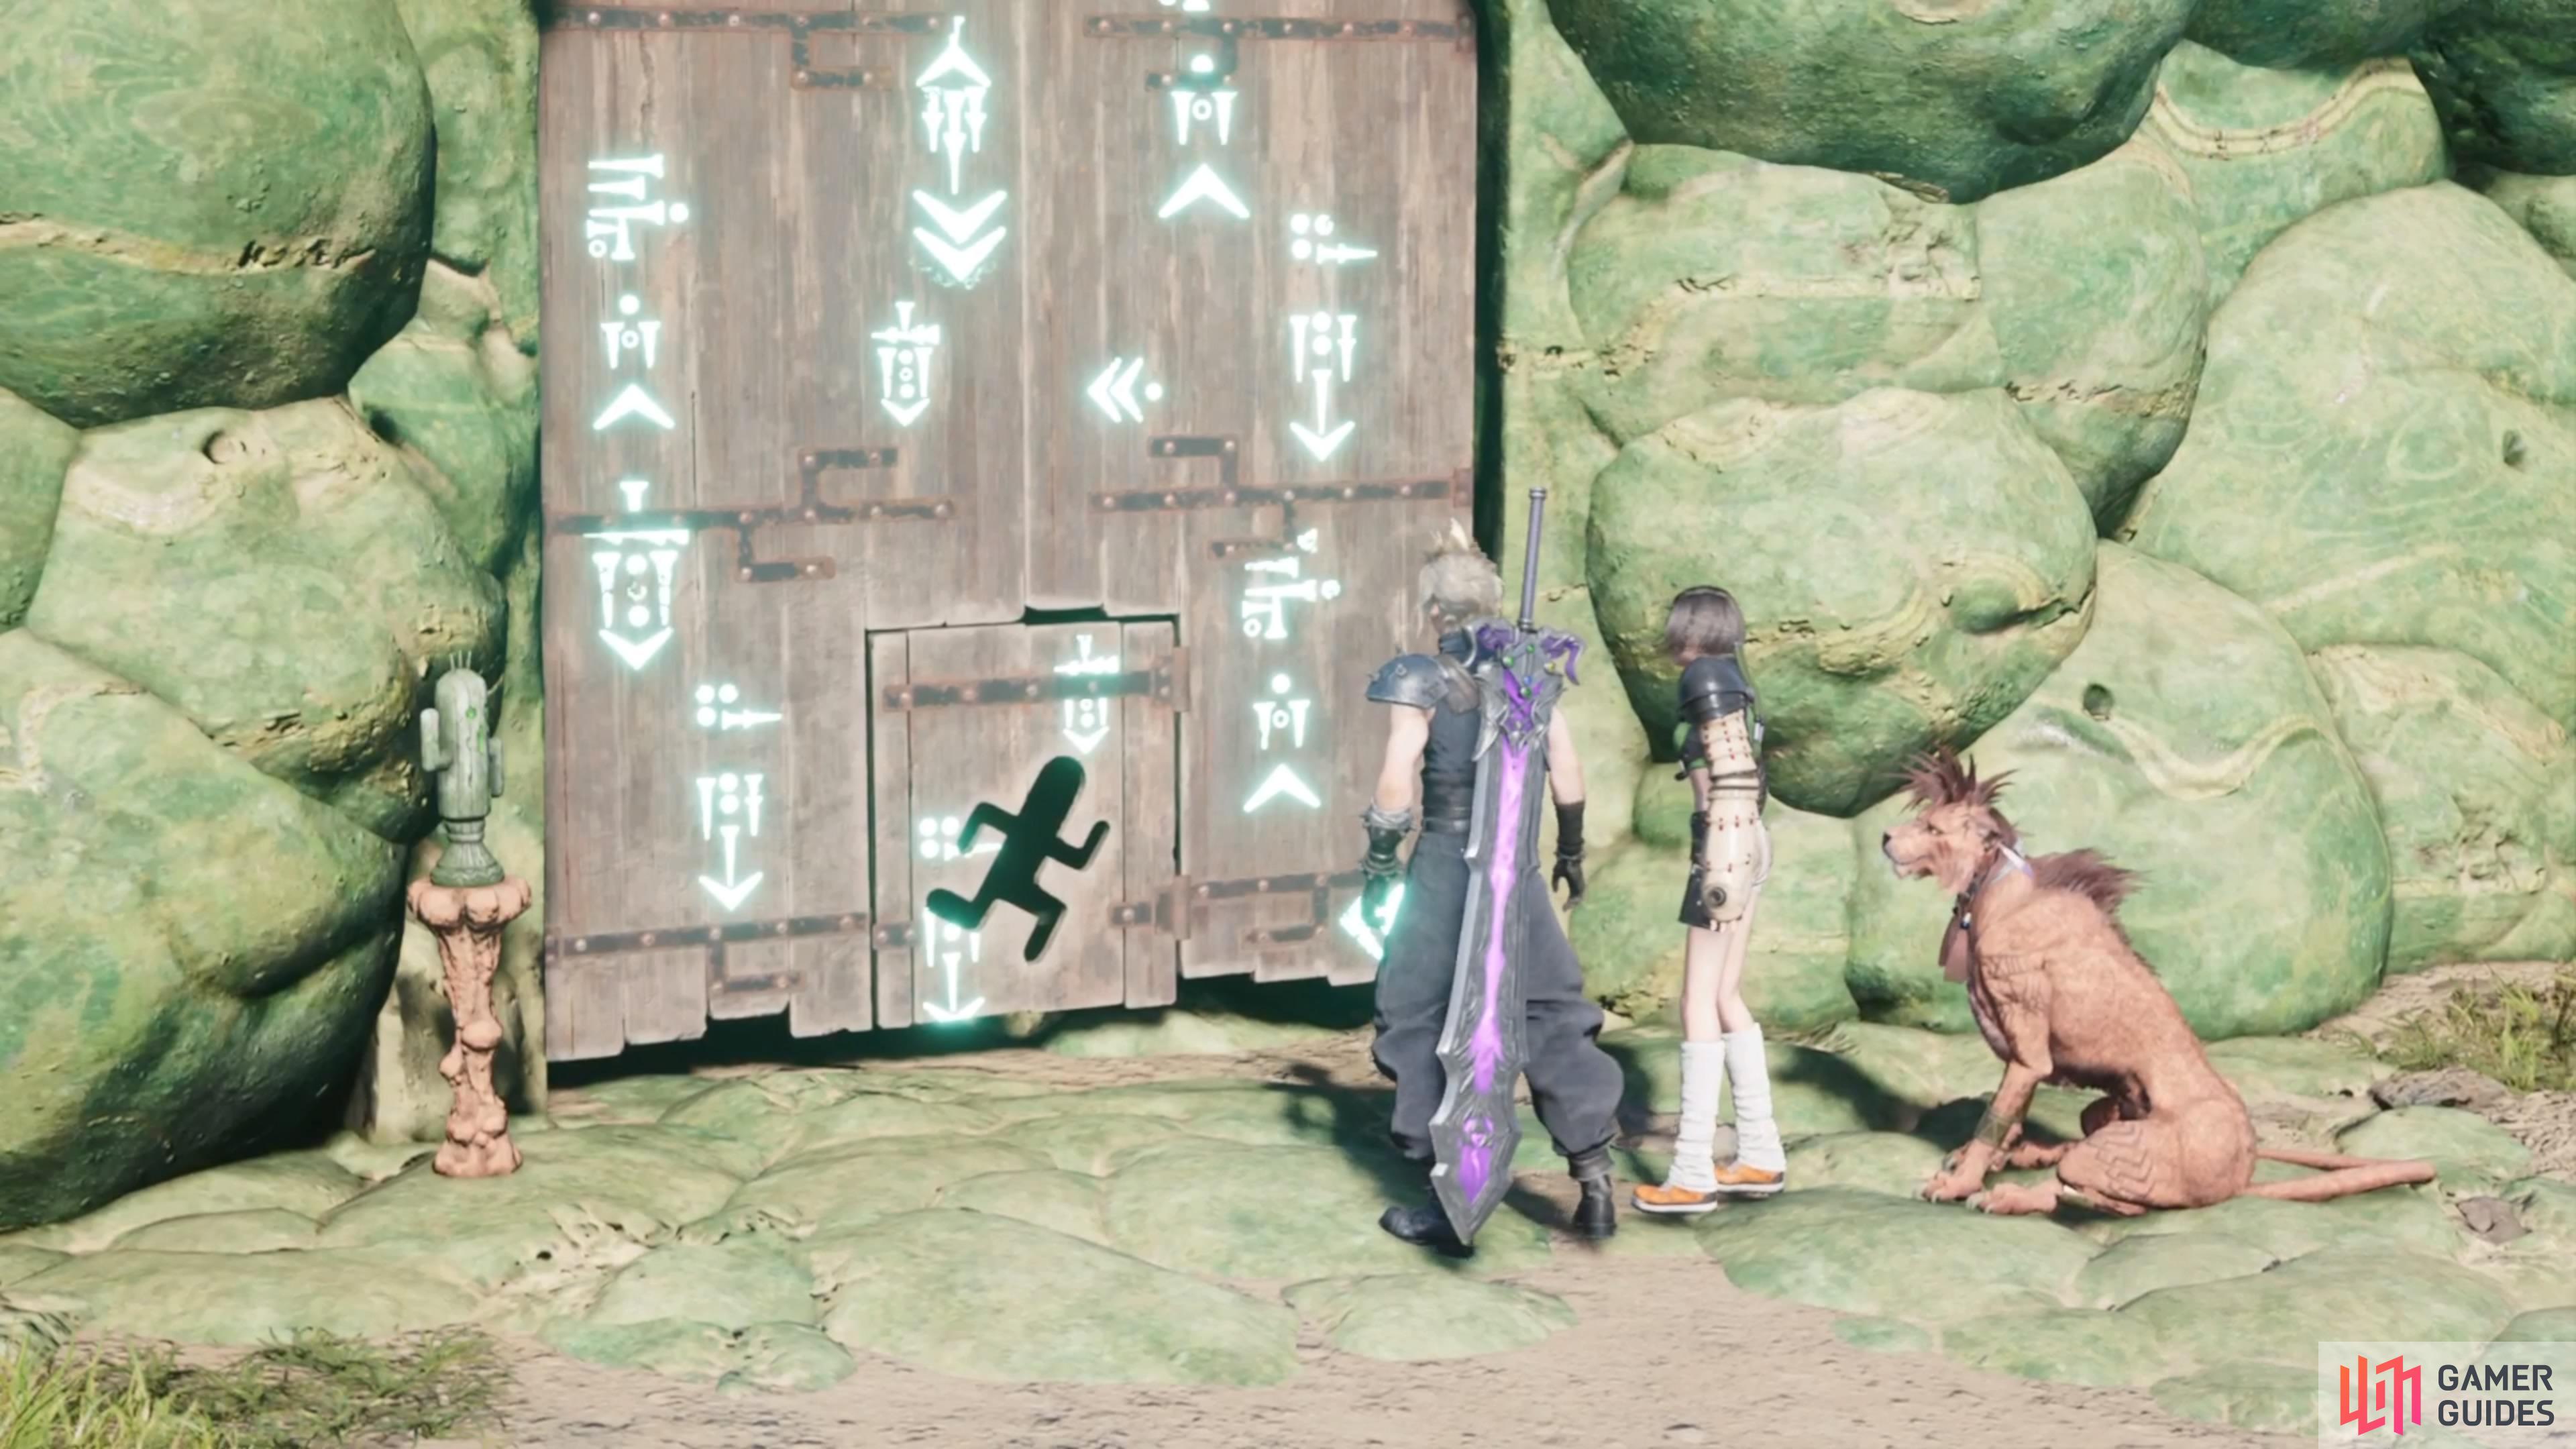
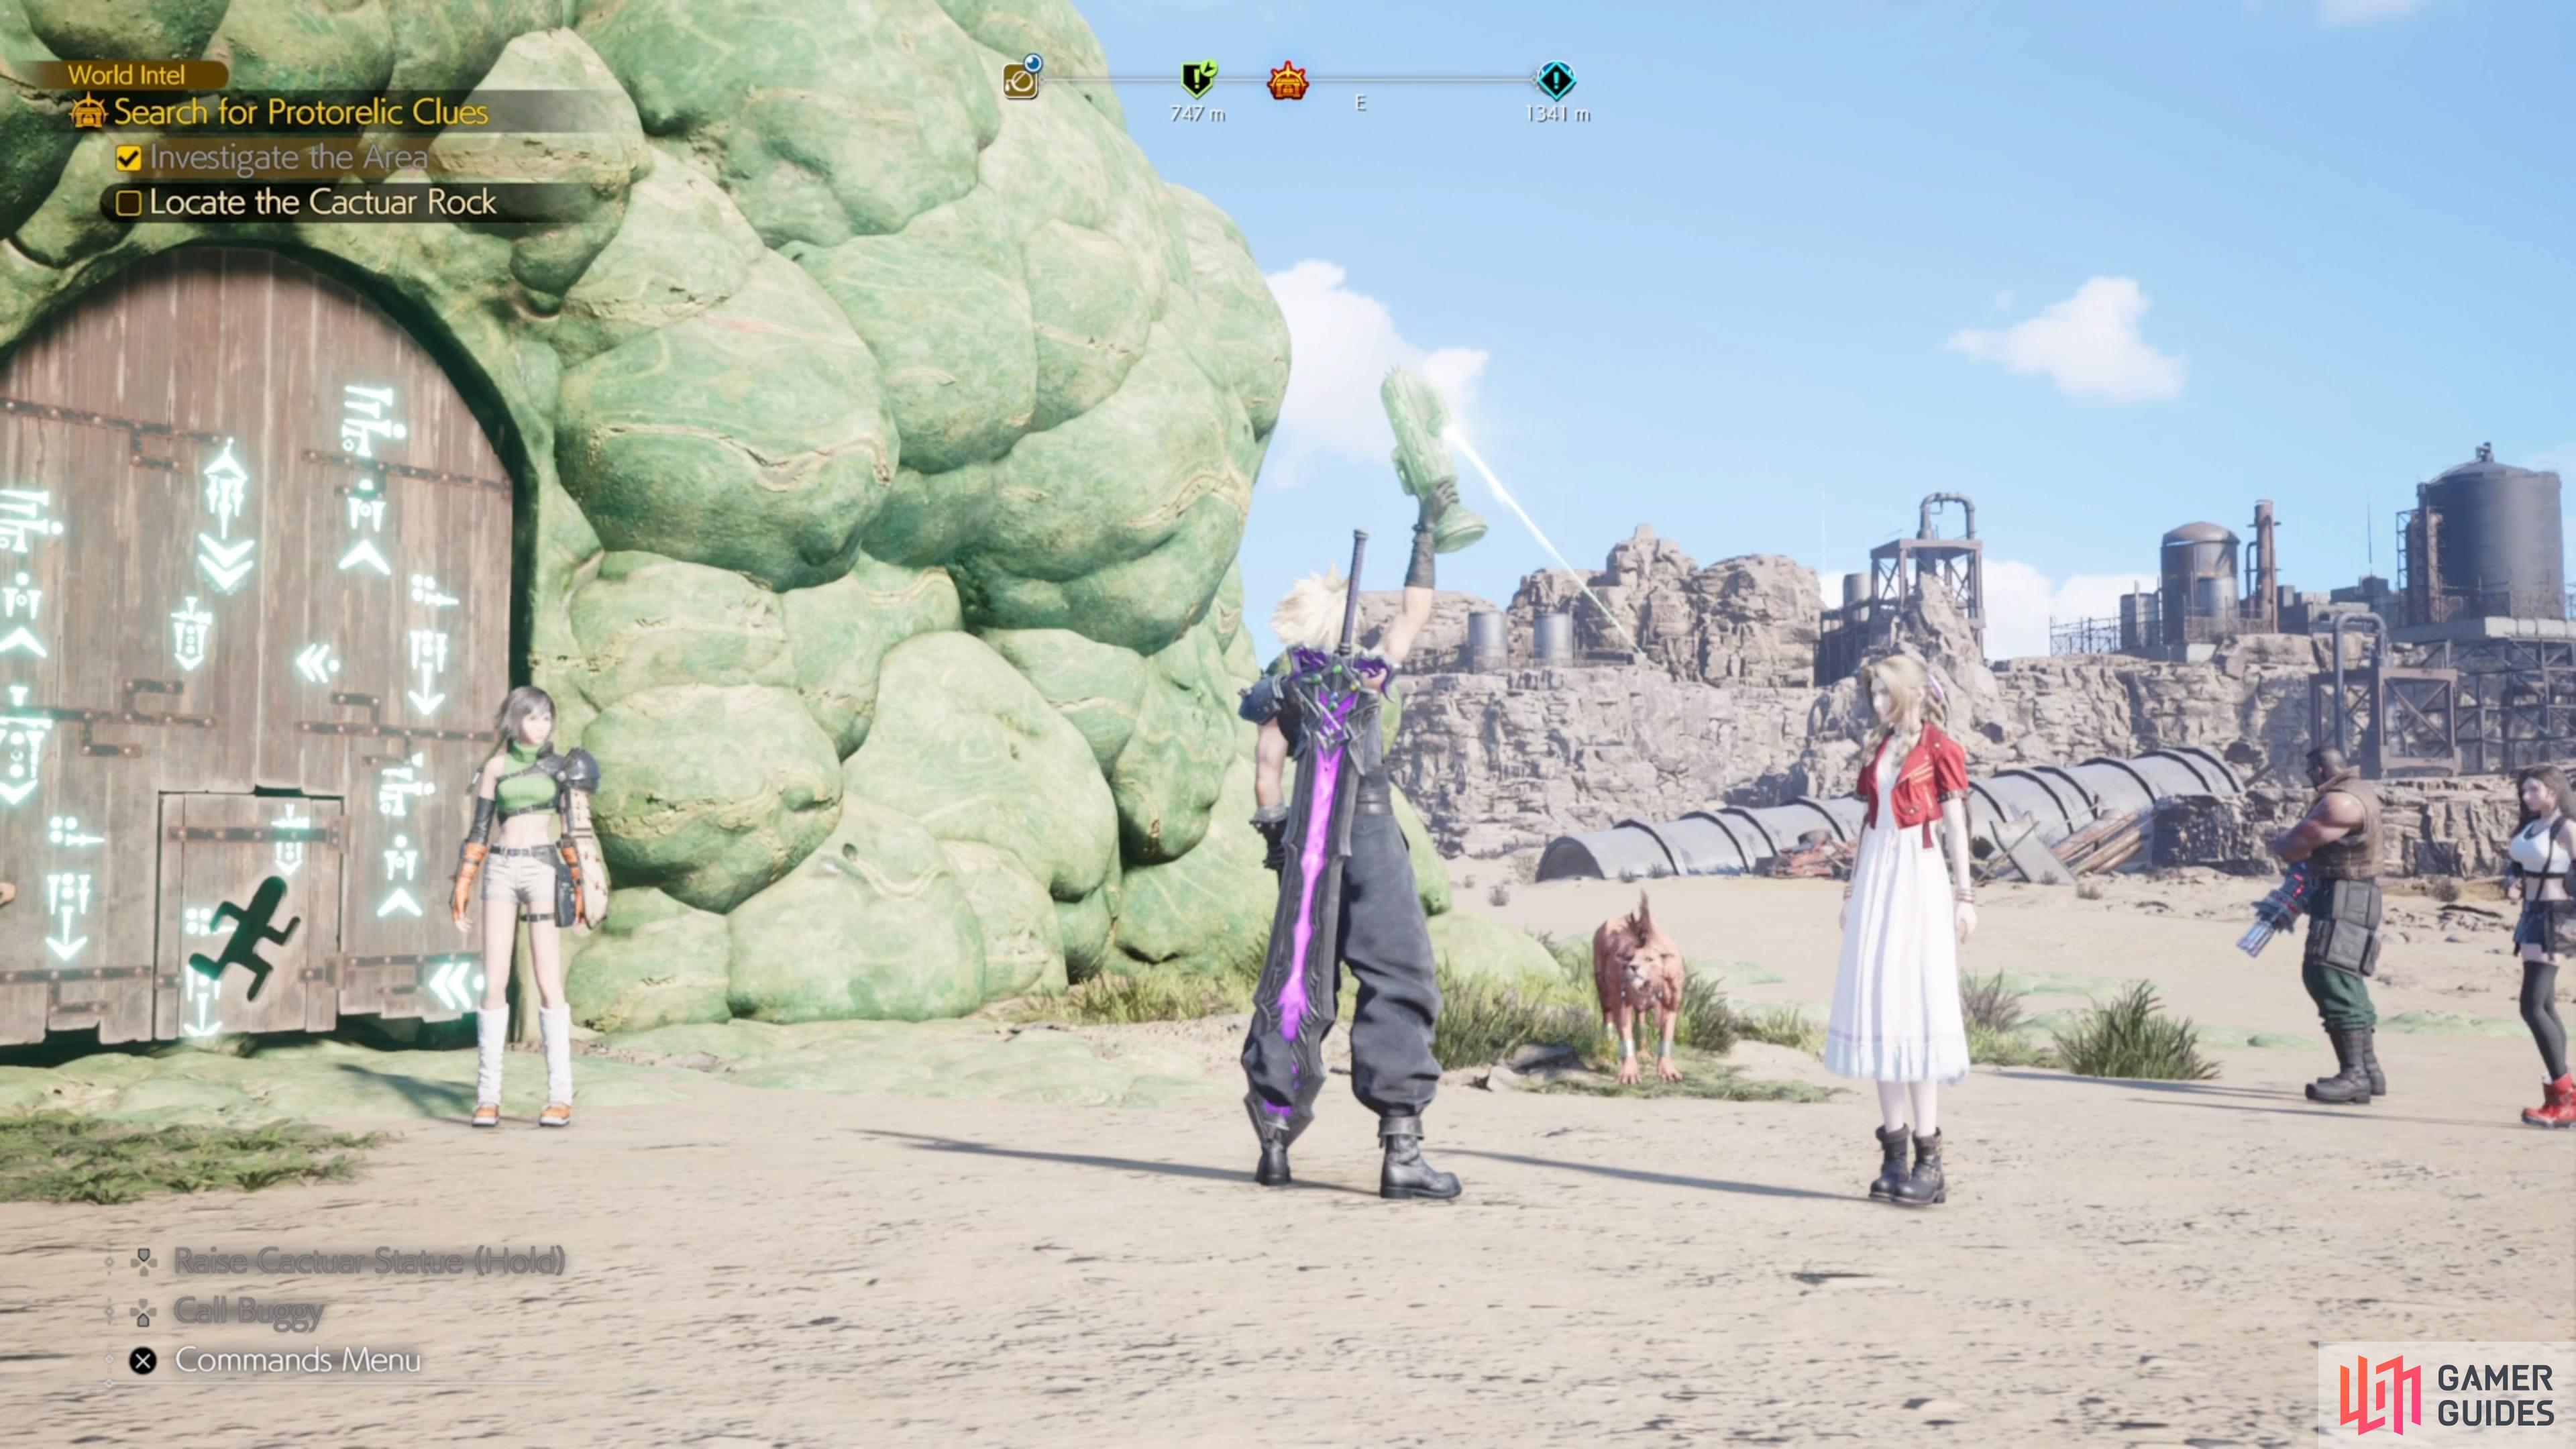
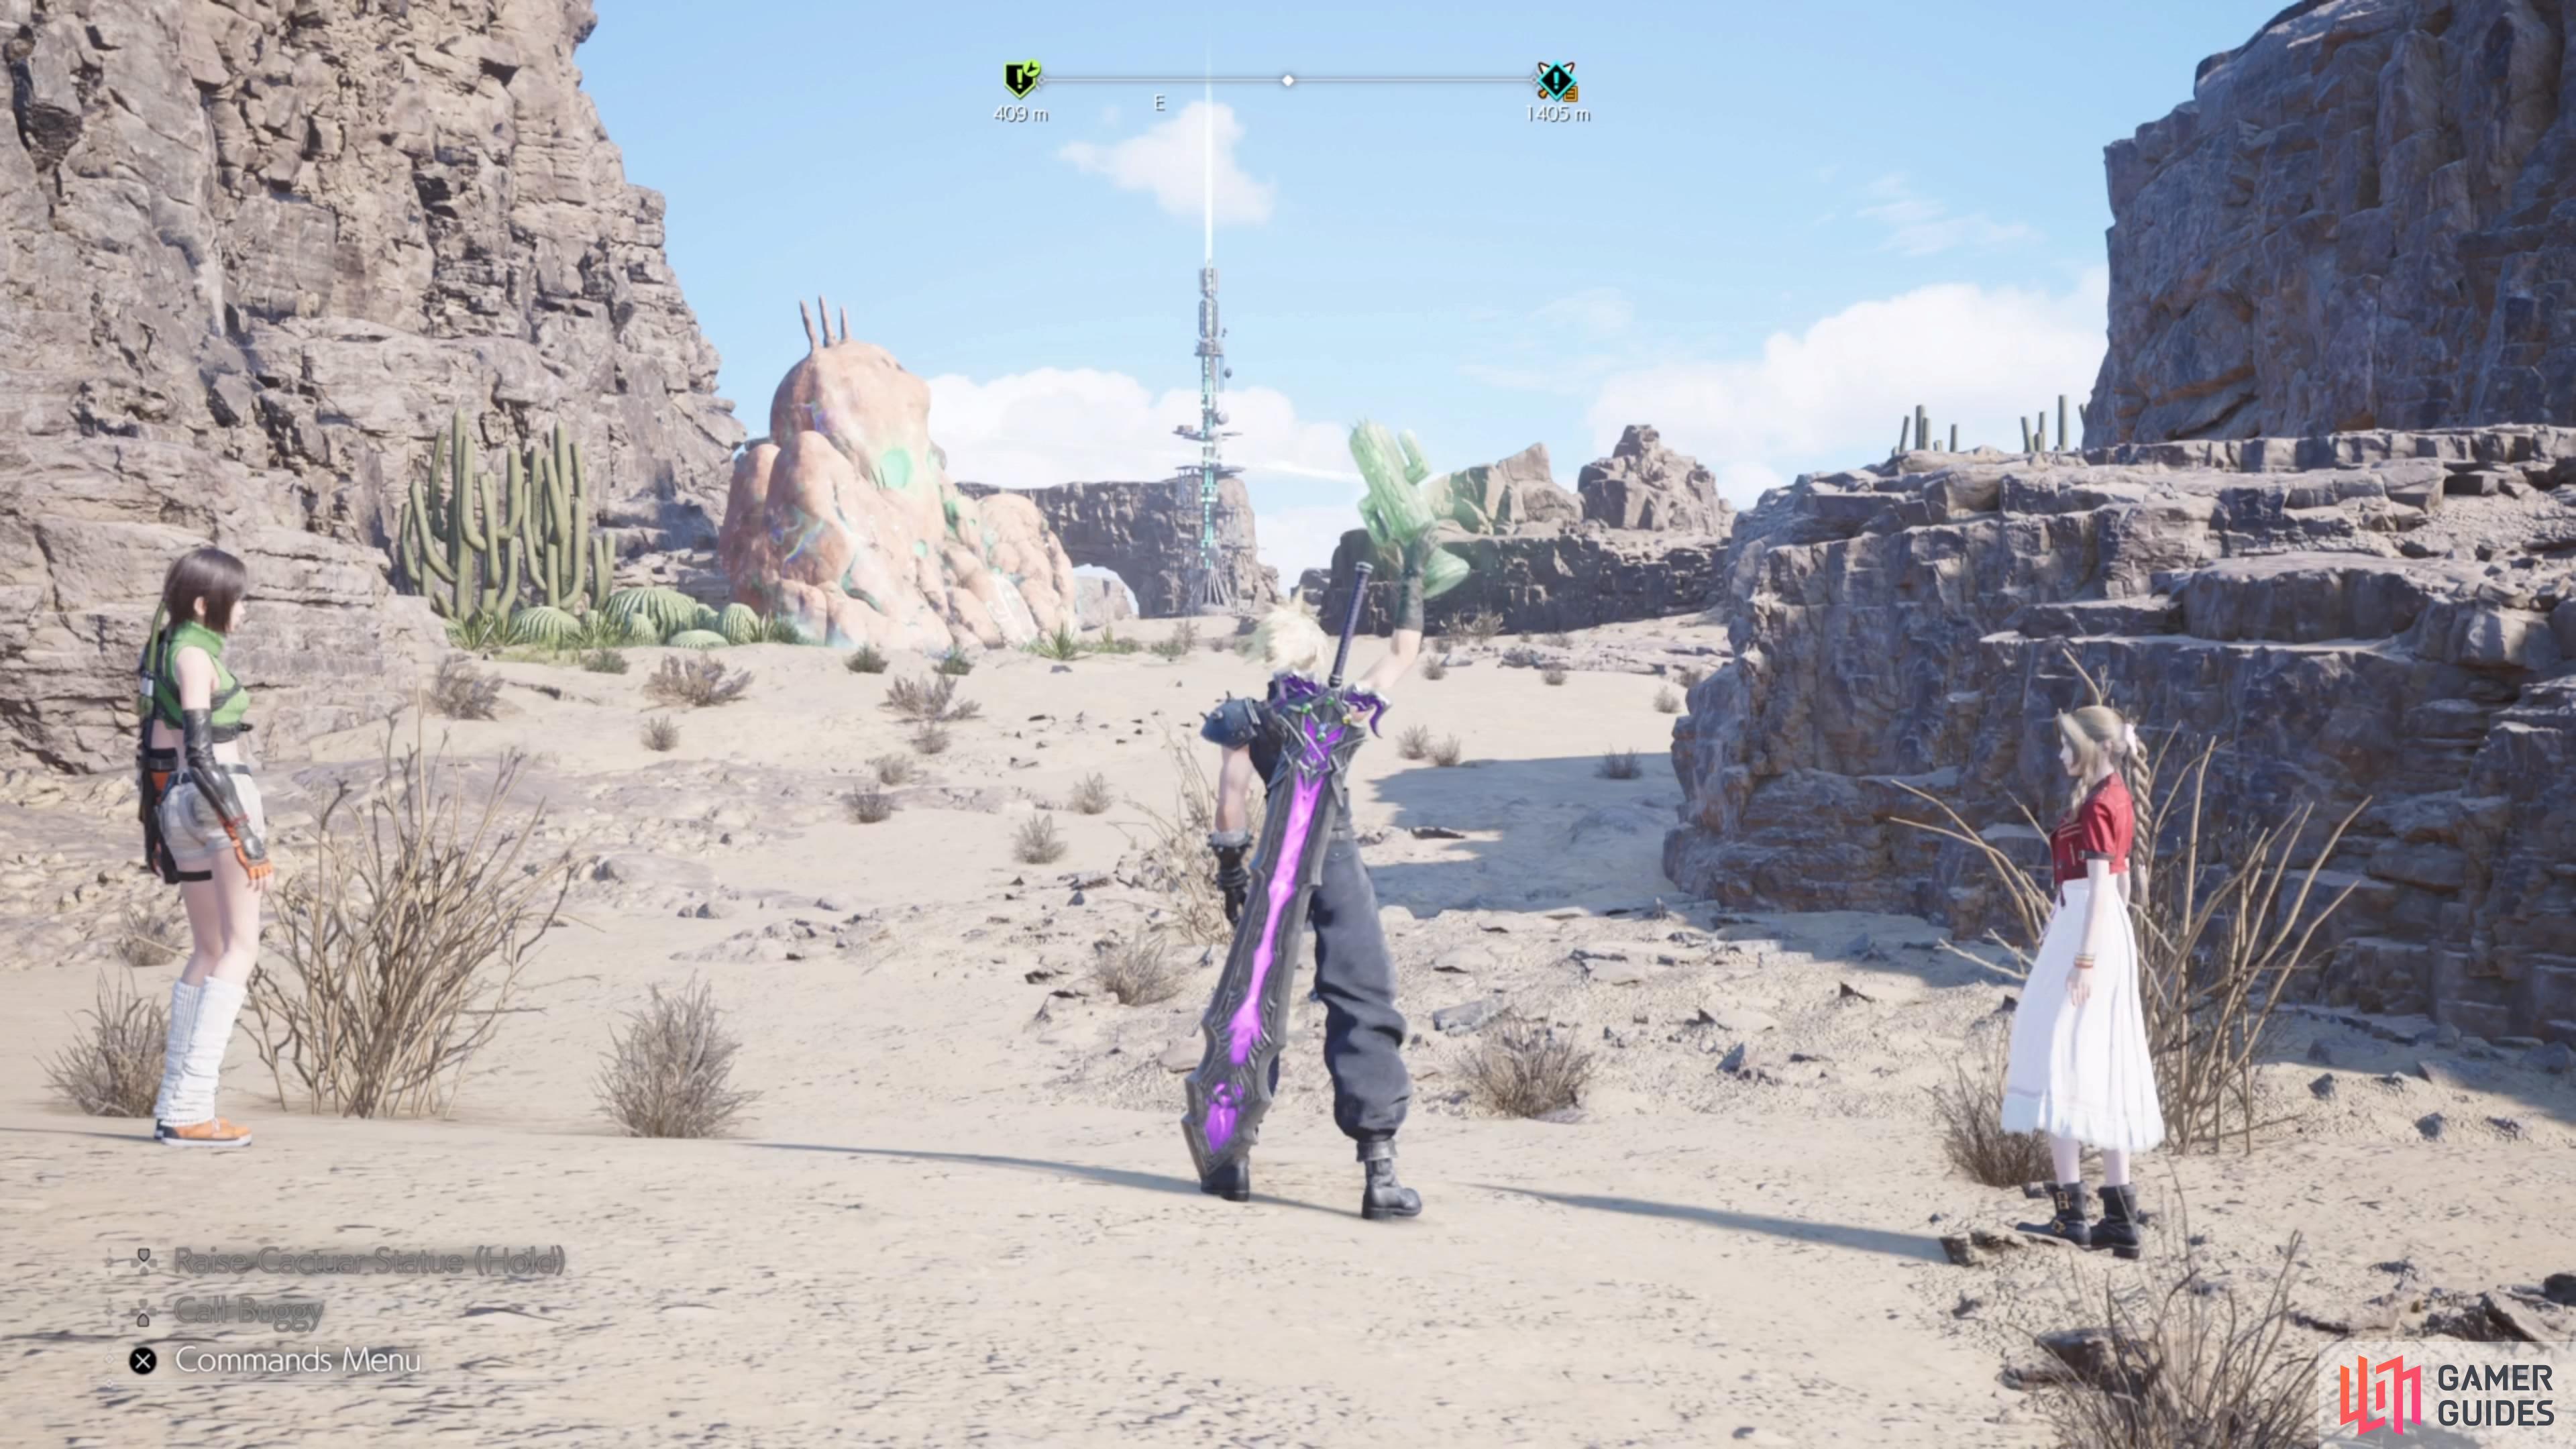
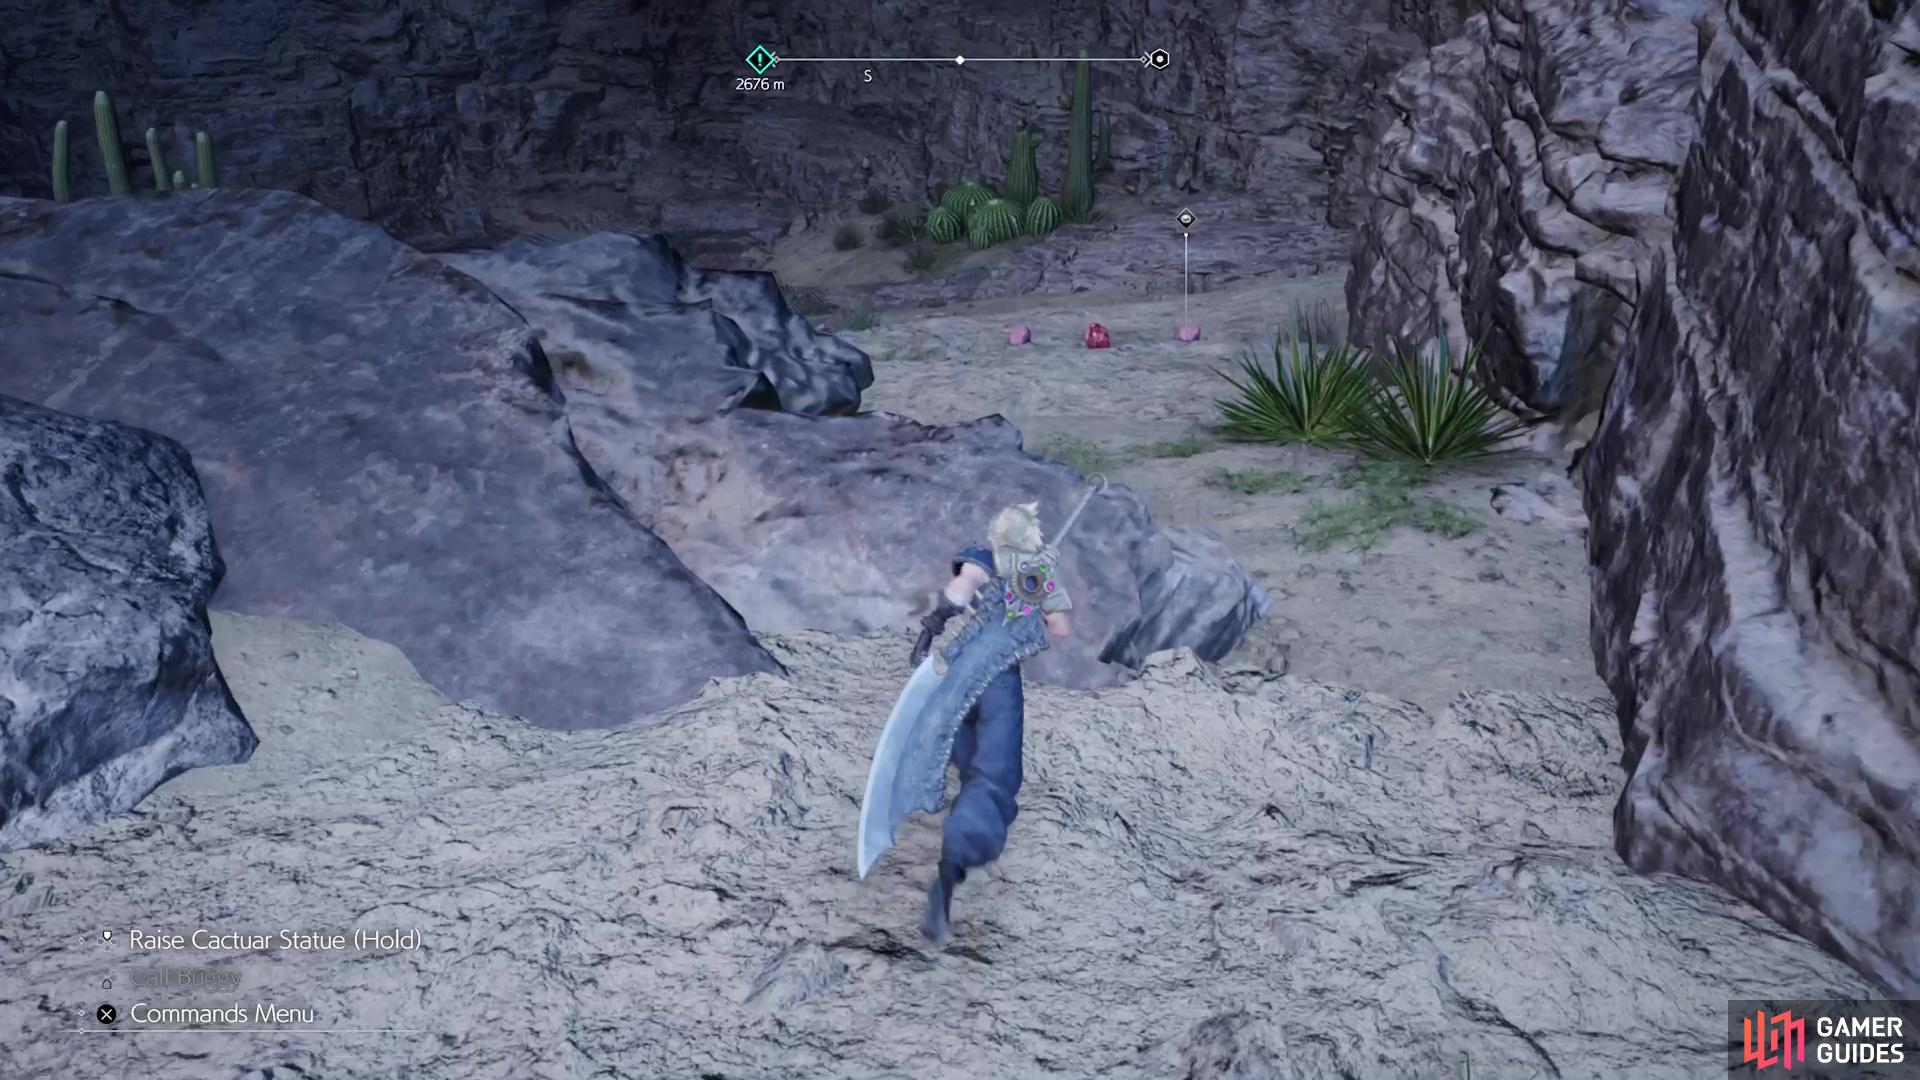
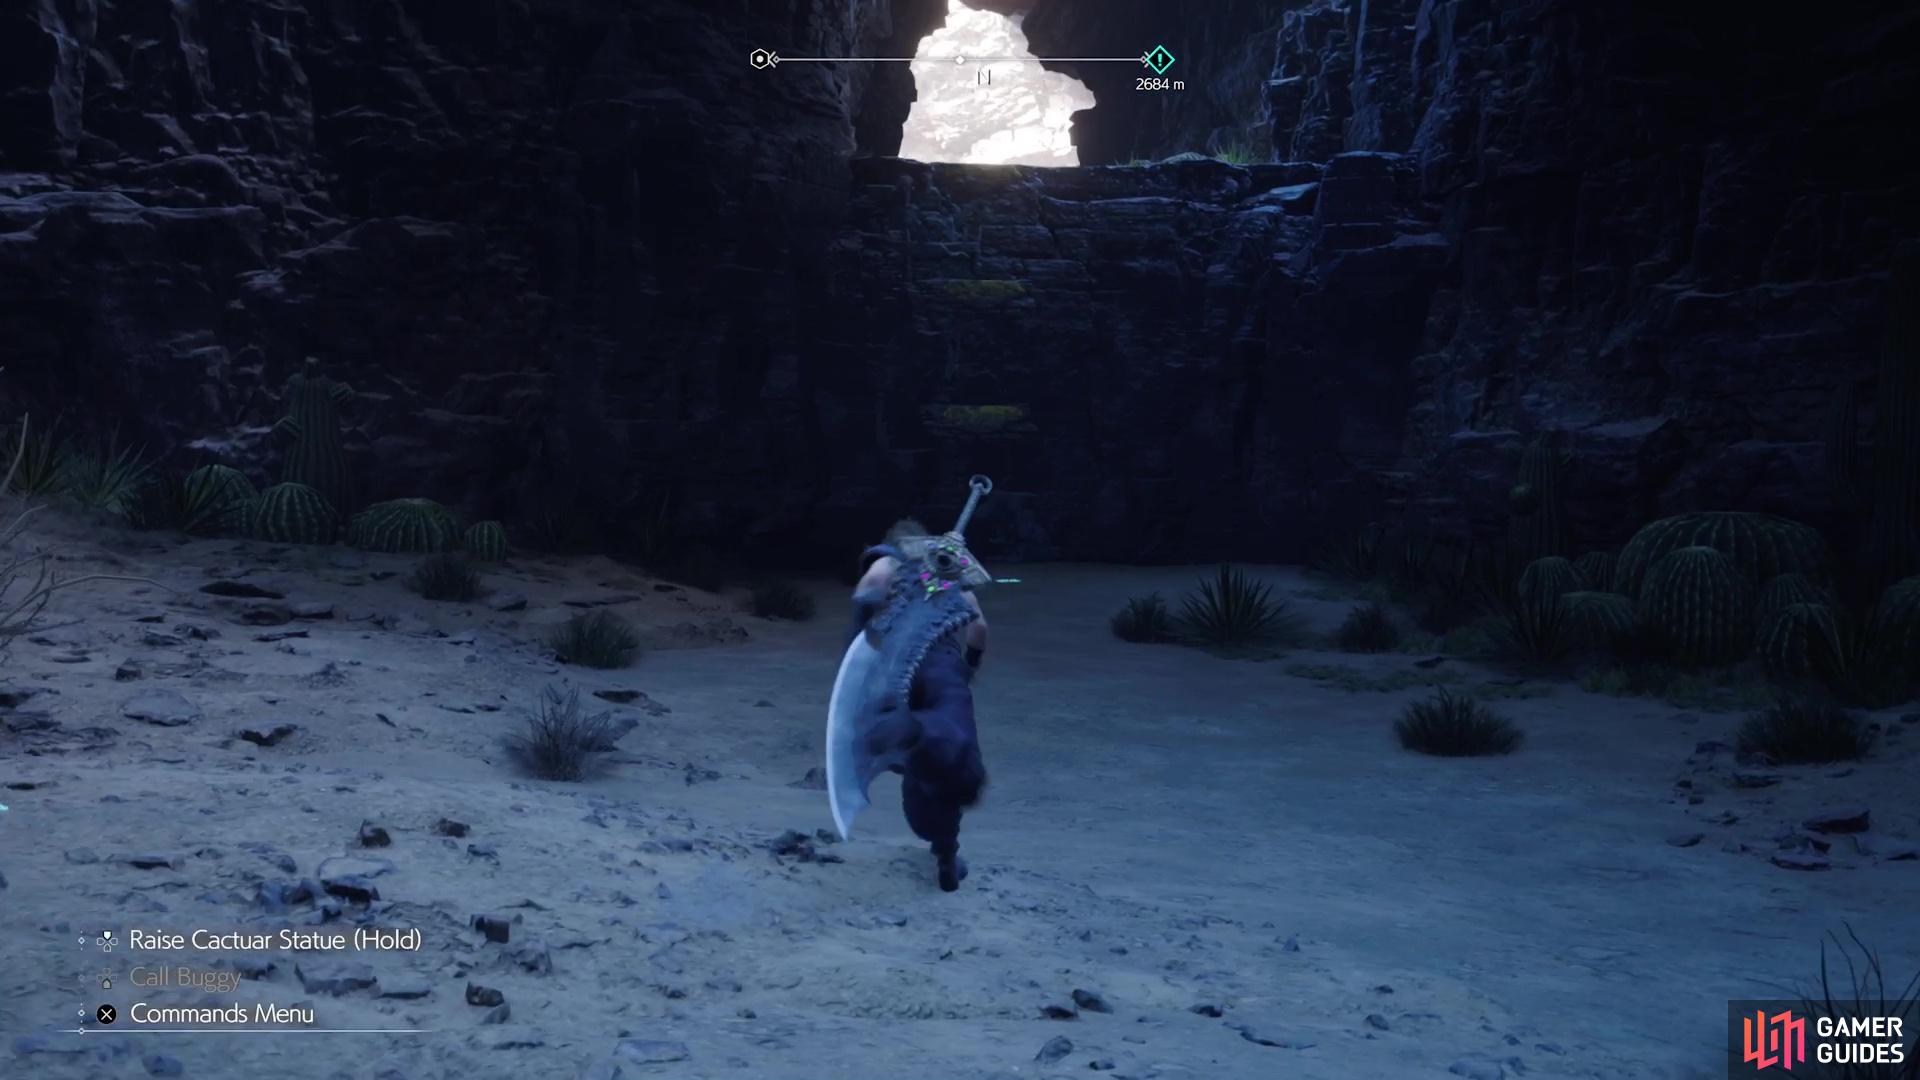
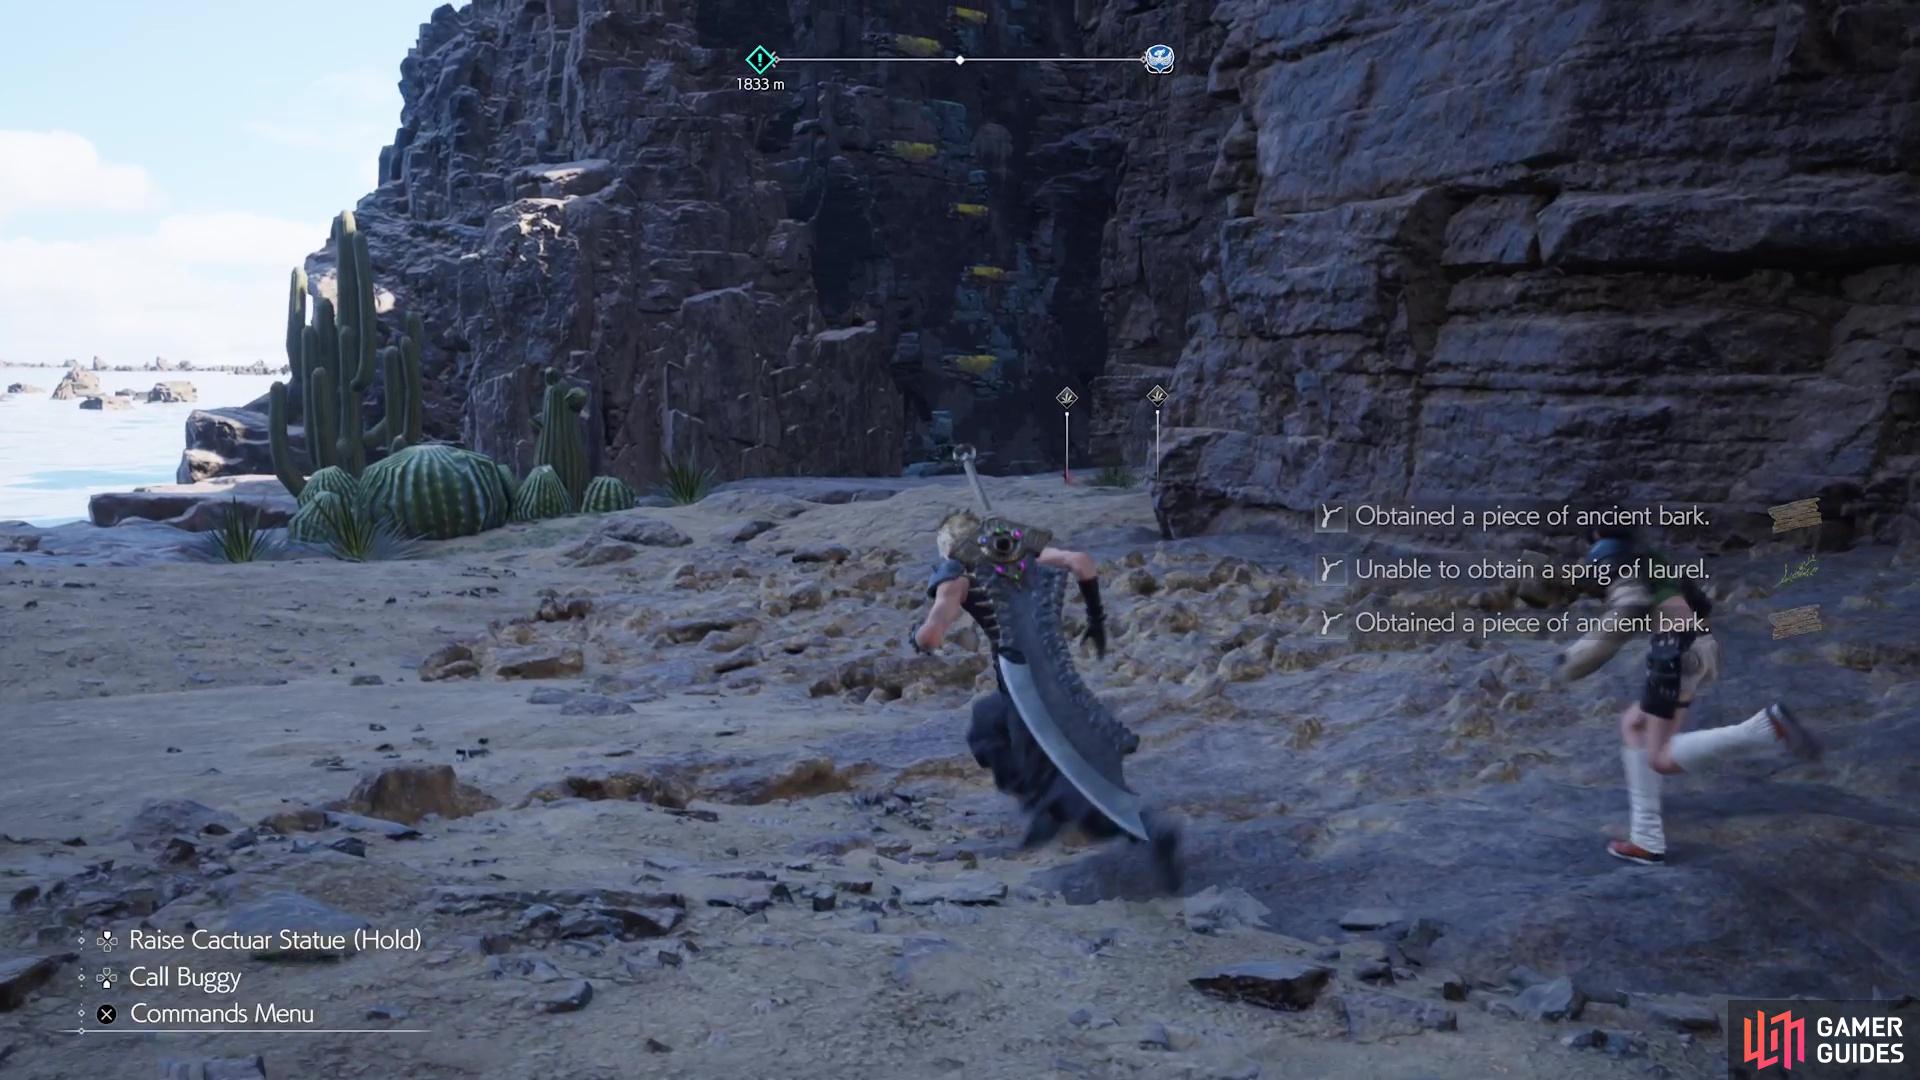
When you first inspect the door of the reactor for the first Protorelic part, you will see a scene that basically outlines what you need to do. You will have get a little Cactuar statue in your possession, which you can use with the Up button on the D-Pad. Hold the button to take out the statue and have it shoot a beam, indicating the location of the Cactuar Rock. If you look to the east of the entrance to the reactor, you should see some buildings on top of a rocky area. That’s where you will be headed, but you can’t get up there from that side.
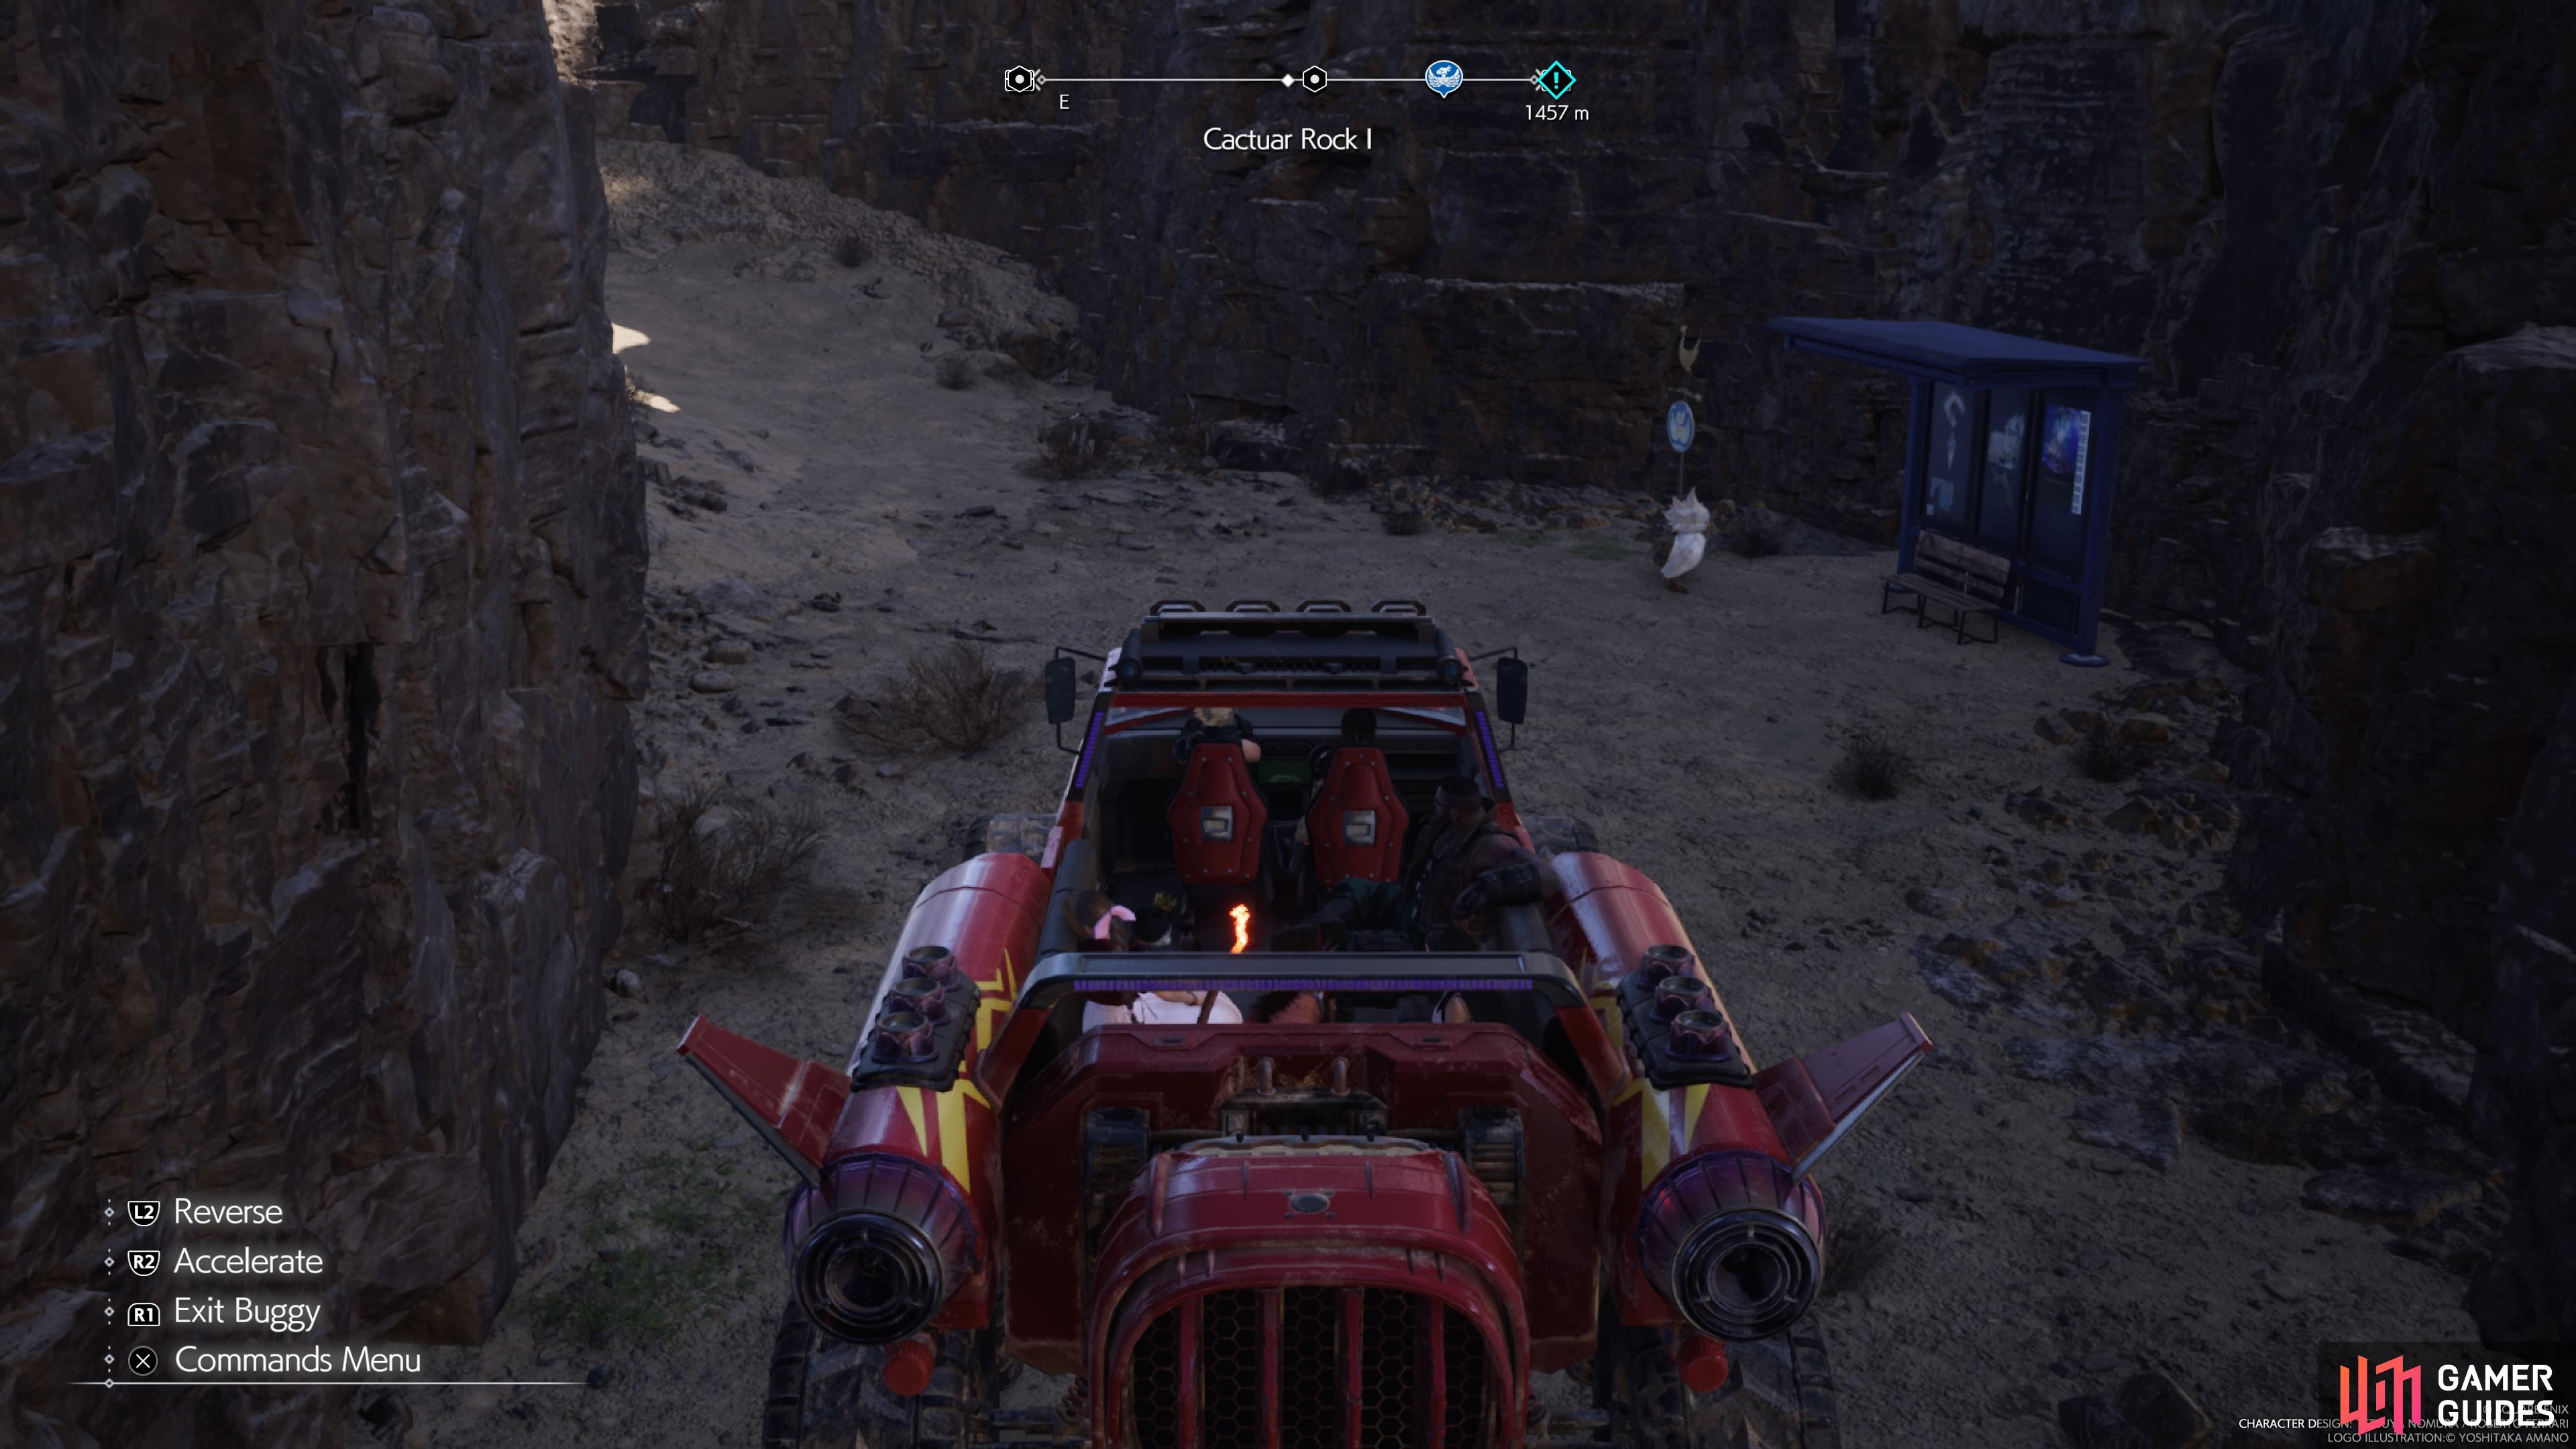
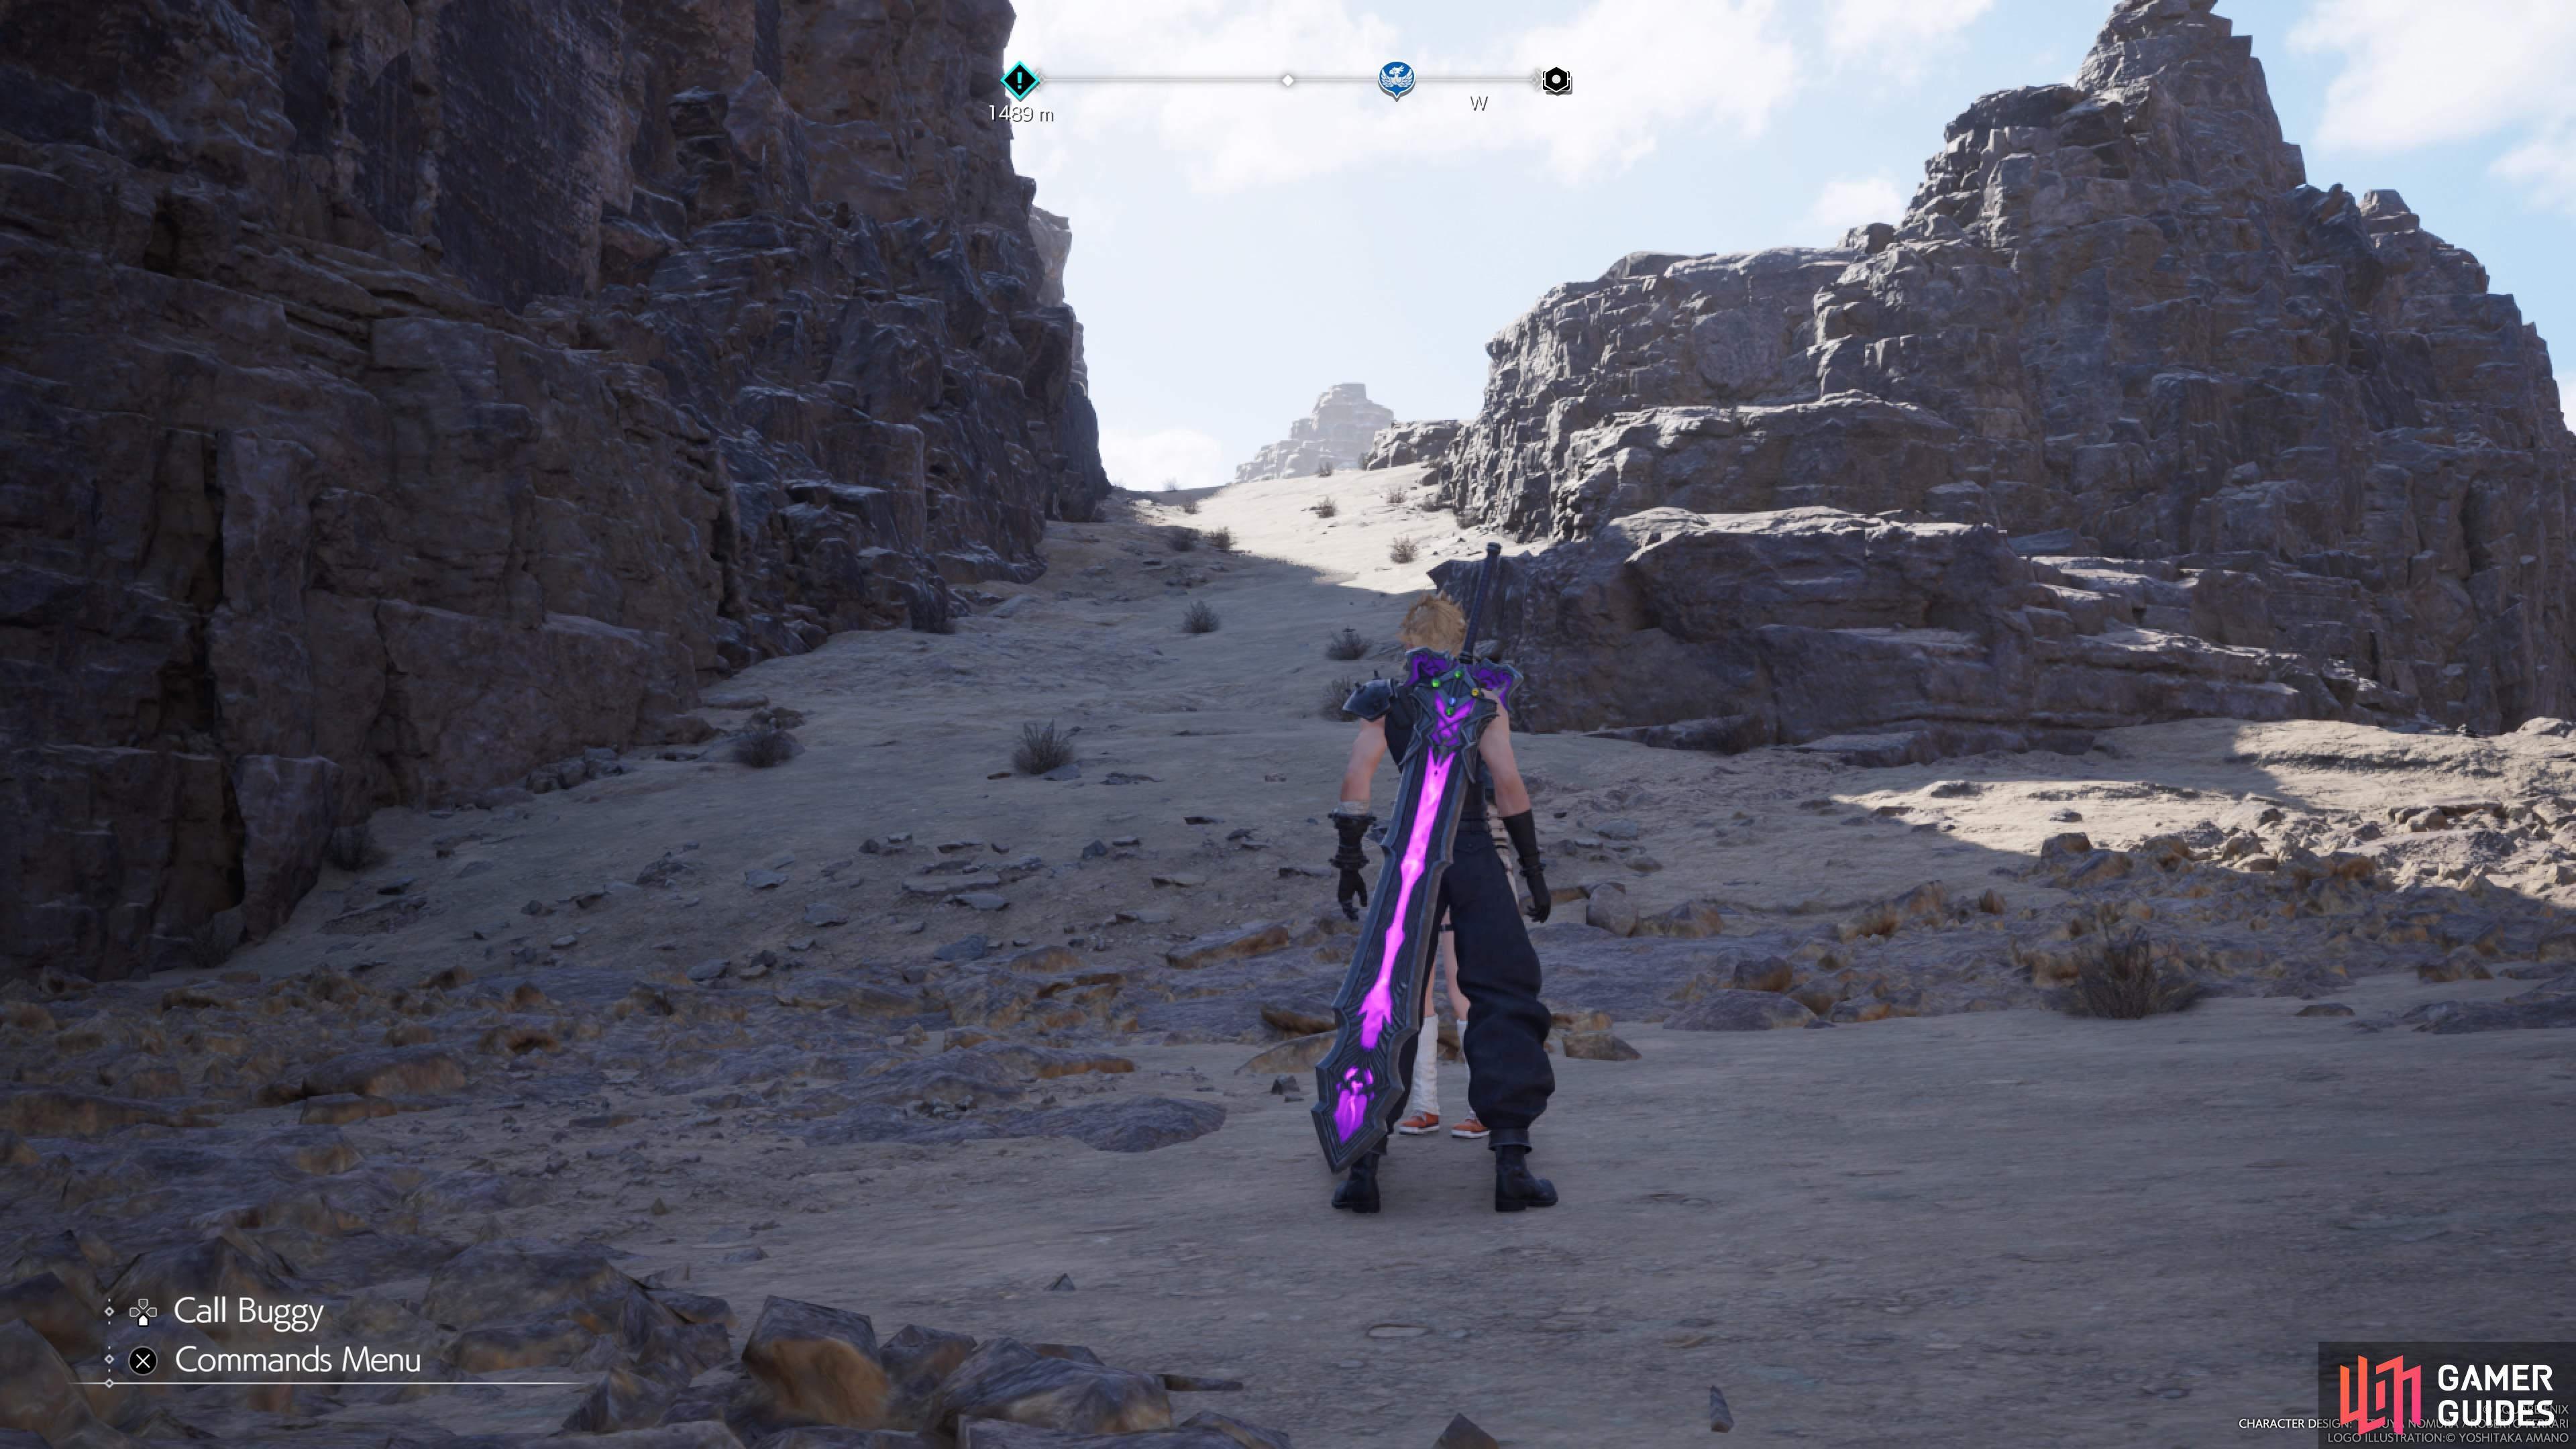
Instead, go around the northern side of that rocky section, where you should find a Chocobo Stop. A little more east of that, if you follow along the cliffside, is a hill that takes you up to the top portion. Head south, then east, past the buildings, and you should eventually see the Cactuar Rock. Stand in front of it and hold up the statue, which will spawn some Orange Cactrots. Defeat these, then return to the reactor to get inside. Go down the ladder and pass through the doorway to meet Kid G and start the first minigame.
Cactuar Crush: Yuffie Minigame Guide
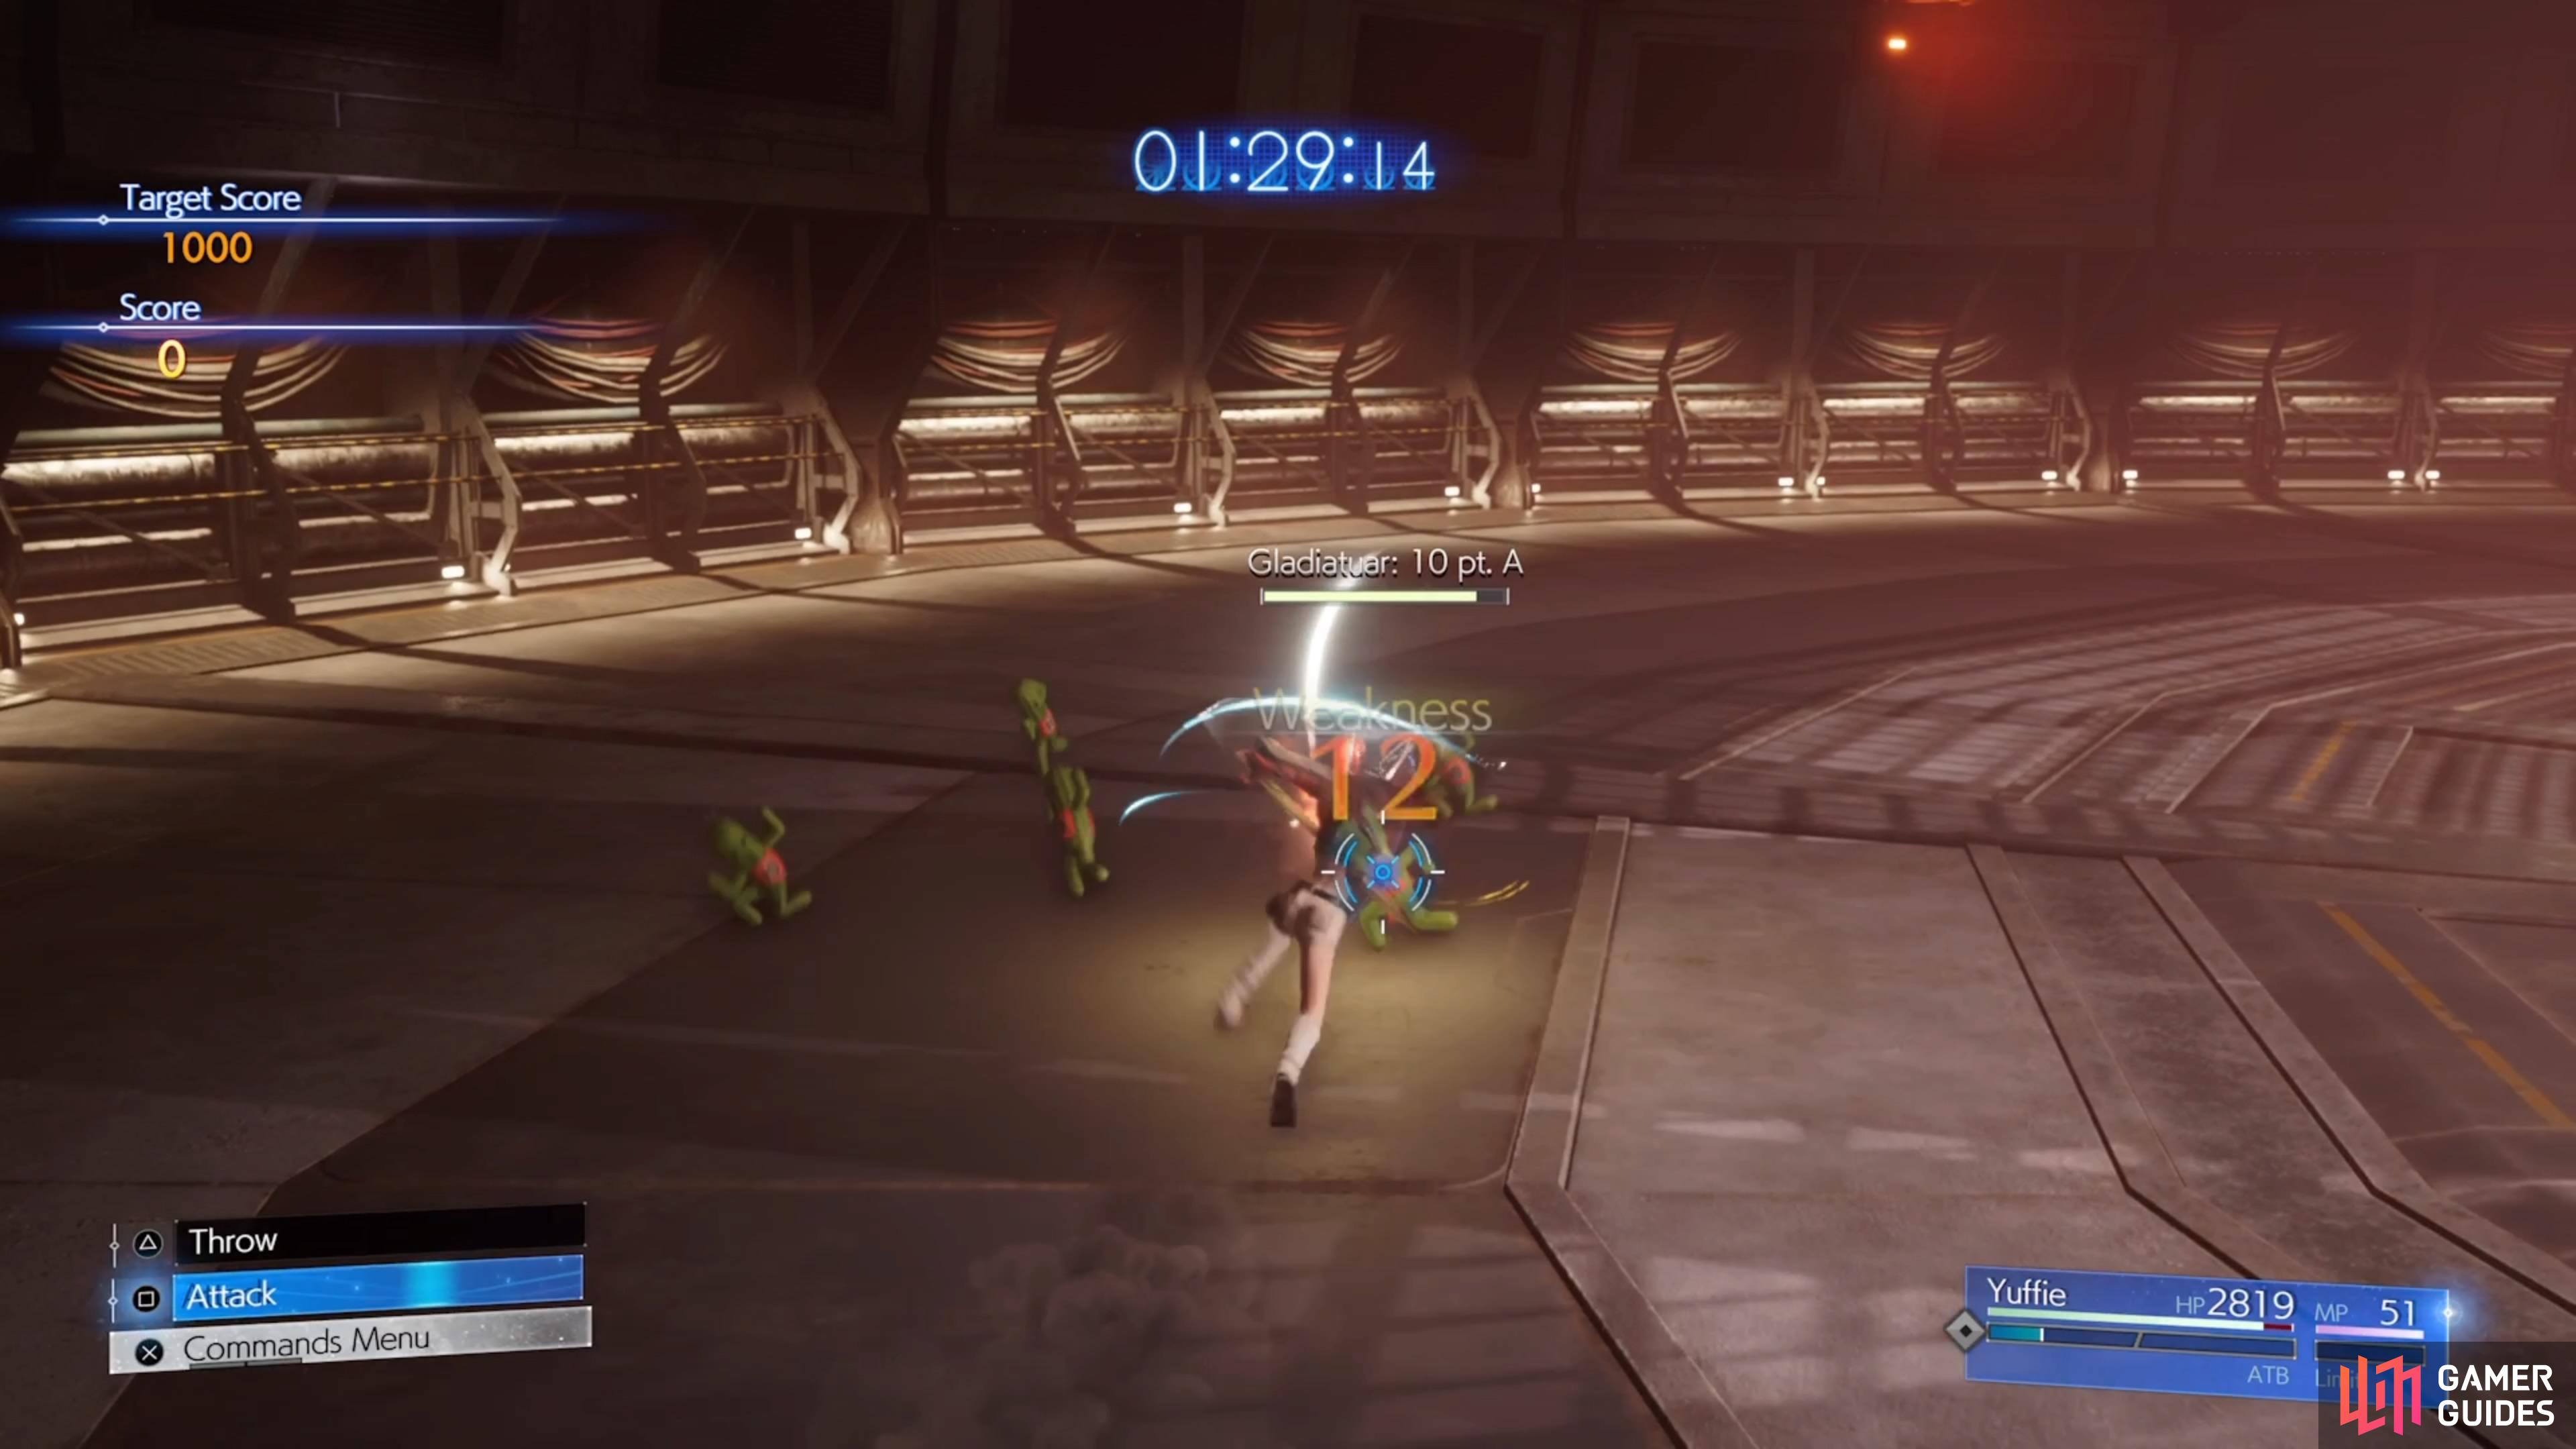
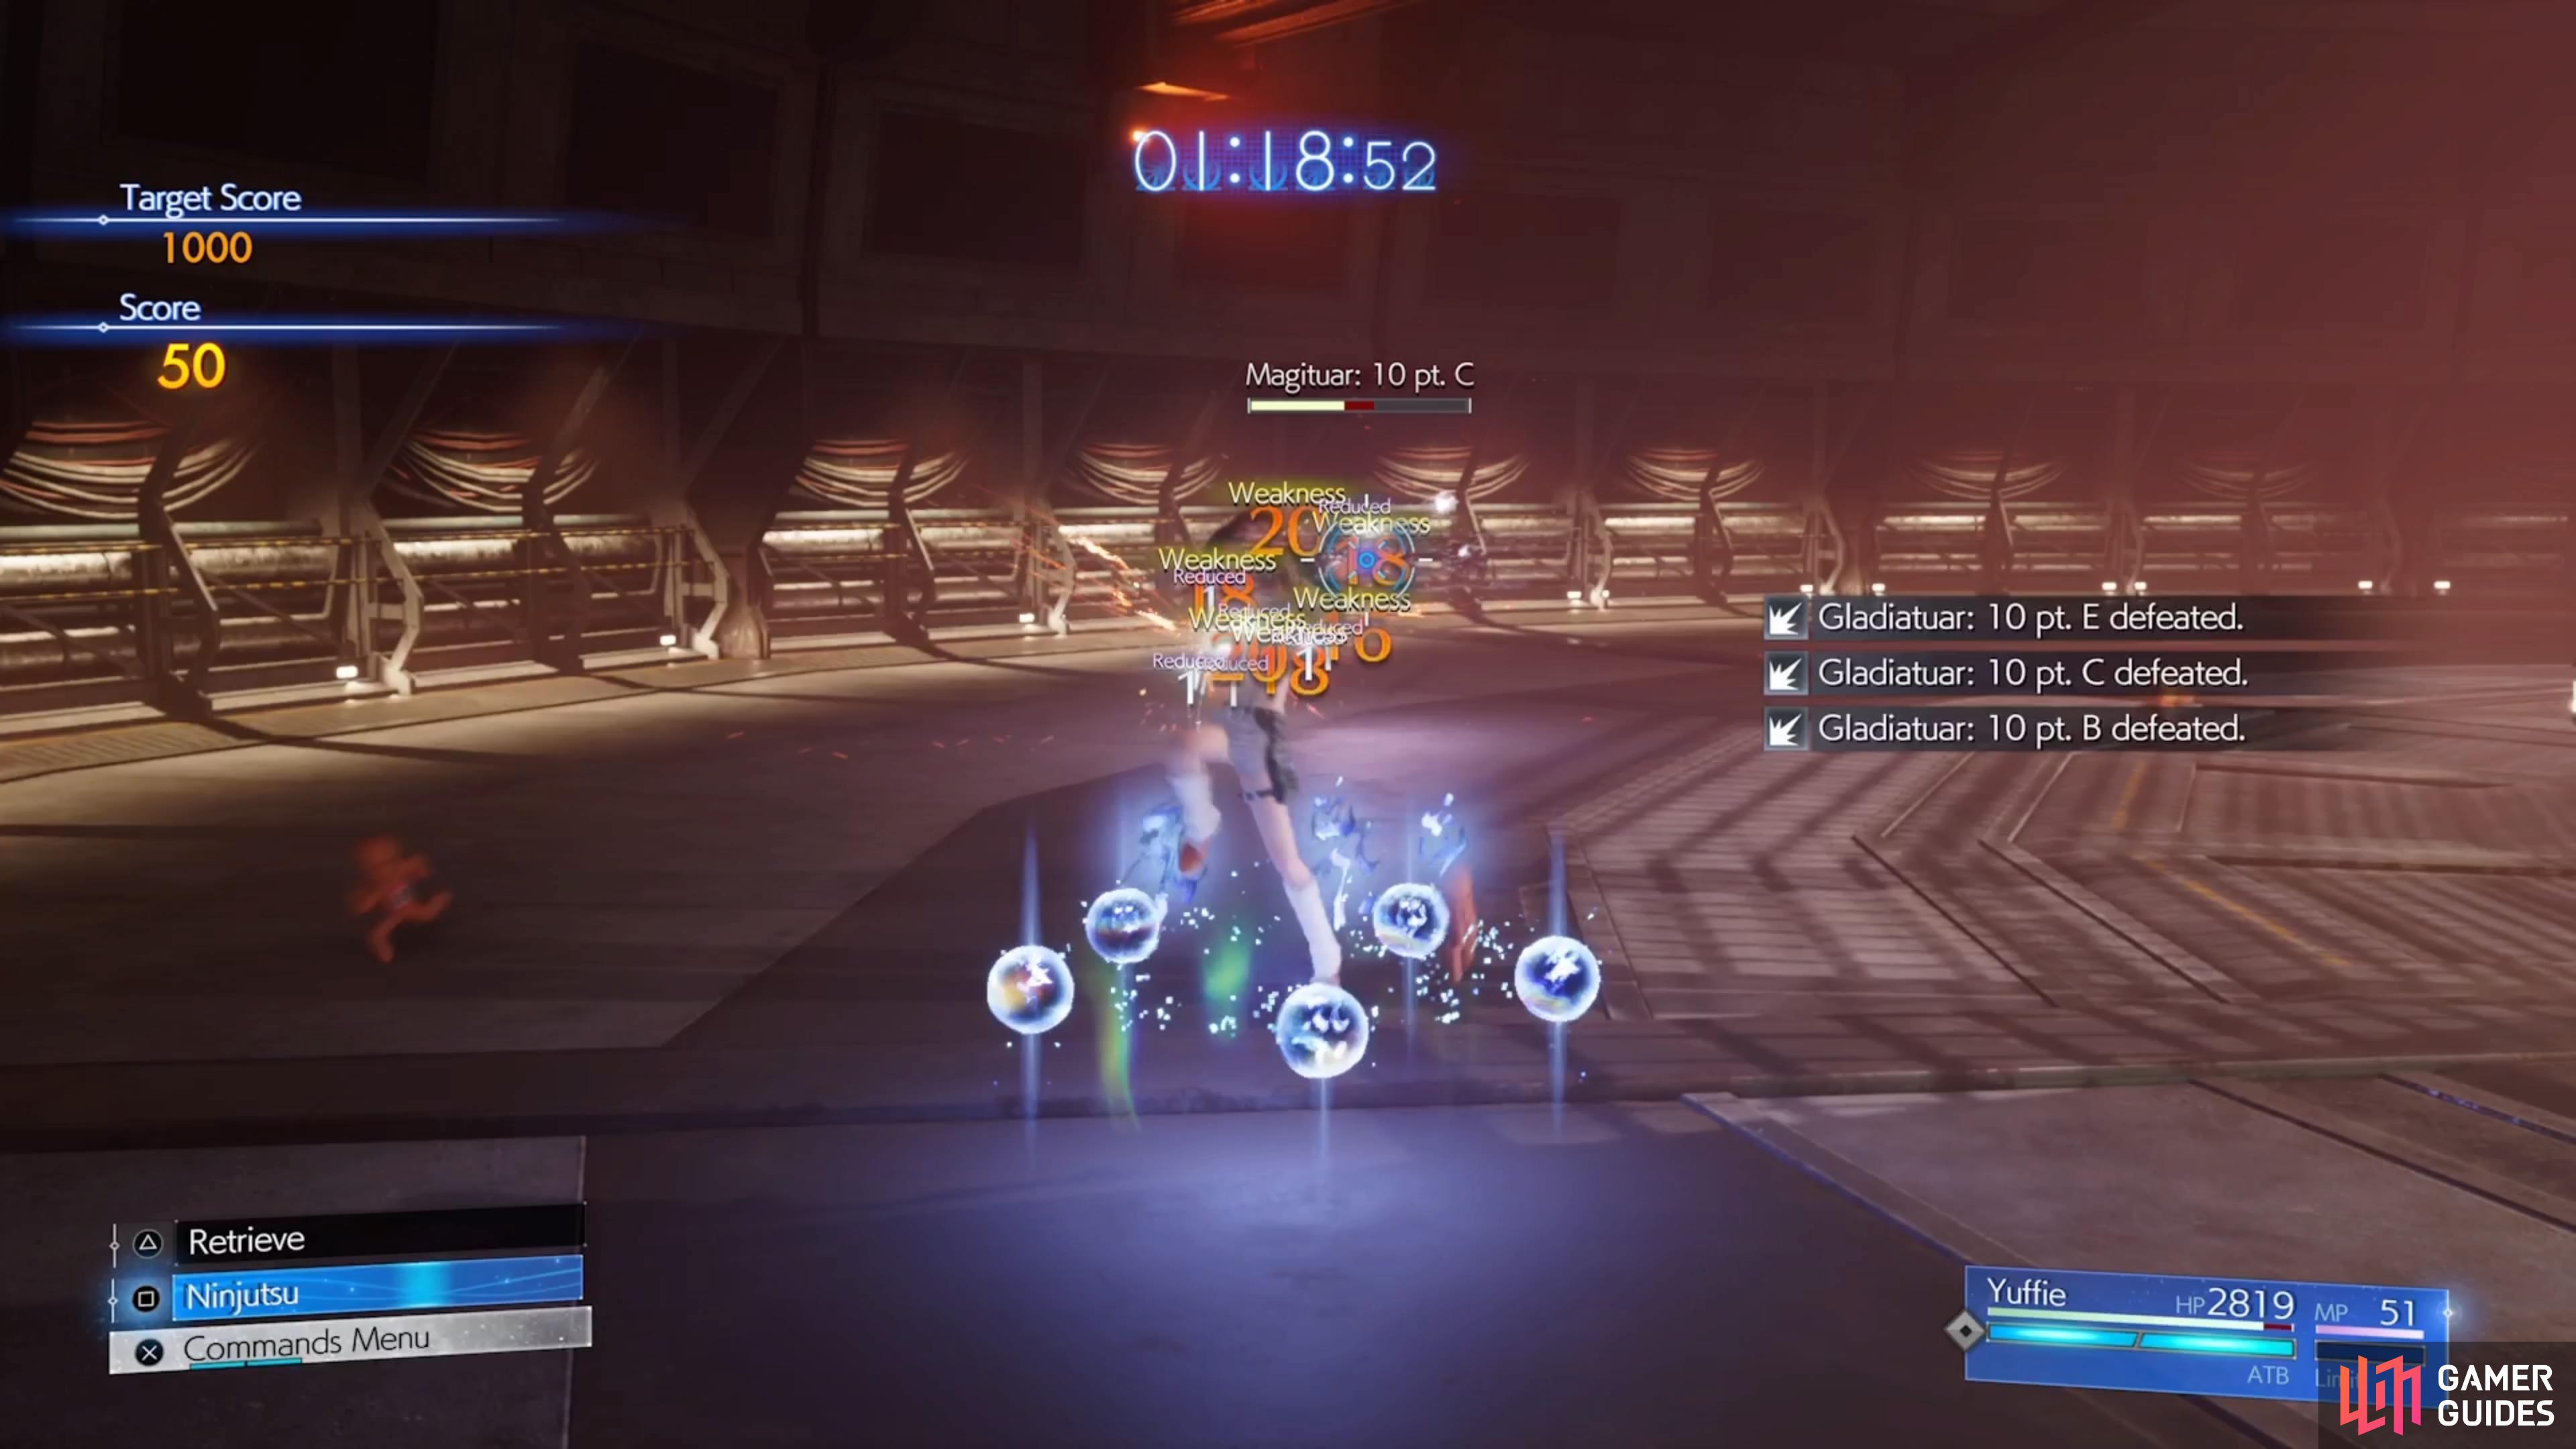
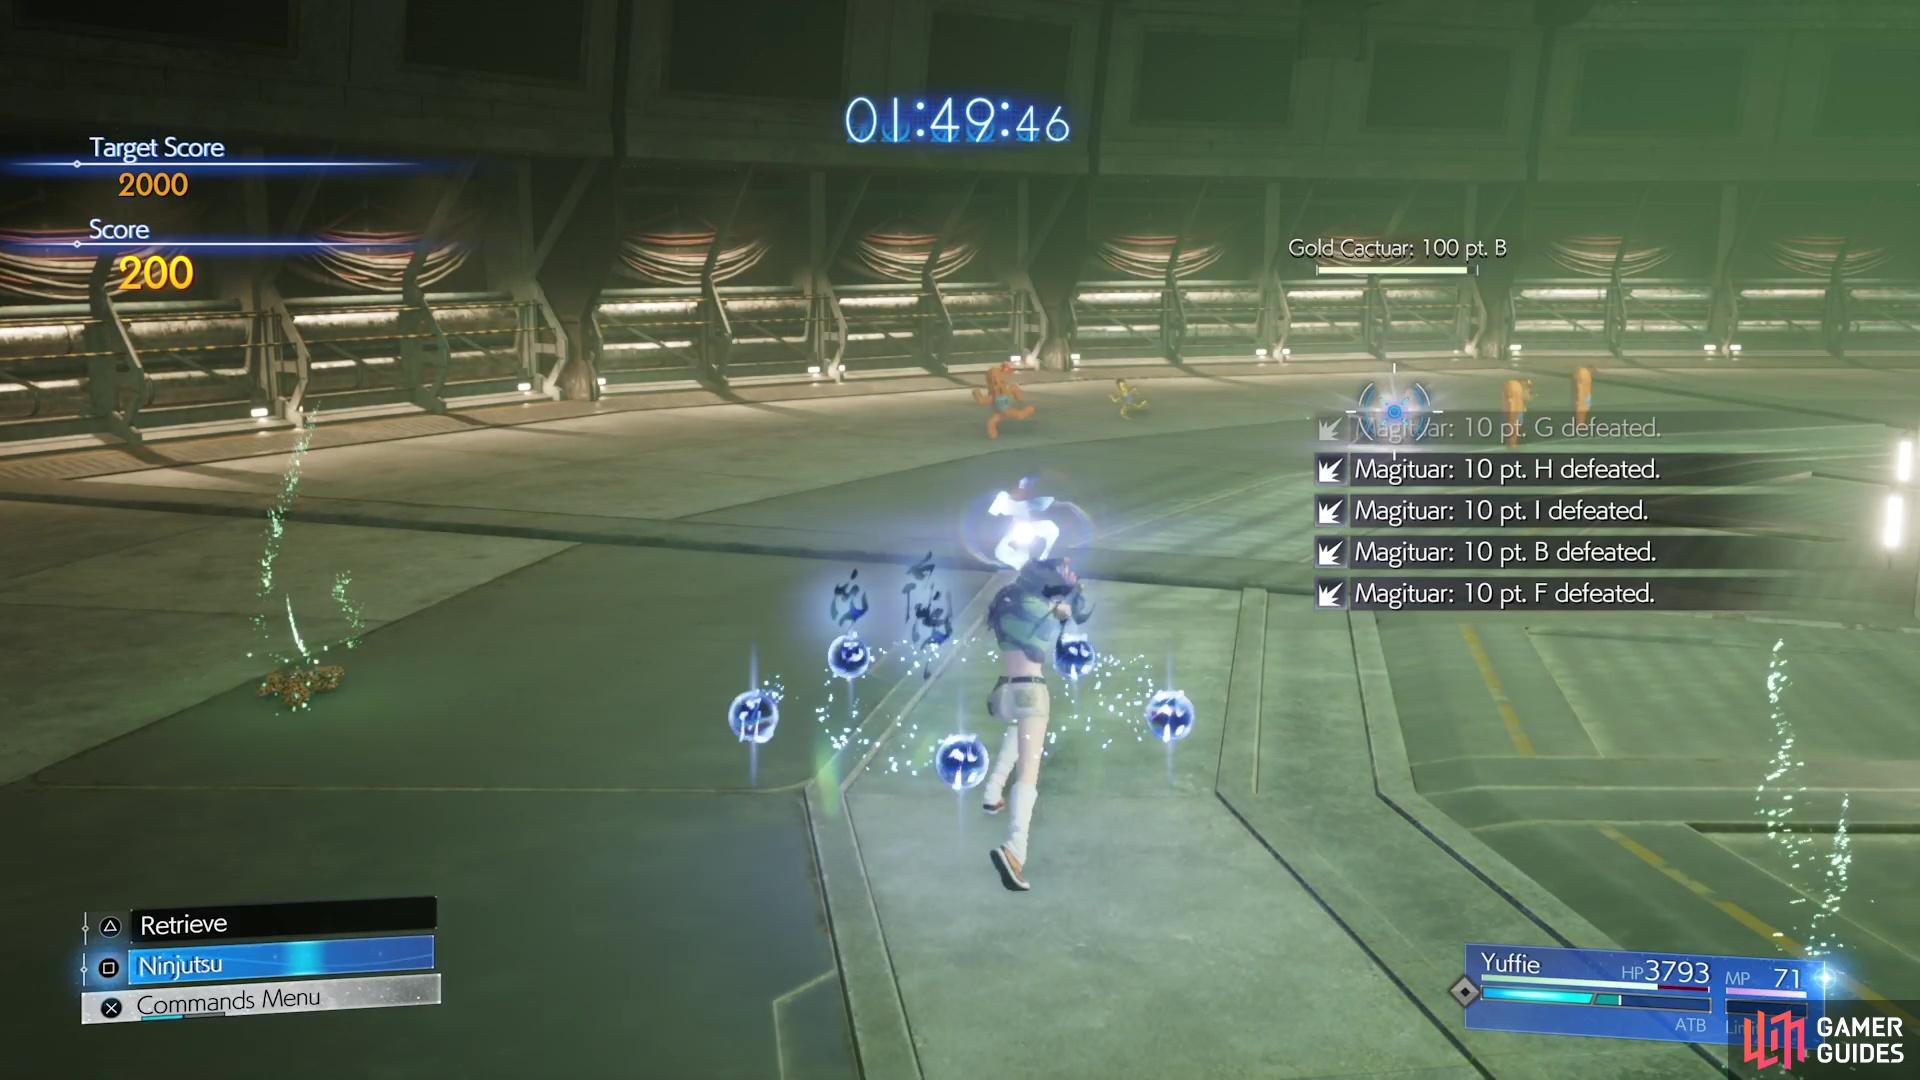
The goal of the minigame is to defeat the Cactuars, which are worth a set amount of points, and reach at least 1,000 points to get the first reward on the list. This will allow you to complete that portion of the Protorelic quest and move onto the next, but you want to master the minigame and get all of the rewards, right? Well, you will be using Yuffie for this version of the minigame, whose speed can somewhat match that of the Cactuars. It’s important to note that Gladiatuars are weak to physical damage, while Magituars are weak to magic damage.
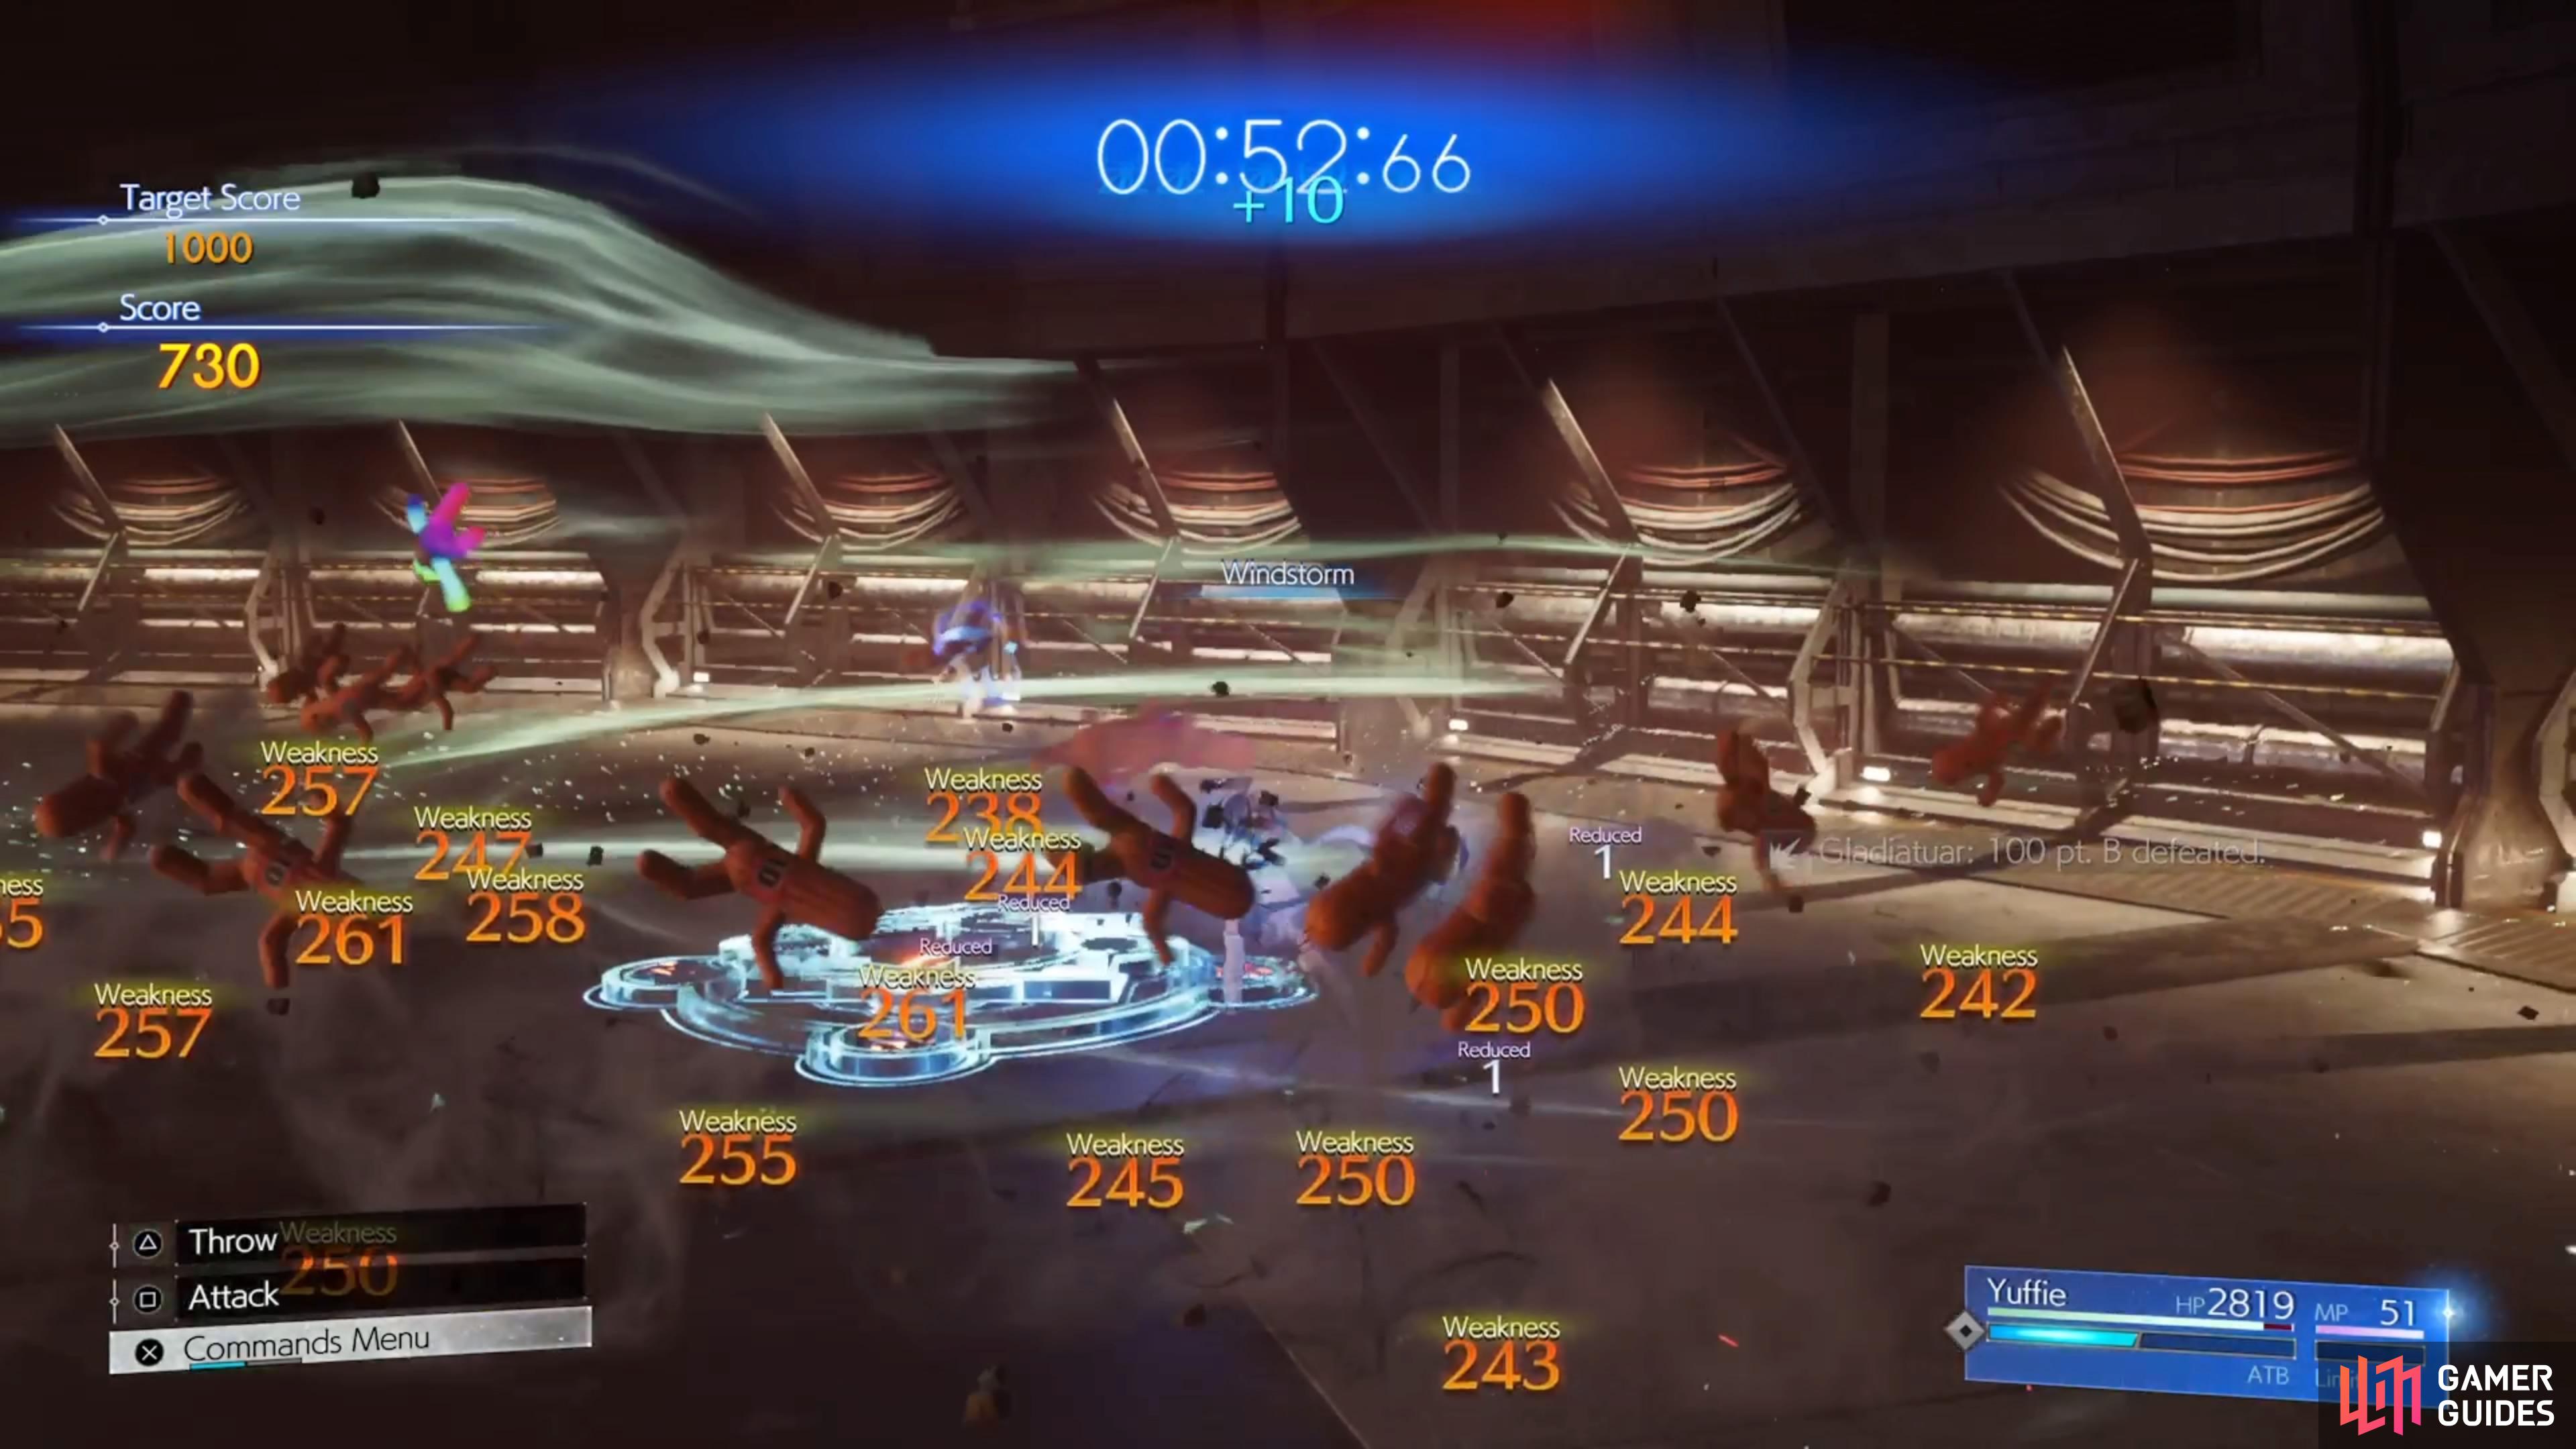
For Yuffie, you will basically be using two abilities here: Art of War (default) for physical, and ![]() Windstorm for magical. Note that you shouldn’t have to worry about using Art of War on the smaller Gladiatuars, as normal attacks should be enough. You will still want to use Windstorm for the Magituars, as they are resistant to normal attacks. The Giftuars will go down in just about any hit and give time bonuses.
Windstorm for magical. Note that you shouldn’t have to worry about using Art of War on the smaller Gladiatuars, as normal attacks should be enough. You will still want to use Windstorm for the Magituars, as they are resistant to normal attacks. The Giftuars will go down in just about any hit and give time bonuses.
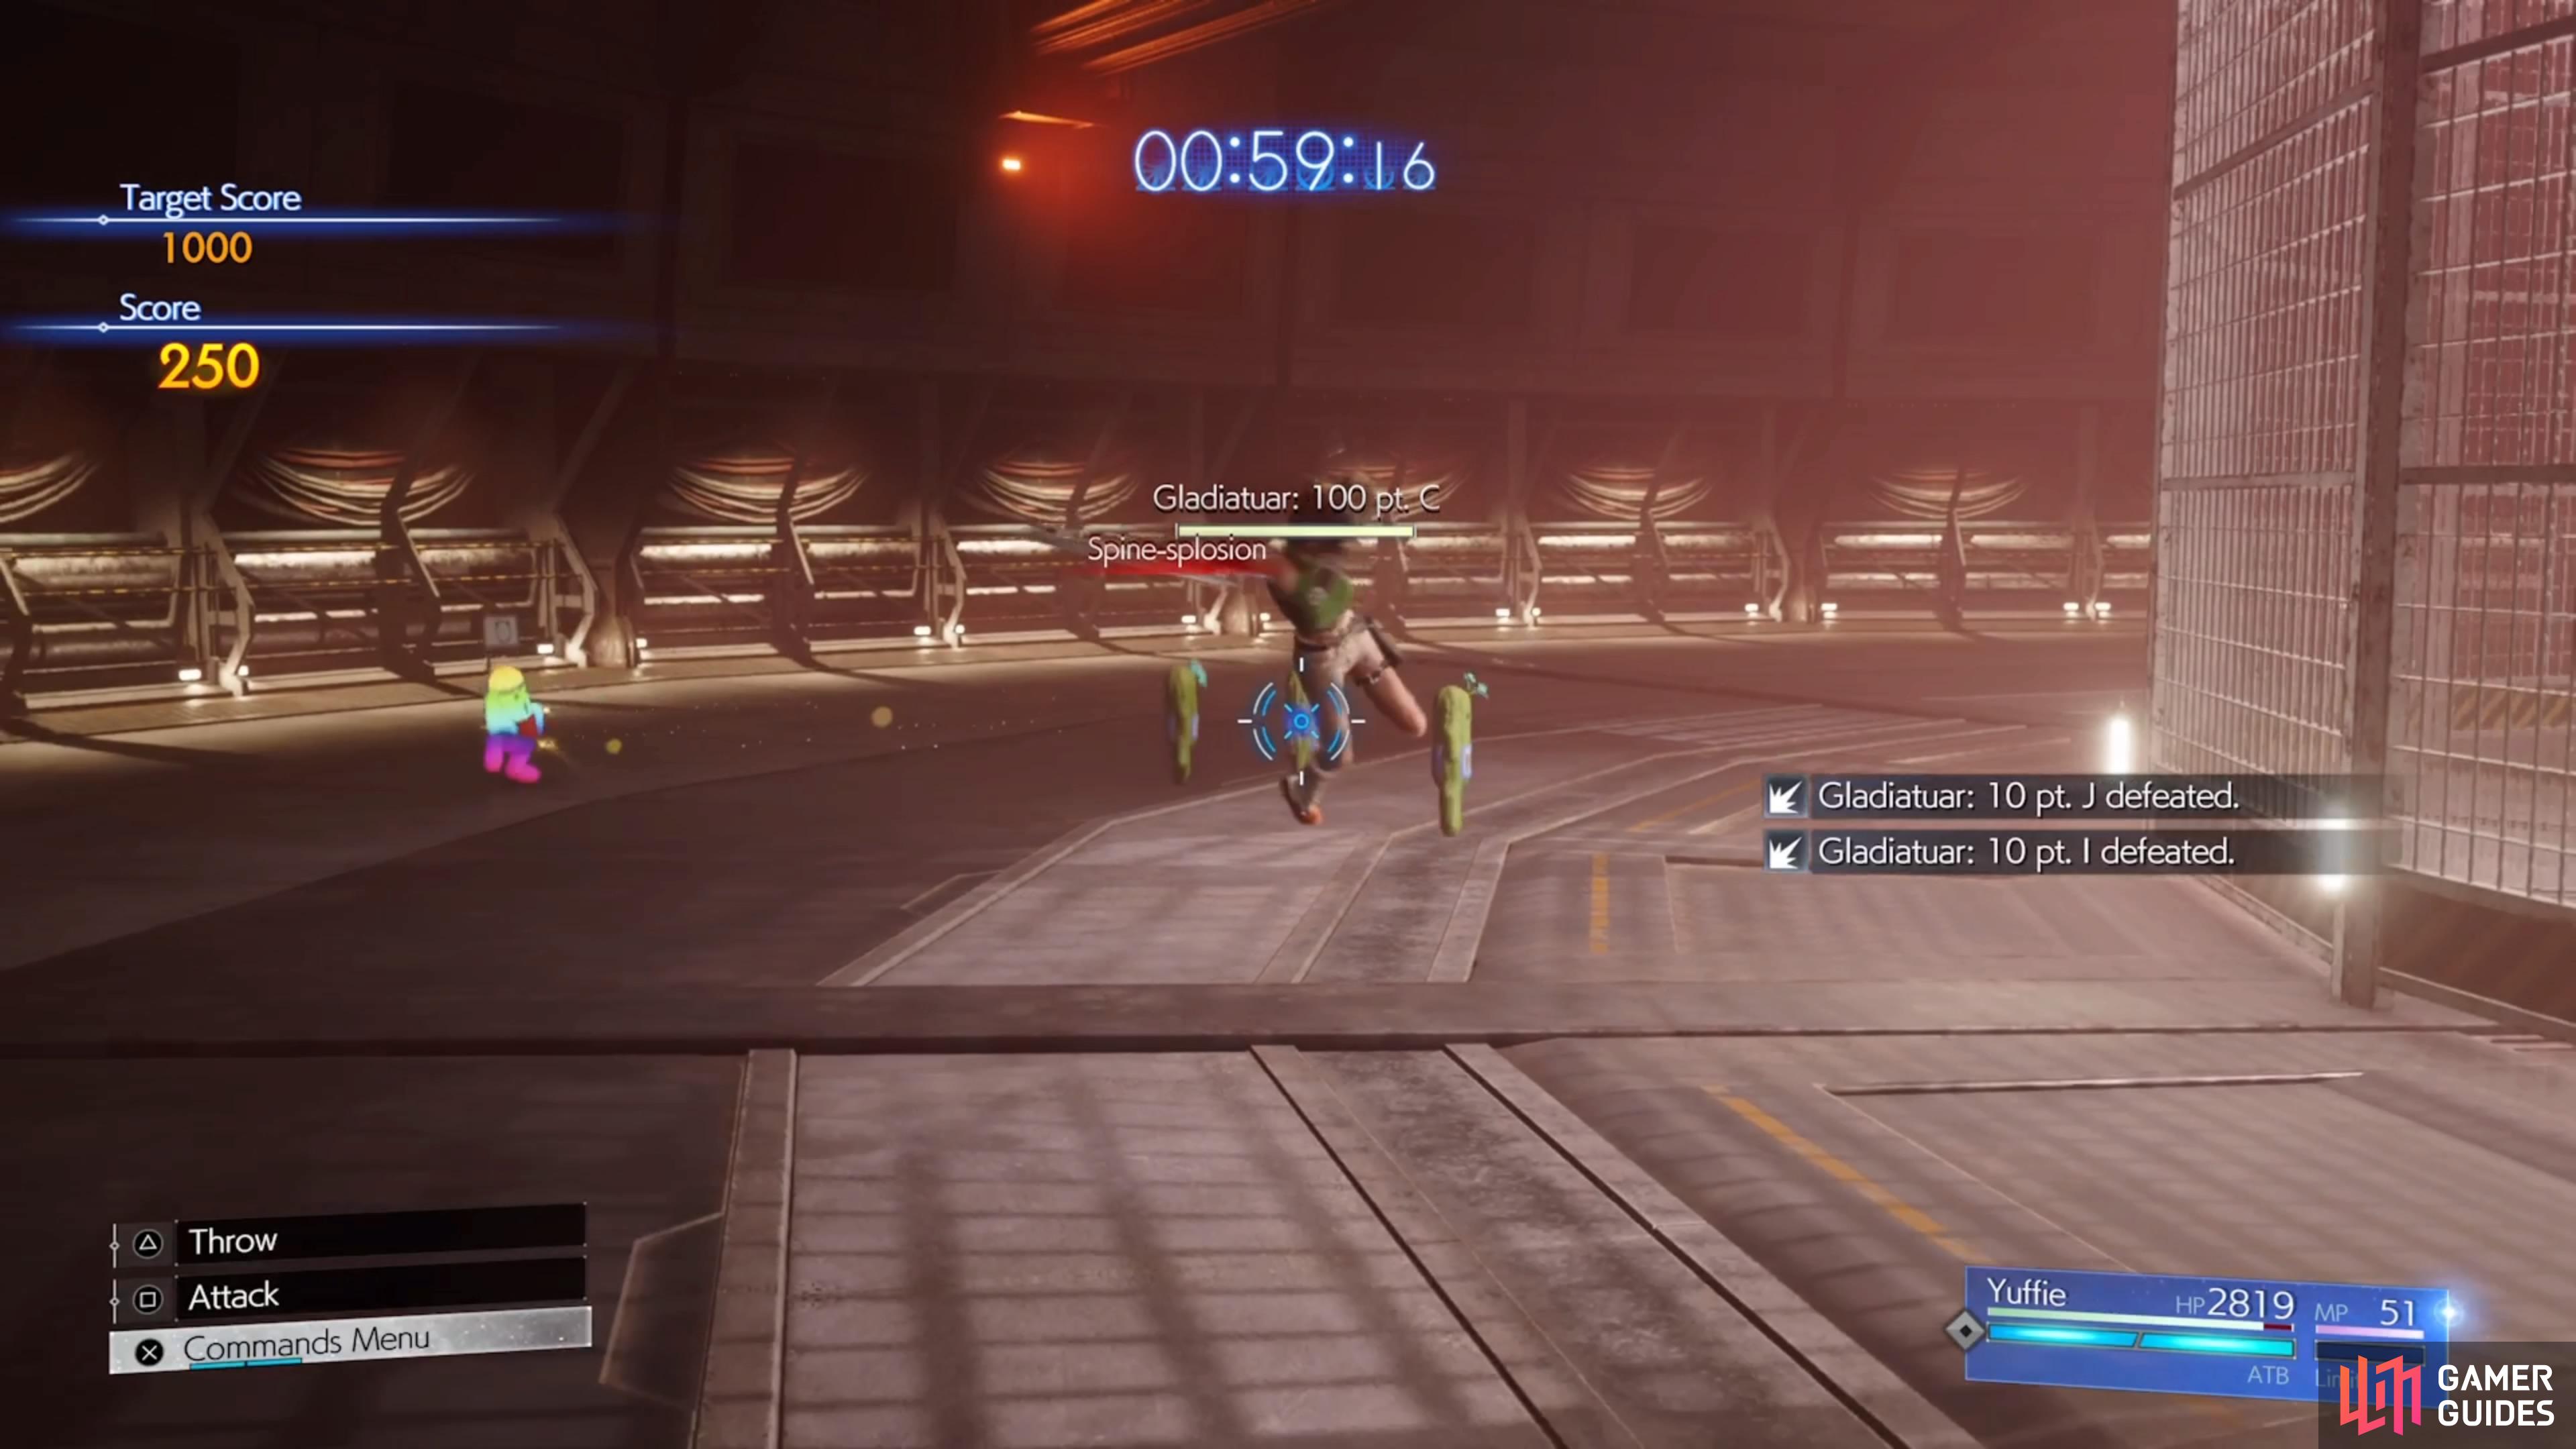
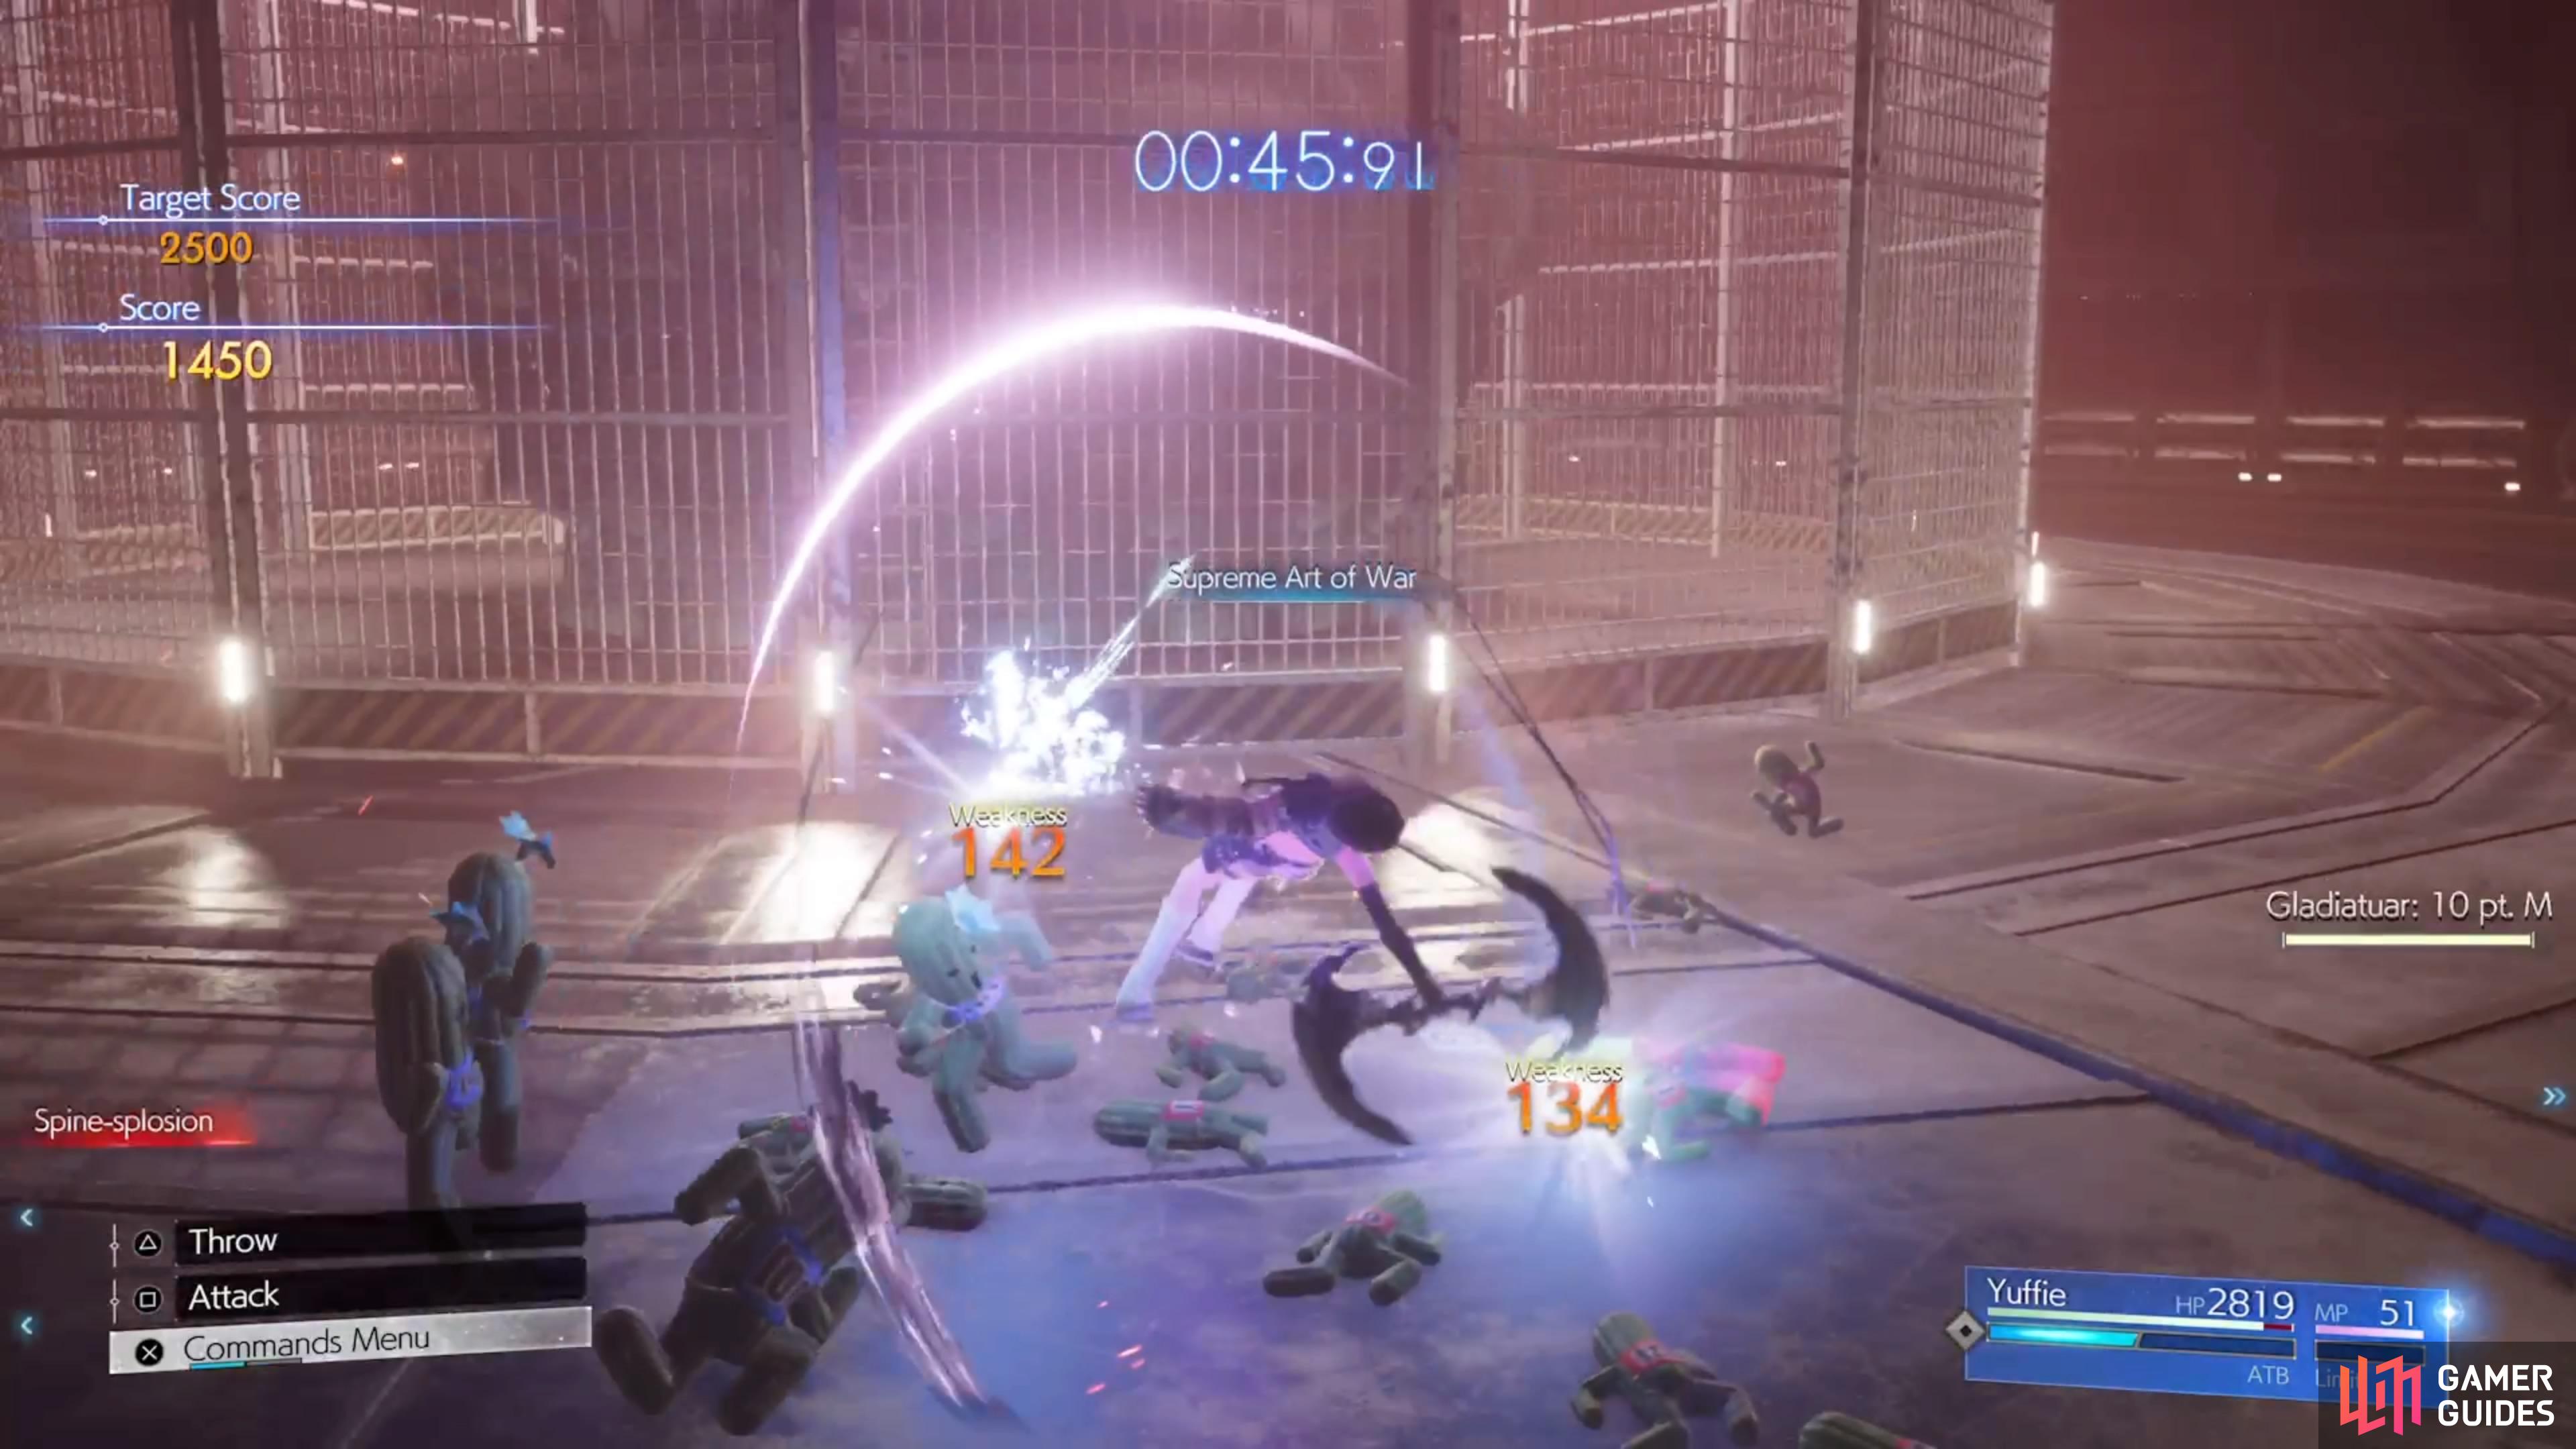

When you start getting the bigger versions of both types is when things get a little more challenging, as you will want to use the above abilities. Also, the game will start to mix both types near the end, so you will be stuck unless you cycle through the two abilities. The bigger ones will use a move called Spine-splosion, where they toss out three bombs that explode after a few seconds. Getting hit by those, or even the Tackle move, will result in you losing 20 points.
| Score | Reward |
|---|---|
| 1,000 | |
| 1,500 | |
| 2,500 |
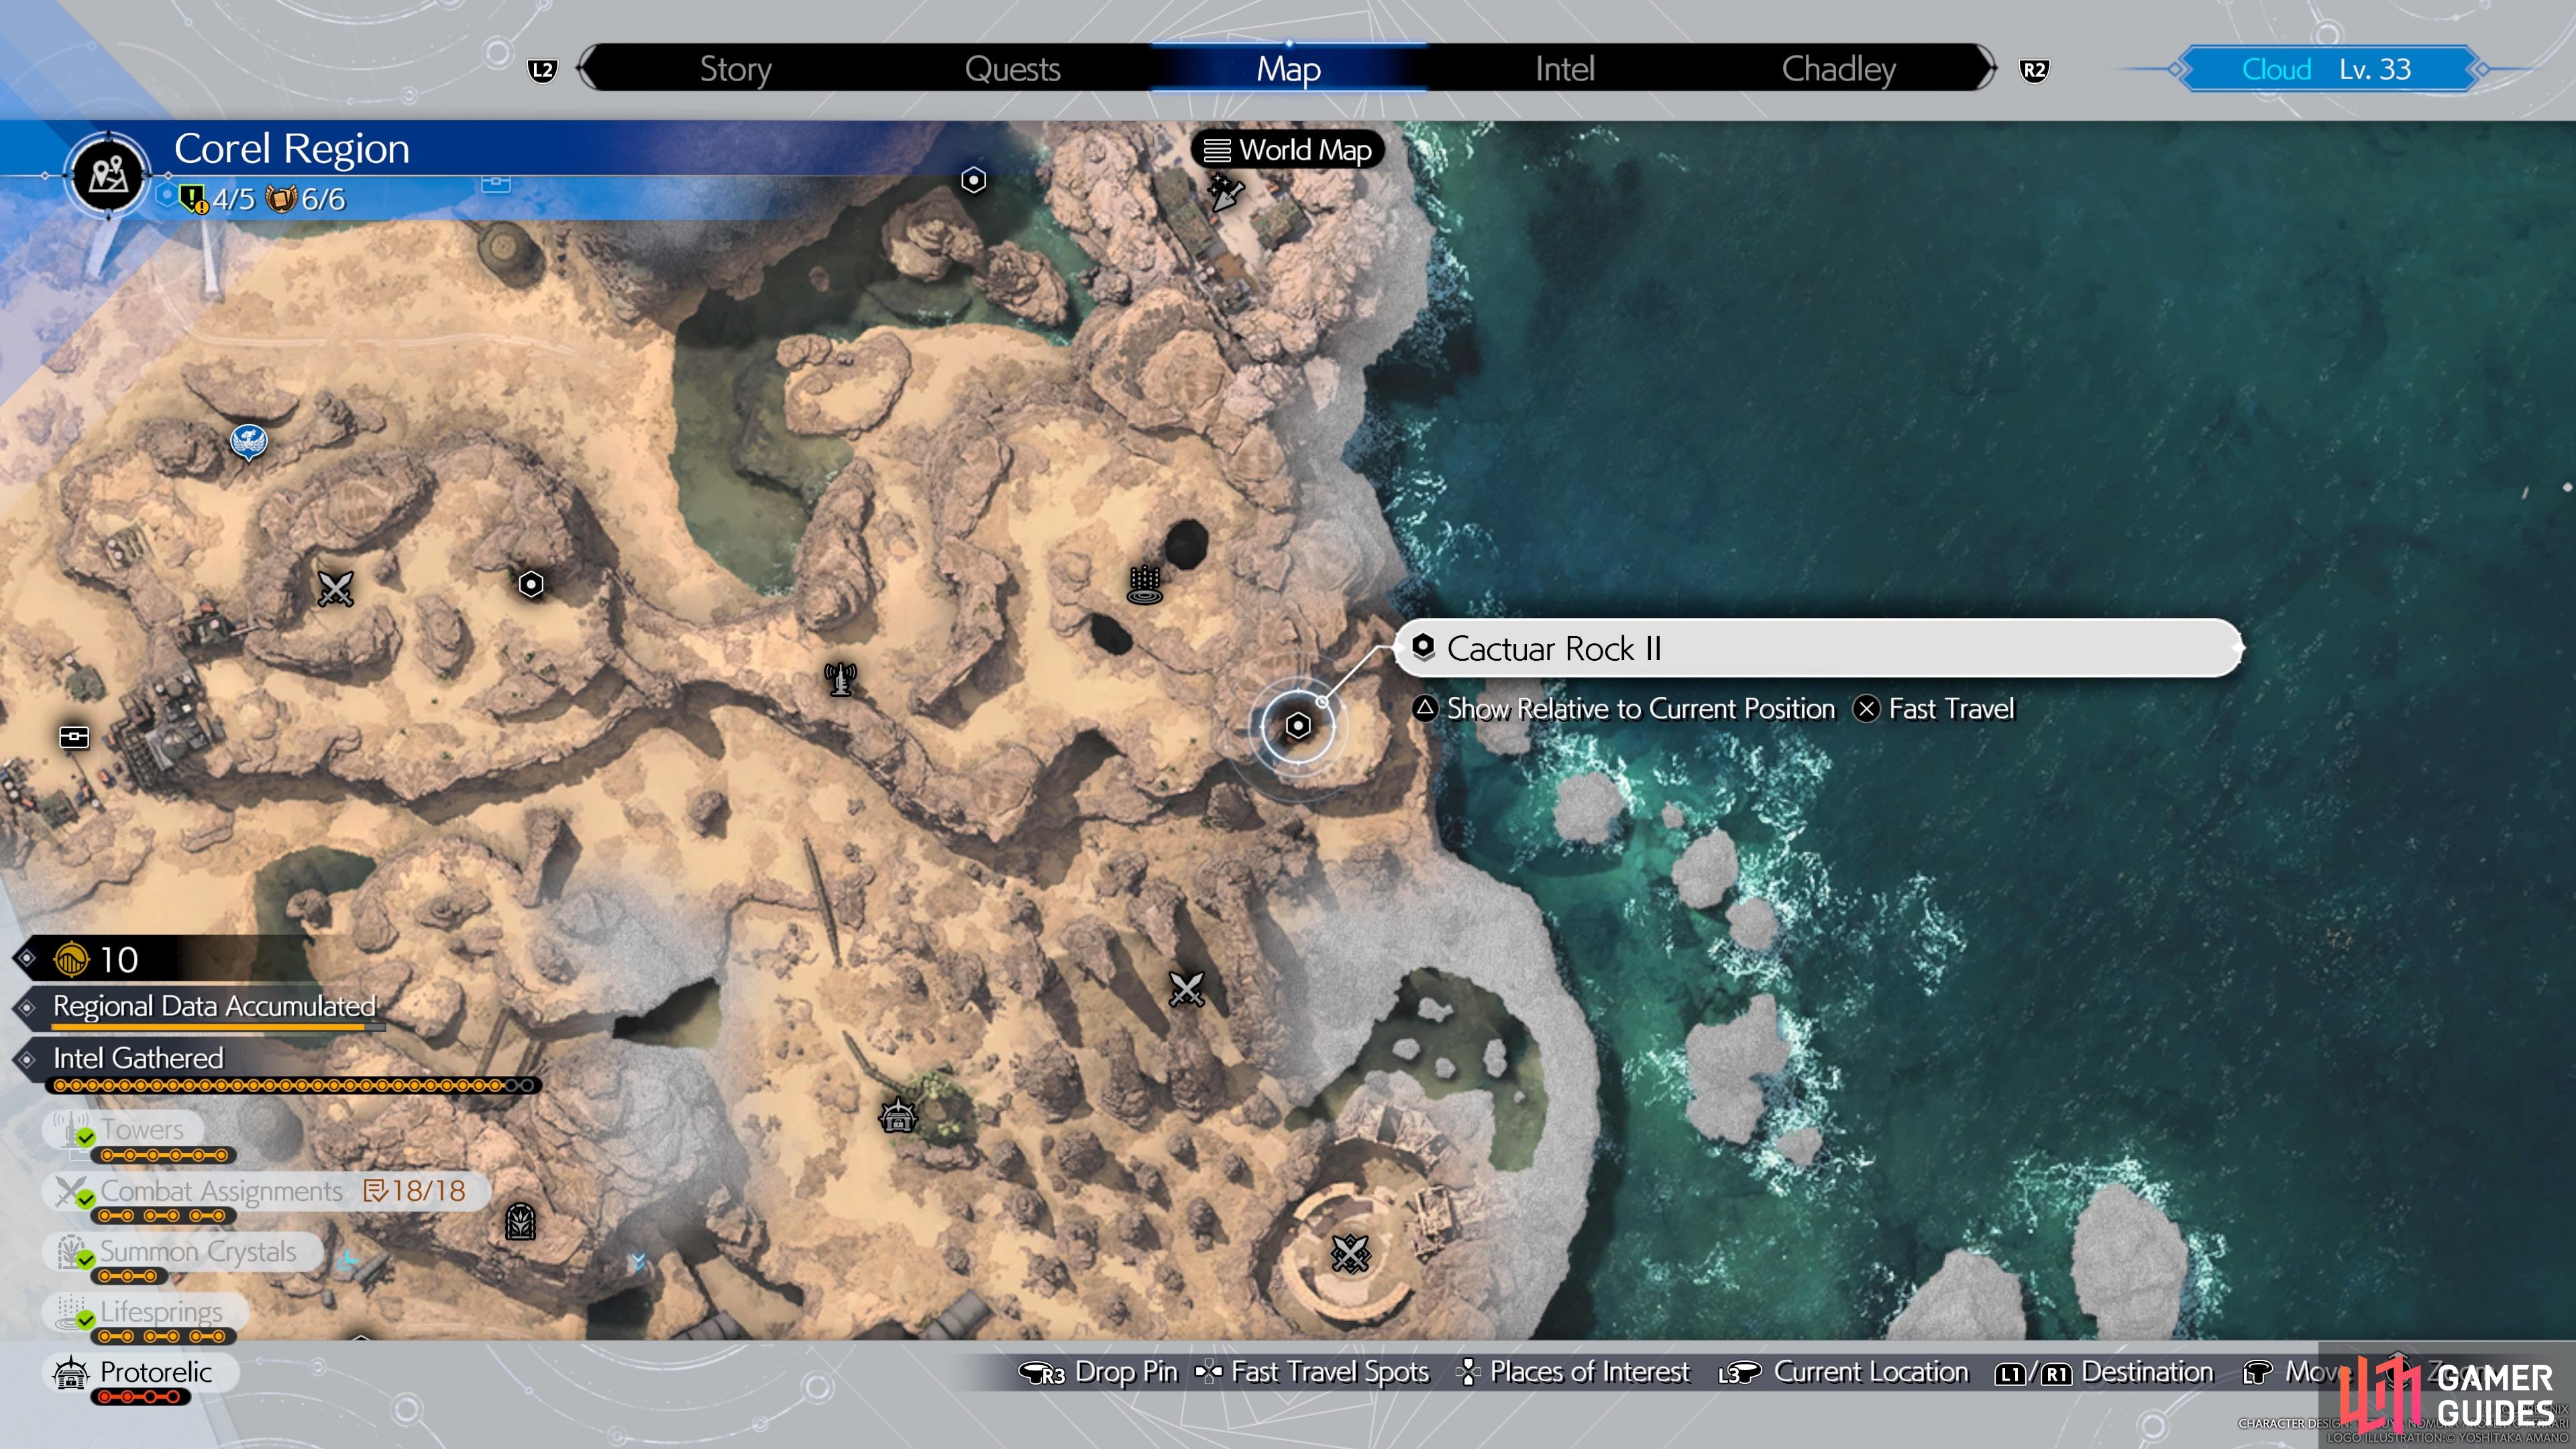
Where to Find Cactuar Rock II
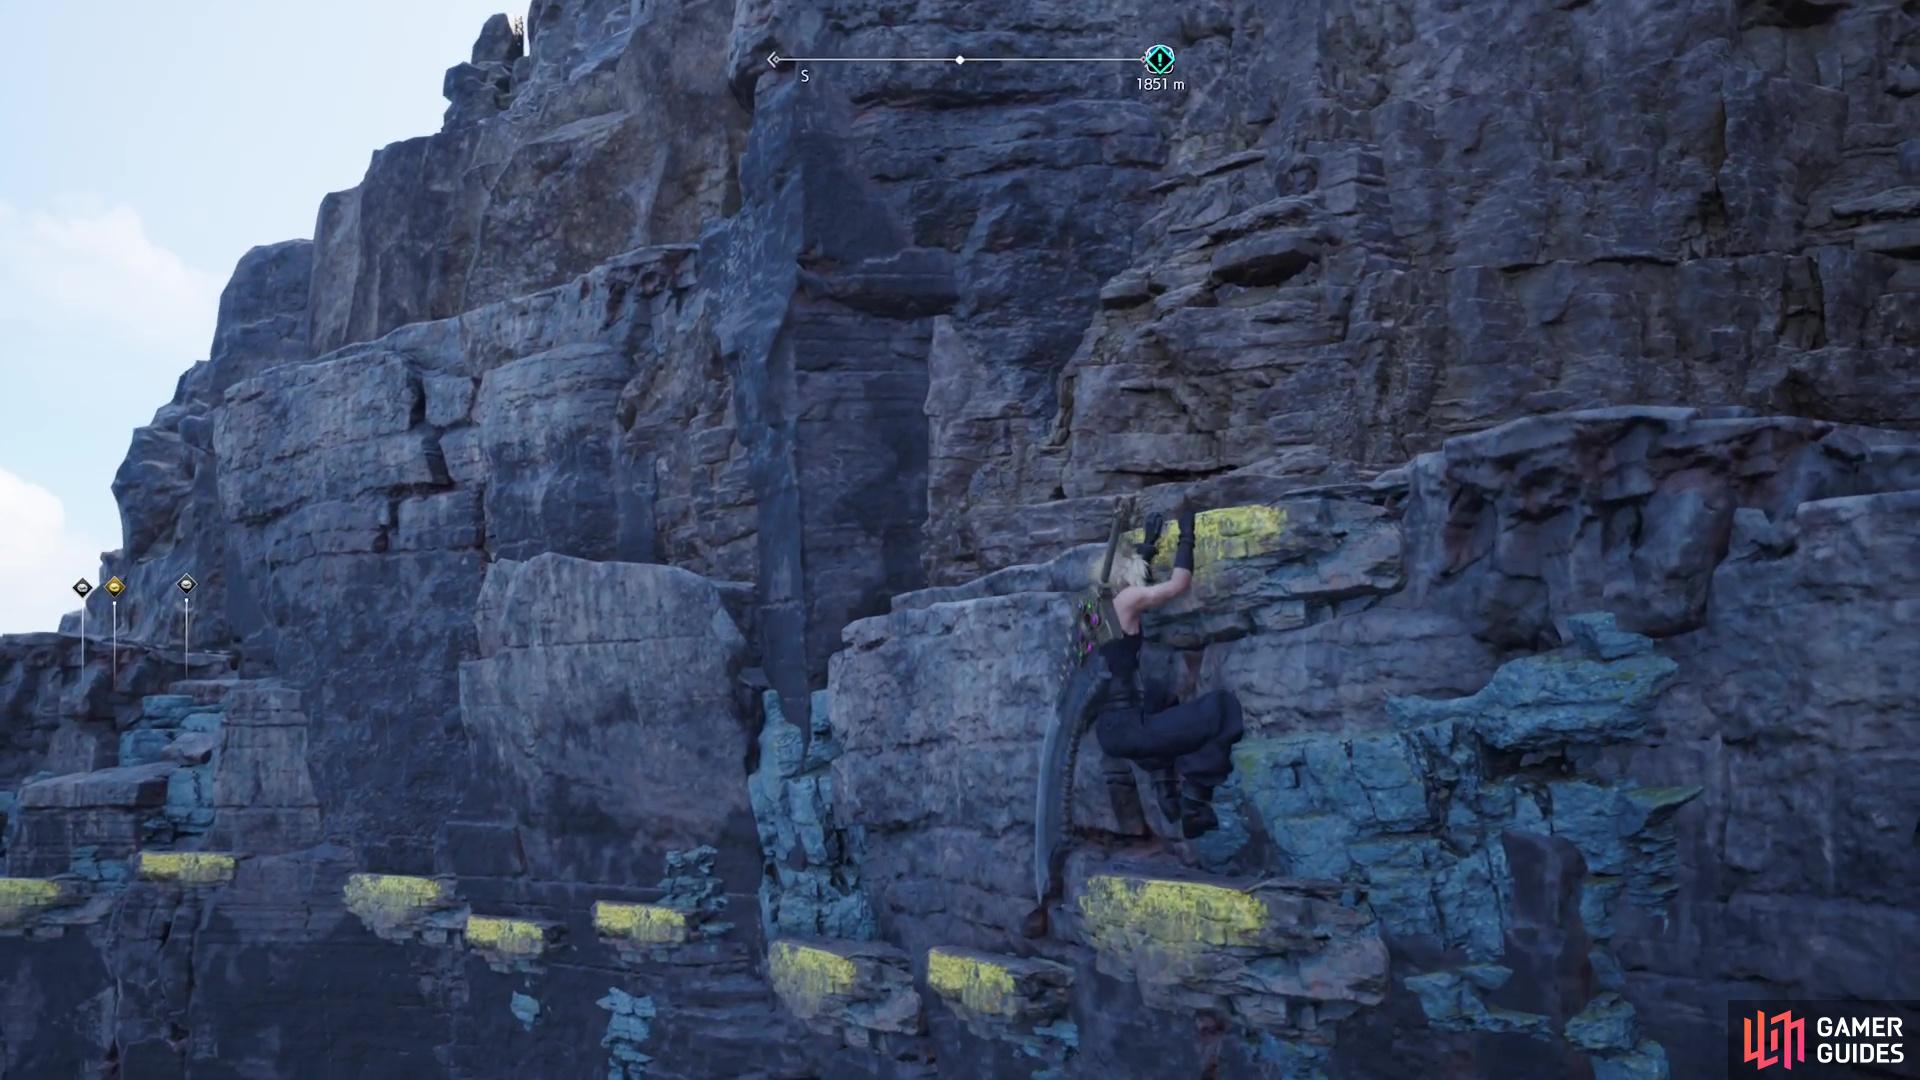
The second reactor will be located to the west, south of Activation Intel 5 (the fifth tower). You should be able to see the building from the cliff right next to the tower; you can drive off the cliff in your Buggy, making it easier to get to it. Approach the front door to get the Cactuar Statue, then use it to start searching for the Cactuar Rock. This one will be located to the east of the fifth tower, so if you follow the cliffside here, you will come to a grapple point.
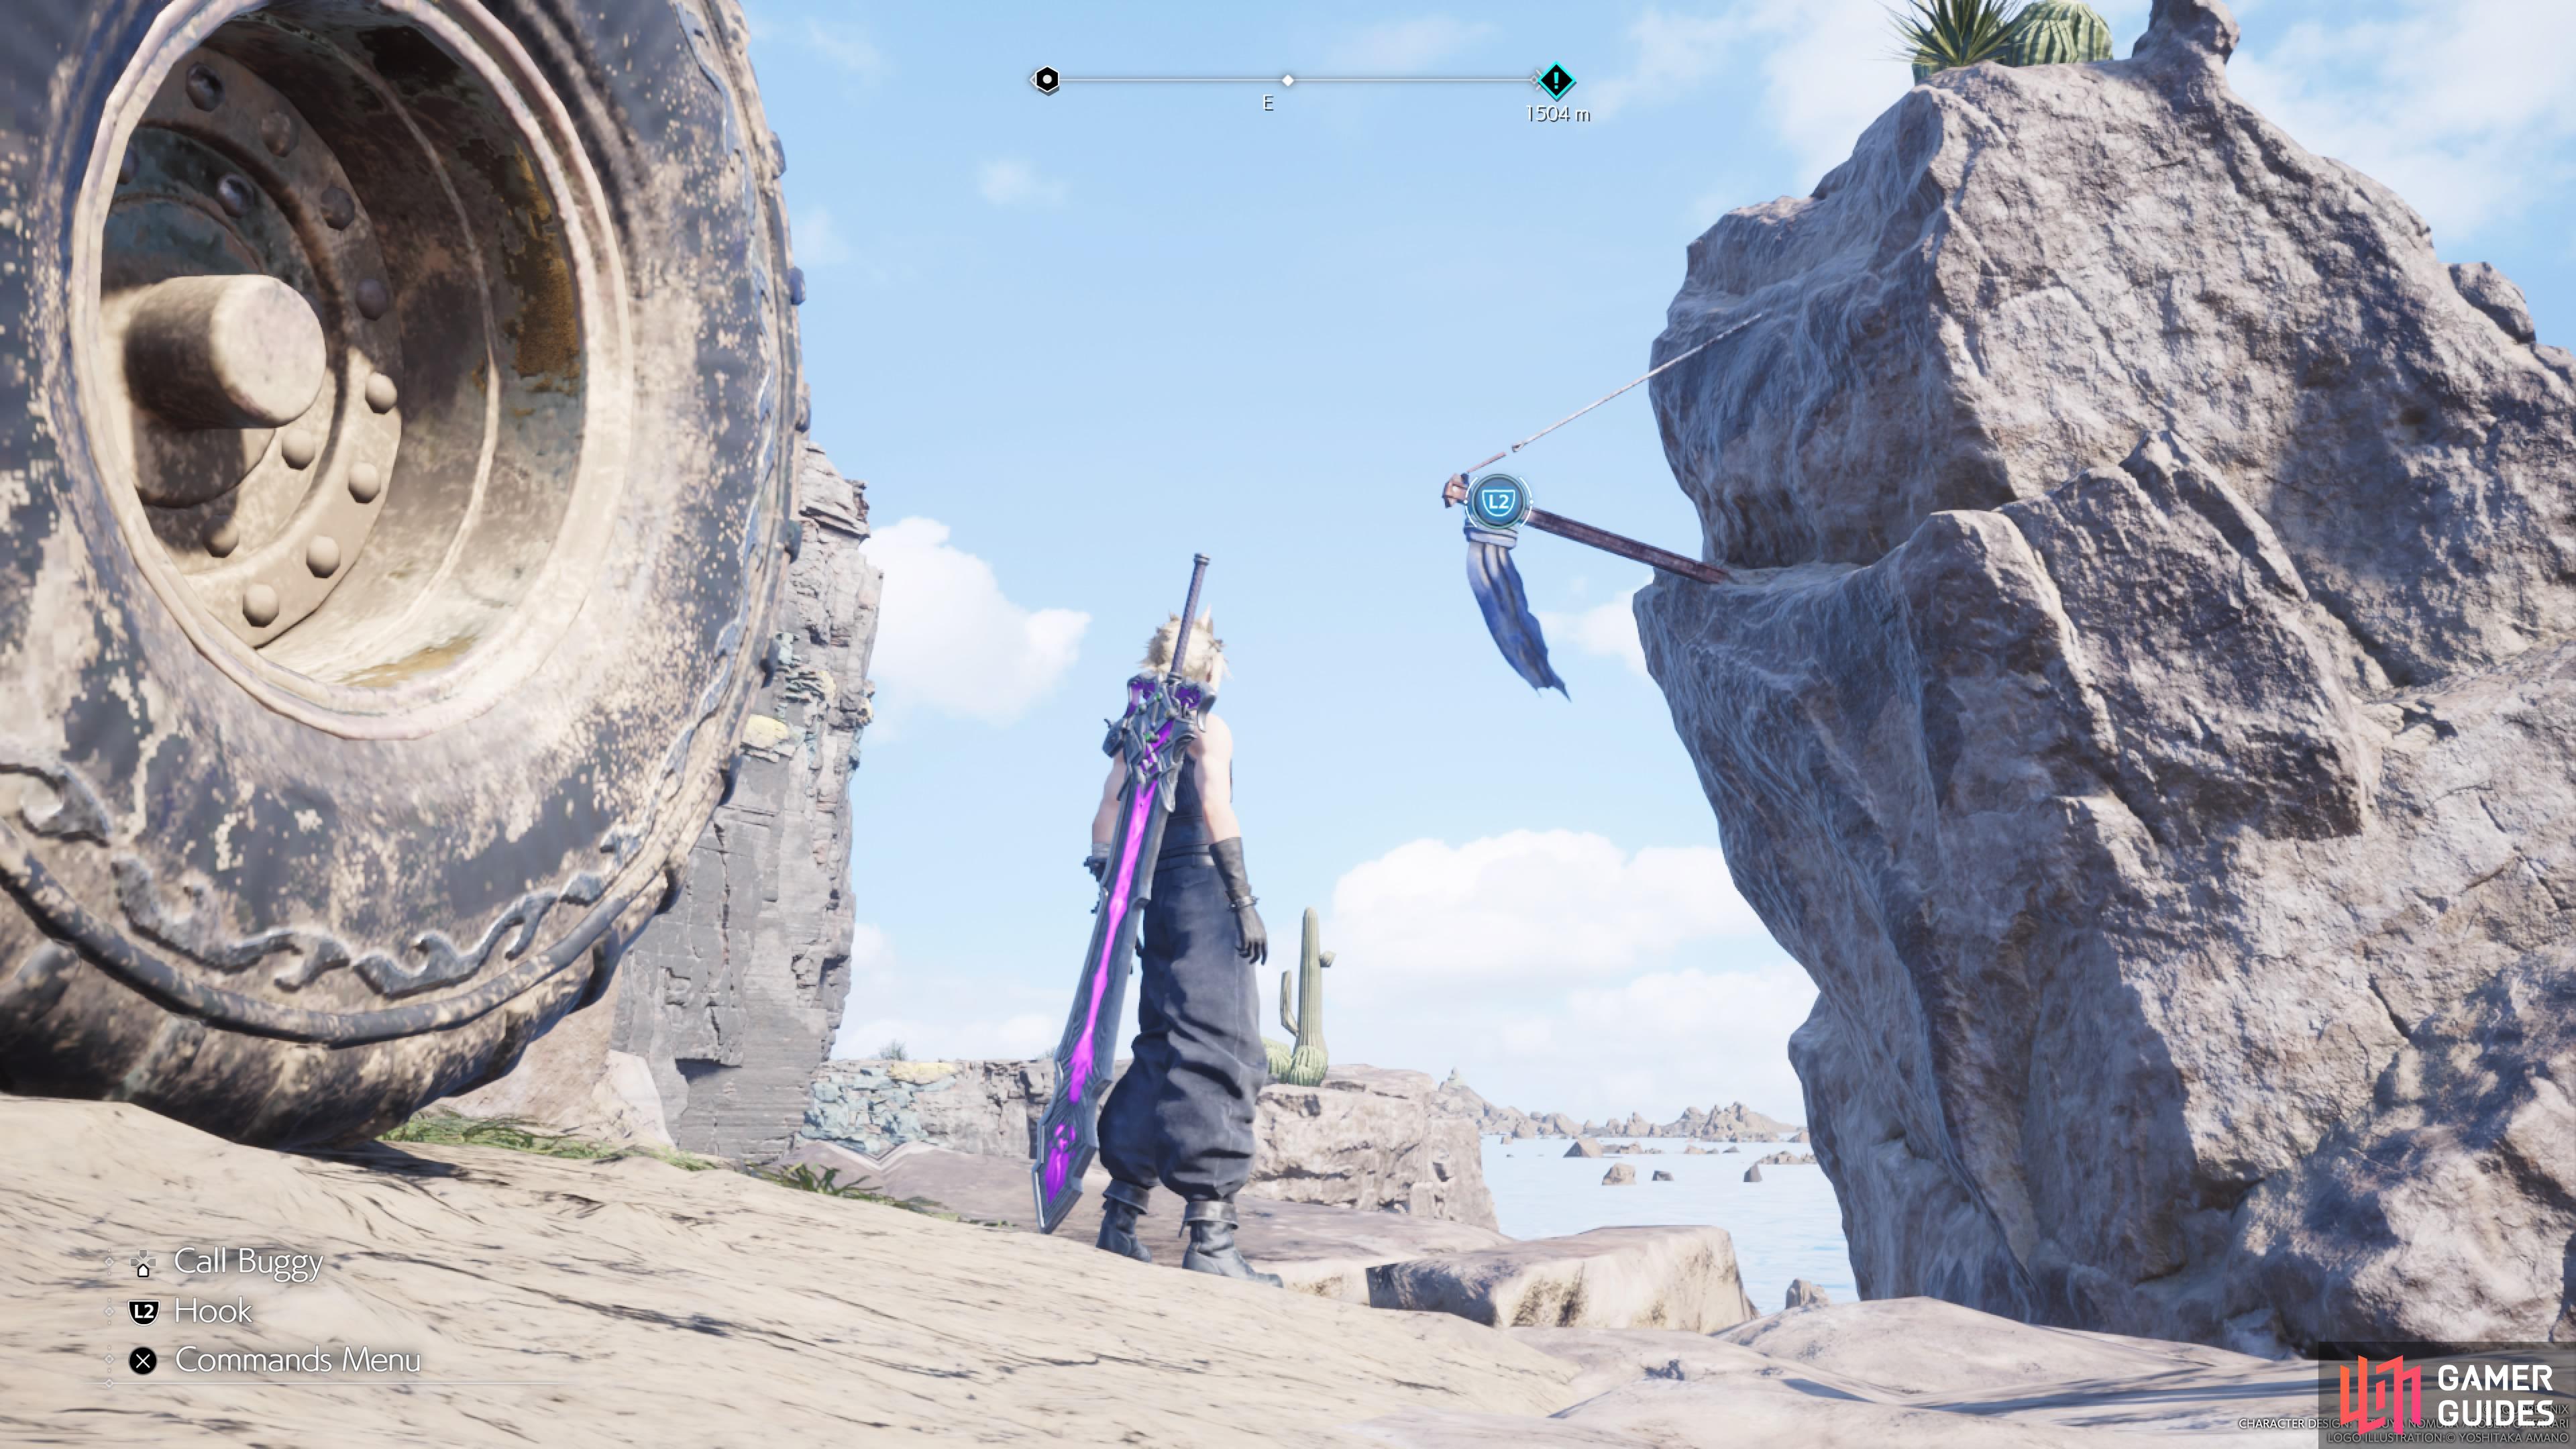
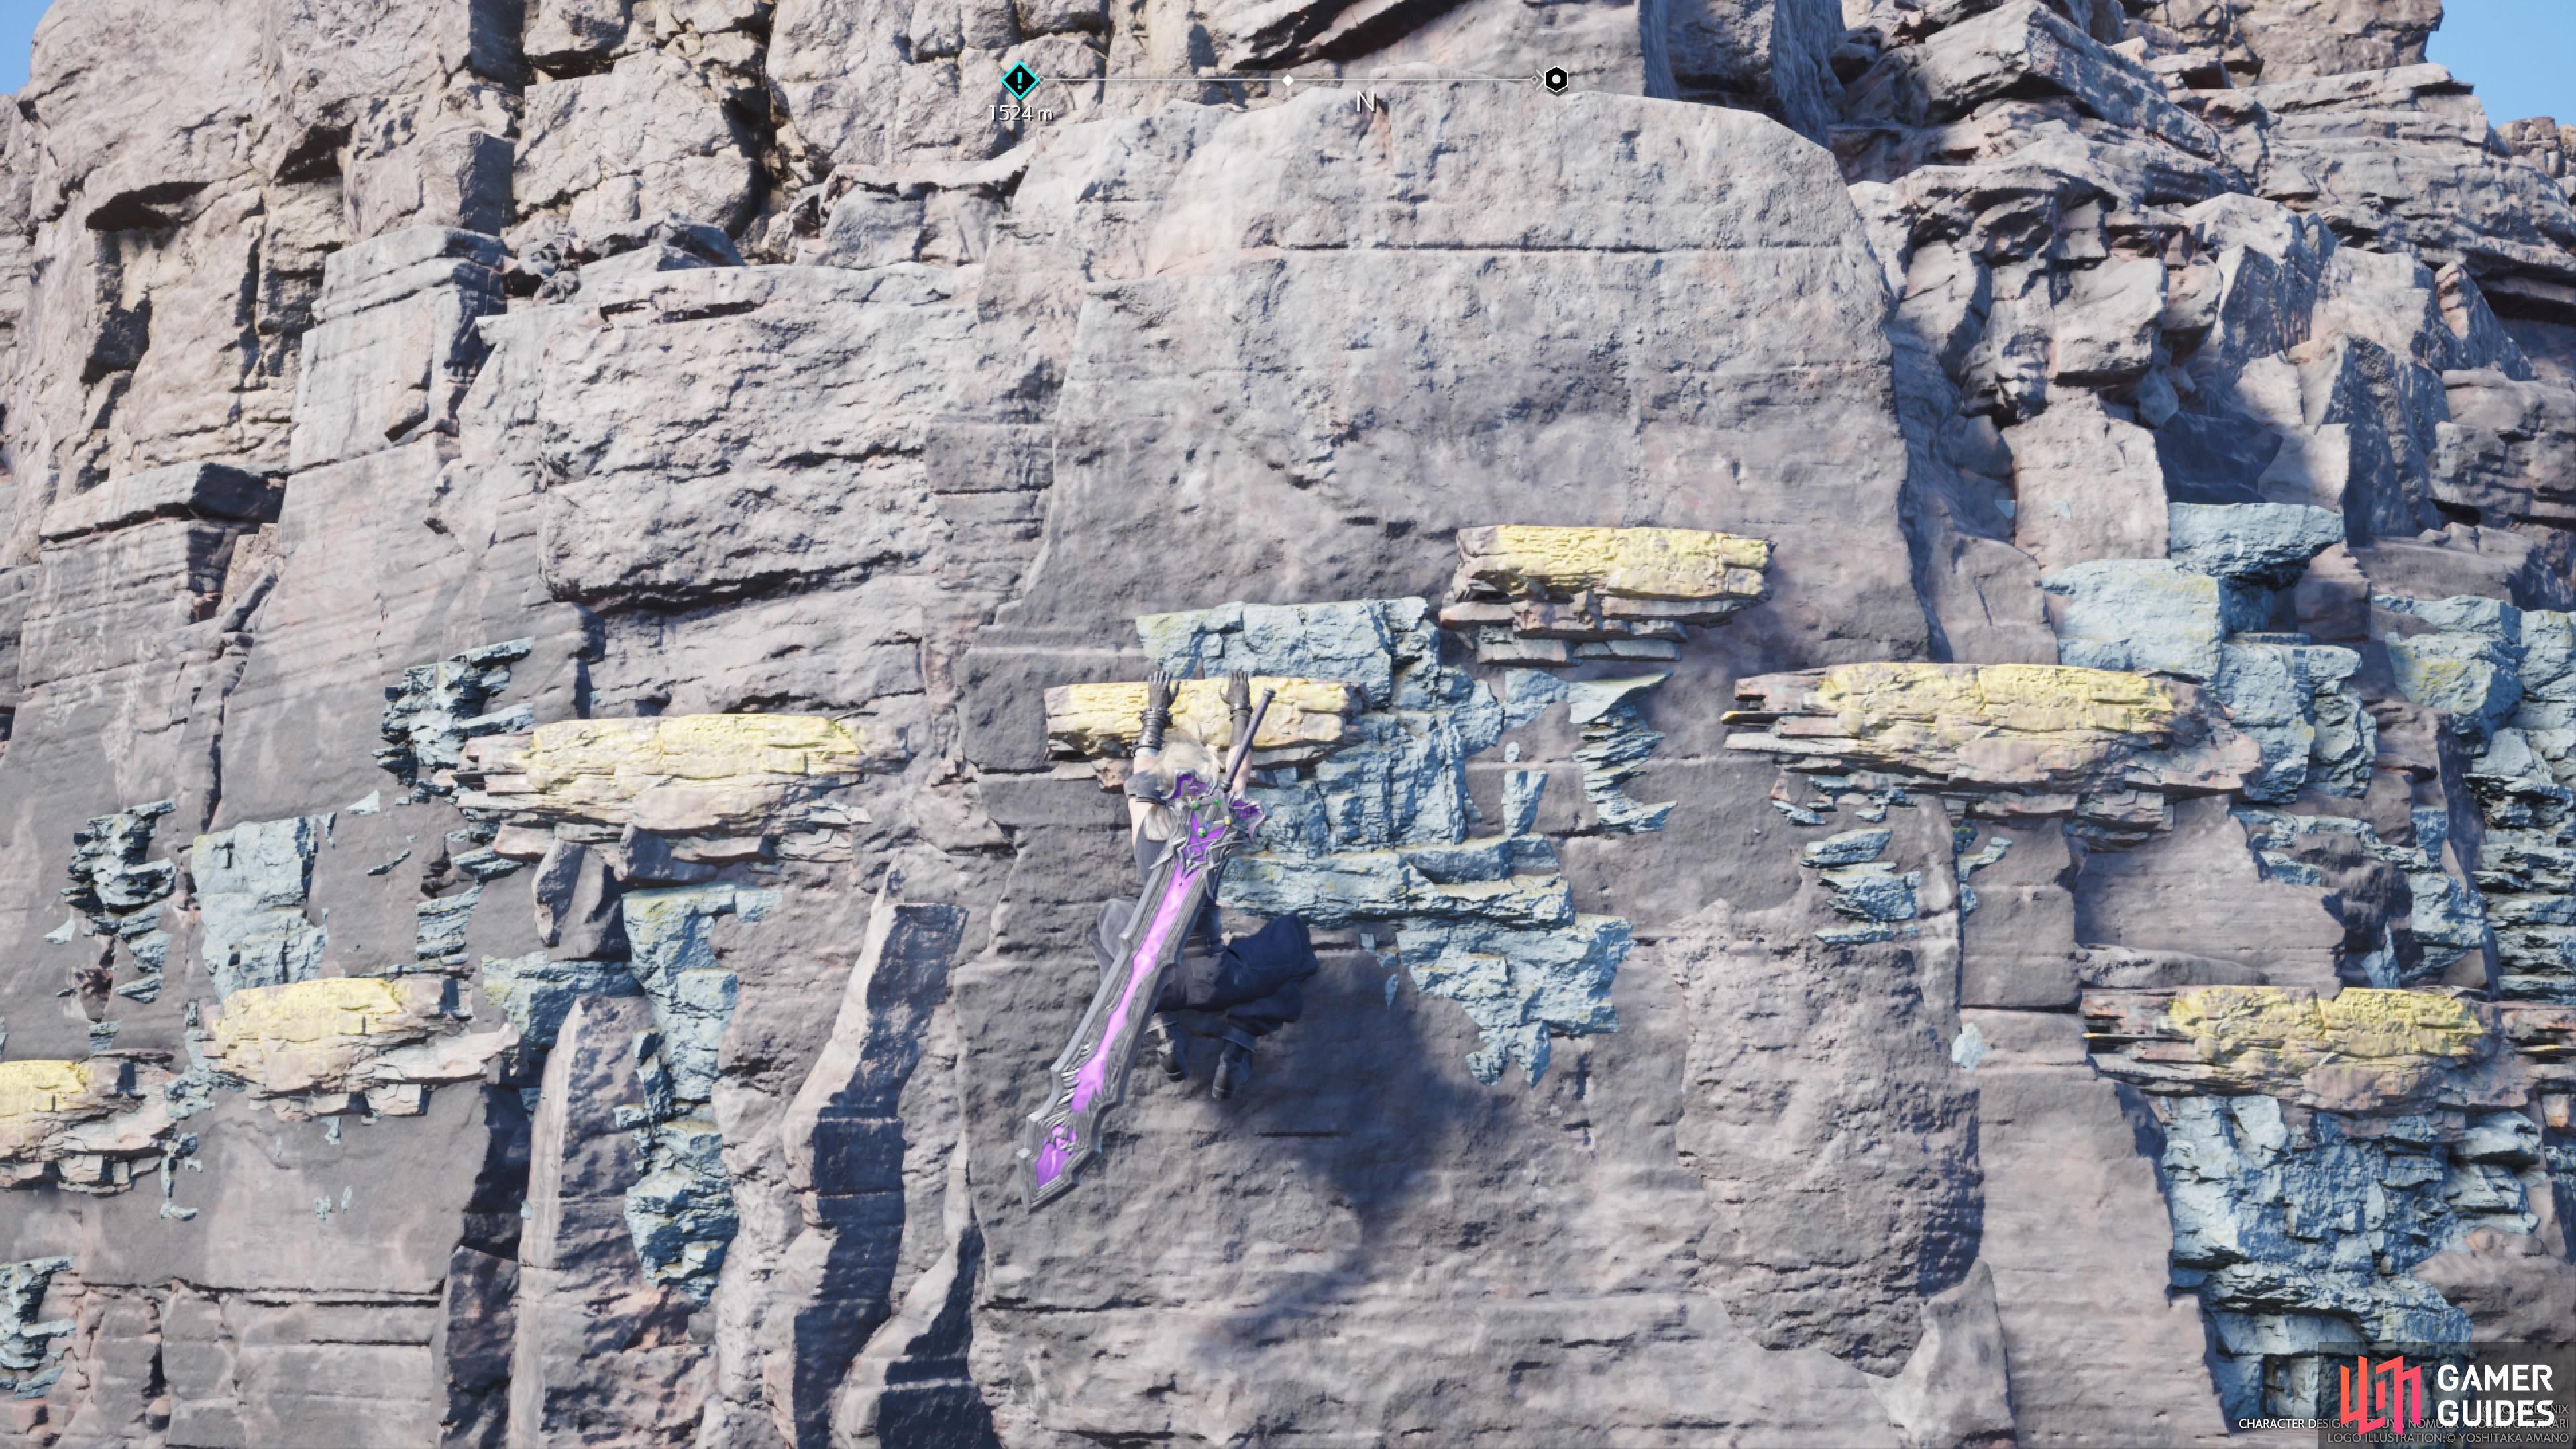
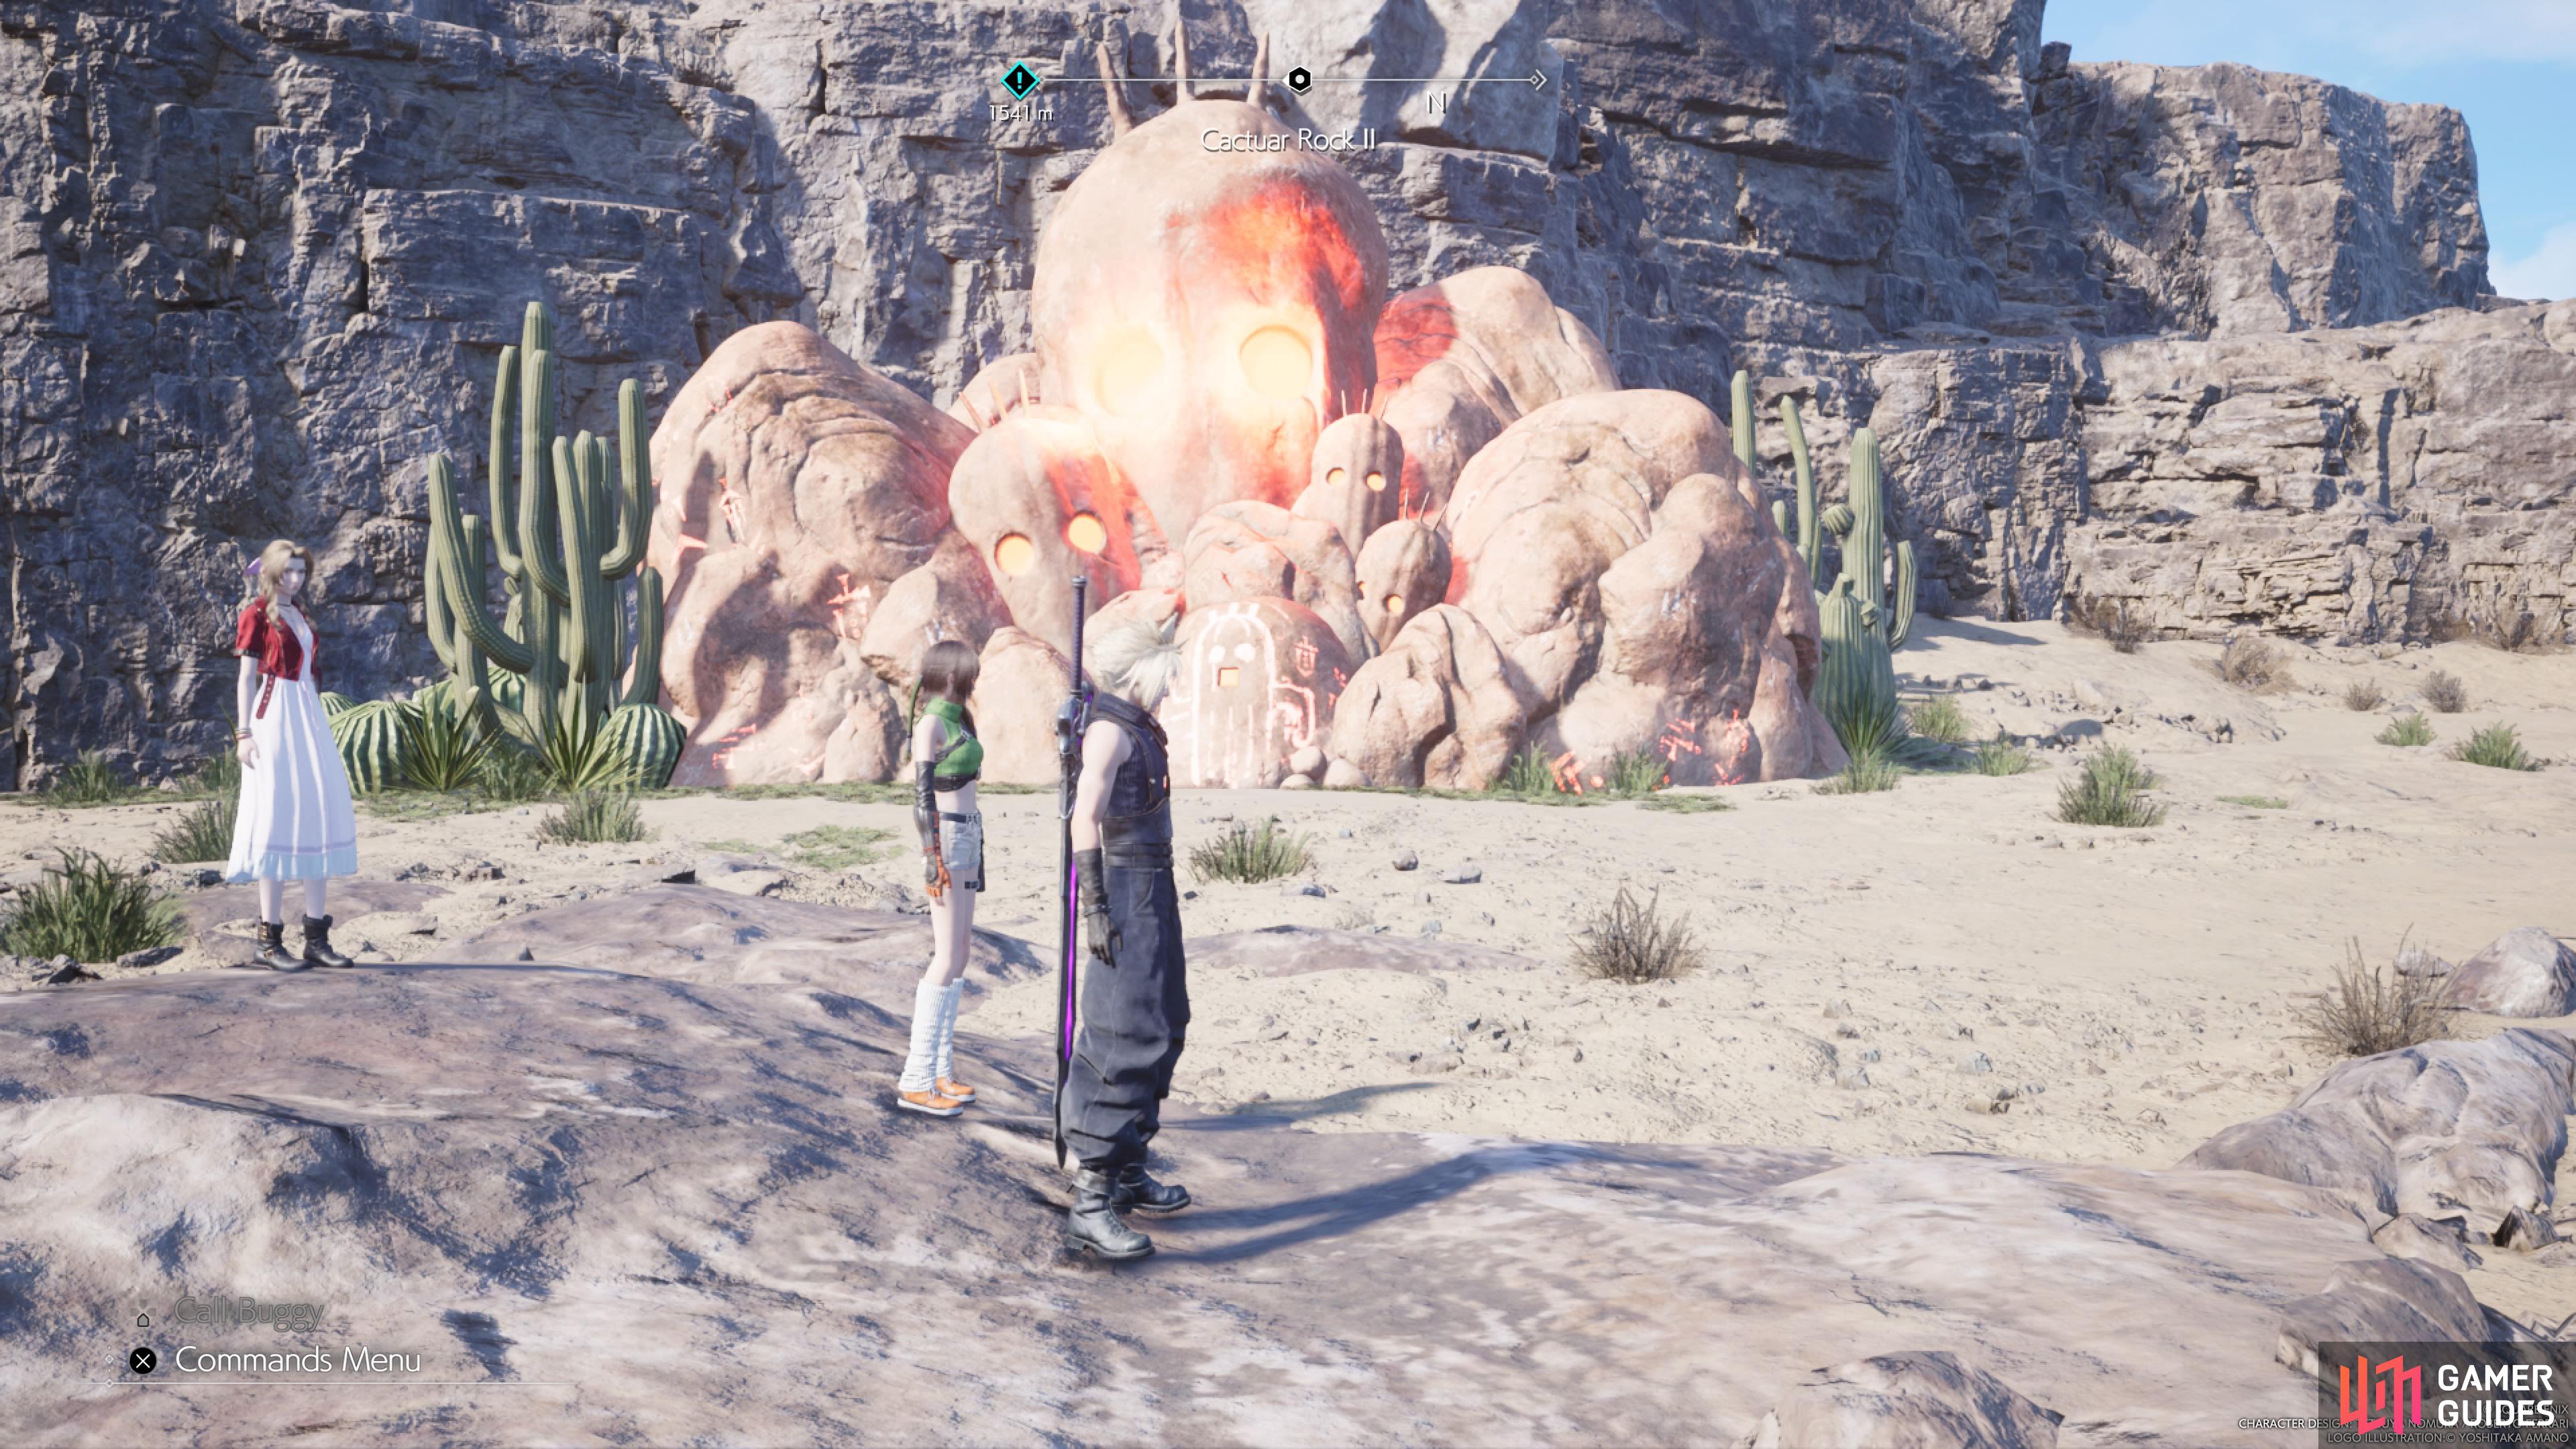

Swing over towards the wall with more handholds, which you can jump to from the grapple point. These handholds will bring you over to the spot with the Cactuar Rock. Hold up the statue in front of it to cause three ![]() Gold Cactuars to spawn. They are a little tougher than the orange ones, so be careful here. Once you do defeat them, though, return to the reactor and head inside to find the second trial waiting for you.
Gold Cactuars to spawn. They are a little tougher than the orange ones, so be careful here. Once you do defeat them, though, return to the reactor and head inside to find the second trial waiting for you.
Cactuar Crush: Aerith Minigame Guide
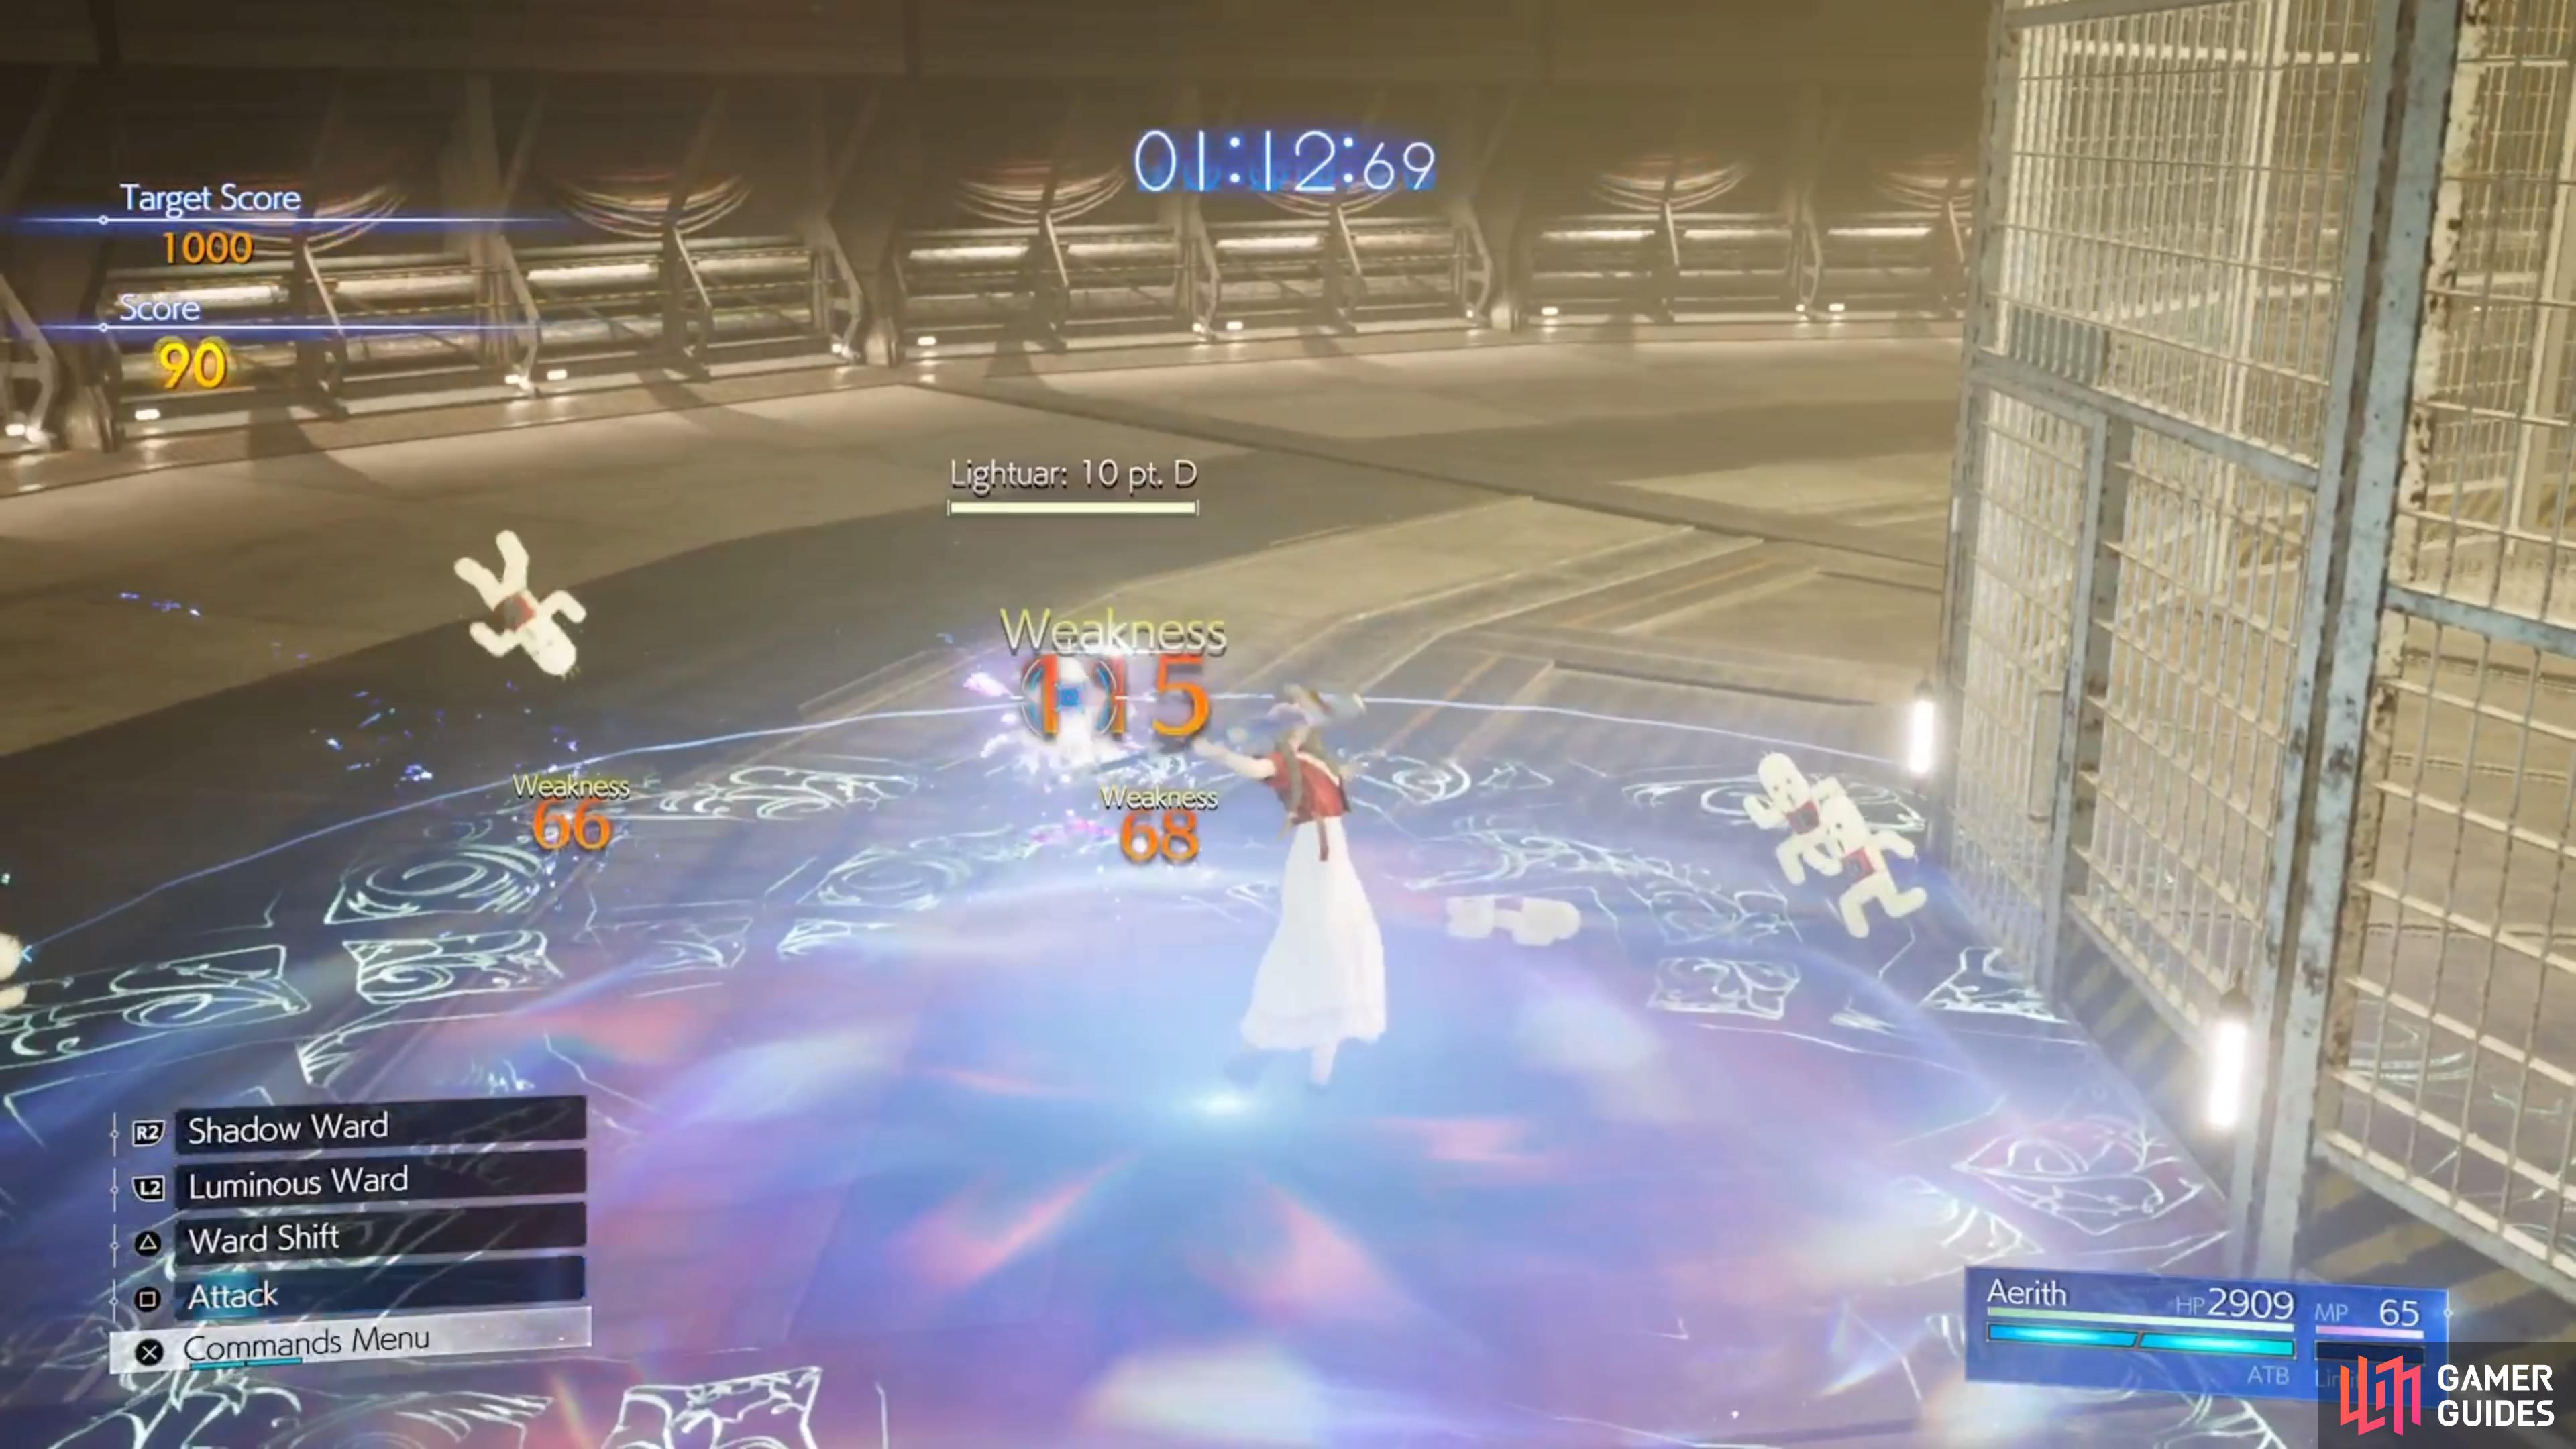
The second one will require you to use Aerith, which will make things more difficult, especially because it introduces a new mechanic, too. The whole physical/magical thing still exists, but this version adds light and dark Cactuars. The  button conjures a Luminous Ward (Lightuars are weak to this) and
  summons a Shadow Ward (Darktuars are weak to this). You don’t need ATB for these, as you can summon them all, although you can only have one or the other up at a time. If you’re not standing in one of these wards, then Aerith will simply swing her staff for a physical attack. Standing inside one of the wards will cause her to do her normal magical attack.
The following is the order of enemies you will face in this challenge:
- Gladiatuars
- Lightuars
- Darktuars and Giftuar
- Magituars and Giftuars
- Gladiatuars and Giftuar
- Magical Gigantuar and Giftuars
- Lightuars and Darktuars
- Magituars
- Giftuars
- Magical Gigantuar and Magituars

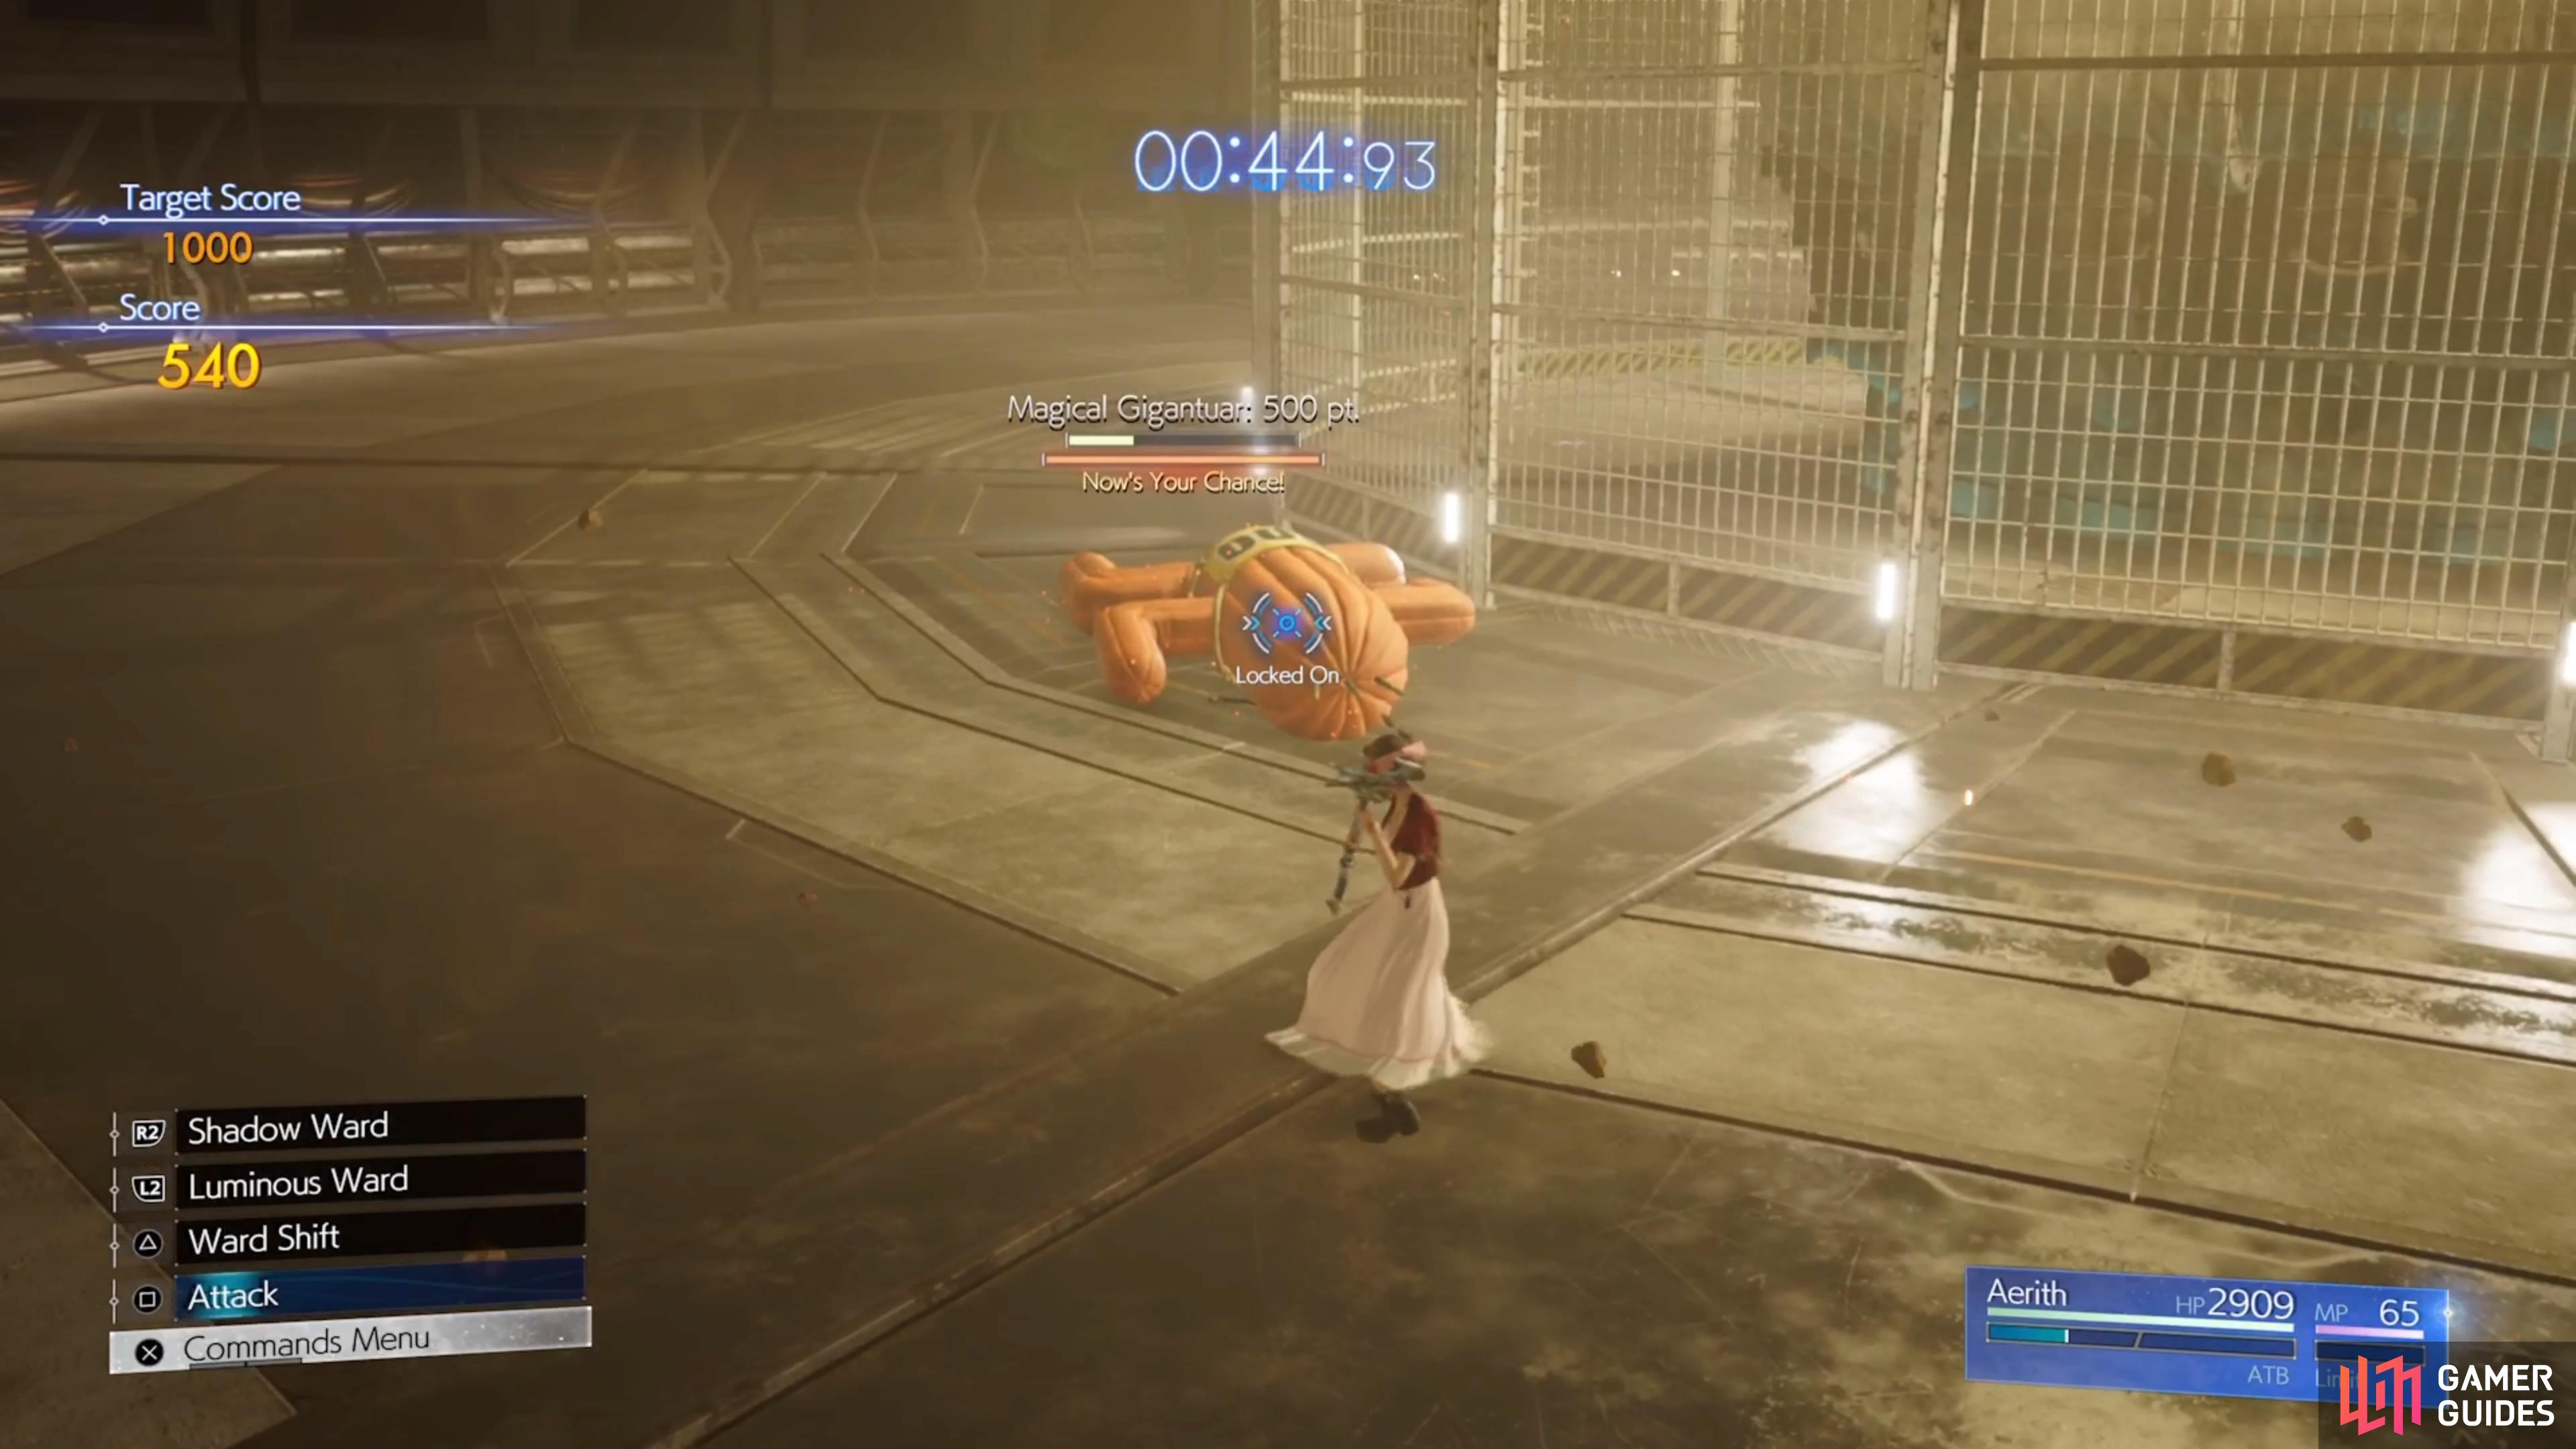

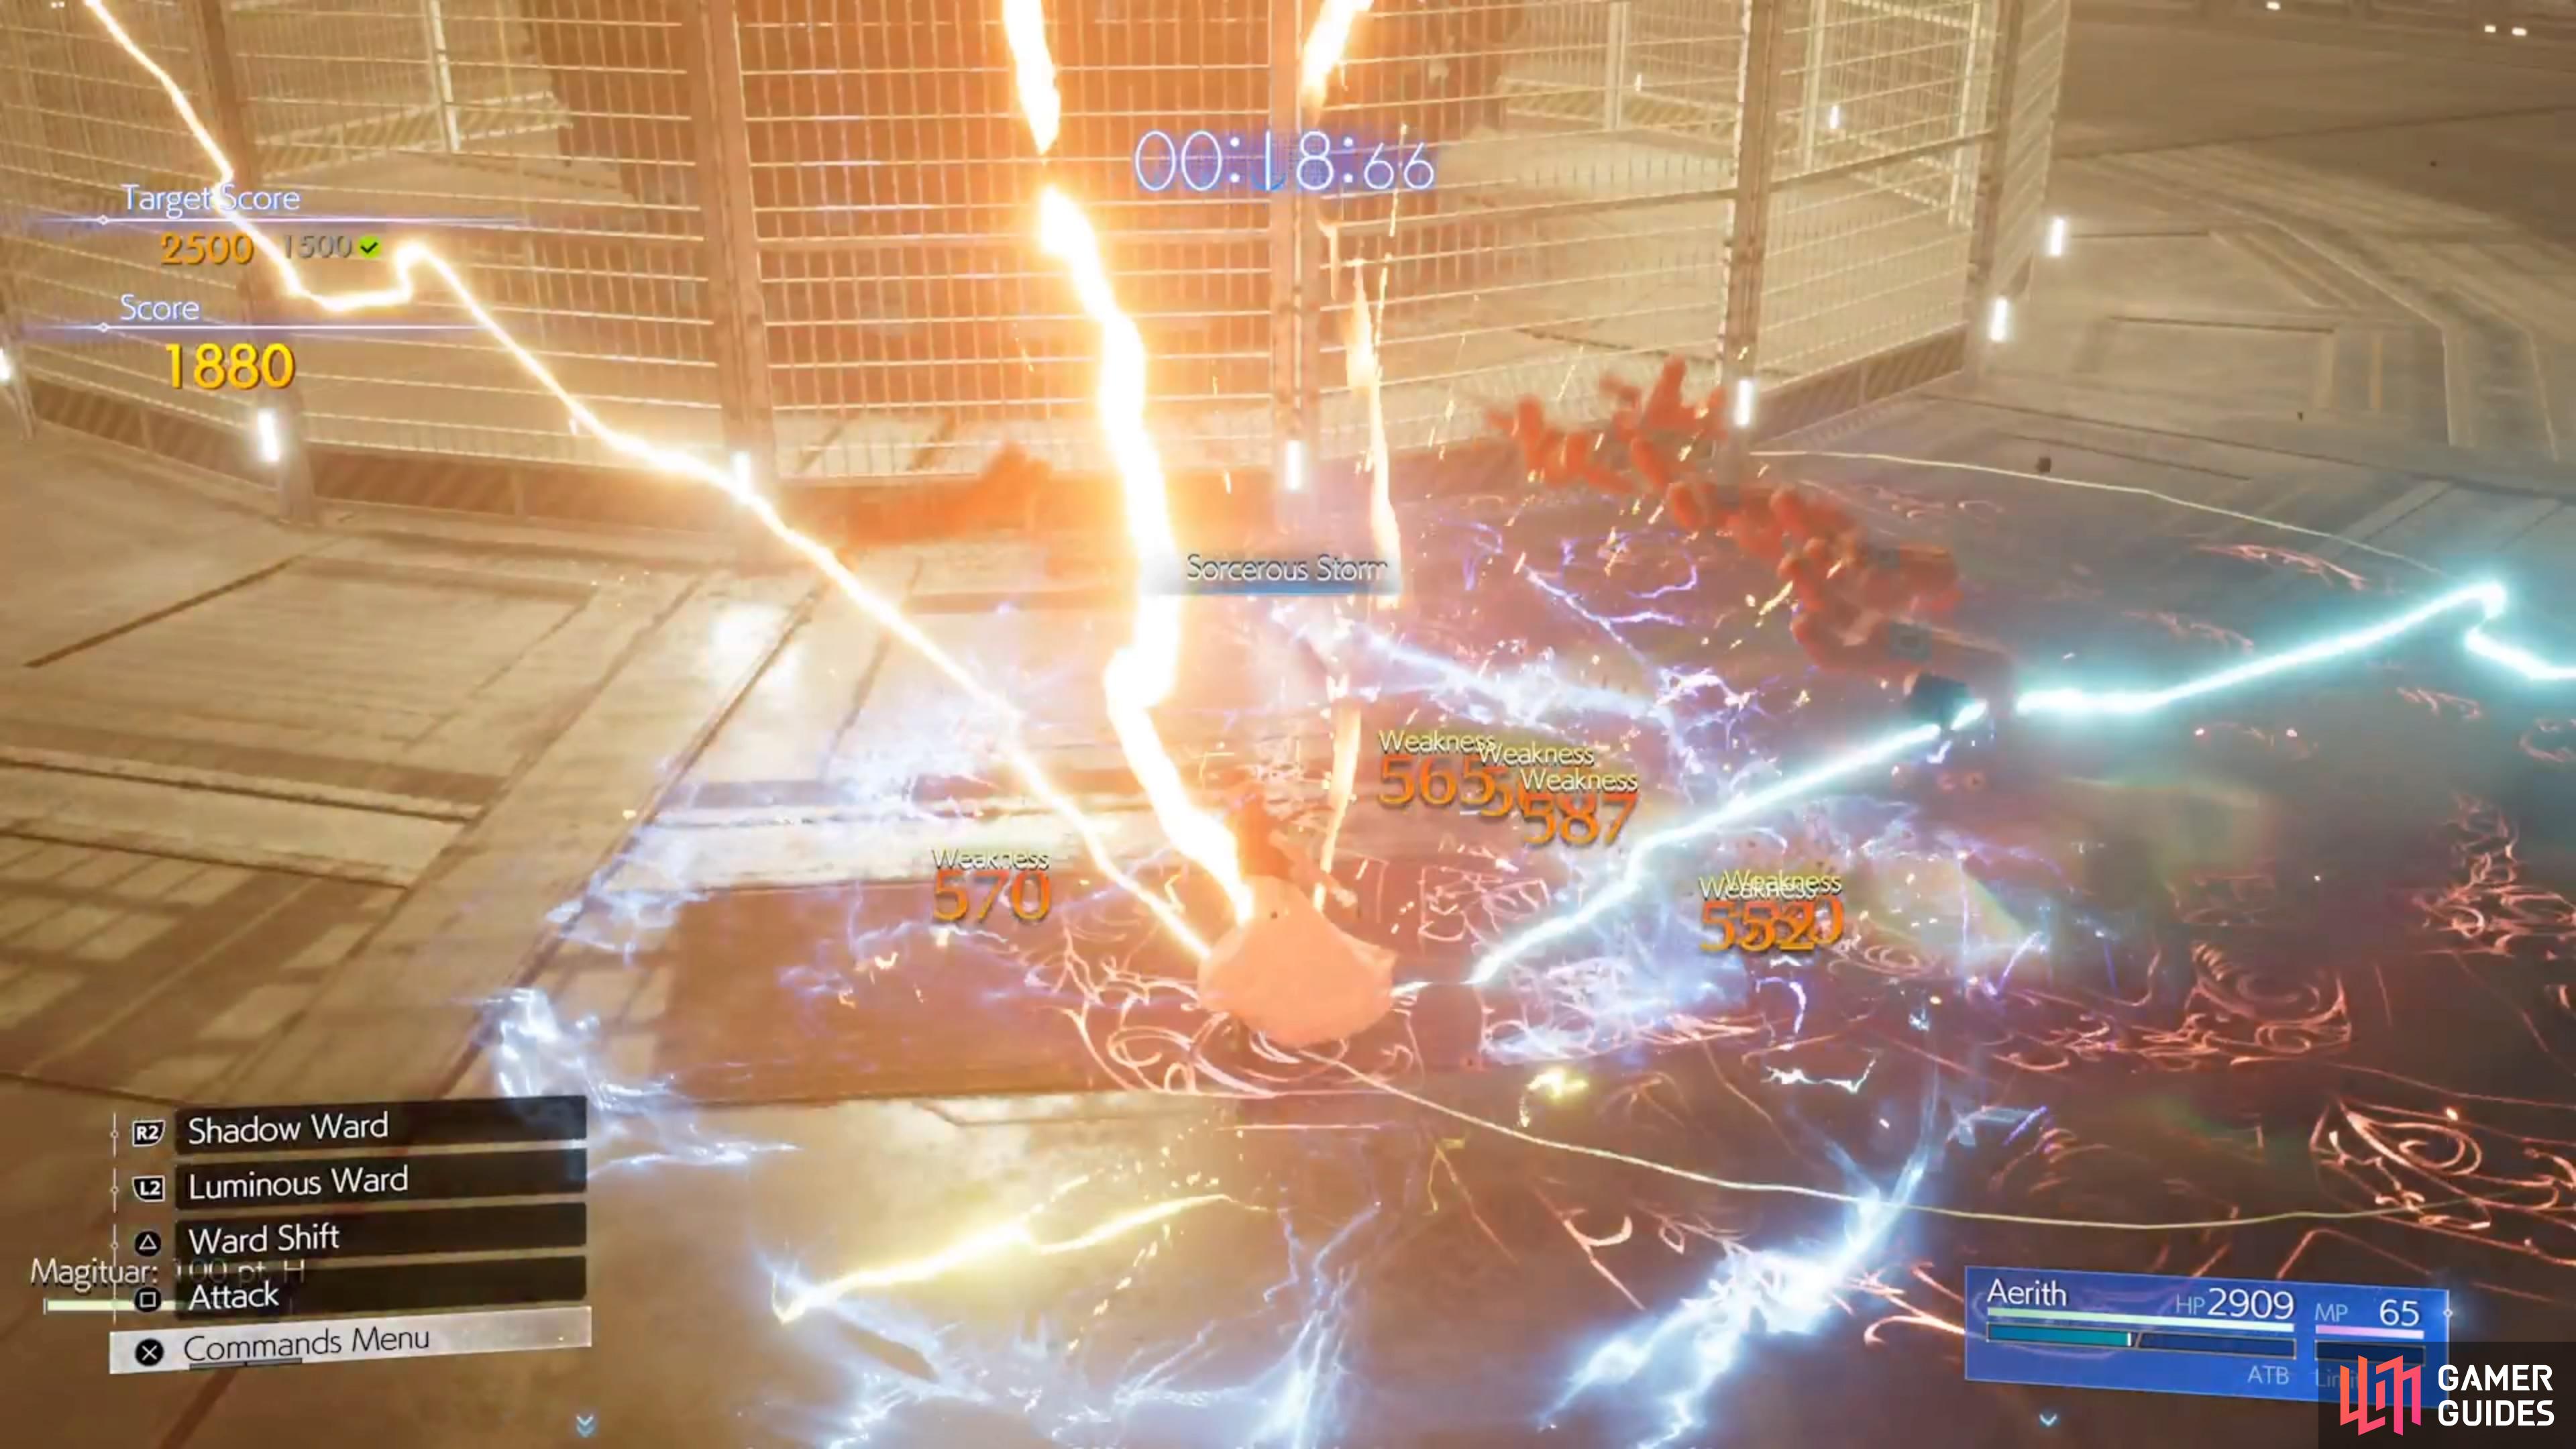
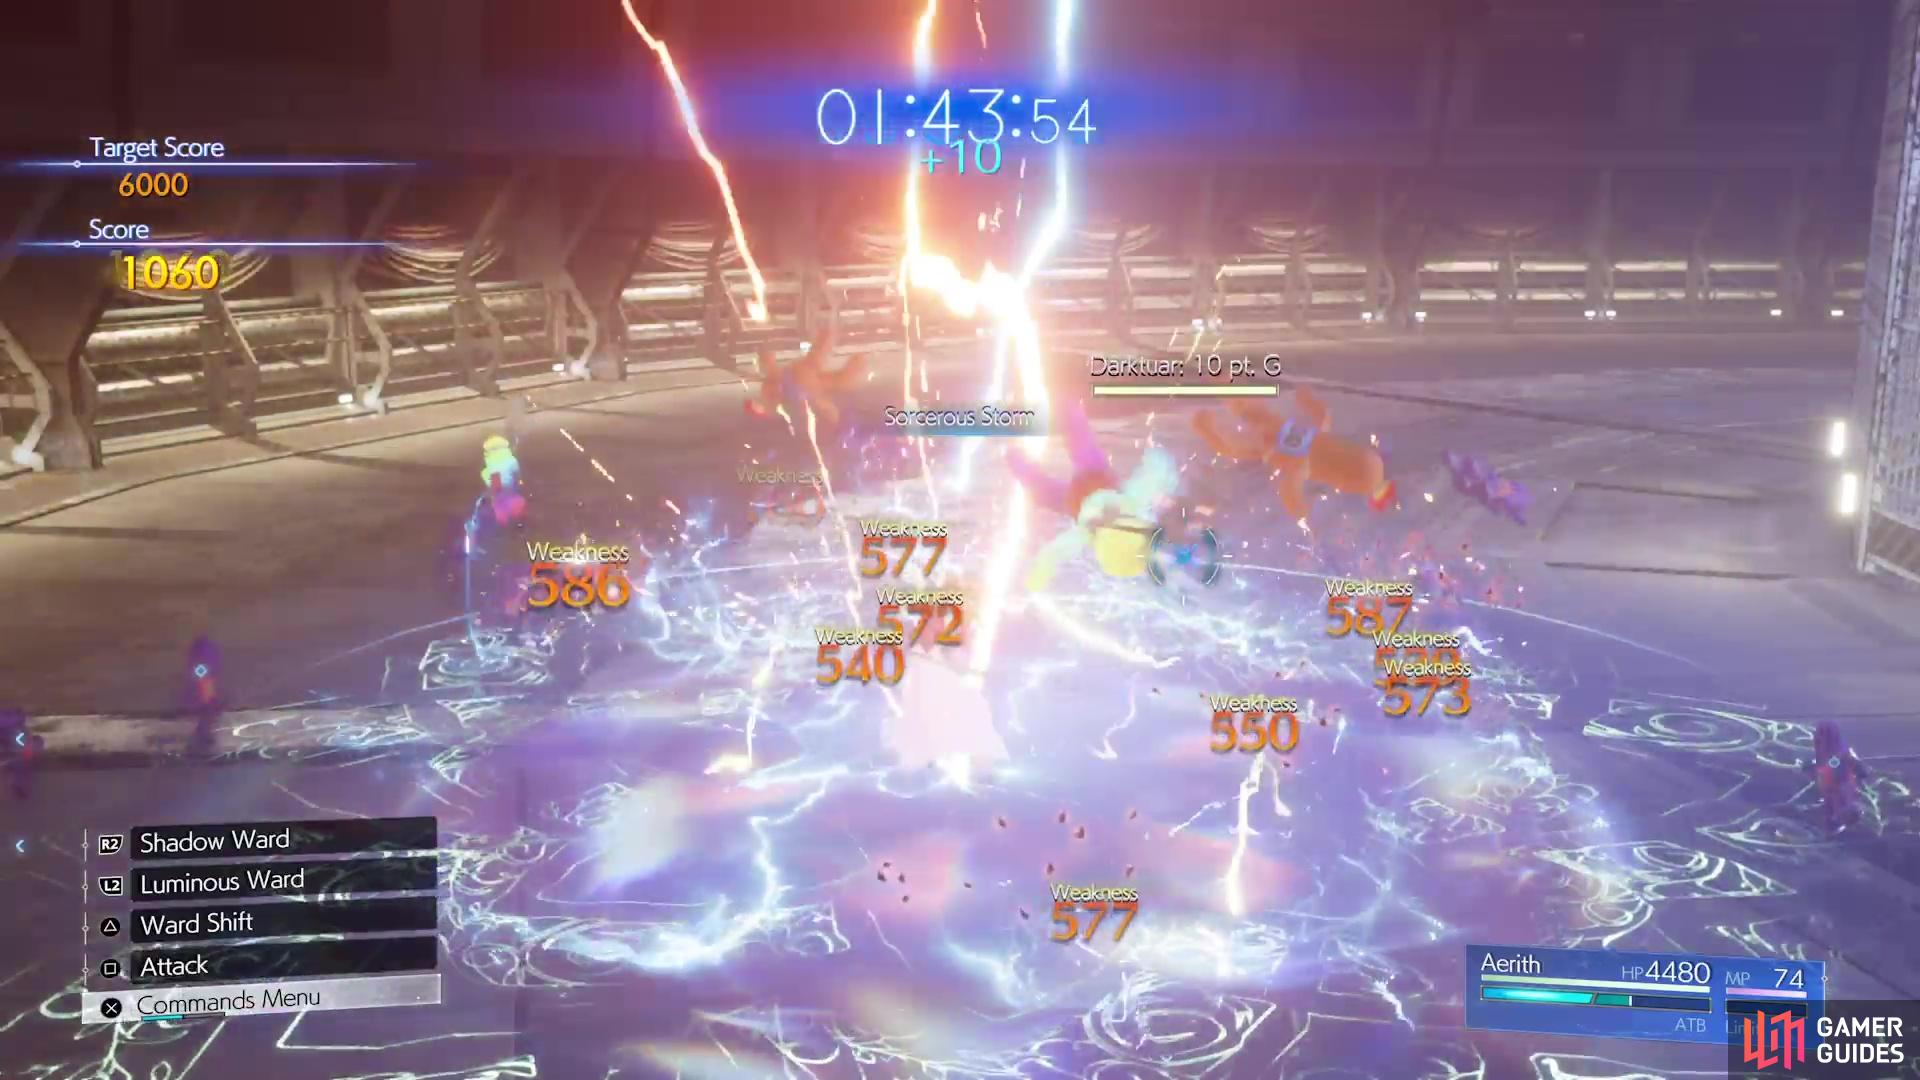
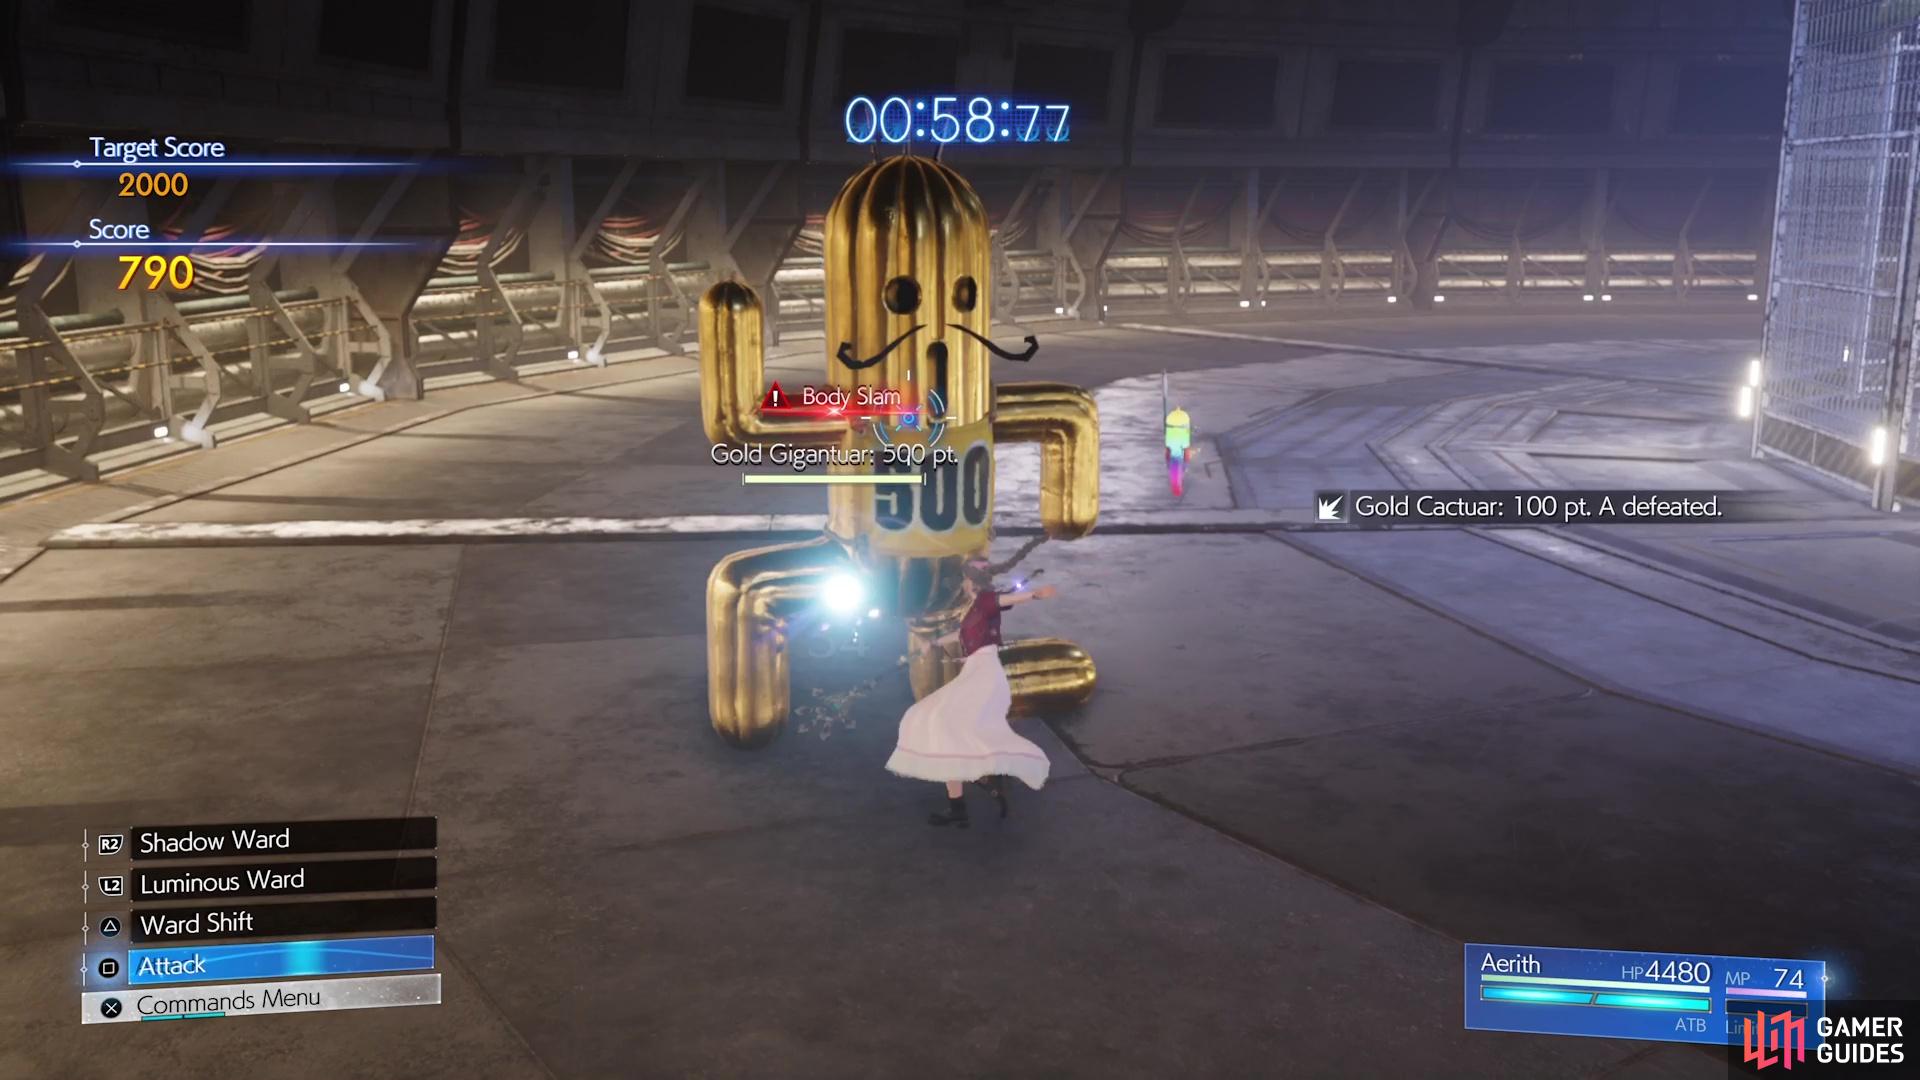
The Magituars can be defeated while you’re standing in one of the two wards. However, they tend to gather around Aerith, making them prime fodder for a Sorcerous Storm. The Magical Gigantuar is probably the biggest pain for this stage of the minigame, as it would take a lot of hits from normal magical attacks to down it. It also moves around quite a bit, so getting hits in can be trouble. However, it will periodically stop, either to do something, perform Earthquake (straight shockwave attack) or Body Slam.
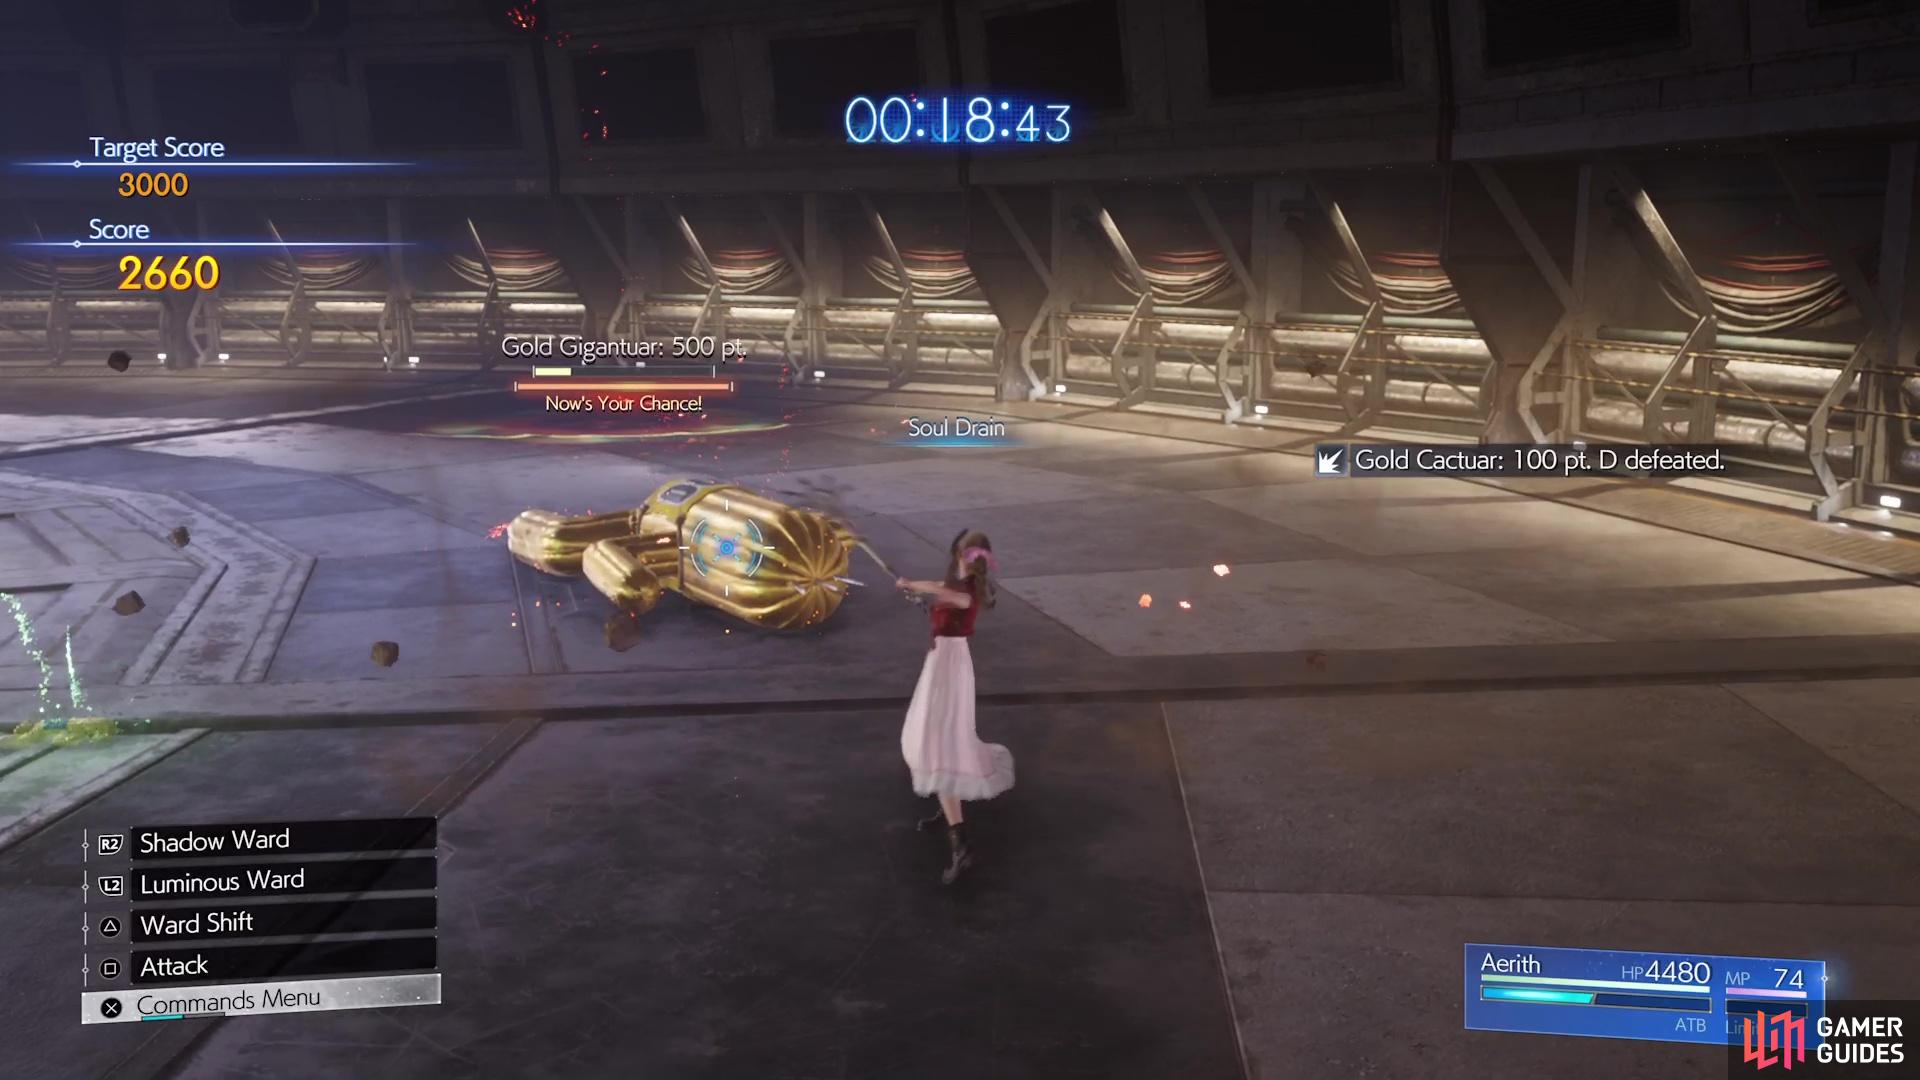
When it stops, that’s your cue to do Soul Drain, which can deal a lot of damage to it. Dodge either of the two attacks, noting that it will sit there and lay on the ground after Body Slam, which is the perfect opportunity to unleash attacks on it. Since the Gigantuars are worth 500 points, they are especially important for achieving the highest score.
| Score | Reward |
|---|---|
| 1,000 | |
| 1,500 | |
| 2,500 |
How to Start the Second Set of Corel Protorelic Quests
Unfortunately, you won’t be able to finish the Protorelic quests in the Corel Region during Chapter 9. Kid G, the Goblin who oversees everything, mentions that he needs to prepare for the final two trials after you complete the second one. So, you will have to wait until later in the game before you can do those. This will happen near the end of Chapter 12, so it will be a good while before you’re able to finish the Protorelic here.
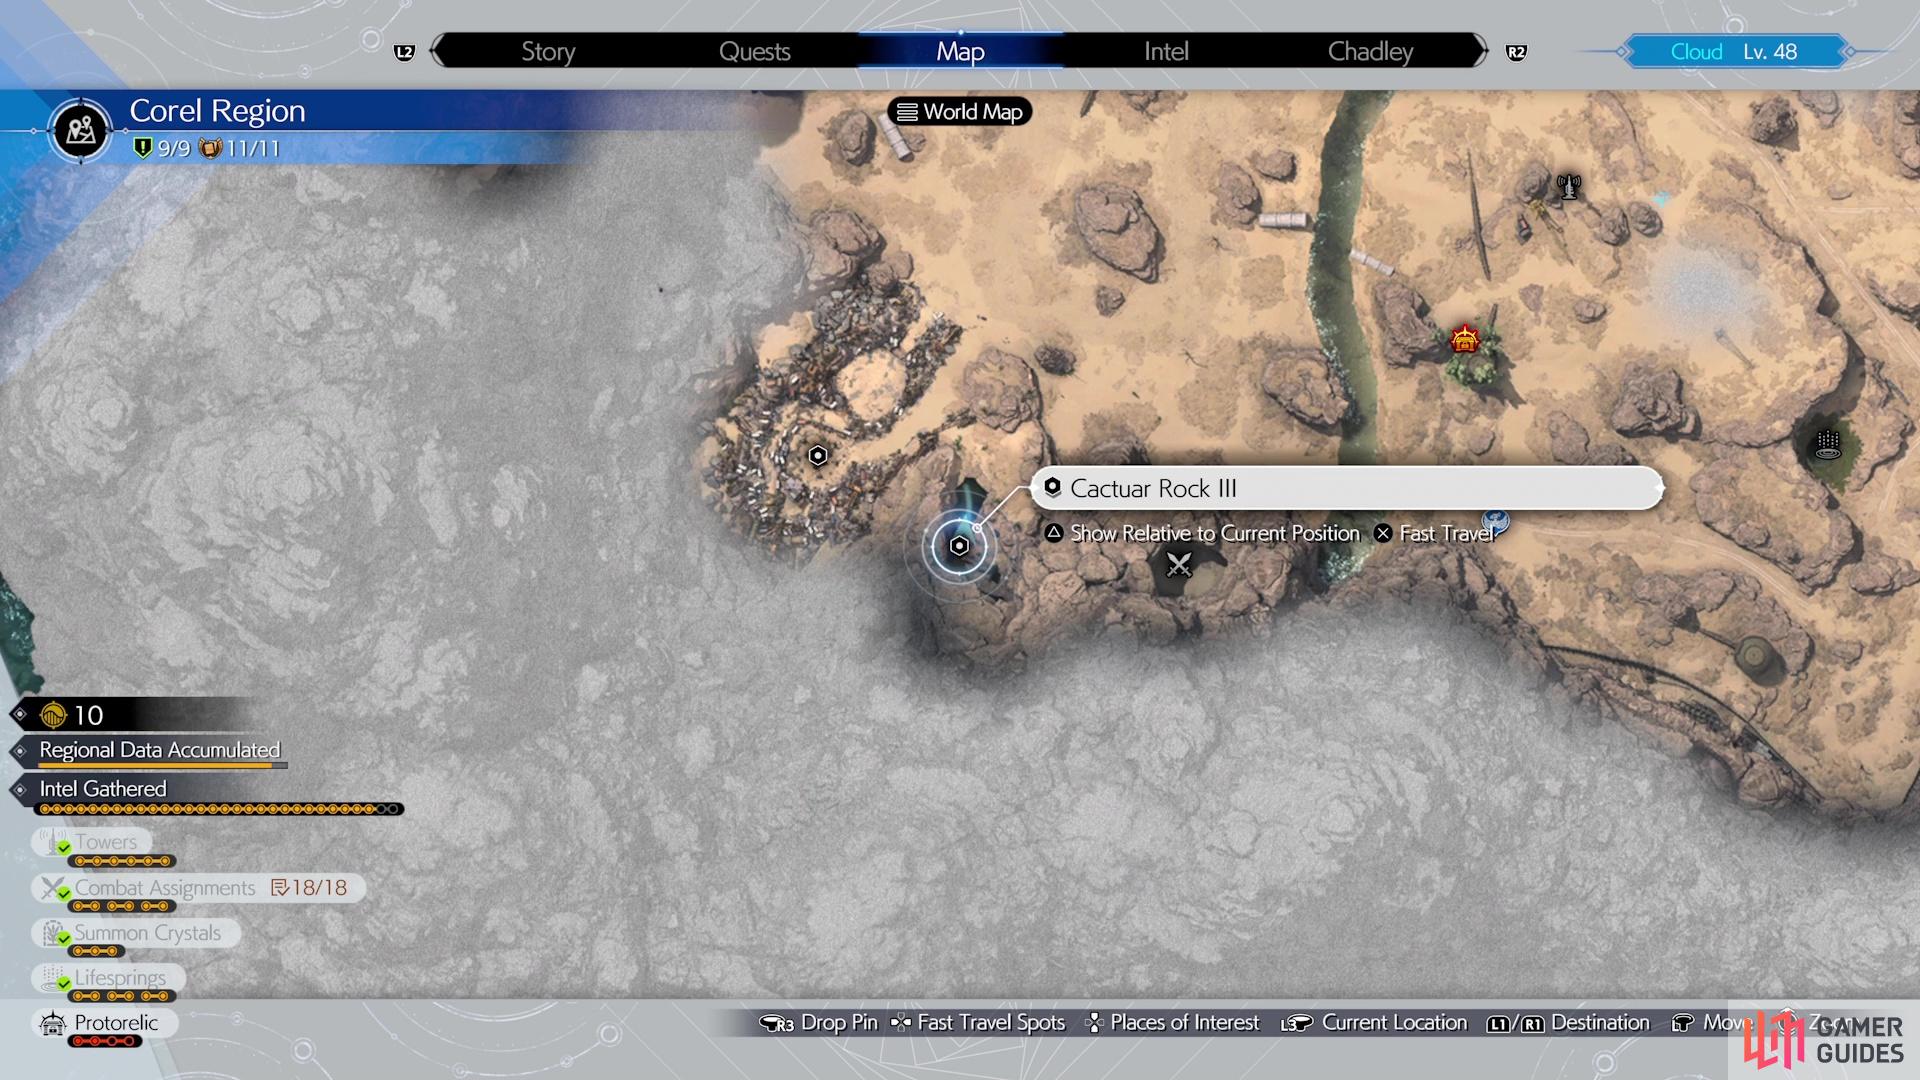
Cactuar Rock III Location
Upon unlocking the second two bits of the Protorelic quest in Corel, you will find the third Modular Reactor towards the western side of the desert area. Grab the Cactuar Statue to find the beam pointing you towards the southwest. This can be a tricky location to find, since it isn’t a straight path and you’ll need climb up and down some ledges. To start, head to the Scrapyard Prison Cell, since it’s the one spot you will have already uncovered. Exit the area via the north and as soon as you do, turn southeast.

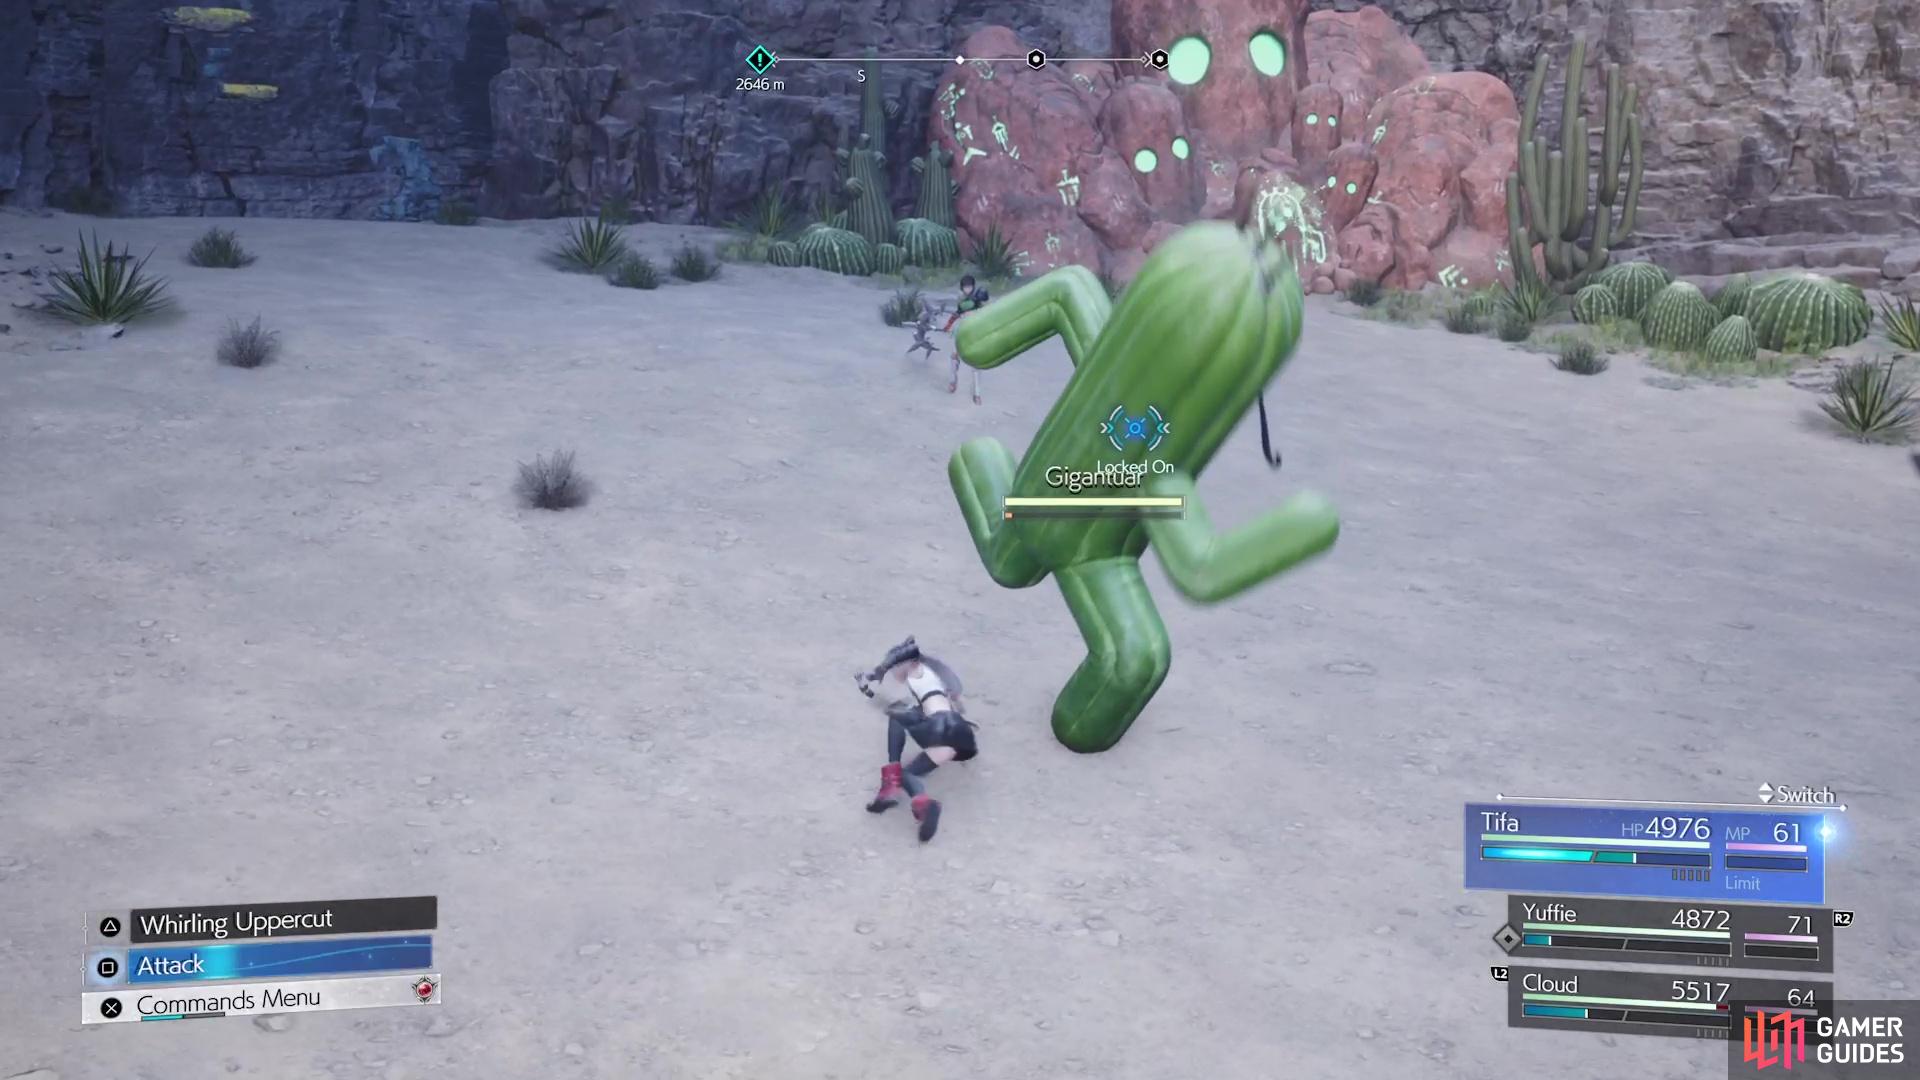
Ignore the hill and keep going southeast, until you look around on the western cliffside and spot a climbable wall. Go up the next ledge and you should find yourself in front of a large hole. There are paths on either side of the hole that allow you to get to the other side, so do that. Head down the hill to find a wall to climb down, leading to a pit that will have another wall to climb on the other side. One final path and wall to climb down, where you’ll find the Cactuar Rock. Hold up the statue in front of the rock, which will spawn a Gigantuar.
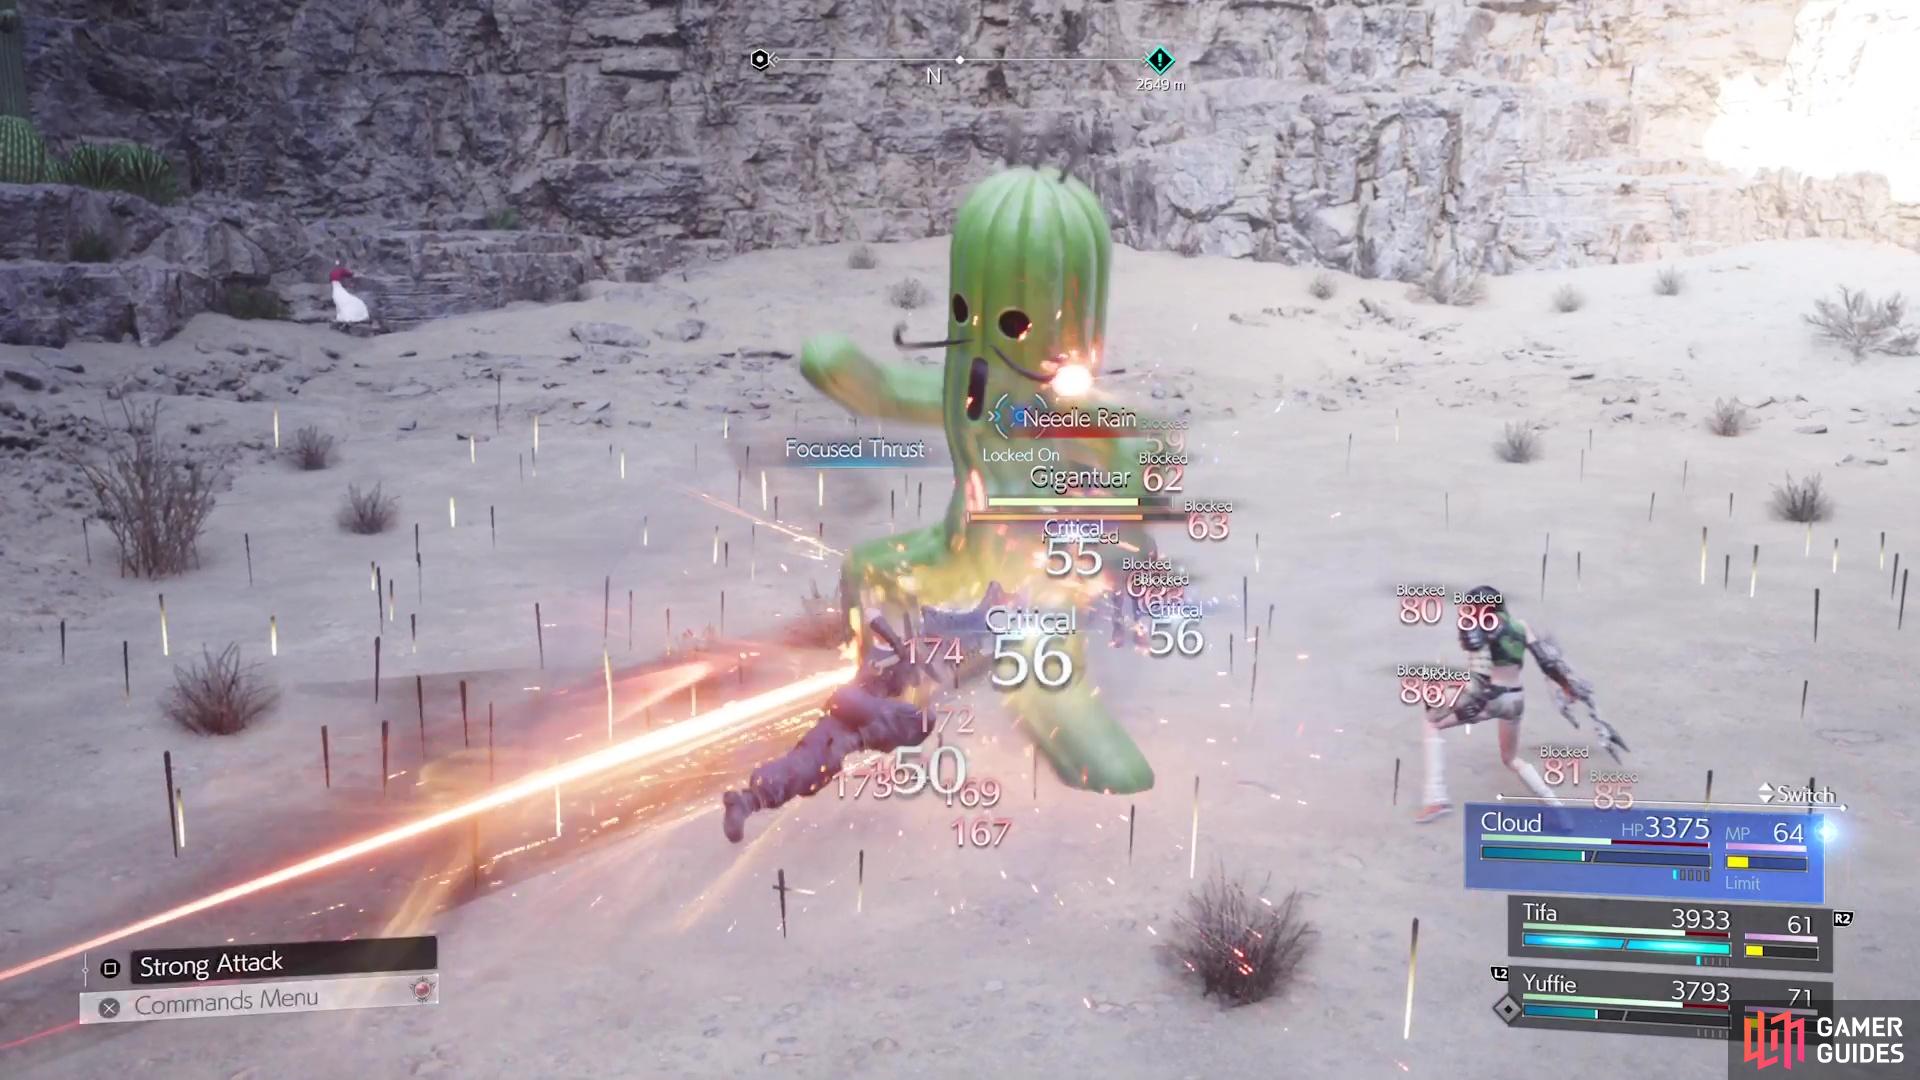
The Gigantuar is annoying for two reasons, one of them being that it moves around too much, similar to the other Cactuars. The second reason it’s annoying is that it only becomes pressured while it’s doing its Needle Rain move. Other than that, be extremely careful in avoiding all of its numbered Needles attacks, as they can quickly down a party member, if you get hit by them. It isn’t weak to any element, but it doesn’t have a whole lot of health, so it will likely go down quick once staggered. Interact with the rock after defeating the enemy to open the reactor.
Cactuar Crush 3: Yuffie Guide
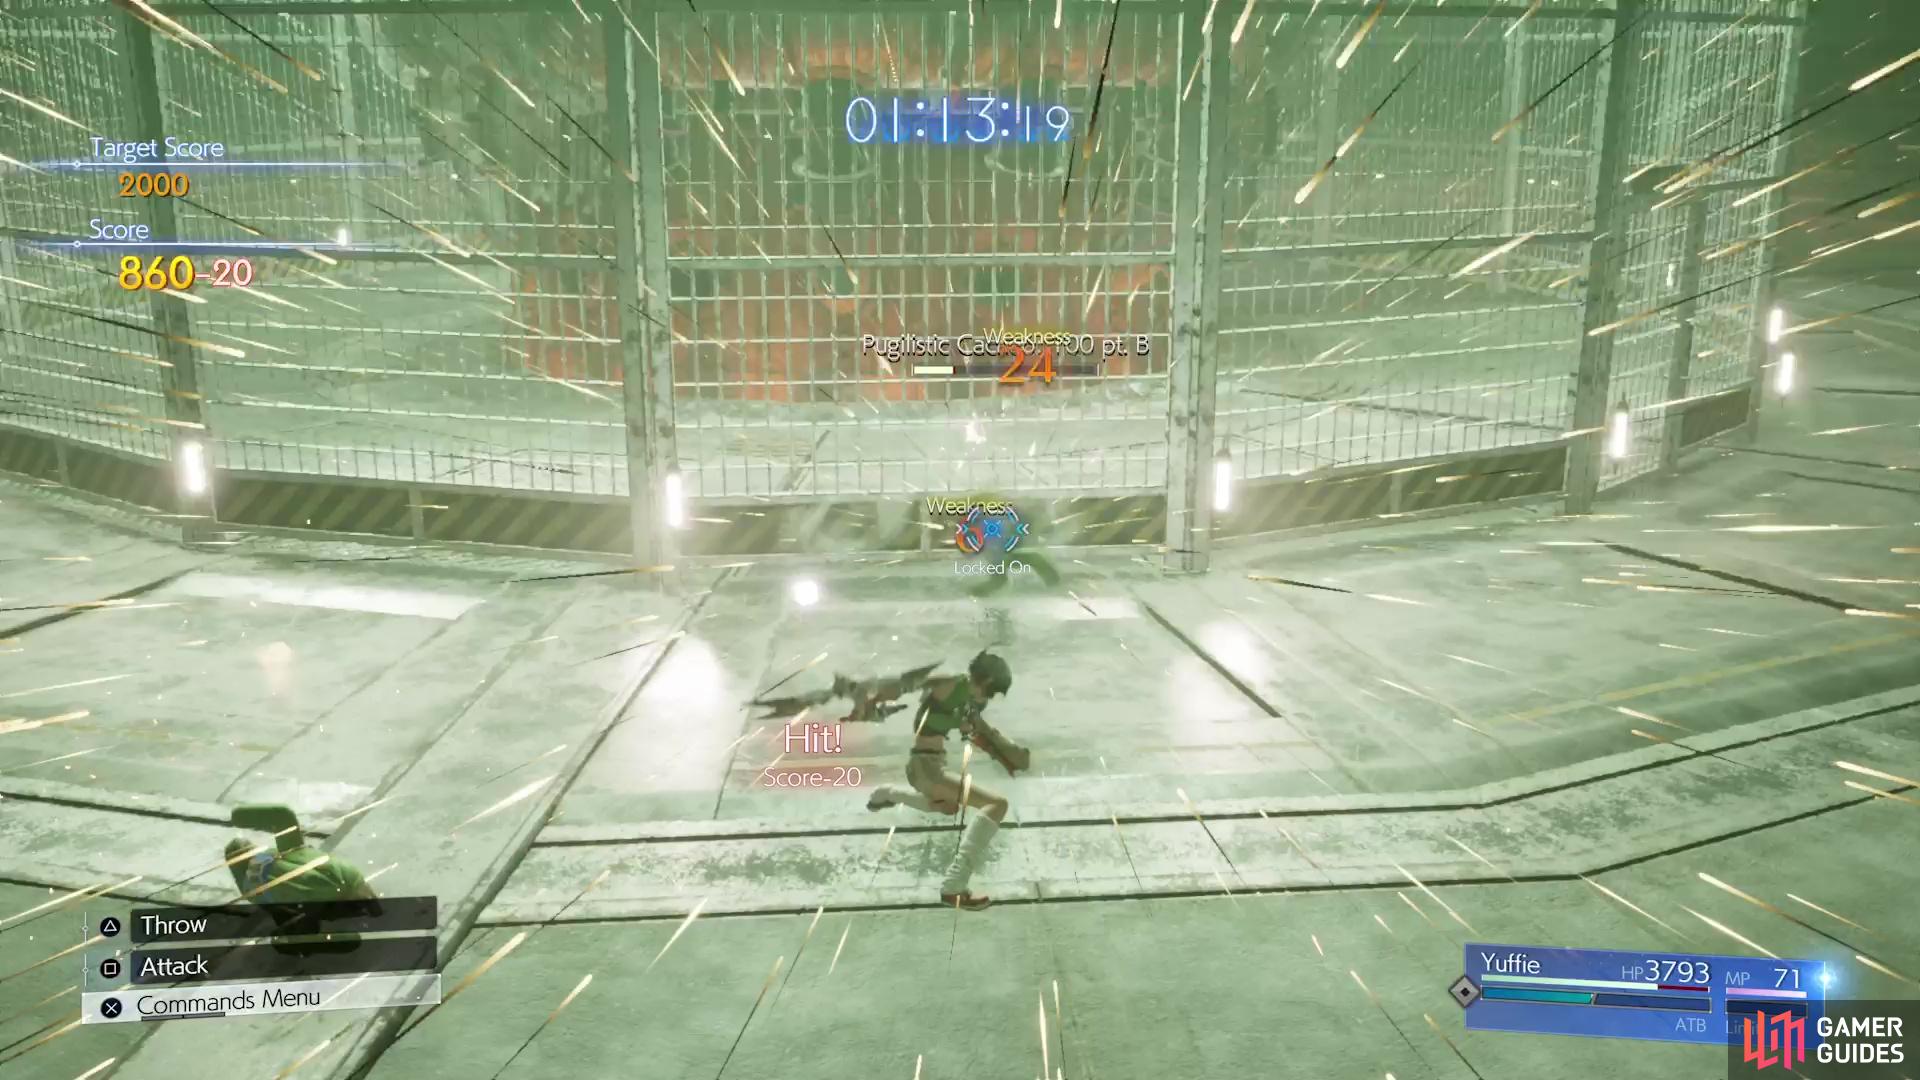
The third round will introduce Gold Cactuars into the mix, which are just stronger Cactuars. They are neither strong nor weak to anything, but have more health than normal, so use ATB attacks to deal with them. You will also see the use of Cacneos here, which can be very annoying enemies. Cacneos will use Affinity Switch to change between magic and physical affinities, so you will need to adjust your strategy on the fly when they do change.
They will typically change affinities, do their attack, dance around a bit and then change to the other affinity. Note that the physical side will use Spine Spew as an attack, where they spray needles in a melee-to-mid range, so back away from them when they first change to that form. The magical side will use a little shockwave-like attack that goes along the ground, which is easy enough to dodge.
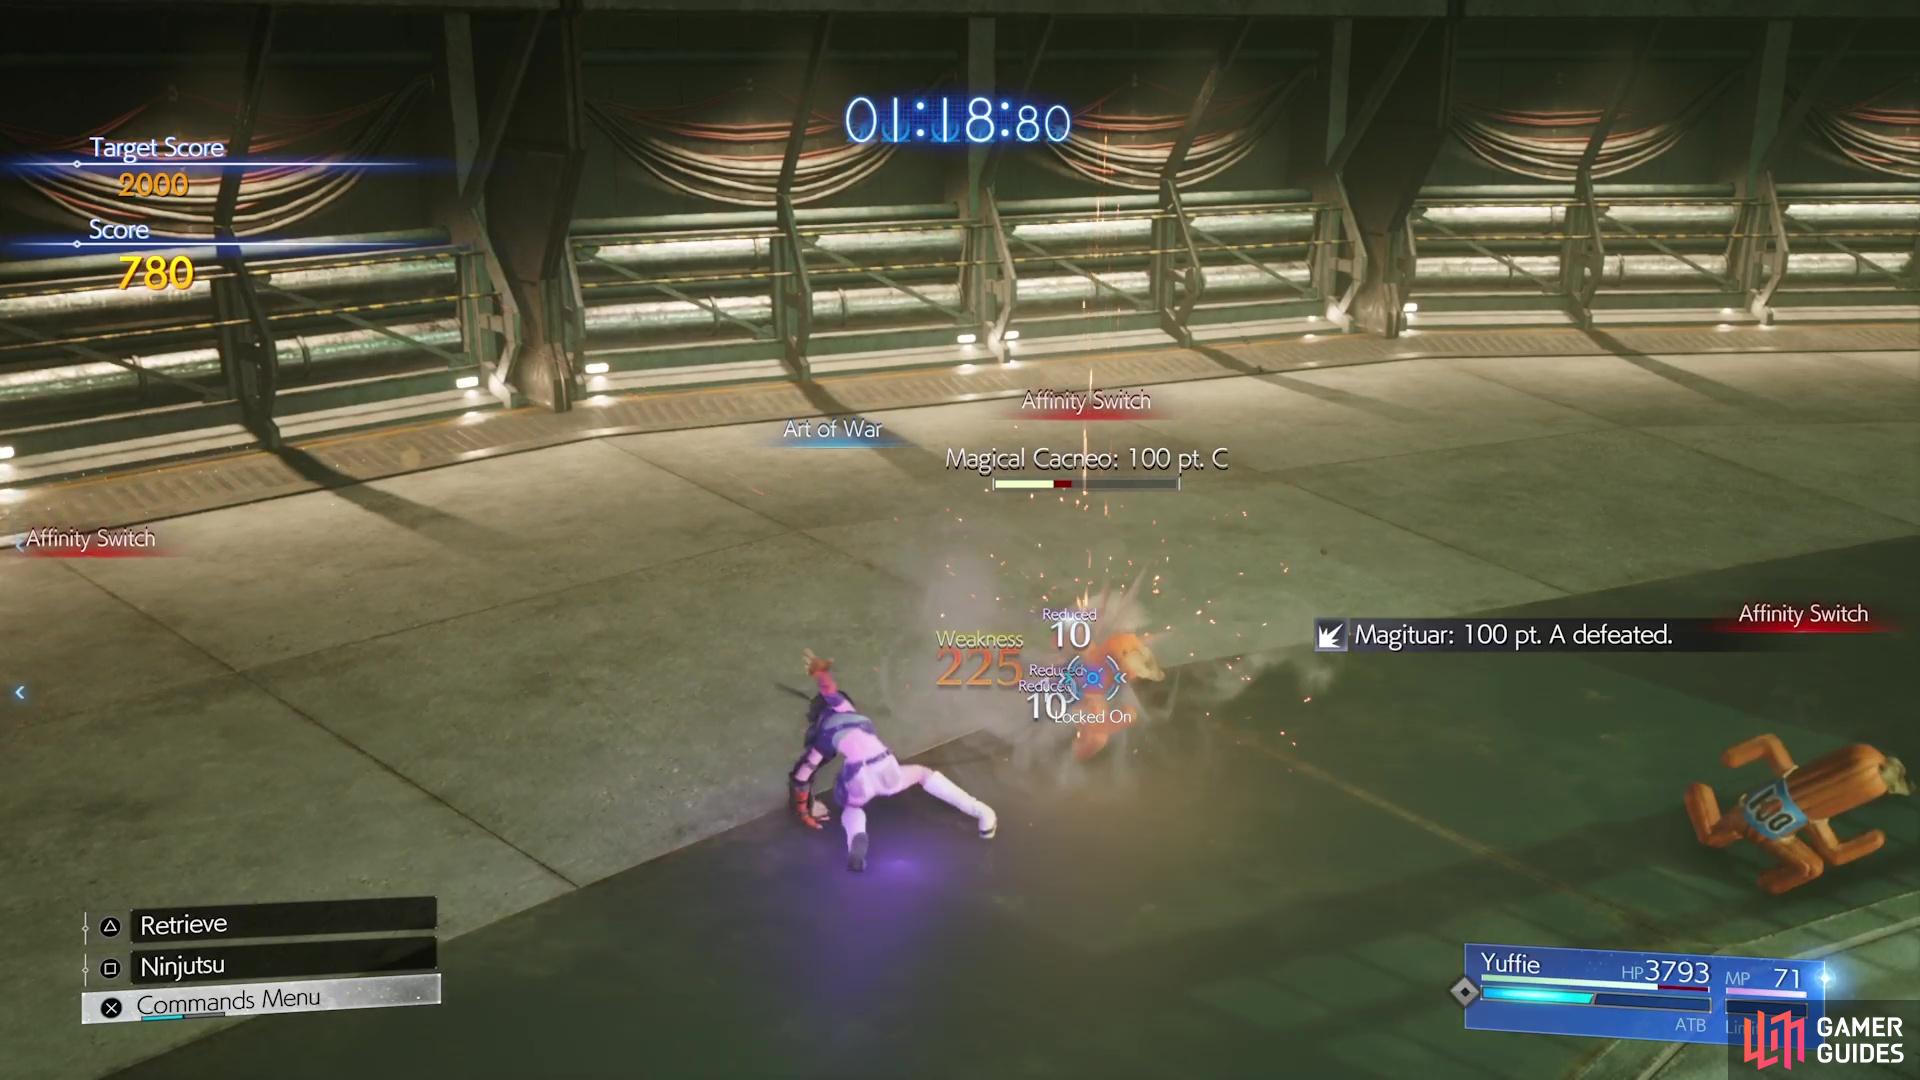
(1 of 3) The Gold Cactuars are just stronger versions and can be hit with anything.
- Magituars, Gold Cactuar
- Magituars (medium-sized), Gold Cactuars
- Cacneos, Giftuar
- Gladiatuars, Giftuars
- Magituars, Giftuars
- Cacneos
- Gladiatuars, Giftuar
- Gladiatuars, Gold Cactuars, Giftuars, Puglistic Gigantuar
- Giftuars
- Cacneos, Gold Cactuars
| Score | Reward |
|---|---|
| 2,000 | Mist |
| 3,000 | |
| 4,000 | Dark Matter x3 |
Cactuar Rock IV Location
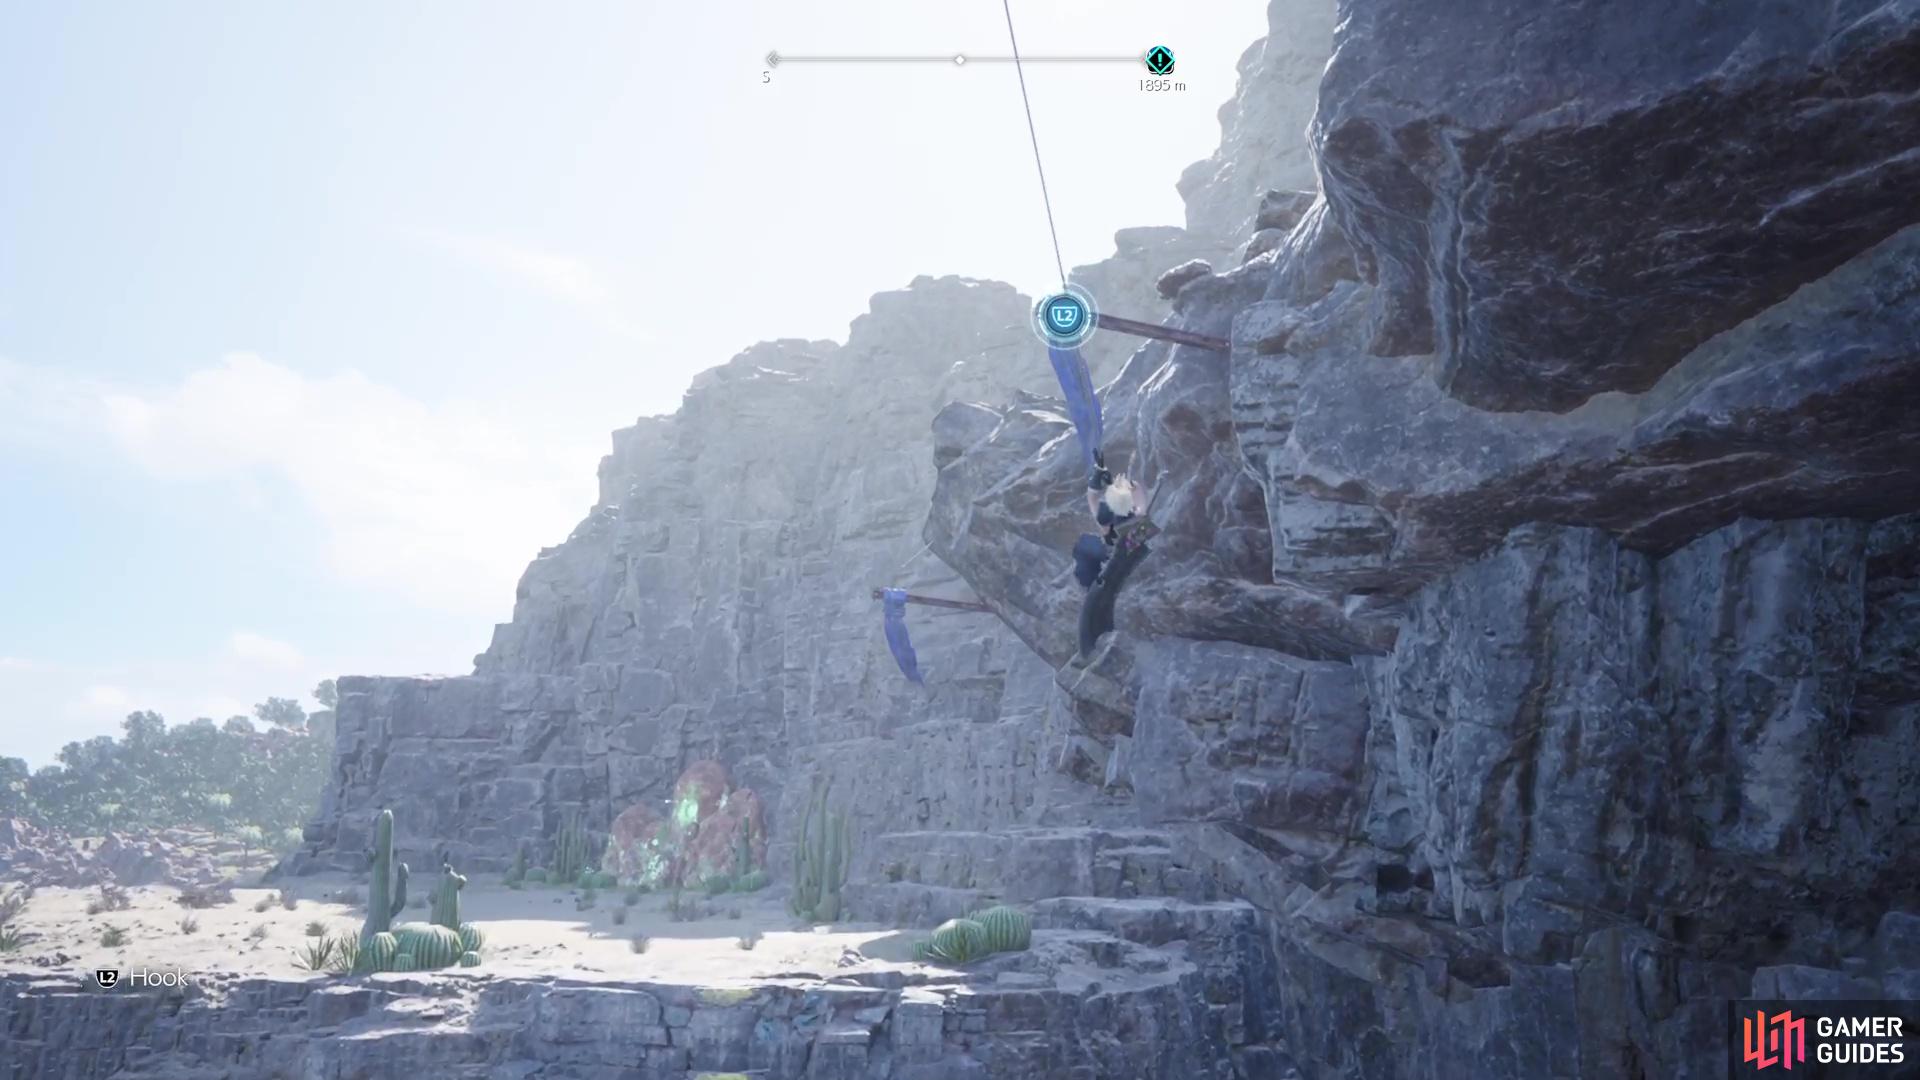
Grab the statue from the reactor, which is located on the southern side of the South Corel map. This one will point you towards the southeast, past the Activation Intel 6: Ravine Tower. Head in that direction and continue past the tower, until you eventually reach a Chocobo ![]() Stop. Go north, then east, to the cliff wall there where you’ll see some yellow footholds. Climb them, then look on the opposite side to find some more, which will bring you to another ledge with some grappling poles. Use the hook to swing across and you will find the Cactuar Rock right in front of you.
Stop. Go north, then east, to the cliff wall there where you’ll see some yellow footholds. Climb them, then look on the opposite side to find some more, which will bring you to another ledge with some grappling poles. Use the hook to swing across and you will find the Cactuar Rock right in front of you.
This Cactuar Rock will summon a Gargantuar for you to fight, which is pretty much the same as the Gigantuar from the third rock. Similar to the other one, it moves around a lot and doesn’t have any elemental weaknesses (nor any strengths). Be on the lookout for its numbered Needles attacks and it will only become pressured when using the Needle Rain ability. If you didn’t have trouble with the Gigantuar, then you shouldn’t have any problems with this one. With the Gargantuar downed, the fourth reactor will now open up for you, so head back.
Cactuar Crush 4: Aerith Guide
The second Cactuar Crush with Aerith is definitely the most challenging out of the normal ones, simply due to it being Aerith. Outside of the Gold Cactuars, there’s not much difference between this round, when compared to the previous one with Aerith. Remember to use the appropriate ward with the Lightuars and Darktuars (same element), as the damage you do otherwise will be mitigated. Also, the larger of those variants will put up ![]() Manaward at around half health. The easiest way to get rid of this is by using physical attacks, which is easily done by not standing inside of a ward.
Manaward at around half health. The easiest way to get rid of this is by using physical attacks, which is easily done by not standing inside of a ward.
The fourth round will introduce a Gold Gigantuar, which pretty much functions the same as the other Gigantuars/Gargantuars in Cactuar Crush, except it’s a little beefier. Stick close to it to bait out the Body Slam attack, then work on trying to deplete its health as quickly as possible. It seems Soul Drain is the best option for attacking the Gold Gigantuar, though, as it’s quick and you can get two off while it’s on the ground. If using the ability on one that’s moving, wait until it stops before doing it.
(1 of 3) Sorcerous Storm is still great for clearing out a large group.
- Lightuars
- Magituars, Giftuar, Lightuar
- Gladiatuars, Gold Cactuars, Giftuars
- Giftuar, Gold Gigantuar
- Darktuars, Giftuars
- Darktuar, Magituars, Gold Cactuar
- Gladiatuars, Giftuar
- Gold Cactuars, Giftuar, Gold Gigantuar
- Giftuars
- Gold Cactuars, Magituar, Lightuar, Darktuar
| Score | Reward |
|---|---|
| 2,000 | |
| 3,000 | |
| 4,000 | Dark Matter x3 |
Kid G Miniboss Guide
After finishing the fourth Cactuar Crush, there will be a number of scenes that play out. You will be back outside and you’ll be forced to fight with Kid G. He can be a little annoying, as he doesn’t have any weaknesses and is quite agile. If you continually attack him, he will eventually counter with Don’t Think So. ![]() Attack him after he uses this move to pressure him, which can also be extended to Goblin Beatdown and Sledgehammer. It is important to pressure and stagger Kid G, as the longer he goes without being staggered, the more dangerous he becomes.
Attack him after he uses this move to pressure him, which can also be extended to Goblin Beatdown and Sledgehammer. It is important to pressure and stagger Kid G, as the longer he goes without being staggered, the more dangerous he becomes.
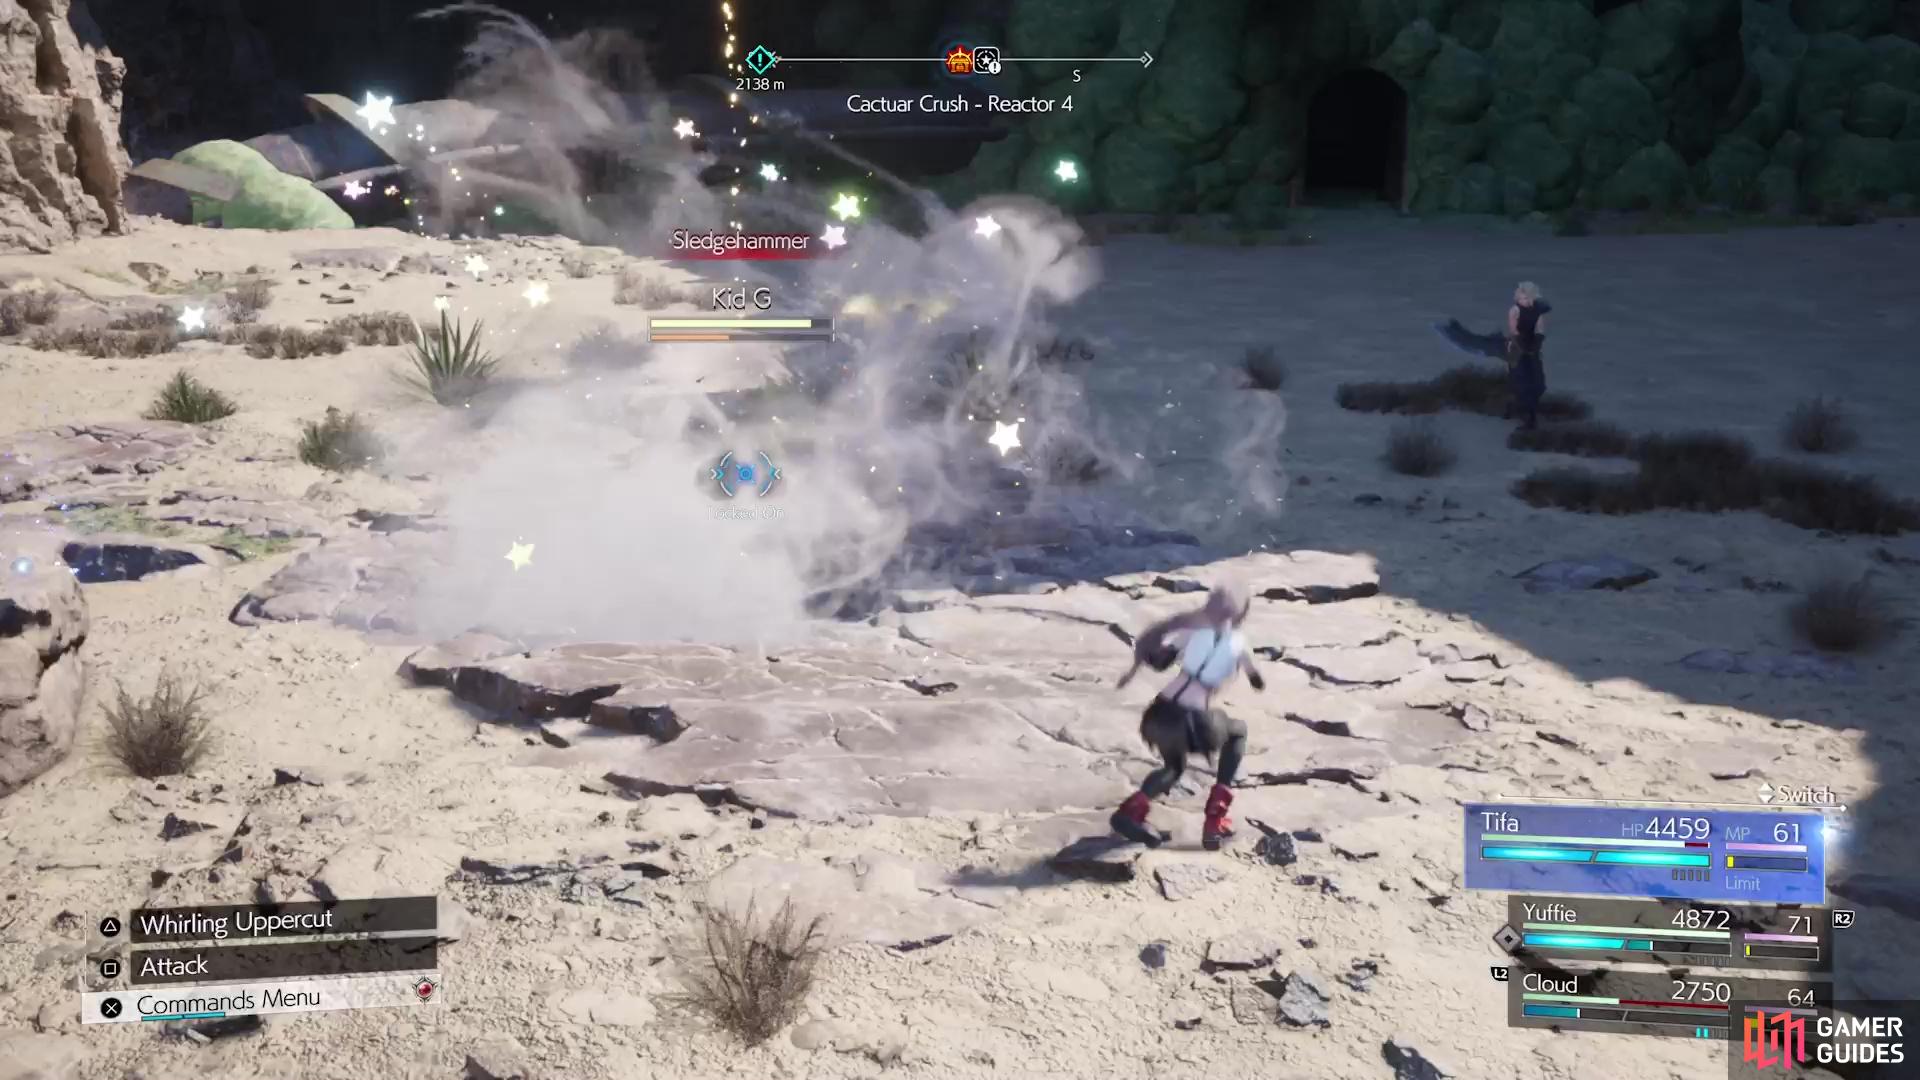
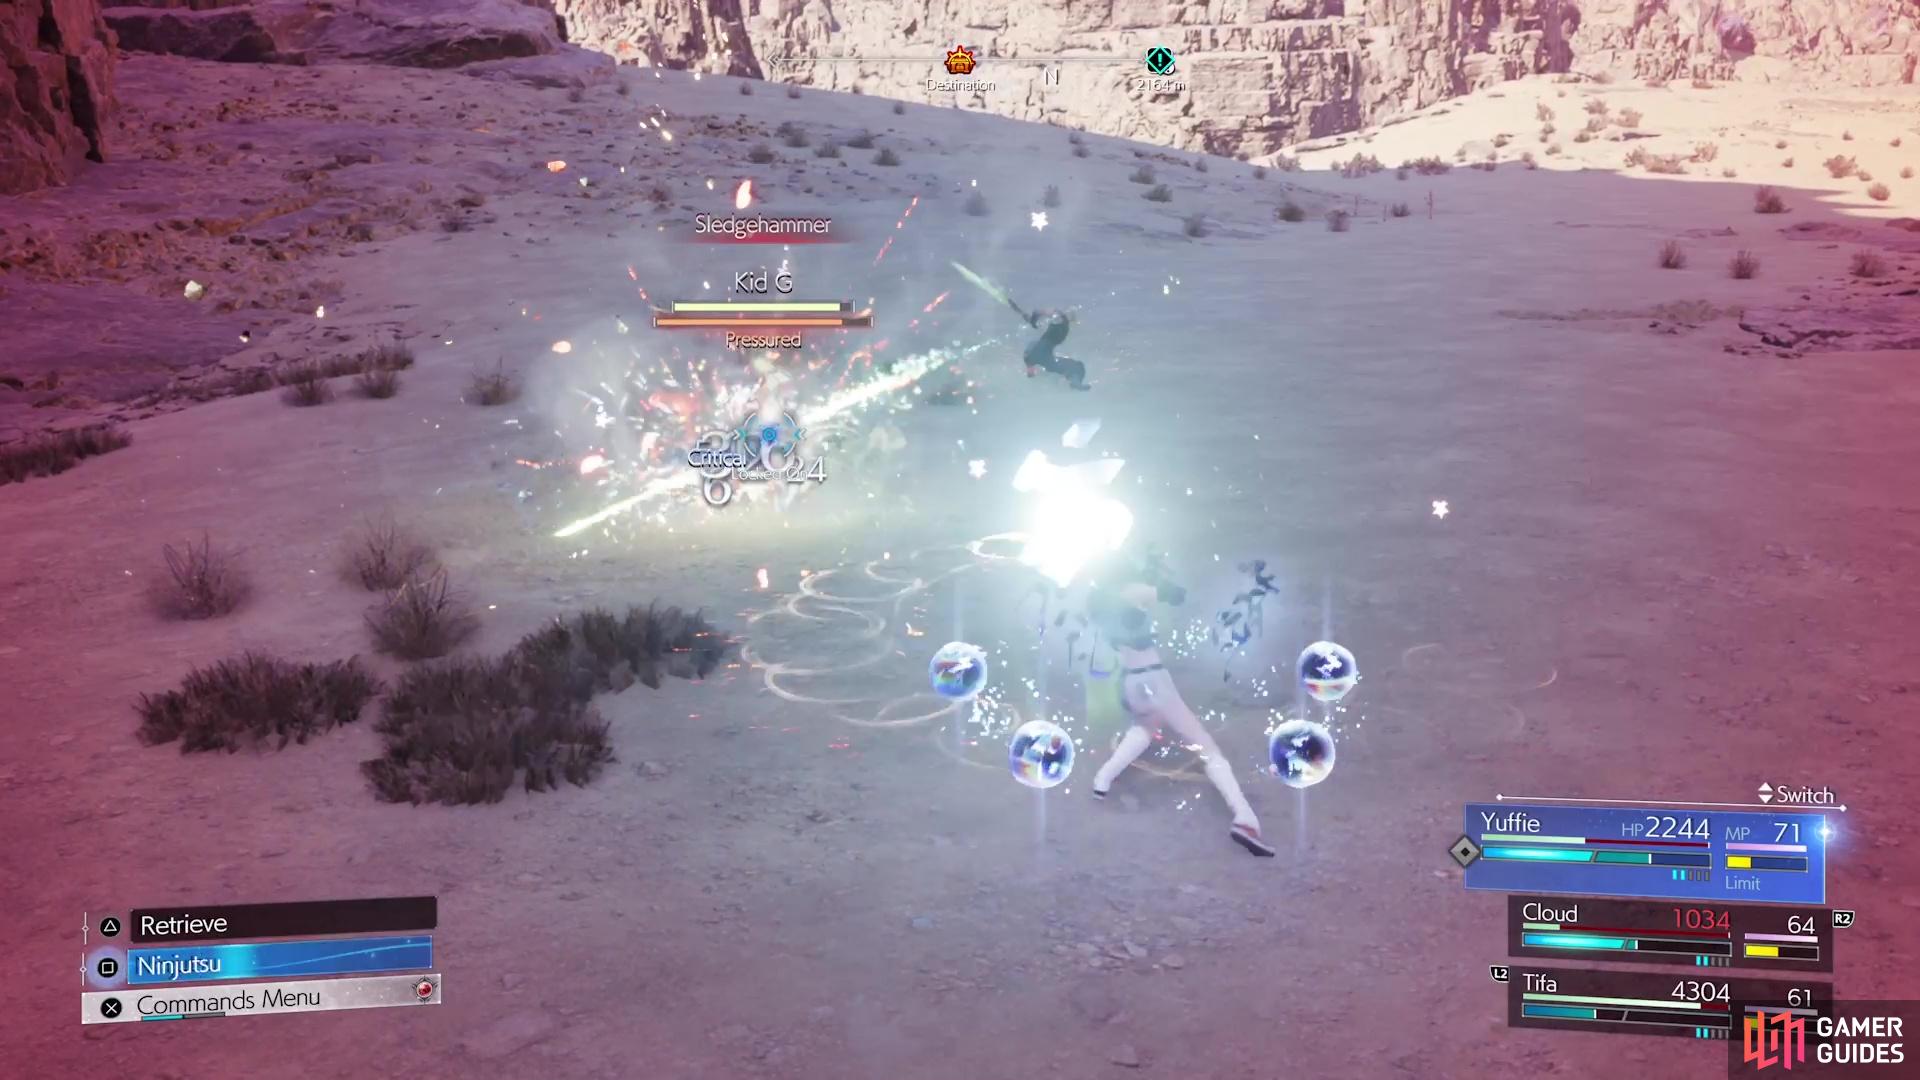
(1 of 3) Kid G’s attacks are quick and quite powerful, so be wary of them.
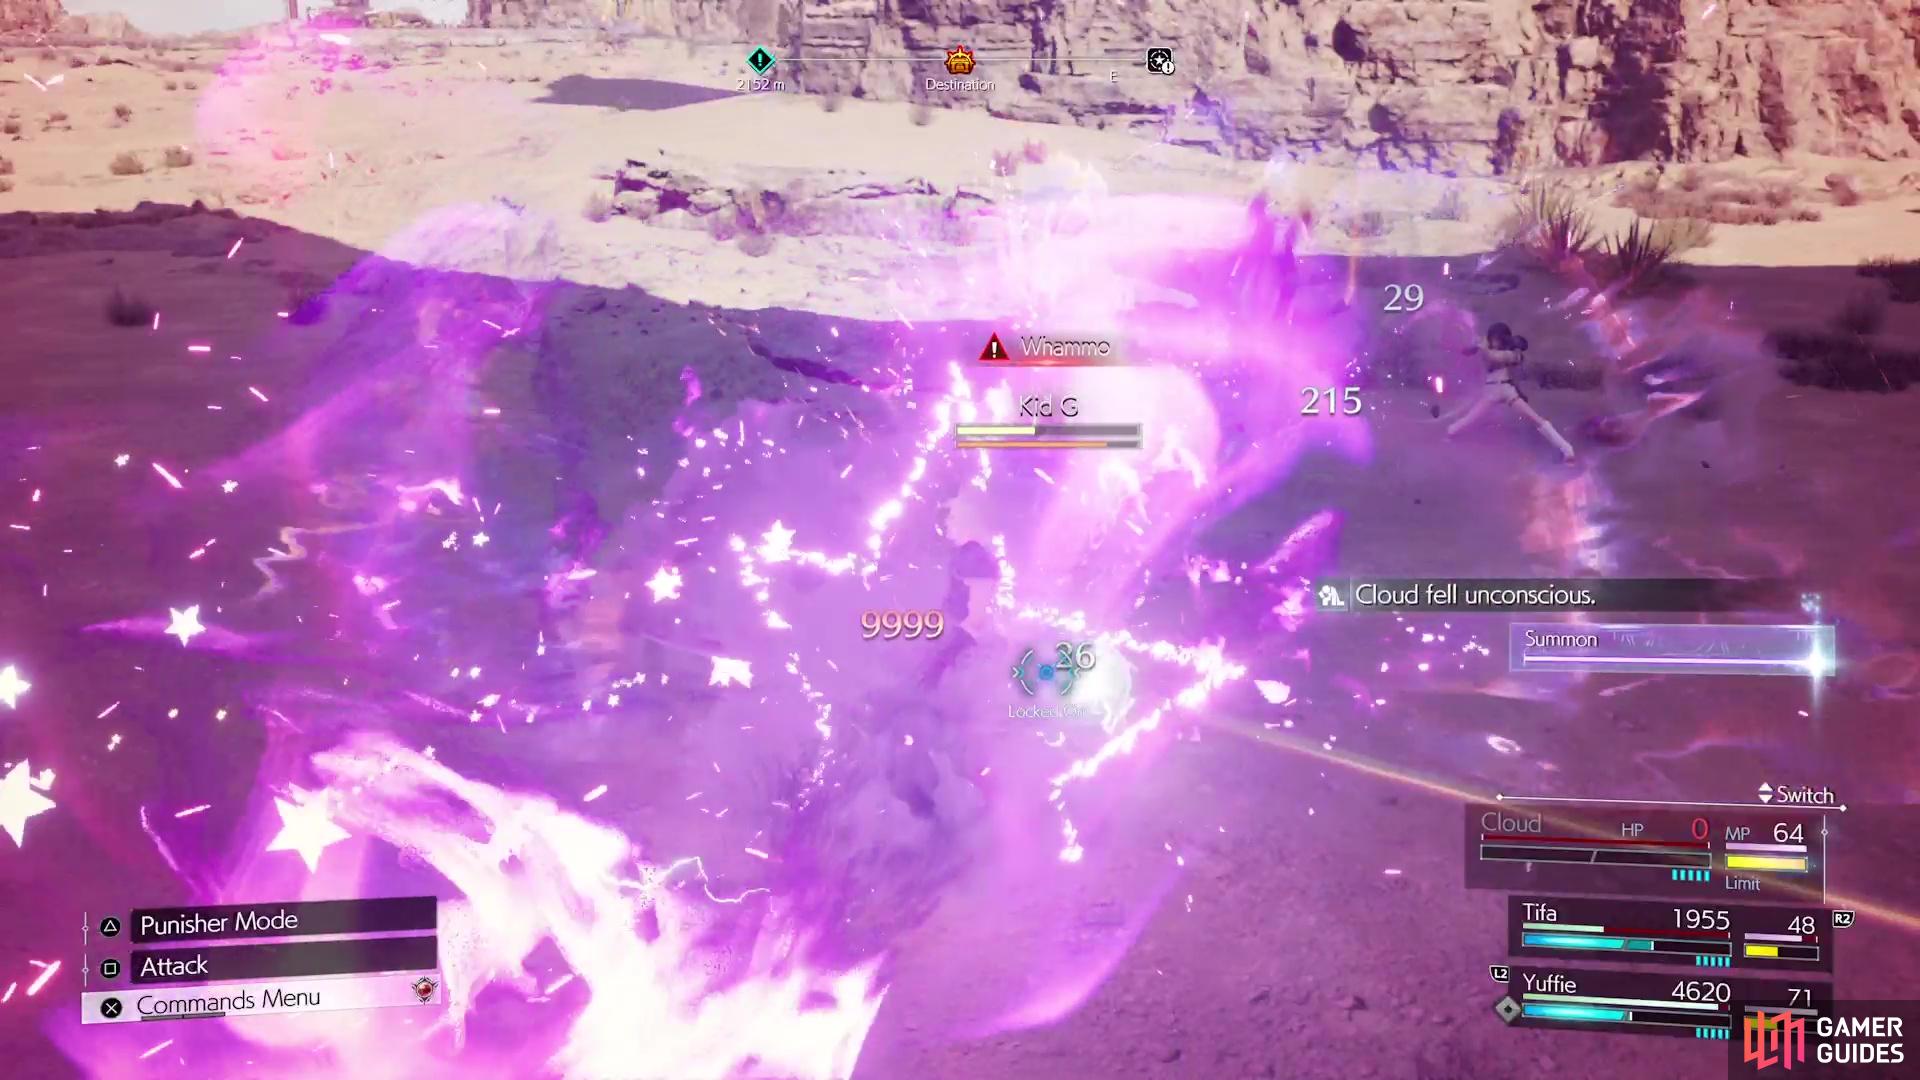
You can tell this is happening, due to him having an aura around him. If you see him with a purple aura, then he will be unleashing Whammo soon, his ultimate attack that deals 9,999 damage to a character. Note that Kid G can also heal by using Respite, but he doesn’t do this all too often. Once you stagger him, unleash as much damage as possible on him to try and bring him down. When you do, you will finally obtain the Protorelic for this region, as well as unlock the Hard difficulty for Cactuar Crush.

 Sign up
No Comments