Description
This page offers a guide on the final boss level, The Fate of the Universe in Bowser’s Galaxy Reactor. This level/galaxy will become available to you once you’ve collected 60 Stars and completed Darkness on the Horizon.
Gravity Spotlights
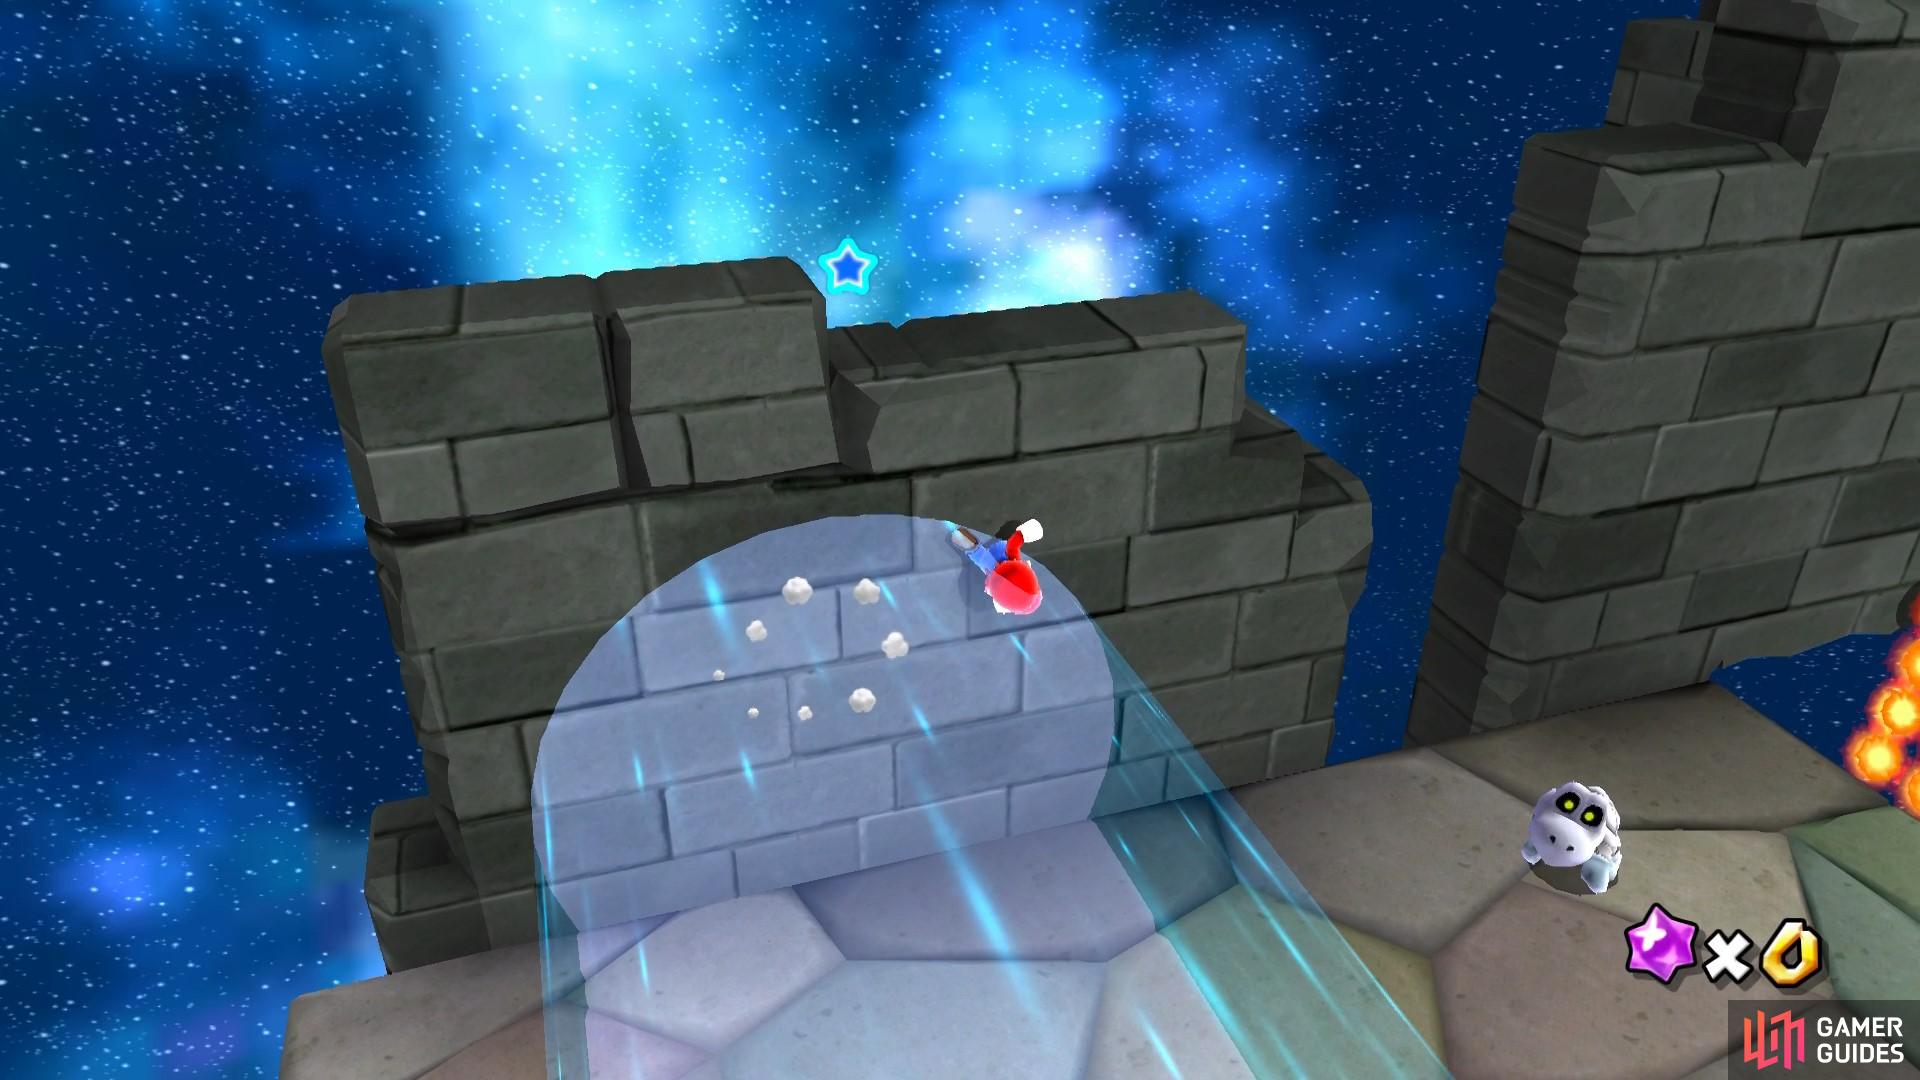
When you first arrive in this level, you’ll need to use a series of spotlights to make your way across the castle walls. When in the spotlights, the gravity will shift to the walls, if the spotlights move away from you, you’ll fall off, either back onto the platform beneath you or you’ll drop into the void depending on where you fall. The spotlights are easy to follow up and along the walls. There will be a few enemies along the way including a Dry Bones and a few fire bars. Once you’re at the top of the tower, take the large spotlight to the next area. It will make you float to a new planet!
The spotlights will change the pull of gravity and you’ll need to use this to your advantage!
Lava Planet
On this planet you’ll need to navigate the moving platforms and jump across the sinking platforms quickly, all whilst avoiding the flaming lava boulders. The lava boulders will be an issue as you make your way over the moving crust-like platform, you might need to jump, crouch or swerve quickly out of their way or you’ll get burned. Burn damage would be very dangerous on this planet as you could jump uncontrollably into the lava and take even more burn damage! When you reach the end, there will be a spotlight to take you to the next section of this level.
Icy Planet
On this planet, you’ll need to navigate the icy platforms quickly as they’ll begin to disappear behind you. This section is straightforward enough and you can just follow the path and the steps safely to the next spotlight. There is a 1-up mushroom that you could triple jump or backflip if you need it.
Desert Planet
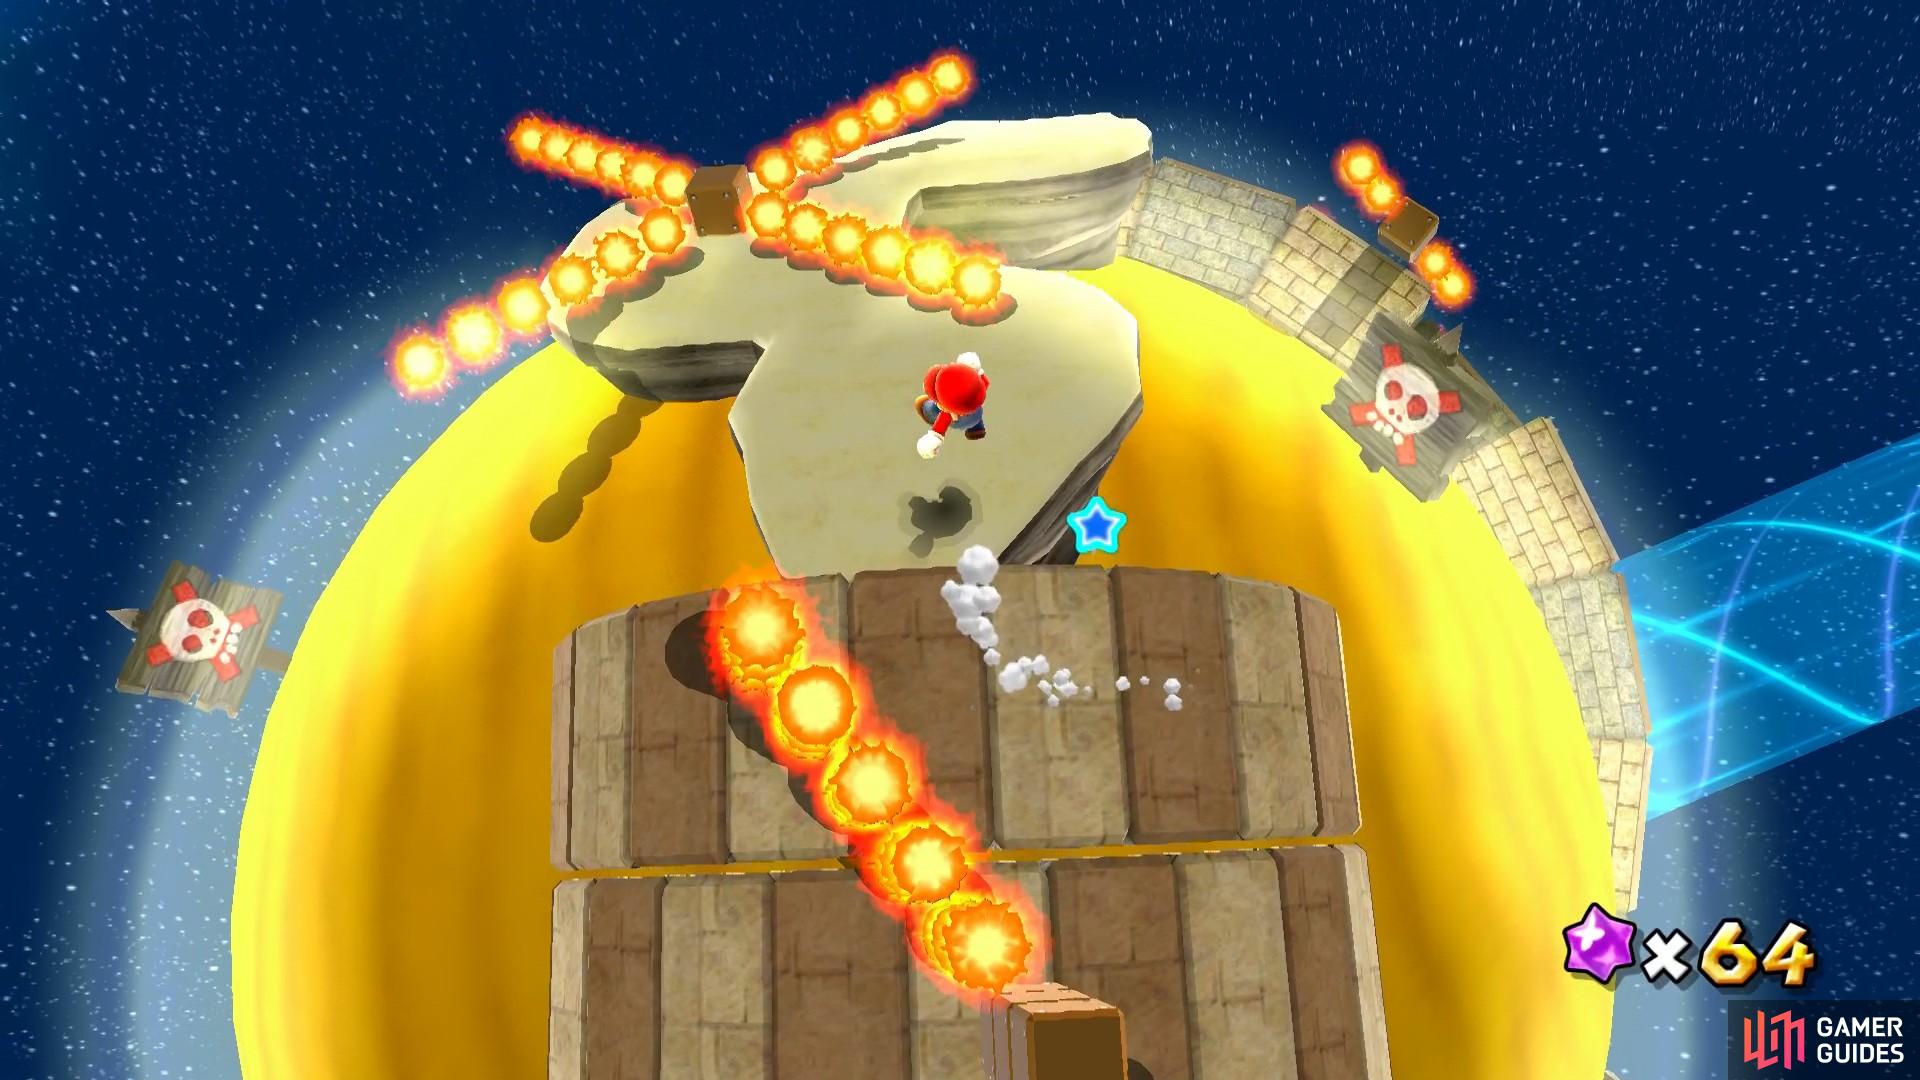
On this planet you’ll need to navigate a series of rotating platforms, whilst avoiding several fire bars. You’ll first need to run over the spinning platforms, then jump onto the platform with the rotating fire bars. From there, run over to the right and then hop into the spotlight that’ll take you to the next area.
Run across the sandy platforms but watch out for the fire bars!
Appearing Platforms
In this section of the level you will need to follow the appearing glass-like path. After a short distance, you’ll need to wall jump up the appearing platform. Around half way up the appearing walls, you’ll need to walk to the left and then wall jump up a new set of walls. Watch out for the fire bar though! The platforms behind you will also gradually begin to disappear too so you’ll need to be quick whilst also avoiding the fire bar. When you’re at the top, the gravity will shift and you’ll be running on the ceiling.
Bullet Bill Run
This area is quite tricky as you’ll be bombarded by Bullet Bills who could knock you off the platforms and into the lava!
At first, you’ll need to jump over the sinking platform and then onto the stone tiles with the two gargoyle statues. From here, a Bullet Bill will spawn and head straight for you. You can use the gargoyle statue to hide behind and then the Bullet Bill will crash into it. As soon as it has done that, run over the platforms before another Bullet Bill spawns and run to the right, up along the stone path. Watch out for the Thwomp on this path as it’s quite difficult to see him at first.
You’ll need to be speedy but also careful when making the dash through this area.
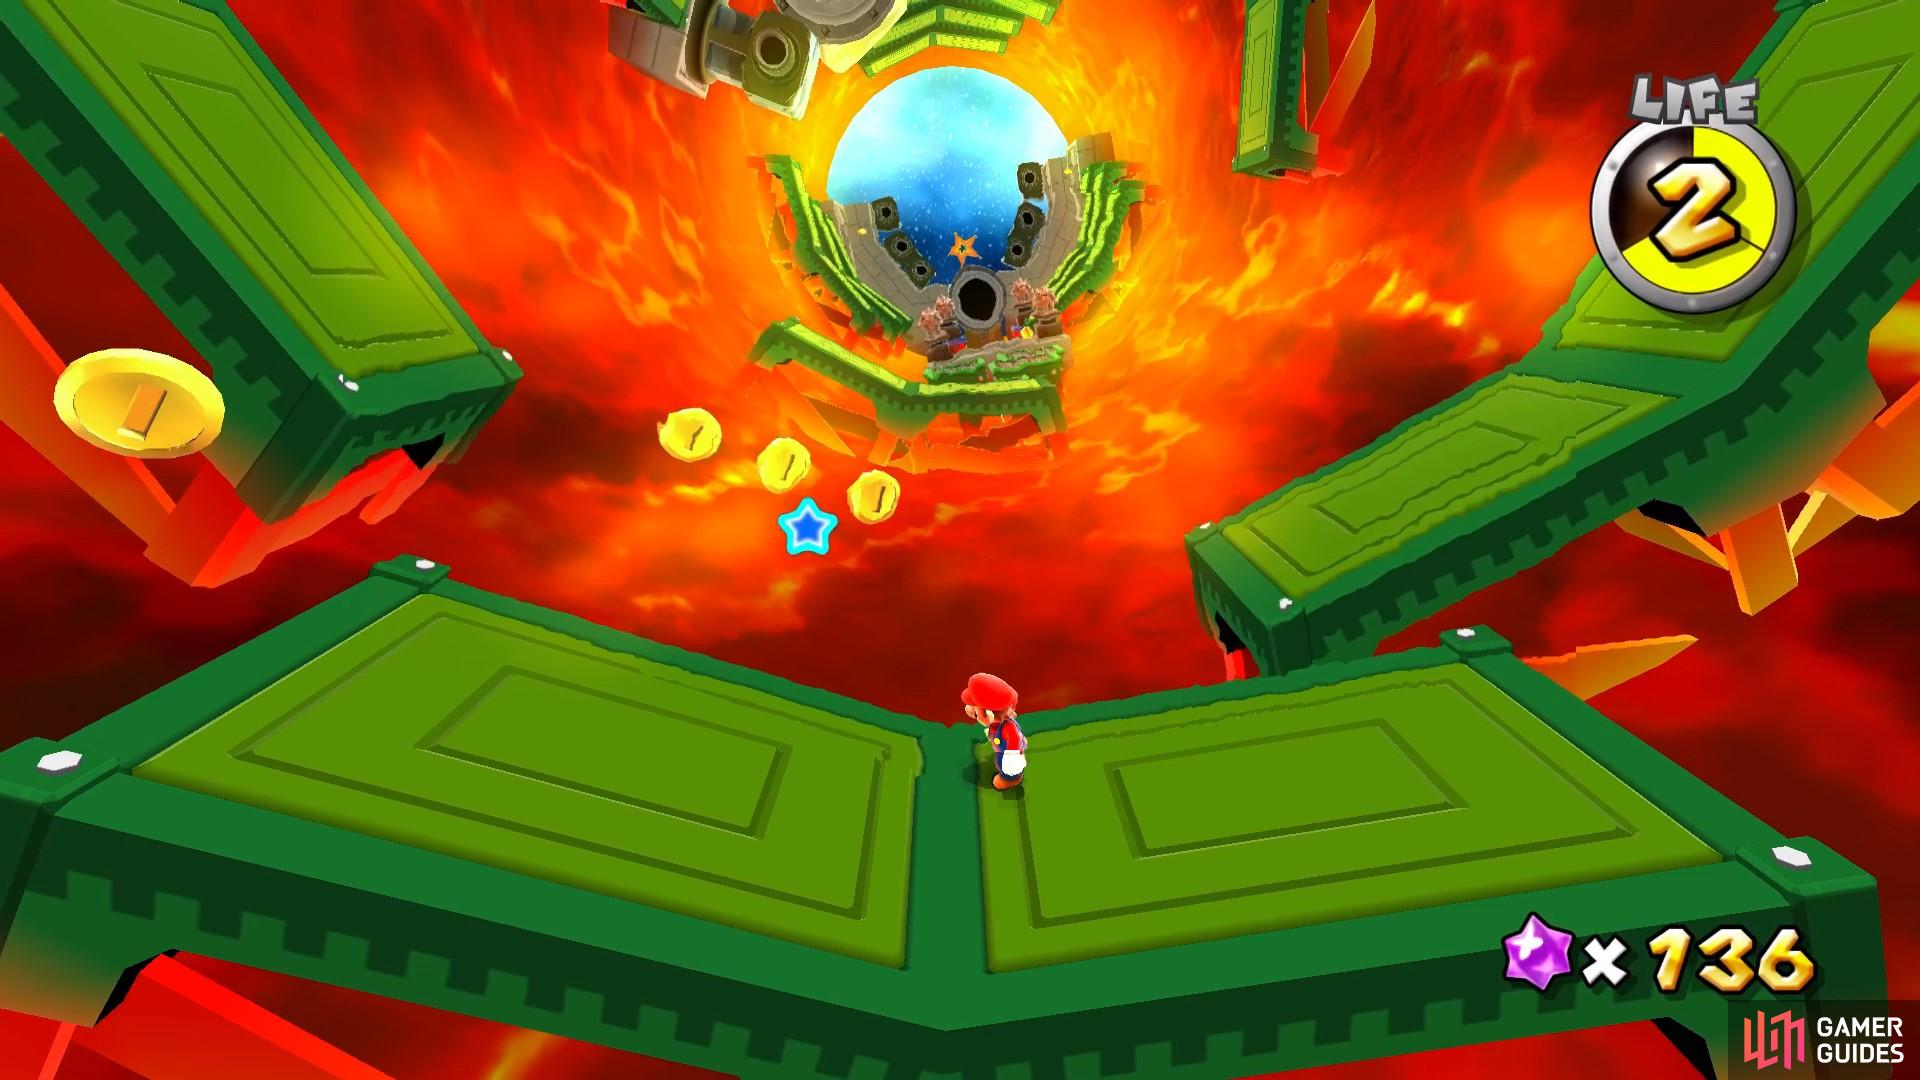
From here, you’ll need to jump across the sinking platforms and over to the rotating green paths. Once again, you’ll need to watch out for the Bullet Bills, but if you run fast enough they won’t be able to follow you very well.
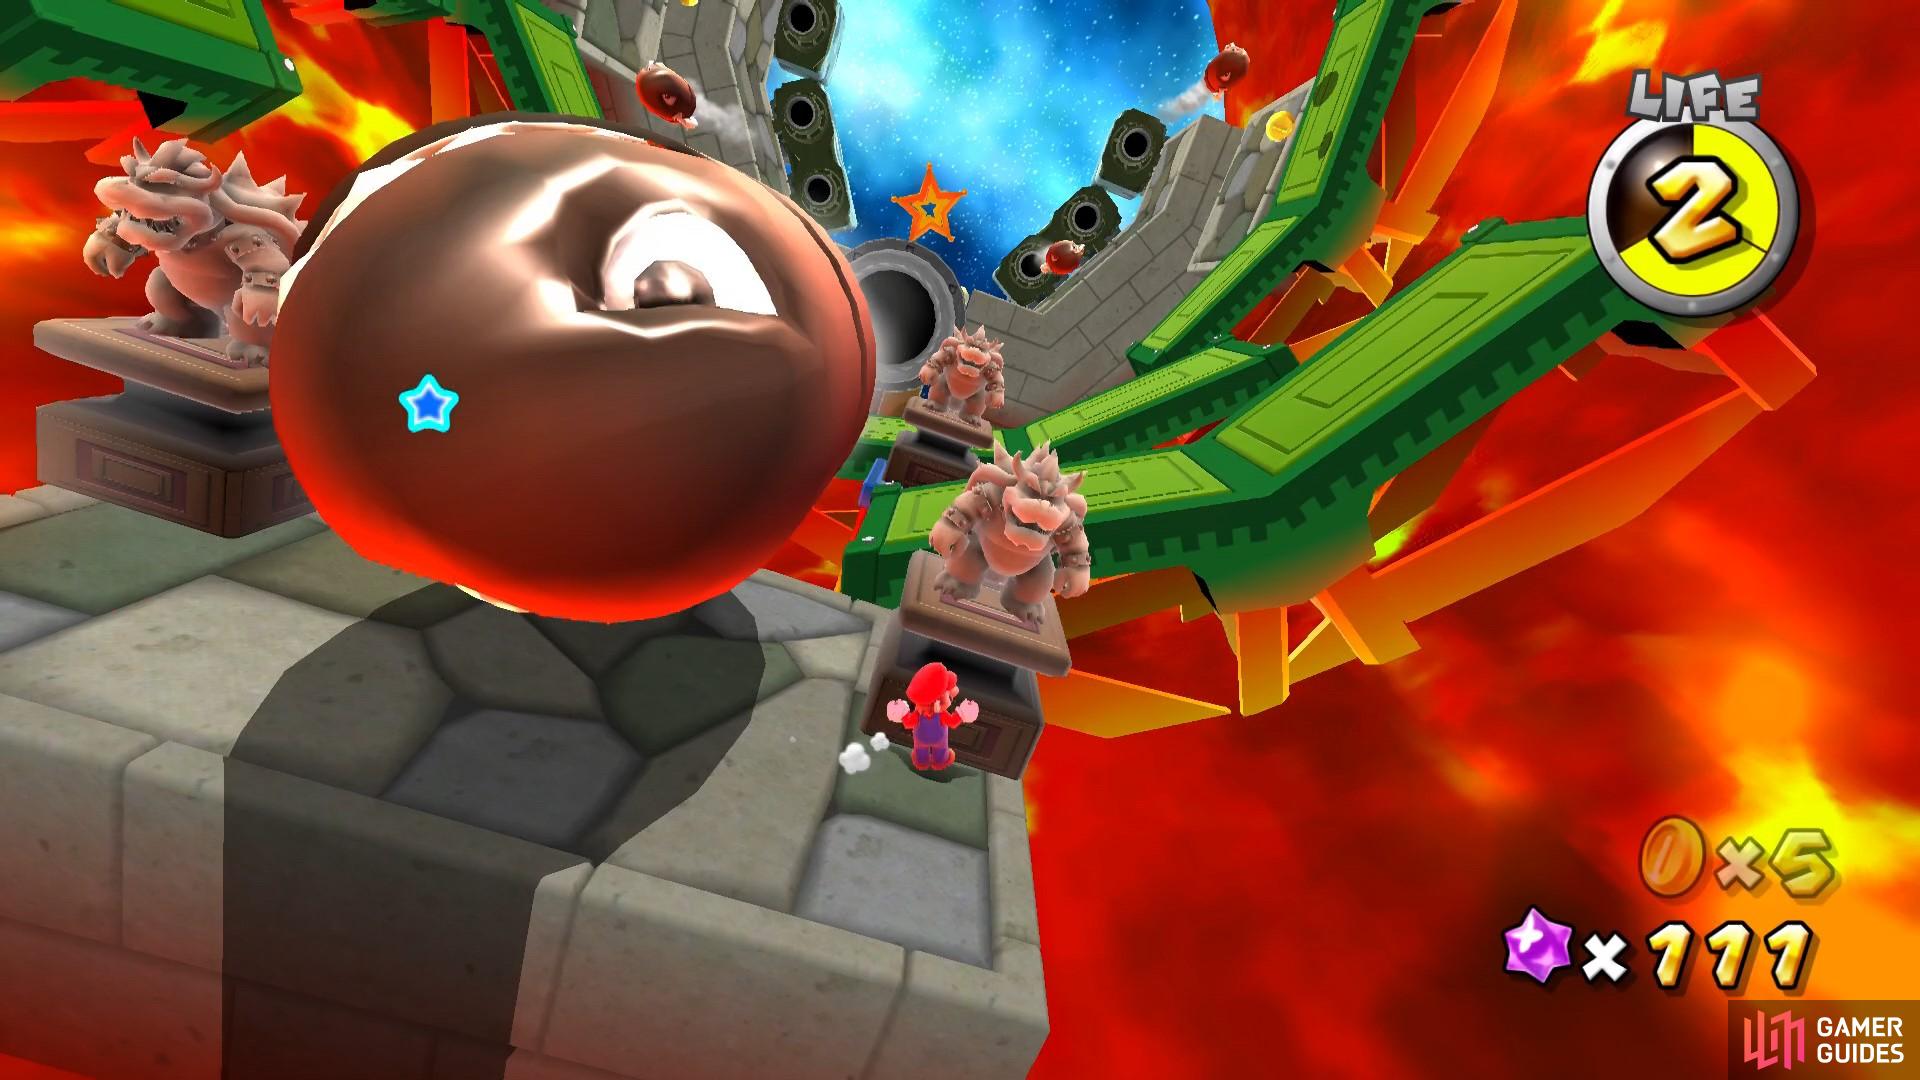
On the next platform, you’ll come face to face with a Banzai Bill! It’s essentially a big Bullet Bill except it won’t homing missile onto you. Instead, you’ll need to just get out of its path by hiding behind a statue until it passes. After it’s gone, quickly jump over the paths. It can help to long jump over the sinking path straight onto the green platforms as the Bullet Bills will have a harder time locking onto you.
The Banzai Bill is scary but at least he doesn’t lock onto you like Bullet Bills!
Take the path all the way to the right and jump off onto some more sinking platforms. Once again, you’ll need to hide behind a statue whilst a Banzai Bill goes past. There are lots of Bullet Bill spawners here, so as you make your way across the final set of platforms be careful of the Bills. They can’t turn very well so you can just jump to the side and that should lose them.
When you get across the paths and onto the stone platforms, head up to the right and use the Launch Star to take you to the final Bowser boss fight!
Path to Bowser
When you reach the chequered path, you’ll have to run up it quickly as Bowser Jr. will launch a load of meteors and boulders at the paths, causing them to crack and fall away.
As you run up the steps, it would be highly advised that you grab the extra life mushroom on the platform to the left. You will definitely want a few extra points of life when you head into the final boss fight. There is also a 1-up mushroom, but unless you really think you’re going to Game Over, it’s probably best you just get the extra life mushroom as you’ll be risking falling with the crumbling steps if you linger too much.
When you reach the top, your final fight with Bowser will begin!
Final Bowser Boss Fight
Boulder Bowser
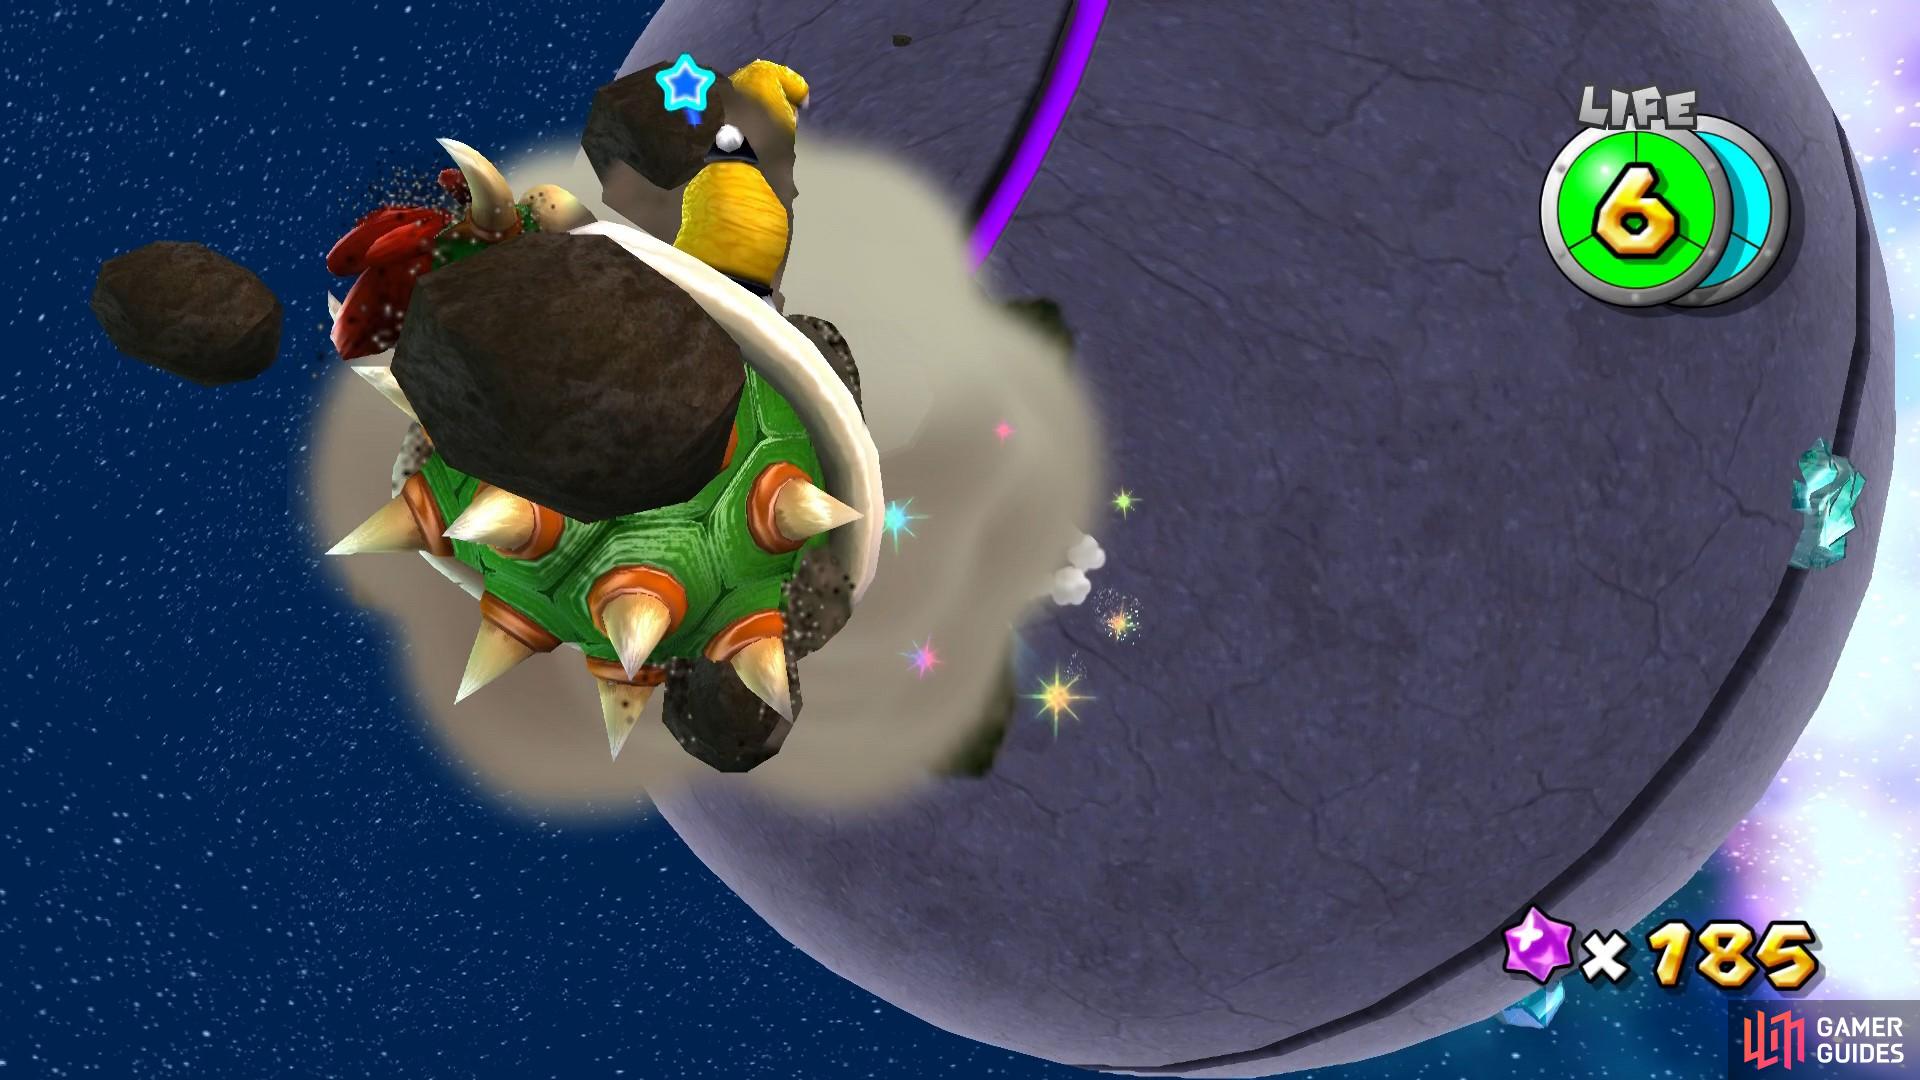
In the first phase, Bowser will encase himself in a boulder. To damage him, you’ll need to spin attack his head. He looks like the usual boulders found within the other galaxies, so damage him like you would a typical boulder. When you’ve broken his boulder exterior, you’ll need to catch up with his spinning shell and spin attack him. You need to do this twice in order to move on to the next section of this fight. On the second attack, you’ll need to spin attack him twice in order to get in some damage.
Smash Boulder Bowser by spin attacking his exposed face.
During this boss fight, you’ll also need to be careful of Bowser’s signature attack moves:
-
Fire Balls - He will spit out a few fireballs and they will bounce around for a bit before disappearing. They are easy to avoid but will inflict fire damage if they hit you.
-
Electric waves - When he jumps, Bowser will create circular electrical waves that go around the entire planet. To avoid them, you’ll need to jump over them. Sometimes he will create up to 3 consecutive rings that you’ll need to jump over one after the other to avoid.
-
Groundpound - When close to you, Bowser will attempt to groundpound you. You can easily get out of the way of these attacks. You will also need to utilise these groundpounds to take him down during this boss fight.
Spiky Bowser
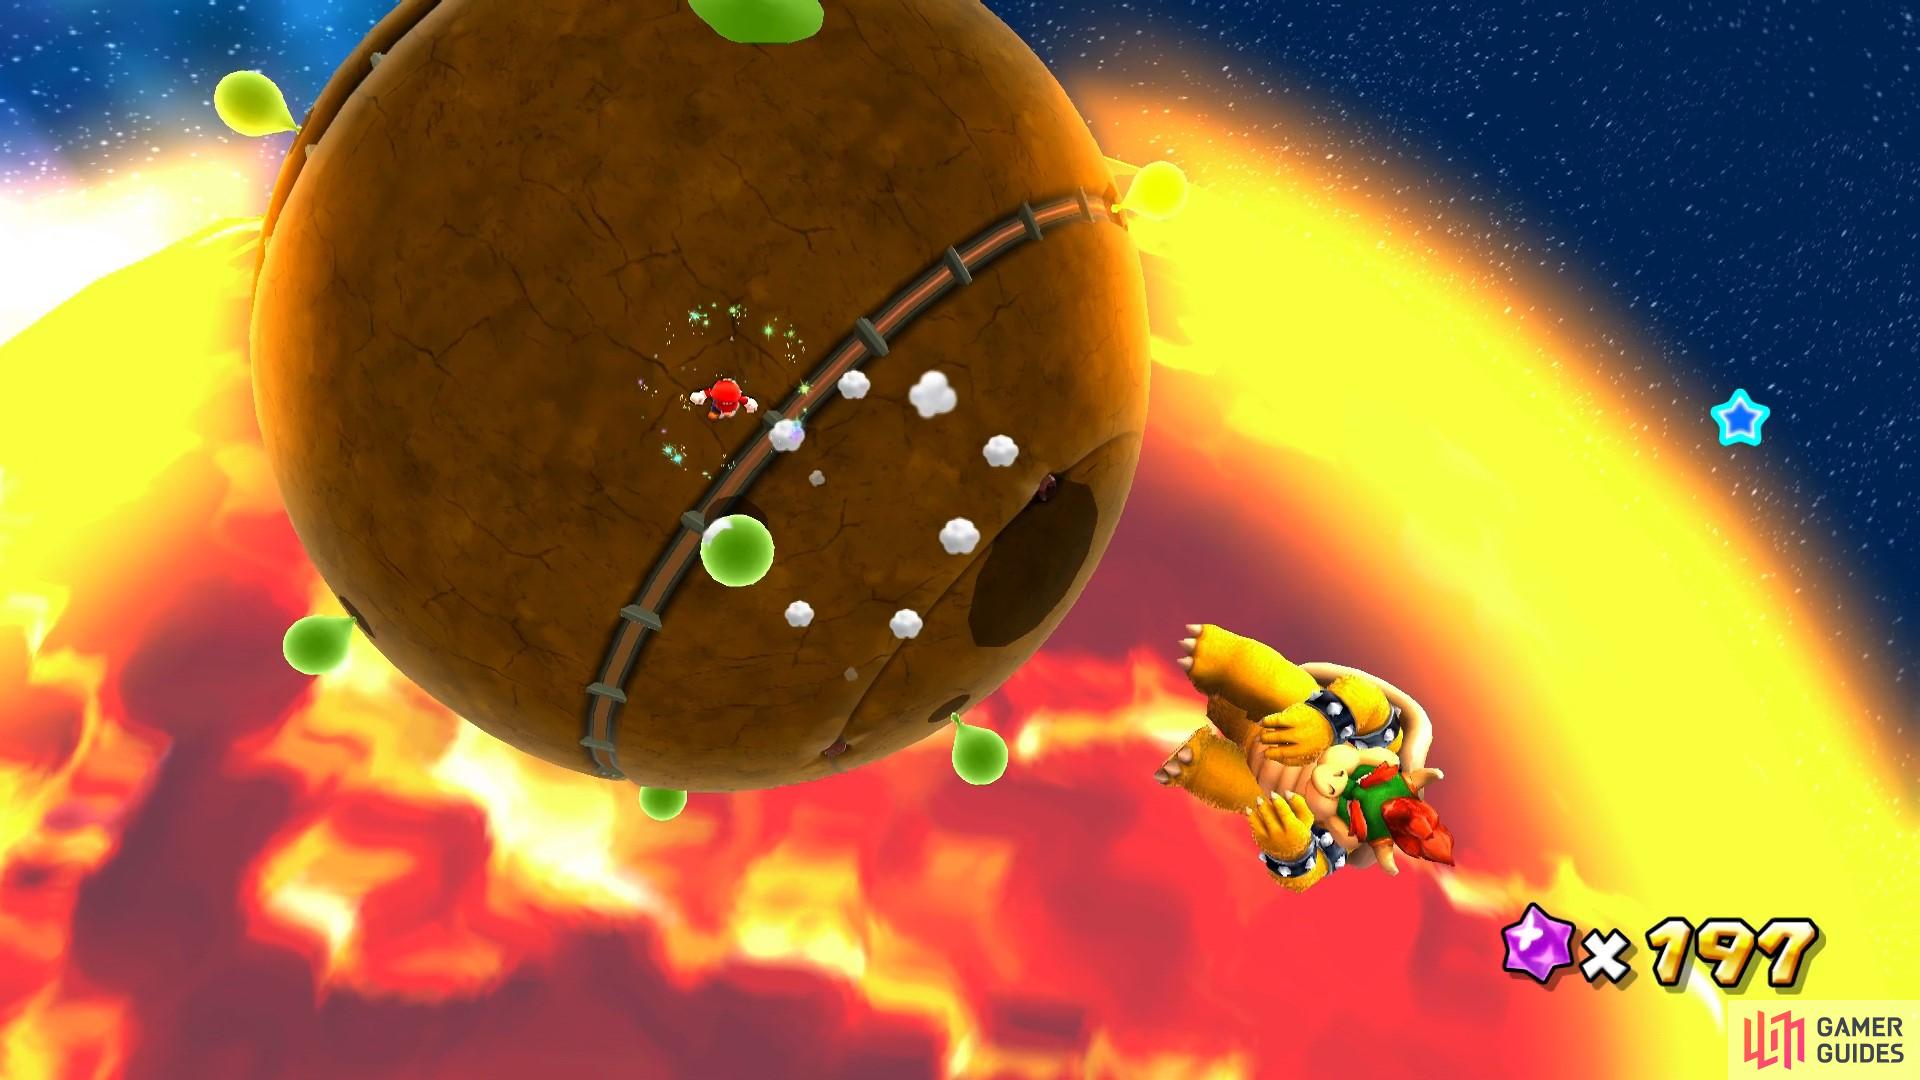
During this phase, you will need to use the green sprouts to attack Bowser whilst he is spinning in his spiky shell. To do so, you’ll need to lure his spiky shell over to one of the many sprouts and then spin attack the sprout so it bounces straight into Bowser. This will cause him to spin about the planet, allowing you to catch up to him and spin attack him. You’ll need to do this twice to complete this section of the boss fight. On the second attack, you’ll need to spin attack his spinning shell twice to damage him.
You’ll need to use the green sprouts to knock Bowser’s spinning spiky shell.
After you’ve done this, you’ll drop onto a new planet, where you’ll begin the final phase of this level.
Bowser’s Final Phase
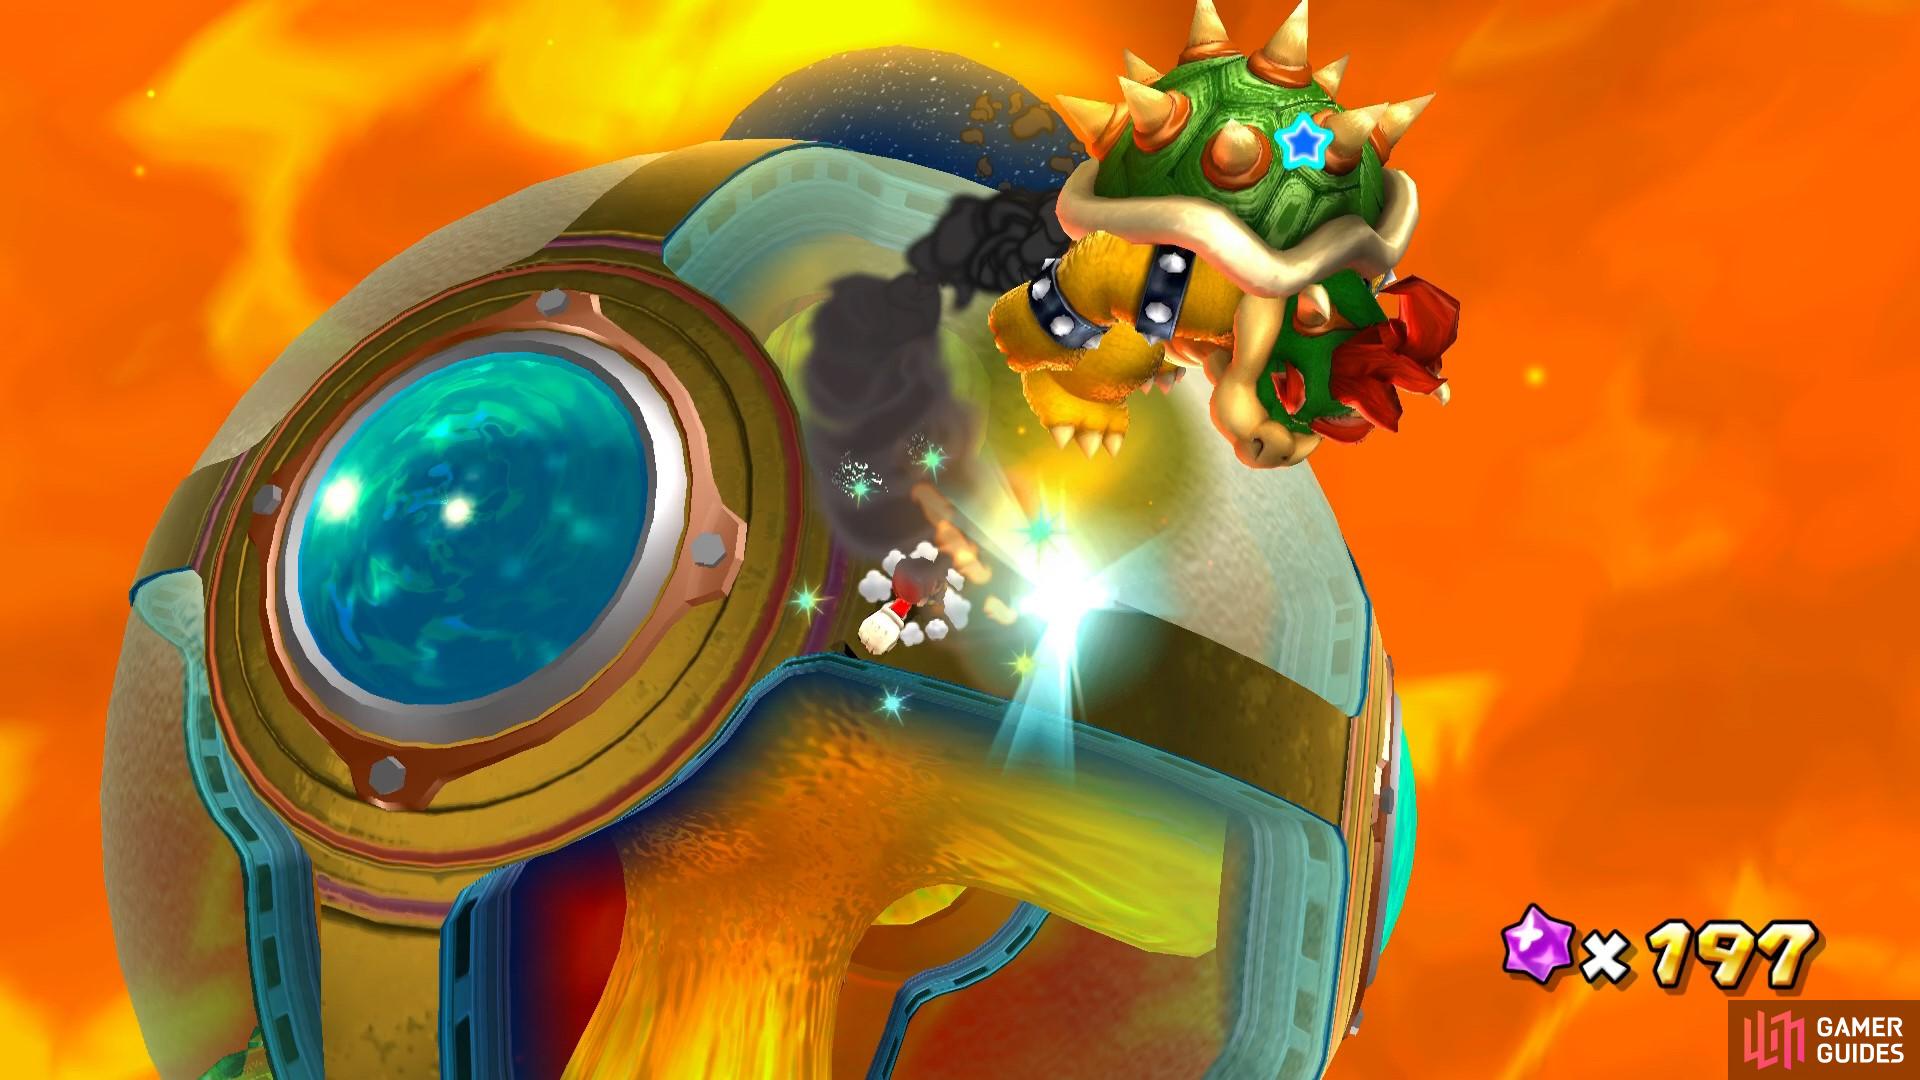
This fight is identical to the previous Bowser boss fights in other galaxies. You will need to get him to groundpound on the blue domes so he burns himself in the lava beneath. Once more, you’ll need to watch out for his fiery balls and his laser rings. When you’ve successfully managed to get him to burn himself in lava, catch him as he’s hopping around with a burning tail and spin attack him. Then, run the opposite direction to where his shell spins to catch him on the otherside of the planet. Spin attack him again to deal some real damage. You’ll need to perform this process twice to defeat him for good. When you’ve gotten him to burn himself the second time, you’ll need to spin attack him three times to damage him.
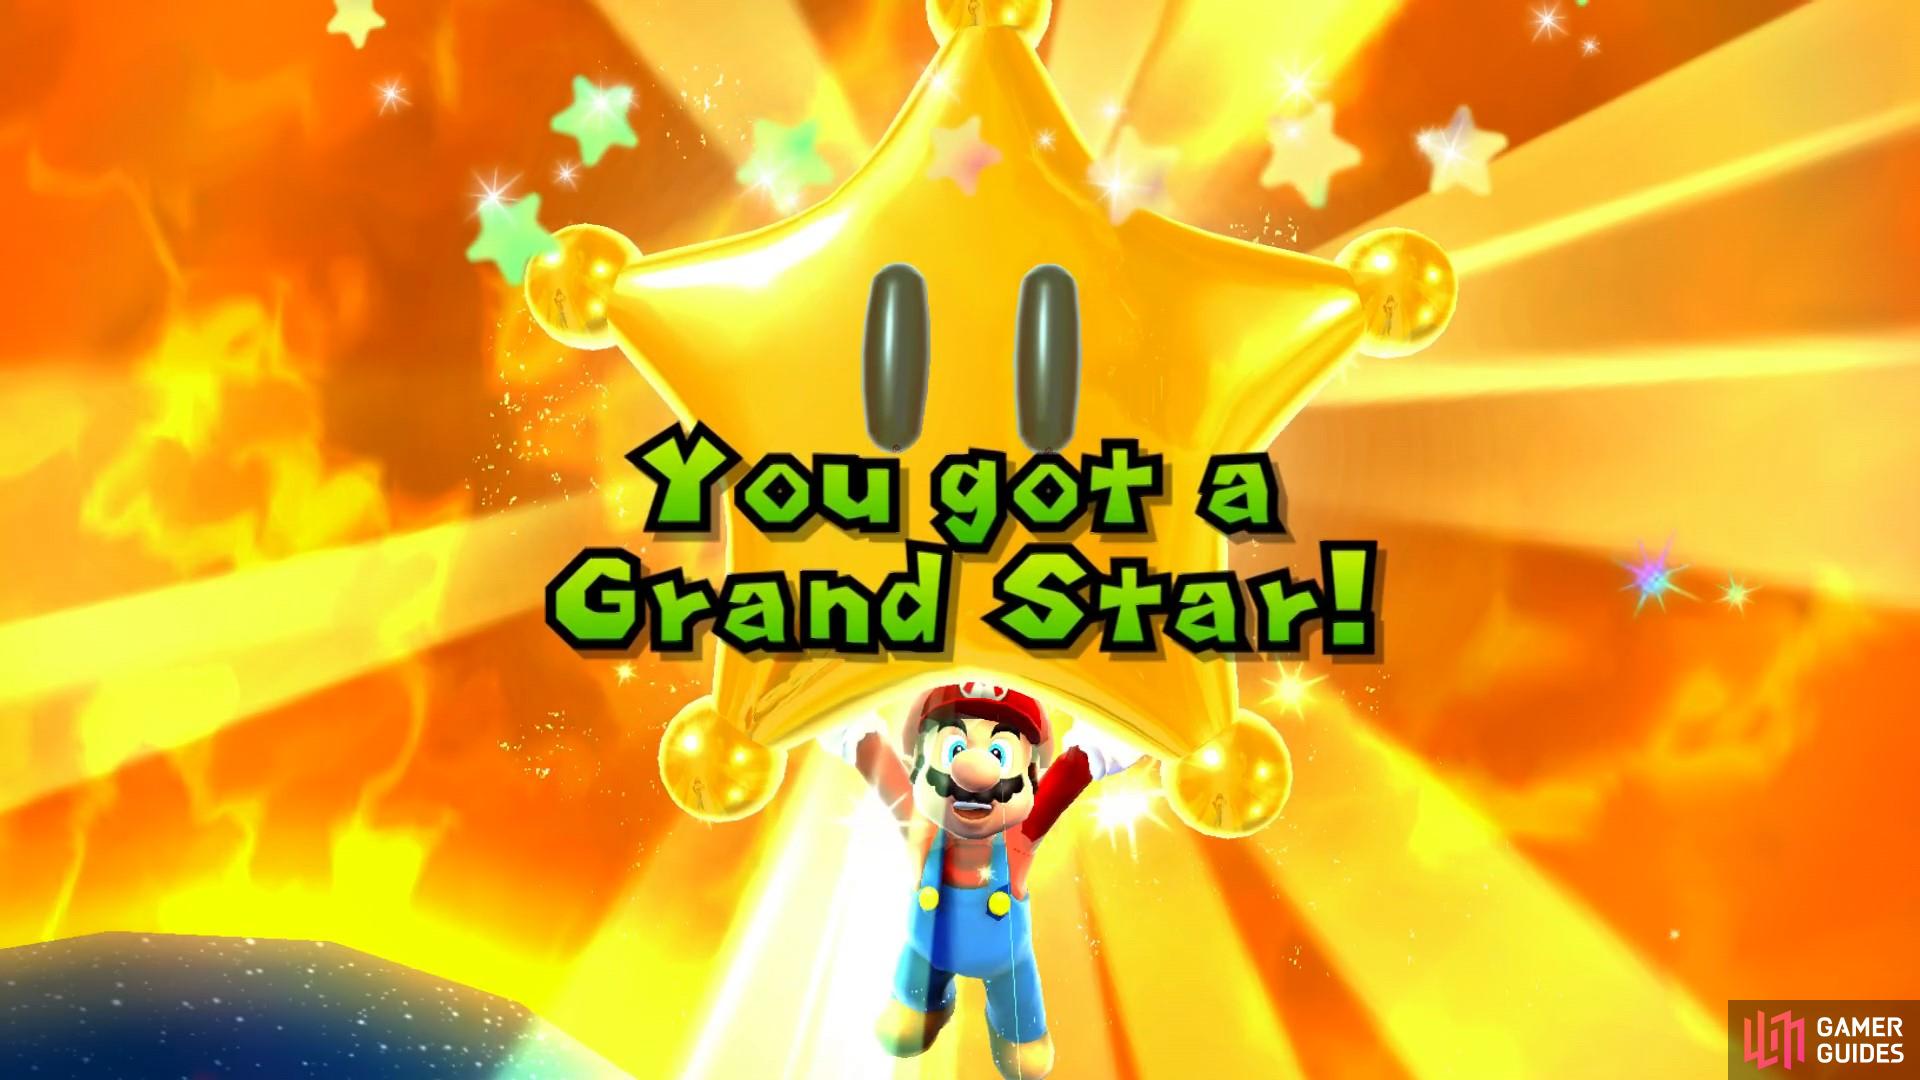
When he is defeated, a Grand Star will spawn!
(1 of 2) The final phase is very similar to previous Bowser Boss fights in other galaxies
The final phase is very similar to previous Bowser Boss fights in other galaxies (left), and when you defeat him you’ll earn a Grand Star! (right)


 Sign up
No Comments