Walkthrough for the secondary quest Big Game Hunter in The Witcher 3: Wild Hunt - Blood and Wine. How to protect Count Beledal during Big Game Hunter and prove you possess the knightly virtue of compassion.
| Suggested Level |
|---|
| 37 |
| Important Items in this Area |
|---|
| Count Beledal’s Map |
| The White Wolf, By Count Beledal |
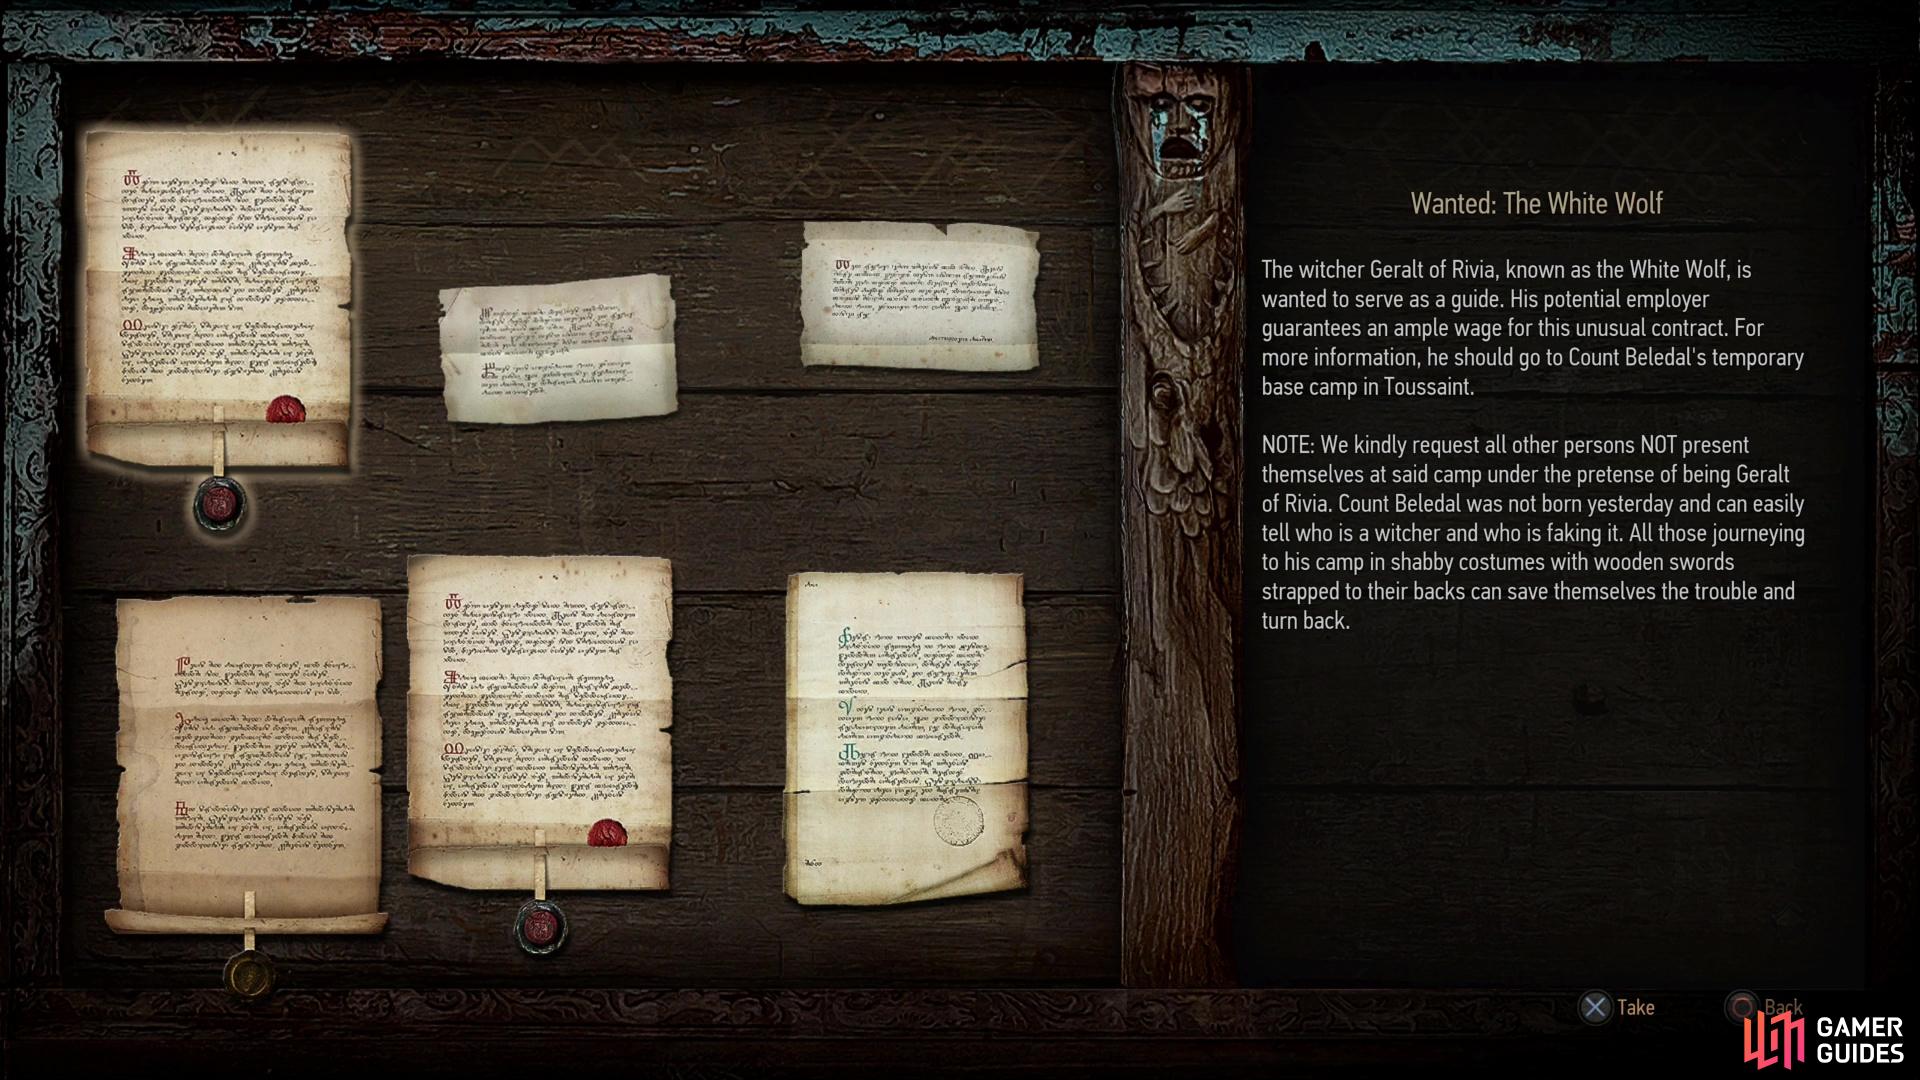
(1 of 3) You can start Big Game Hunter by reading the notice “Wanted: The White Wolf” on a notice board,
How to Start Big Game Hunter in The Witcher 3
You can start this quest by picking up the notice Wanted: The White Wolf from a notice board, after which you need merely track the quest and head to the quest marker, which is northwest of the Tourney Grounds, just down the road northeast of the “Chuchote Cave” signpost. You’ll find Count Beledal camping out with his bodyguards - just talk to him and agree to start the quest. Note that you should definitely haggle with him over the price, as he’s true to his word when he tells you to name your price - just pick the highest possible pay and he’ll agree to your demands enthusiastically.
We like this guy.
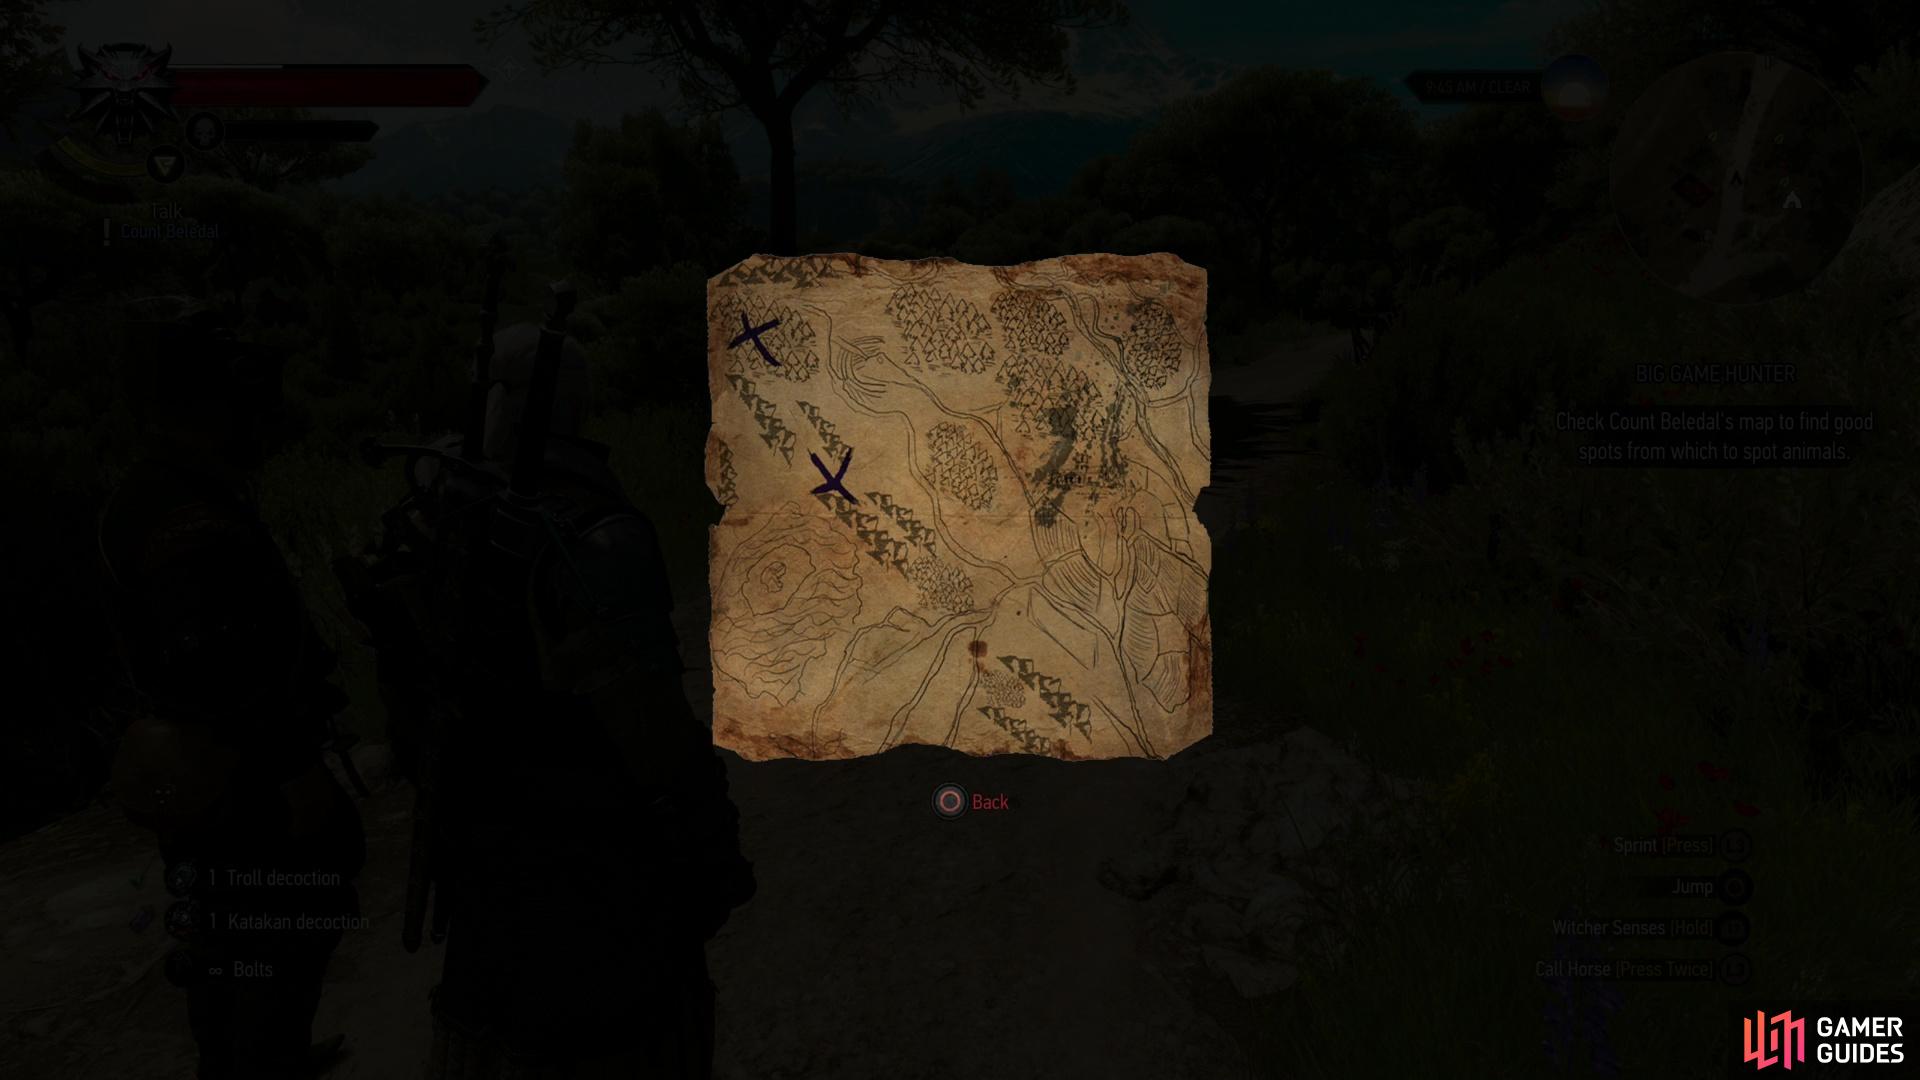
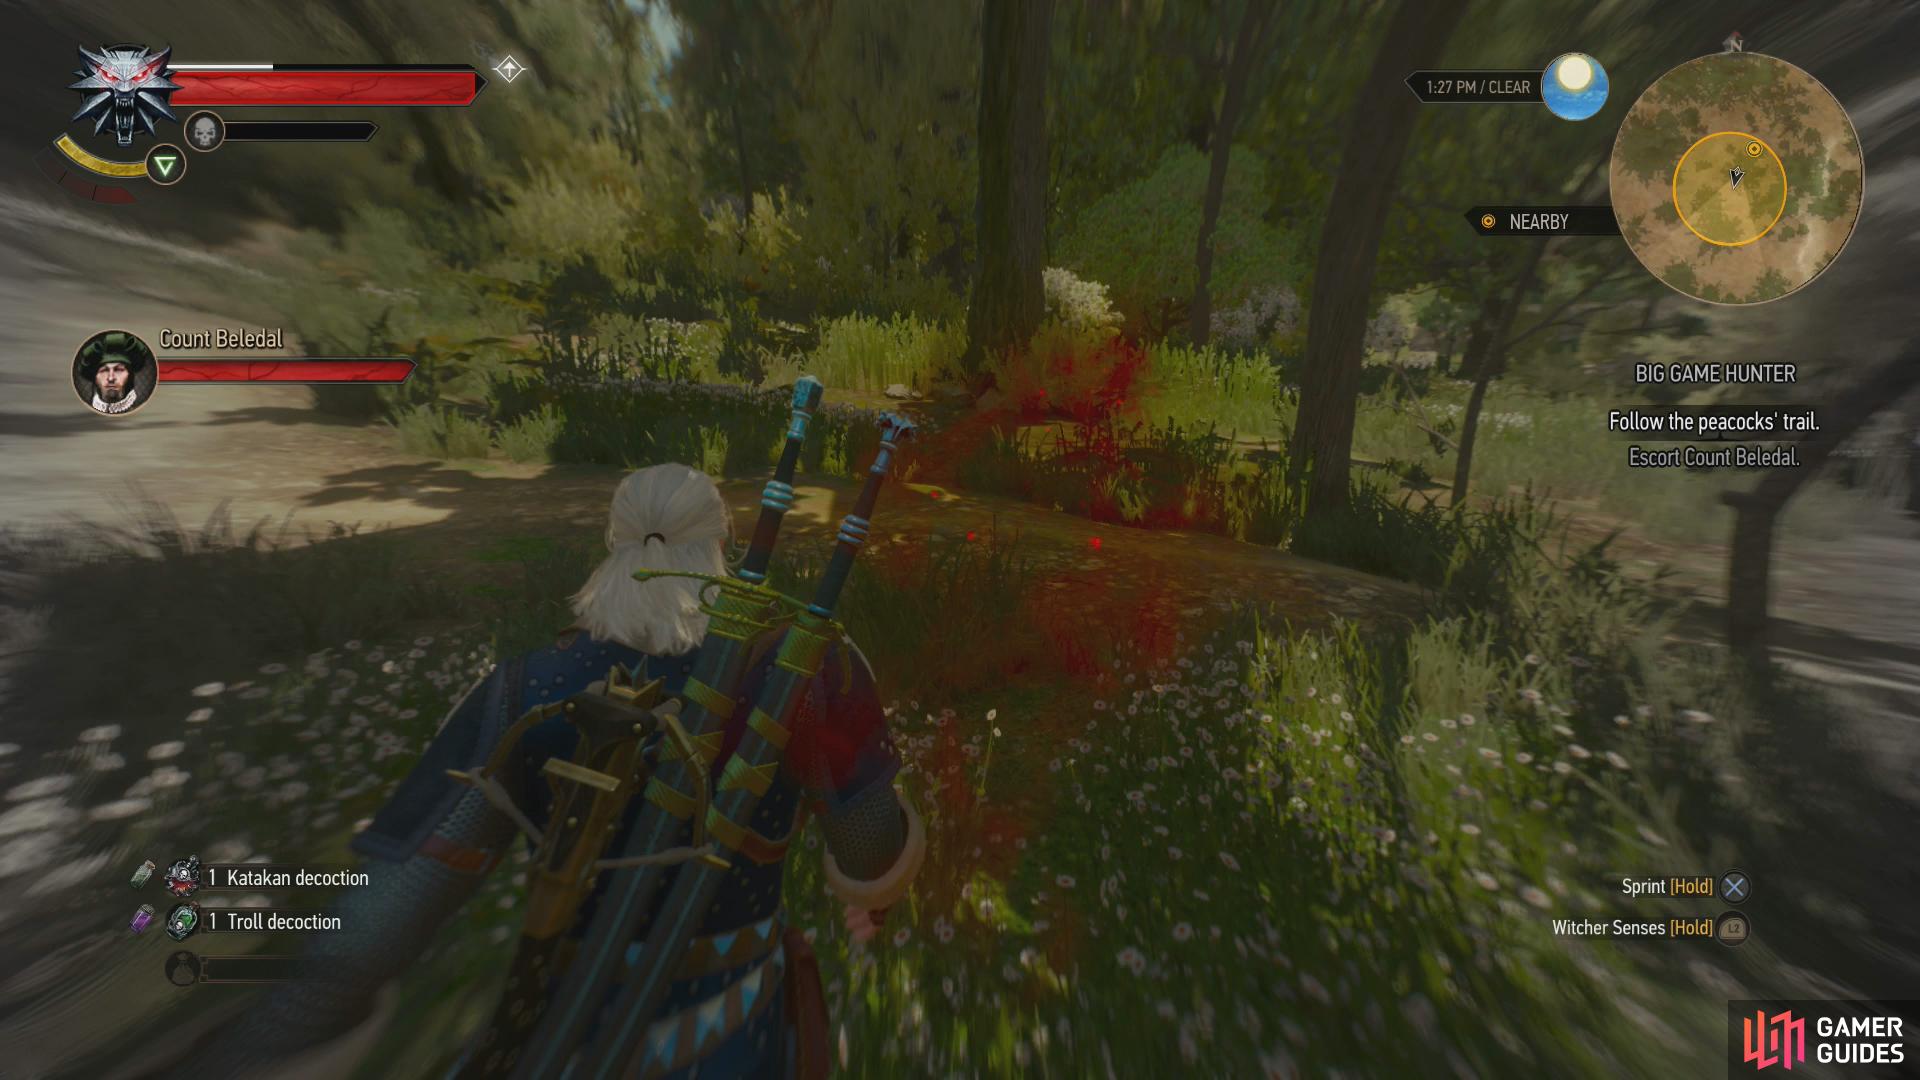
Once terms are agreed upon you’ll be given Count Beledal’s Map, which marks the location of some of the beasts the noble wishes to see. Be sure to take a gander at it, as it’ll mark your own in-game map with the relevant search areas. Make your way southwest to the nearest one (just north of the island/lake recursion) and keep an eye on your charge. He’s got a health bar and it’s your job to protect him, which you can largely manage by not running too far afield and keeping an eye on his marker on your minimap to ensure he’s not getting too far away from you. Ideally, there shouldn’t be much fighting to worry about at all, so long as you keep an eye on Count Beledal and the local wildlife, and ensure you lead the former at a safe distance from the latter.
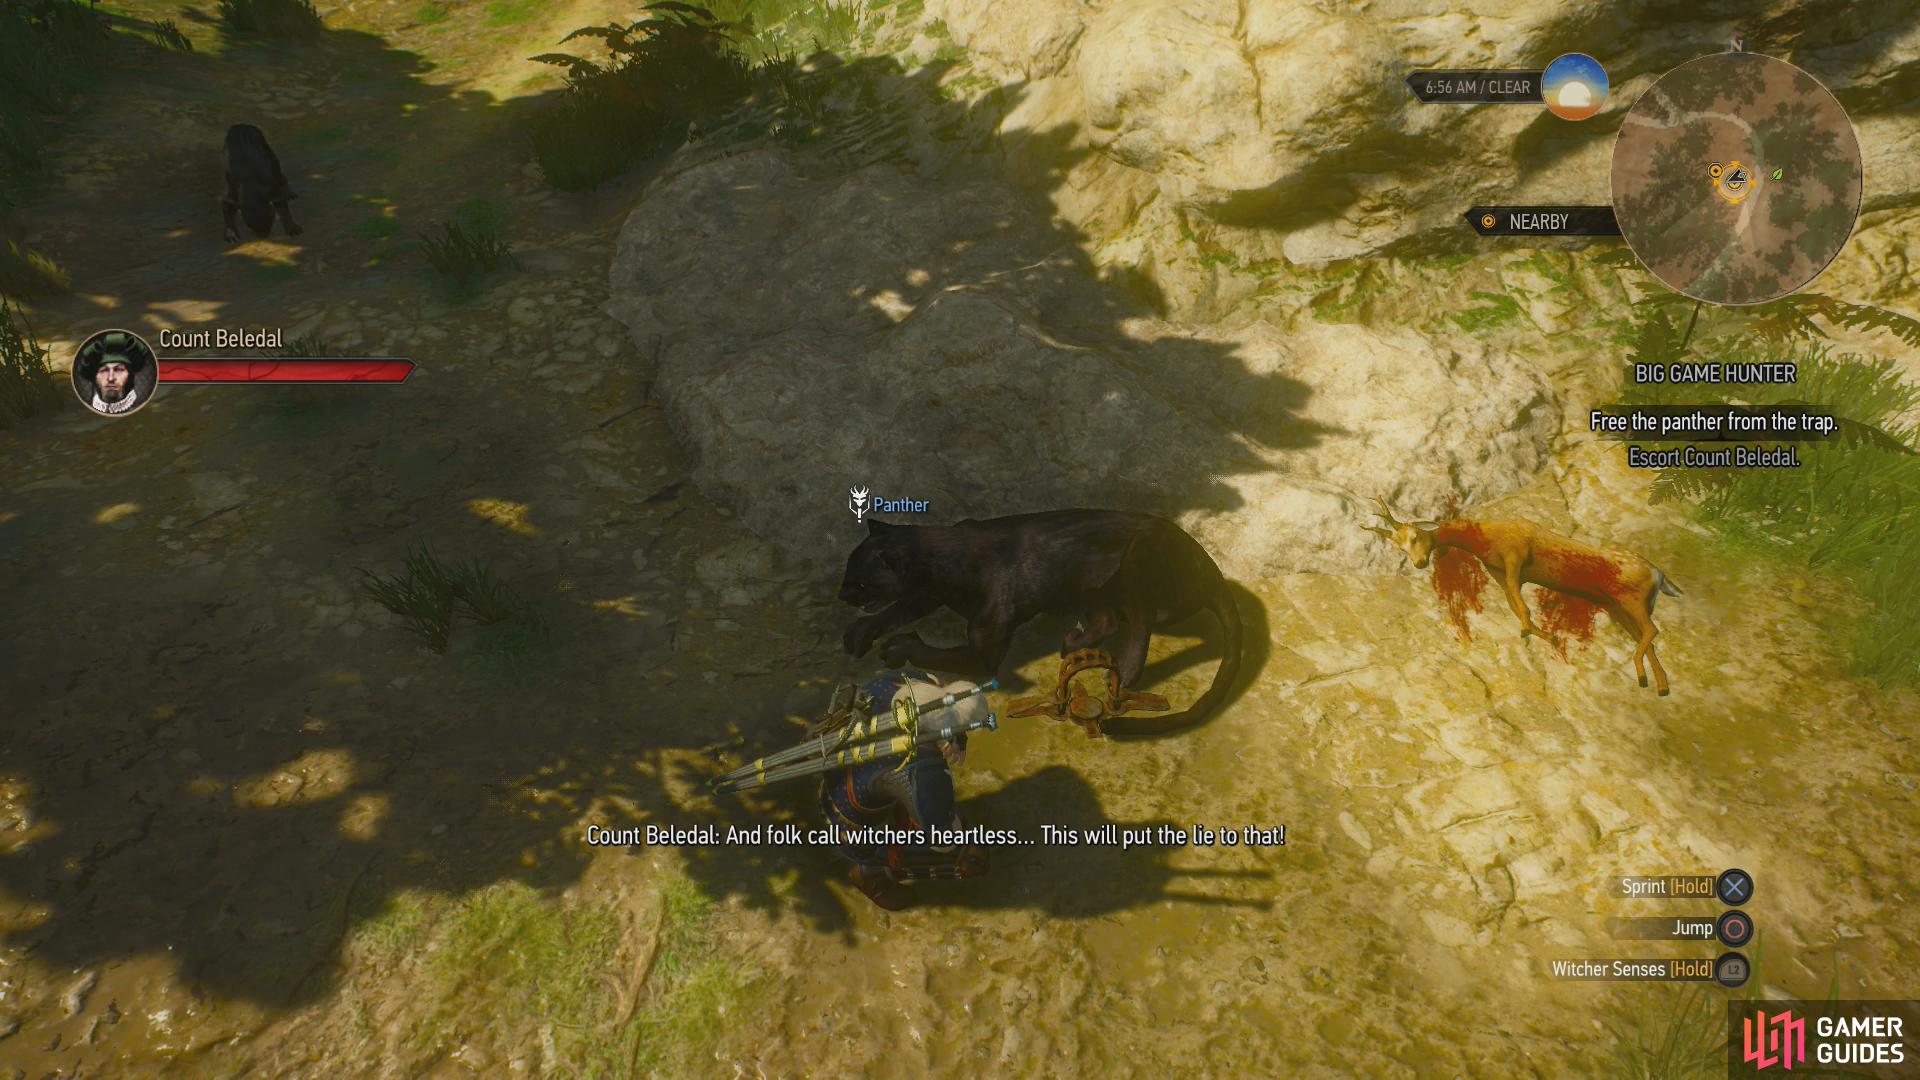
(1 of 2) Use Axii to calm a trapped panther,
Use Axii to calm a trapped panther, (left), then free it. (right)
How to Find and Free the Panther
When you reach the edge of the first, easternmost search area, it’ll be replaced by three, smaller search areas. If you go poking about the northern-most one you’ll probably encounter a Bear (level thirty-seven) which will turn hostile if you get too close… although you can avoid a confrontation by casting Axii then running away. All you’ll find in the southernmost search area are some deer, so head to the western-most search area where Geralt will detect Panthers in the area - the creatures Count Beledal wishes to locate.
Near the center of this search area you’ll find a Panther caught in a trap. Being a big softie, Count Beledal asks you to free the Panther, and Geralt wisely muses about using the Axii sign to prevent the injured animal from attacking once freed. Follow Geralt’s advice, pelt the cat with Axii, then free the Panther and watch as it runs off.
(1 of 3) Track a giant centipede back to its lair,
How to Find the Centipede’s Lair
One curiosity down, two more to go. Venture west to the southernmost of the two large search areas, and when you near the center of it, it’ll turn into four smaller search areas. Head to the center of one of the northernmost search area and use your Witcher Senses to pick up the sounds of a centipede burrowing underground. Keep your Witcher Senses active and follow the noise and red circles indicating the centipede until it leads you north to its lair, which just so happens to also be a Monster Nest on your map.
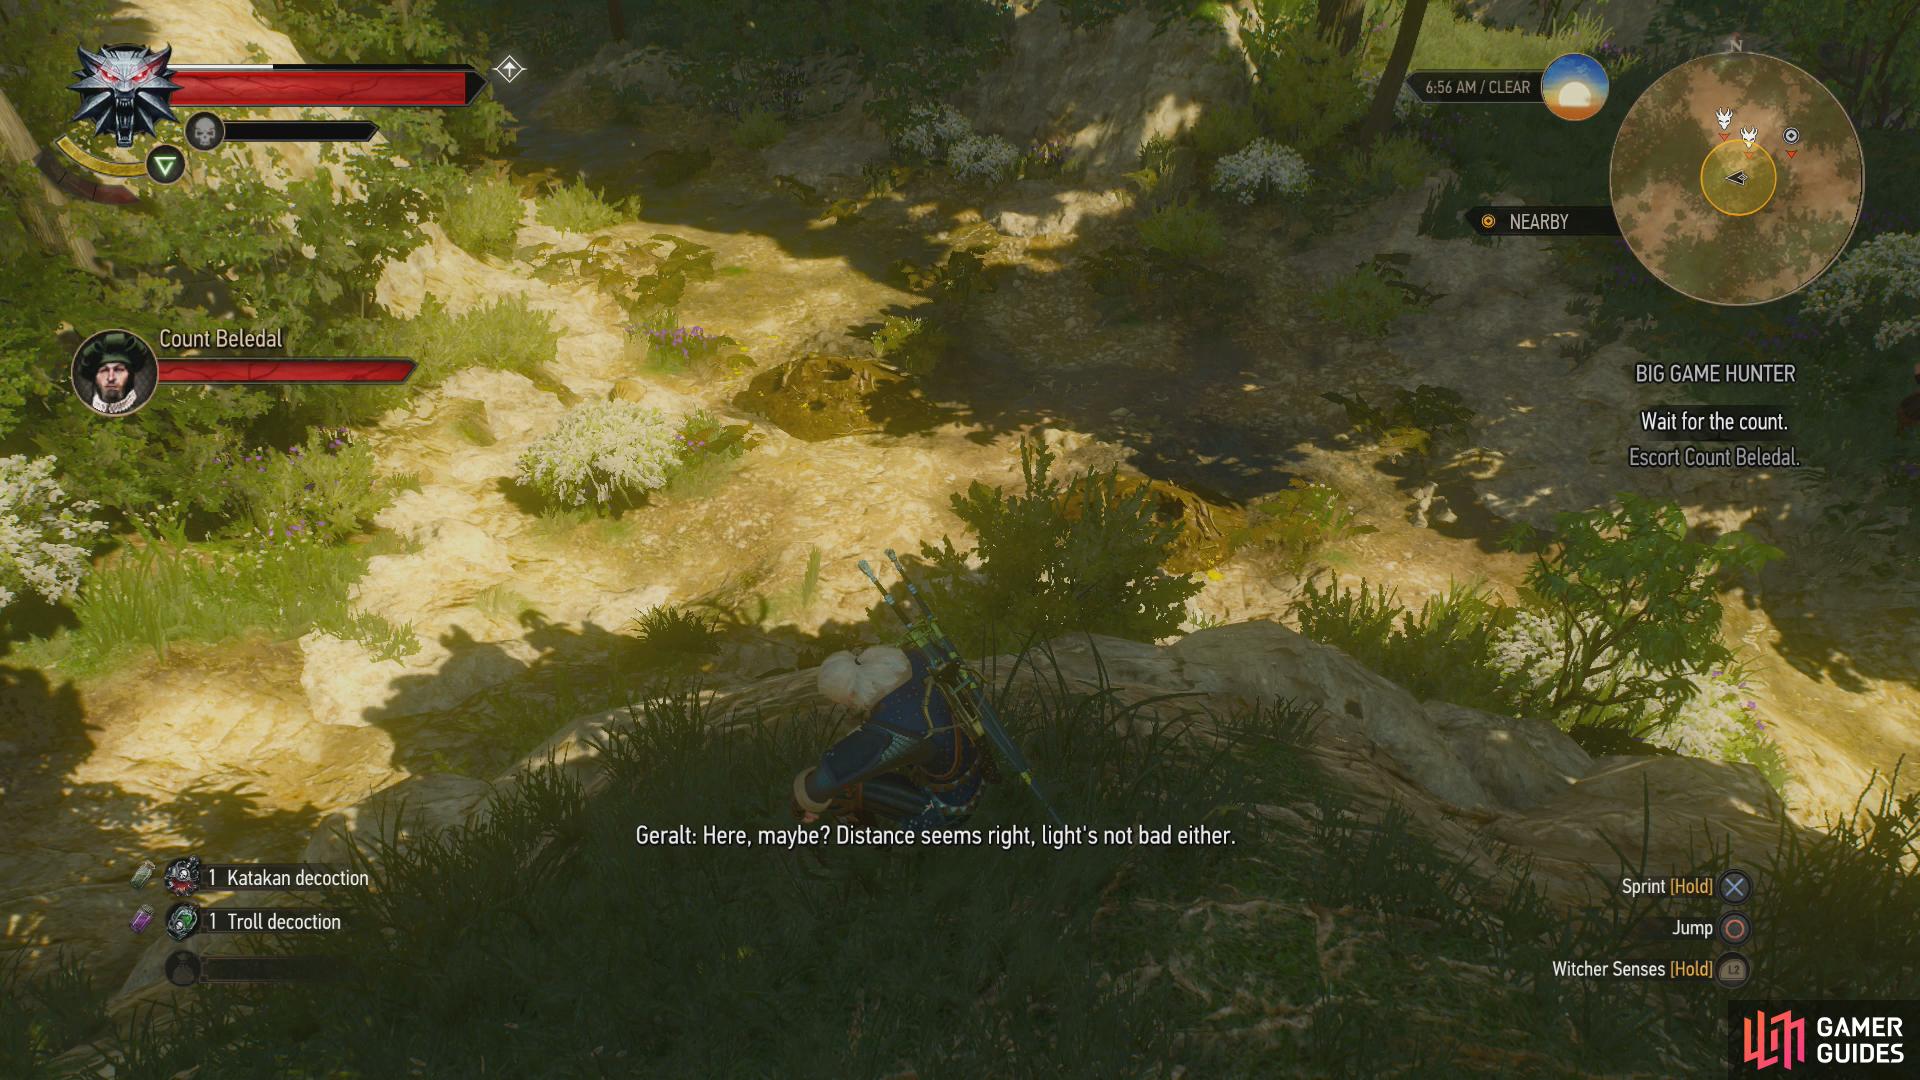
Don’t get too close, however, as Geralt will explain the centipede’s penchant for sensing critters moving on the surface, and they’re not above attacking man-sized prey, as you’ve likely already discovered. Despite this, Count Beledal wants to see the beasties, so you’ll have to scout out a safe vantage point for him. Head to the southernmost of the three search areas, keeping your distance from the Monster Nest and climbing a hill overlooking the nests below. Once at the edge of the hill, use your Witcher Senses to find a point of interest you can examine, which will cause Geralt to summon Count Beledal to the location.
Unfortunately, the noble still isn’t pleased, as some mounds of dirt are, admittedly, not terribly exciting. You now have two options: toss a bomb down on the nests below (we used Grapeshot), or you can climb down the hill and blast the nests with Aard. In the latter case, just be sure to get some distance after casting Aard to avoid the centipedes that angrily surface.
(1 of 4) Search for a peacock feather,
How to Find Peacocks
After Count Beledal gets what he wants out of the centipedes he’ll ask you for one final boon. The next native Toussaint critters he wants you to pester are peacocks, and when Geralt informs him that they’re not likely to display their plumes - mating season being over and all - he’ll ask you to use magic on the birds to achieve this end.
All that training, just so Geralt could use his powers to mess with the minds of some birds. What’s more insulting is that this still pays better than actual Witcher’s work. Oh well. Look at Count Belada’s Map again to locate the peacocks, then trudge southwest to one of the search areas, in which you should locate an Odorous Peacock Feather which, as its name implies, is rank enough to allow Geralt to track the flock.
Activate your Witcher Sense to find a scent trail, then follow it further southwest to find the birds you’re after, stopping to pick up feathers as you go, if you wish. When you find the peacocks, approach until Count Beledal starts talking and gets into position, after which use Axii on three of the peacocks to get them to display their plumes.
All seems well and good, as Count Beledal will “preserve” these animals as he wanted. Afterwards, however, the ground will start to rumble, and Geralt will immediately identify the cause - the centipedes you agitated earlier have followed you. Or rather, one has. While Count Beledal cowers, dispatch the Centipede (level thirty-seven), a bit of bloodshed the good count doesn’t seem to mind. You can plant a Yrden trap while the ground is rumbling, presaging the centipede’s arrival, then try to lure the monster to it when it starts to attack. This will immobilize it for a moment - likely long enough for you to chop it down.
Crush the centipede, after which Geralt and Count Beledal will return to the latter’s undoubtedly worried guards. After heaping superlatives upon you, the count will leave to fetch your reward, after which Geralt will chat with the guards. It doesn’t matter how you respond, they’ll tell you about Count Beledal’s daughter, for whose sake he undertakes these expeditions. When the count returns you’ll be rewarded, and he’ll invite you to an exhibition of the works you helped him create. Respond with “Sure, why not.”, as there’s some more experience in it for you if you go… and a chance to prove you possess the knightly virtue of Compassion, should you have missed your chance with the Shaelmaar earlier.
(1 of 2) Visit Beledal’s exhibit and he’ll gift you with one of his “captures”.
Visit Beledal’s exhibit and he’ll gift you with one of his “captures”. (left), Ask about his daughter to prove you have the virtue of COMPASSION. (right)
Attend Beledal’s Picnic and Prove Your Compassion
Might as well finish this quest off. Fast travel to Francollarts and wait until noon the next day (it should have been near sun-down by the time you returned with Count Beledal), then head northeast to reach the exhibition, which is just south of the notice board.
Talk to Count Beledal and listen to a woman - who looks a lot like Sasha - talk about the works. Shortly, Geralt will interject and speak privately with Geralt, being so kind as to present him with a painting, The White Wolf, By Count Beledal, another decoration for Corvo Bianco. When you get the chance, be sure to ask him “Your daughter, how’s she doing?” to prove you possess the virtue of Compassion. After you’re done talking, this quest will end.







 Sign up
No Comments