
Once you’re done with the tutorial quest Kaer Morhen Geralt will wake up and the game will begin properly with the first main quest in the game, ![]() Lilac and Gooseberries, which chronicles the Witcher’s search for the long-missing sorceress,
Lilac and Gooseberries, which chronicles the Witcher’s search for the long-missing sorceress, ![]() Yennefer of Vengerberg. This long-running quest spans the majority of the prologue, going dormant at times to make way for another main quest, The Beast of White Orchard, which runs concurrently. You’ll also probably take some time to complete side quests and explore the environs of White Orchard. With that said, this page will focus on a walkthrough for Lilac and Gooseberries while also providing links and notes when there are good opportunities to take a break and clear up other matters before finishing up with White Orchard.
Yennefer of Vengerberg. This long-running quest spans the majority of the prologue, going dormant at times to make way for another main quest, The Beast of White Orchard, which runs concurrently. You’ll also probably take some time to complete side quests and explore the environs of White Orchard. With that said, this page will focus on a walkthrough for Lilac and Gooseberries while also providing links and notes when there are good opportunities to take a break and clear up other matters before finishing up with White Orchard.
Objectives
Defeat the Ghouls
After the tutorial Geralt will wake up, and the old Witcher, ![]() Vesemir, will start chatting with him. Either reveal the details of your dream-tutorial to Vesemir, or not, it doesn’t make much difference. Afterwards the two will decide to head out. According to a letter Geralt received from Yennefer, their destination was Wiloughby, a rendezvous somewhat complicated by the fact that the town was slightly pillaged. War rages in the northern lands, and where armies pass, Necrophages follow.
Vesemir, will start chatting with him. Either reveal the details of your dream-tutorial to Vesemir, or not, it doesn’t make much difference. Afterwards the two will decide to head out. According to a letter Geralt received from Yennefer, their destination was Wiloughby, a rendezvous somewhat complicated by the fact that the town was slightly pillaged. War rages in the northern lands, and where armies pass, Necrophages follow.
This fact is punctuated by the ![]() Ghouls that will show up and attack you here. On lower difficulties this fight is trivial - a little ice-breaker to get you used to real combat. In Death March! difficulty it’s one of the more challenging fights in the game. You’re at your absolute weakest here, forced to fight numerous enemies that can kill you in a few hits, and you don’t have your full arsenal of tricks - potions, oils, decoctions, bombs, etc., - at your disposal yet. It’s just Geralt, a silver sword and Vesemir, who should help a bit by distracting at least one
Ghouls that will show up and attack you here. On lower difficulties this fight is trivial - a little ice-breaker to get you used to real combat. In Death March! difficulty it’s one of the more challenging fights in the game. You’re at your absolute weakest here, forced to fight numerous enemies that can kill you in a few hits, and you don’t have your full arsenal of tricks - potions, oils, decoctions, bombs, etc., - at your disposal yet. It’s just Geralt, a silver sword and Vesemir, who should help a bit by distracting at least one ![]() Ghoul.
Ghoul.
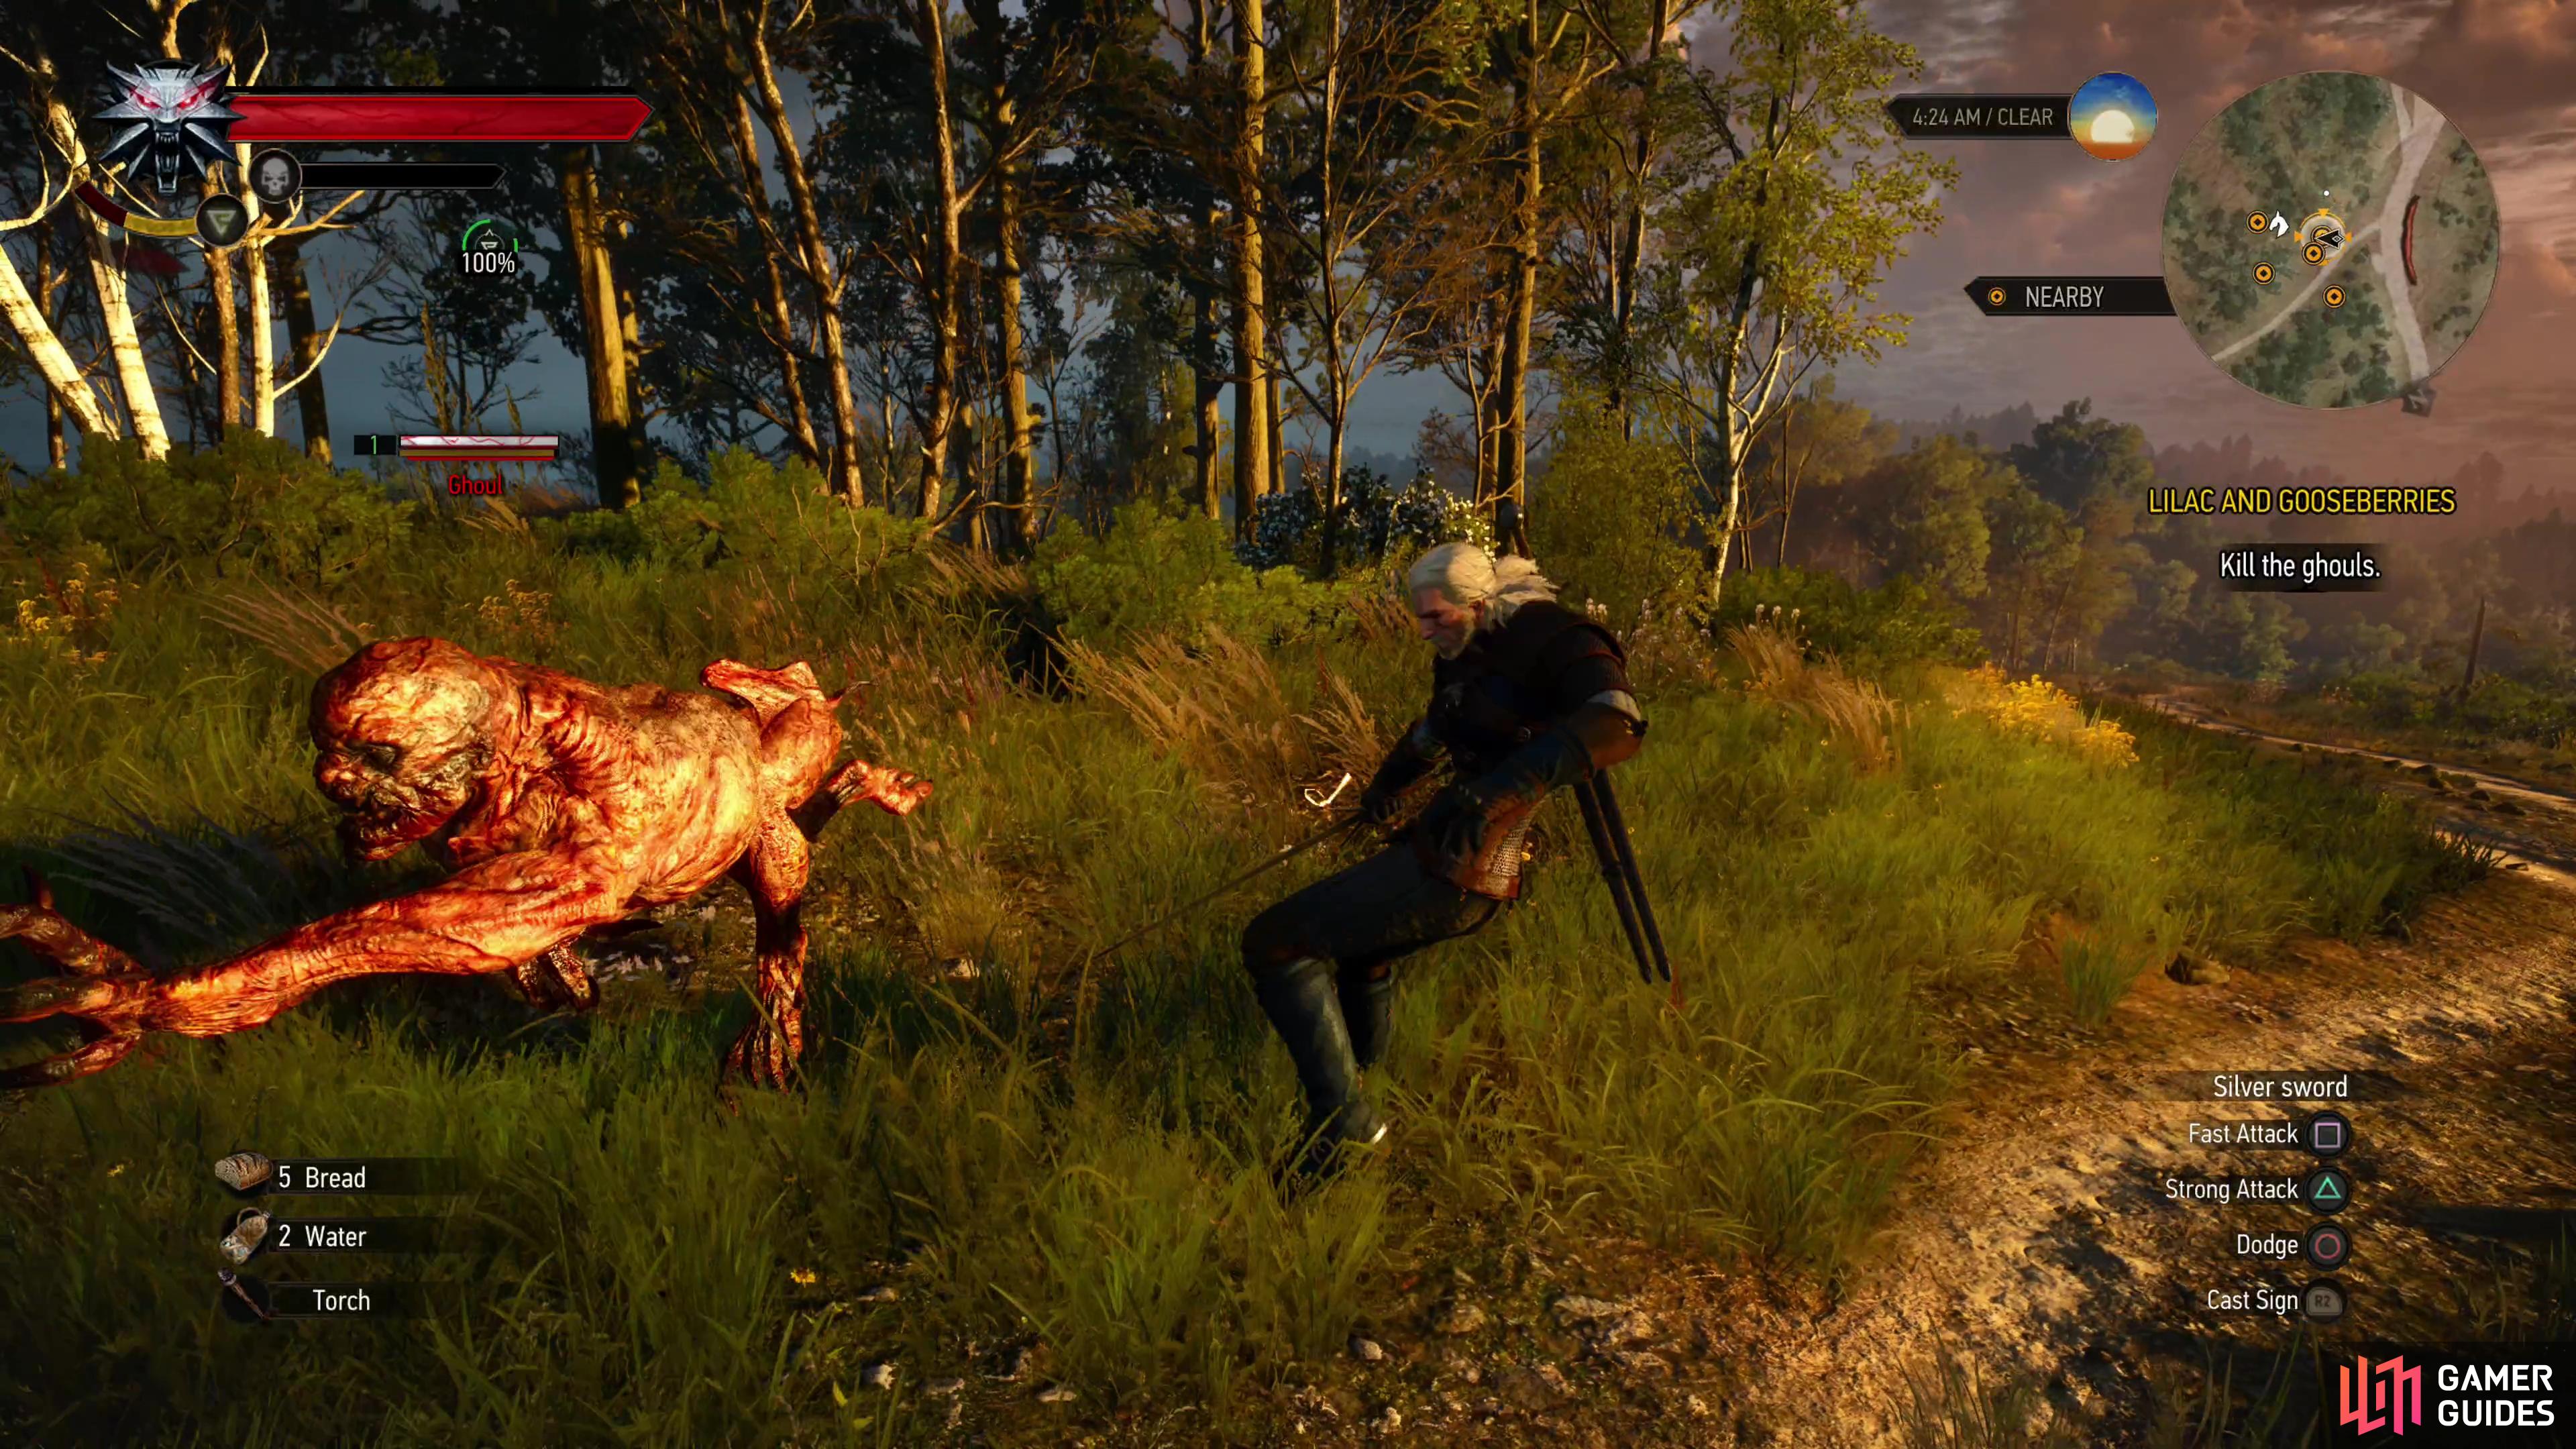


(1 of 3) Your introduction to real combat will come in the form of several Ghouls. Dodge their attacks,
This is where you’ll get to grasp the flow of combat that’ll guide you through the rest of the game: dodge-spam when you’re not attacking and when an enemy misses you, attack with at most three fast attacks. Don’t get greedy - enemies will almost always counter after three attacks, so you need to be ready to dodge again after the third strike. We like to call this “the rule of three”, and while it’s not universal, you’d be surprised how often it holds true. Use ![]() Quen to protect yourself whenever your stamina is full, dodge when you don’t feel safe, strike up to three times with fast attacks when you have an opening, repeat until all five Ghouls are dead. If you win this fight, the good news is that it’s mostly downhill from here - at least you’ll have options going forward.
Quen to protect yourself whenever your stamina is full, dodge when you don’t feel safe, strike up to three times with fast attacks when you have an opening, repeat until all five Ghouls are dead. If you win this fight, the good news is that it’s mostly downhill from here - at least you’ll have options going forward.
If you’re playing on lower difficulties and take damage you can rest up after the fight by pressing the  and moving to the “Meditation” screen. Even resting an hour will suffice, and at this point in the game, you’ve got more time than disposable healing items on your hands. If you’re playing on Death March!, you’ll need to either wait for any lost health to come back (this is a slow process) or consume some of the
 ![]() Bread and/or
Bread and/or ![]() Water Geralt starts with.
Water Geralt starts with.
When you’re done picking on Ghouls, return to ![]() Roach and from him head north-west, just past a small trail, where, with your Witcher Senses active, you should spot a Crystal
Roach and from him head north-west, just past a small trail, where, with your Witcher Senses active, you should spot a Crystal ![]() Skull lying on the ground. Geralt will guess this odd object belongs to Yennefer. Might come in handy.
Skull lying on the ground. Geralt will guess this odd object belongs to Yennefer. Might come in handy.
Follow Vesemir to White Orchard
Scour the area to your heart’s content, then head over to Roach, mount up, and follow Vesemir. Don’t worry - you’ll have the freedom to fully explore White Orchard shortly. Summon Roach by double-tapping 
 . While riding, hold down
 to canter, double-tap and hold to gallop, press
 to jump, and hold to dismount.
 and
and 
 attack from horseback, but it’s not an ideal way to fight.
There are two larger dirt roads that eventually connect to the south; you want to follow the eastern of the two. Vesemir will comment on the state of the war as you ride, showing a decidedly un-Witchery view of politics (which Geralt doesn’t fail to comment on.) When the road turns from heading south-east to south you’ll spot a gallows east of the road with three swinging corpses in various states of decay. Follow the road south-west to find a Ransacked Village. War hits the poor the hardest, and so it is here. Leave the people in peace for now and continue to follow Vesemir south, then south-east, eventually crossing over a small bridge.
Save the Merchant From the Griffin
Some time later, Geralt and Vesemir will run across a merchant being harassed by a ![]() Griffin. The Witchers will succeed at chasing the beast off (although, not in depriving it of its meal) and Vesemir will be superficially wounded in the process. Afterwards, the maligned merchant will emerge from under his cart and offer to pay you for your good deed. If you demand payment, you’ll find yourself 50
Griffin. The Witchers will succeed at chasing the beast off (although, not in depriving it of its meal) and Vesemir will be superficially wounded in the process. Afterwards, the maligned merchant will emerge from under his cart and offer to pay you for your good deed. If you demand payment, you’ll find yourself 50 ![]() Crowns richer. Afterwards, the merchant will overhear you talking, and refer you to the tavern in the village of White Orchard.
Crowns richer. Afterwards, the merchant will overhear you talking, and refer you to the tavern in the village of White Orchard.
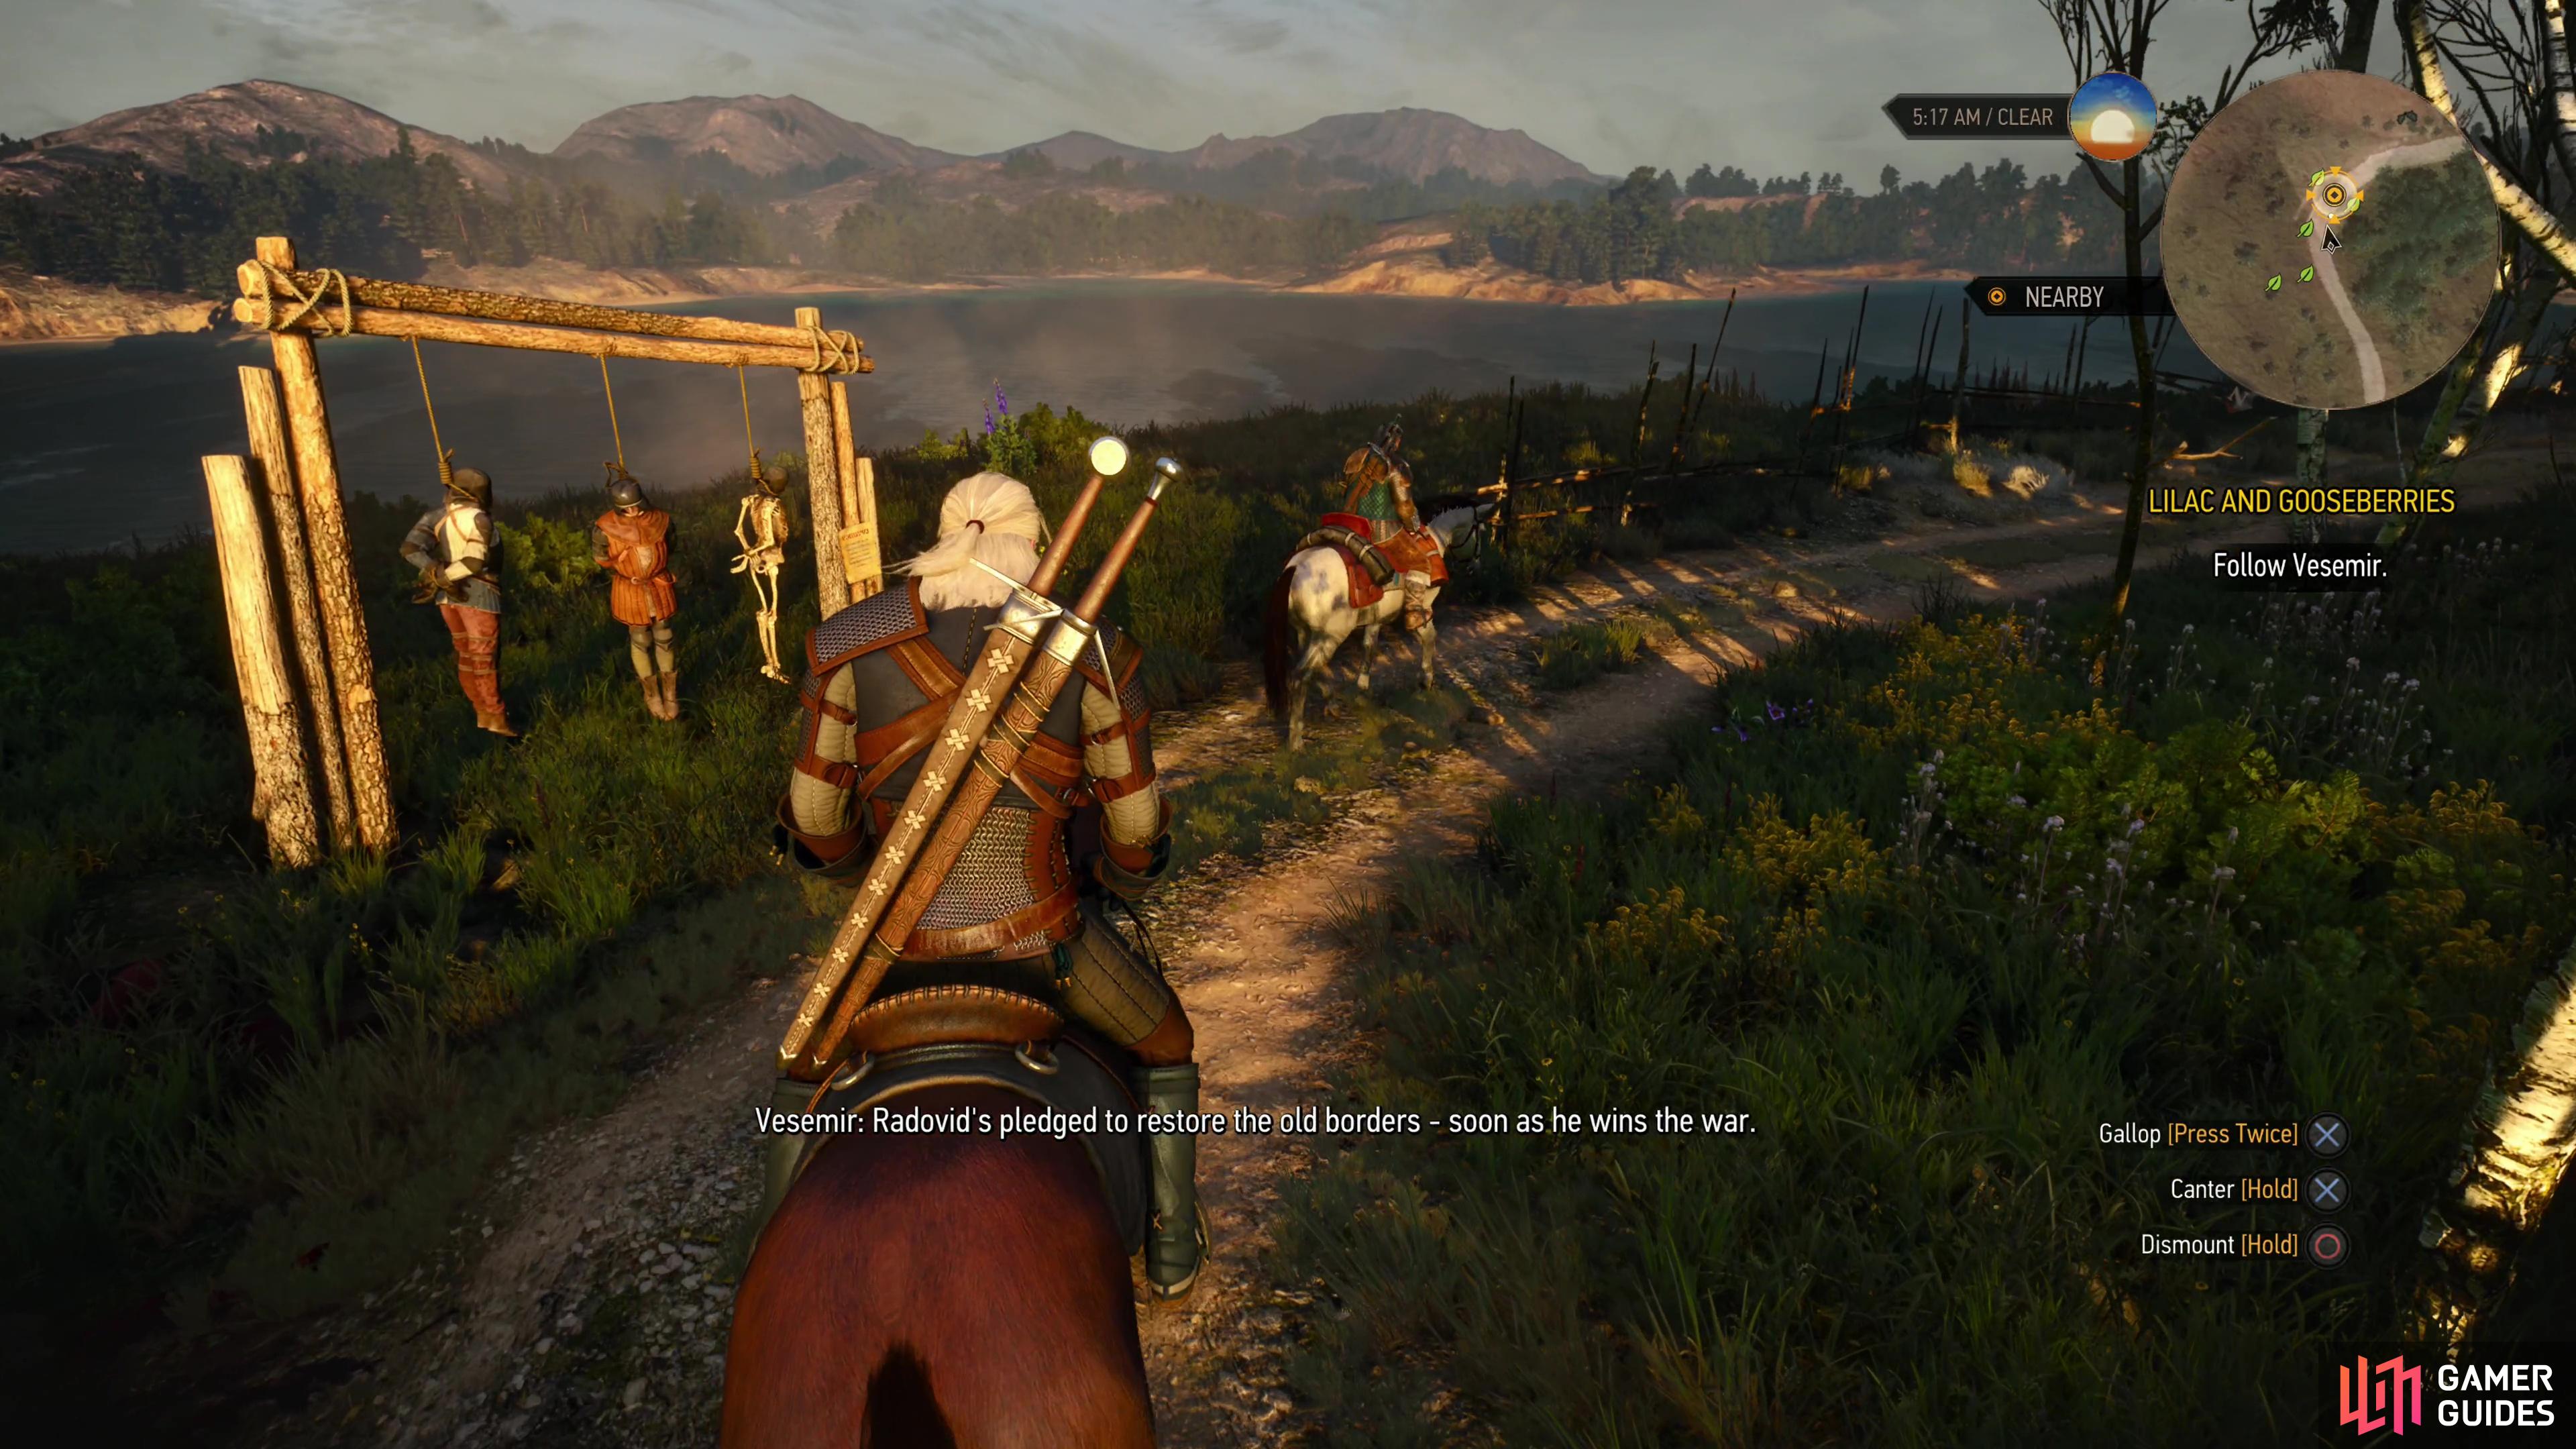


(1 of 3) Follow Vesemir through the devastated countryside and he’ll talk politics,
If you bother checking out your map you’ll note that you’ve traveled north-west from where you were before the cutscene, and you should continue west along the road from the Ford marked on your map. Vesemir and Geralt will discuss the Griffin’s odd hunting habits… because Witchers will gladly attribute any odd monster behavior to human activity. Keep riding east, cross Woesong Bridge to reach the village of White Orchard, then keep following Vesemir to the tavern and he and Geralt will dismount and head inside.
Ask About Yennefer in the Tavern
Witness some tension in the tavern, after which Geralt and Vesemir will talk to the innkeeper. If you didn’t shakedown her cousin earlier, she’ll be thankful and give you 4x Roasted Chicken Legs. Keep talking to her to learn that there’s no contract for the Griffin yet. The Witchers might speculate on why the Griffin has chosen abnormal hunting habits, but the reason why there’s no bounty can fully be blamed on the war. While the innkeeper hasn’t seen Yennefer, some of the other tavern-dwellers may have, and prying information out of them will be our next task. Before you leave, however, be sure to peruse the innkeeper’s wares. Like most innkeepers in this game, she’ll sell some food and alcohol, but more importantly she has some Gwent Cards in stock. You should have 250 - 300 Crowns weighing you down, and this is enough to purchase all her cards, and it’s a worthy investment, as she has some awfully great cards, including:
Gwent Cards for Sale in White Orchard
-
 Decoy (20 Crowns)
 -
 Catapult (50 Crowns)
 -
 Blue Stripes Commando (20 Crowns)
 - Crinfrid Reapers Dragon Hunter (20 Crowns)
-
 Foltest - Lord Commander of the North (50 Crowns)


(1 of 2) Talk to the innkeeper in White Orchard and, if you didn’t extort the merchant following the Griffin attack, she’ll give you some Roasted Chicken Legs.
Talk to the innkeeper in White Orchard and, if you didn’t extort the merchant following the Griffin attack, she’ll give you some Roasted Chicken Legs. (left), Be sure to buy the Gwent cards she has in stock - they’re quite useful. (right)
Unless you don’t plan to spend a single moment playing Gwent in The Witcher 3, you should buy up all these cards, as they’re all bangers, and will make establishing yourself as a force to be reckoned with in the world of Gwent much, much easier. You’ll get a chance to use them soon enough.
Use Axii on the Pair of Peasants
Start out by talking to a pair of Peasants sitting north of where Vesemir roosts. They’re inherently hostile to witchers, but you can improve their disposition towards you by picking the ![]() Axii dialogue option, which will get one of them talking. The other protests, but it falls on deaf ears.
Axii dialogue option, which will get one of them talking. The other protests, but it falls on deaf ears.

(1 of 2) Use Axii to coax info out of a peasant while also gaining bonus EXP,
Use Axii to coax info out of a peasant while also gaining bonus EXP, (left), then sit down for a chat with the oddly knowledgeable Gaunter O’Dimm. (right)
Talk to Gaunter O’Dimm
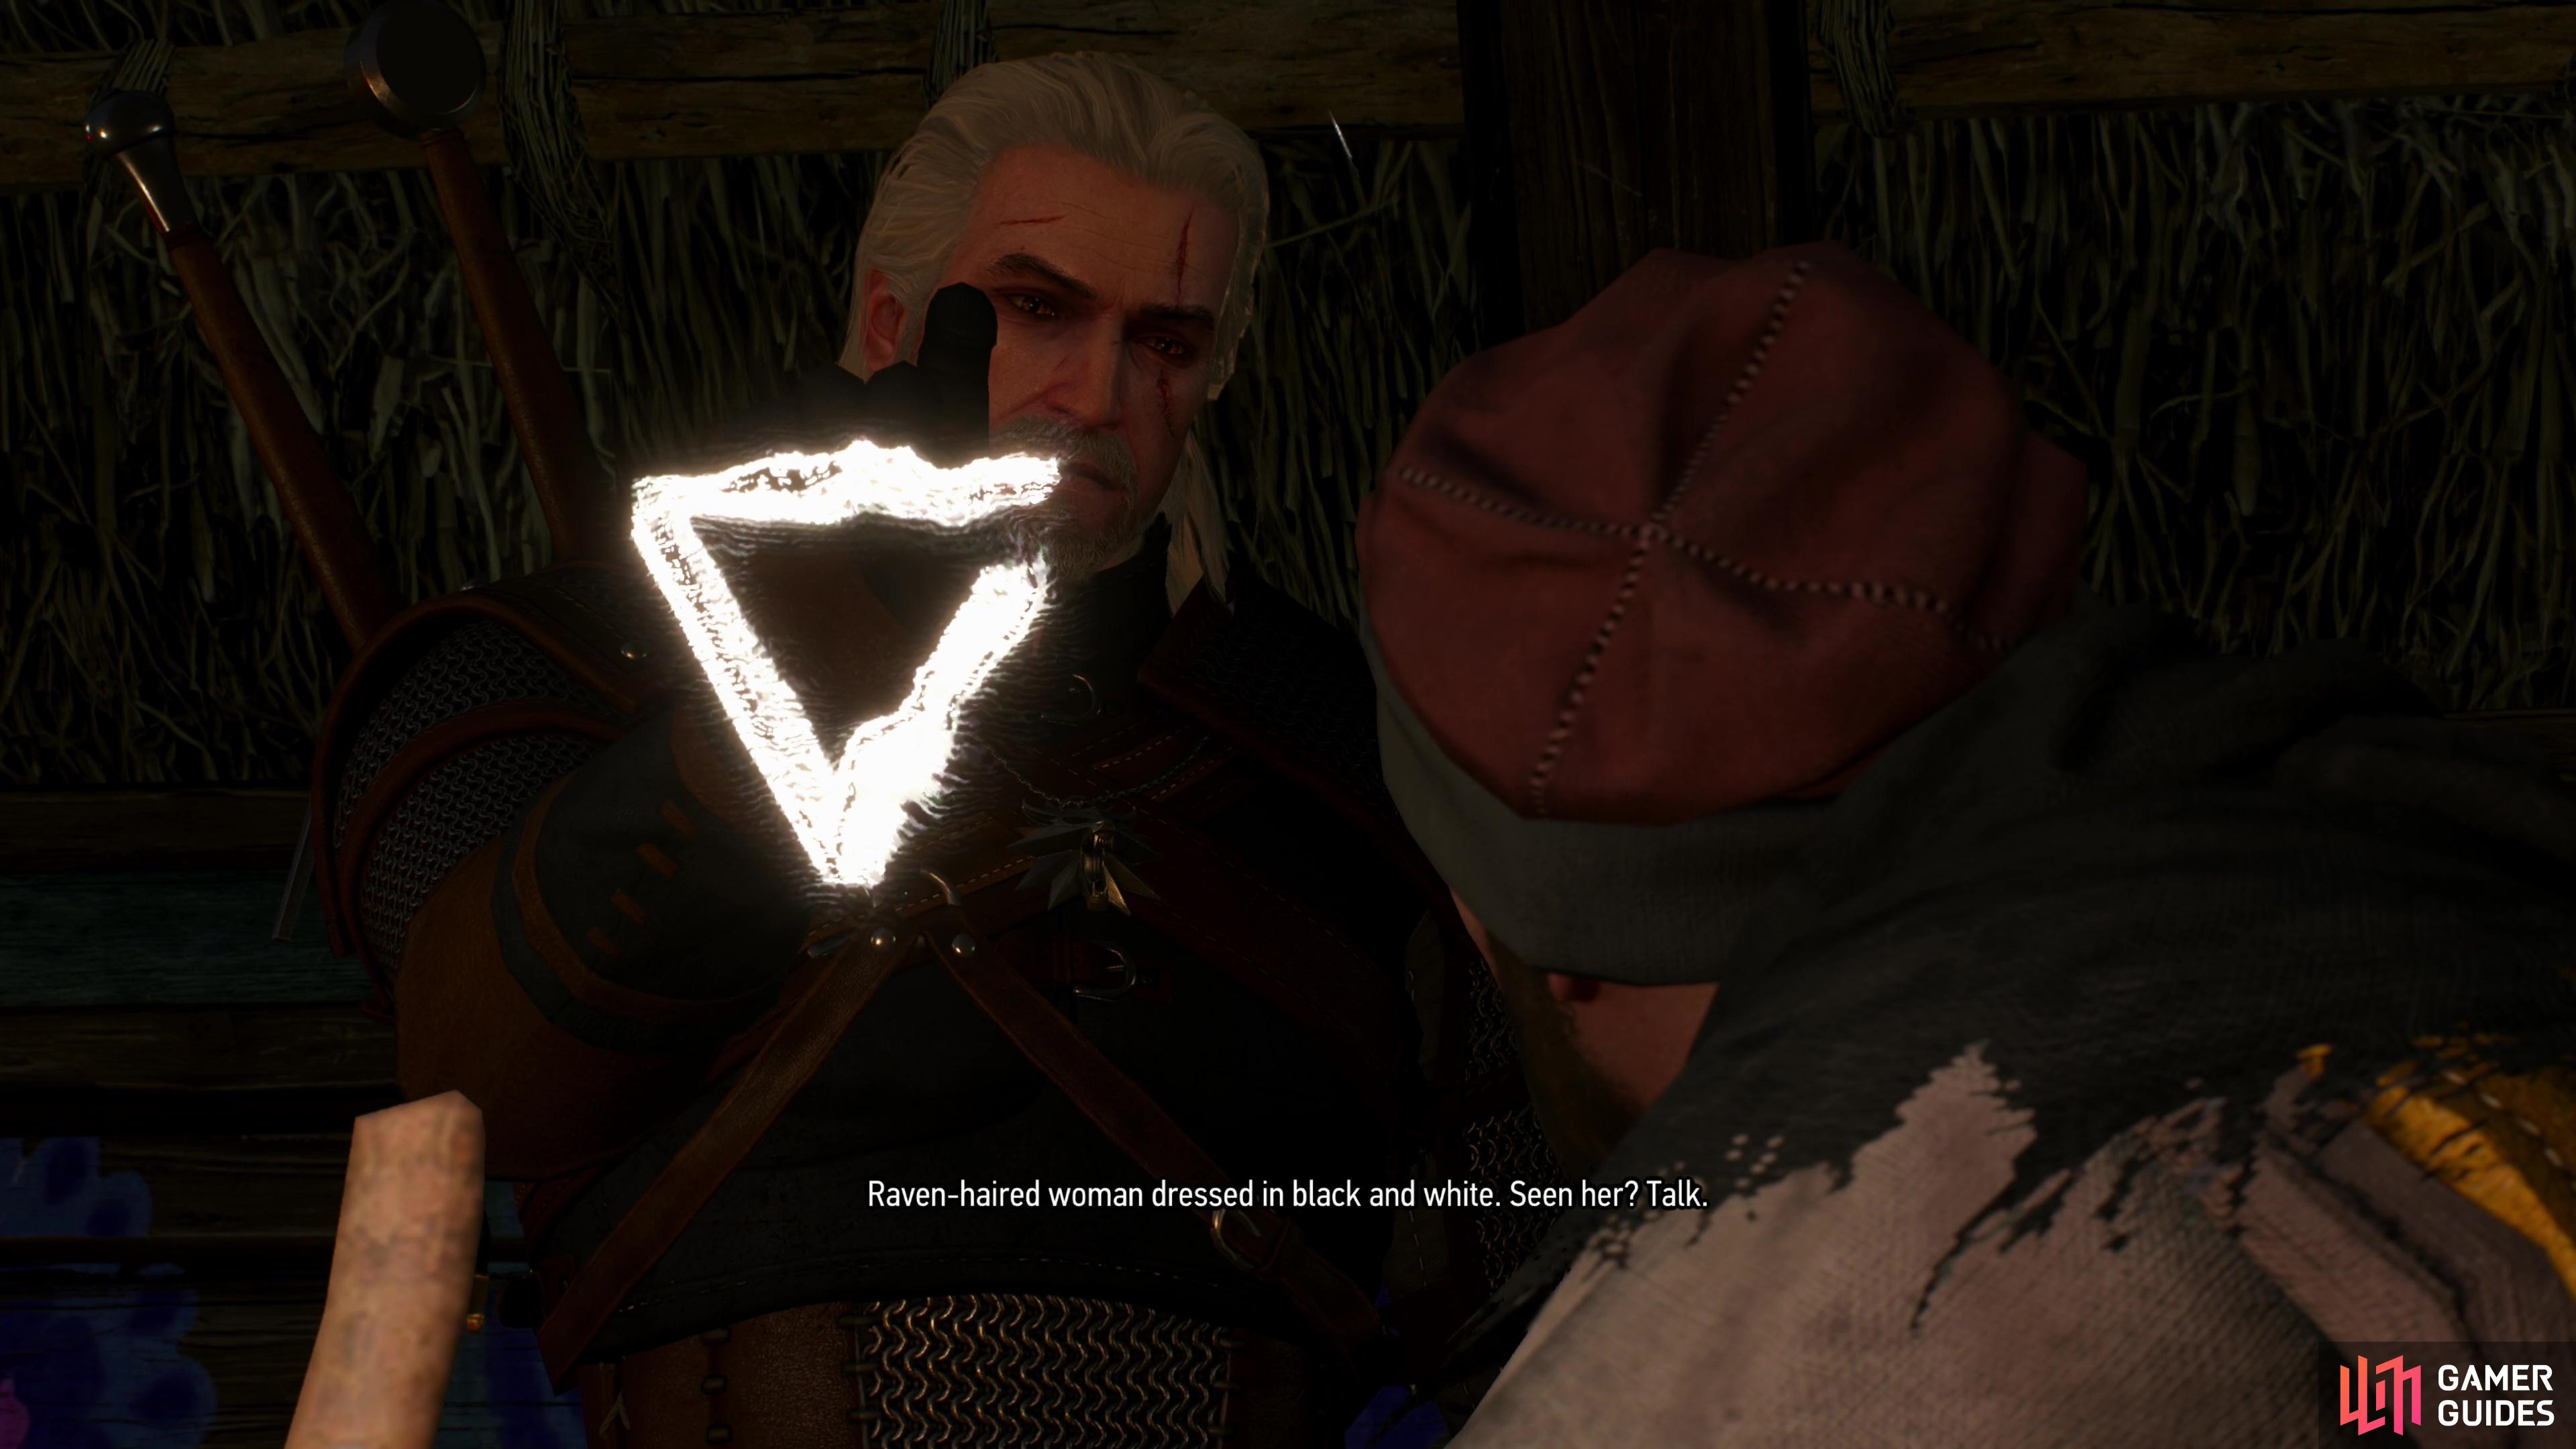
Ignore the threesome playing cards east of the Innkeeper and instead talk to ![]() Gaunter O’Dimm further east. As far as tavern patrons go, he’s a rather swell chap, if a bit wearing on the patience. Accept to drink with him and you’ll score some Nilfgaardian Lemon for free, as well as the information you seek. He not only knows Yennefer by her description, but he knows you, as well. Seems
Gaunter O’Dimm further east. As far as tavern patrons go, he’s a rather swell chap, if a bit wearing on the patience. Accept to drink with him and you’ll score some Nilfgaardian Lemon for free, as well as the information you seek. He not only knows Yennefer by her description, but he knows you, as well. Seems ![]() Dandelion’s tales travel far.
Dandelion’s tales travel far.
Play Gwent with the Scholar - Gwent Tutorial
Finally talk to the card-playing threesome sitting at the table, and one frustrated fanatic scholar will chase the other two off. Exhaust his dialogue options and pick whatever words of wisdom you wish to impart before bidding him farewell. Before you can escape the scholar will attempt to trick Geralt into sharing his obsession with the aforementioned card game - Gwent.
Every proper roleplaying game deserves a game-spanning, overly-elaborate minigame to distract players from the core gameplay, and in The Witcher 3 that minigame is Gwent. For in-depth rules and strategies check out our Ultimate Guide to Gwent, but for now all you need to do is best the scholar, who is using a suitably weak introductory deck against which you can learn the basics. In most Gwent games going forward there will be some kind of wager, but this is just free practice, so take your time and play a game or two (or three, or ten) to get the hang of things.
There are four Gwent decks (five with the Blood and Wine DLC), only one of which - the Northern Realms - you have access to right now. Each deck consists of exactly 1x leader card, 22+ unit cards, and up to 10 special cards. At the start of each game you’ll draw ten random cards and can “mulligan” two of them - these cards have to last you three rounds, as aside from faction specific rules and cards with special effects, there’s no way to get more cards. Your goal is to place unit cards on their designated combat row (Close Combat, Ranged Combat or Siege Combat), adding their strength value to your total strength while they’re in play. If you have a higher strength score at the end of a round, you win that round. Win two out of three rounds to win the game.
Unit cards typically add to strength (some have bonus effects which can make them much more valuable than their strength score suggests), special cards trigger some specific effect (weather cards typically reduces the strength of all cards in a row to 1, ![]() Clear Weather removes all weather effects, Decoy returns a card to your hand and
Clear Weather removes all weather effects, Decoy returns a card to your hand and ![]() Scorch destroys the card(s) on the board with the highest strength) and leader cards are sort of wild cards that exist on the side and can be played at any time, once per game, to unleash a specific effect (sometimes these effects mimic special cards).
Scorch destroys the card(s) on the board with the highest strength) and leader cards are sort of wild cards that exist on the side and can be played at any time, once per game, to unleash a specific effect (sometimes these effects mimic special cards).
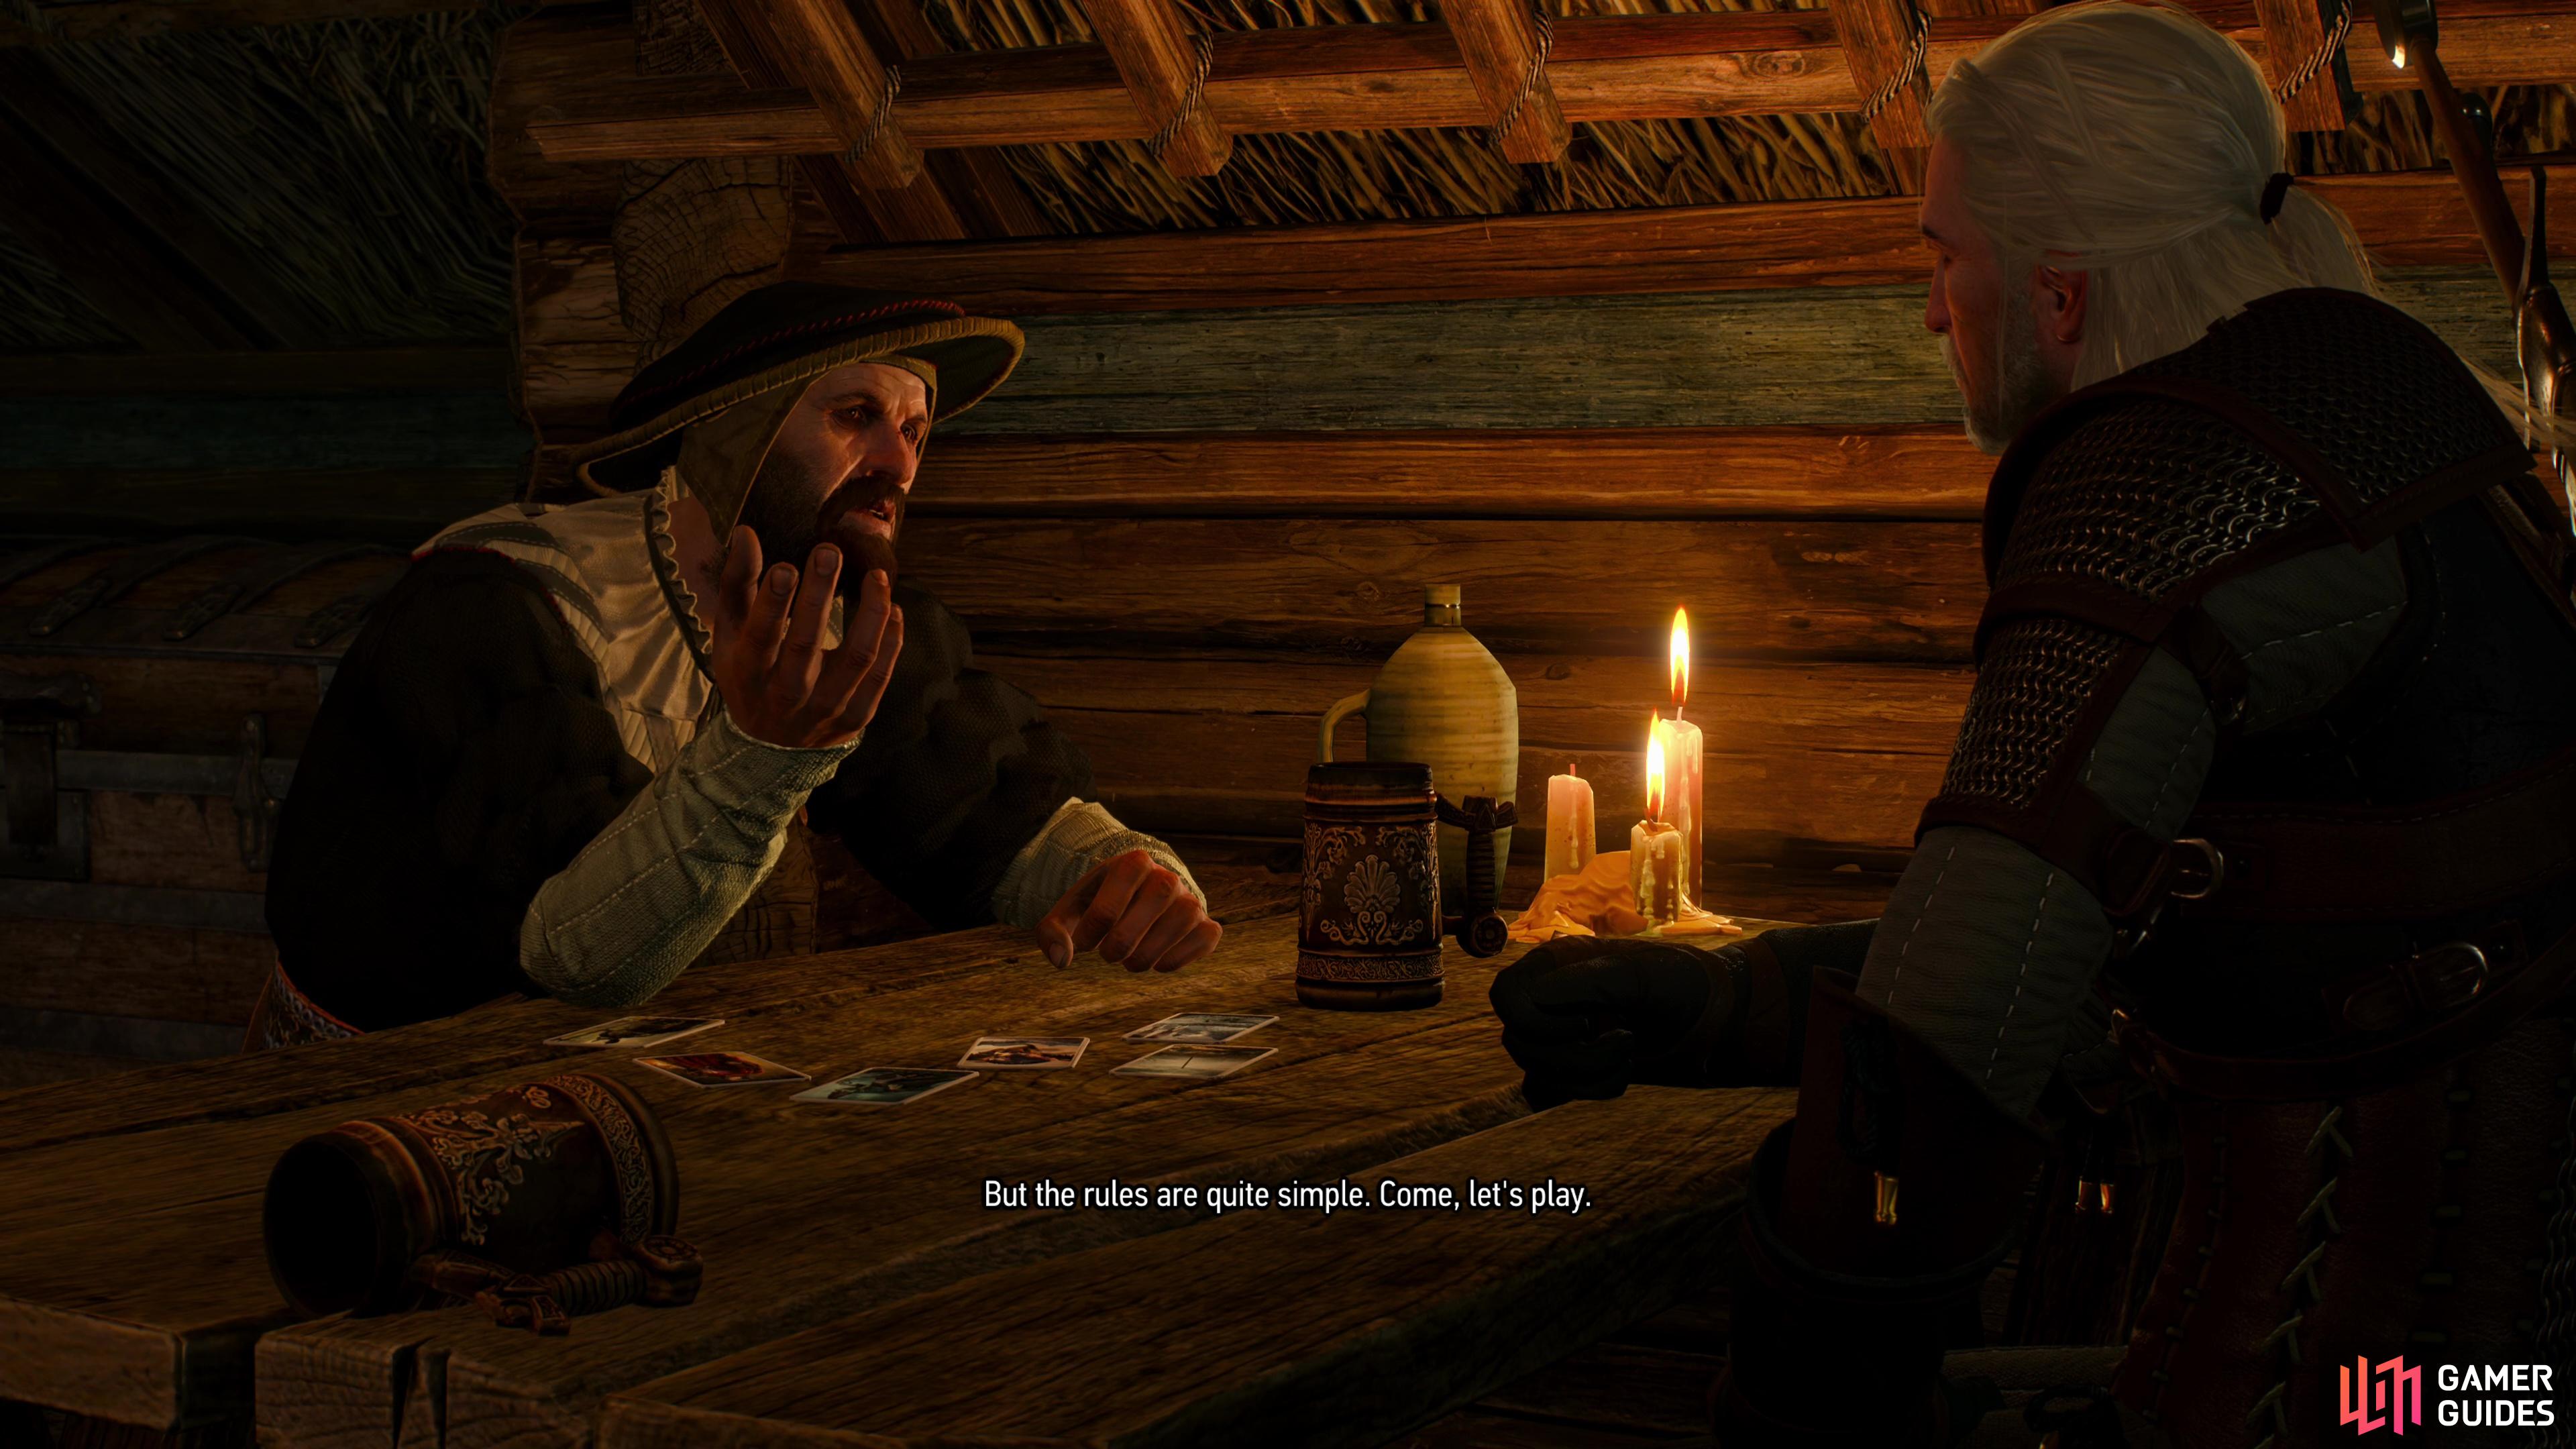


(1 of 4) Talk to the Scholar and he’ll goad you into playing Gwent.
With that in mind, play your first match of Gwent with the Scholar, and with any luck you should win. He’s not too bright, despite his name. If you play powerful, diverse unit cards, he’s really got no chance. Just don’t play all your cards in one round - you rarely get to draw new cards. If you build up a comfortable lead (five Strength or more higher) you might just want to pass. This will end the game for you, and there’s a chance he’ll spend himself to victory, but if he does this in the first round, there’s a good chance he just won’t have any cards left to compete with in the next two rounds.
When you win you’ll get the ![]() Zoltan Chivay Card, an unaligned 5-Strength Close Combat Card that can be played in any deck. Not a terrible start to your collection, and if you’ve got a taste for more Gwent now that you’ve had a sample, the scholar will mention an innkeeper named Stjepan up in Oxenfort you can play if you ever end up in that part of the world. This starts the quest
Zoltan Chivay Card, an unaligned 5-Strength Close Combat Card that can be played in any deck. Not a terrible start to your collection, and if you’ve got a taste for more Gwent now that you’ve had a sample, the scholar will mention an innkeeper named Stjepan up in Oxenfort you can play if you ever end up in that part of the world. This starts the quest ![]() Collect ’Em All whose only current objective is “Complete your collection of Gwent cards”. You can safely ignore this for now, as you won’t be getting any more Gwent cards until you leave White Orchard, assuming you’ve purchased them all from the innkeeper already.
Collect ’Em All whose only current objective is “Complete your collection of Gwent cards”. You can safely ignore this for now, as you won’t be getting any more Gwent cards until you leave White Orchard, assuming you’ve purchased them all from the innkeeper already.
Defeat the Peasants - Fist Fighting Tutorial
With all that out of the way you’re finally done in the tavern… for now. Head outside and you’ll be accosted by some of the unruly, rude peasants from before, who seek to take their prejudice out of the realm of the verbal and express it with their fists, instead. You can use Axii to befuddle one of the three, taking him out of the upcoming fight, and it’s free EXP and an easier fight so there’s no good reason why you shouldn’t. Either way you’ll soon find yourself in a fistfight with three (or two) angry peasants.
Fist fighting is similar to normal combat in that you have fast attacks , heavy attacks , you can dodge , and block 
 , and if you block at the right time you’ll counterattack. In normal combat countering enemies is useful, during fist fights it’s essential, as it’ll not only deflect incoming attacks, but it’ll knock the enemy off guard and allow you to land some shots of your own. The timing is pretty generous - press (not hold) the block button when you see the attack coming and you’ll almost certainly counter it. There are some pugilists with sneaky fast punches that are harder to counter, but you shouldn’t have to worry about any of that with these belligerent amateurs.
The rule of three holds up here, but fist fighting is inherently wonkier than normal combat and enemies are likely to recoil out of reach or recover before you land three hits. There’s no penalty for having the odd punch blocked, however, so the natural flow of unarmed combat is to counter incoming attacks, then land as many fast attacks as possible until the enemy recovers. Once they do, dodge away to give space and encourage them to perform a longer-ranged punch (which is usually easier to counter) and repeat. Once you get the counter timing down, fist fighting should become easy, no matter the level disparity between you and your foe. The real problem arises when you find yourself fighting multiple enemies, which is a fairly common occurrence. They’ll block and attack through each other and generally make a nuisance of themselves, and the only good remedy is to dodge around them, provoke attacks and create separation so the standard countering strategy works. Bottlenecking them where possible is also a good idea (you can dodge through the gate leading to the inn to achieve this here) but it isn’t always practicable.


(1 of 2) Use the Axii sign to bewitch one of the angry peasants,
Use the Axii sign to bewitch one of the angry peasants, (left), then defeat the two remaining peasants who accost you after leaving the tavern. (right)
Win the fight or lose, it doesn’t really matter much: you’ll gain EXP if you win, and if you lose you’ll find yourself KO’d but will recover shortly thereafter. If you’re playing on Death March! difficulty you’ll have to wait for your health to recover, otherwise you can just meditate the pain away. Either way, you’re finally on your own and free to explore. Before running off to complete side content, however, there’s one more stop to make - the Nilfgaardian garrison.
Talk to the Nilfgaardian Captain at the Garrison
The Nilfgaardians you seek are a good ride to the northwest. Mount Roach and follow the main road through the village past the ![]() Notice Board (marked by a yellow “exclamation point and note” icon on the map), then follow another road up north. It’ll veer northwest and run along the coast, and you should be able to just follow the road to and through the swamps leading to the Nilfgaardian Garrison without much trouble. If you encounter enemies you’d rather wish to avoid, just double tap to gallop past them - just keep your distance if possible, as hostiles will increase the fear level of your horse, and if the gauge fills up faithful Roach will toss you and run off.
Notice Board (marked by a yellow “exclamation point and note” icon on the map), then follow another road up north. It’ll veer northwest and run along the coast, and you should be able to just follow the road to and through the swamps leading to the Nilfgaardian Garrison without much trouble. If you encounter enemies you’d rather wish to avoid, just double tap to gallop past them - just keep your distance if possible, as hostiles will increase the fear level of your horse, and if the gauge fills up faithful Roach will toss you and run off.


(1 of 2) Ride to the Nilfgaardian Garrison northwest of White Orchard,
Ride to the Nilfgaardian Garrison northwest of White Orchard, (left), and talk to the Nilfgaardian captain to get a contract to hunt the Griffin. (right)
Once you reach the Nilfgaardian Garrison, head up some stairs and talk your way past two guards to gain entrance, then head into a tower to find an Nilfgaardian Officer shaking down a nordling peasant. After that he’ll turn his attention to Geralt, and the two will work out a deal to hunt down the Griffin in exchange for information about Yennefer. The quest Liliacs and Gooseberries will go dormant now and the next main quest The Beast of White Orchard will begin.
Optional Exploration in White Orchard
Now is a fine time to stop progressing the main questline for a bit and see what White Orchard has to offer. In addition to the main questline there are secondary quests to complete, an optional witcher contract you can undertake and numerous map markers that can be cleared for loot, EXP and other boons. If you want to partake in the optional content White Orchard has to offer and would like an overview of what all this entails, check out the page Exploring White Orchard.
Depart White Orchard
Lilac and Gooseberries will only pick up again after you complete The Beast of White Orchard, specifically when you claim your reward for the Griffin contract from the Nilfgaardian captain. At this point you’re tasked with returning to Vesemir to make good your preparations to leave, now that you know where to find Yennefer. After some scenes, local tensions will boil over and Vesemir will fail to heed his own advice, leading to a confrontation with some local Bandits. Kill them - there’s a lot of them, but they’re weak and armed with one-handed melee weapons, so you should just be able to spam fast attacks to cut them down and using Quen if you get anxious. After the fight you’ll get more scenes and the odd dialogue choice that doesn’t matter before this quest finally ends and you leave White Orchard behind. The main questline will continue with the quest Imperial Audience.

 Sign up
No Comments