During his search for the sorceress Yennefer, Geralt will find himself looking to a Nilfgaardian captain for answers. Whatever the officer knows, however, he refuses to tell Geralt freely, instead insisting upon a barter: information about Yennefer’s whereabouts in exchange for services rendered. In this case, that “service” is hunting down and killing the ![]() Griffin that has been prowling the area. This page will provide a walkthrough for the quest
Griffin that has been prowling the area. This page will provide a walkthrough for the quest ![]() The Beast of White Orchard in The Witcher 3.
The Beast of White Orchard in The Witcher 3.
Objectives
Starting the Beast of White Orchard
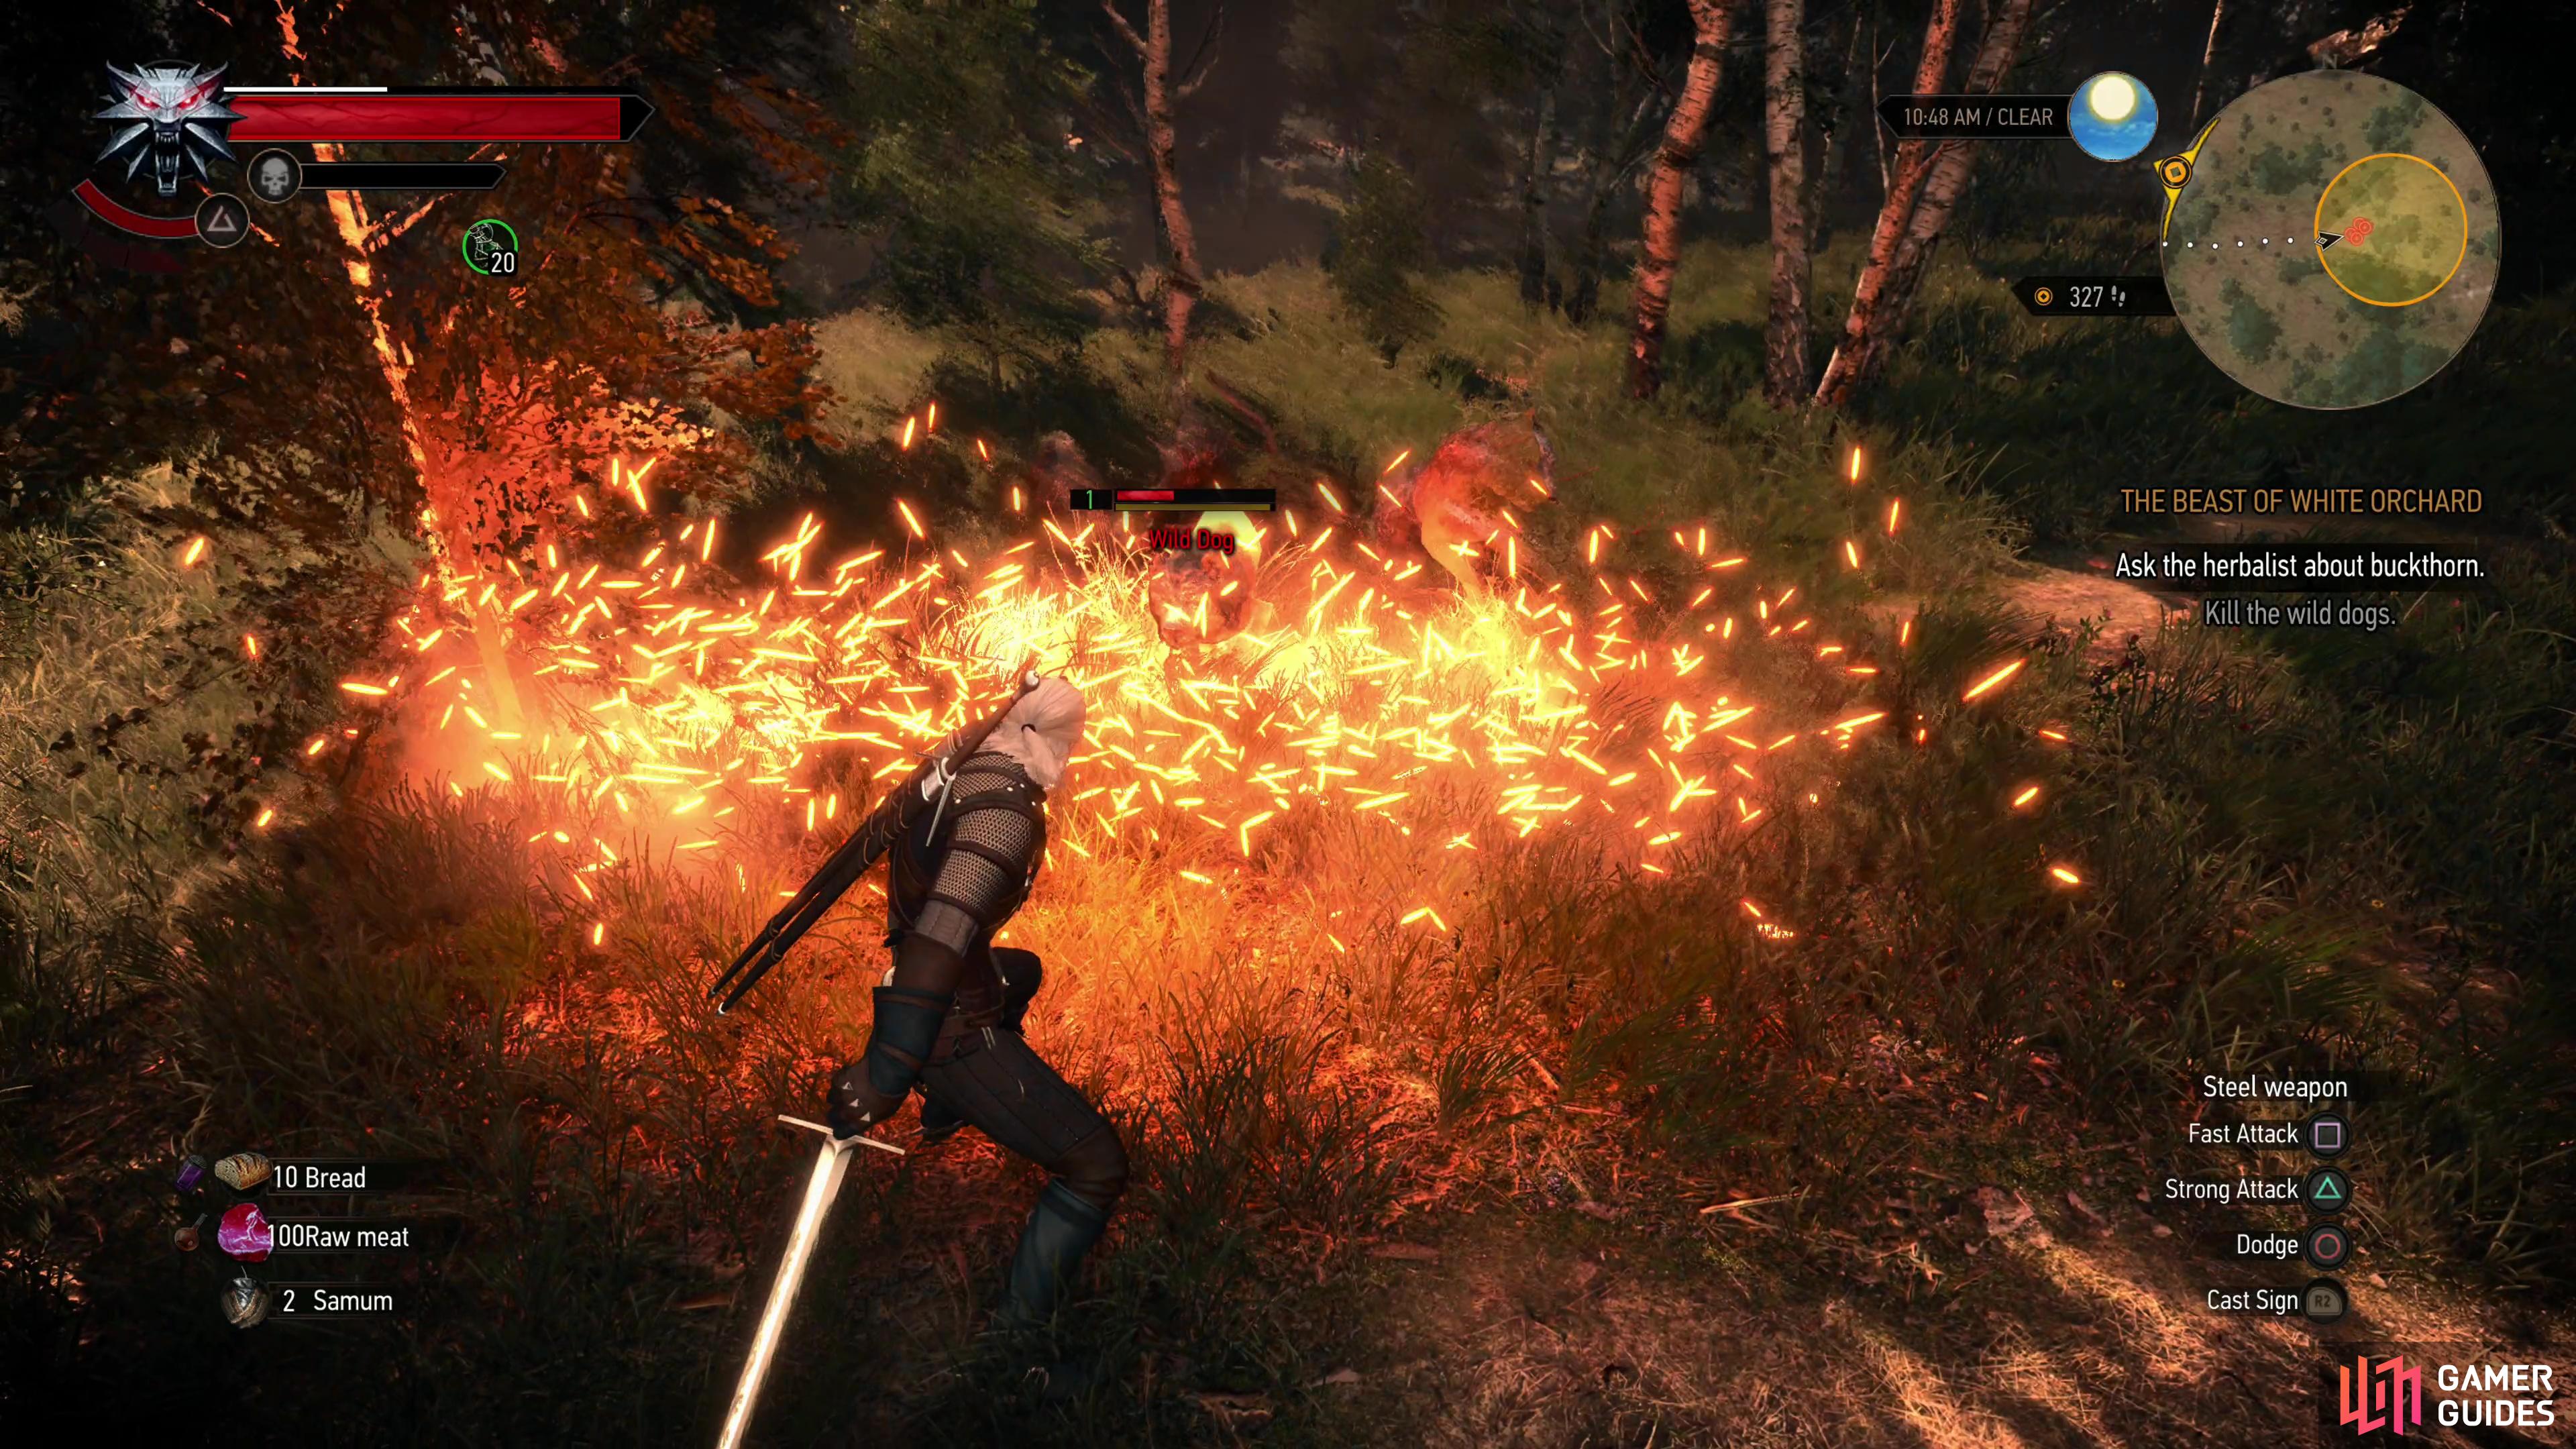
You’ll talk to the Nilfgaardian captain during the quest Lilac and Gooseberries, after which the aforementioned quest will go dormant and The Beast of White Orchard will pop up, becoming the dominant main quest for much of the remainder of your time in White Orchard. When it starts you’ll have two leads: talking to an odd hunter who may know where the beast nests, and an herbalist who can help you craft some bait.
Find the Hunter
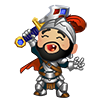
You’ll find the hunter located in an isolated hut southwest of White Orchard town; just follow the road southwest from the notice board and you’ll find it. Knock on the door and Geralt will come to the conclusion that the hunter must be out hunting… which seems perfectly reasonable. Use your Witcher senses to spot some tracks east of the door, then follow the meandering path south to find Mislav, who is crouched over, possibly tracking some beastie?
Kill the Wild Dogs
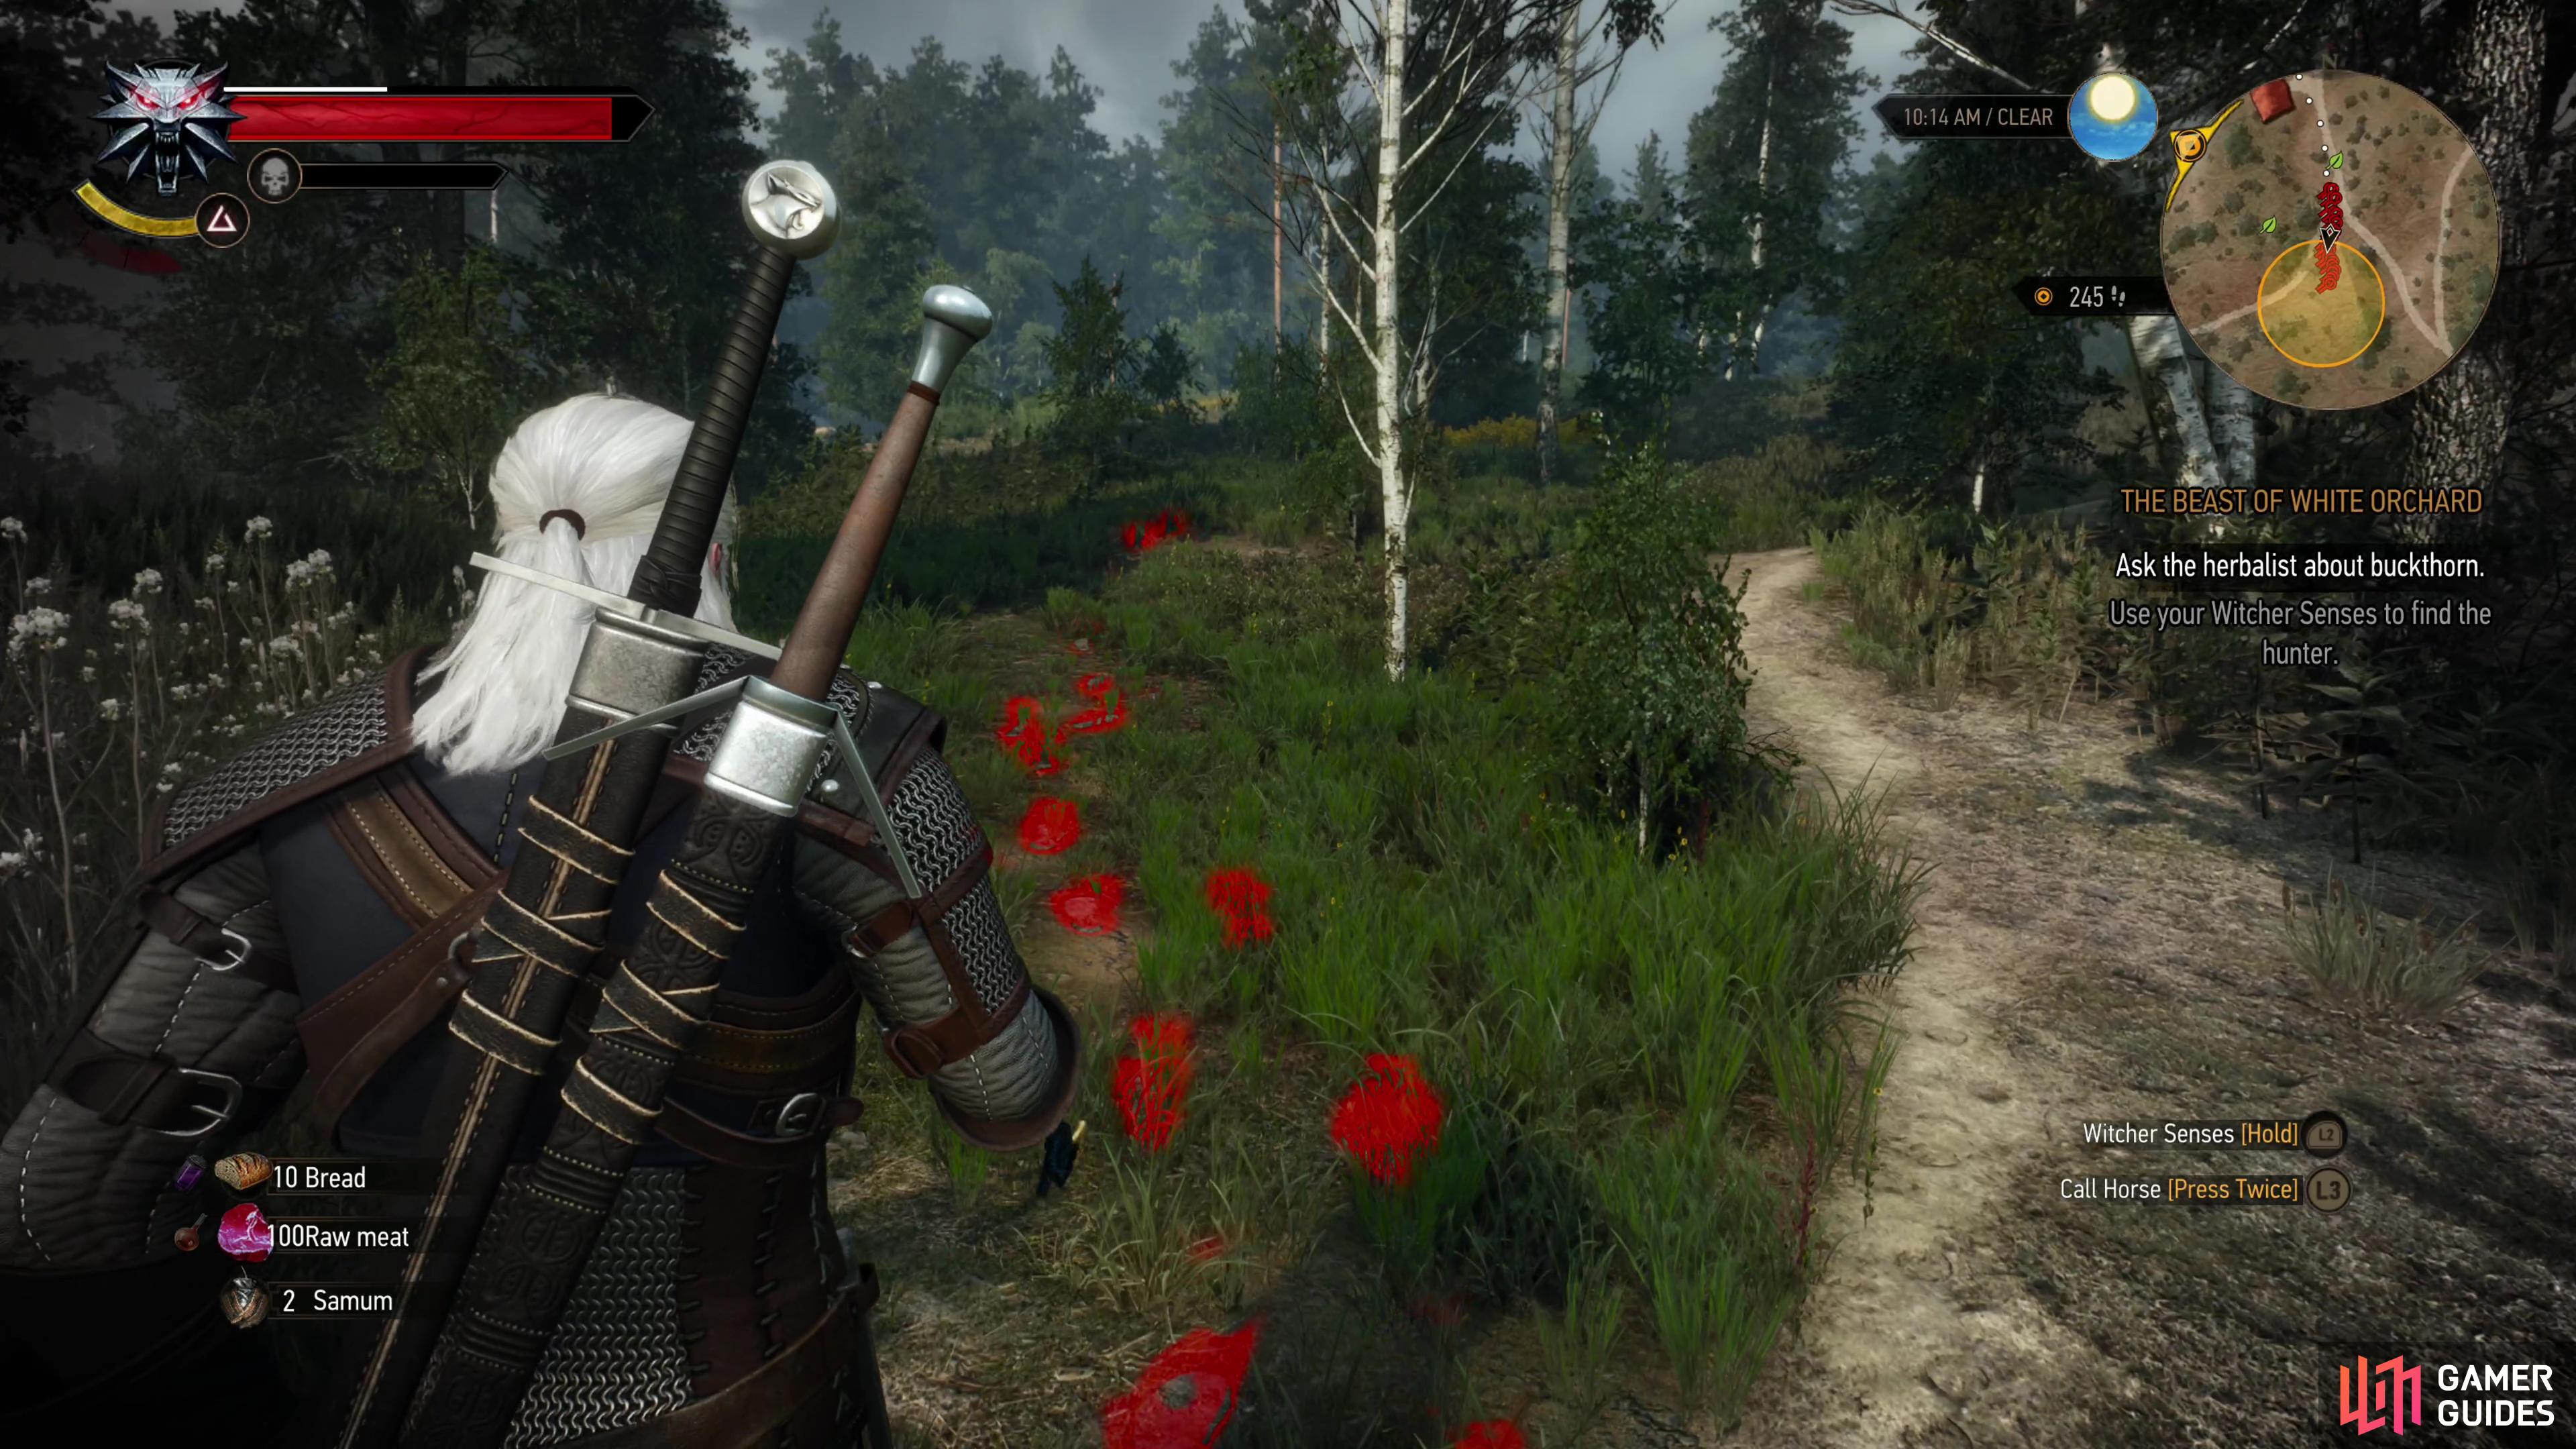
Interrupt him and, after shushing you, he’ll proceed to tell you why Wild ![]() Dogs are more dangerous than
Dogs are more dangerous than ![]() Wolves, in his opinion. He knows where the Nilfgaardians were attacked, as promised, but he’s serious about his claim about Wild Dogs and plans to kill a pack of them before they can get up to mischief. Agree to help him, then follow him east, northeast to find the mongrels. Kill the doggies (if you’re quick about it a single
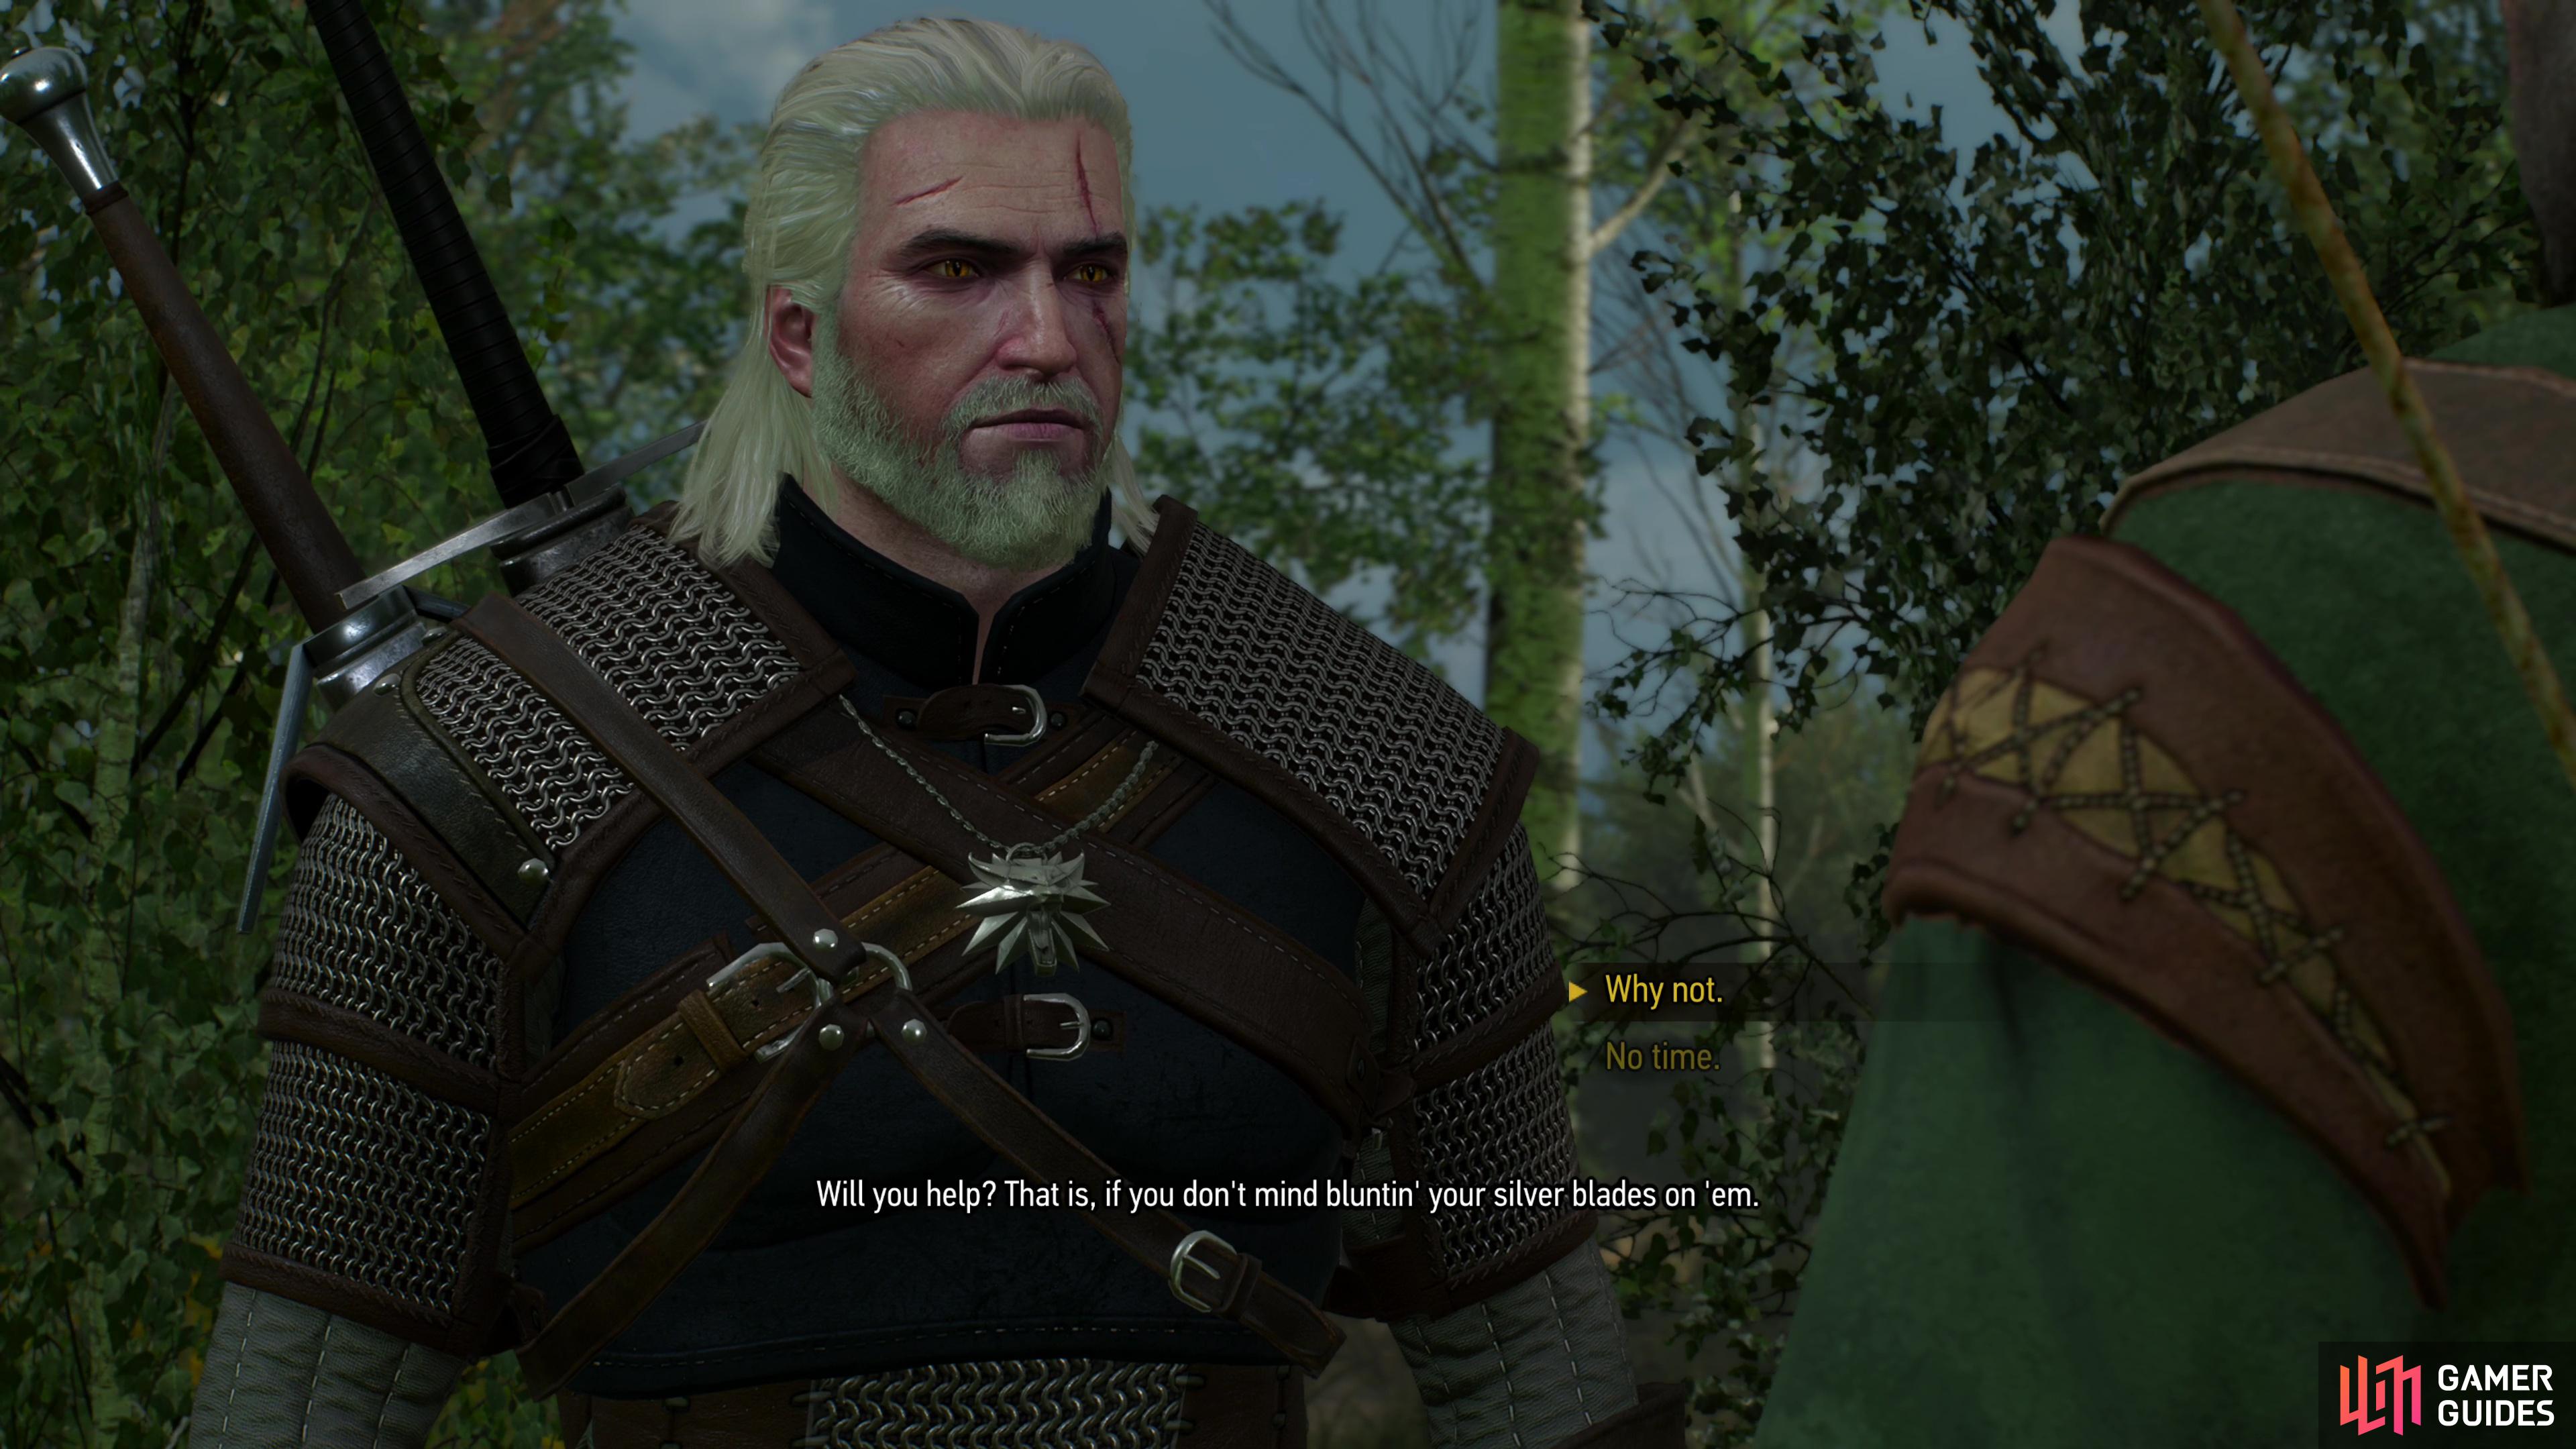
Wolves, in his opinion. He knows where the Nilfgaardians were attacked, as promised, but he’s serious about his claim about Wild Dogs and plans to kill a pack of them before they can get up to mischief. Agree to help him, then follow him east, northeast to find the mongrels. Kill the doggies (if you’re quick about it a single ![]() Igni might just catch them all) and Mislav will investigate their victim, which belongs to a man he once knew. Ask him about his past if you want to know exactly why Mislav lives outside of the village. After this diversion, Mislav will help you find the ambush site, and while you could have just stumbled across it yourself, doing this extra legwork will net you around 300~ EXP. Quite a lot of EXP for killing a couple of dogs.
Igni might just catch them all) and Mislav will investigate their victim, which belongs to a man he once knew. Ask him about his past if you want to know exactly why Mislav lives outside of the village. After this diversion, Mislav will help you find the ambush site, and while you could have just stumbled across it yourself, doing this extra legwork will net you around 300~ EXP. Quite a lot of EXP for killing a couple of dogs.
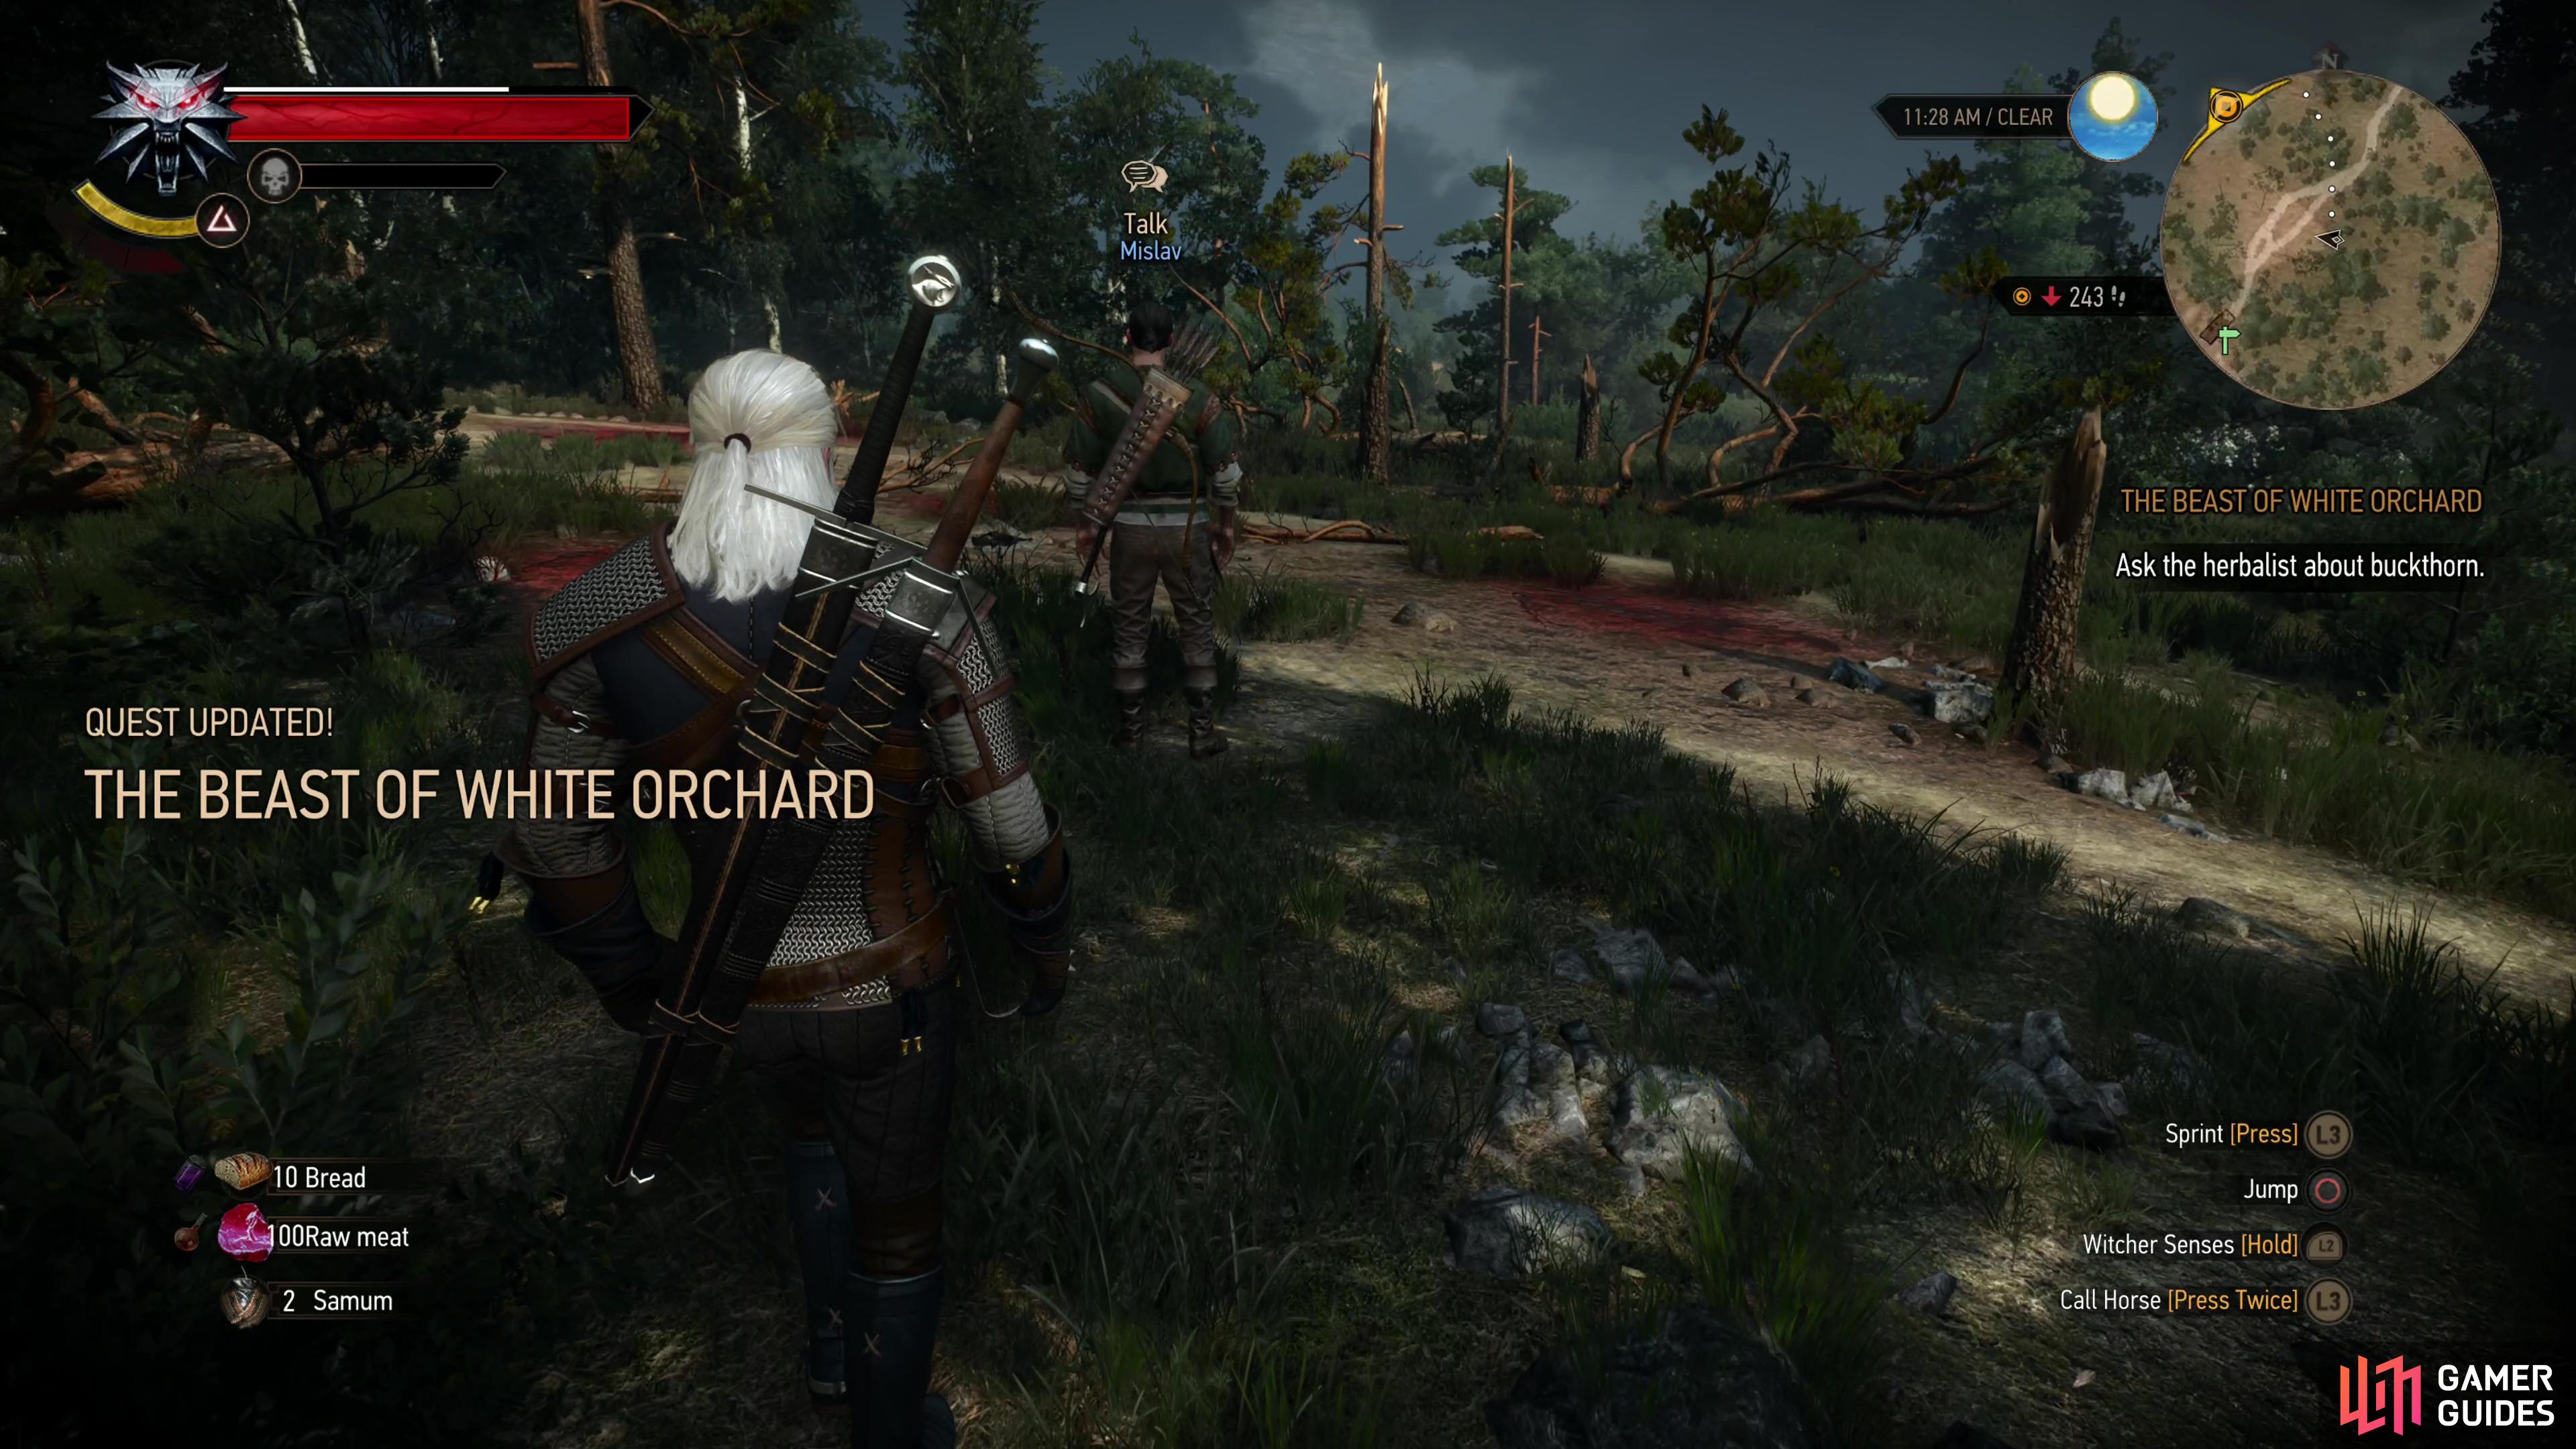
(1 of 4) Track the hunter into the woods,
Find the Ambush Site
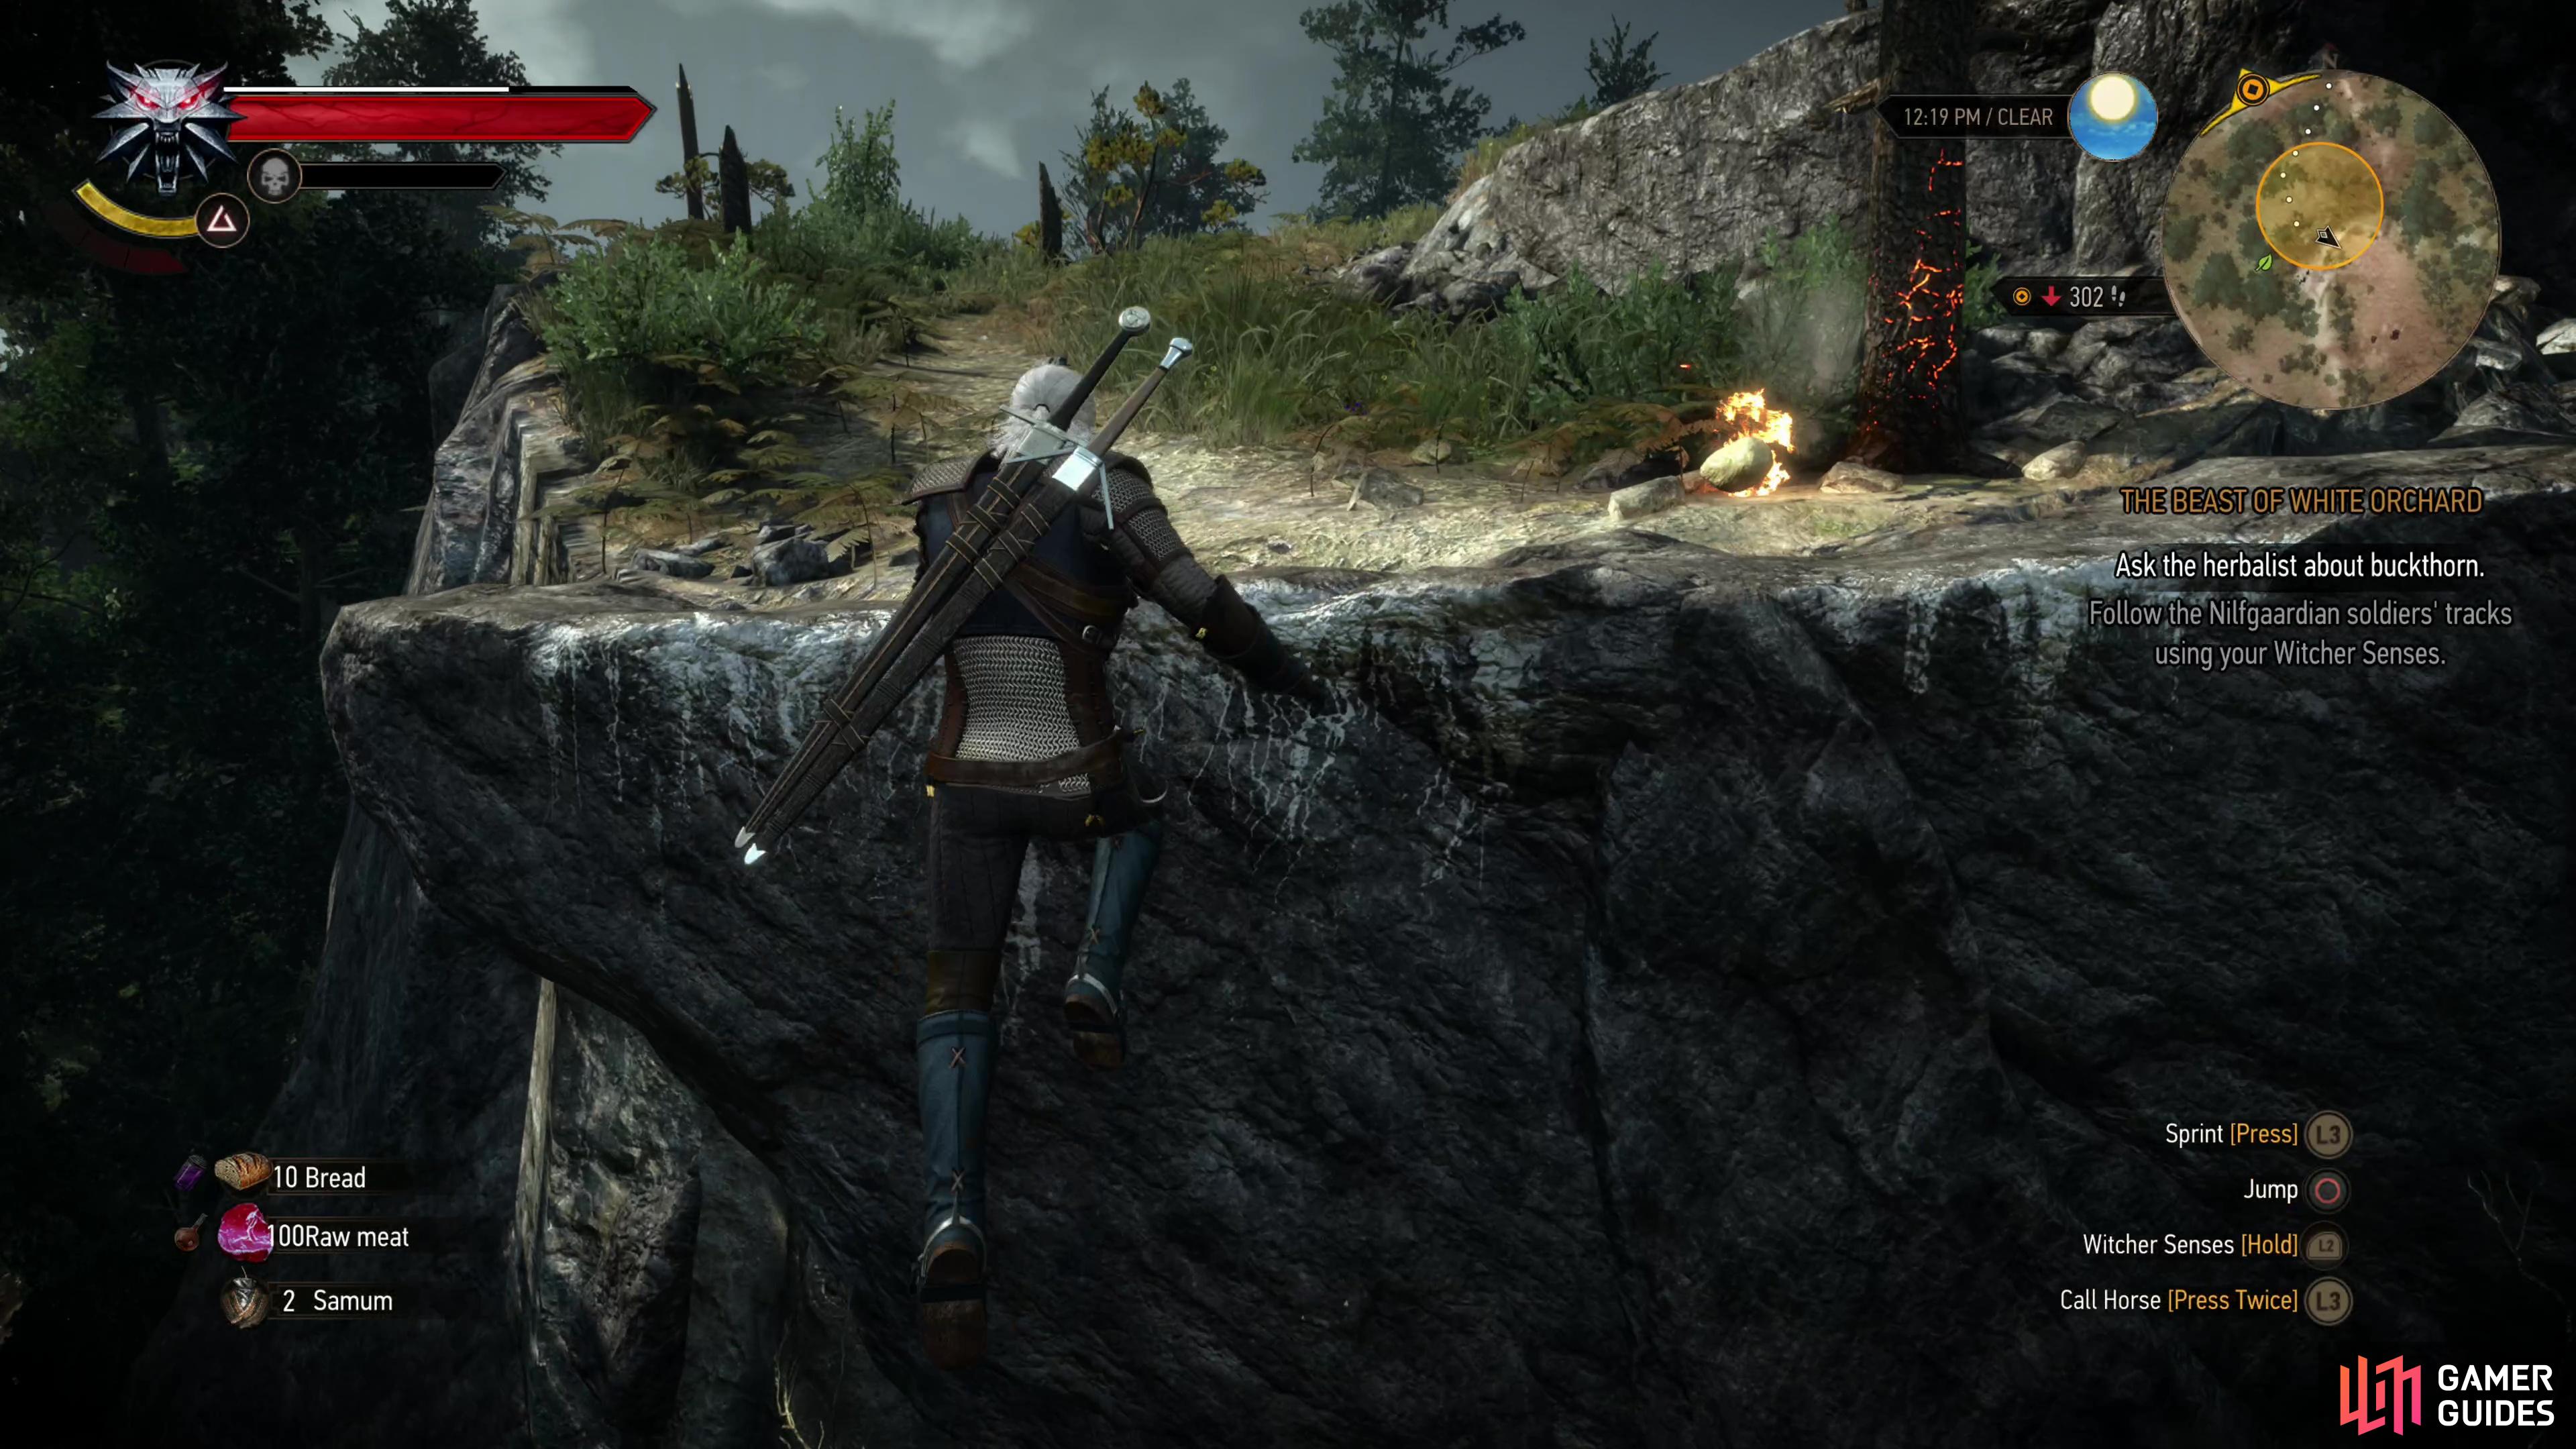
Next stop is the site where the Nilfgaardians died, to which Mislav will lead you. It’s a bit of a jog to the southwest, on the road southwest of his house, a road which ultimately leads to the Broken Bridge signpost. Once you get there Mislav will describe the scene, then wish you luck. Activate your Witcher senses, then investigate the remains of a campfire, the blood, and some bottles, then continue down the road a bit and examine some tracks - older, deeper tracks. Follow the tracks southwest, past the aforementioned Broken Bridge signpost, then over the broken bridge itself. The tracks will veer off the road to the south, uphill, over a few stone ledges, and across another gap you have to leap across. Keep heading uphill to find the Griffin’s nest.
Investigate the Griffin Nest
Use your Witcher senses to highlight the dead Griffin and the nest, and search them, examining the dead Griffin’s wounds; determine its age, and its type. All the signs point towards humans being the culprits, and the surviving Griffin - a male whose life-mate was murdered - might just be justified in its rampage. You can also examine a dead body and some bones nearby to learn more. Loot the skeletons in the nest, then a corpse sitting up against a tree. You’ll get another healthy dose of EXP for finishing this up, after which you’ll need to pay the herbalist a visit if you haven’t already, or return to ![]() Vesemir outside the tavern in White Orchard if you already have some Buckthorn.
Vesemir outside the tavern in White Orchard if you already have some Buckthorn.
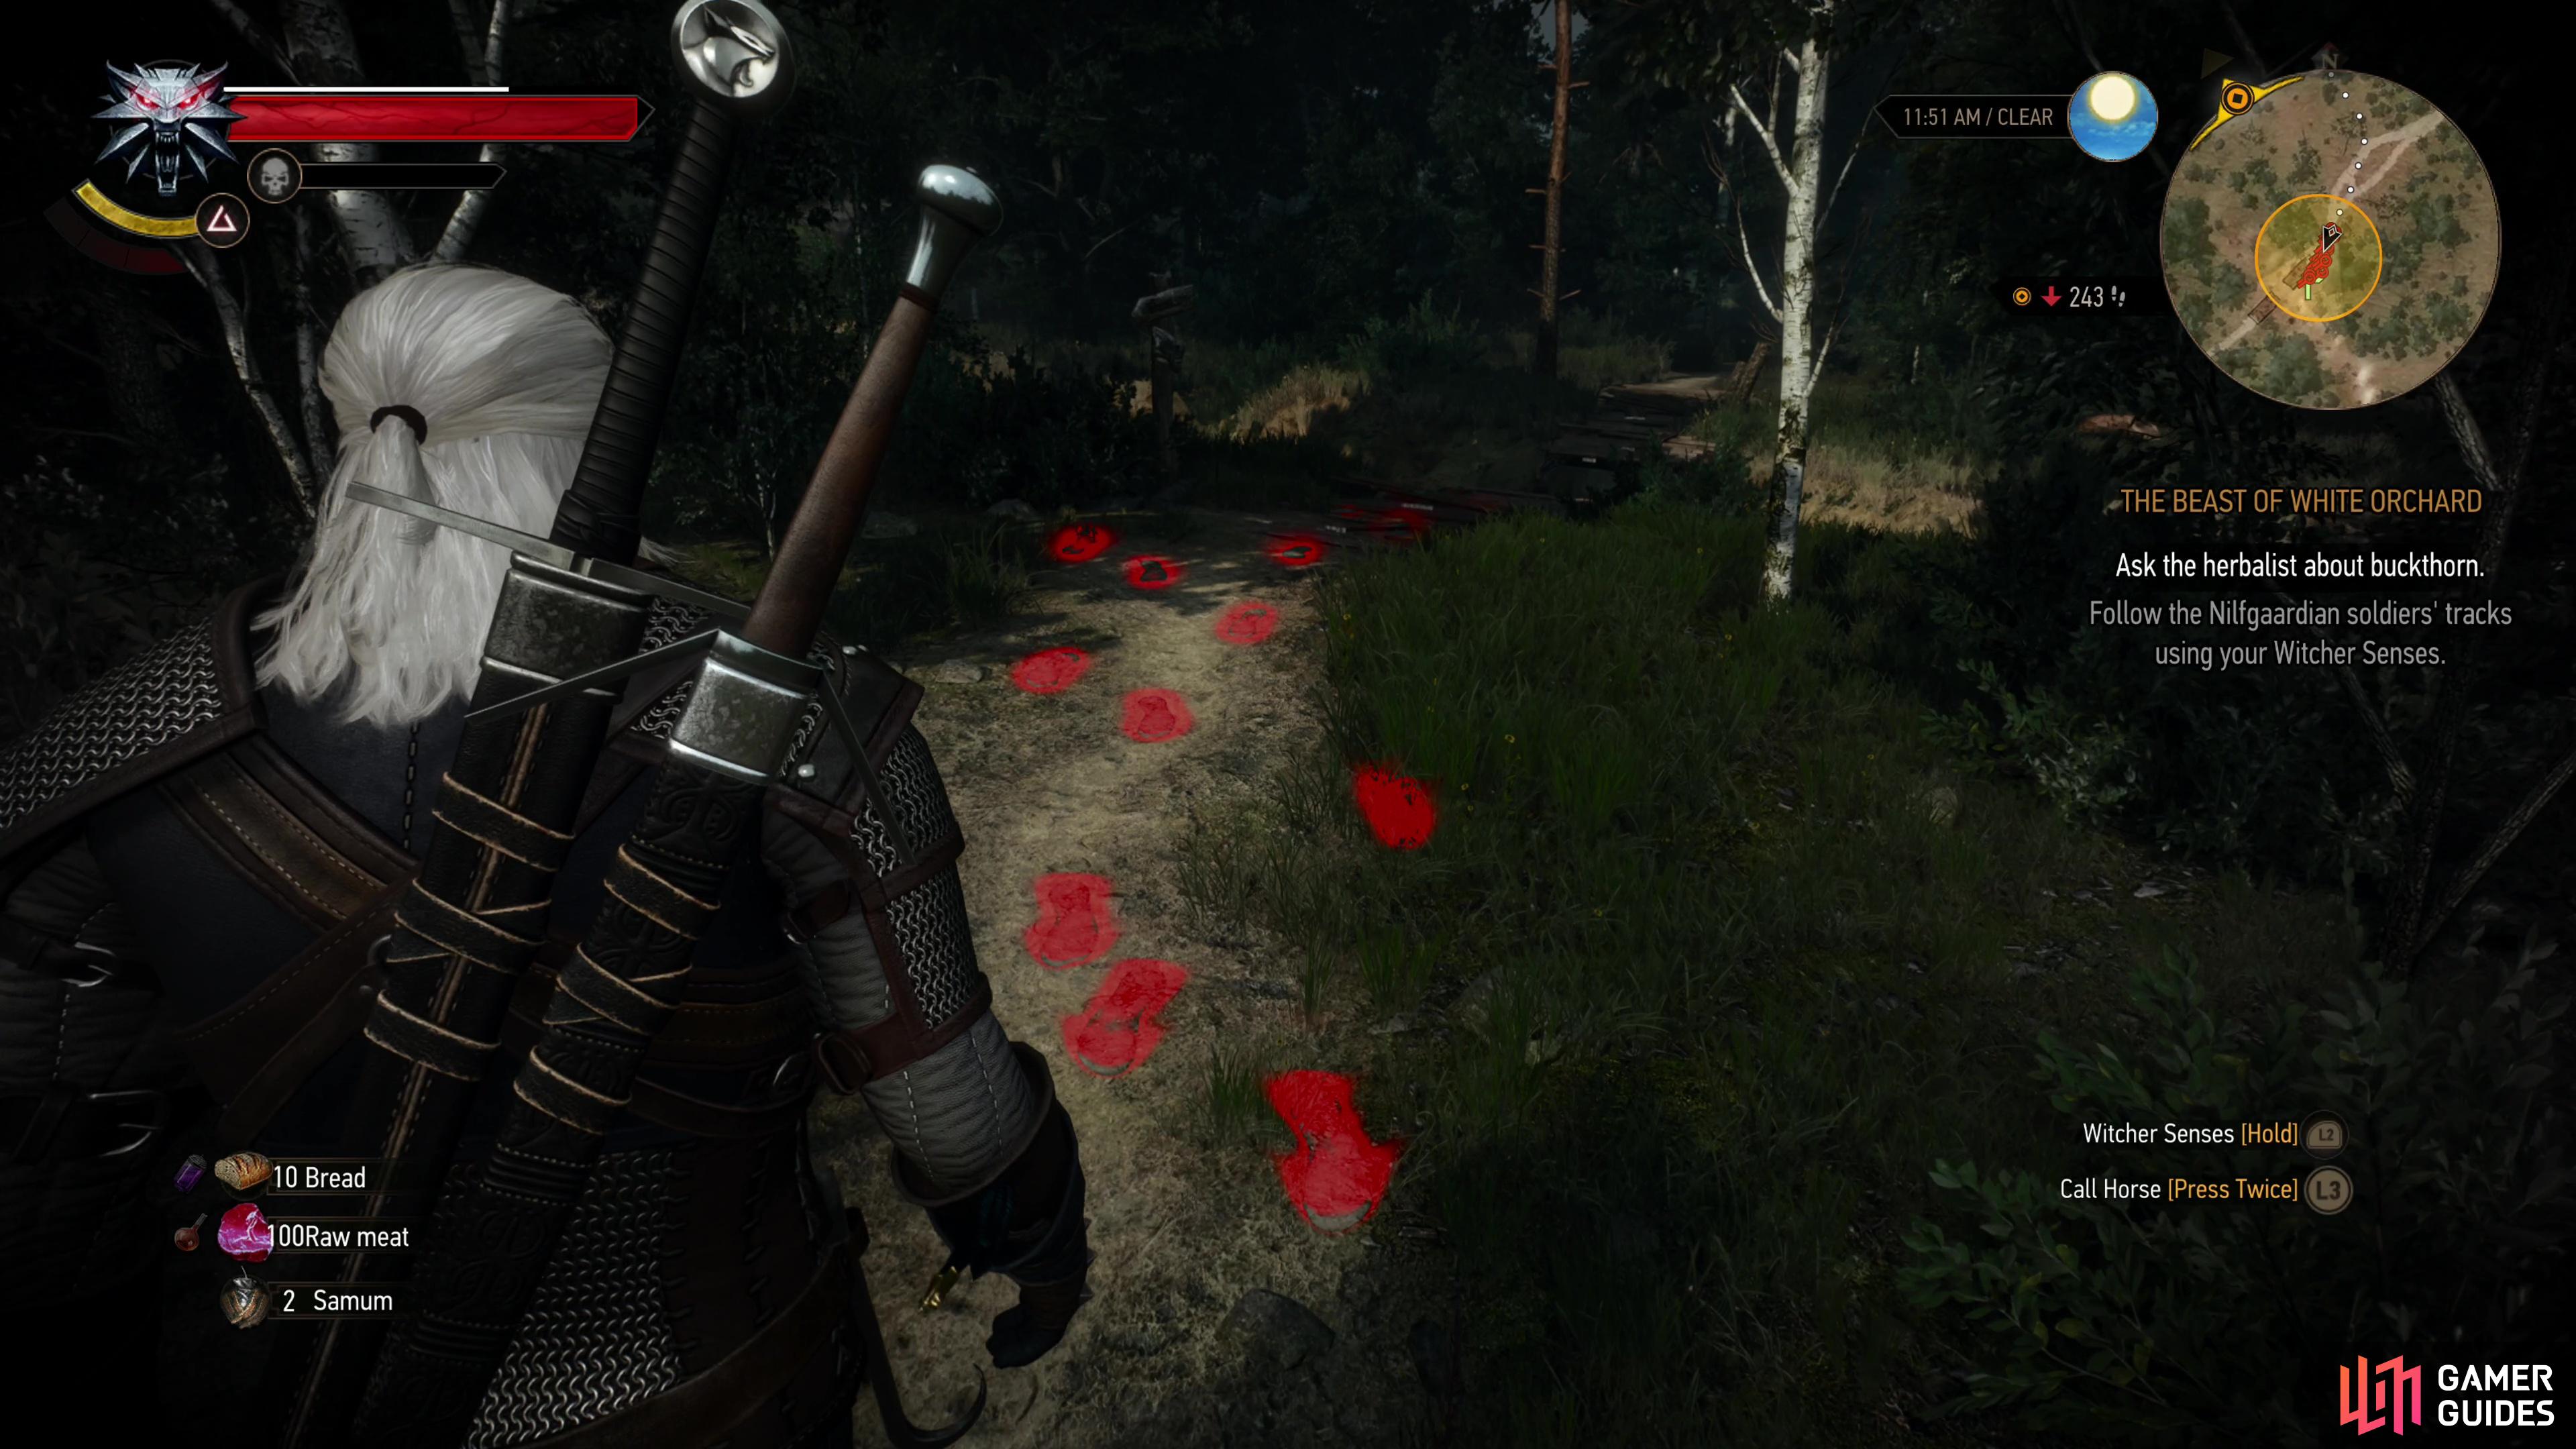
(1 of 3) Follow the tracks of the armored Nilfgaardians,
Meet the Herbalist
The herbalist’s hut can be found south of the Nilfgaardian Garrison, west of White Orchard town, just a short distance east of the Sawmill signpost. Unsurprisingly, there’s a fair amount of herbs to loot outside, and while each herb you pick is only worth 1 Crown each, there’s dozens of them here and they respawn pretty quickly. Take what you wish, then head inside, where Geralt will immediately start a conversation with the herbalist, Tomira.
If you pick the dialogue option “Griffin do that?” you’ll start the simple but rewarding secondary quest [![]() On Death’s Bed]. See the linked page for more information on that quest. On the other hand if you pick the option “Looking for buckthorn.” you’ll get down to brass tacks - other dialogue responses, while they might lead to interesting lore and backstory, aren’t really useful in terms of advancing this quest.
On Death’s Bed]. See the linked page for more information on that quest. On the other hand if you pick the option “Looking for buckthorn.” you’ll get down to brass tacks - other dialogue responses, while they might lead to interesting lore and backstory, aren’t really useful in terms of advancing this quest.
Harvest Buckthorn
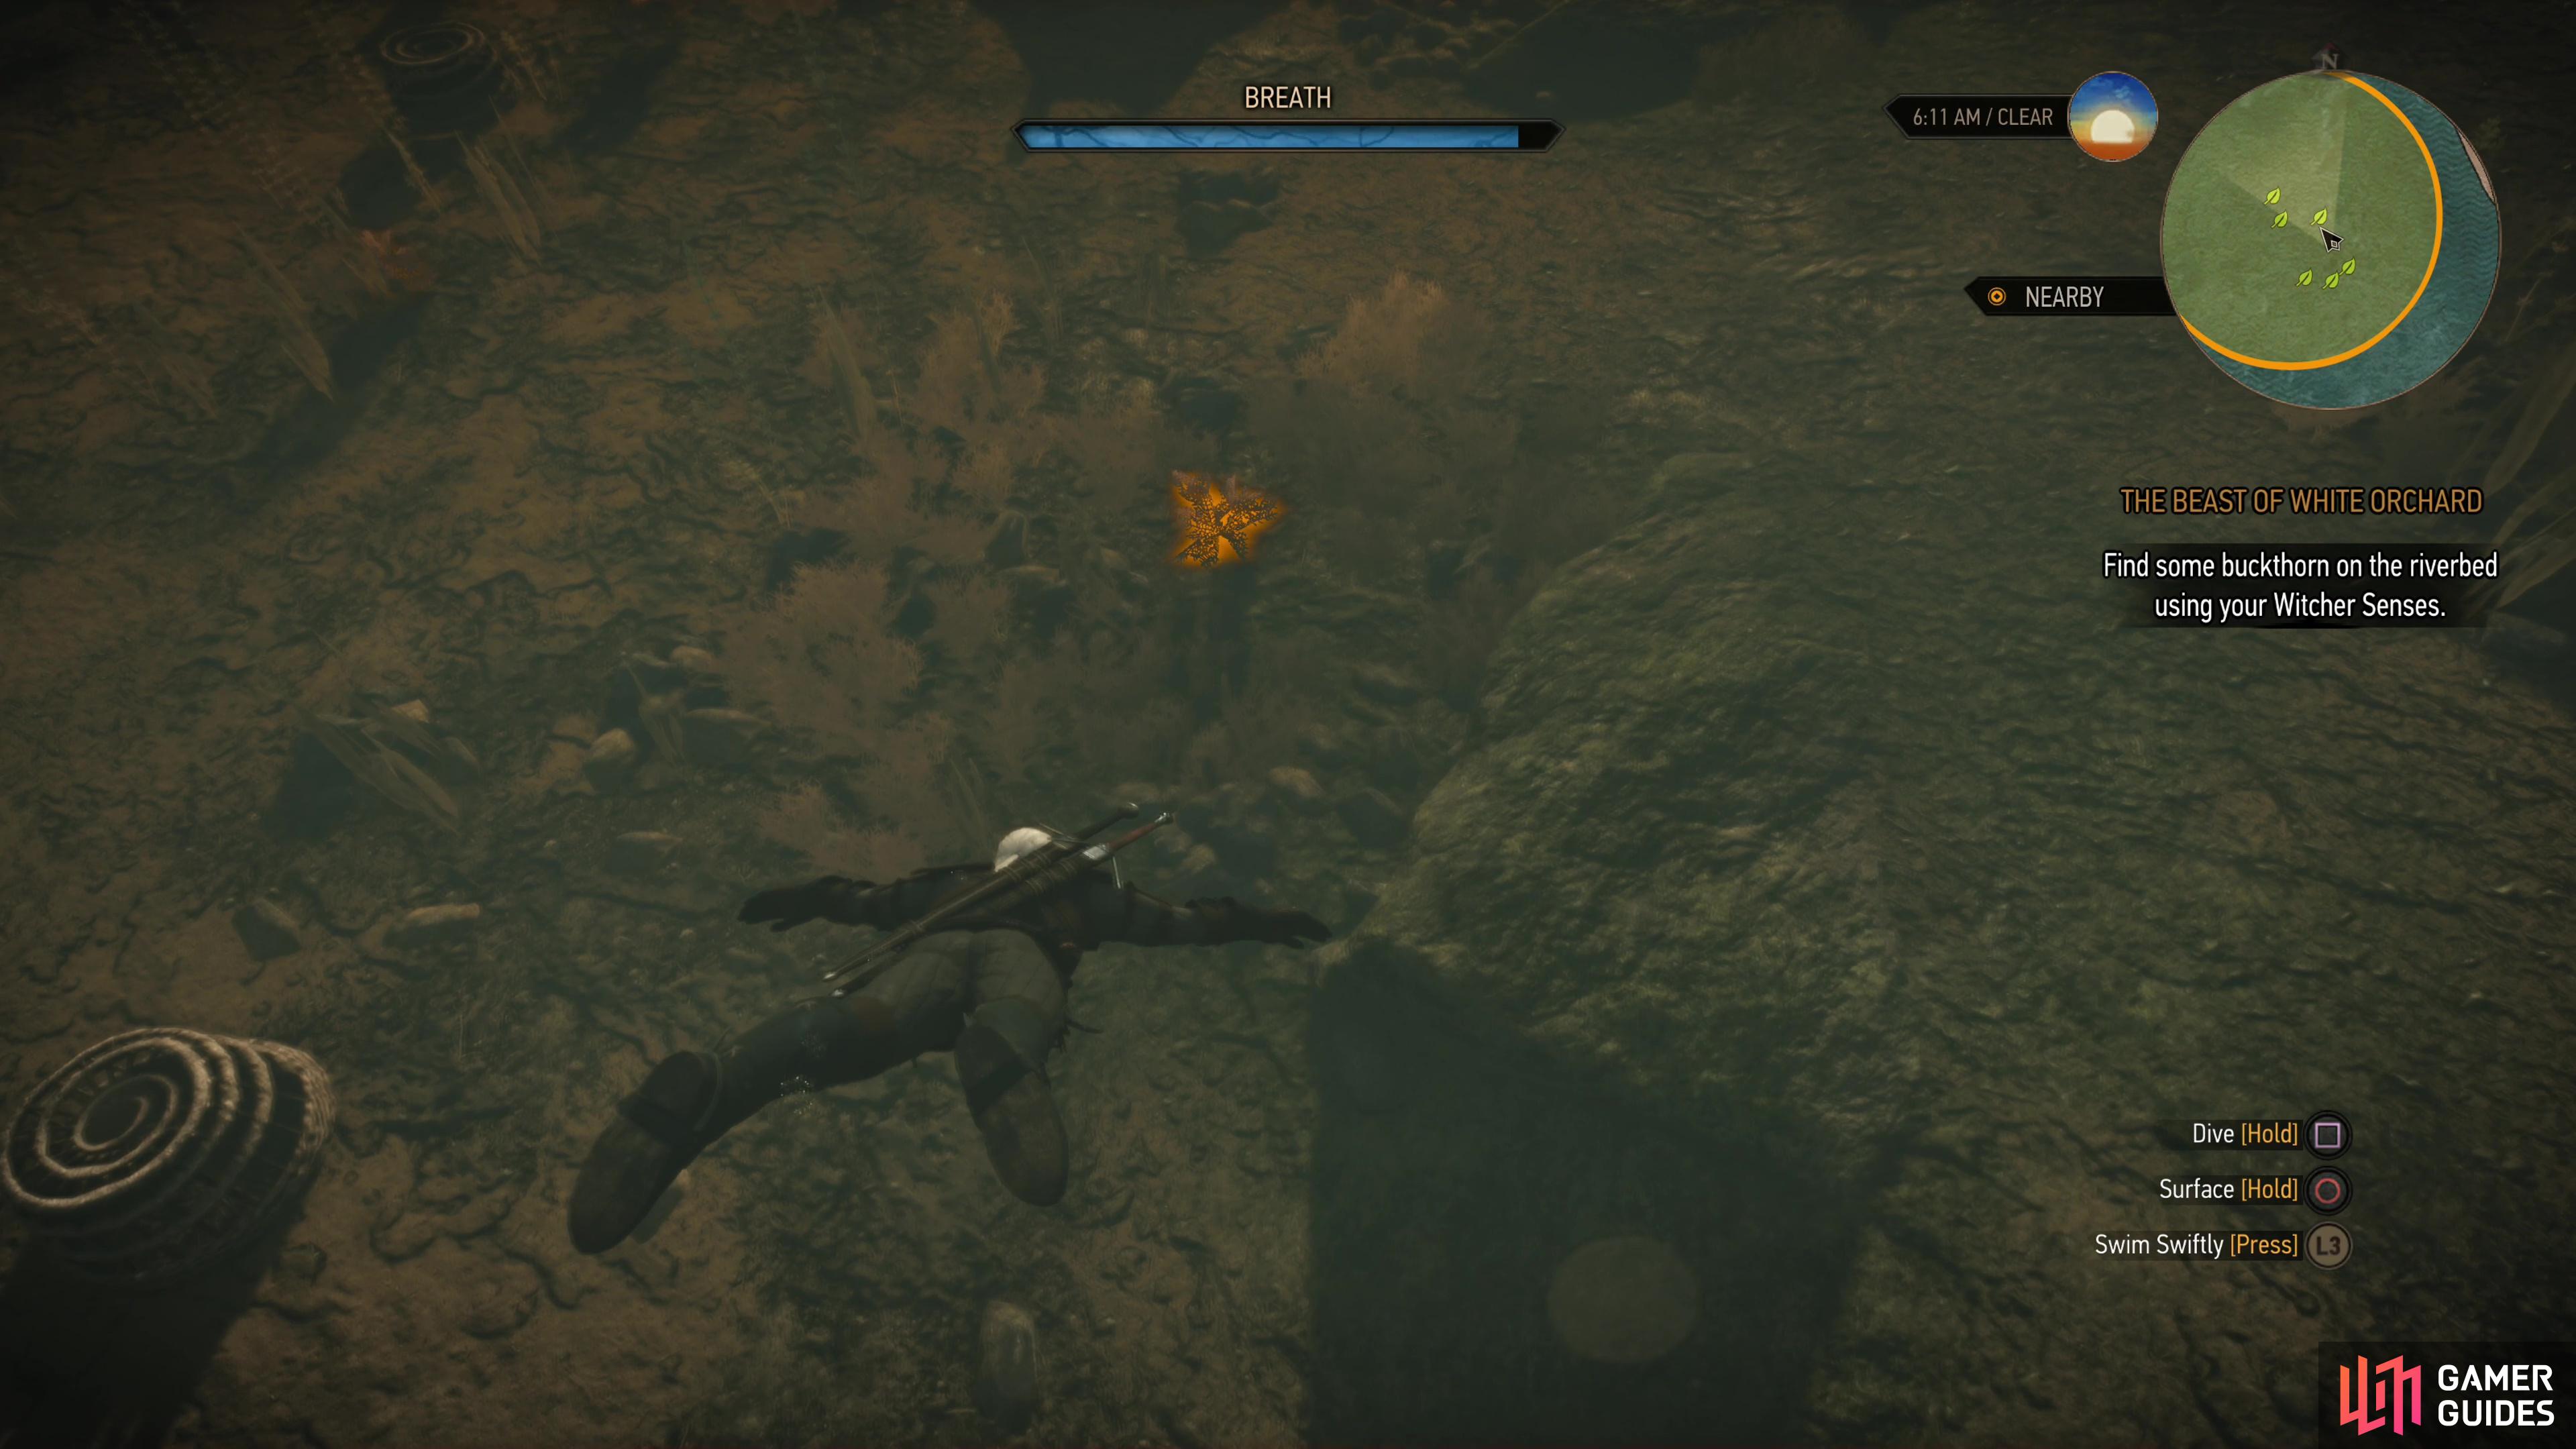
Now that you’ve talked to Tomira - an entirely optional objective, if we’re being honest, it’s time to harvest some Buckthorn. It can be found growing on the riverbed, pretty much anywhere northwest of White Orchard town and the Nilfgaardian Garrison. Just swim along the surface and keep your Witcher senses active until you see some foliage glowing at the bottom of the river, then dive down and collect it.

(1 of 3) Talk to Tomira to learn more about the the bait you need,
Talk to Vesemir
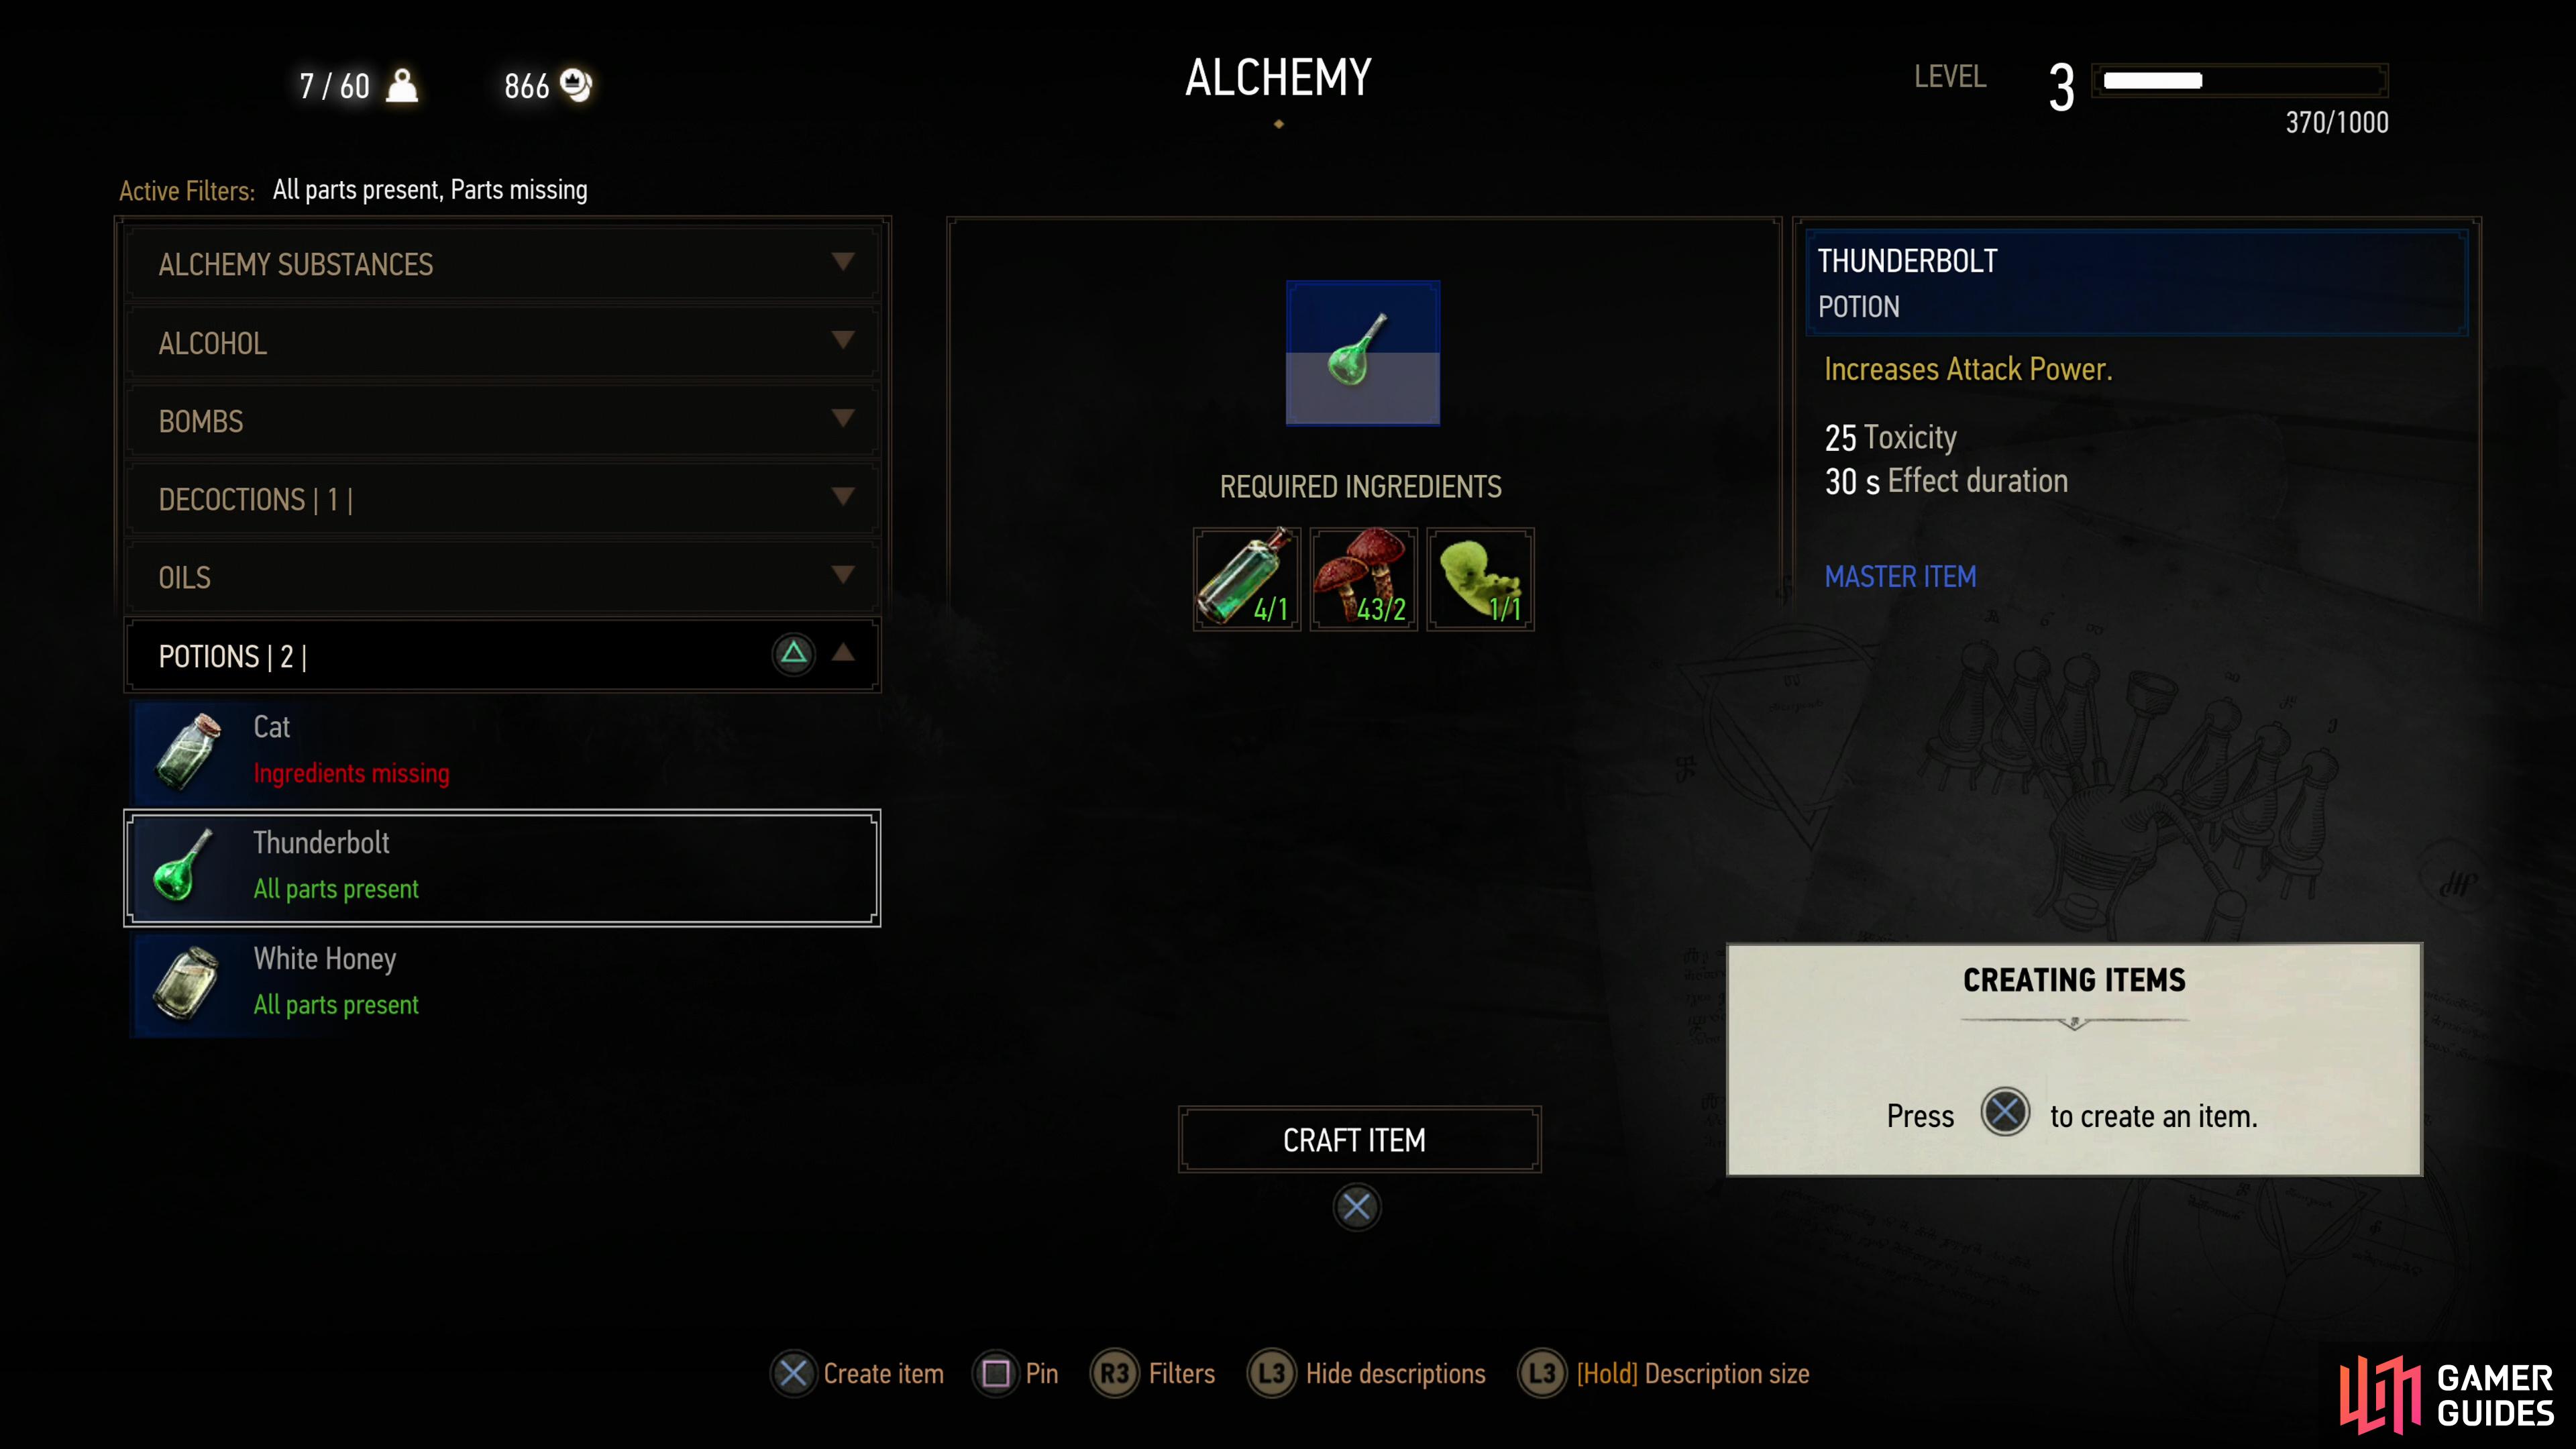
Now that you’ve investigated the Griffin nest and have gathered some Buckthorn, return to the tavern to find that Vesemir has decided to play outside. Tell him about the Griffin contract and he’ll show off his perceptiveness, then tell him you have both the Buckthorn and the information and - after Vesemir makes fun of you and amateur monster hunters both - he’ll say he’s ready to go. Pick the dialogue option “Time to set the trap” and Vesemir will tell you about an ambush location he picked out. Maybe the old man has been busy after all? He’ll give you the formula for the ![]() Thunderbolt potion, which you’ll be prompted to craft, then he’ll run off to the ambush location.
Thunderbolt potion, which you’ll be prompted to craft, then he’ll run off to the ambush location.
Before you follow Vesemir, it’s a good time to make any final preparations. Brewing potions is a fine idea, and if you’ve completed just about everything you can complete at this point in the game you should be Lv3 and ideally will have claimed all six Places of Power in White Orchard. Optimally you’ll have also obtained the diagram for, and crafted, the Viper Silver Sword. Check the linked pages for more information. Despite the game’s nudging, we prefer using ![]() Tawny Owl potions instead of Thunderbolt, as using signs is generally safe and more helpful, but to each their own.
Tawny Owl potions instead of Thunderbolt, as using signs is generally safe and more helpful, but to each their own.
Defeat the Griffin
When you’re ready, head over to where Vesemir went (north of the island east of White Orchard) and talk to him. Tell him you’re ready and Vesemir will apply the Buckthorn bait to a sheep decoy, and the two Witchers will settle down in the brush to chat while they wait. The Griffin will show up eventually, and the two of them will move to attack. Before things get violent, however, Vesemir hands you a ![]() Crossbow he won in a card game, which might just come in handy. Chastise Vesemir about his gambling and he’ll change the subject… rightly so, as you do have a Griffin to kill, after all.
Crossbow he won in a card game, which might just come in handy. Chastise Vesemir about his gambling and he’ll change the subject… rightly so, as you do have a Griffin to kill, after all.
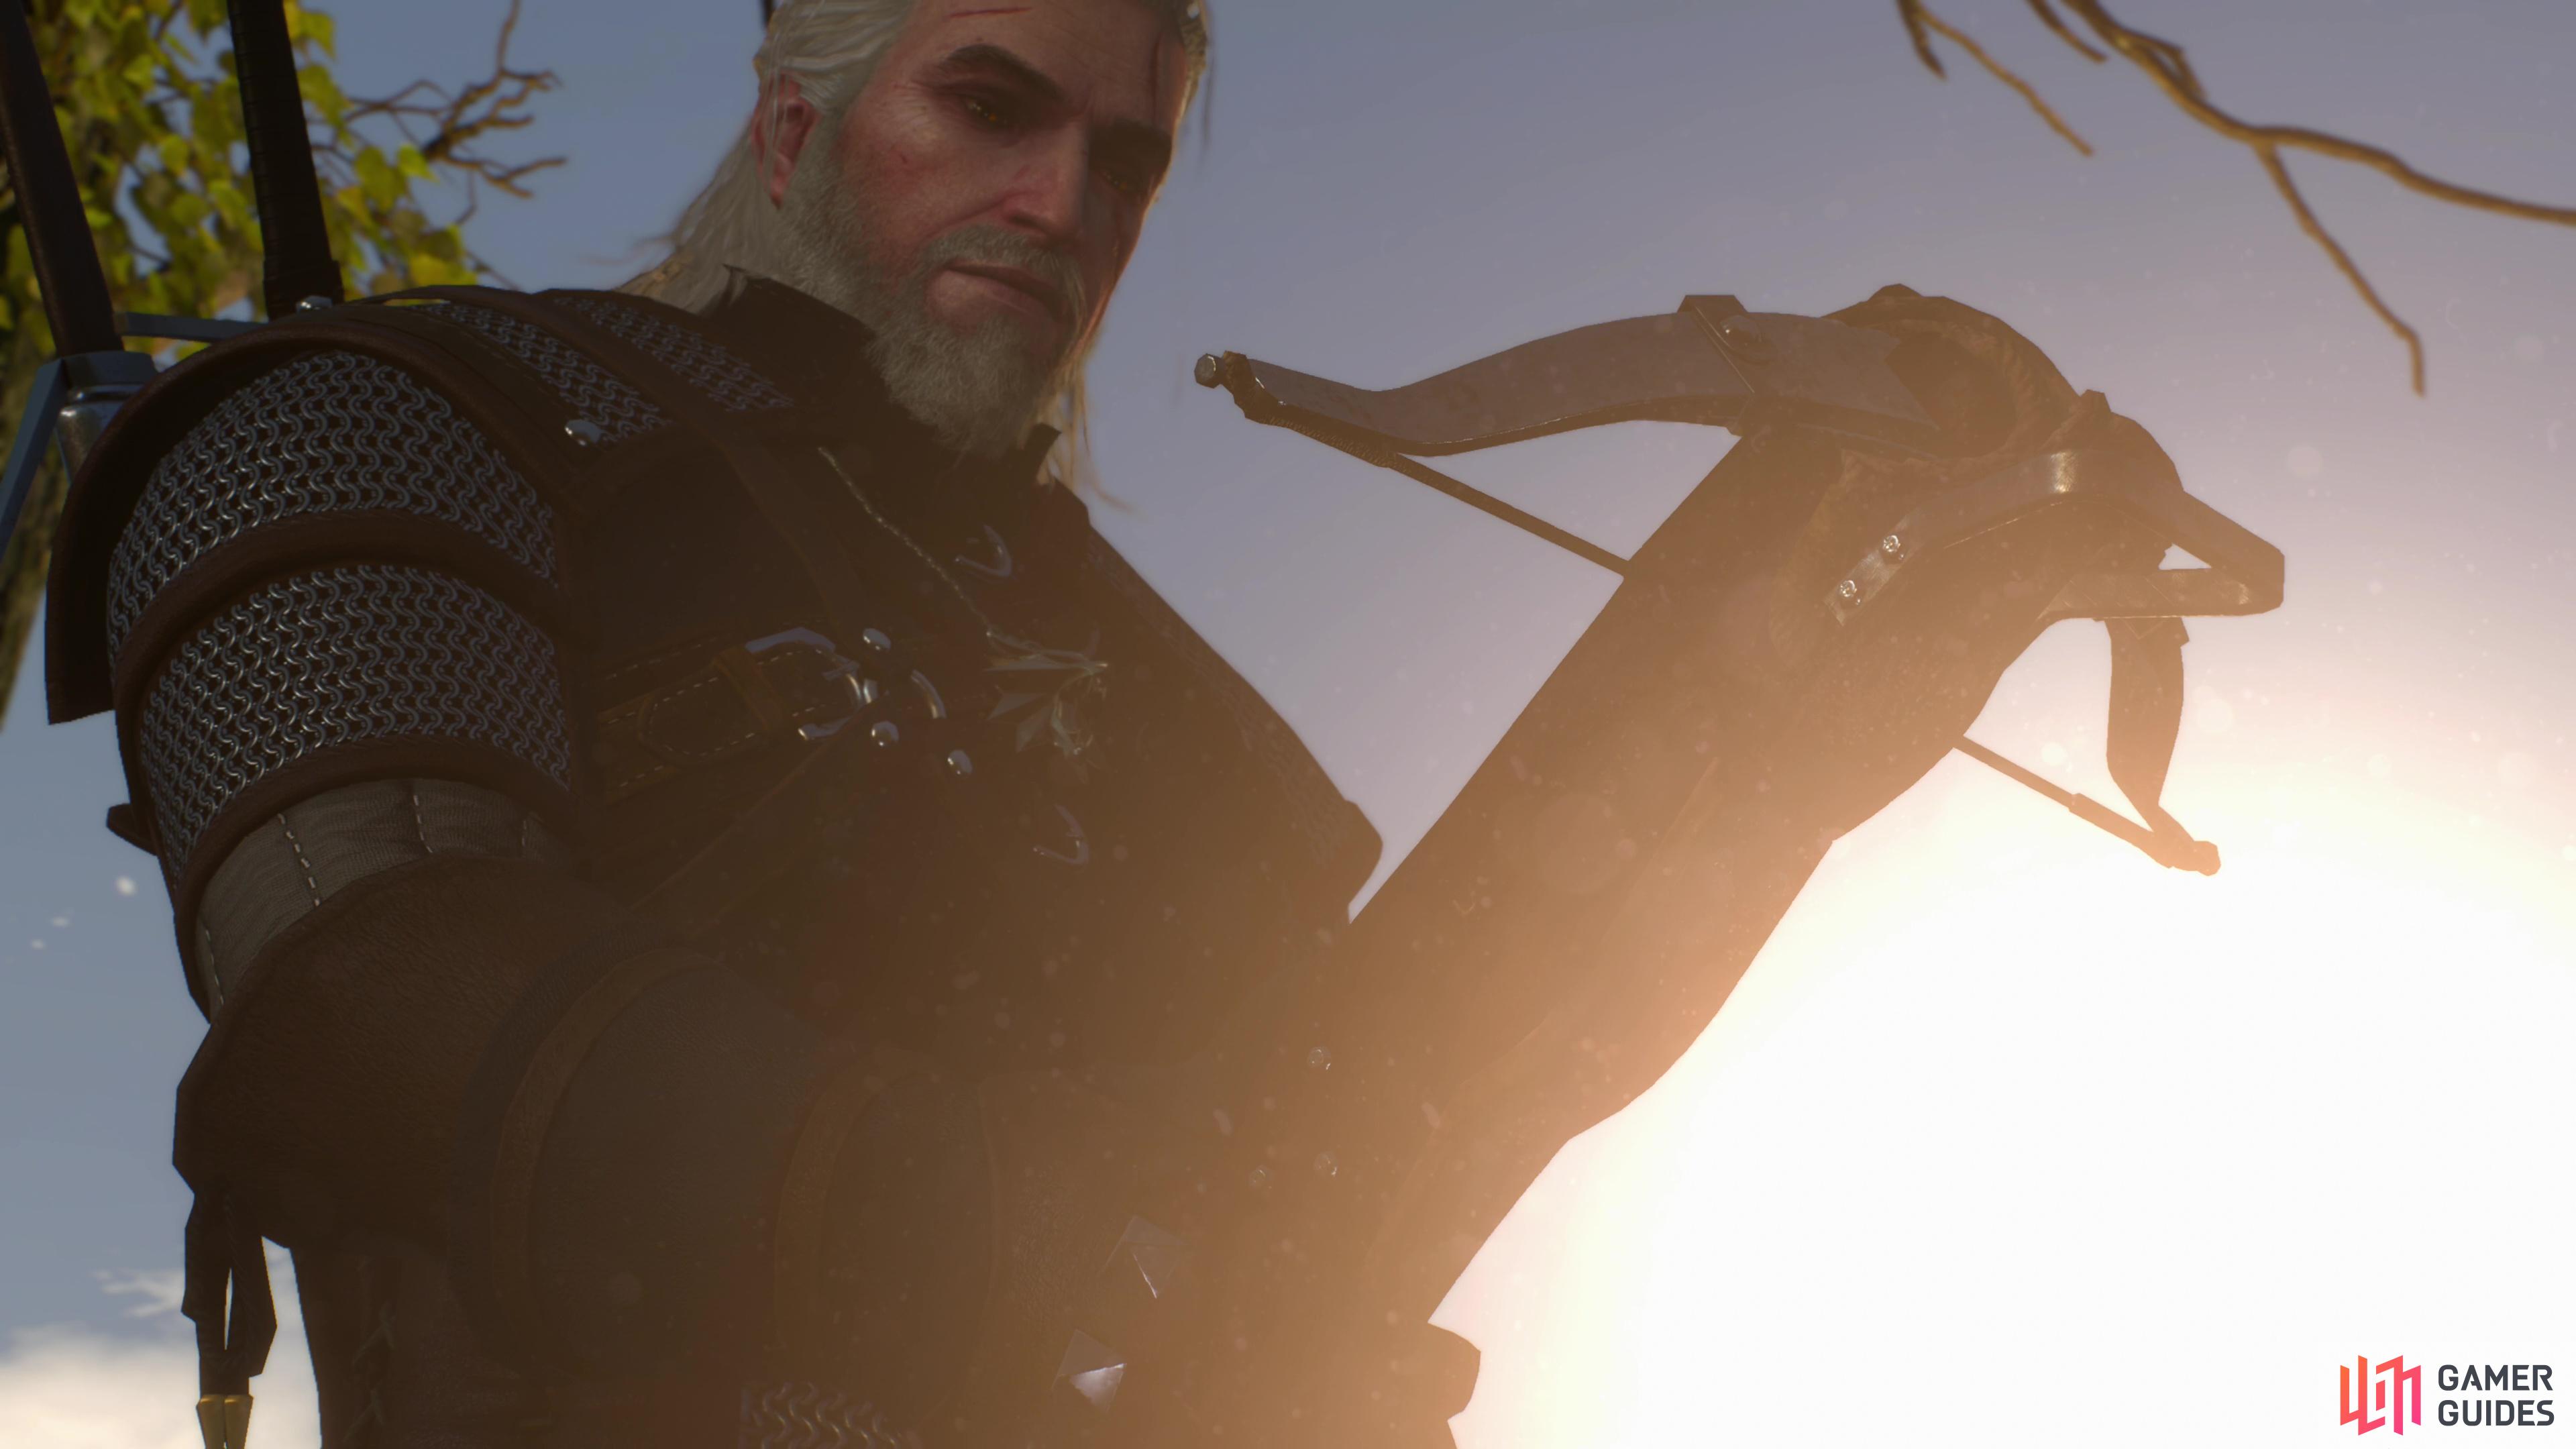
(1 of 2) Just before the fight with the Griffin, Vesemir will give Geralt a crossbow.
Just before the fight with the Griffin, Vesemir will give Geralt a crossbow. (left), You can put this device to good use by shooting the Griffin out of the sky when it charges. (right)
The Crossbow will serve you well in this fight, as you can, with some practice, learn to shoot the Griffin out of the sky as it charges. First equip the Crossbow by holding 
 , select the Crossbow from the radial menu and select it with
 . Once equipped you can hold
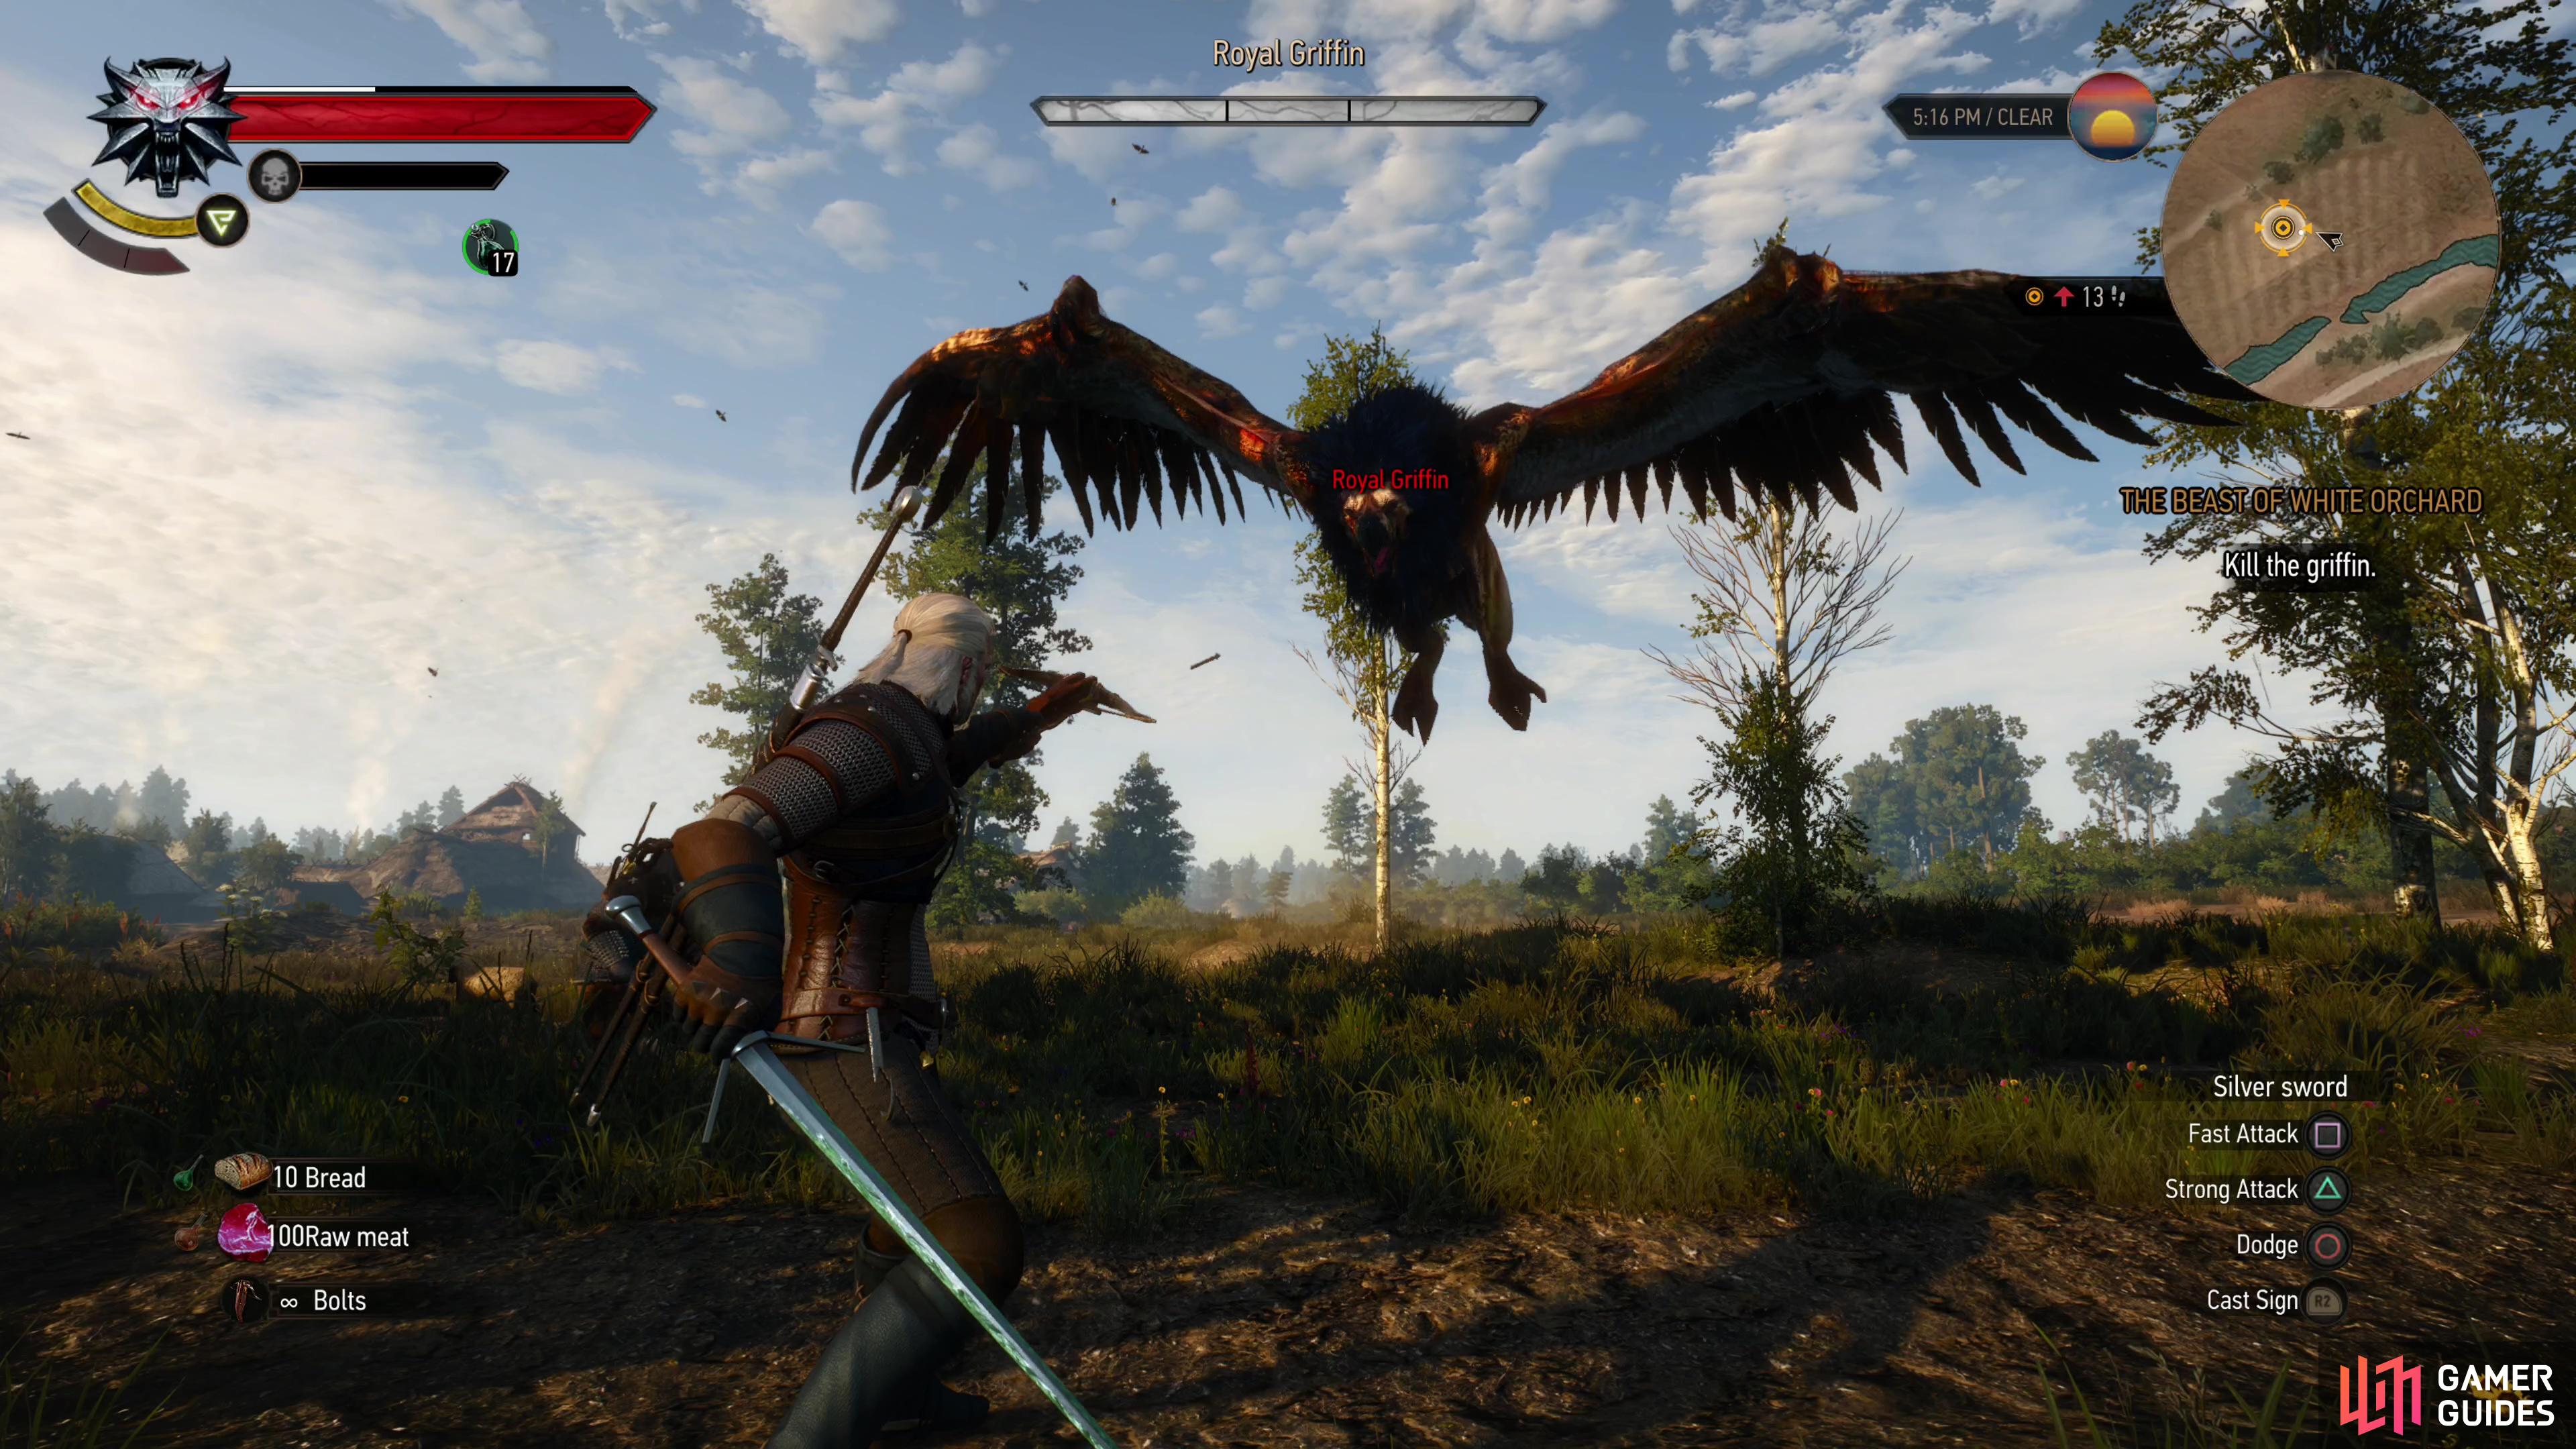
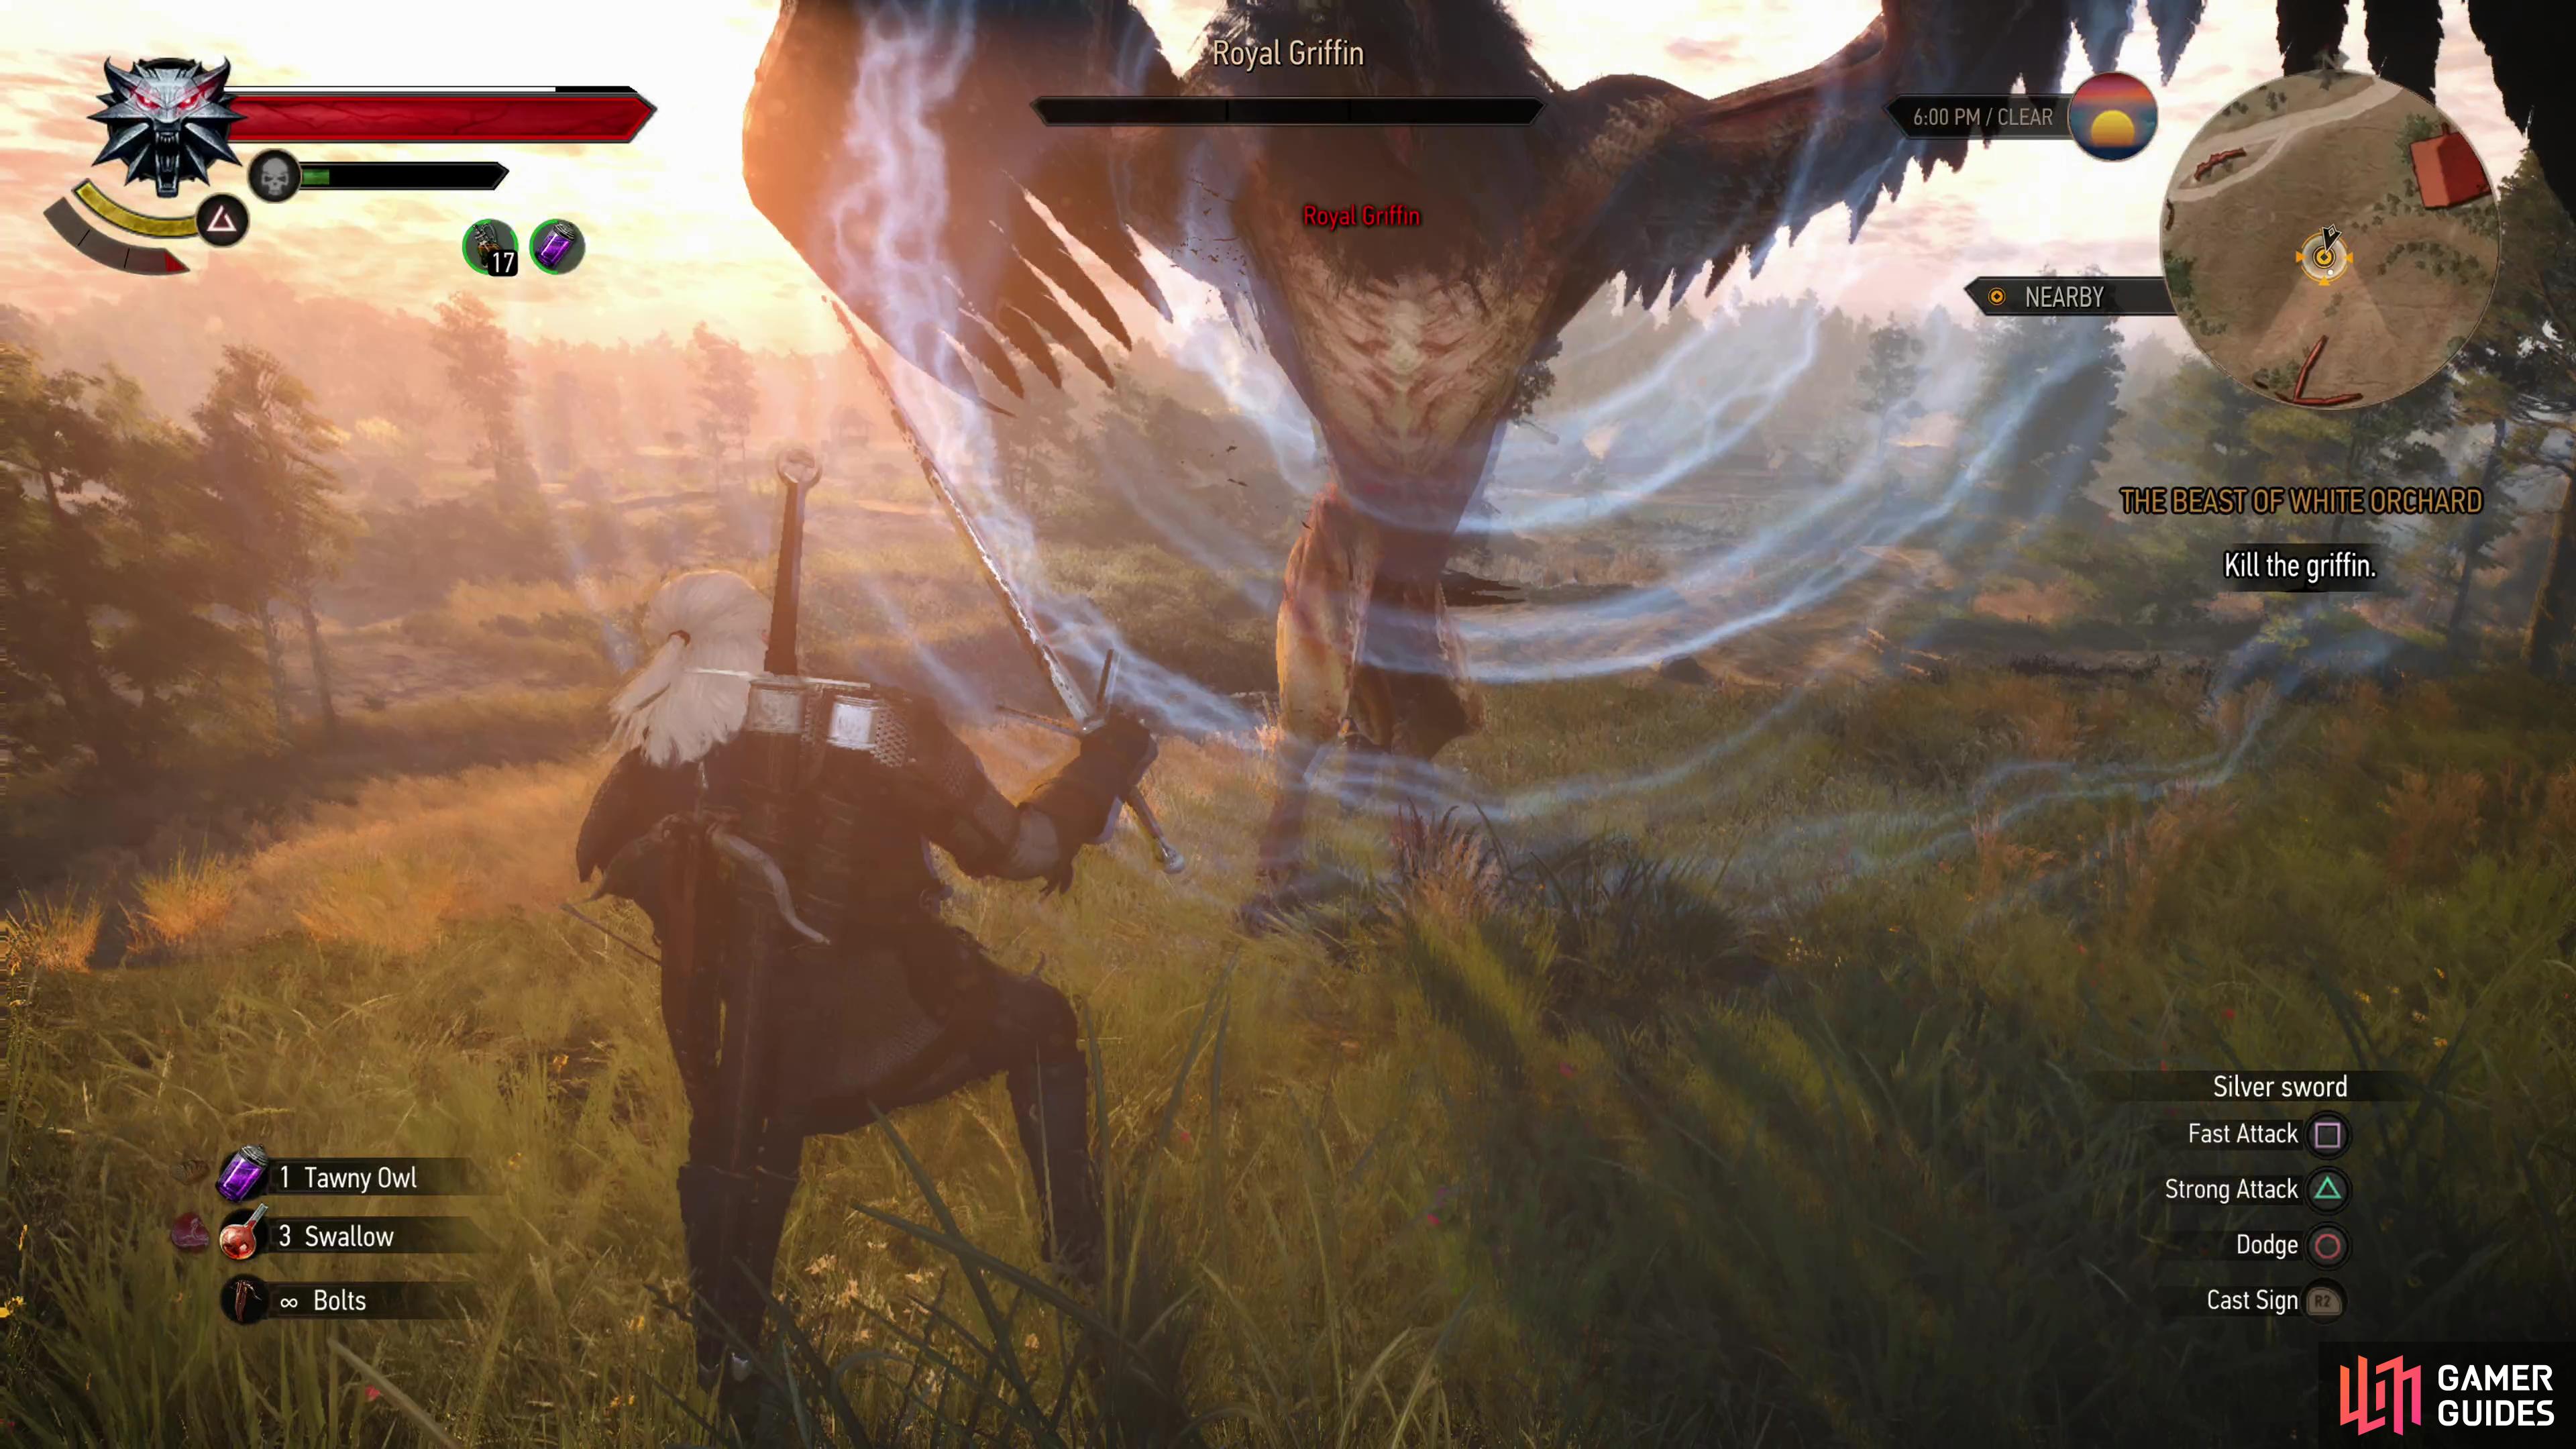
 to aim the crossbow manually or simply press to quickshoot it. The latter is arguably better for the Griffin, but you can only expect to land a shot via quickshot when the Griffin is relatively close - generally if you can see its healthbar and name, it’s close enough to shoot. Wait for it to charge and shoot it out of the sky and, if it lands close enough, you may just be able to score a few cheap sword swings before it recovers.
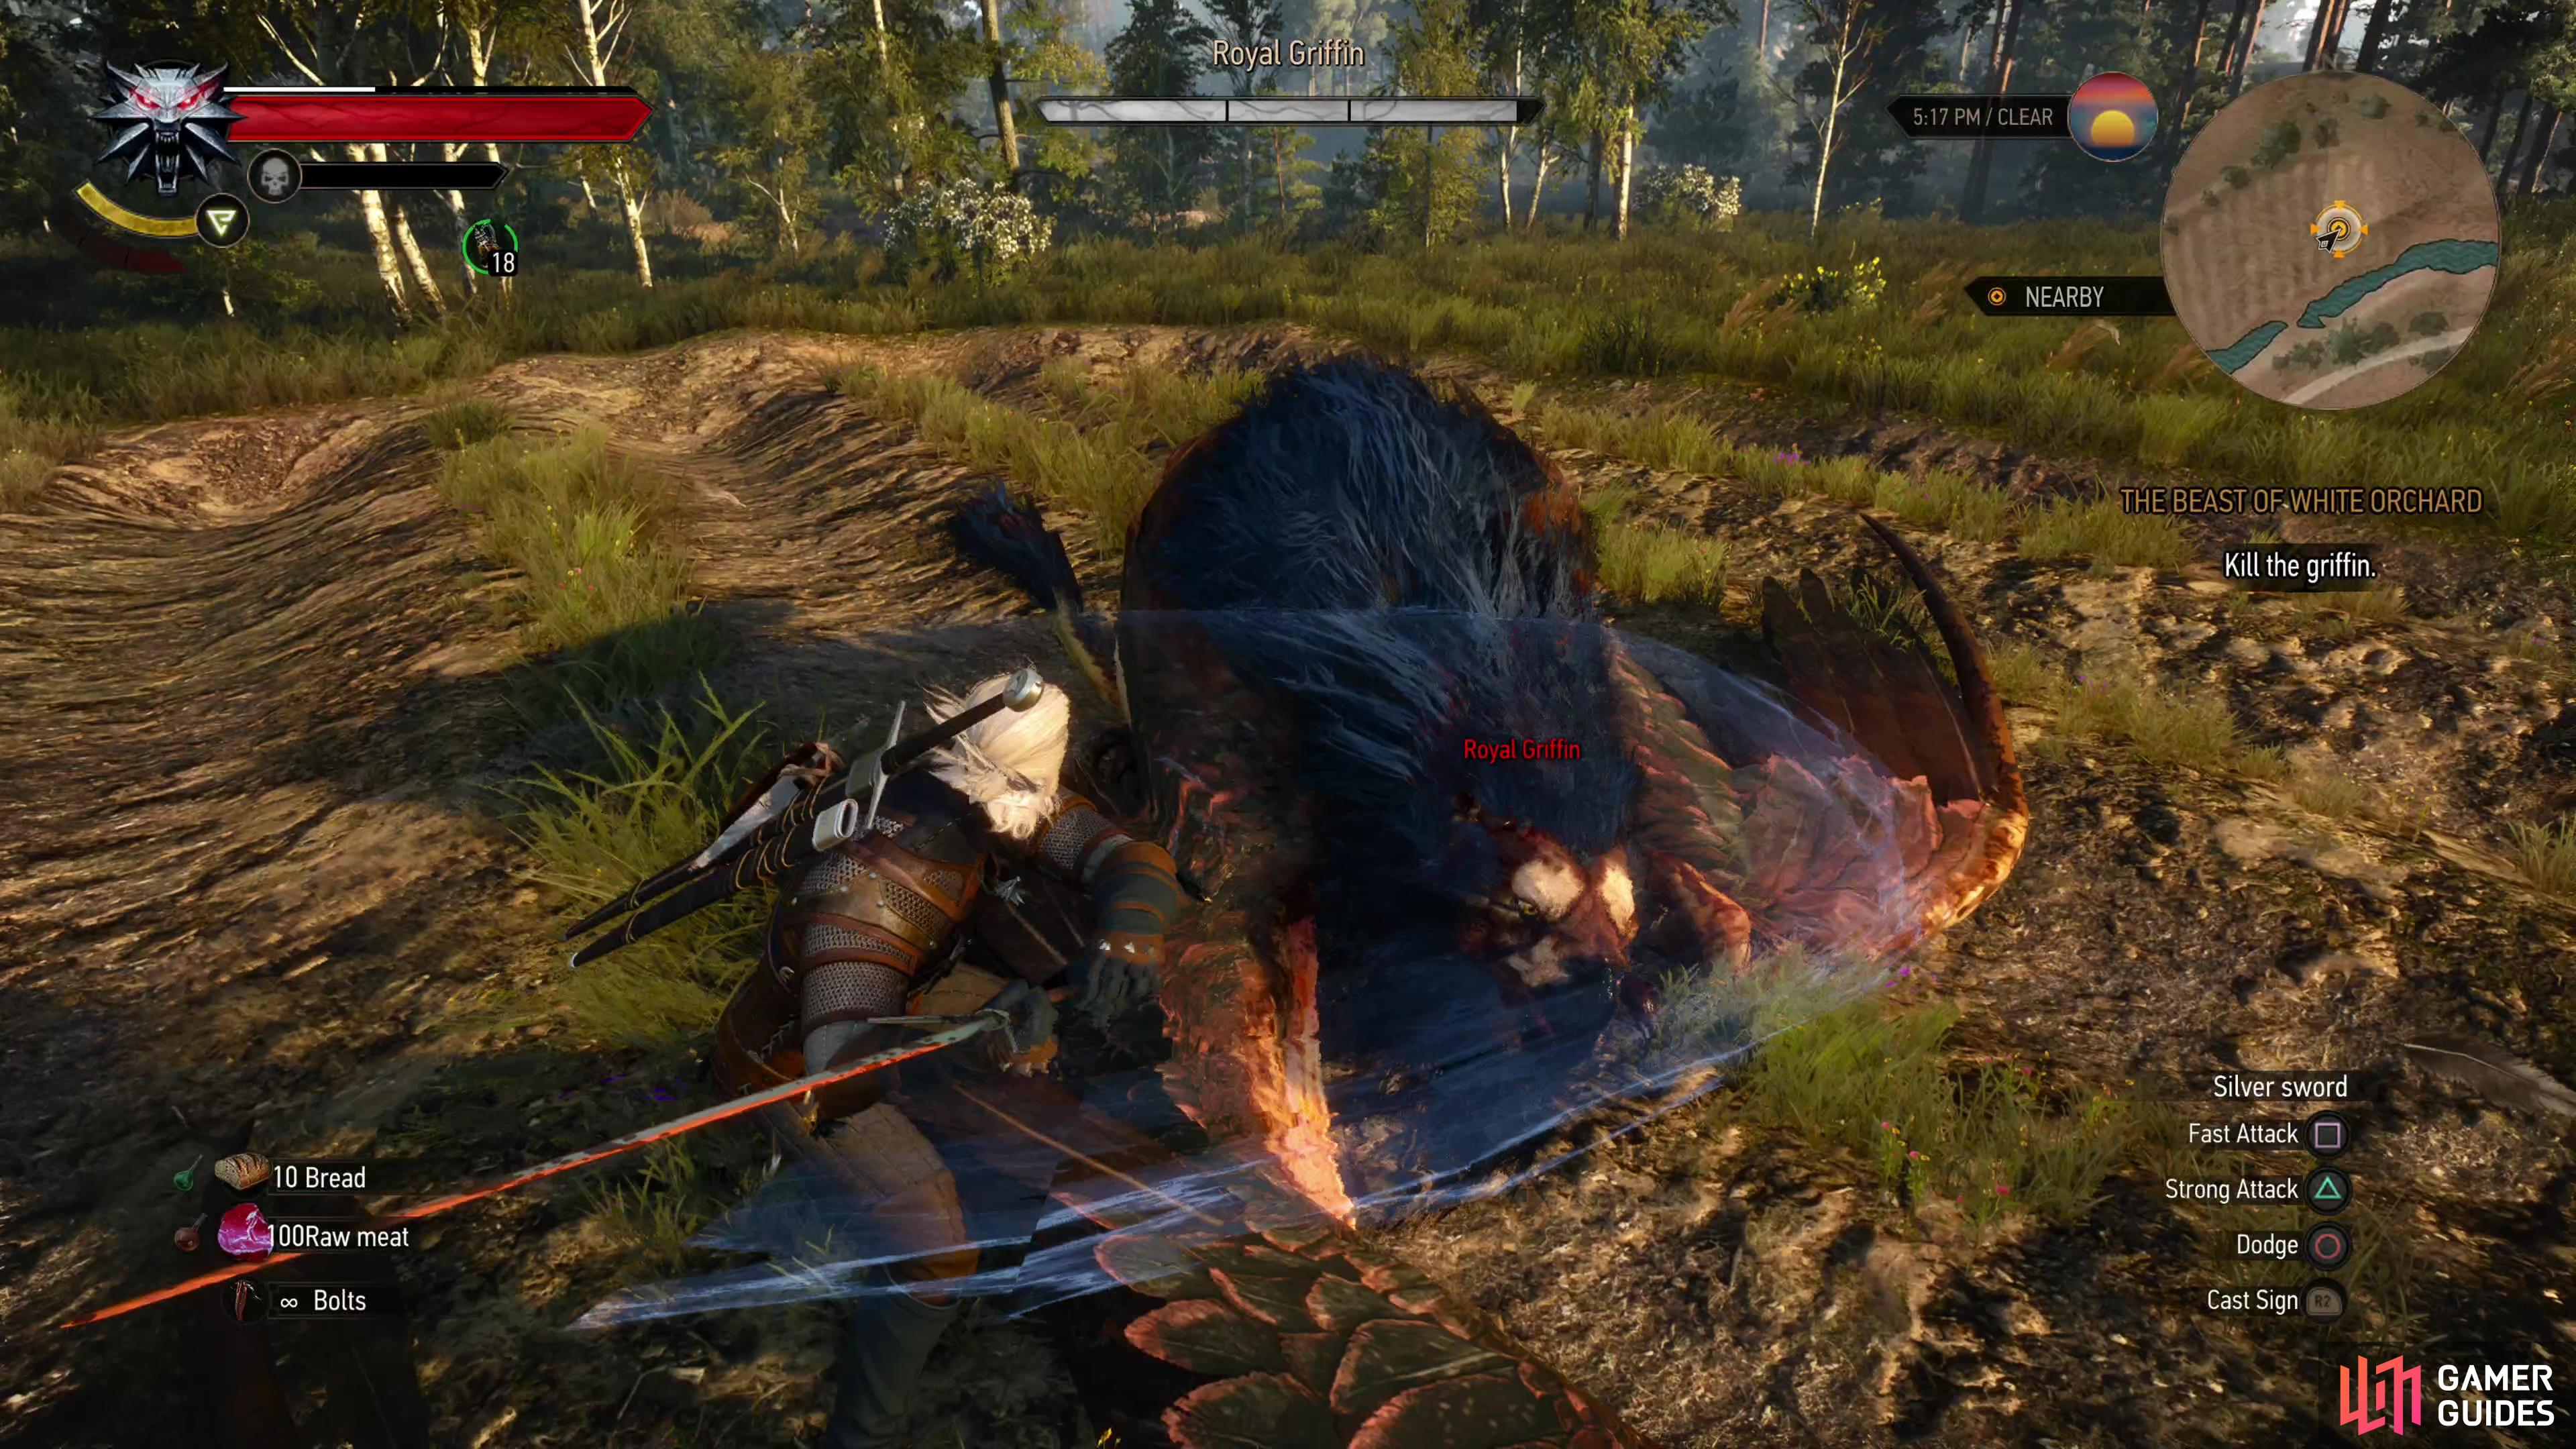
(1 of 3) When the Griffin’s guard is down, land a hit with your sword,
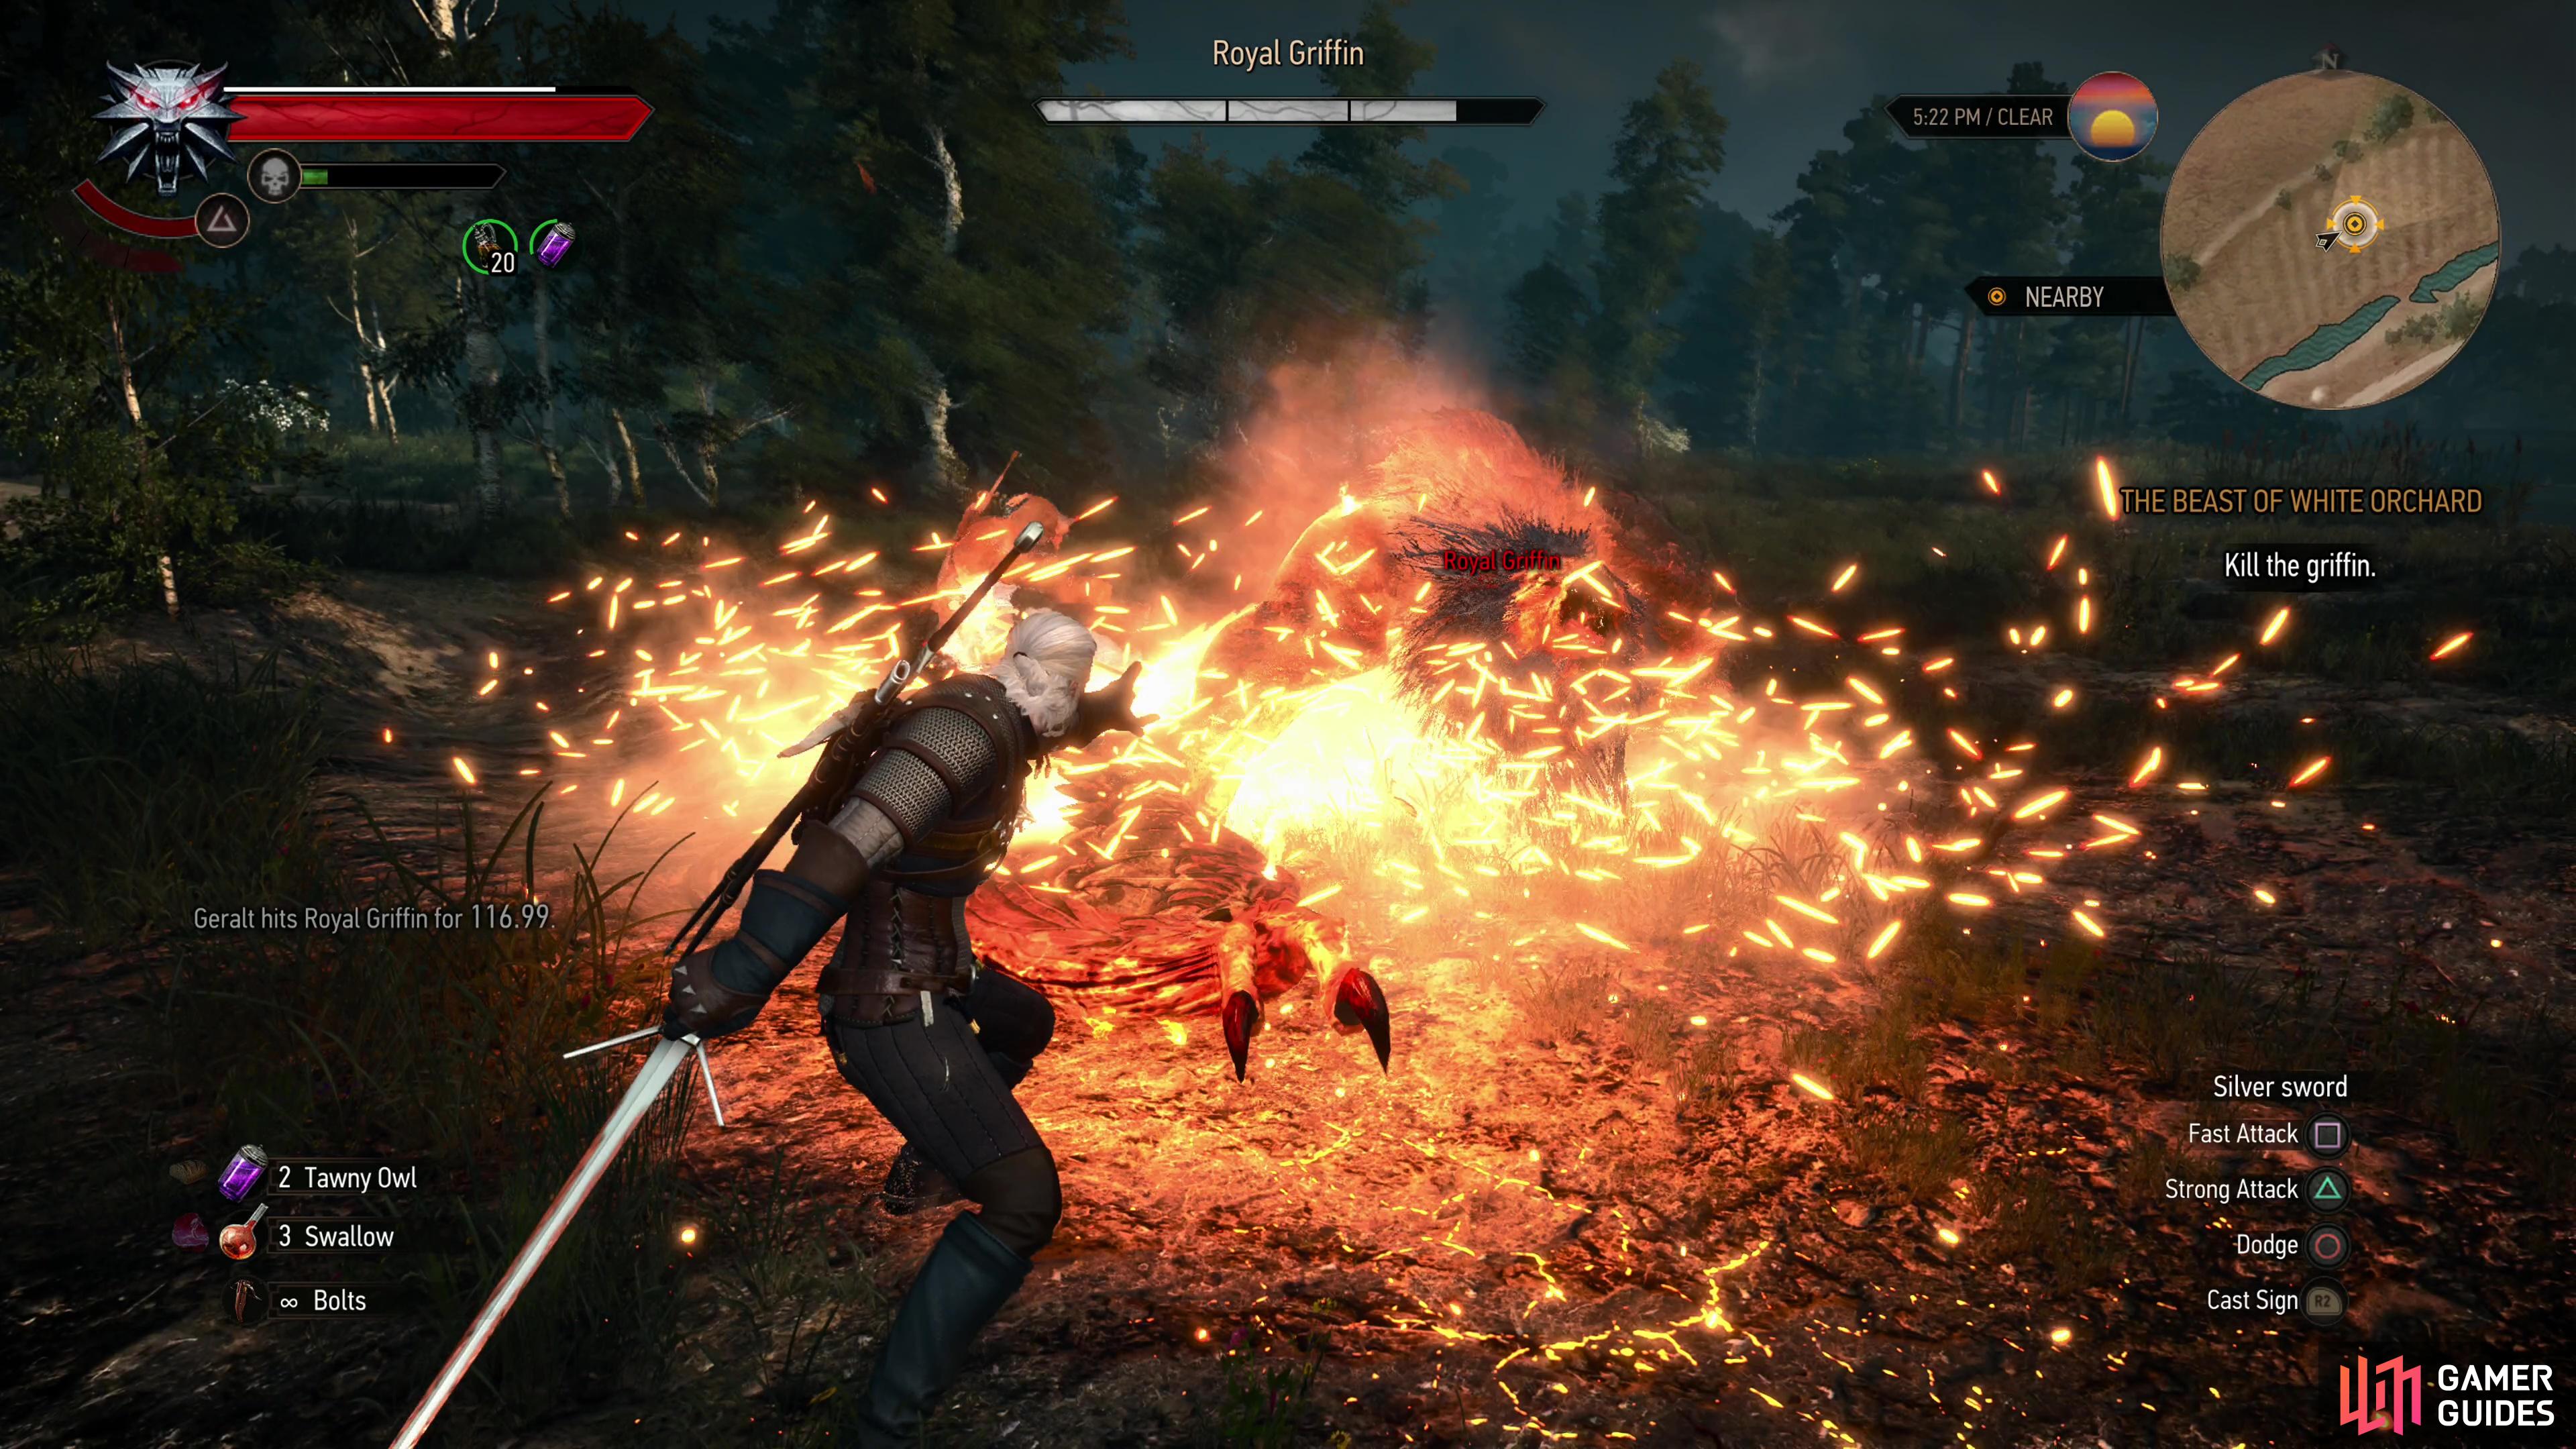
Even should you fail to shoot it down, it’s easy enough to dodge its charges and after a few dives it’ll land to engage you in melee, sometimes for protracted periods of time. The Griffin is fairly adept in melee, using its wing to deflect frontal attacks and quickly retaliating melee attacks with claw swipes. Using the old strong attack/dodge combo will usually keep you out of trouble, but it’s even safer to use Igni to punish the Griffin when its wing is ready to deflect. Tawny Owl will speed up Stamina regeneration and allow you to punish with Igni more regularly. ![]() Quen is useful, as usual, but you’re better off using the standard cast, as the Griffin’s attacks are more staggering than damaging - each strike will probably dispel the Quen barrier without healing you all that much.
Quen is useful, as usual, but you’re better off using the standard cast, as the Griffin’s attacks are more staggering than damaging - each strike will probably dispel the Quen barrier without healing you all that much.
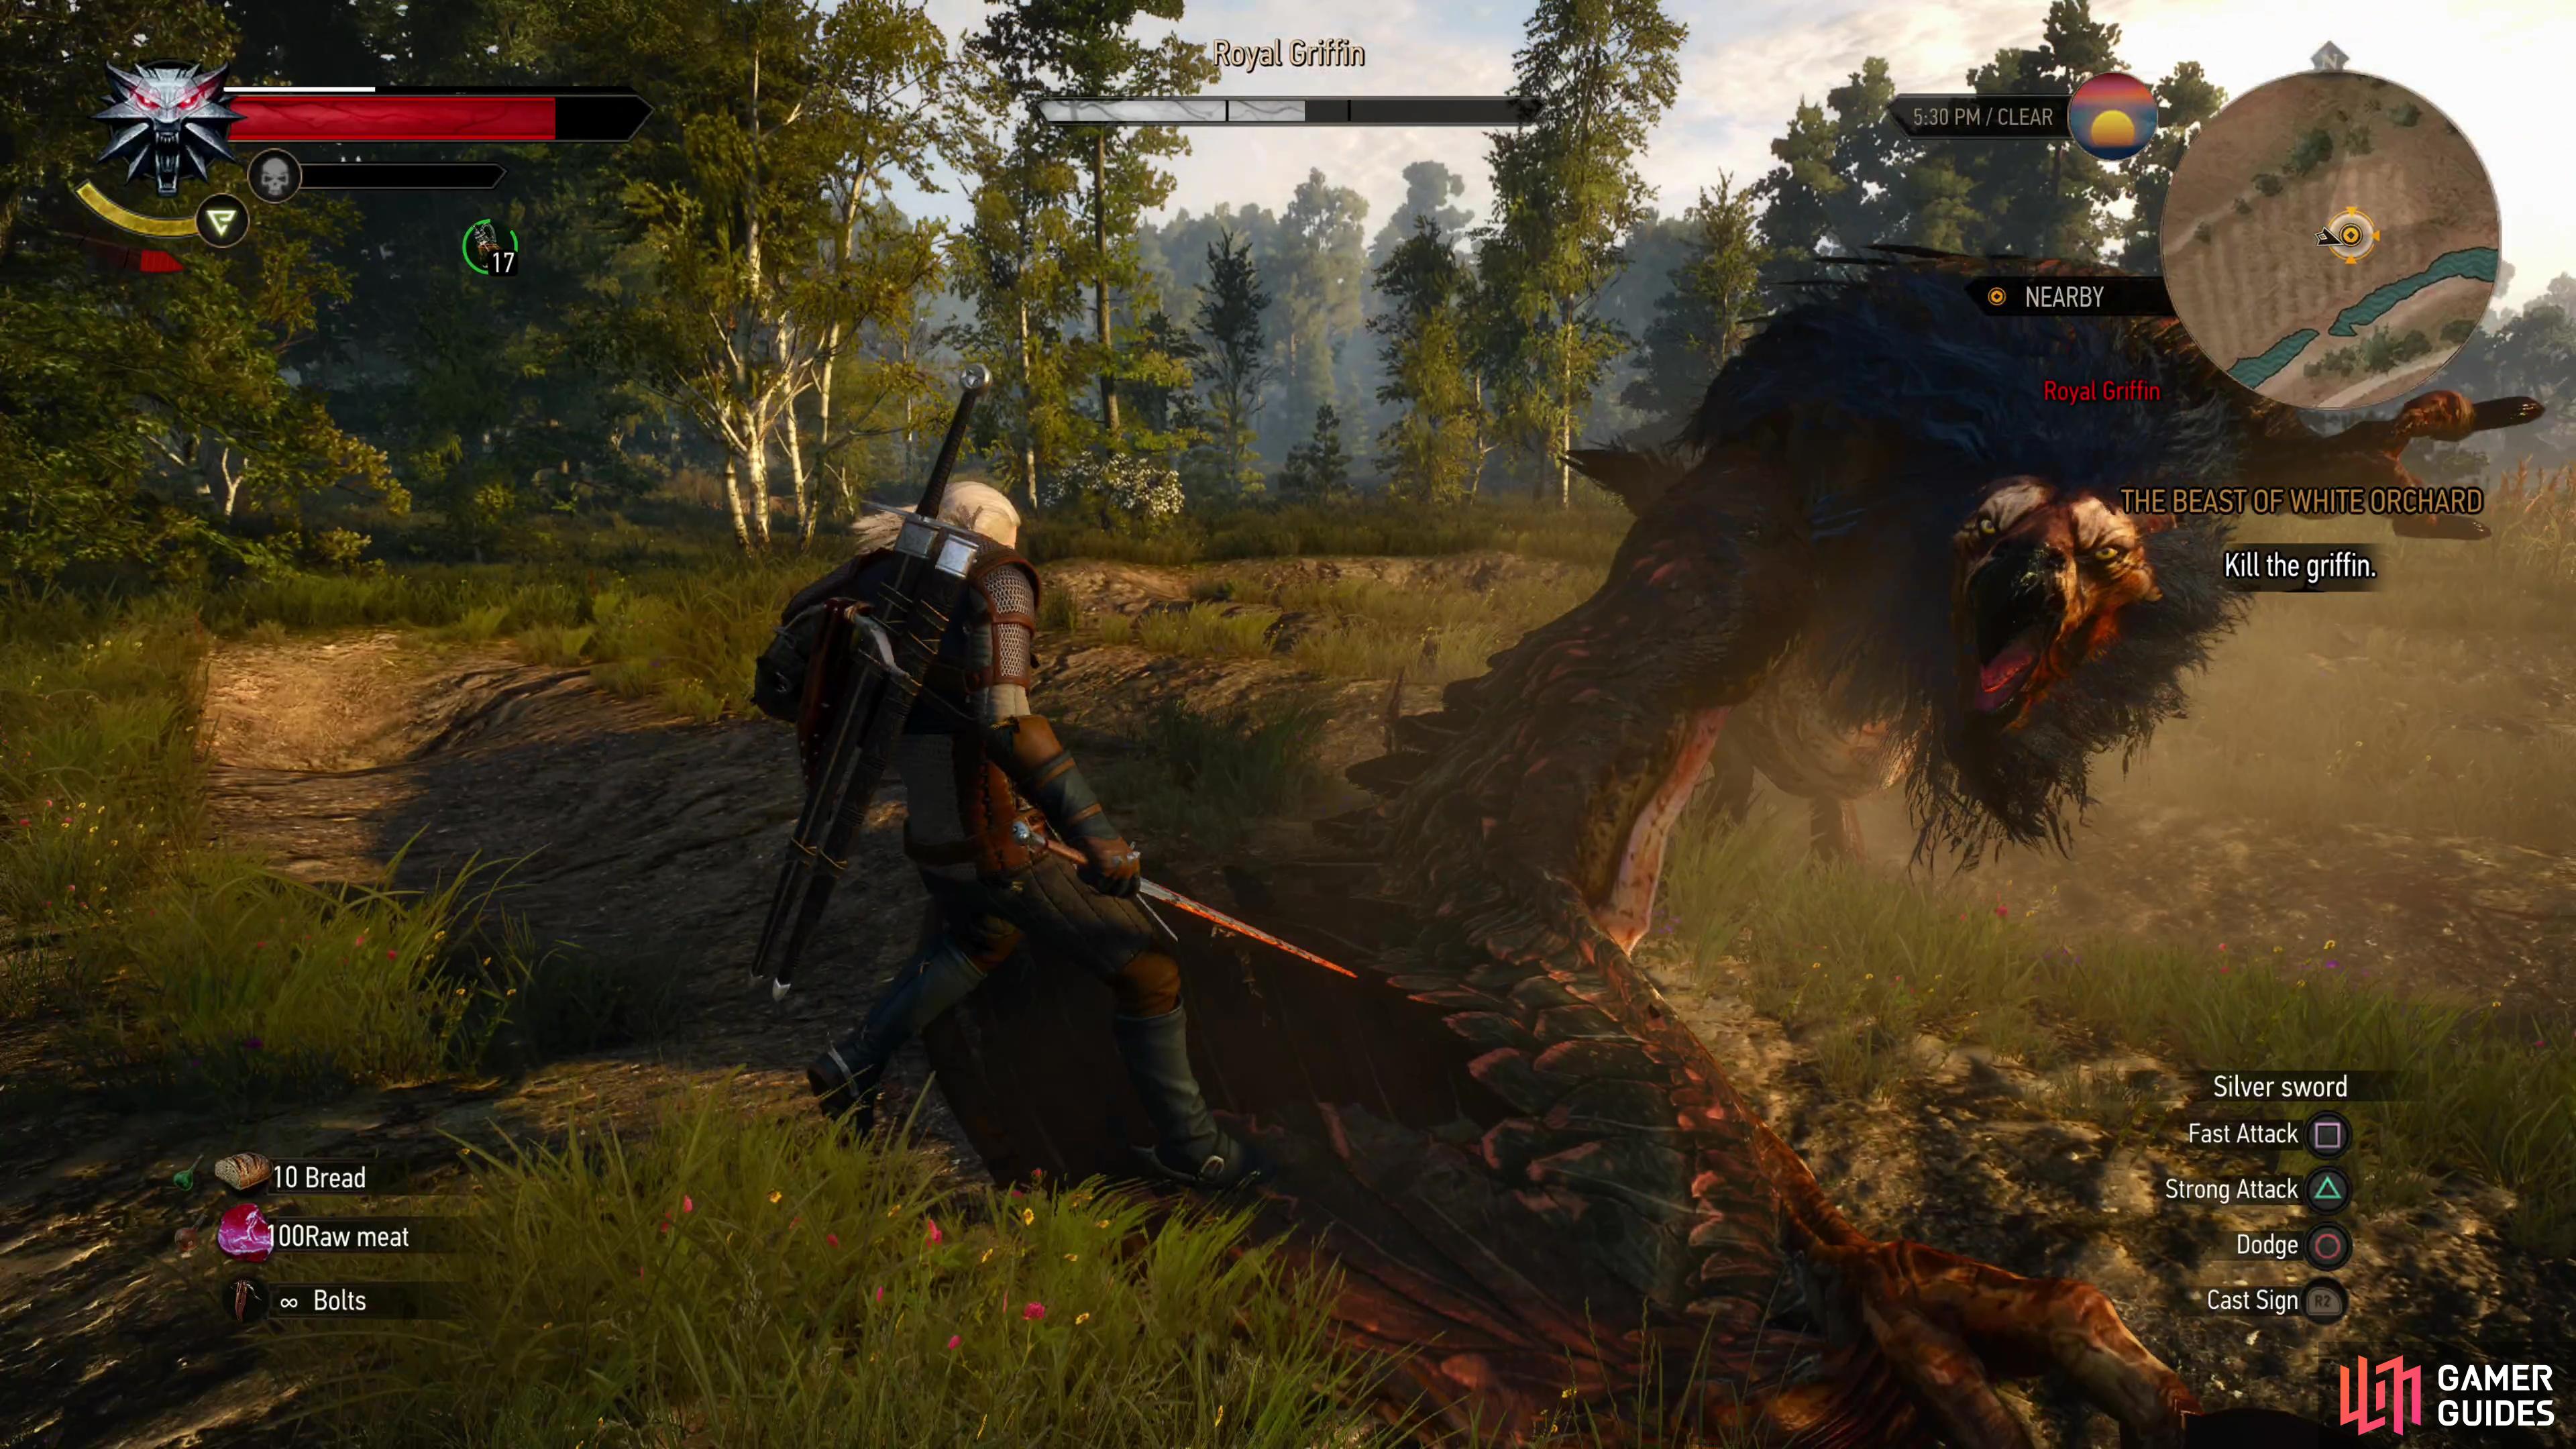
(1 of 3) Whittle the Griffin down to half its health and it’ll fly off to the old mill - chase it,
Vesemir is a major crutch in this fight, as he’ll constantly attack the Griffin and cast ![]() Aard, and while he won’t often knock it off-balance with Aard, his sword strikes will deal constant chip damage. It’s not all positive, however, as Vesemir’s attacks will also end any damage-over-time effects afflicted with Igni. Still, you can usually kite the Griffin, wait for openings, and let Vesemir chip away at its health if you prefer. Between attack/dodge combos, Igni, and the power of teamwork, the Griffin’s health should end up whittled down fairly quickly. Once its lost half its health it’ll fly off northwest towards the old mill.
Aard, and while he won’t often knock it off-balance with Aard, his sword strikes will deal constant chip damage. It’s not all positive, however, as Vesemir’s attacks will also end any damage-over-time effects afflicted with Igni. Still, you can usually kite the Griffin, wait for openings, and let Vesemir chip away at its health if you prefer. Between attack/dodge combos, Igni, and the power of teamwork, the Griffin’s health should end up whittled down fairly quickly. Once its lost half its health it’ll fly off northwest towards the old mill.
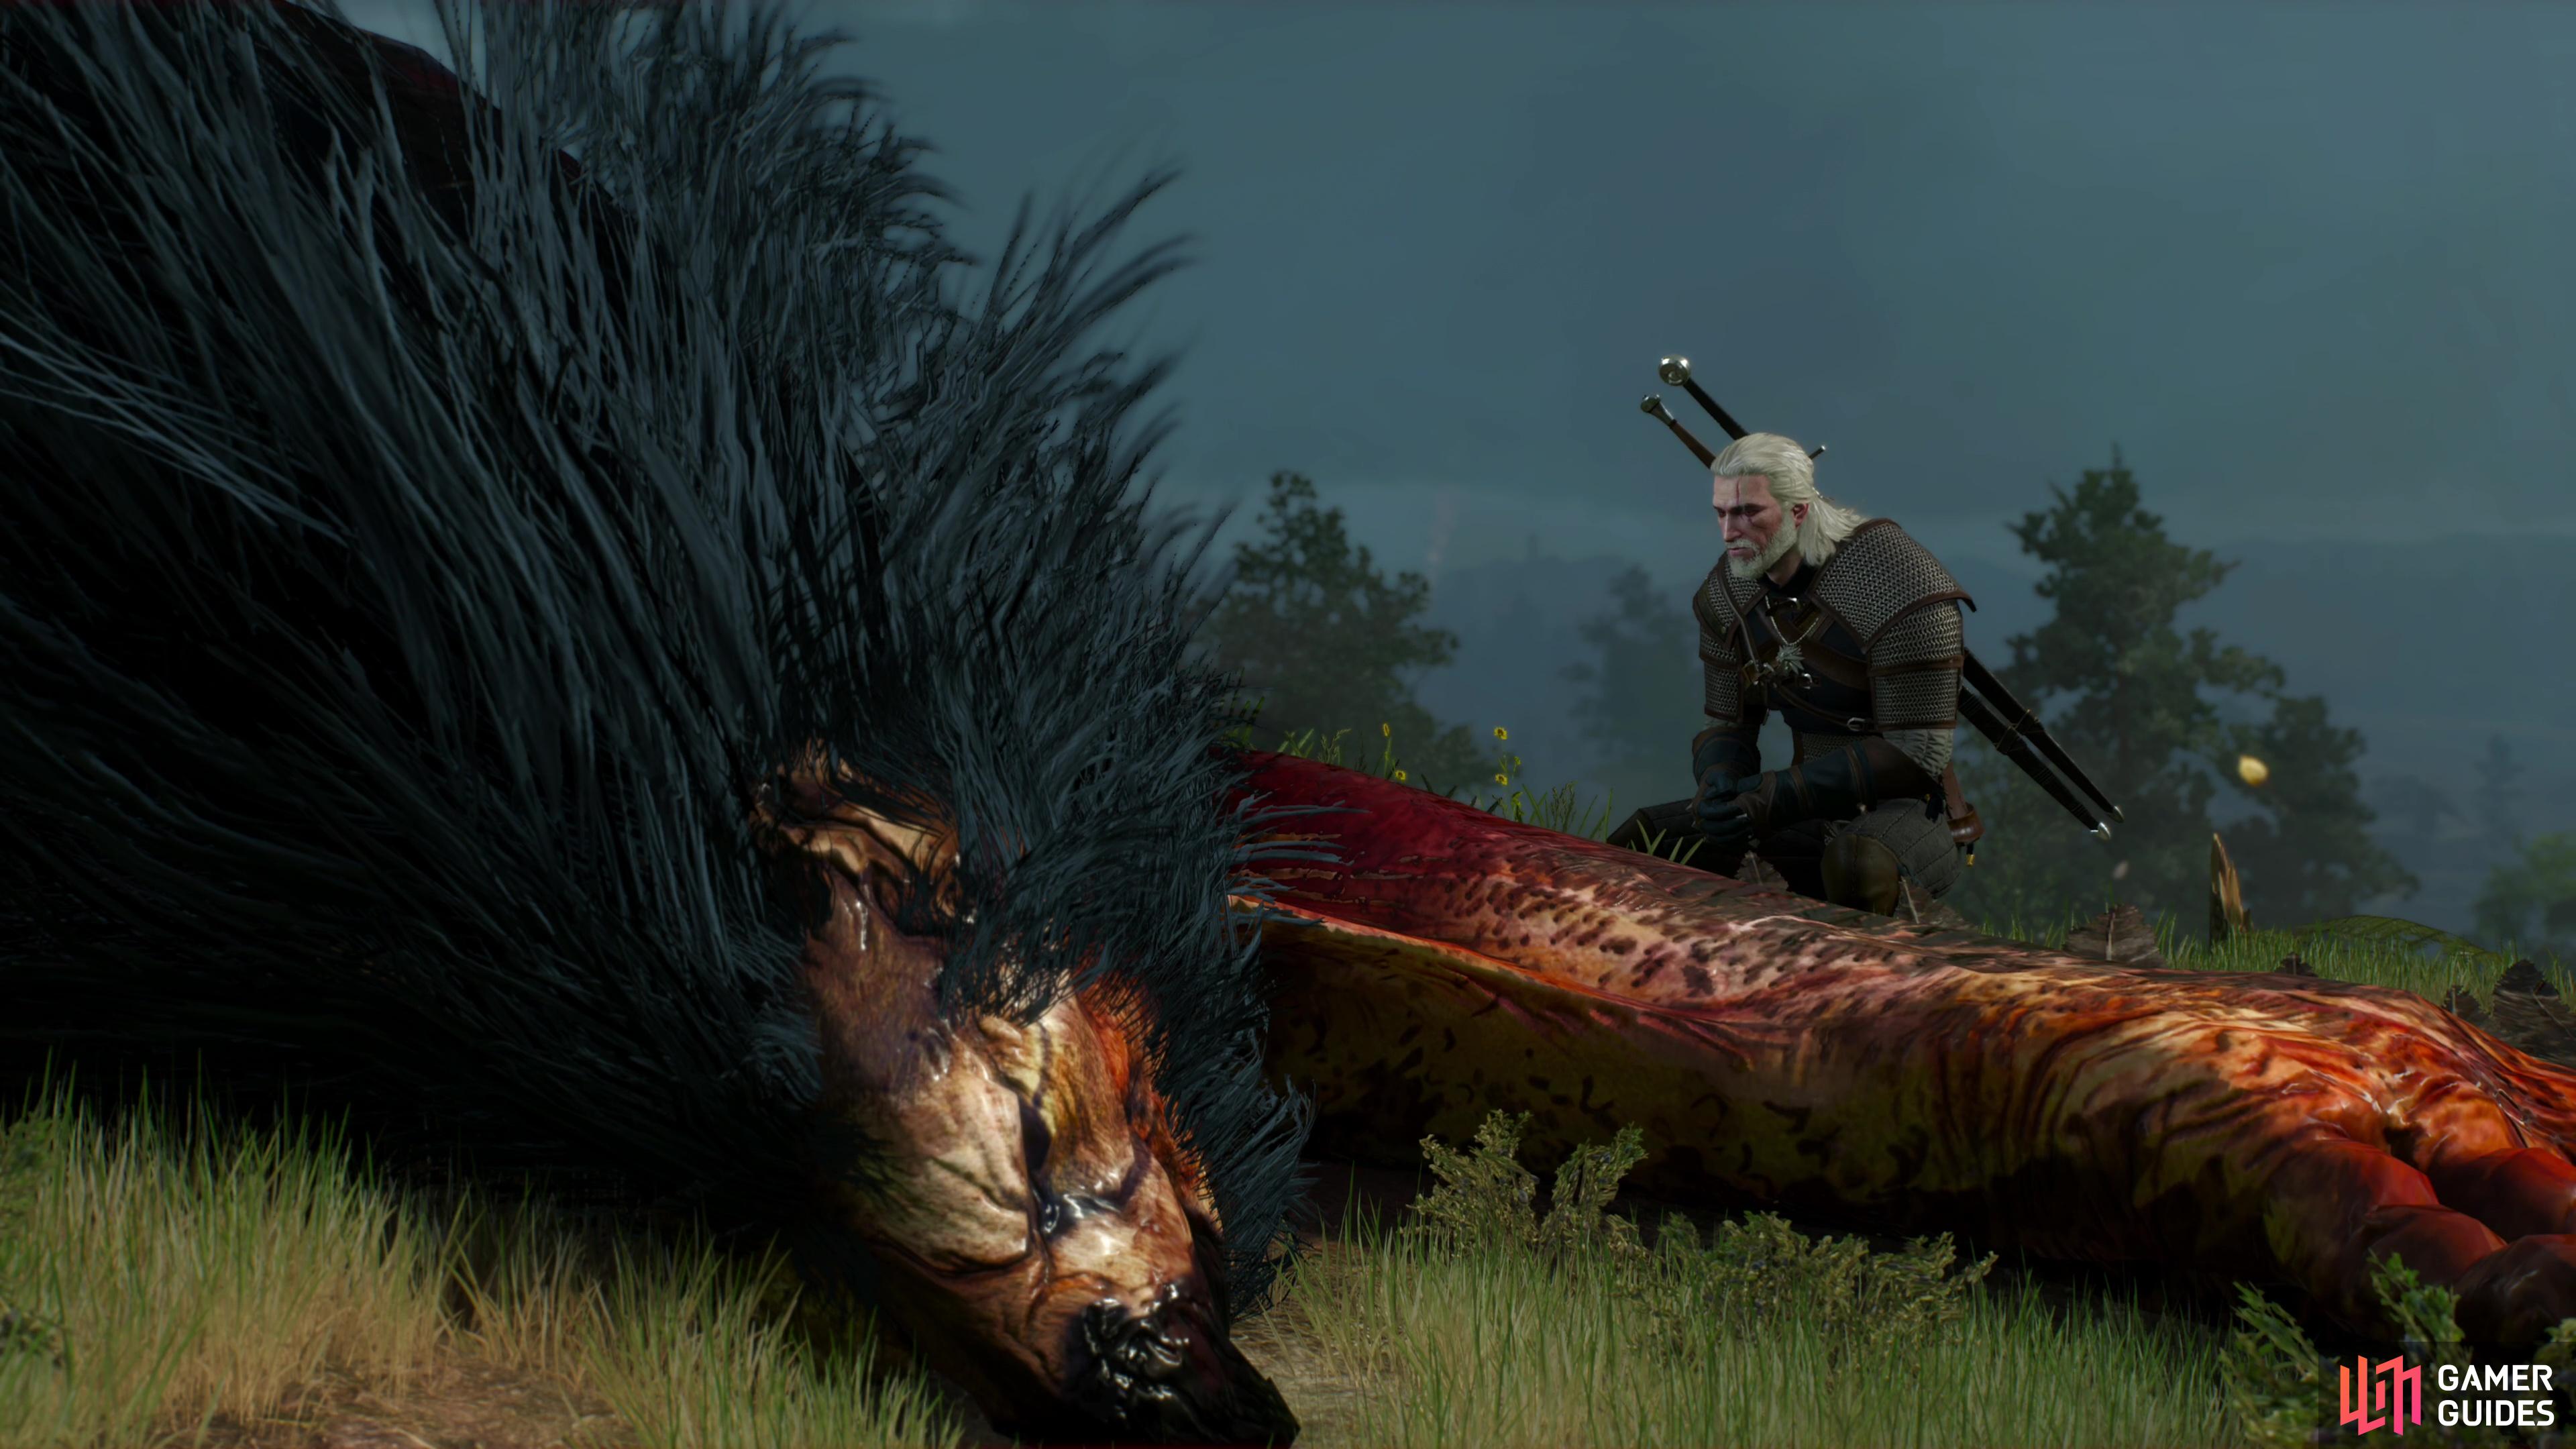
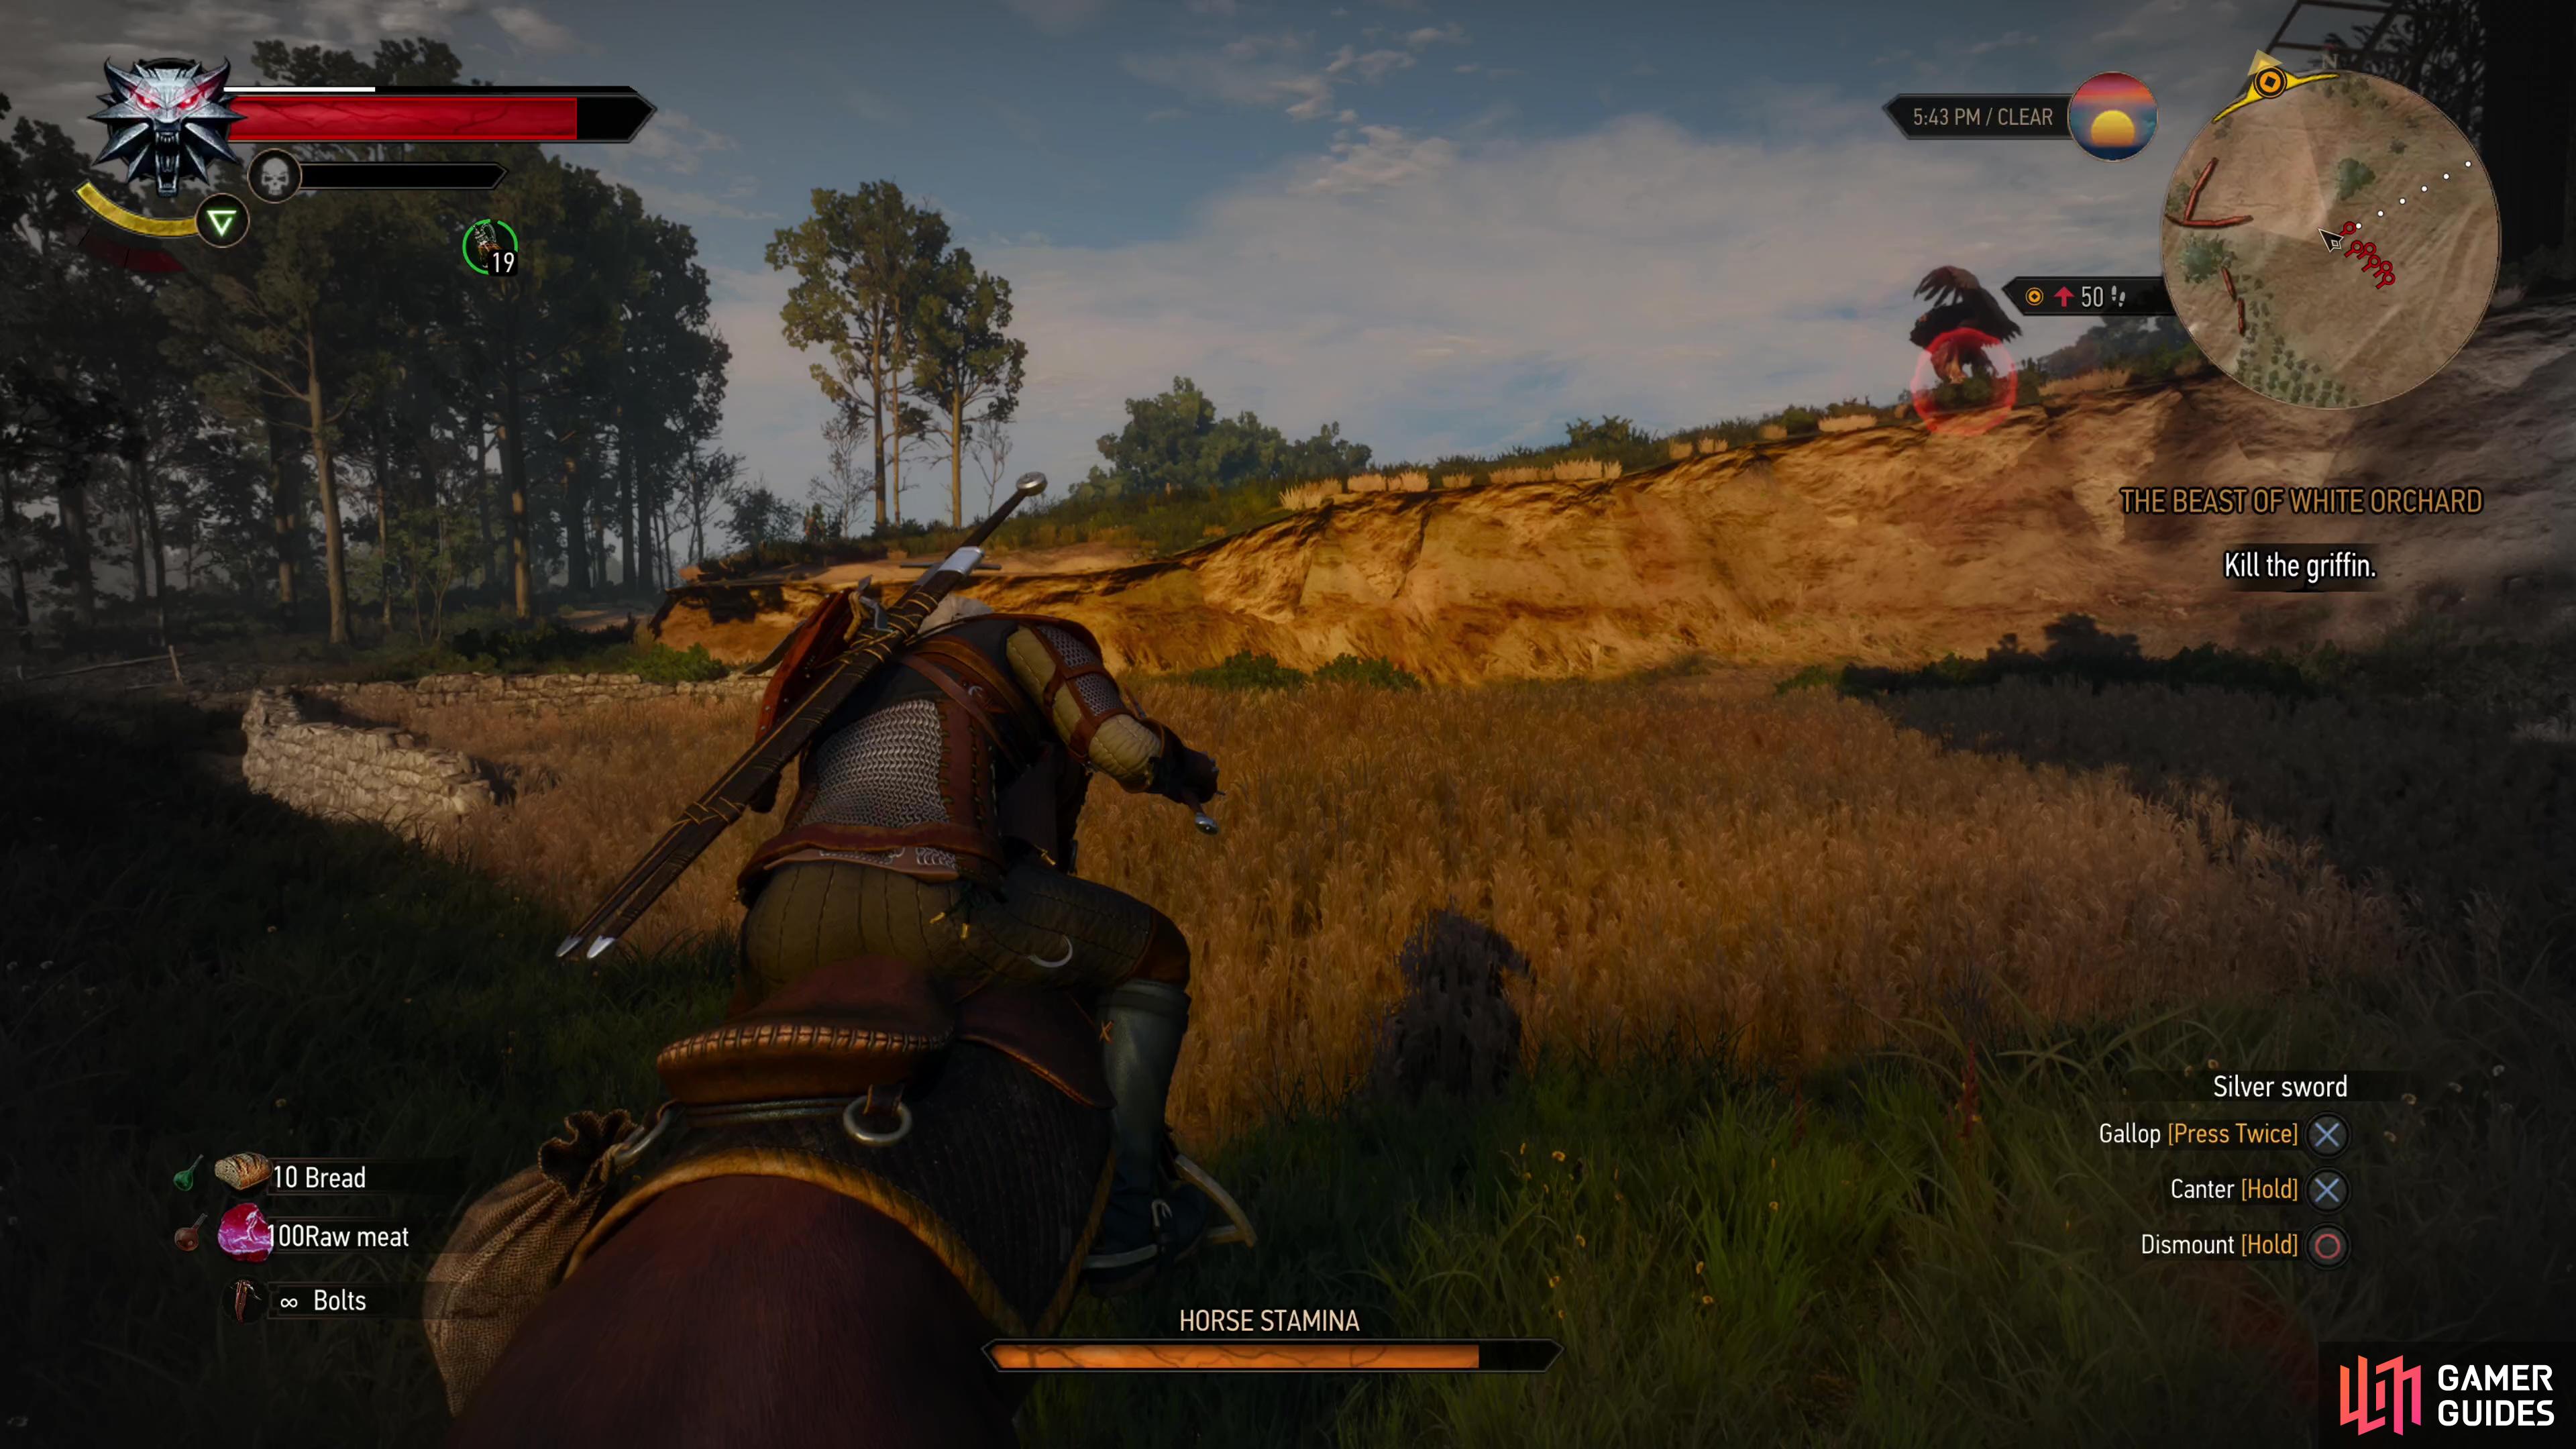
At this point summon ![]() Roach and chase the critter up to near the mill and finish it off. It’s a little more aggressive now that it’s been injured, and can use a screech attack to stagger you, as well as a leaping claw lunge, but the same tactics you employed in the first half of the fight should still suffice. When the Griffin falls Vesemir will lecture Geralt and leave it to his protégé to claim a trophy from the vanquished beast. Loot the Griffin Trophy and a Griffin Mutagen from the corpse, the former of which should be sufficient proof to appease the Nilfgaardians.
Roach and chase the critter up to near the mill and finish it off. It’s a little more aggressive now that it’s been injured, and can use a screech attack to stagger you, as well as a leaping claw lunge, but the same tactics you employed in the first half of the fight should still suffice. When the Griffin falls Vesemir will lecture Geralt and leave it to his protégé to claim a trophy from the vanquished beast. Loot the Griffin Trophy and a Griffin Mutagen from the corpse, the former of which should be sufficient proof to appease the Nilfgaardians.
Claim Your Reward from the Nilfgaardian Captain
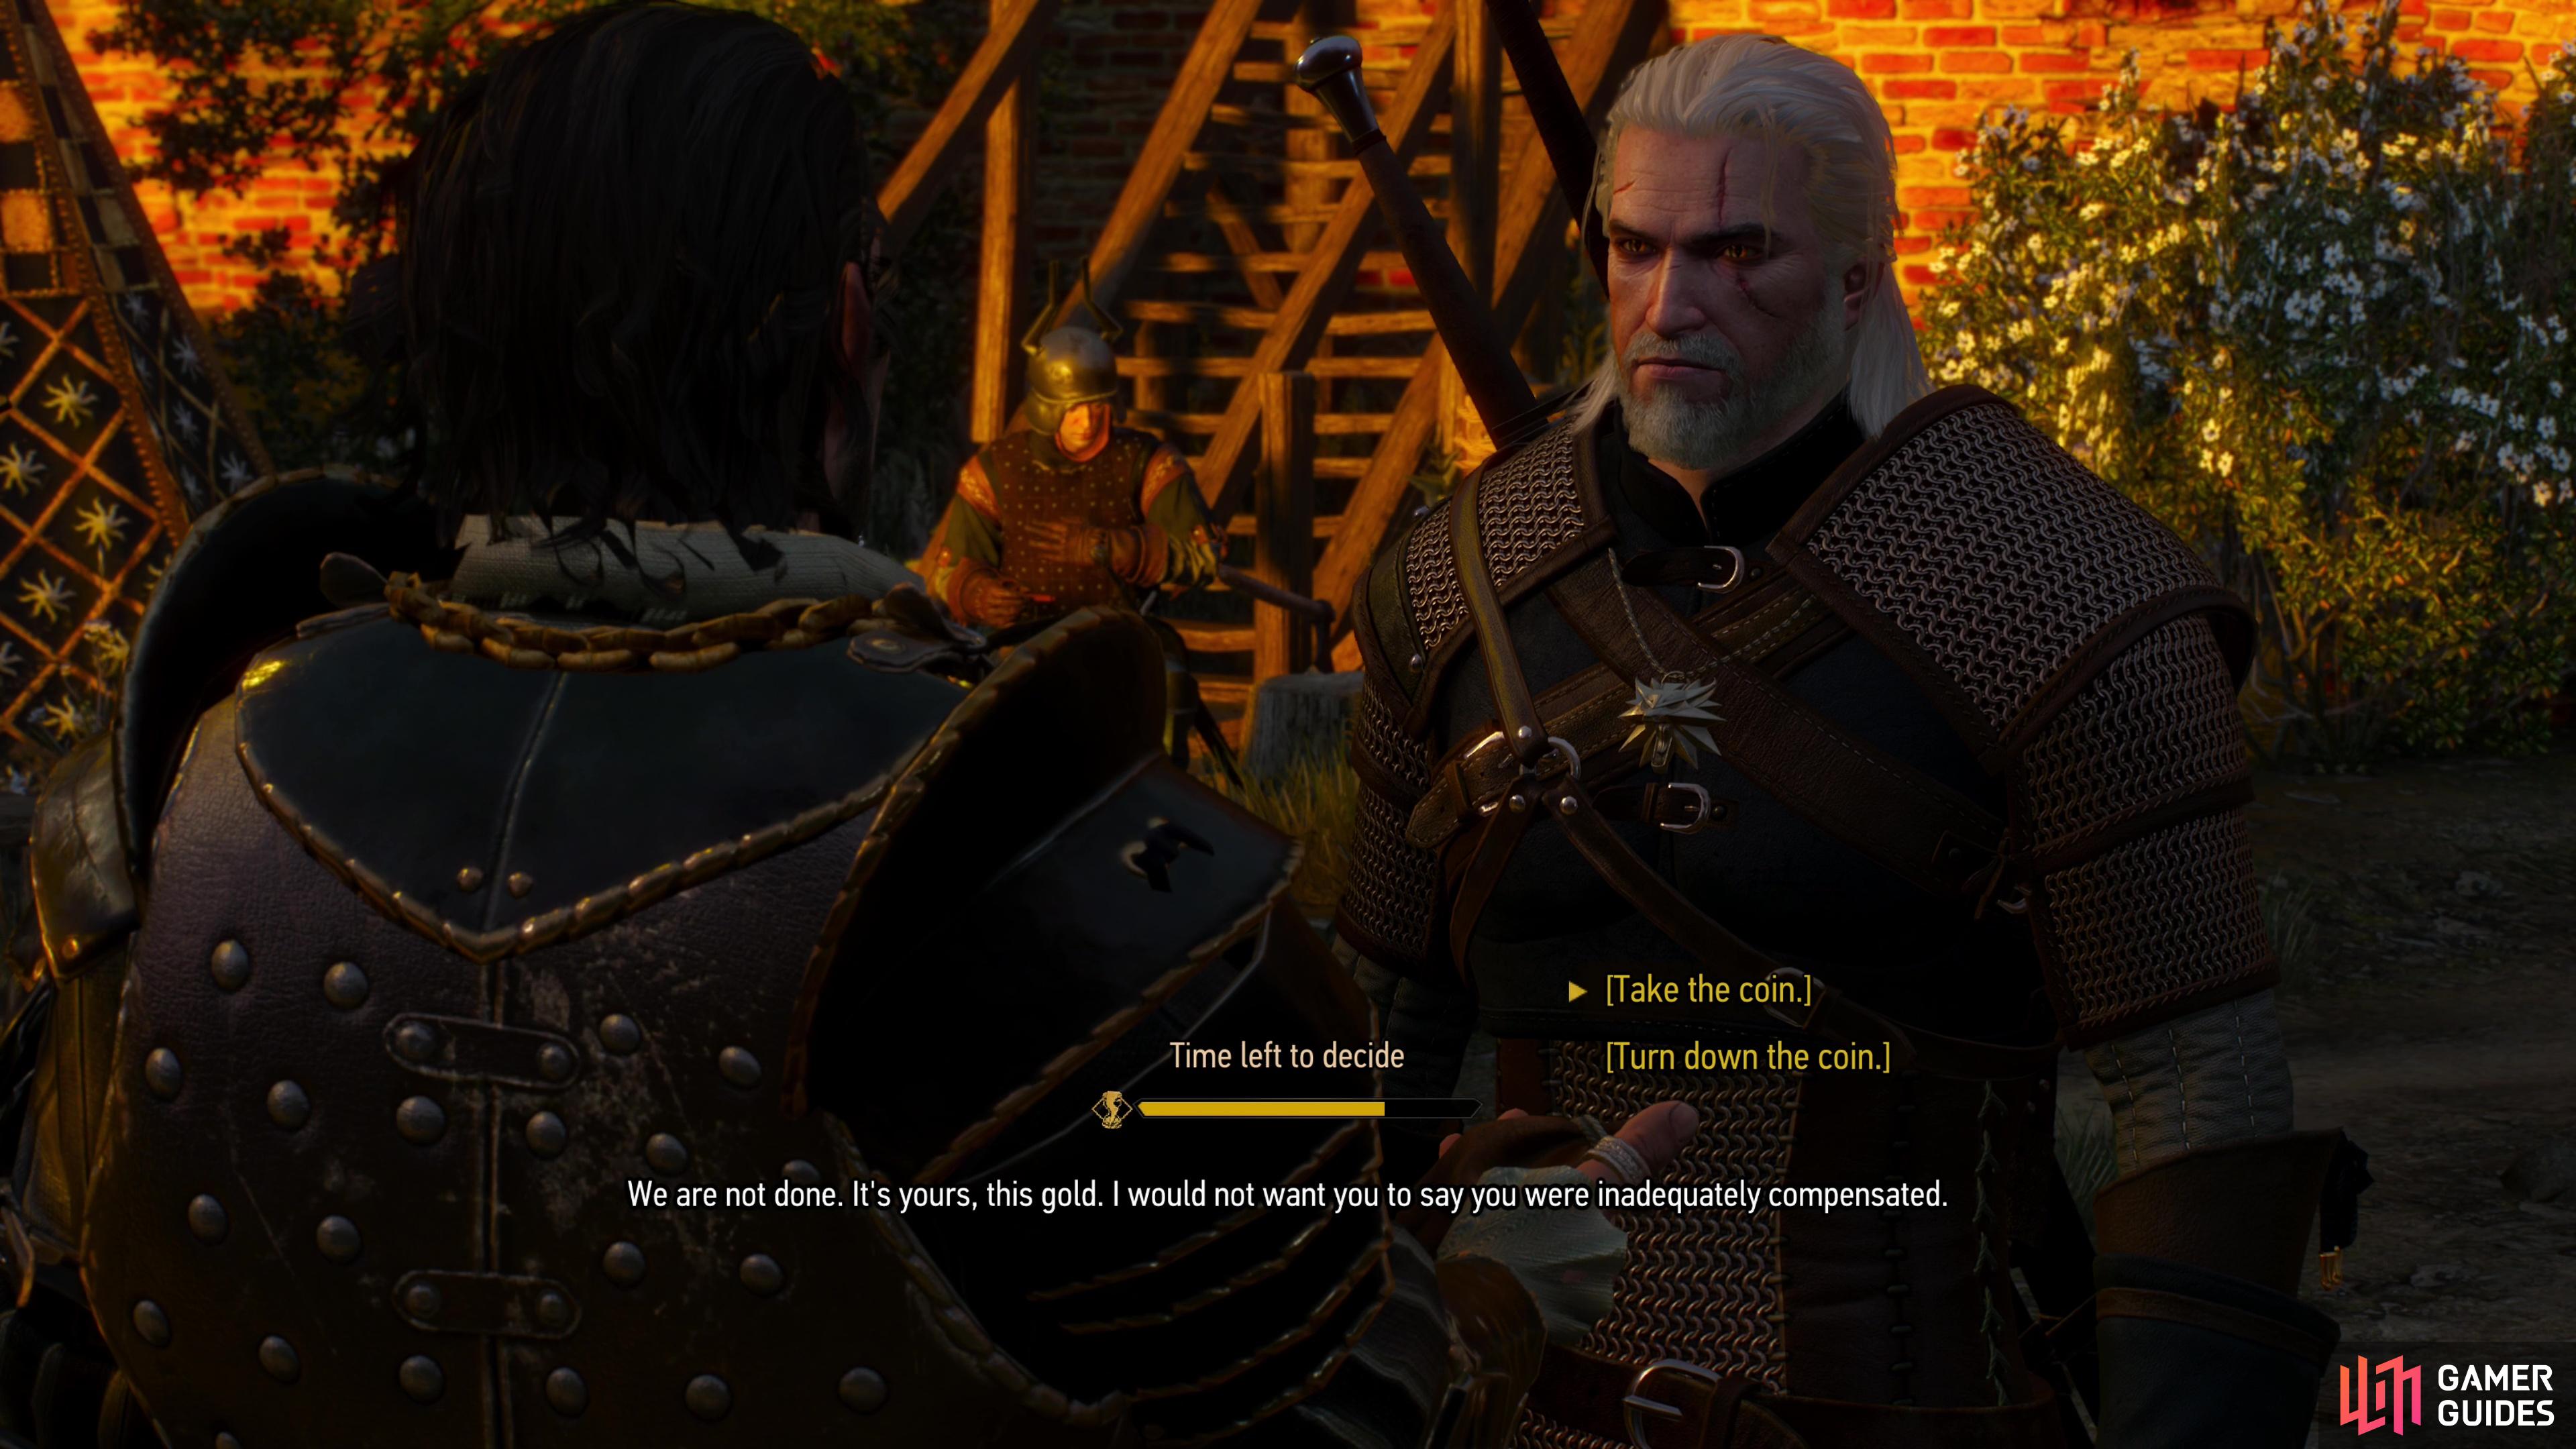
Return to the Nilfgaardian Garrison where you’ll witness the Nilfgaardian captain’s mask slip. Say what you will and Geralt will be informed that Yennefer was nearby this entire time, and in hindsight her location should have been obvious. To make amends for jerking Geralt around, the Nilfgaardian captain will offer to pay a fair wage for a job well done, prompting a timed choice. Agree to take the coin and you’ll gain 150 Crowns and around 350 EXP, while if you decline you’ll gain 500 EXP but no money, obviously. You can grind both if need be, but quest progress yields more EXP than killing monsters does, and the rewards you gain are based on your level; the more of a completionist you are, the more likely you’ll start to out-level quests and hence gain a pittance of EXP for them. This will likely happen even on Death March!, so the coin will probably go further than the EXP.
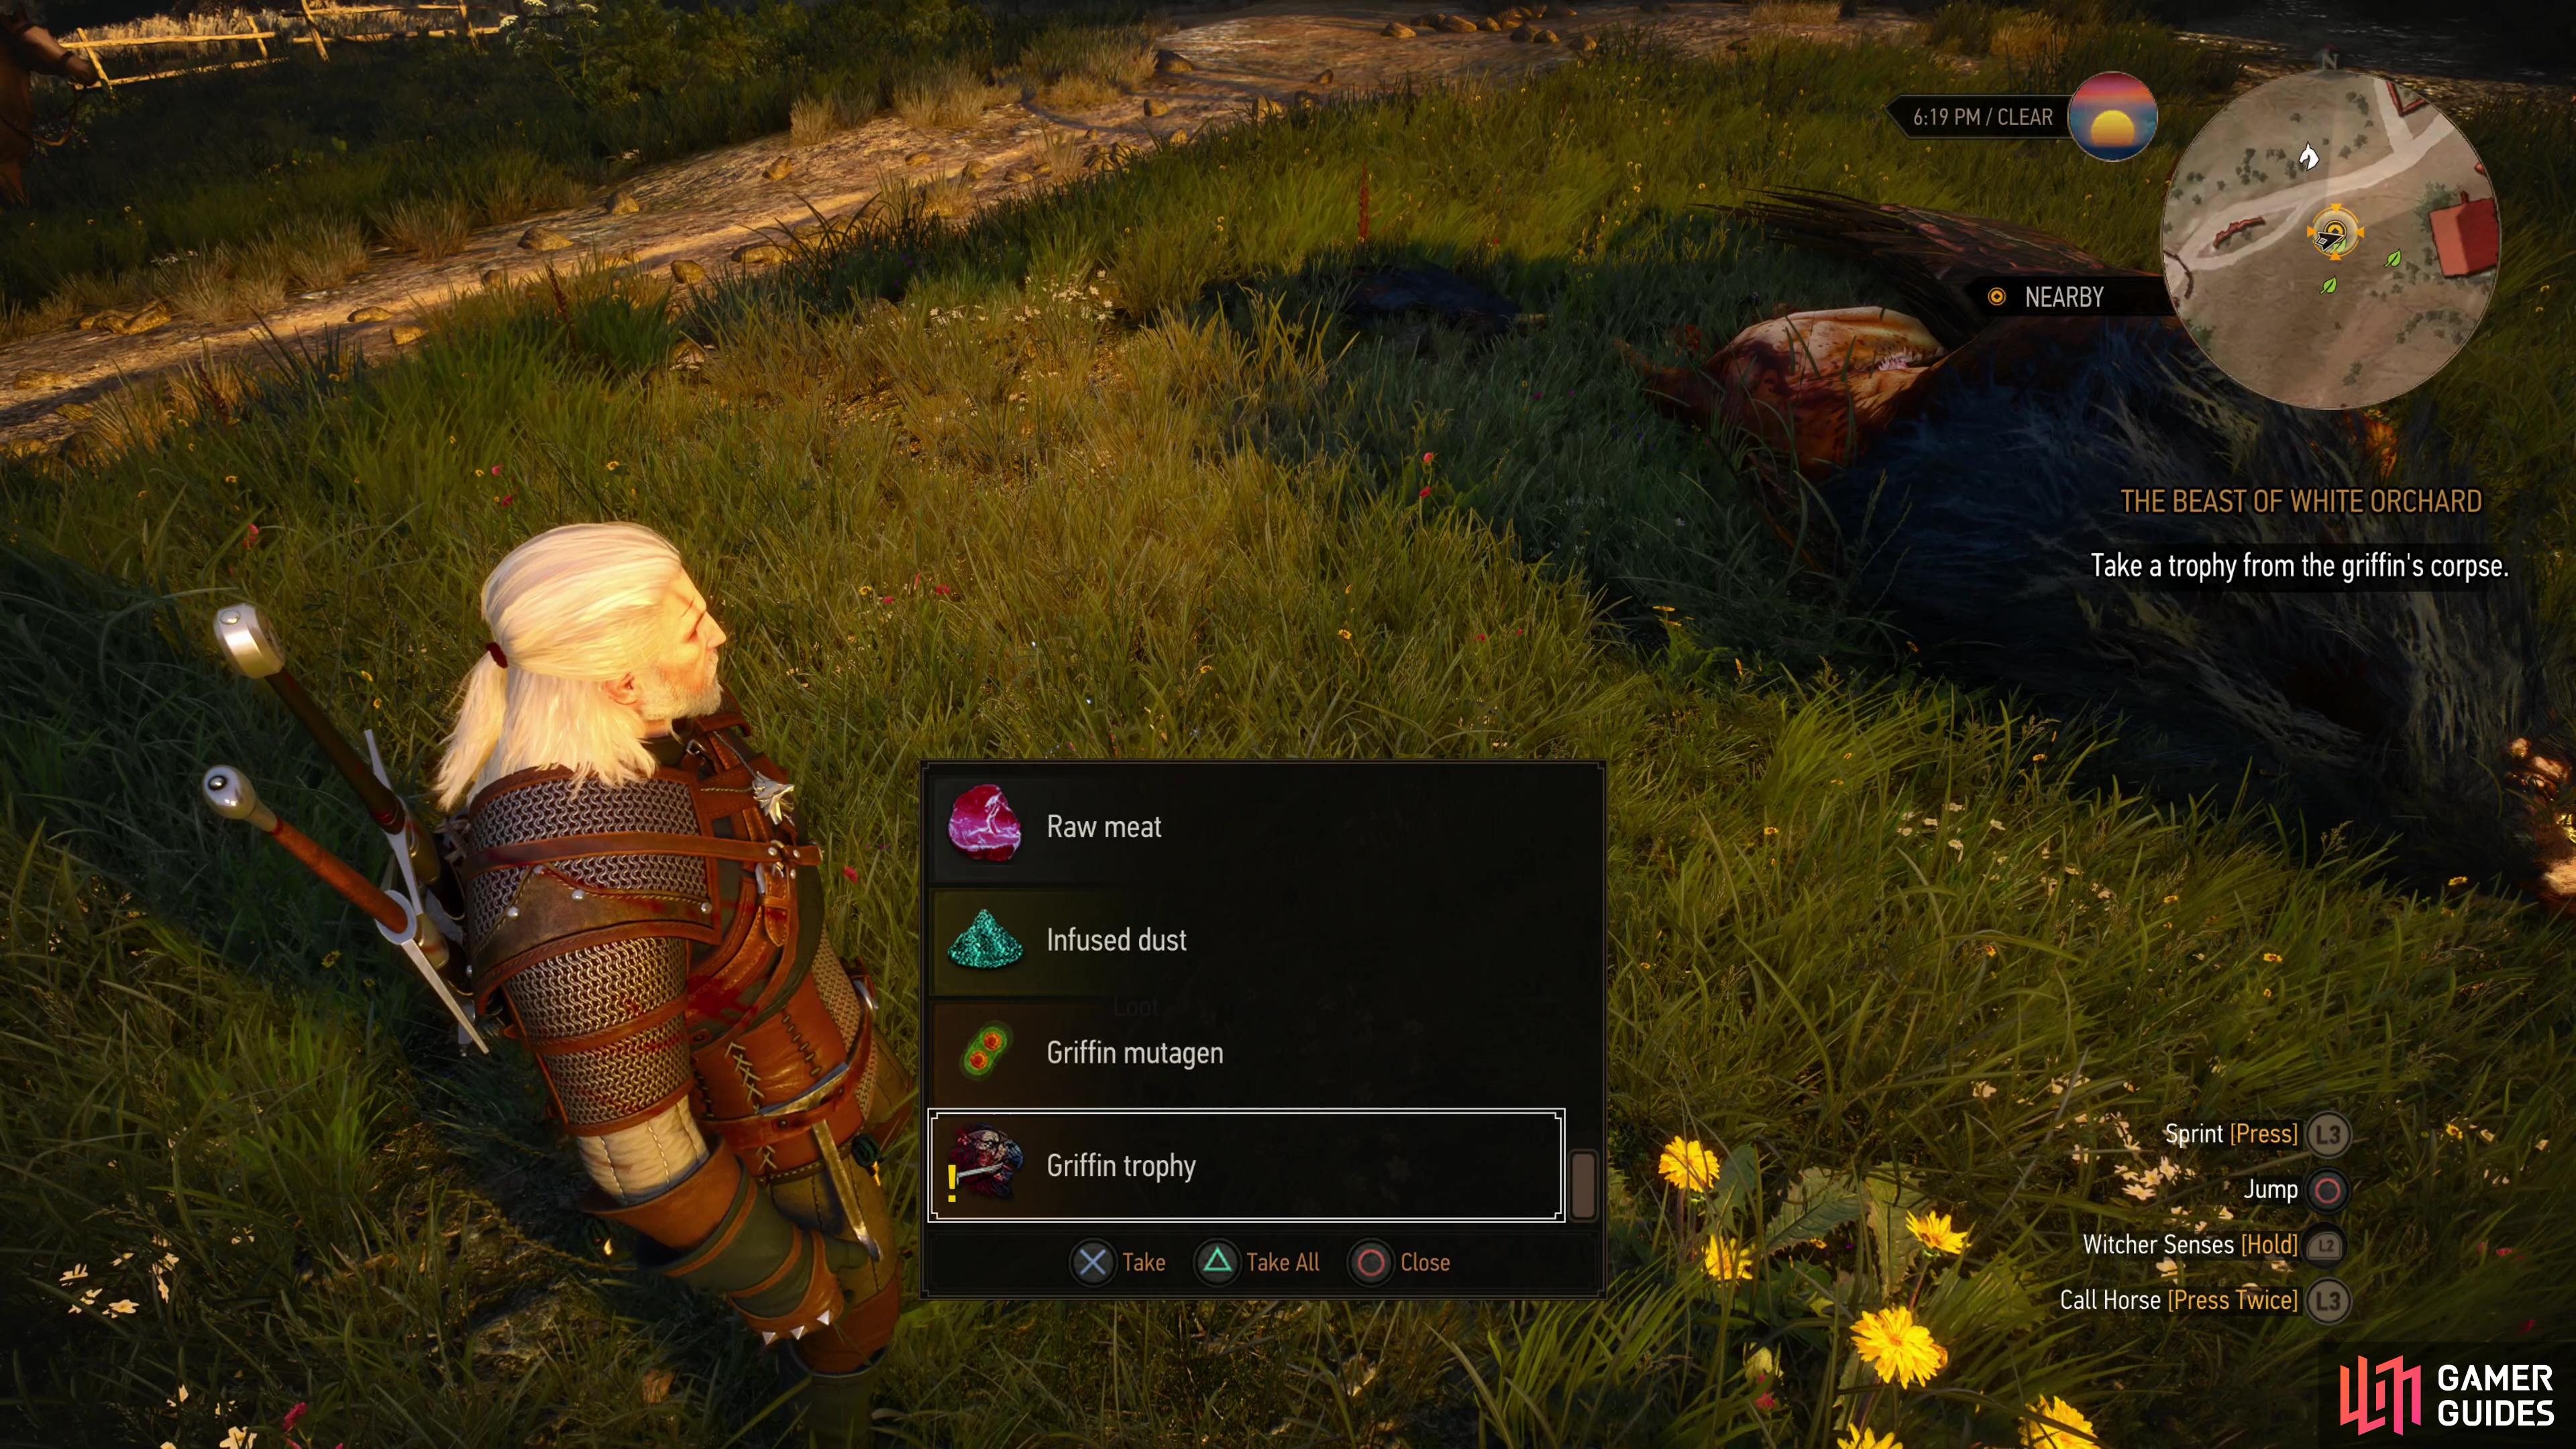
Defeat the Griffin and loot it for a Griffin Trophy.
Do what you will and this quest will finally end, and the dormant Lilac and Gooseberries will start back up. Time to return to the tavern in White Orchard town and rendezvous with Vesemir.

 Sign up
No Comments