Every great-looking PC game these days has its own Photo Mode - allowing you to take and show off the coolest-looking screenshots from your adventures.
Now with the Next Gen Update to The Witcher 3 we can now see and record the locations we have loved for getting on for a decade in all their glory with the aid of TW3’s own, new Photo Mode. Let’s find out more.
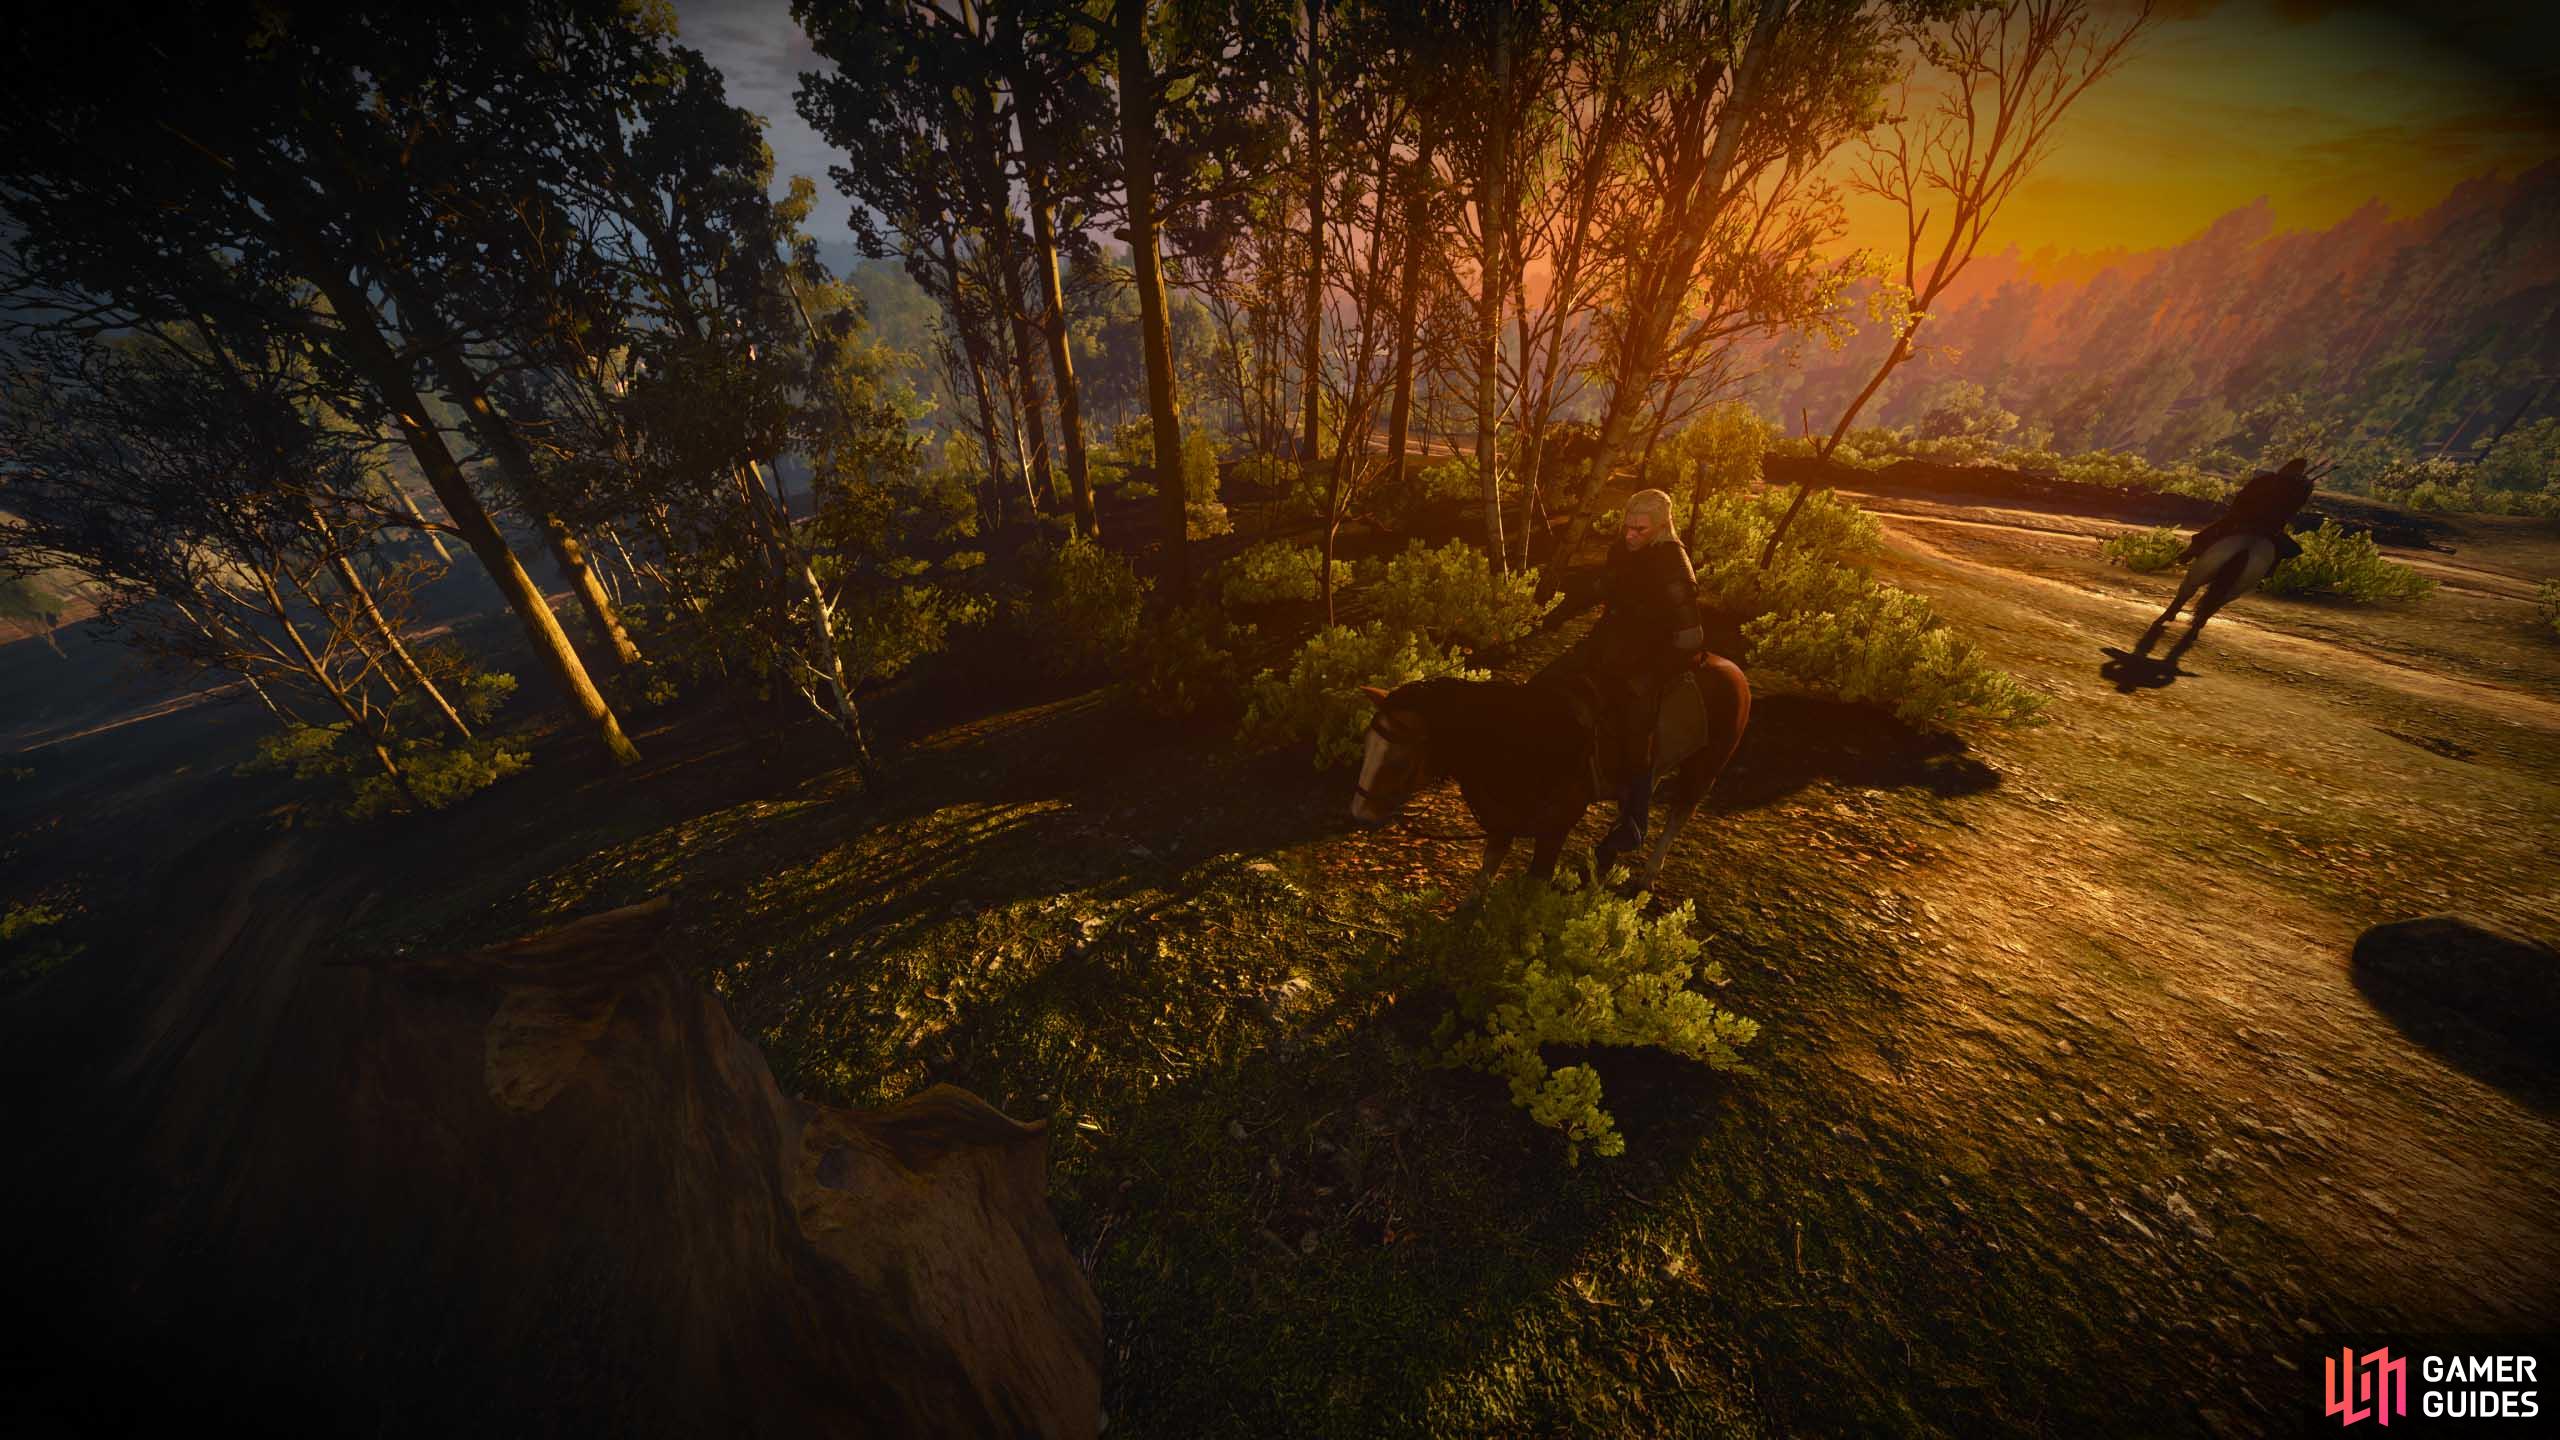
(1 of 2) By pulling the camera out and tweaking some other details you can get some stunning shots.
By pulling the camera out and tweaking some other details you can get some stunning shots. (left), If you think you have happened on a particularly nice view, hop into Photo Mode and capture it forever. (right)
How To Use Photo Mode In The Witcher 3
Photo Mode is accessed by hitting the U key on PC. If it doesn’t come up it might mean that the game is already asking you to do something else. We tried it earlier on when the game wanted us to mount our horse and had no joy until we had completed that request.
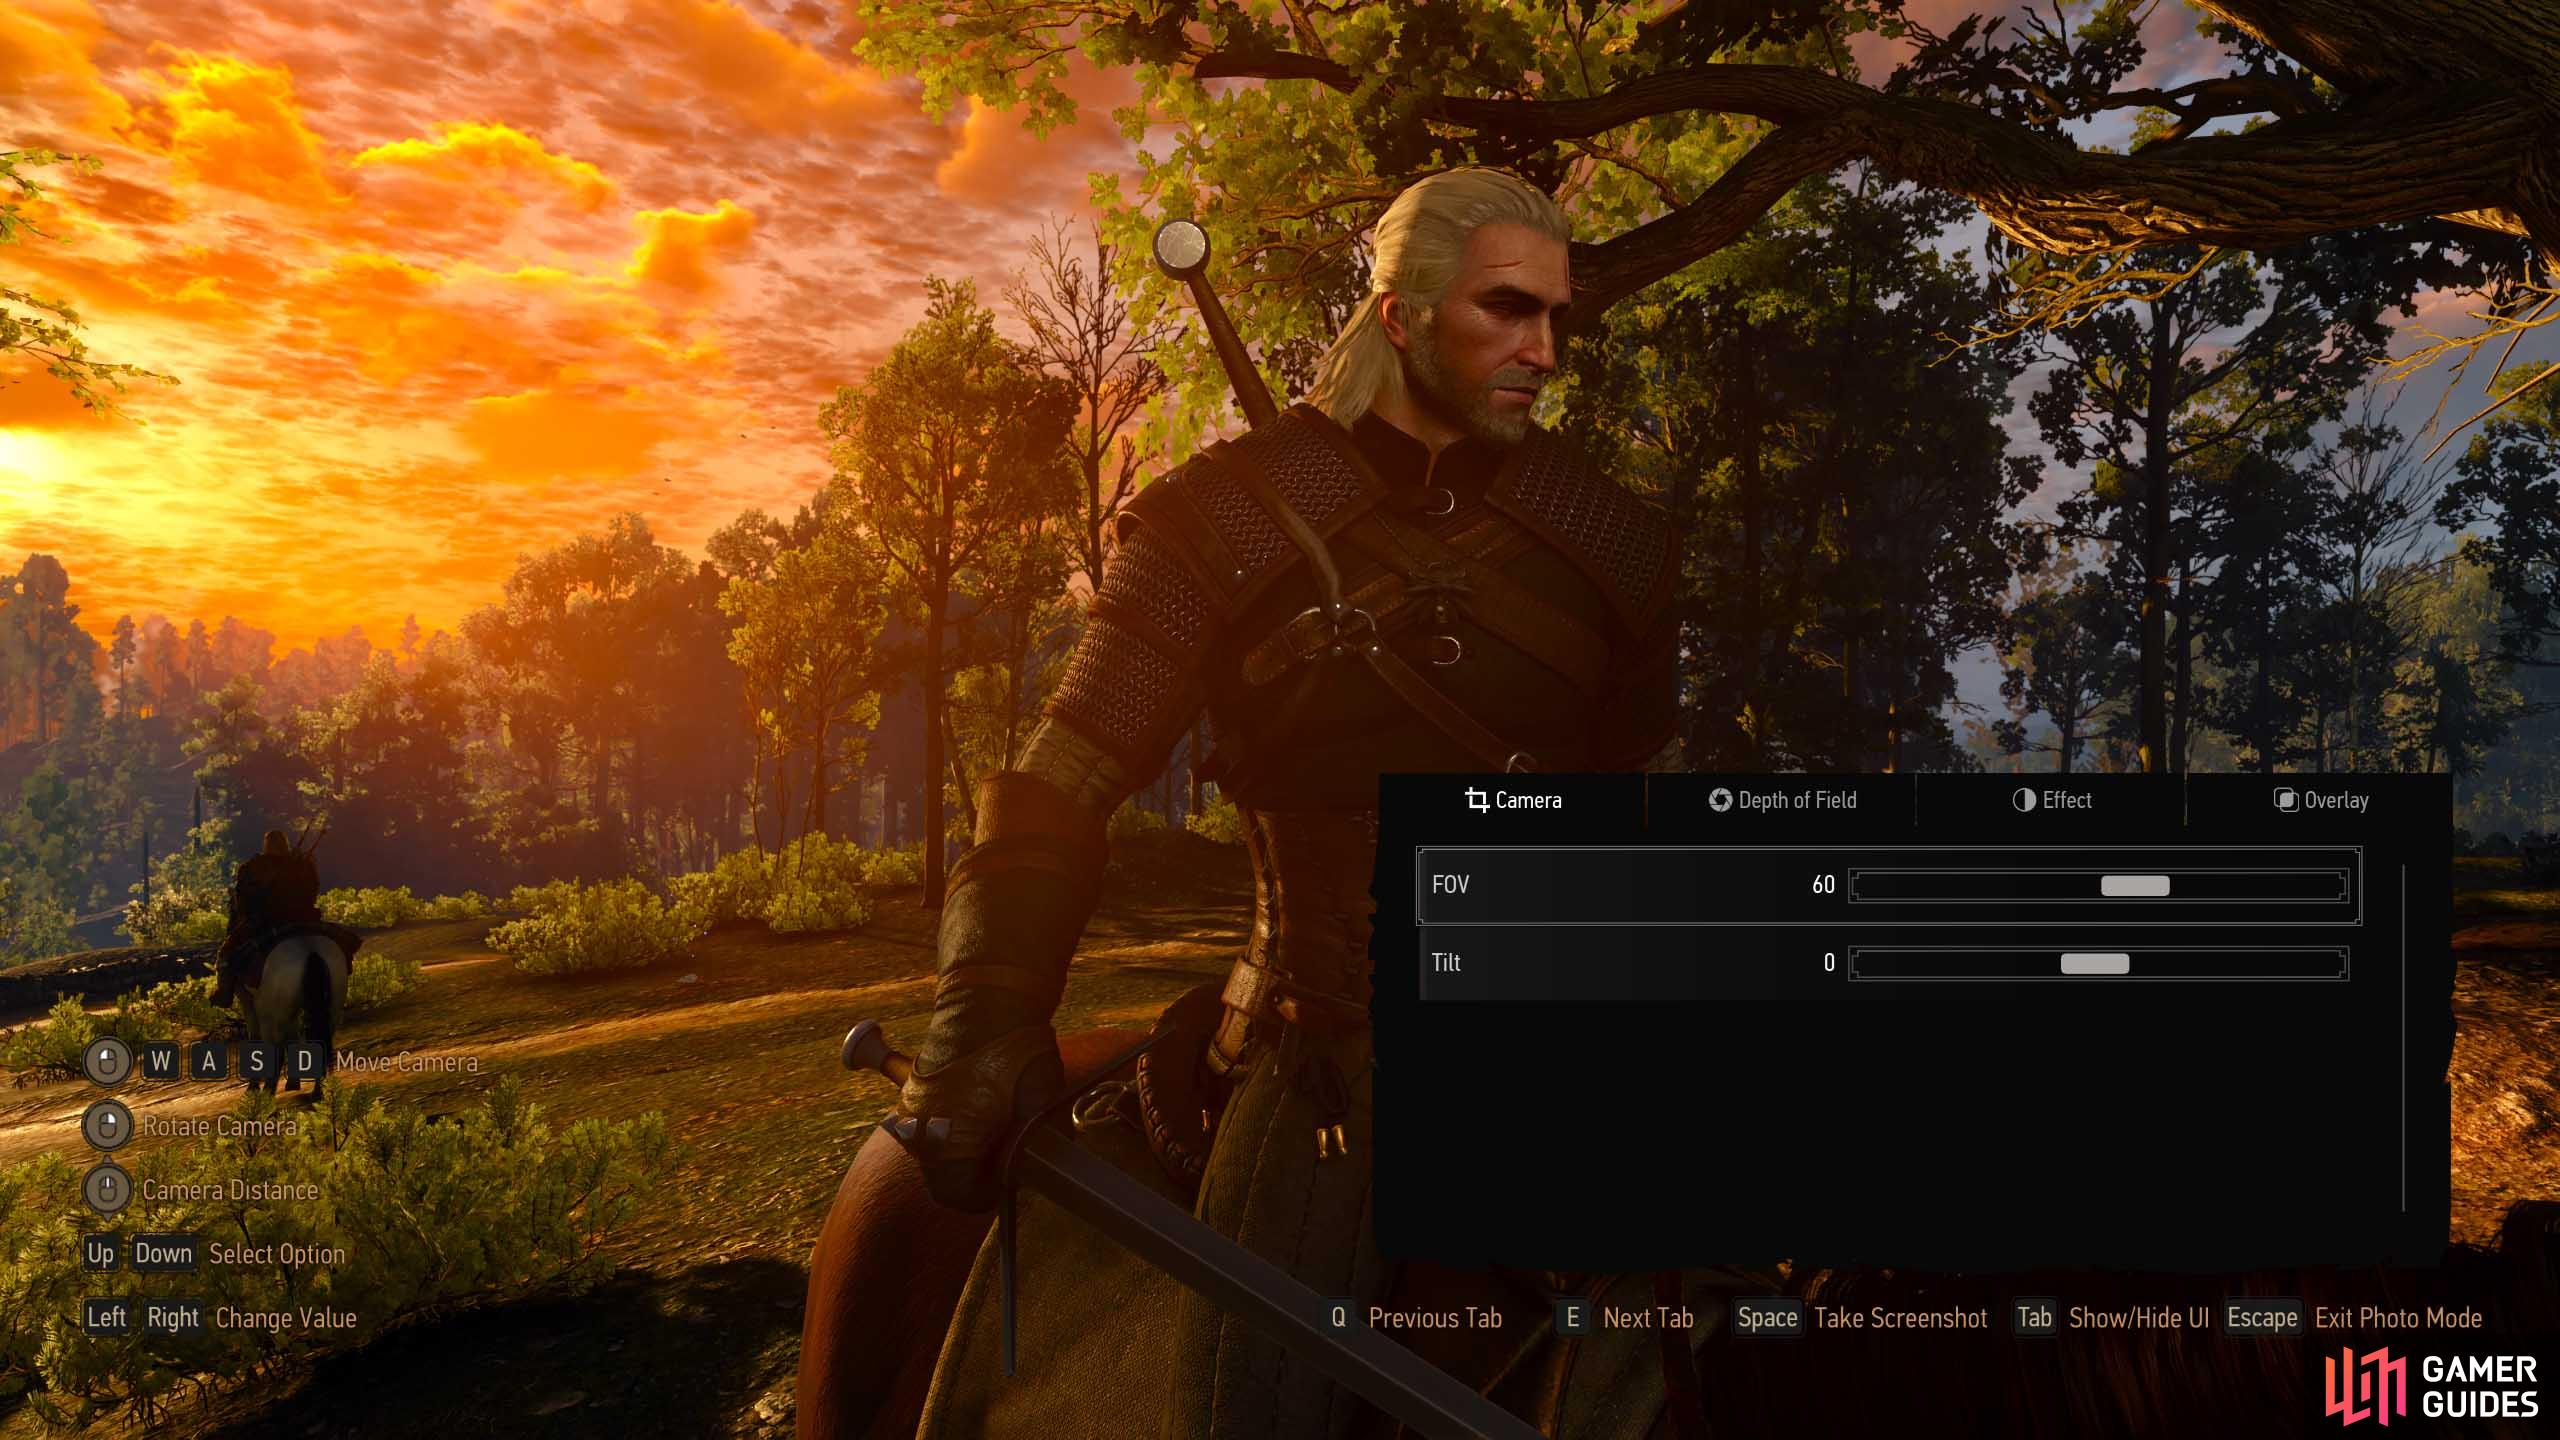
Once Photo Mode does come up though you will be presented with an interface as you can see below.
The UI of Photo Mode is simple to use and can be switched off by a tap of the Spacebar
From here you can move or rotate the camera with the keyboard and mouse, or even use the scroll wheel to increase or decrease the distance from you on the screen.
The black box in the lower-right portion of your screen is where you can change things that camera folk know about such as Focus and Aperture, or alter the Depth of Field.
You can also increase the Field of View to get more in or overlay a vignette to give your screenshot a much more dramatic air.
The tabs are flipped between using the E button and you can hide the UI for the perfect shot.
Finally to exit Photo Mode, just tap the Escape key and you will be back to your adventure, exactly where you left off.
Witcher 3 Photo Mode Controls
If you need a handy list of all the Photo Mode controls you can refer to the table below.
| Command | Keybinding |
|---|---|
| Move Camera |     |
| Rotate Camera |  |
| Camera Distance |  |
| Select Option |   |
| Previous Tab |  |
| Next Tab |  |
| Take Screenshot |  |
| Show/Hide UI |  |
| Exit Photo Mode |  |


 Sign up
No Comments