When you reach Wall Market in Chapter 9 you’ll be able to make a variety of choices that will determine which side quest you unlock later in the chapter (after parting ways with Aerith after the Underground Colosseum). To increase the odds of unlocking this quest, do the following in Wall Market:
-
When speaking to Chocobo Sam and describing Tifa, select “She’s in great shape”.
-
Talk to the man outside the hotel and respond with “…No, thanks“.
-
When you find Johnny, follow him to the Honeybee Inn and talk to him. Respond with “Yeah”.
-
When Sam does the coin flip, select “Heads” or “Tails”.
-
When forced to pick a massage course while talking to Madam M, opt for the “Poor Man’s Course - 1000 G”.
-
When Aerith asks how you like her outfit, select “It’s alright”.
All of these should make you more likely to get this quest after parting ways with Aerith after completing the Underground Colosseum. In this case you’ll need to leave Madam M’s massage parlor and talk to Chocobo Sam to start this quest.
Once started, head to the dress shop just west of the gate to Wall Market (north of the gym) and talk to the man behind the counter - the son of the owner. This establishment may have lost some of its importance in the remake compared to the original, but at least the owner of the shop is still a no-good drunk who needs to be set straight.
Exit the clothing store and you’ll be joined in your quest by… Johnny? Well, this just got more annoying. Follow Johnny north, then turn left (east) to find the bar/restaurant where the dress shop owner is drinking away his problems. Talk to said owner (the man sitting alone at the stall in the southern corner of the establishment) and… I like this guy for some reason. Turns out he’s in a bit of a funk after losing a bet - and his “inspiration” - to the materia store merchant. What a queen of drama.
Make your way to the materia shop, which is west of Madam M’s massage parlor, and talk to the beatnik shop owner. He’ll consider giving you the dress shop owner’s “inspiration” if you do him a favor - in this case purchasing some “sauce” from the vending machine at the hotel.
(1 of 2) Use your Assess Materia
Use your Assess Materia (left), until you get “The Sauce” from the hotel’s vending machine. (right)
Head on over to the hotel near the gate to Wall Market, head on inside, and interact with the vending machine. Johnny will impart some information about “secret buttons” on the machine, to which Cloud will rationally respond by bringing out his Assess Materia. Supposedly the more times you’ve used Assess in the game, “the higher the materia usage”, the “luckier you may be”. We had been scanning pretty regularly up to this point and had over 50 enemy scans and ended up getting a Vitalbrew on our first attempt, a Crimson Spike on our second attempt and a The Sauce on our third attempt, which also earned us a Moogle Medal. It doesn’t seem to cost anything to do this, so… just keep messing with the machine until you get “The Sauce”.
Return to the materia store and give the owner “The Sauce” he sought (along with the other junk that came out of that vending machine, apparently) and the dubious merchant will inform you that “the guy who runs the restaurant” has what you seek now. What a jerk.
(1 of 2) Your elemental materia - fire, ice and lightning - will determine the outcome of your endeavors in the restaurant.
Your elemental materia - fire, ice and lightning - will determine the outcome of your endeavors in the restaurant. (left), Pick the stove to use your Fire Materia, the fridge to use Ice Materia or the Power Supply to use Lightning Materia. (right)
Anywho, nothing for it. Your next stop is a small restaurant just west of the hotel. Talk to the owner and once again you’ll find he has a problem that needs resolved, and just like the vending machine, this problem can be dealt with via the application of materia. Specifically the level of your most powerful orb of Fire Materia, Ice Materia or Lightning Materia will effect the outcome, depending on which appliance you pick. Picking the “Stove” will use your Fire Materia’s level, picking the “Fridge” will use your Ice Materia’s level and picking the “Power Supply” will use your Lightning Materia’s level. Regardless of the materia, it’s level, and the appliance chosen, you’ll complete this phase of the quest, although you’ll gain a different reward depending on the level of the materia you used.
| Appliance | Materia Used | Materia Level | Reward |
|---|---|---|---|
| Stove | Fire Materia | 1 | Antidote |
| Fridge | Ice Materia | 2 | Remedy |
| Power Supply | Lightning Materia | 3 | Moogle Medal |
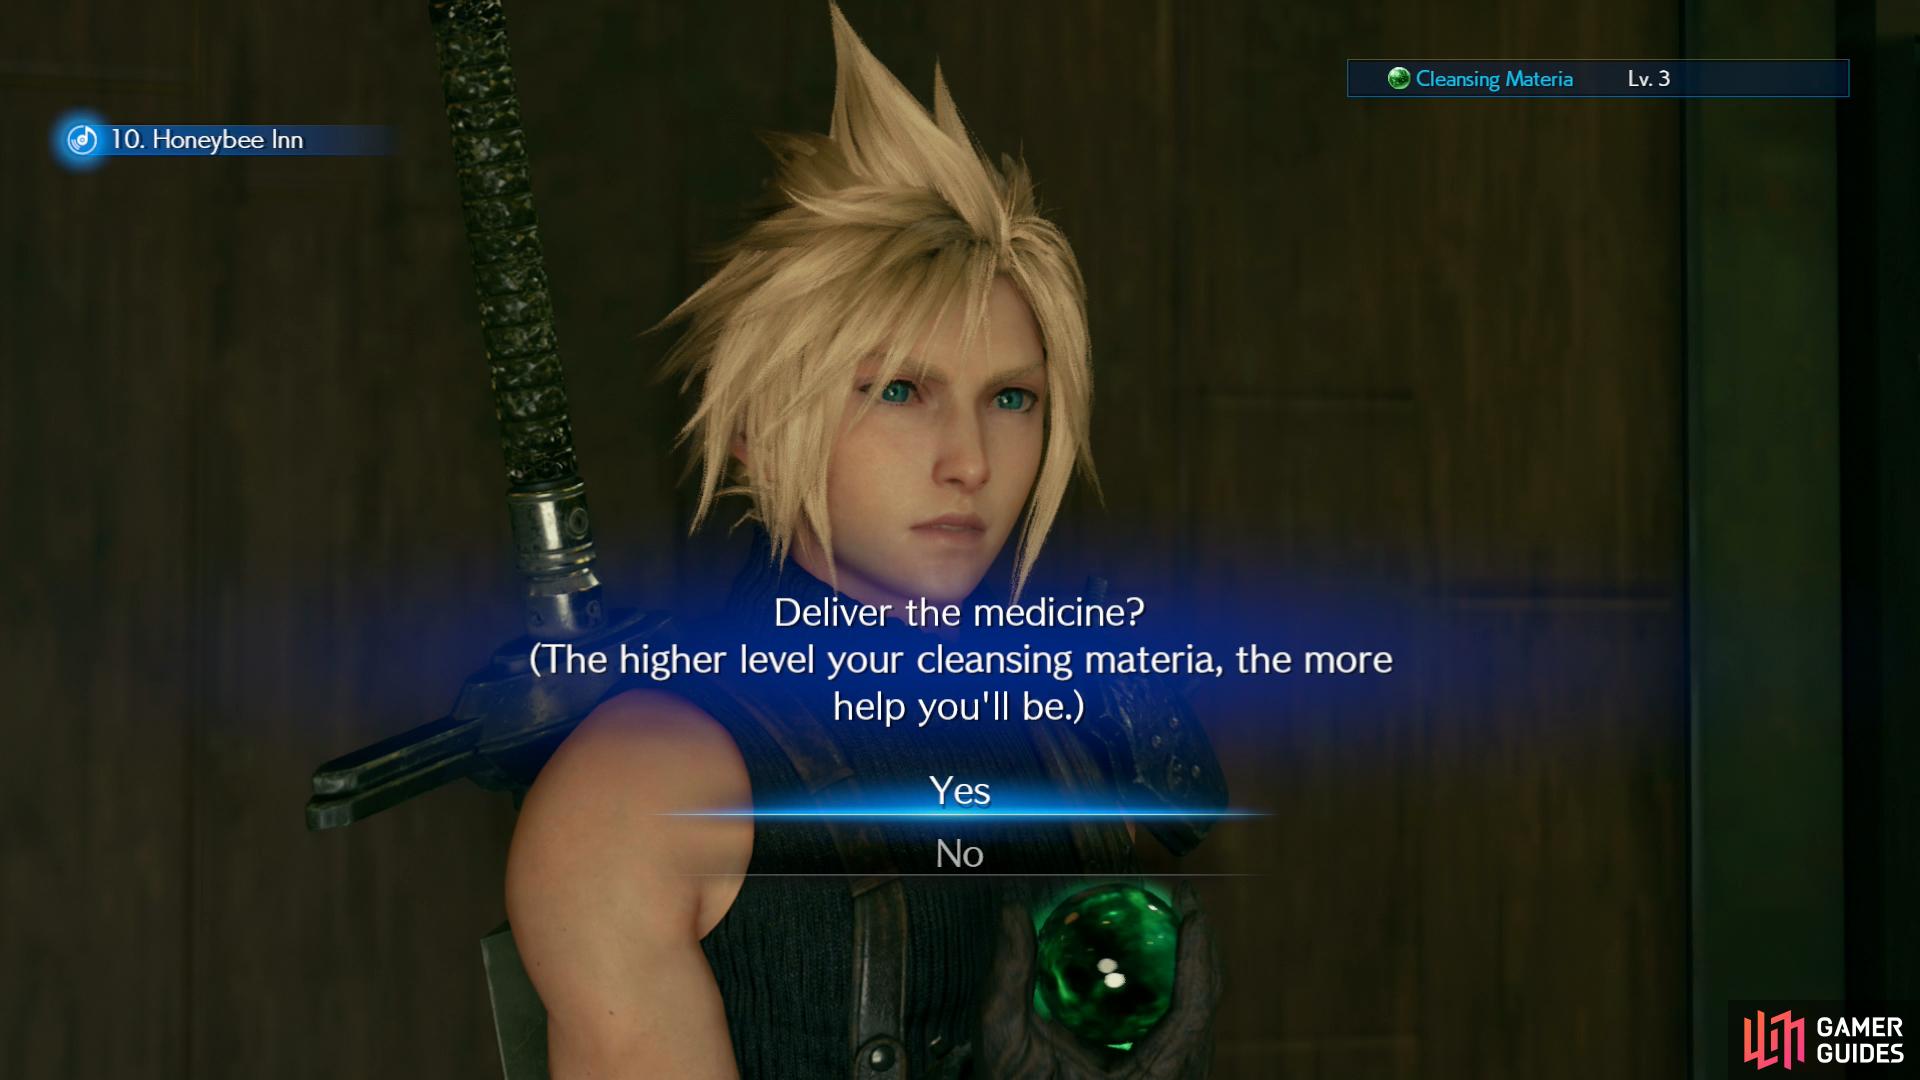
Leave the restaurant to find Johnny near the item shop and you’ll end up chatting with the item shop owner, who also manages to rope you into doing some busy work for him. Given the nature of the restaurant and the number it did on poor Johnny, it’s perhaps no surprise people are getting ill throughout Wall Market. In any event, you’ll need to deliver medicine to people throughout town, and the level of your materia - in this case Cleansing Materia - will once again effect the outcome of this quest.
(1 of 5) The level of your Cleansing Materia will determine how many patients you can treat.
Unlike the last few phases of this quest, this phase involves a bit of a scavenger hunt, as the sick people you’re looking for aren’t readily marked on your map. You can cure one person per level of your Cleansing Materia, although you only need to help out one to continue the quest, regardless of your materia’s level. That said, helping the second and third person will get you bonus items. We’ll leave it up to you to determine if it’s worth your time. In any event, the locations of these sick people are as follows:
-
Person with Indigestion: In an alley between the item shop and Madam M’s massage parlor. Slide through a narrow gap to the east, then turn south to find the ill man.
-
Patient: Head to the Honeybee Inn and from there make your way south down an alley running behind the dress shop (the same alley where you found some Barrier Materia earlier) to find this next sickened individual.
-
Patient: The third patient is the only one that can’t be found in some alley somewhere. Return to the bar where the dress shop owner’s dad is (across the street from the gym) and enter the bathroom to find a very sick man being rather intimate with a toilet.
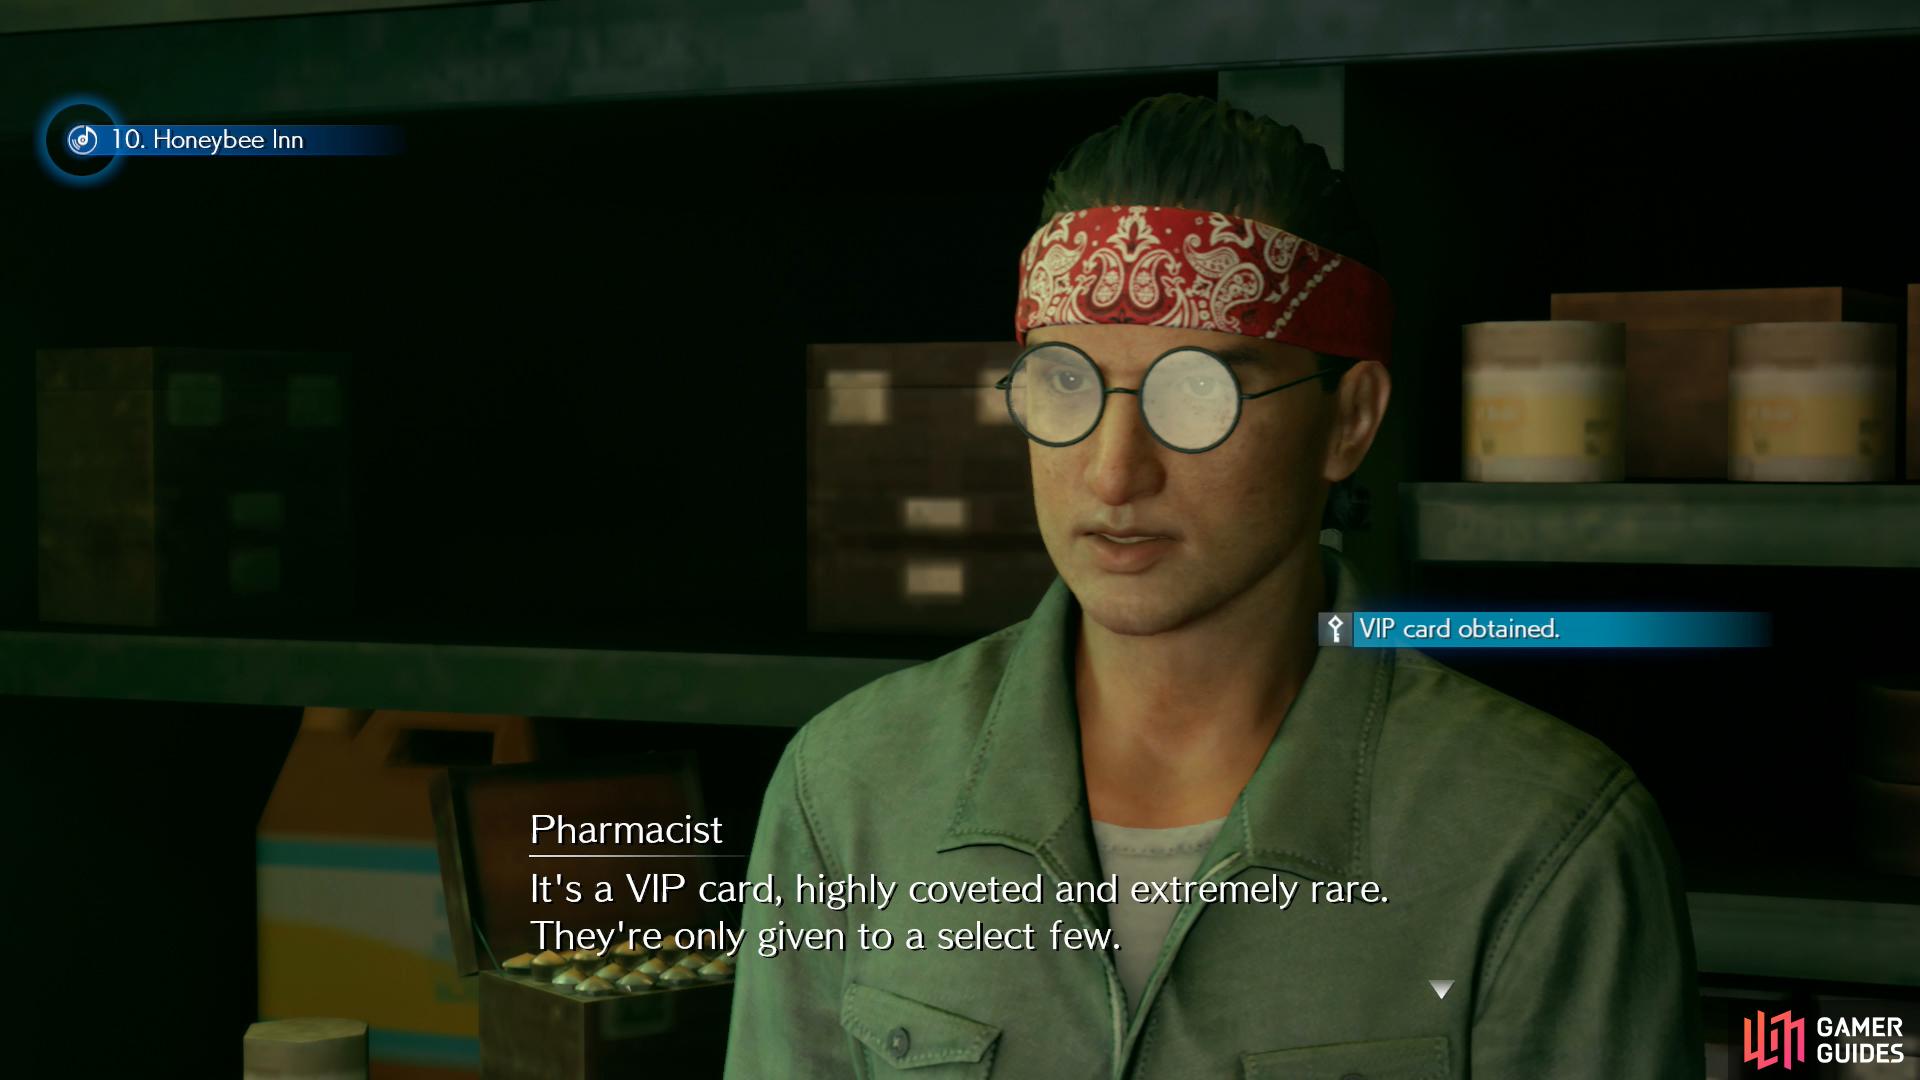
Again, helping one person will allow you to continue the quest, two will earn you a Celeris and three will get you a Sedative - the rewards are cumulative. When you’ve helped as many as you can - or care to - return to the item shop to find out that Johnny has unfortunately recovered. After some chatter the item store owner will give you the dress shop owner’s “inspiration” - a VIP Card. Well, out of all the things this could have been, this makes sense. Because… uh, he’s a dress maker, of course.
Return to the dress maker at the bar and give him back his “inspiration”, then return to his son at the dress shop to complete this quest and earn a Turbo Ether in the process. Johnny and the dress maker find common ground in lechery, and more importantly this will unlock the next quest A Dynamite Body.


 Sign up
No Comments