After the scene in the temple, exit and approach Wakka to view another scene, where you see an Aeon. Yuna will summon it, then you’ll be able to give it a name afterwards (default name is Valefor). The game will push forward to night now, so go on over to where Yuna is for another quick scene. You’ll get a question from Wakka after, but it doesn’t really matter how you answer it. Head to Wakka and speak to him once more, then choose to go to bed. In the dream sequence, just approach Yuna for more scenes.
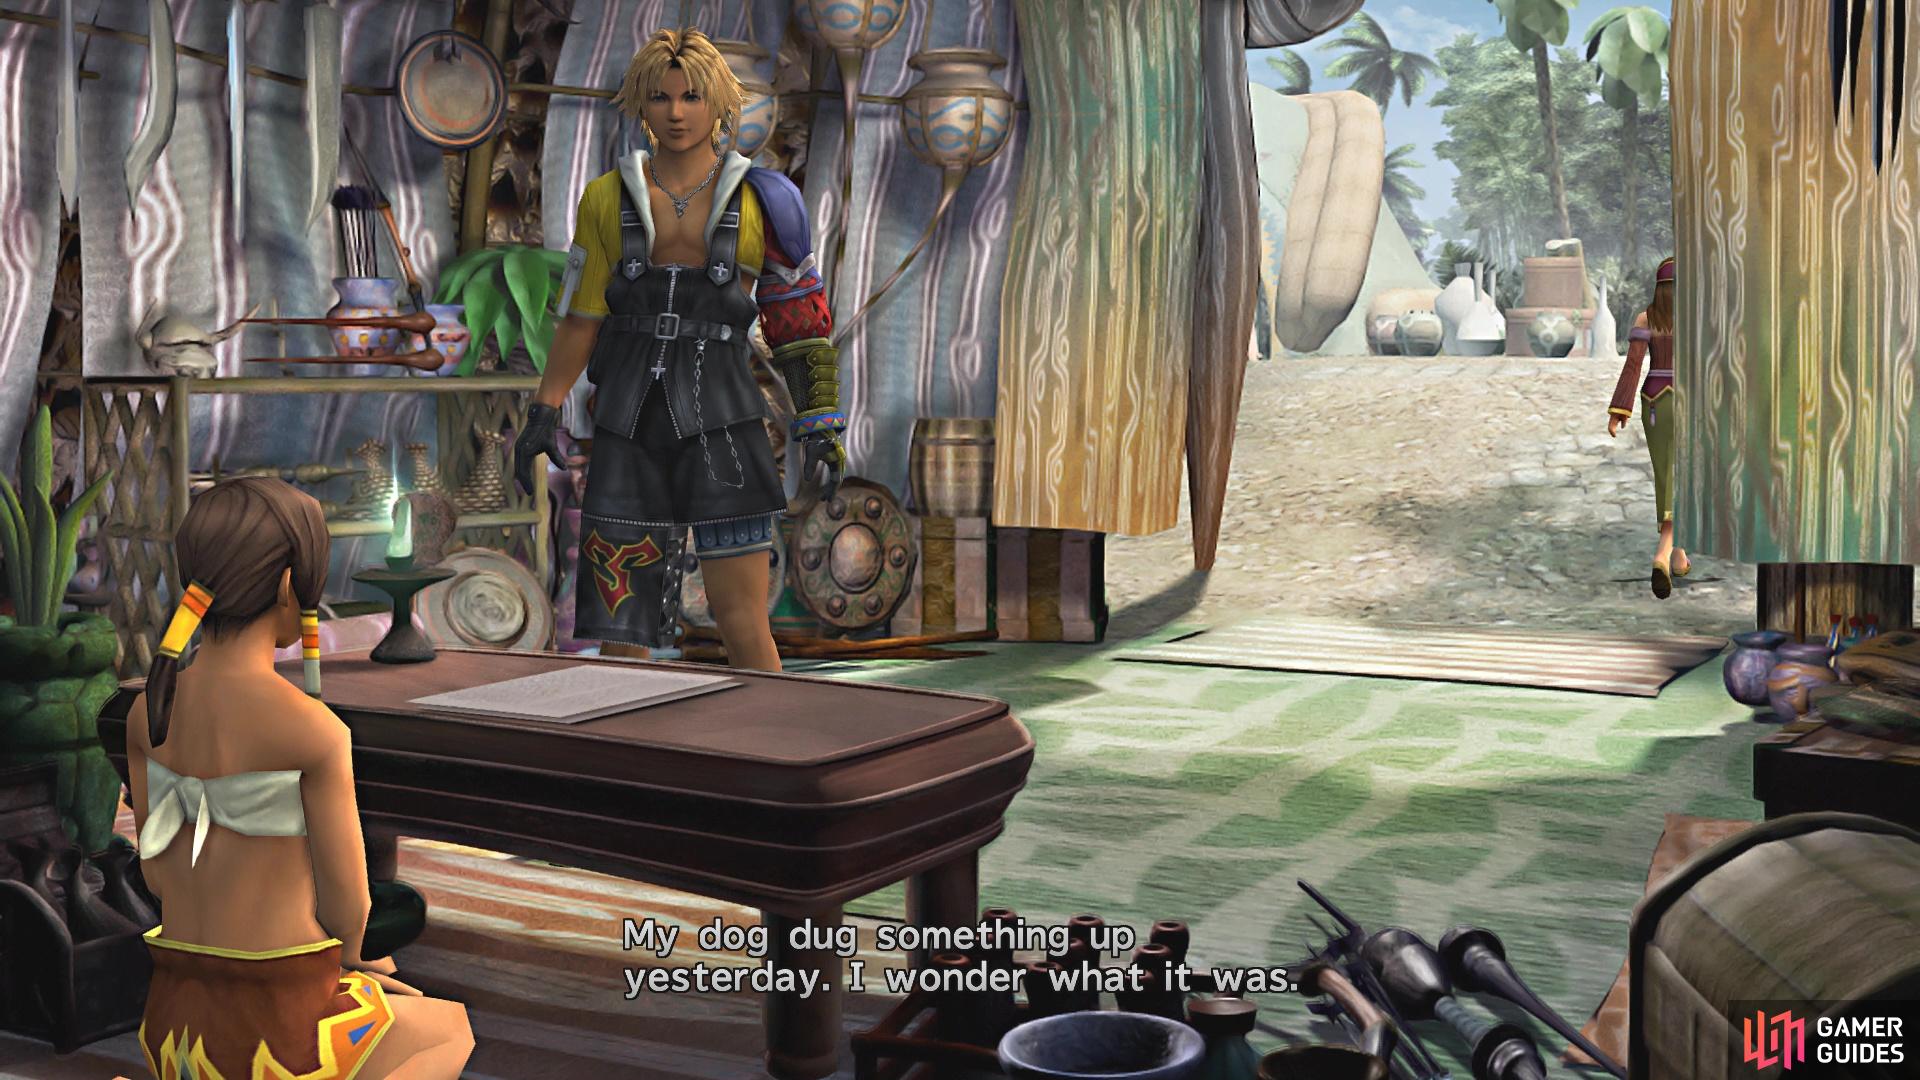
Upon waking up, exit the building and Wakka will hand you a new sword, the Brotherhood. This is a better weapon than your current one, as it has Strength +5%, but there will be more to come with it. Both Yuna and Lulu will join you after the scenes and you will be placed right outside of Besaid Village. Do not advance just yet, as there is one last thing you want to do in the village. On the left side, right by the entrance, is the Item Shop, so stop by and speak to the lady behind the counter. It might be a good idea to stock up on some extra Antidotes, but pay heed to what the NPC says after exiting the shop menu. She mentions her dog digging something up, which is why you came back here.
(1 of 2) Talk to the item shop lady to get a hint that her dog dug up something
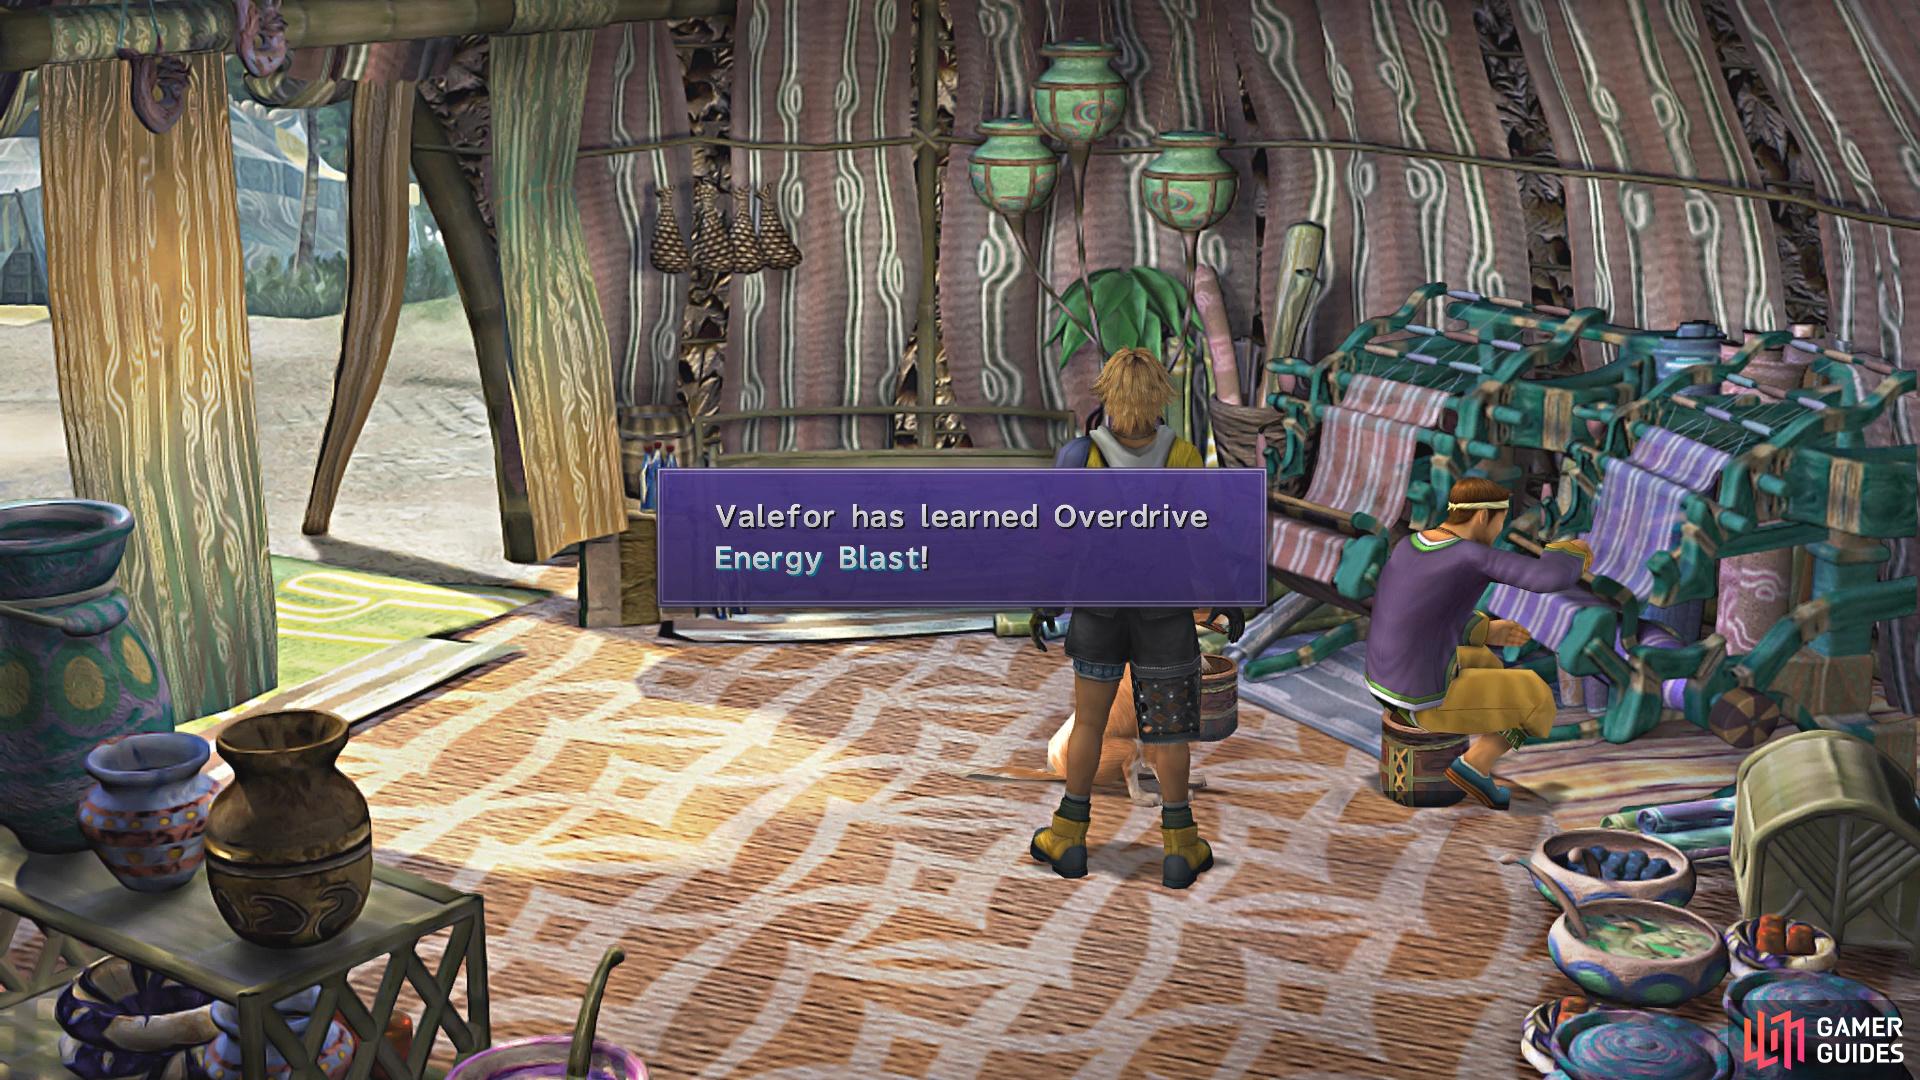
Talk to the item shop lady to get a hint that her dog dug up something (left), Check with the dog in another tent to get Valefor’s second Overdrive (right)
The dog is found inside the top house on the right side of the village, so go inside and speak to it to gain a new Overdrive for Valefor, called Energy Blast. Valefor is the only Aeon in the game that gains a second Overdrive and if you come back later in the main story, you might be blocked by a powerful optional boss. Whenever you’re ready, leave town and, as you do, you’ll gain the Map.
Leaving Besaid Village
| Enemies | HP | Notes |
|---|---|---|
| Condor | 95 | Weak to fire |
| Dingo | 125 | Weak to fire |
| Water Flan | 315 | Halves fire/ice, absorbs water, weak to thunder |
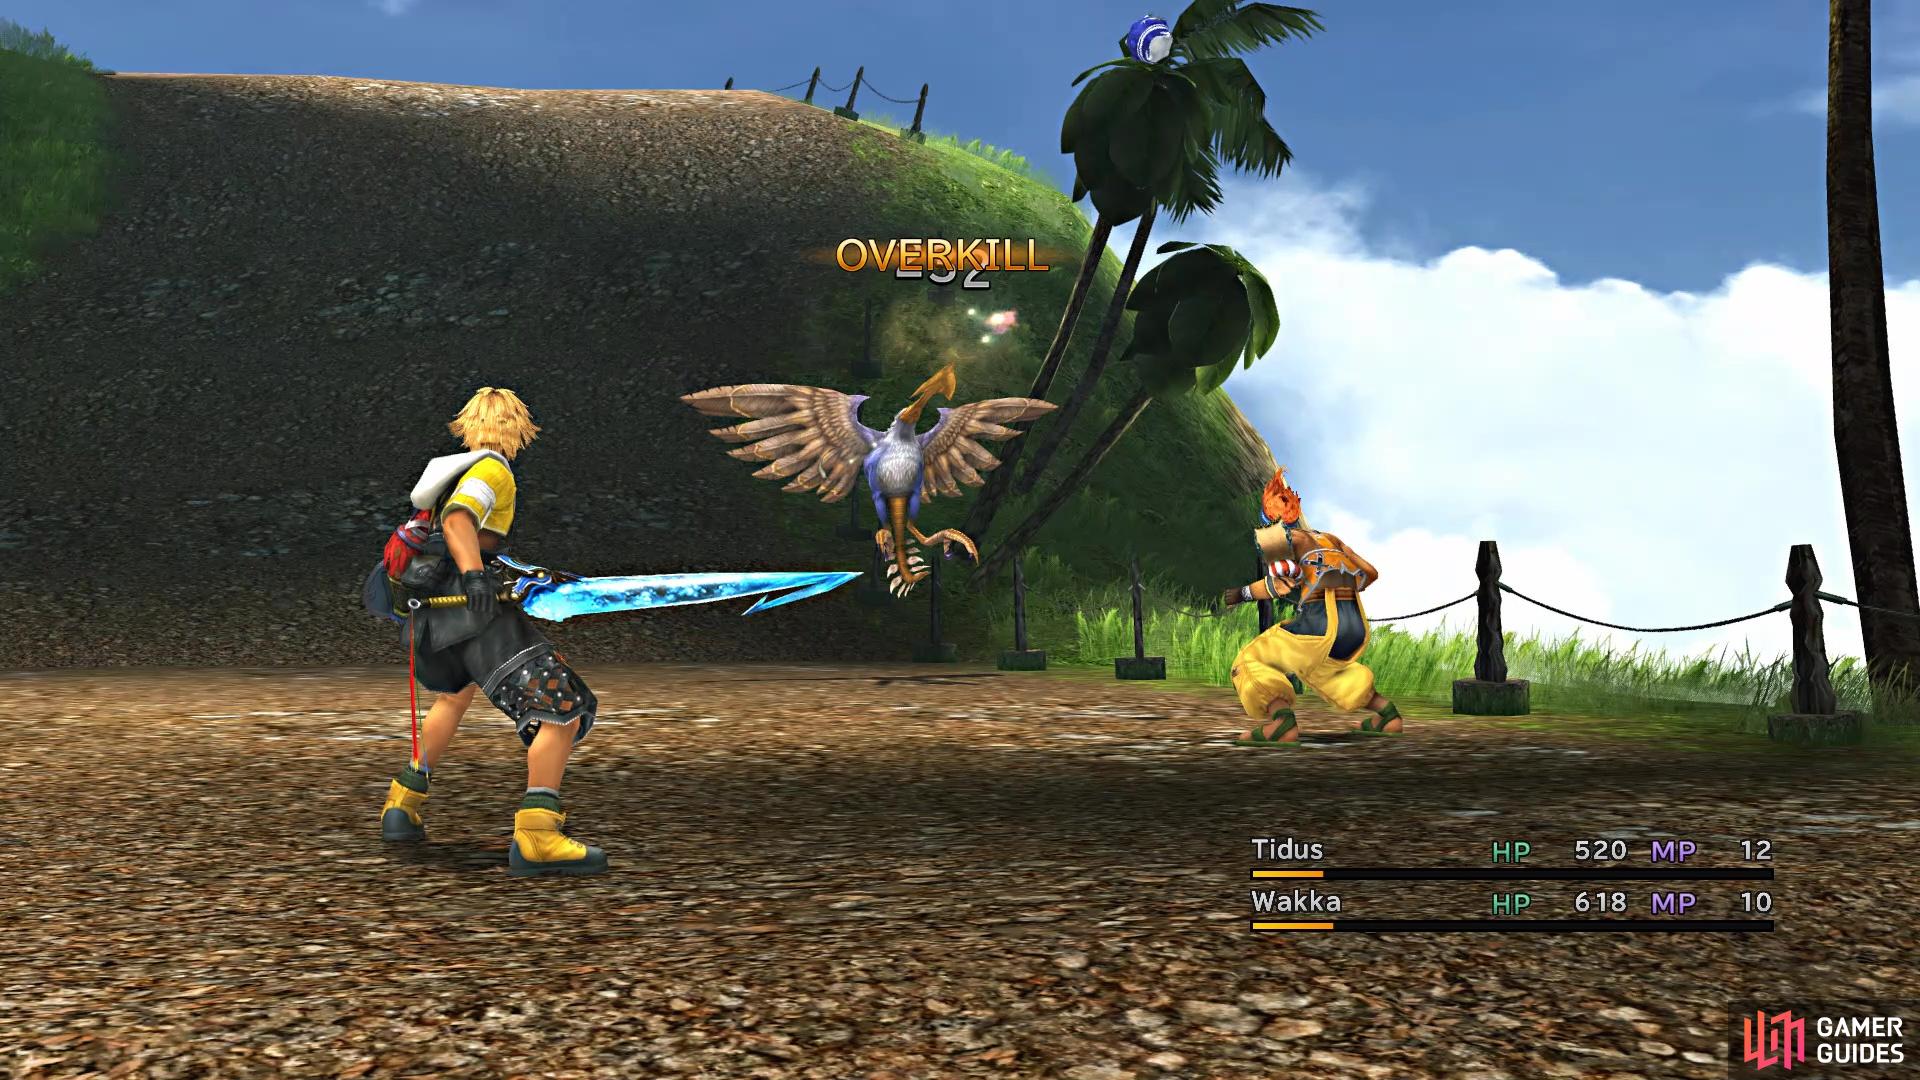
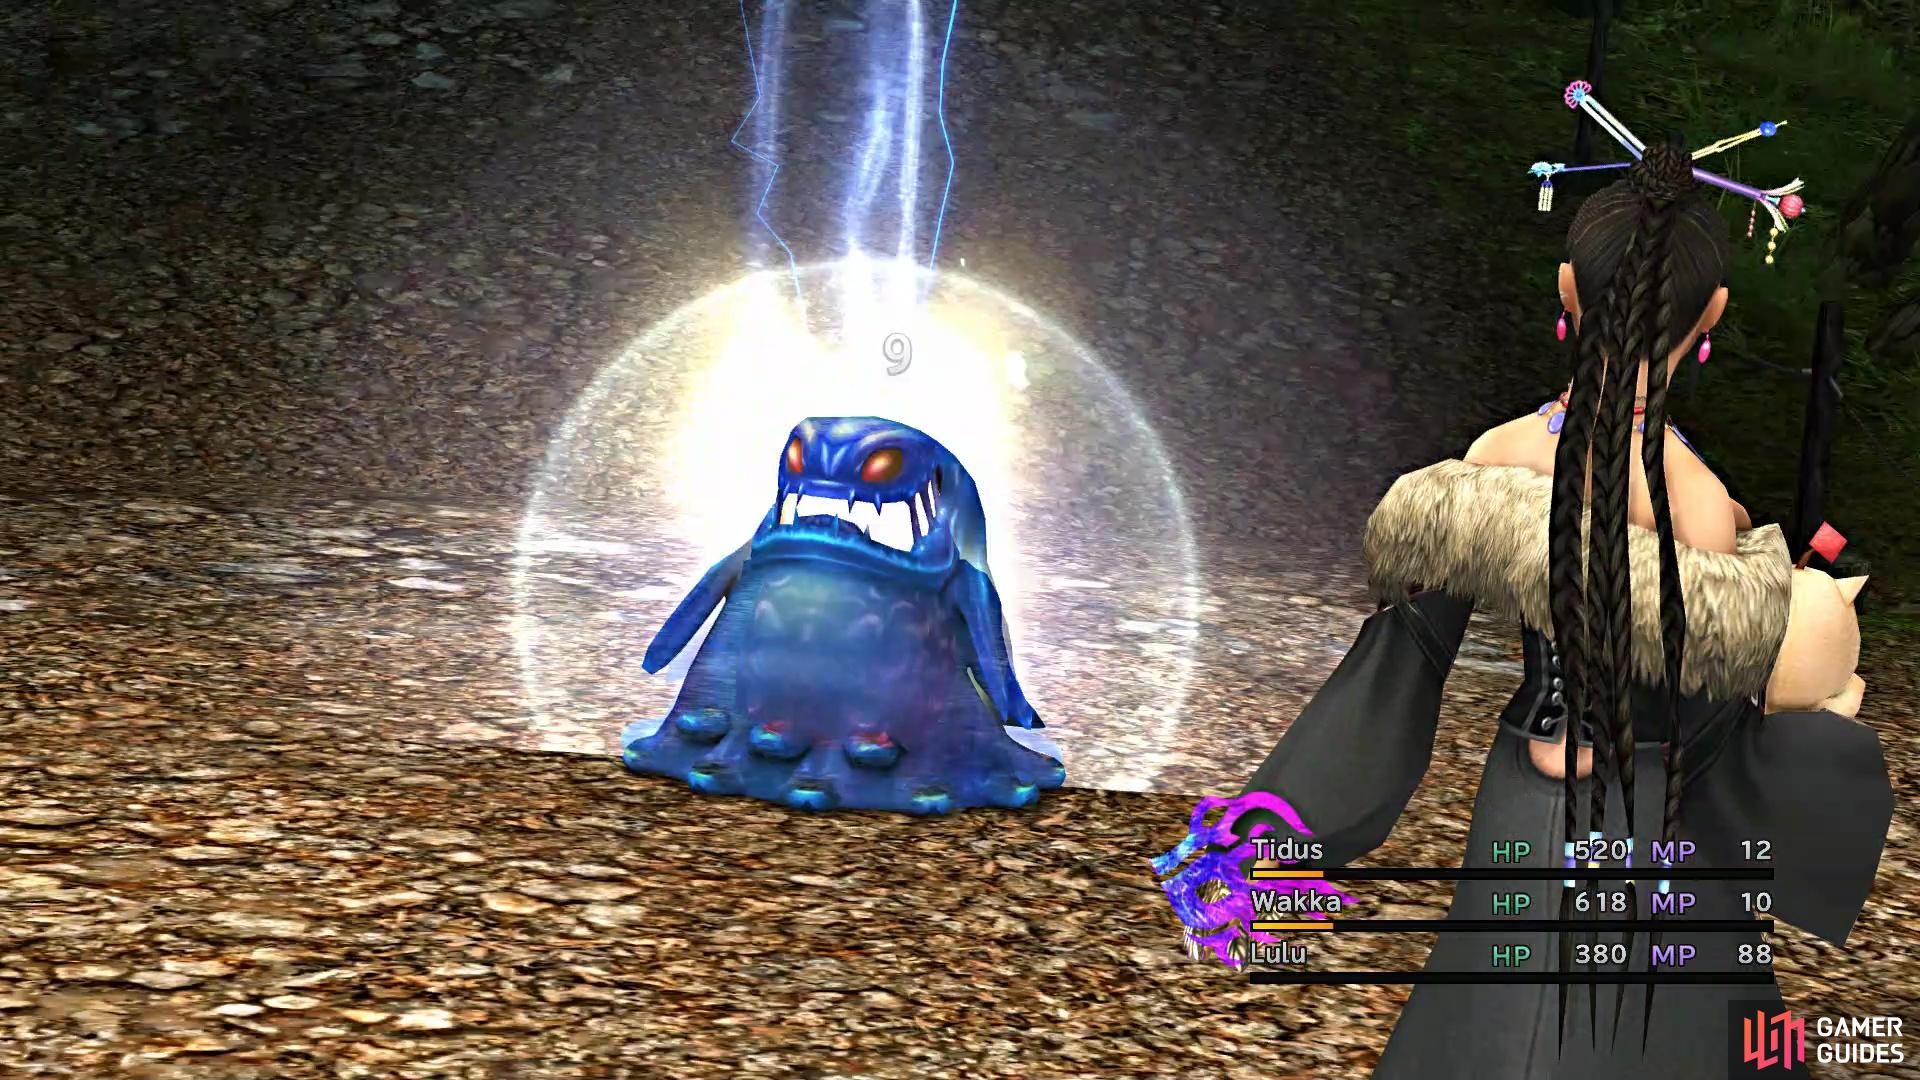
Upon exiting Besaid Village and following the trail, you will be forced into some encounters that teach you the basics of enemy types. The first battle with be against a Dingo, which is a more agile fiend, so Tidus is more adept at taking care of these types of foes. The second forced battle is against a Condor, a flying creature. Your characters will have a harder time striking these down with physical attacks, but Wakka is excellent against them. Note that you can also use magic, if you feel like it. The third forced battle is against a Water Flan, which is more resistant to physical damage.
(1 of 2) Wakka is excellent against flying enemies
Wakka is excellent against flying enemies (left), Use magic on enemies like Flans (right)
Not only do you learn about using magic on these fiends, but you will also learn about weaknesses here. Fire and Ice are opposing elements, with Thunder and Water also another pair of opposing elements. With the Water Flan being an obvious water element, you will want to use the Thunder spell that Lulu has against it for an easy win. Continue onto the next screen for a scene, then approach the stone for another scene. When you have the option to pick a choice, it doesn’t really matter. Save your game at the Save Sphere, then move into the next area, as designated by the red arrow. Move along and you will be thrown into another fight…
BOSS - ???
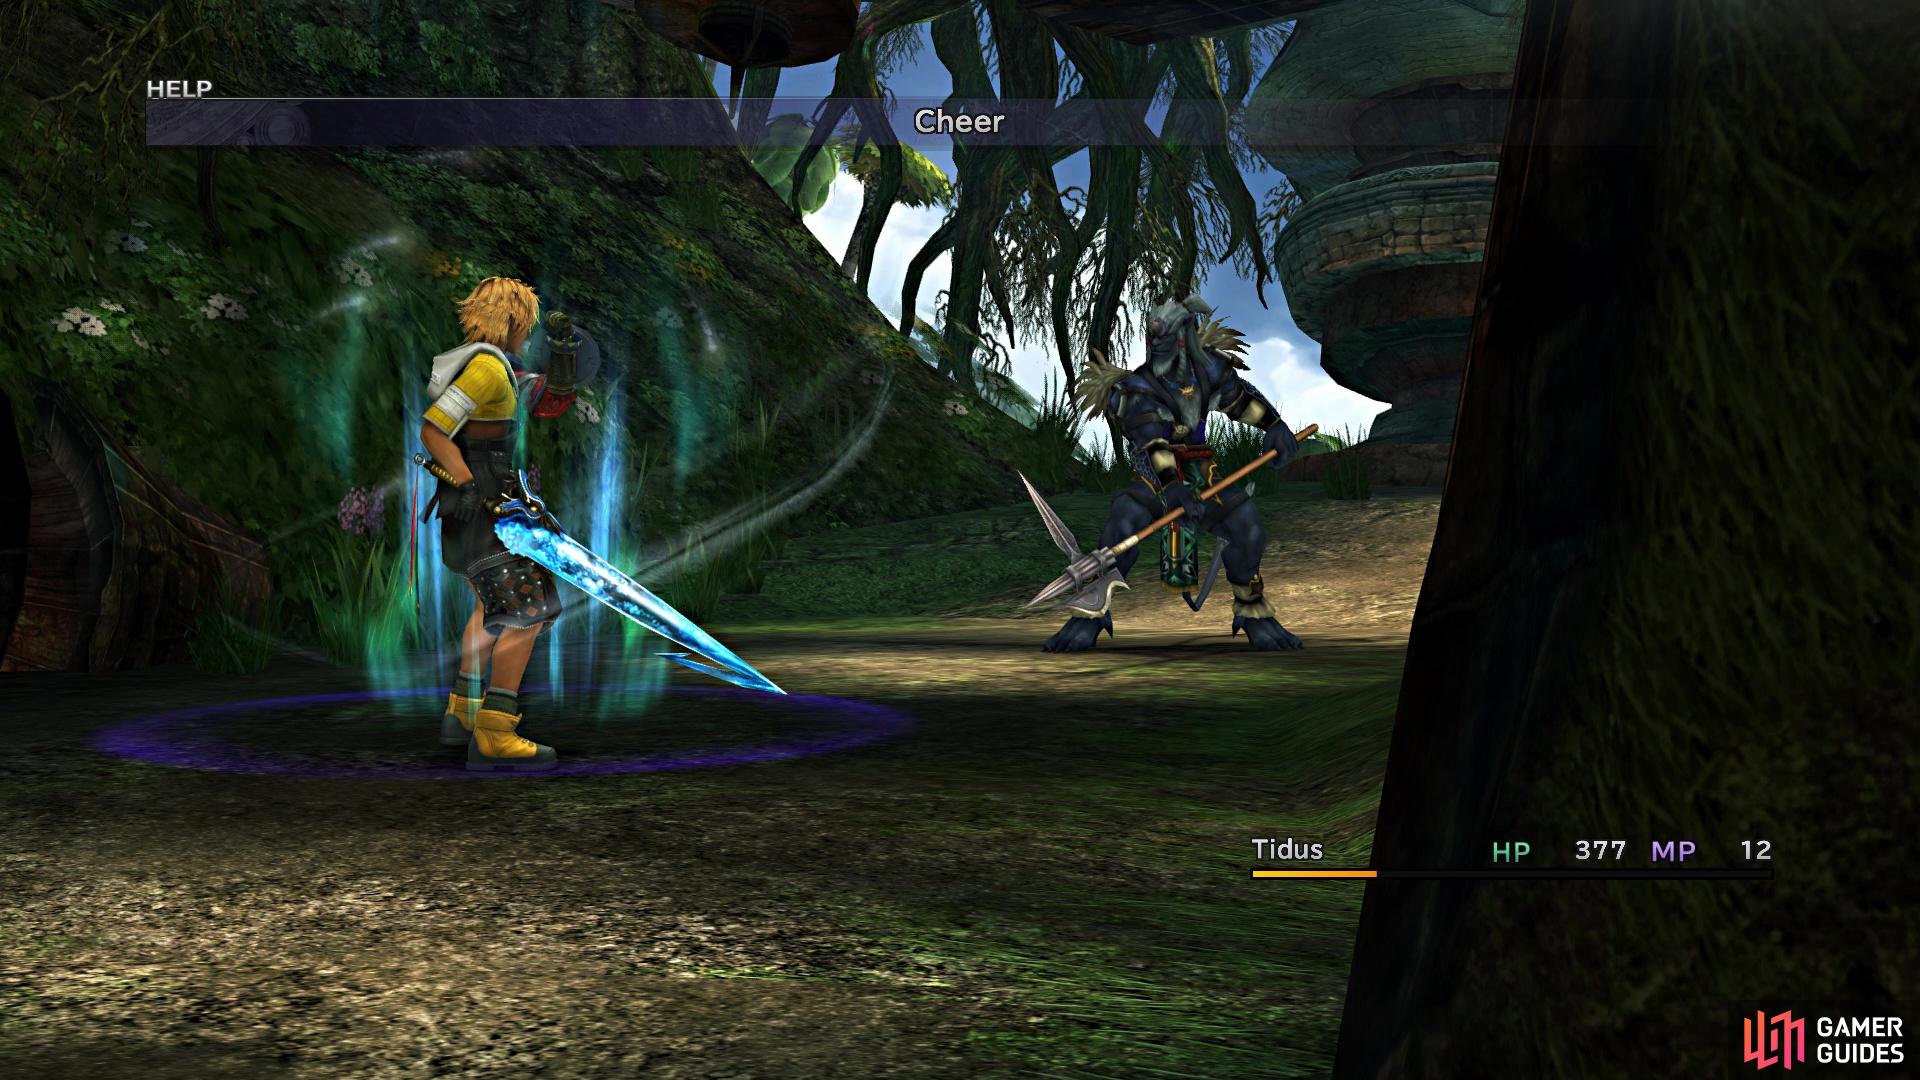
There’s really not much to this battle, as the boss will stick to normal attacks at the start, dealing around 60 or so damage. After he attacks three times, he will use Jump on the next turn, which does a little bit more damage (around 100 or so). The boss will then alternate between normal attacks and Jump. Your first few actions should be to use Cheer to boost your attack and physical defense, then trade blows with the boss. Heal when necessary (usually under 200 is a good point) and the fight should be over in no time.
(1 of 2) Use Cheer to help reduce some of the damage from the boss
Use Cheer to help reduce some of the damage from the boss (left), His Jump attack is definitely his most damaging attack (right)
After the battle, you will be introduced to Kimahri, who is one of Yuna’s guardians. You can actually return to the shop in Besaid, if you wanted, to find they have equipment for sale, but it’s better to save your money. Continue along the path after the fight with Kimahri and onto the next screen, where you will be forced into another battle, but with a large, flying creature called a Garuda. Here, you will be introduced to switching party members in and out of battle. Yes, Final Fantasy X allows you to switch party members on the fly in battles, which will be done with the L1 (Playstation)/LB (Xbox)/L (Switch) buttons. Swapping characters in battle will not take up a turn, so feel free to use it as often as needed, as long as they aren’t suffering from an ailment that prohibits their action.
Summoning Tutorial
This first battle with a Garuda will have you bringing in Yuna, who will need to summon her new Aeon, Valefor. During battles, whenever Yuna summons an Aeon, they will replace all of the characters. Each Aeon will have their own HP and Overdrive gauges, as well as skills. All Aeons will have access to the Shield and Boost commands. Shield is basically like Defend, but with the added mechanic of the Overdrive gauge not increasing. Boost, on the other hand, will make the Aeon take more damage, in turn for the Overdrive gauge filling up more.
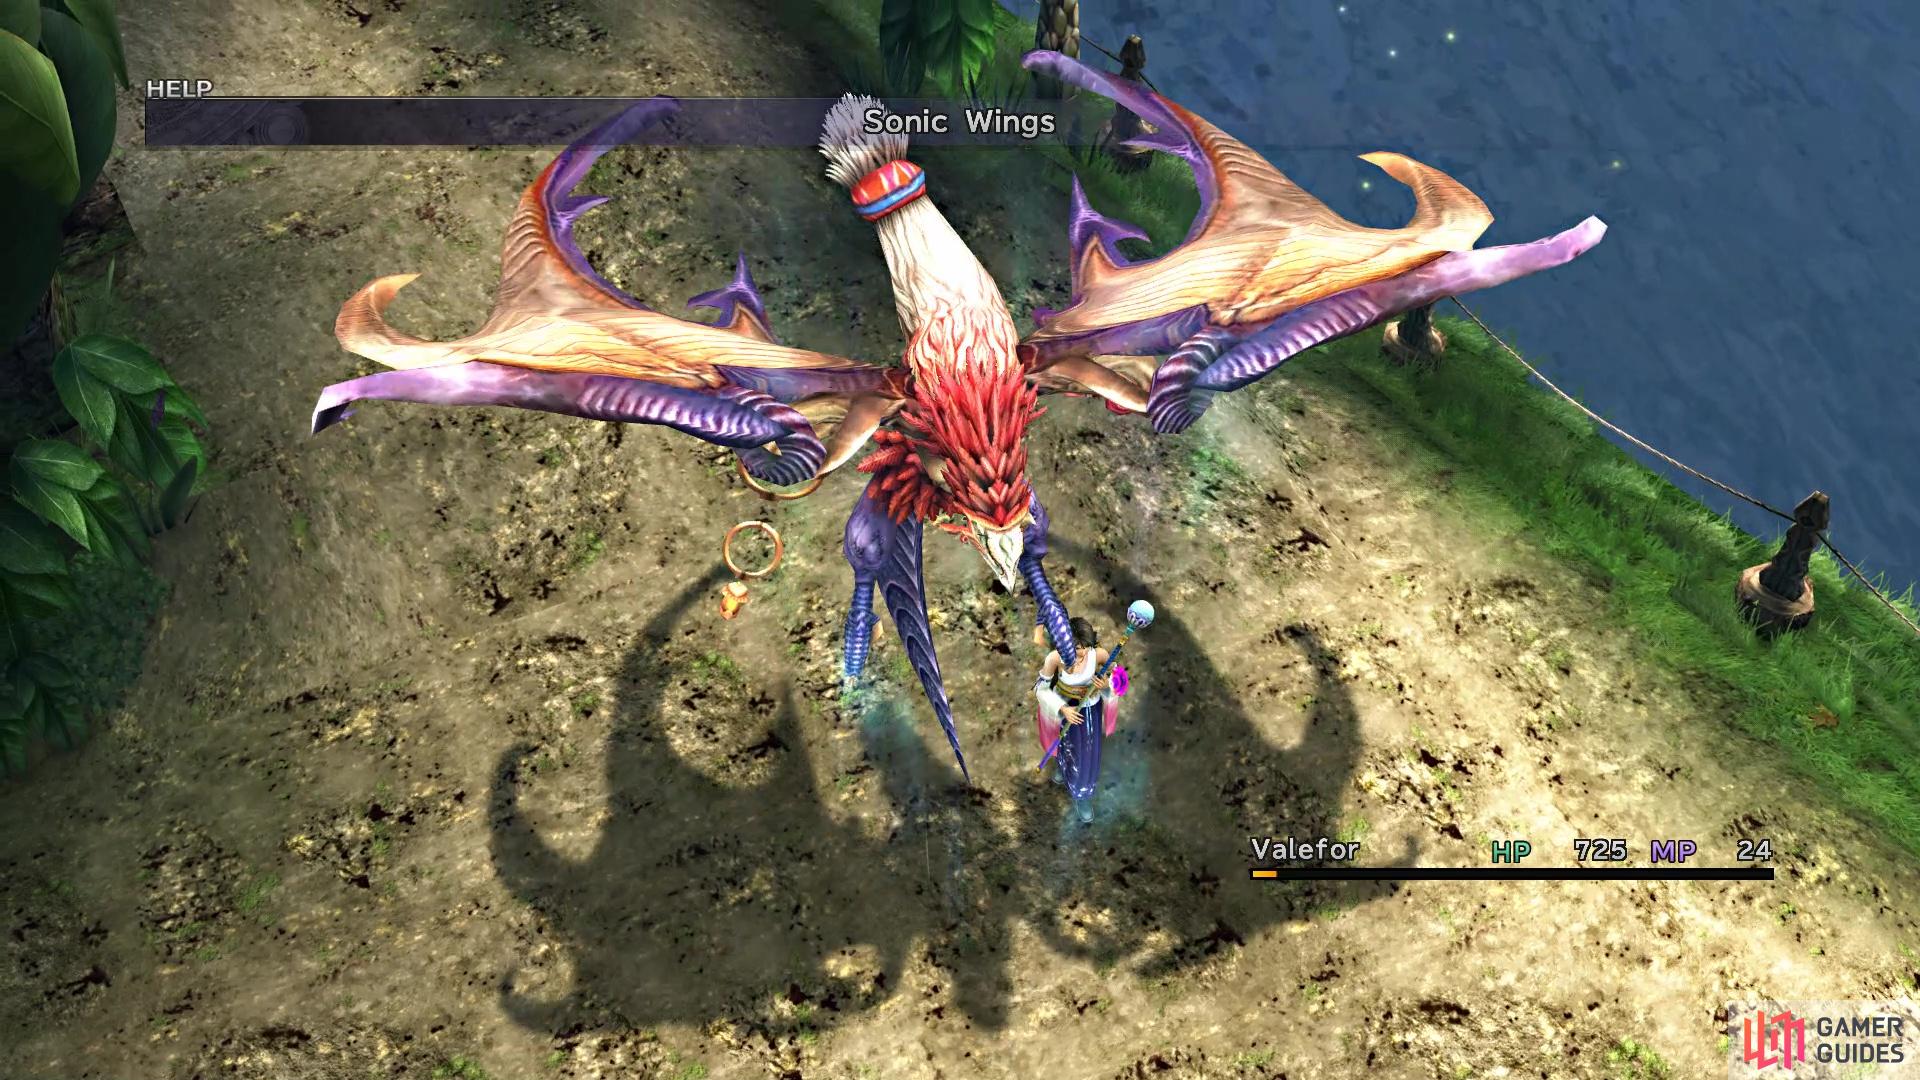
As far as skills, Valefor has access to all four basic elemental spells (Fire, Blizzard, Thunder and Water), which is nice. However, the best move is Valefor’s signature attack, Sonic Wings. This attack hits a single target and delays their turn for a little bit. If you spam this move against the Garuda, then you will be able to get a lot of turns in a row. Should the Aeon’s HP reach 0, then they will go away and your characters will return to the battle. You can restore revive them via a Save Sphere, but they will also revive on their own after so many battles have been completed.
(1 of 2) Use Sonic Wings to get multiple turns in a row
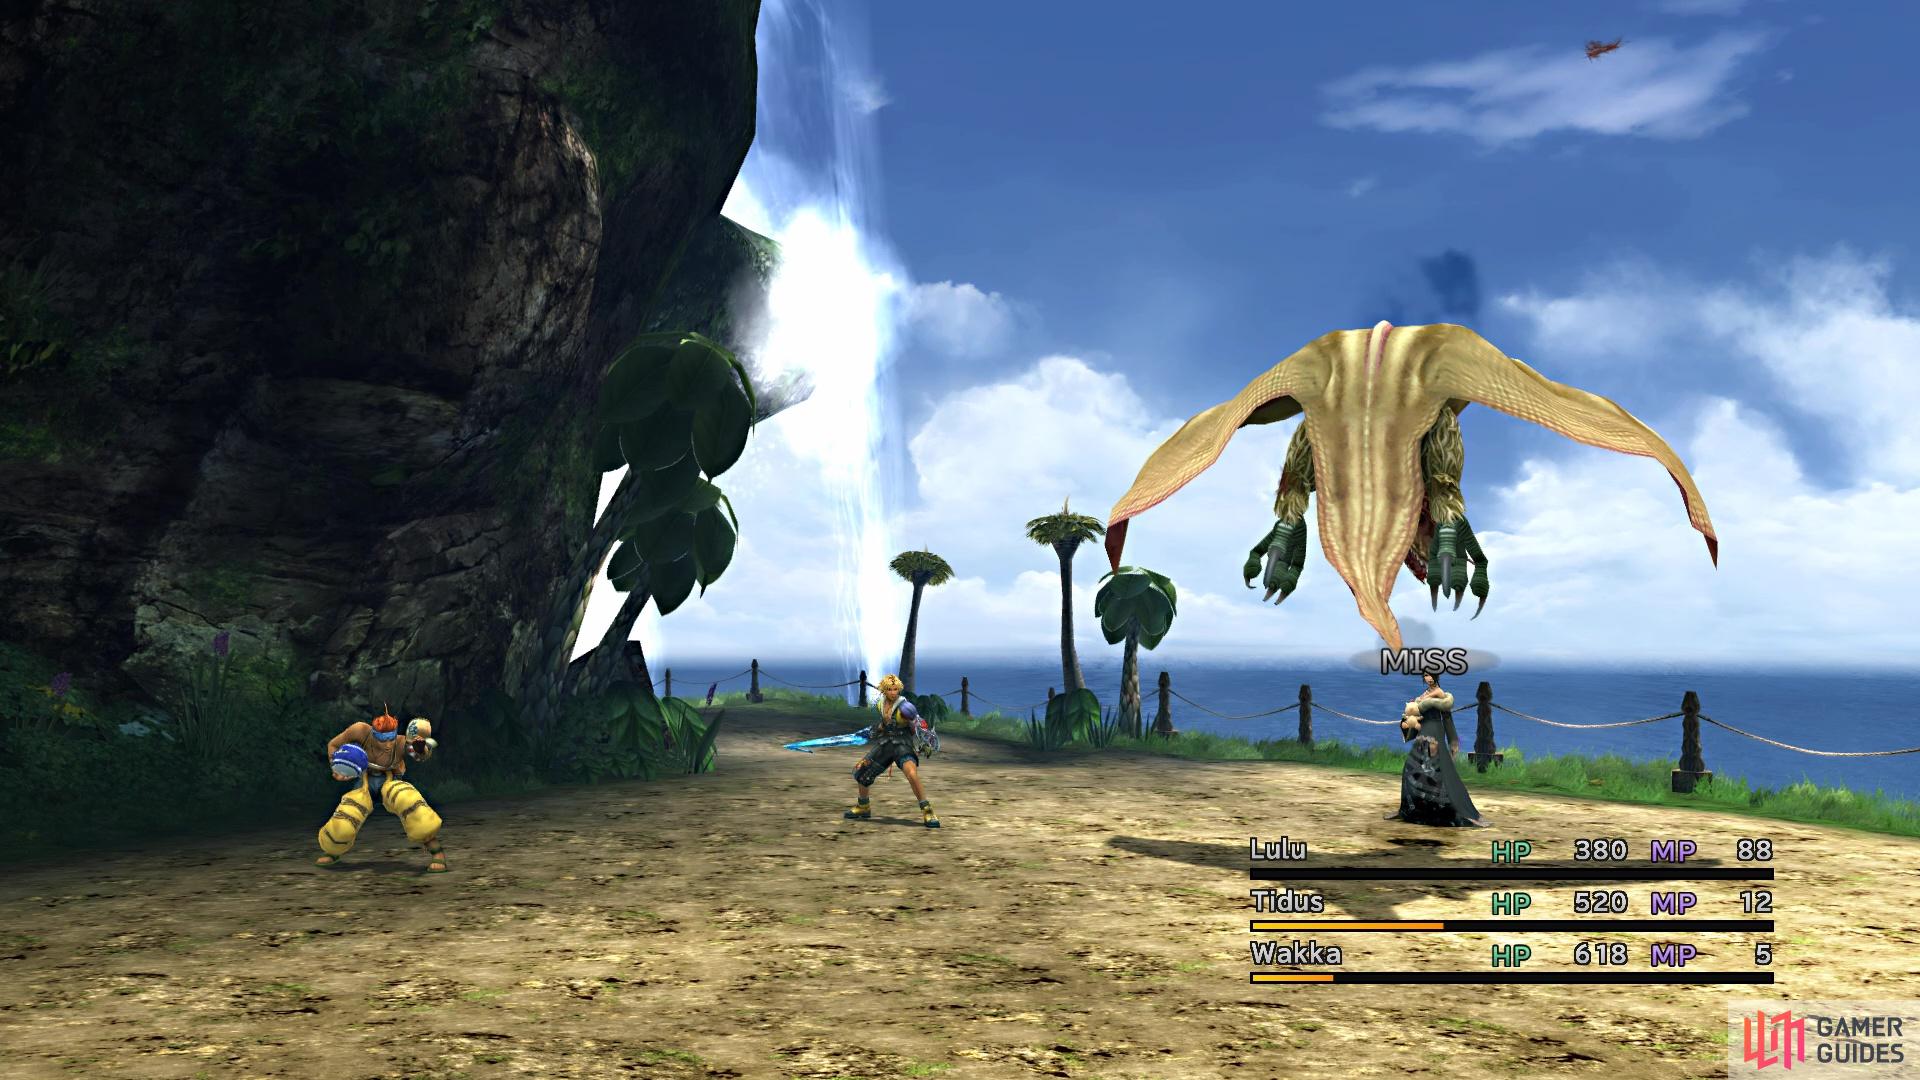
Use Sonic Wings to get multiple turns in a row (left), The Darkness ailment will make physical attacks miss a lot more often (right)
Once you defeat that Garuda, you will run into another one down the road, although you won’t be using an Aeon to handle it this time. If Wakka isn’t in your immediate party, swap him in and select Dark Attack from his skills. This will inflict Darkness on the Garuda, making it a lot harder for the beast to hit you with physical attacks. With this, you only need to strike it down like any other fiend. With the second Garuda, that will be all of the forced tutorial battles for this area, so you will find normal random encounters now. It should be noted that the Garuda is not a normal enemy here, so you don’t have to worry about finding one.
Continue along the path and you will eventually reach a familiar screen, where you need to head south, back to the beach in which you washed up in Spira. If you didn’t pick up the chest with the Moon Crest earlier, then do that now before heading to the docks. There will be some people on the docks and if you talk to them, they will give you free items! You might have to talk to some of them more than once, but you can receive 400 Gil, Seeker’s Ring, an Ether, three Phoenix Downs, and a Remedy. Board the boat, when ready, to begin your journey.


 Sign up
No Comments