This page offers a guide on how to take portfolio photographs during the Happy Home Paradise DLC. Photography is an important element of the DLC gameplay and this guide will give you all the tips on how to take the perfect pictures!
If you haven’t started the DLC, check out our guide on how to begin Happy Home Paradise..
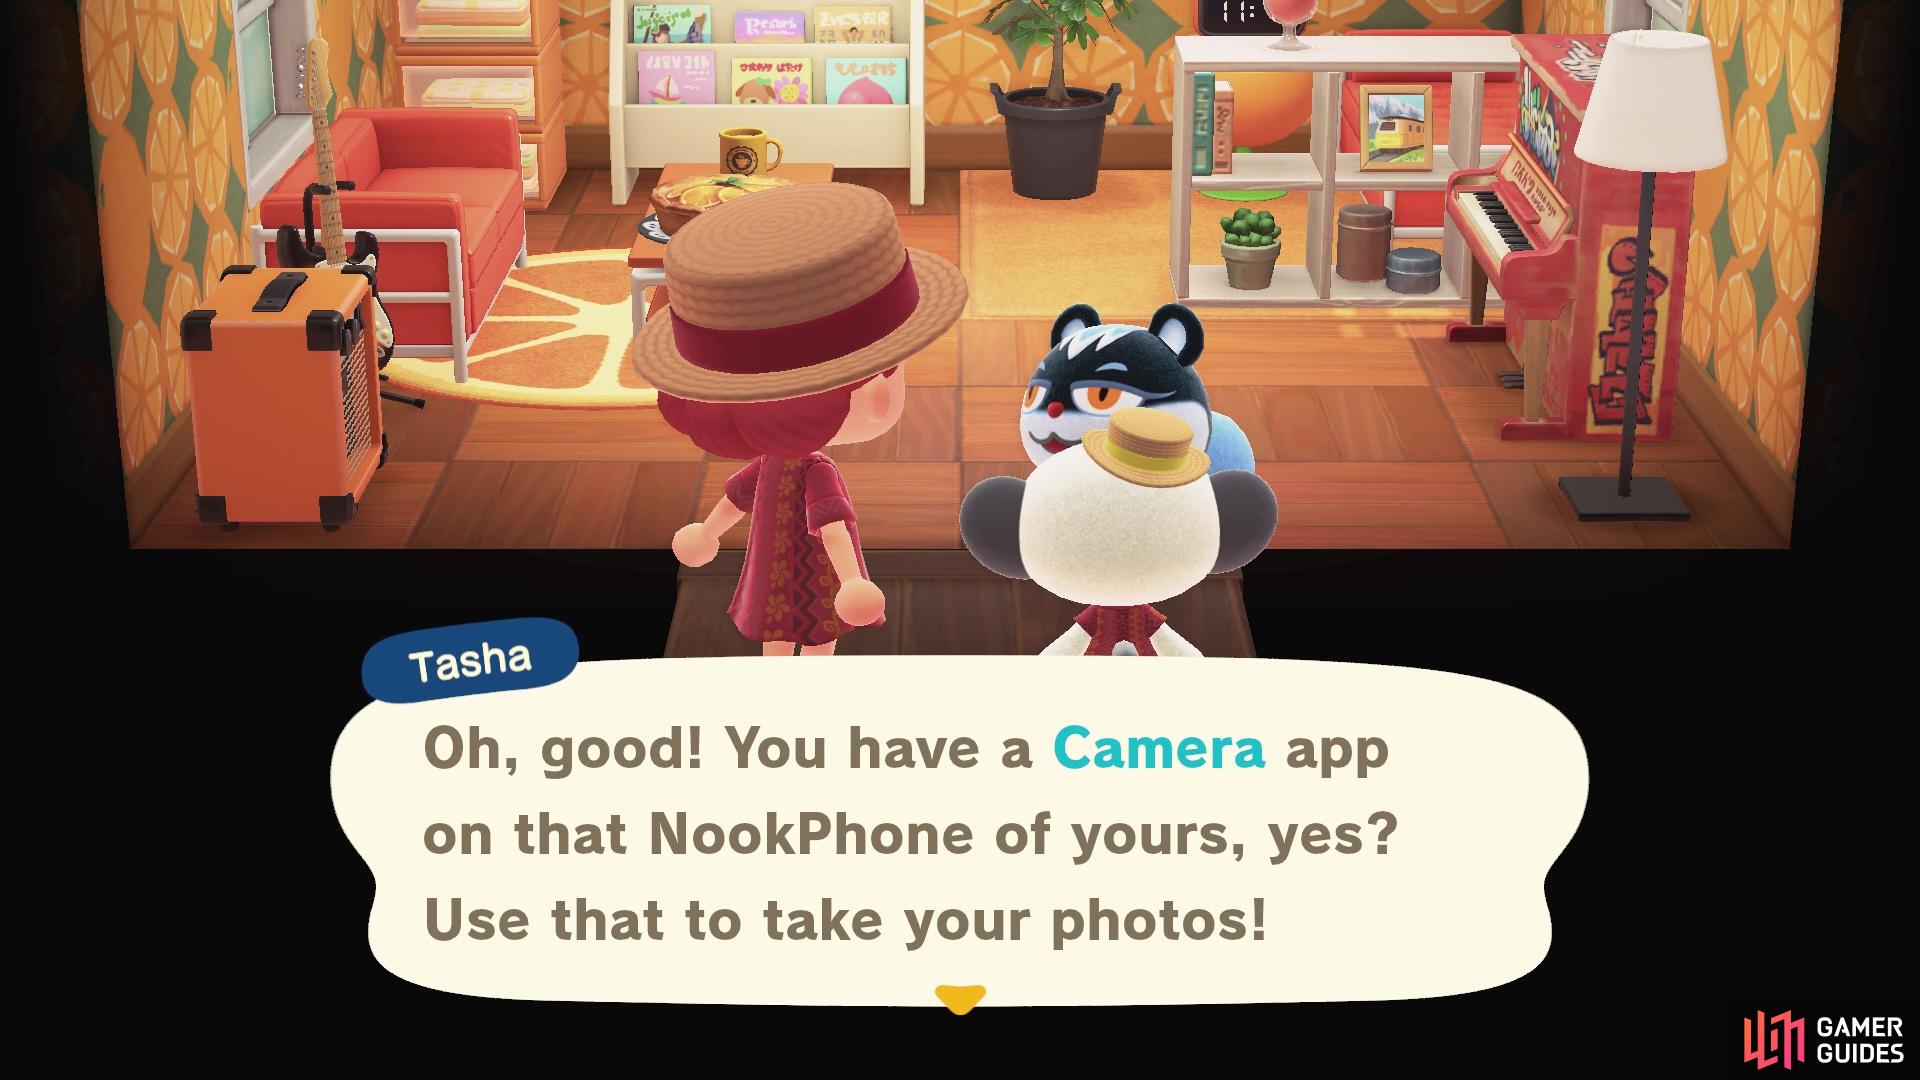
You’ll learn how to take photos in the DLC when you’re on your second client. After you’ve learned how to take photos for your portfolio, you’ll be asked to return to your first client, Eloise and take photos for her as well.
Use your camera to take photos of the vacation home.
How to Place and Dress Your Clients
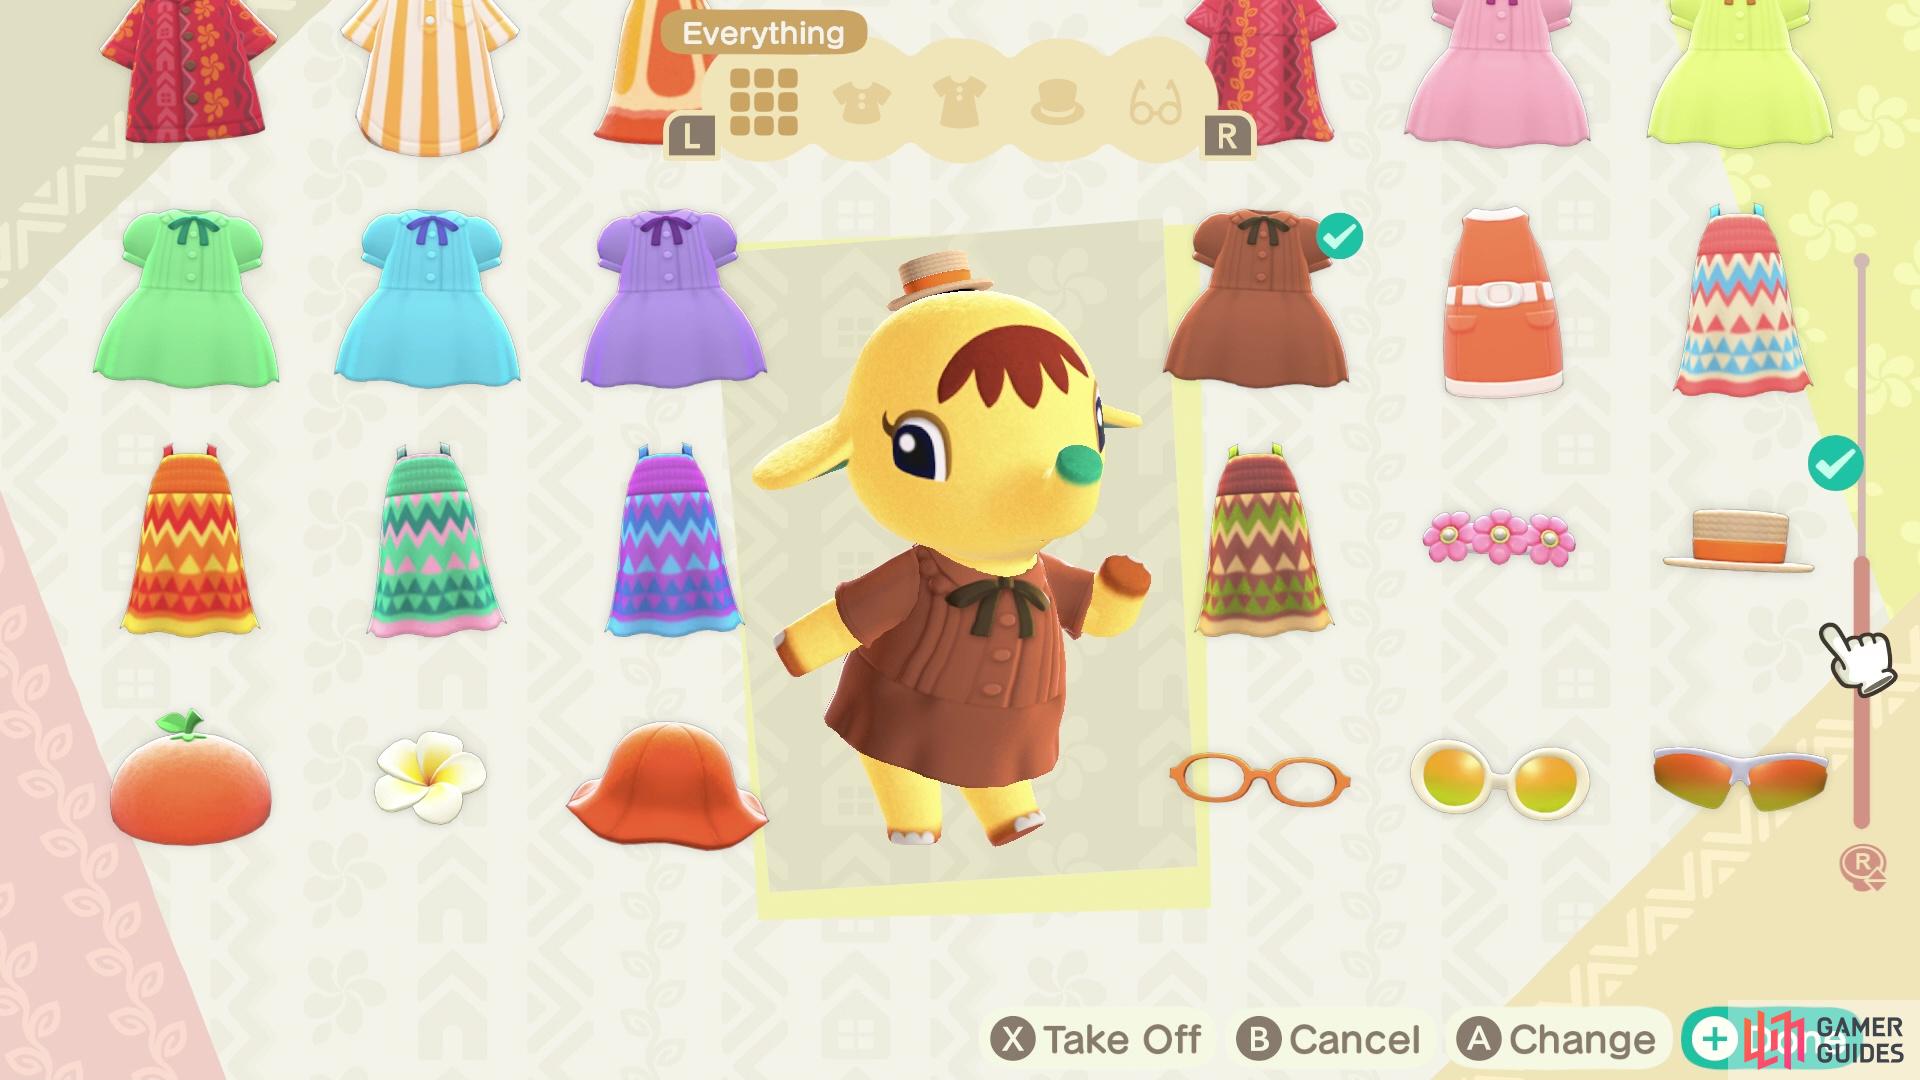
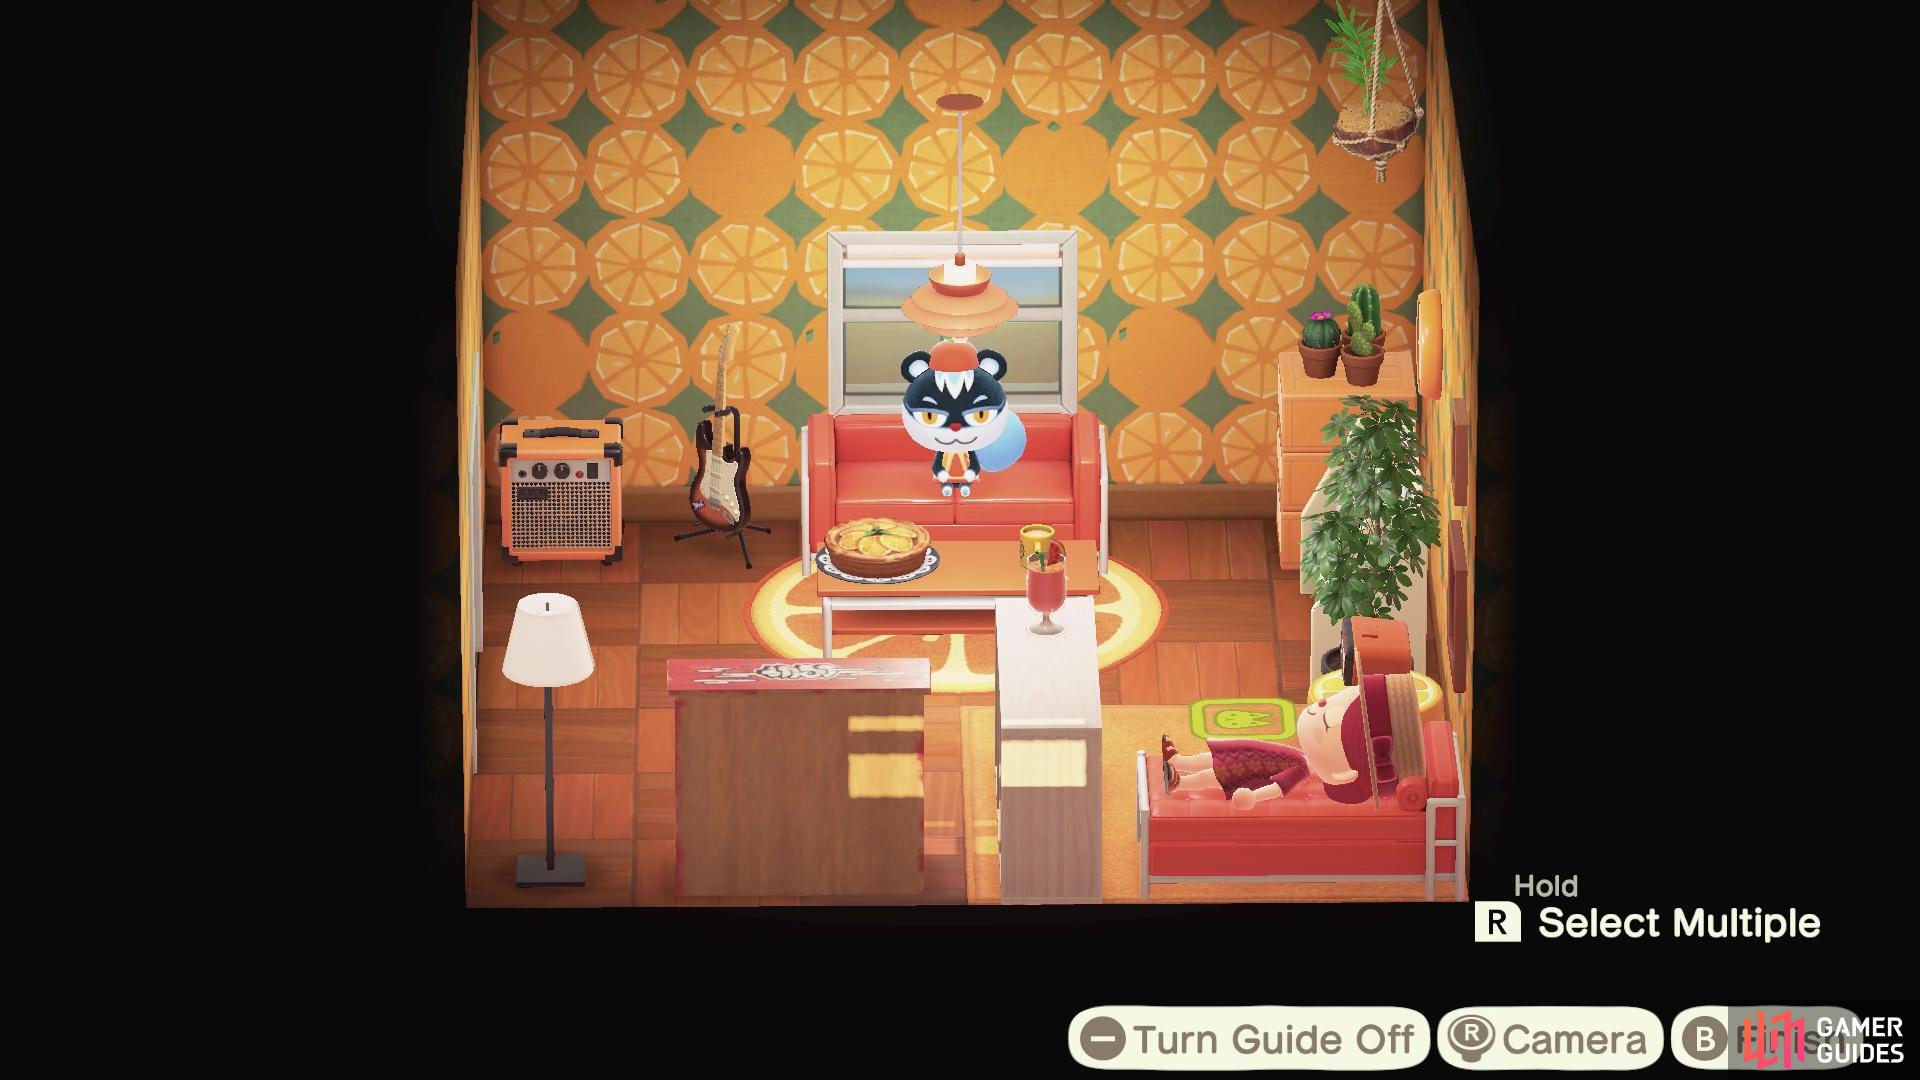
Before you take pictures, you may want to dress up the clients and place them in a specific location in their vacation home. First you’ll need to enter into decorating mode and pick up the villager, then you can place them wherever you like. You could place them in bed, or sitting on a sofa or chair. Or you could just place them standing up somewhere in the room.
(1 of 2) You can change your clients clothing so that they match their aesthetic
You can change your clients clothing so that they match their aesthetic (left), each client will have a different selection of clothing. (right)
After you’ve found the perfect spot for your client, press X whilst hovering over them to switch up their clothing. The available clothing will be dependent on their style. So for our chosen second client, their theme was ‘An Orange Space’, which meant a lot of their clothing options were colored orange or quite literally orange themed. It is entirely optional to change the villagers’ clothes, but it can make for nice, cohesive pictures when the client matches their vacation home’s aesthetic.
You’ll also have options for accessories such as glasses, hats and moustaches depending on the client!
How to Take the Perfect Photo
Now that you’ve dressed your client and placed them in the perfect spot in their vacation home, you’ll want to open up your camera and get ready to take the photo. You also have the ability to press in your left analog stick to make your character disappear from the shot - you could also press in the analog stick a second time to make the client disappear too if you just want a picture of the vacation home.
Below, you’ll find a breakdown of all the controls you have available.
-
Zoom In and Out: You can zoom in using the X button and zoom out using Y.
-
Look at Me!: Pressing the R bumper will cause your character to look up at the camera.
-
Filters and Frames: Pressing the ZL button shifts you through a series of filter options. Pressing the L Bumper will add different frames to your picture.
-
Moving the Camera: Using the D pad on your controller will allow you to move the camera lense up, down and to the sides.
(1 of 2) Pick up the villager and place them wherever you like
Pick up the villager and place them wherever you like (left), then angle your camera to get the perfect shot! (right)
Once you’ve got the perfect shot, hit the + button to capture the photo. This will take a screenshot but will also be available to upload to your portfolio. All you have to do is speak to the client again and tell them you’re ready to head out. If you’ve put your client in a strange place, such as a chair that’s blocked by a table or in bed, then you’ll need to enter decorating mode and move them back onto the ground to be able to talk to them again!


 Sign up
No Comments