Description
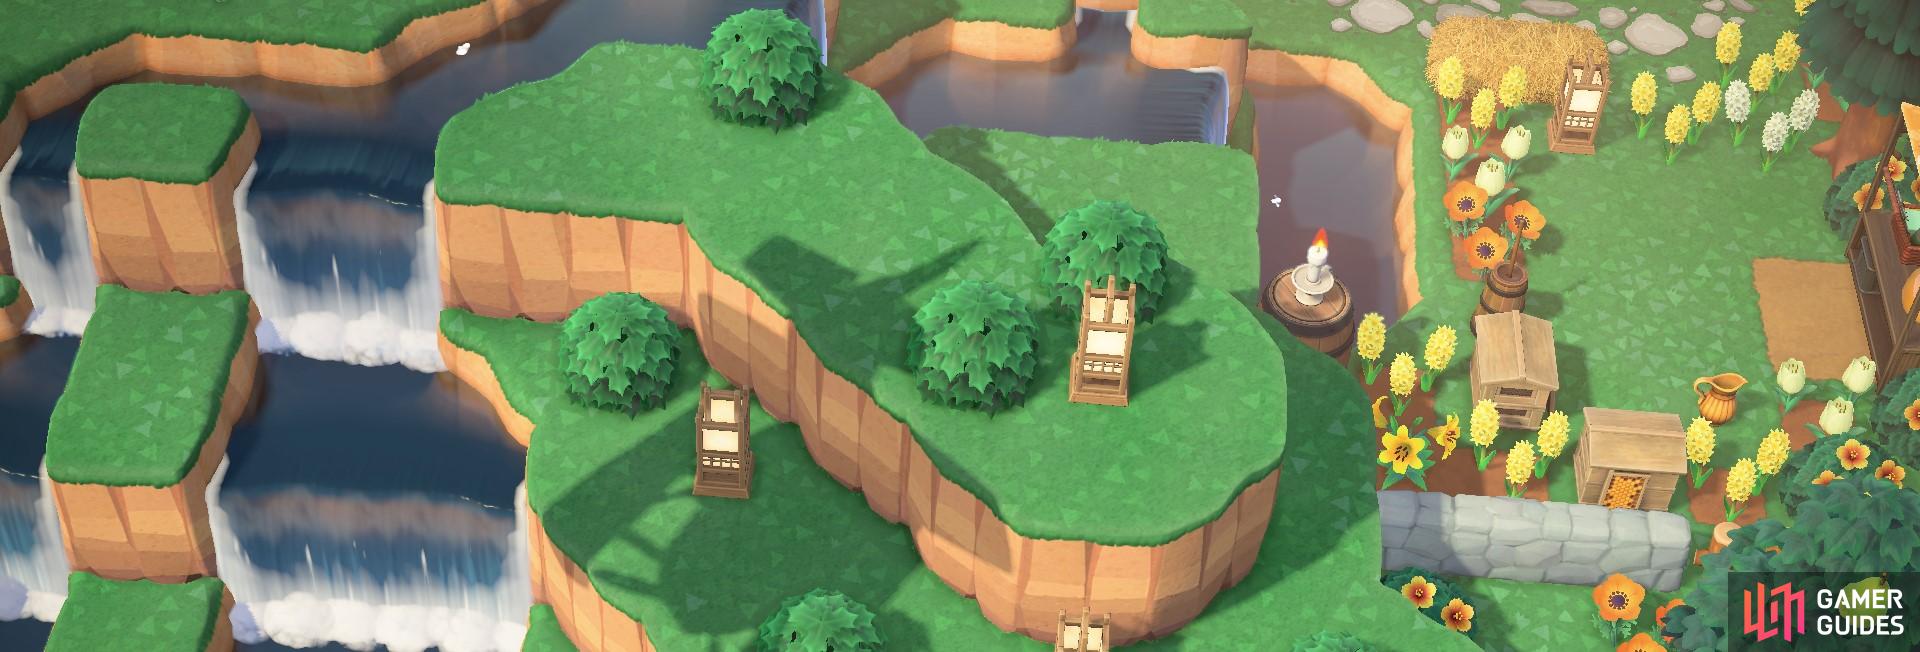
This page will give you a brief explanation of the terraforming tools. For a more indepth walkthrough, head over to the Terraforming section of this guide, which has detailed pages on cliff-construction, waterscaping and pathing.
Island Designer Tool
First off, you’ll start with only a tool to place paths down. You’ll only have access to a Dirt path and to a Grass path (it acts as a path eraser). You can then save up Nook miles to buy the cliff-construction tool and the waterscaping tool, as well as extra path designs.
| Function | Cost (Nook Miles) |
|---|---|
| Waterscaping Permit | 6,000 |
| Cliff Construction Permit | 6,000 |
| Arched Tile Path | 2,000 |
| Brick Path | 2,000 |
| Dark Dirt Path | 2,000 |
| Terra-cotta Tile | 2,000 |
| Wooden Path | 2,000 |
| Stone Path | 2,000 |
| Sand Path | 2,000 |
| Custom Design Path | 2,300 |
How to place a path
For now, this is how you place down the default dirt path design. Firstly, you’ll need to access the Island Designer app. After the introductory text, you’ll need to select that you want to begin island construction. After this, you’ll be forced to wear a little construction hat until you exit the app.
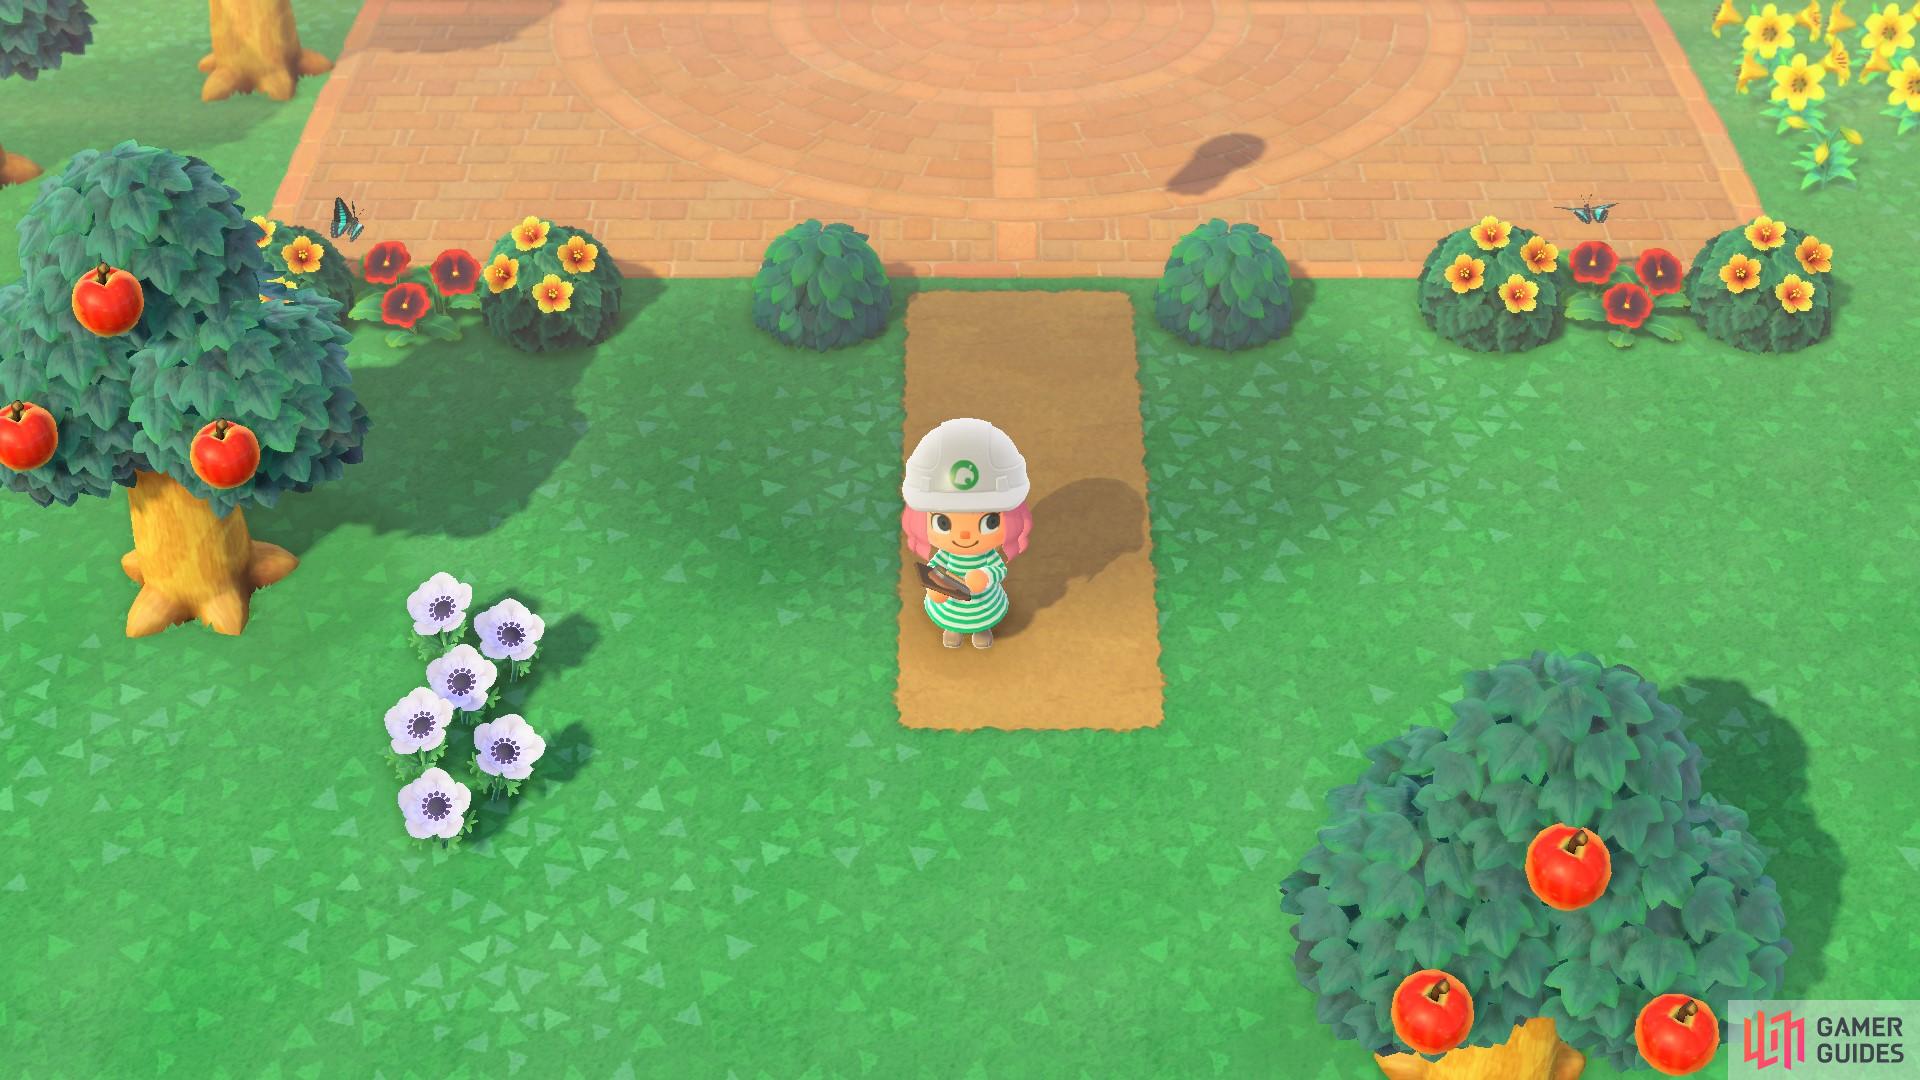
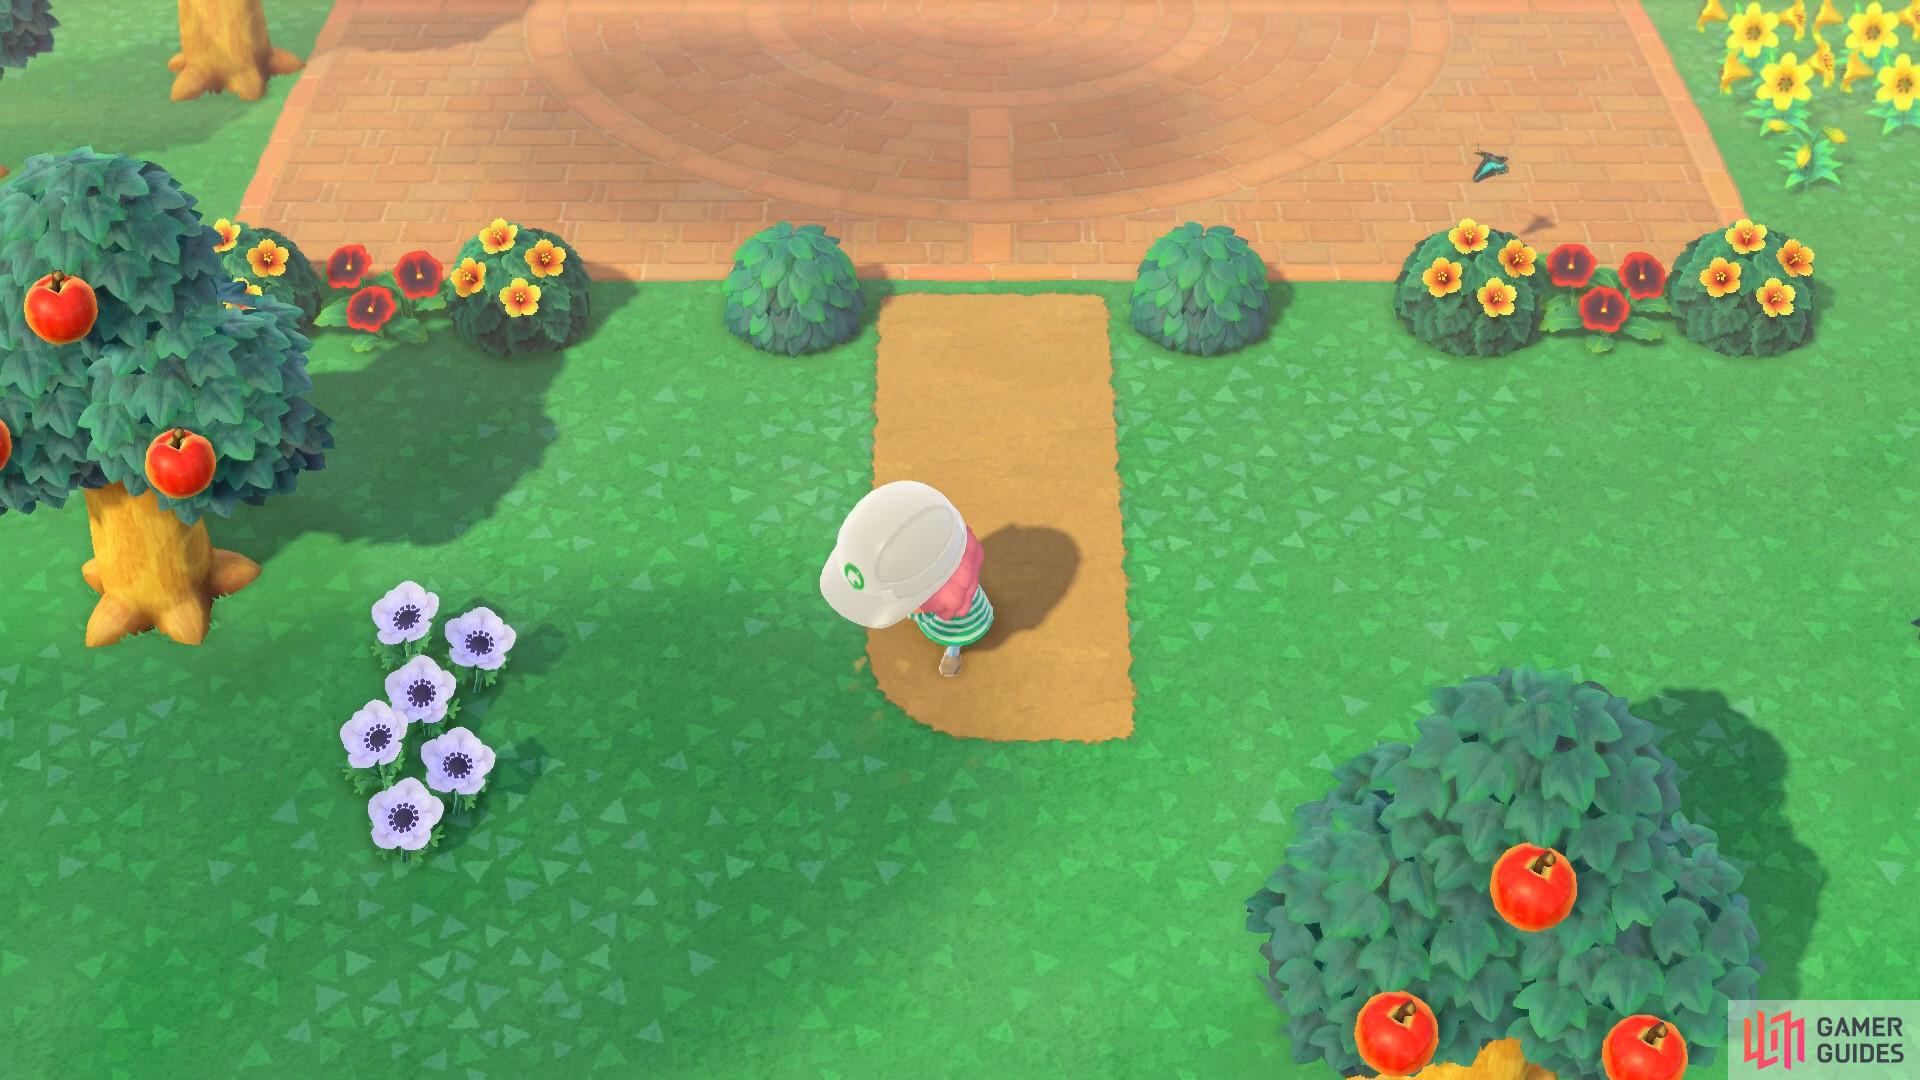
To begin placing down paths, press the + button and select the dirt path design. When you press A, you’ll be placing a path infront of your character. When you press A on a part of a path that’s at the end of a larger pathway, it will curve the edges. This won’t happen if the path block you’re altering is in the middle of the path, it will instead just delete the path block. If you want to delete a curved path edge, press A again and that will delete it.
(1 of 2) When you first place down a path the edges will be straight
When you first place down a path the edges will be straight (left), but you can also curve paths to create softer edges to your corners. (right)
For information on how to use the other Island Designer tools, head over to the Terraforming section of this guide for a detailed walkthrough of cliff-construction and waterscaping.


 Sign up
No Comments