Description
It’s day five and by now you’ve probably accumulated a lot of Nook Miles from various tasks and achievements. Head over to the Nookstop in Resident Services. It’s makeover time!
New Hairstyles
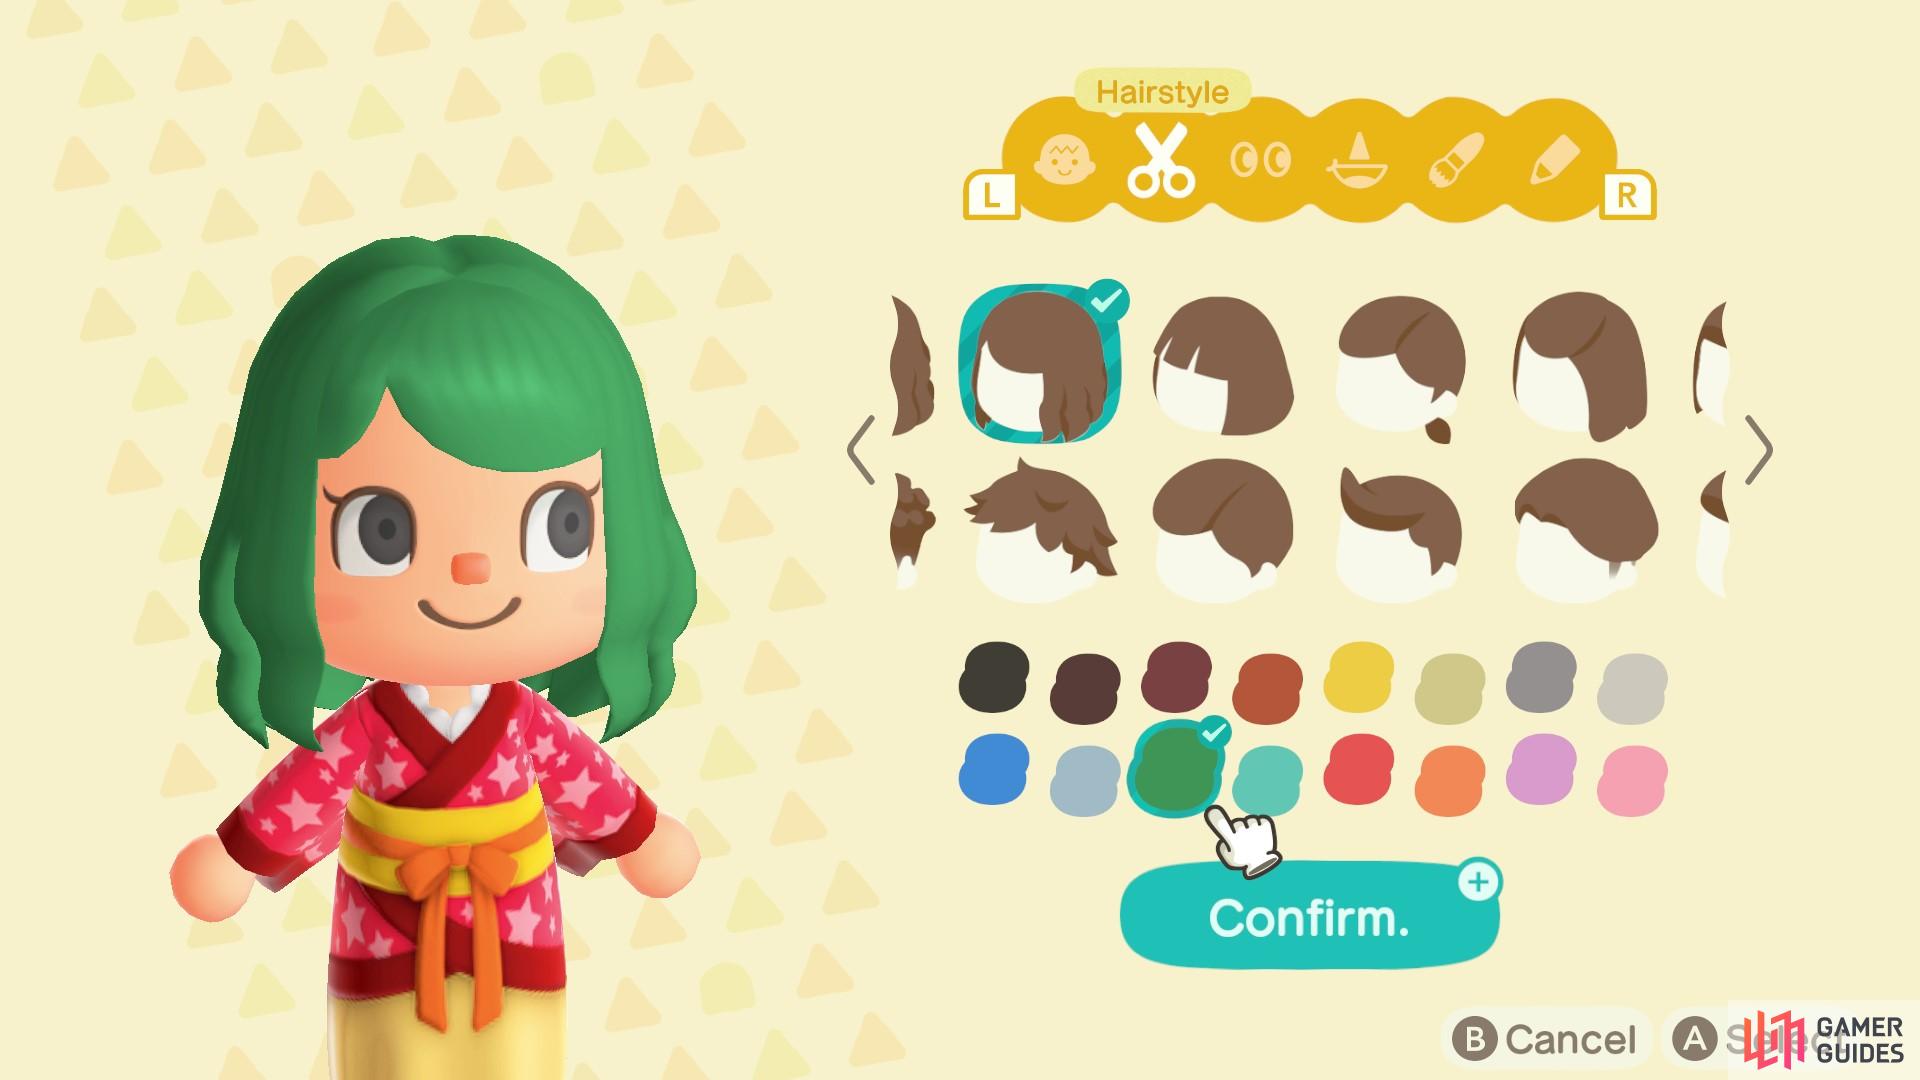
You might have noticed that your hairstyle options at the beginning were a bit limited. At the Nookstop, you can purchase new hairstyles and colors! You can choose from either the Top 8 Pop Hairstyles or the Top 8 Cool Hairstyles, as well as a Top 8 Stylish Hair Colors pack. These will cost a few thousand Nook Miles each to redeem, but you’ll have more options to customize! Perhaps you could buy one hairstyles pack and the colors pack to really change up your look. To change your appearance, you need to use a mirror or a vanity. You should have already received a DIY recipe for a wooden mirror, so if you haven’t already, try making one.
Whatever set you chose, you’ll now have 8 extra hairstyles to choose from. And if you also bought the colors pack, you’ll have some fun new colors to try out too!
This hairstyle is from the Cool Hairstyles set.
Creating Custom Clothing
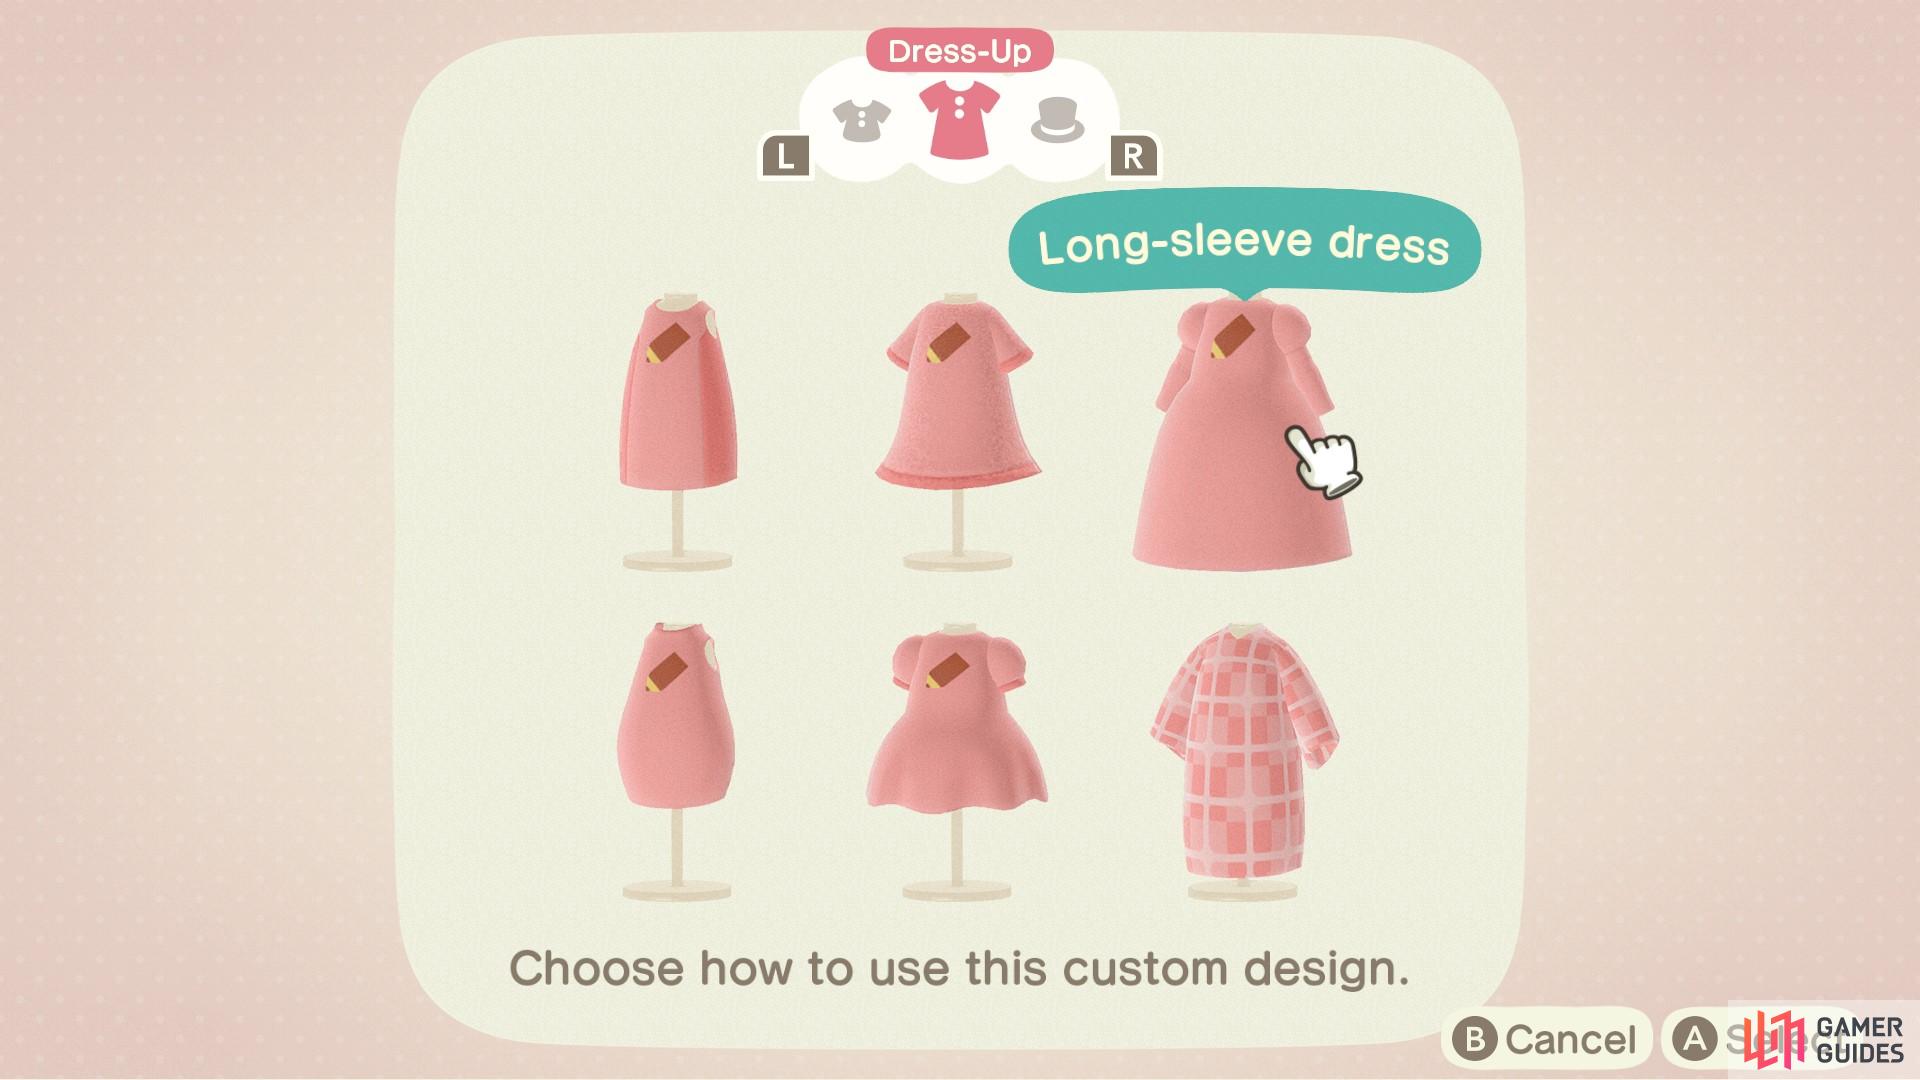
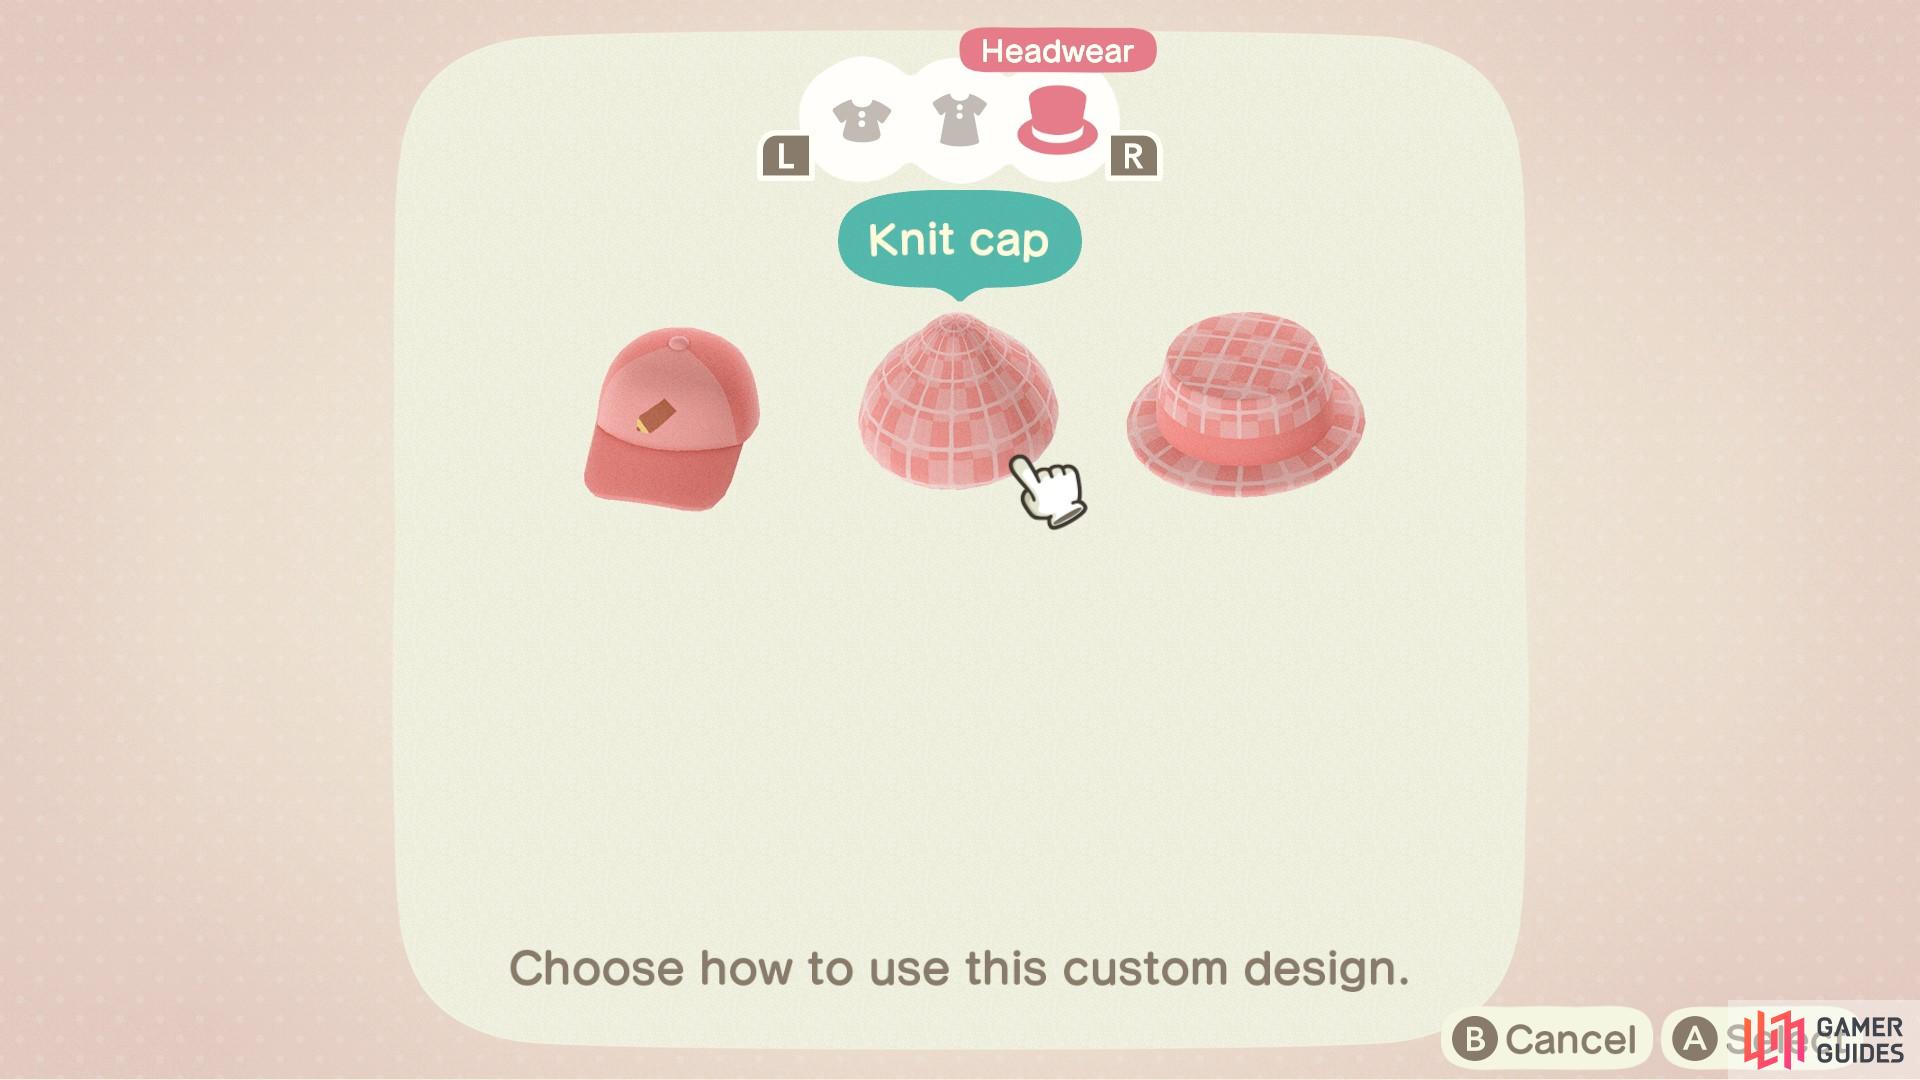
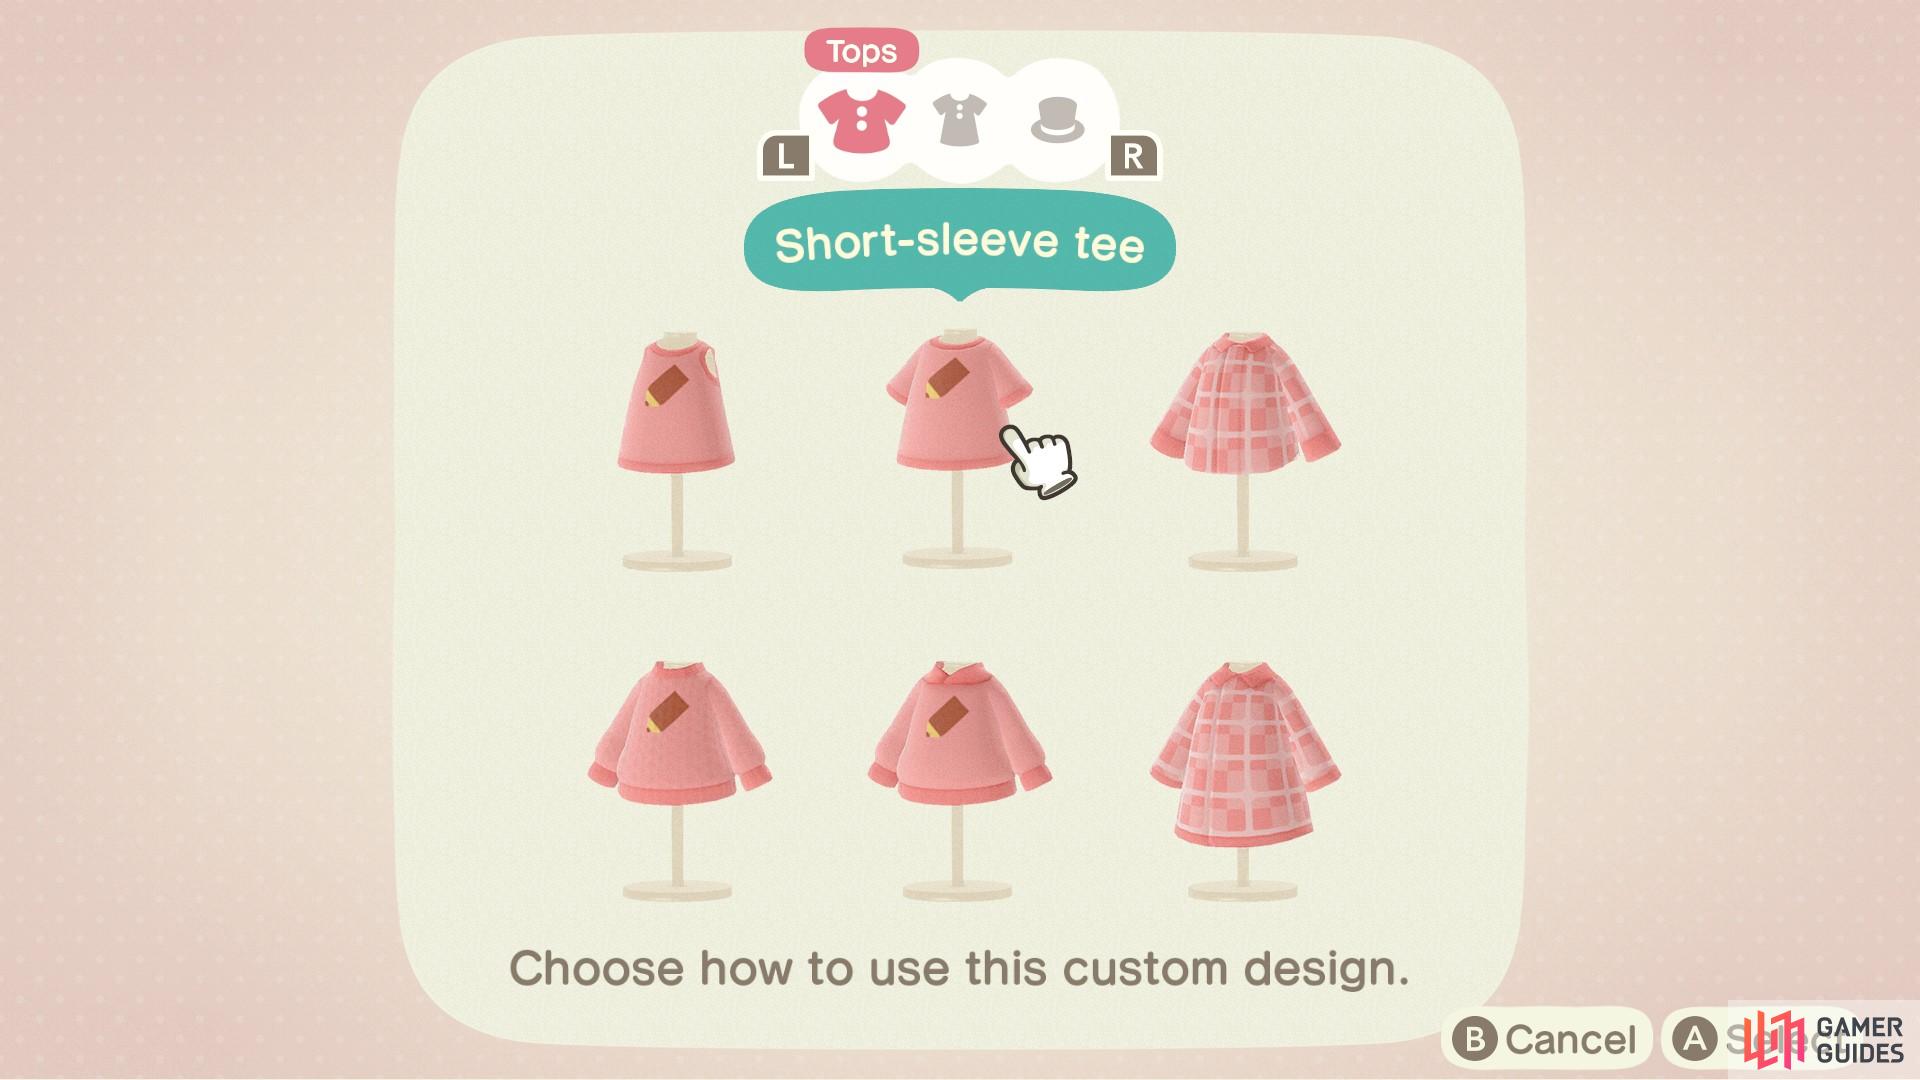
After you’ve chosen a new haircut and color, why don’t you try making your own clothing designs? You may have already tried your hand at custom designs, but if you buy the Custom Design Pro Editor app at the Nookstop, you’ll be able to design new clothes for yourself! It costs 800 Nook Miles and you’ll be able to design dresses, hats, jumpers and tank tops.
Firstly, you’ll have to decide what you want to create.
(1 of 3) You can design dresses
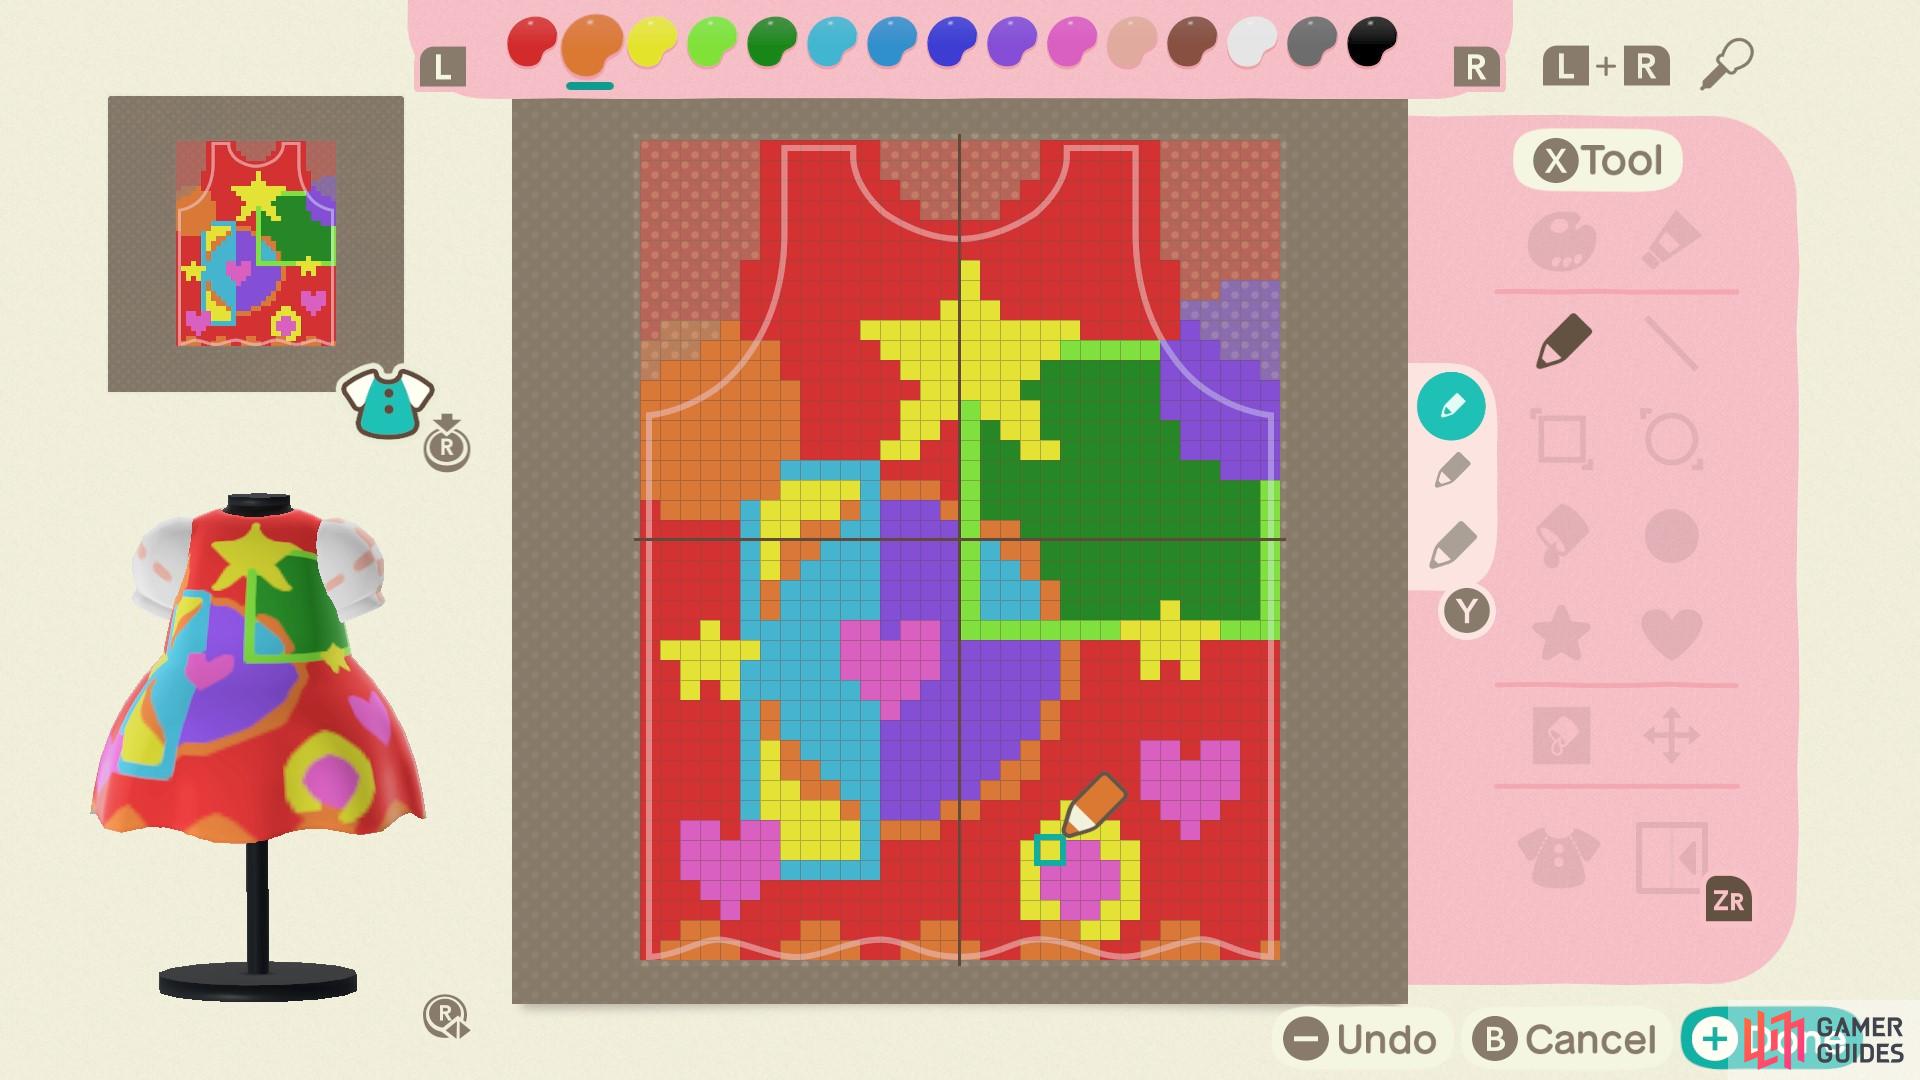
So designing clothes is a little bit more complicated than the normal custom design tool. Each part of the item of clothing can have its own design, so you’ll have to create a front, back and both sleeves on a dress for example. To switch between the different parts, press in the R analog stick on your controller. You can rotate the dressform by moving with the R analog stick, which makes it easier to see how your design is coming together.
There are lots of different tools and functions on the design app but here’s a rundown of what they do. To access the tools first press X.
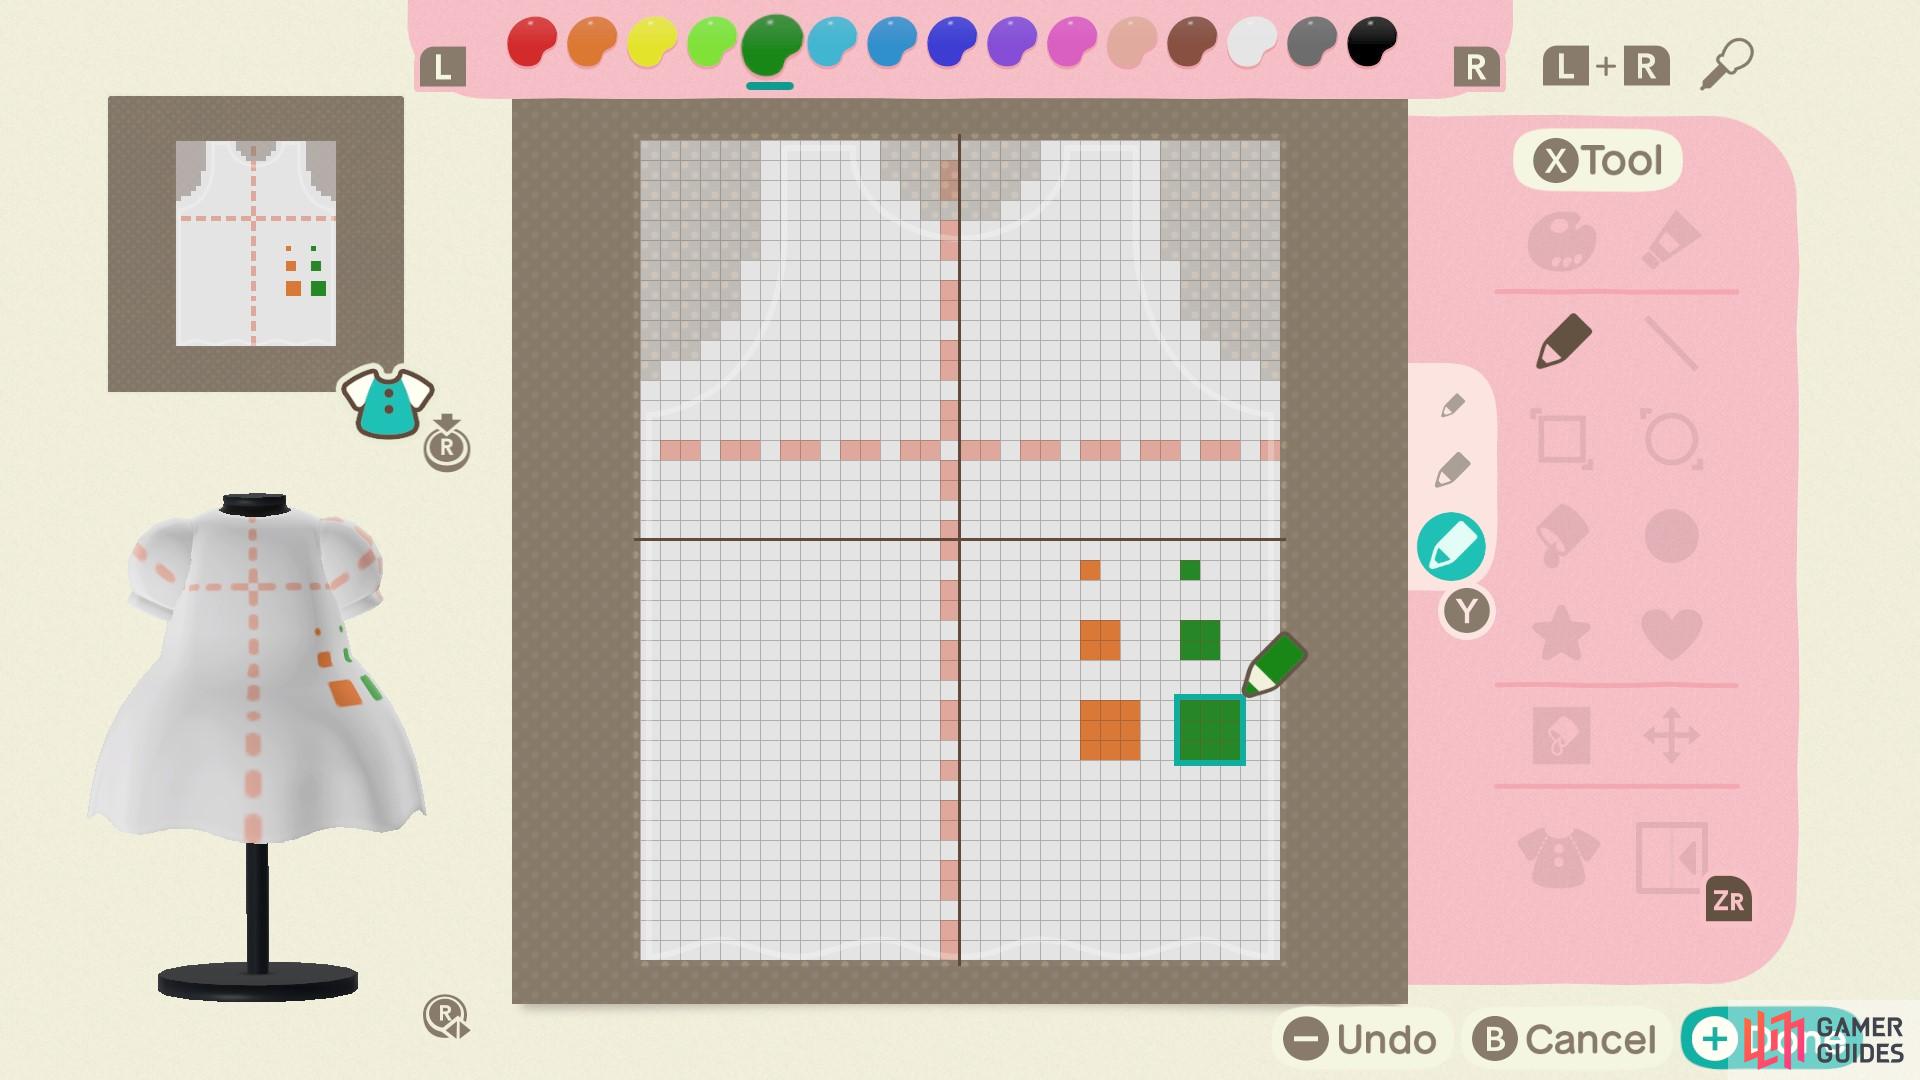
- Pen - this tool is basically used to draw freestyle onto the canvas. You can press Y to switch between three different pen thicknesses. To change the color of the pen, use the R Bumper button on your controller to switch between the colors displayed at the top.
Example of how the pen tool works.
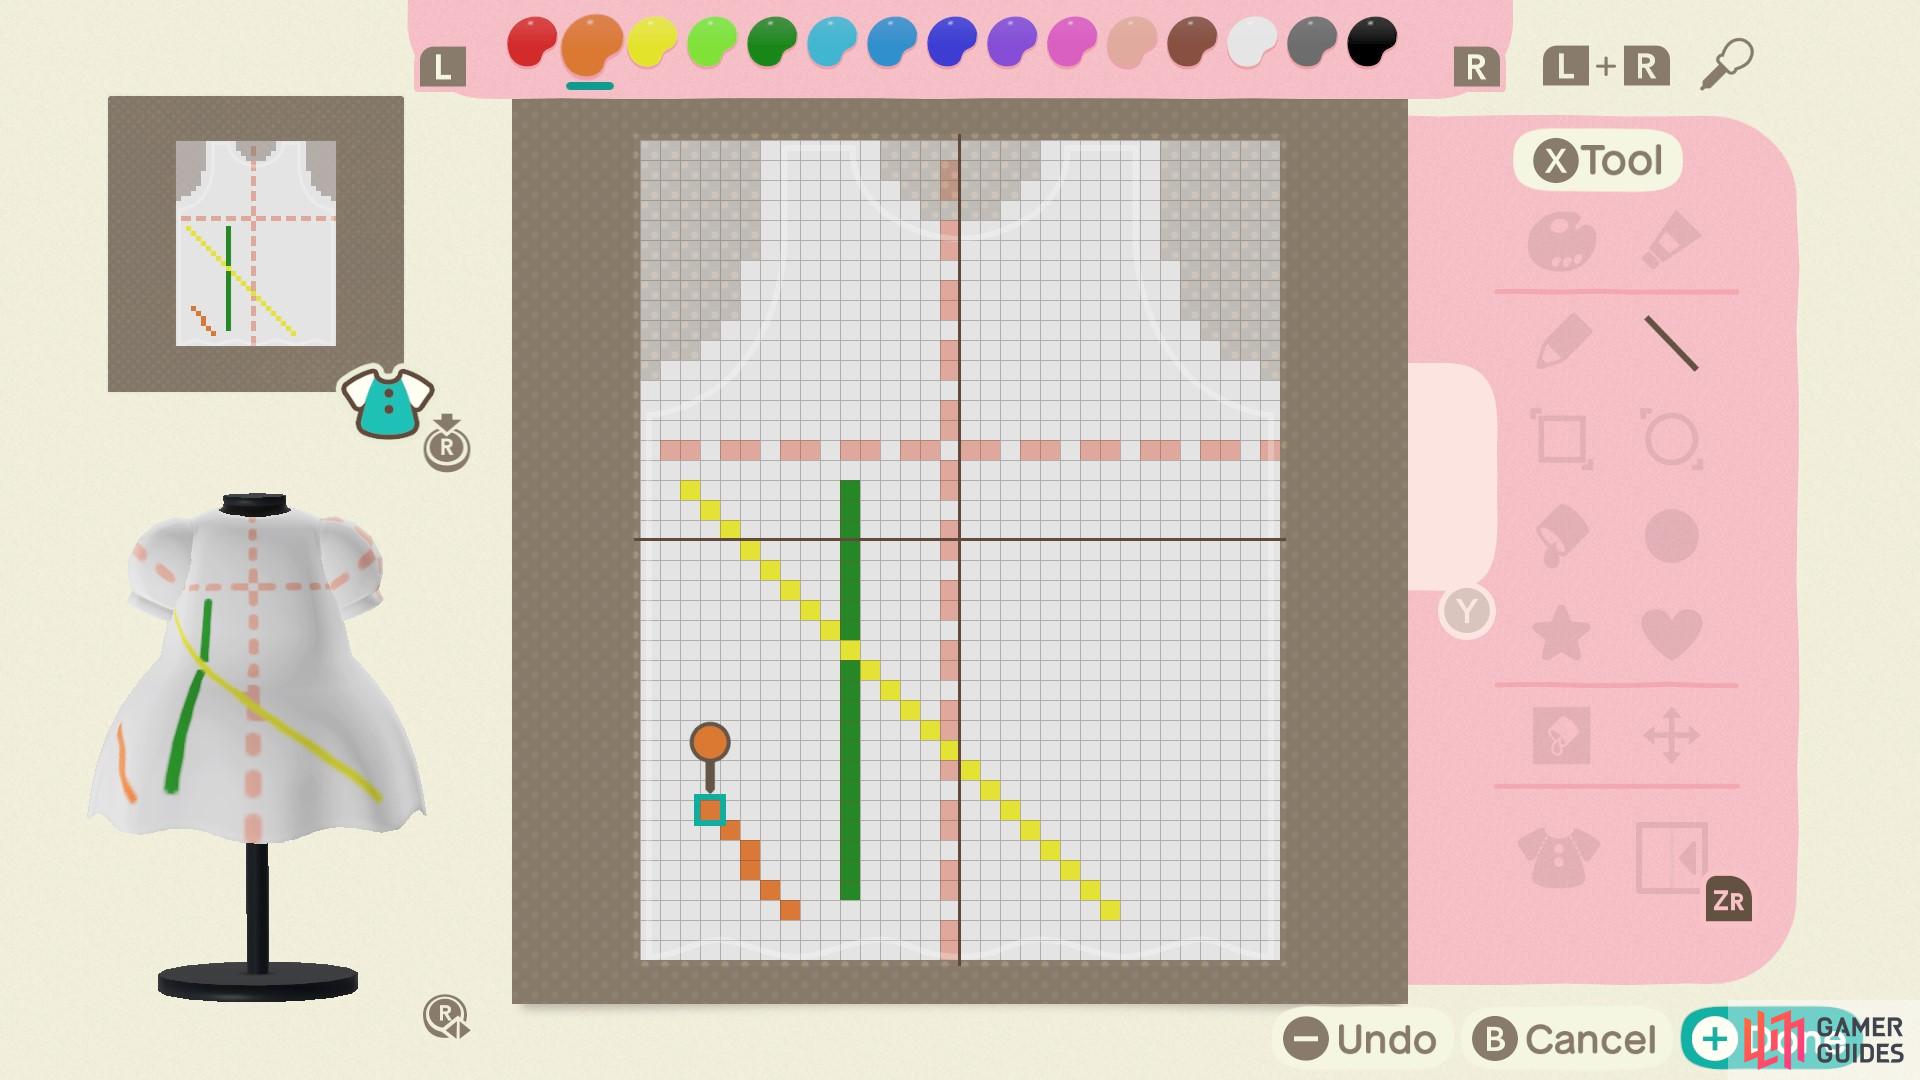
- Line Tool - the line tool is used to create straight lines on your design. Firstly you’ll have to press A to determine where your line begins. Then drag the design along using the L analog stick until you have the desired line length and positioning, press A again to confirm your line. You can do diagonal lines, straight down lines and wonky lines.
Use the line tool to create perfectly straight lines.
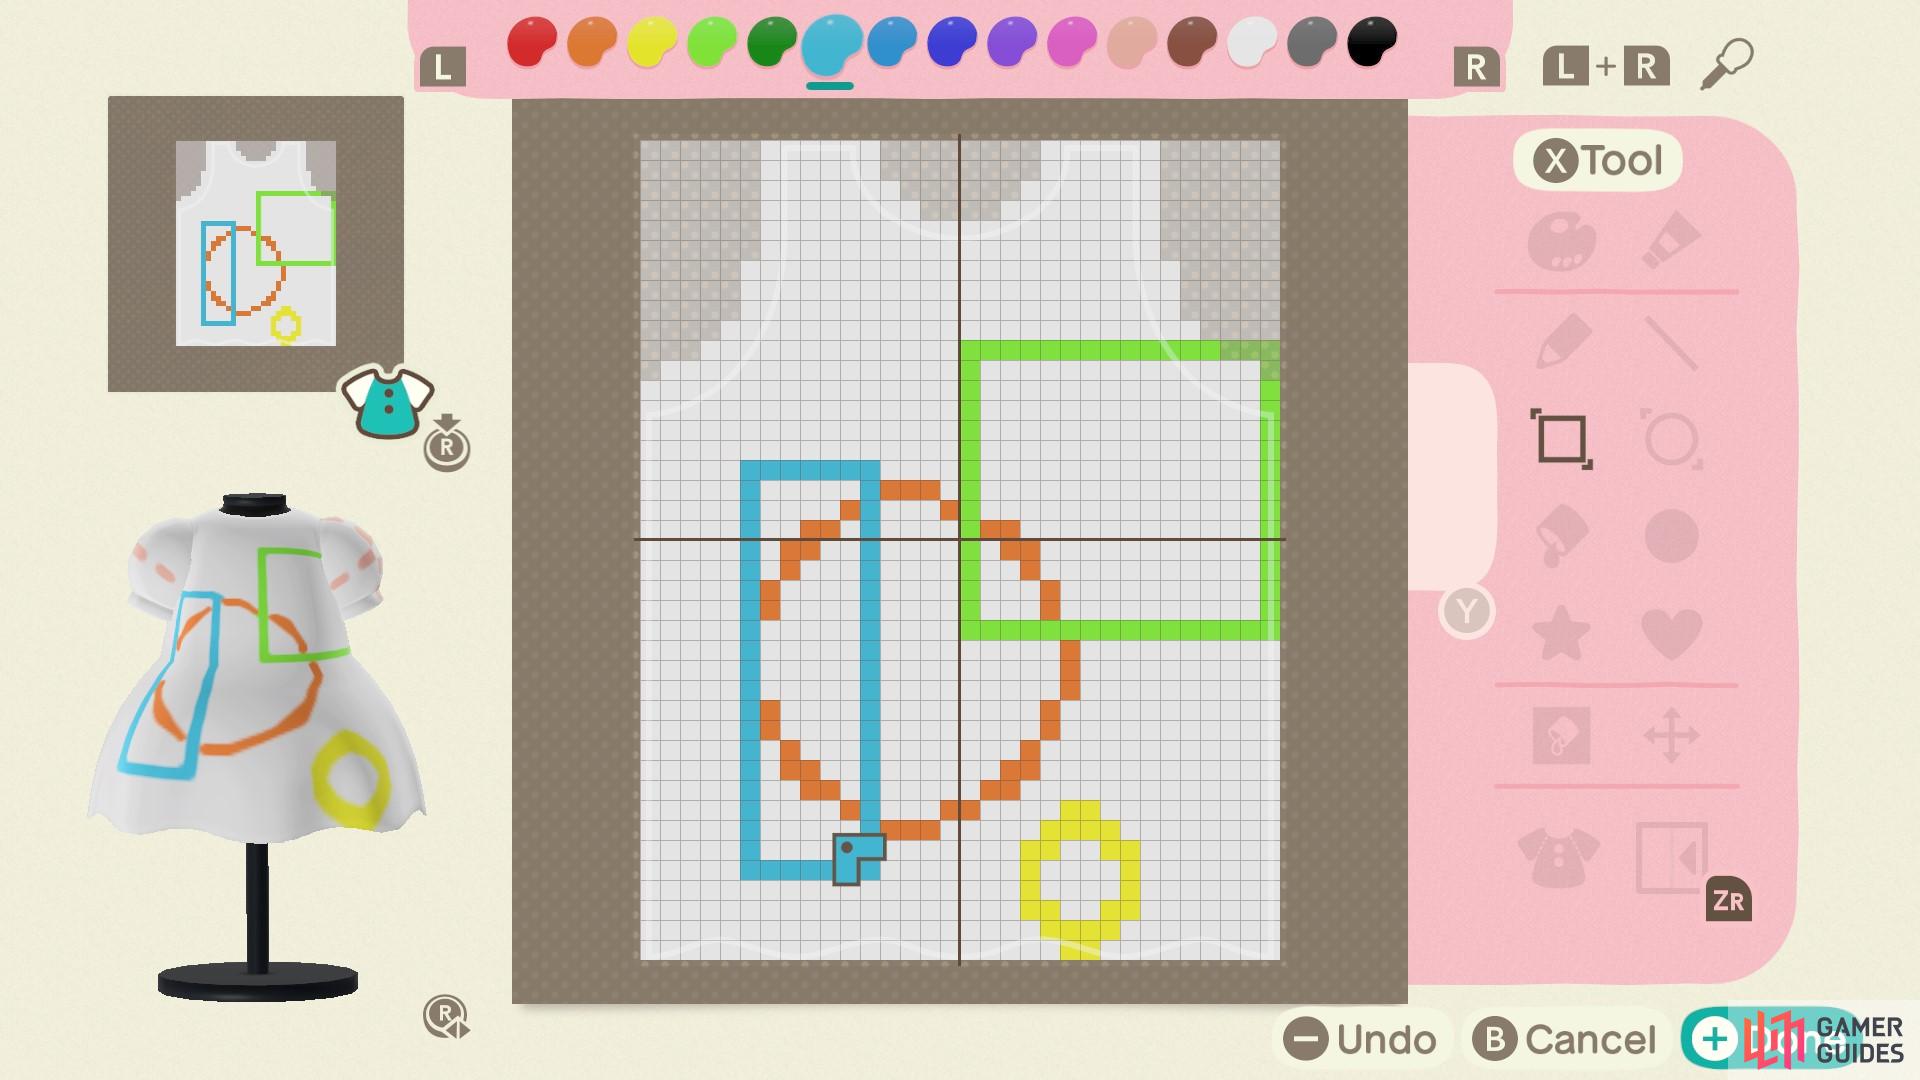
- Rectangle and Circle Tools - These tools can be used to make your desired shapes. Like the line tool, you’ll need to find a point of origin and then use the L analog stick to drag out the shape until it’s as large as you want.
You can make abstract and fun designs using the shape tools.
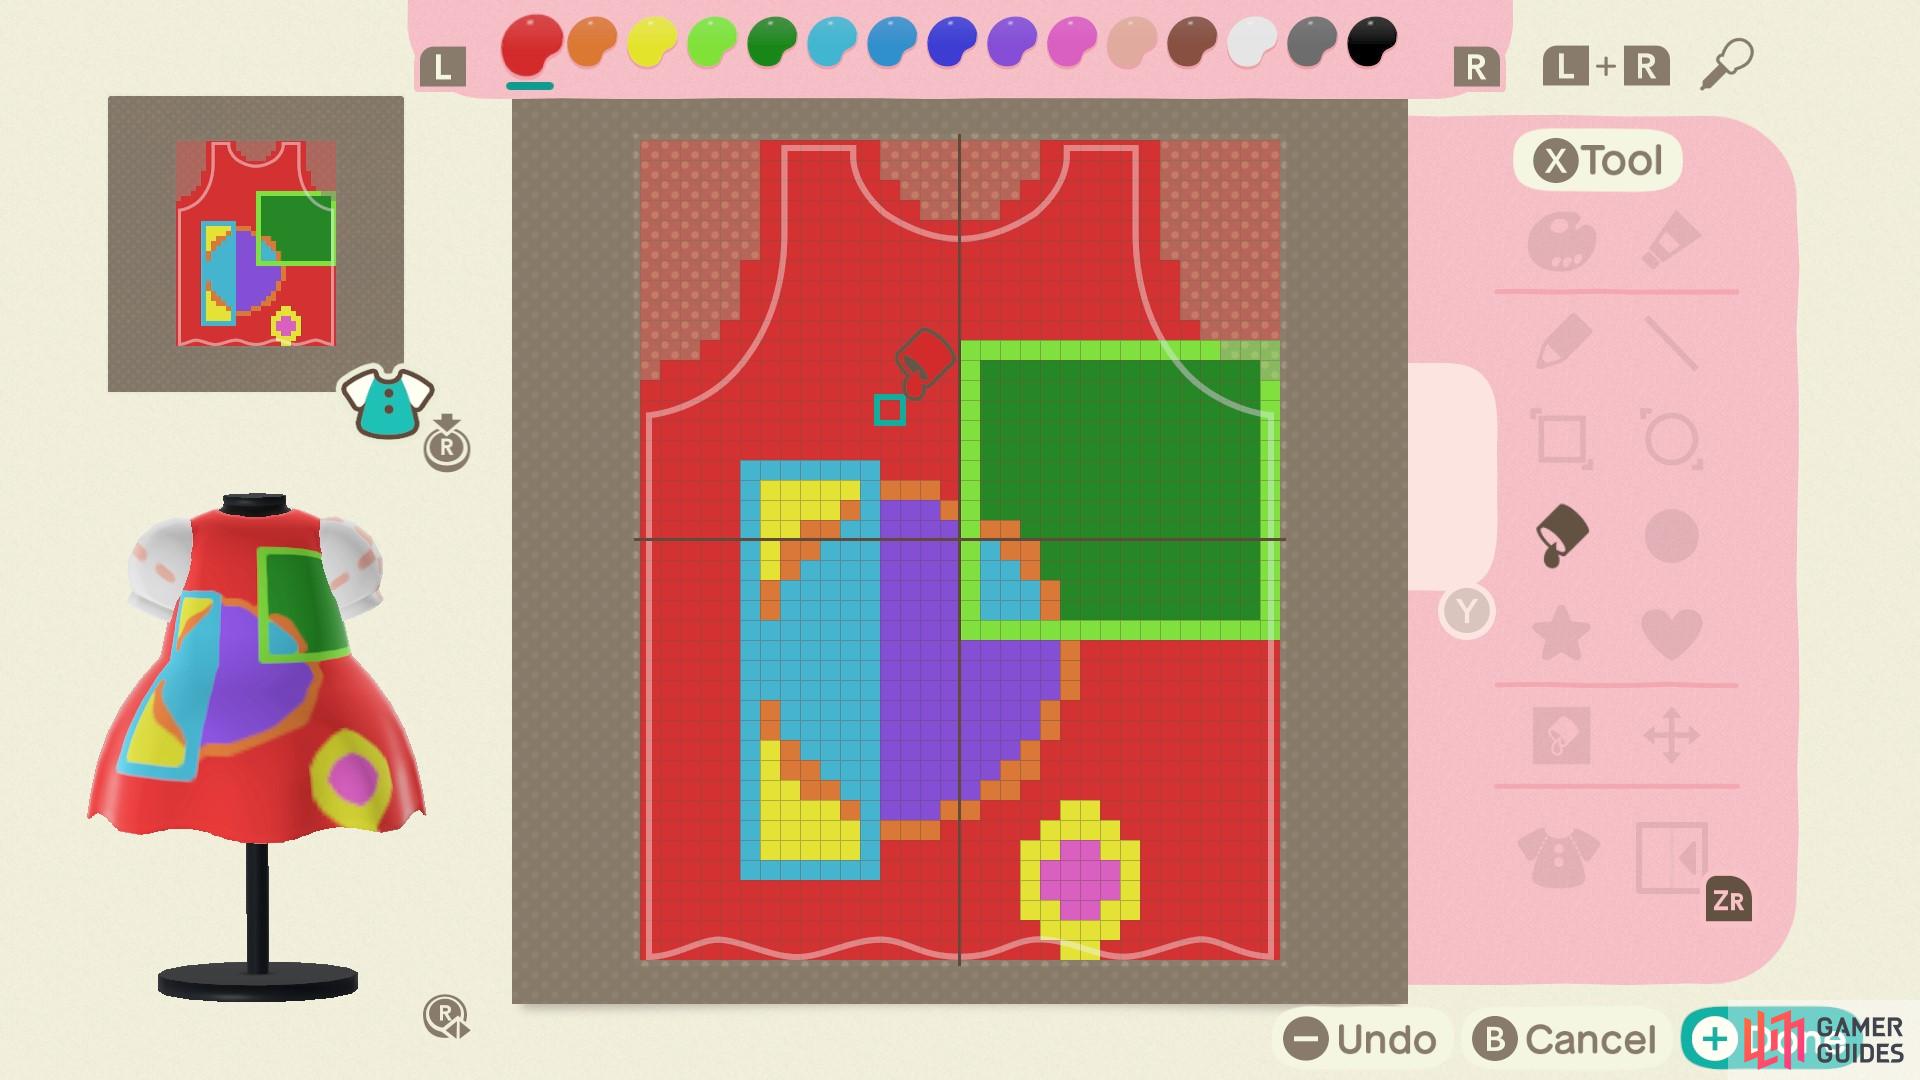
- Fill Tool and Fill All Tool - You can use this tool to fill in a desired area with colors of your choice. If you have shapes on your design, you can choose to fill in only the insides of those shapes. If you really hate your design, you can use the Fill All tool to start from scratch - the whole of your design will be colored in with the same color.
Use the fill tool to fill the color of desired spaces.
- Stamp tools - You also have the option for circle, star and heart stamps. By pressing Y you can also switch between different sizes of each stamp.
It’s starting to go a bit mad now…
-
Drag Design tool - Use this tool to move around your design! If you’re going for something symmetrical and you’ve noticed your whole design is one or two grids off, then you can use the drag tool to drag your whole design across or up and down.
-
Swap/Copy - You can use this tool to copy your design onto other parts of the dress. Select the tool, then press Y to choose to either swap the design with another, or copy it onto other parts.
-
Mirror Mode - Mirror mode is great if you want a perfectly symmetrical design.
Once you’ve saved your design, you can wear it by going into the pro design app and selecting the design then choosing to wear it.
You now have your very own custom design dress!


 Sign up
No Comments