Description
After you’ve had your third villager move in (after completing the homes), Nook will host a customization workshop! Here, he will show you how to customize furniture.
Customization Workshop
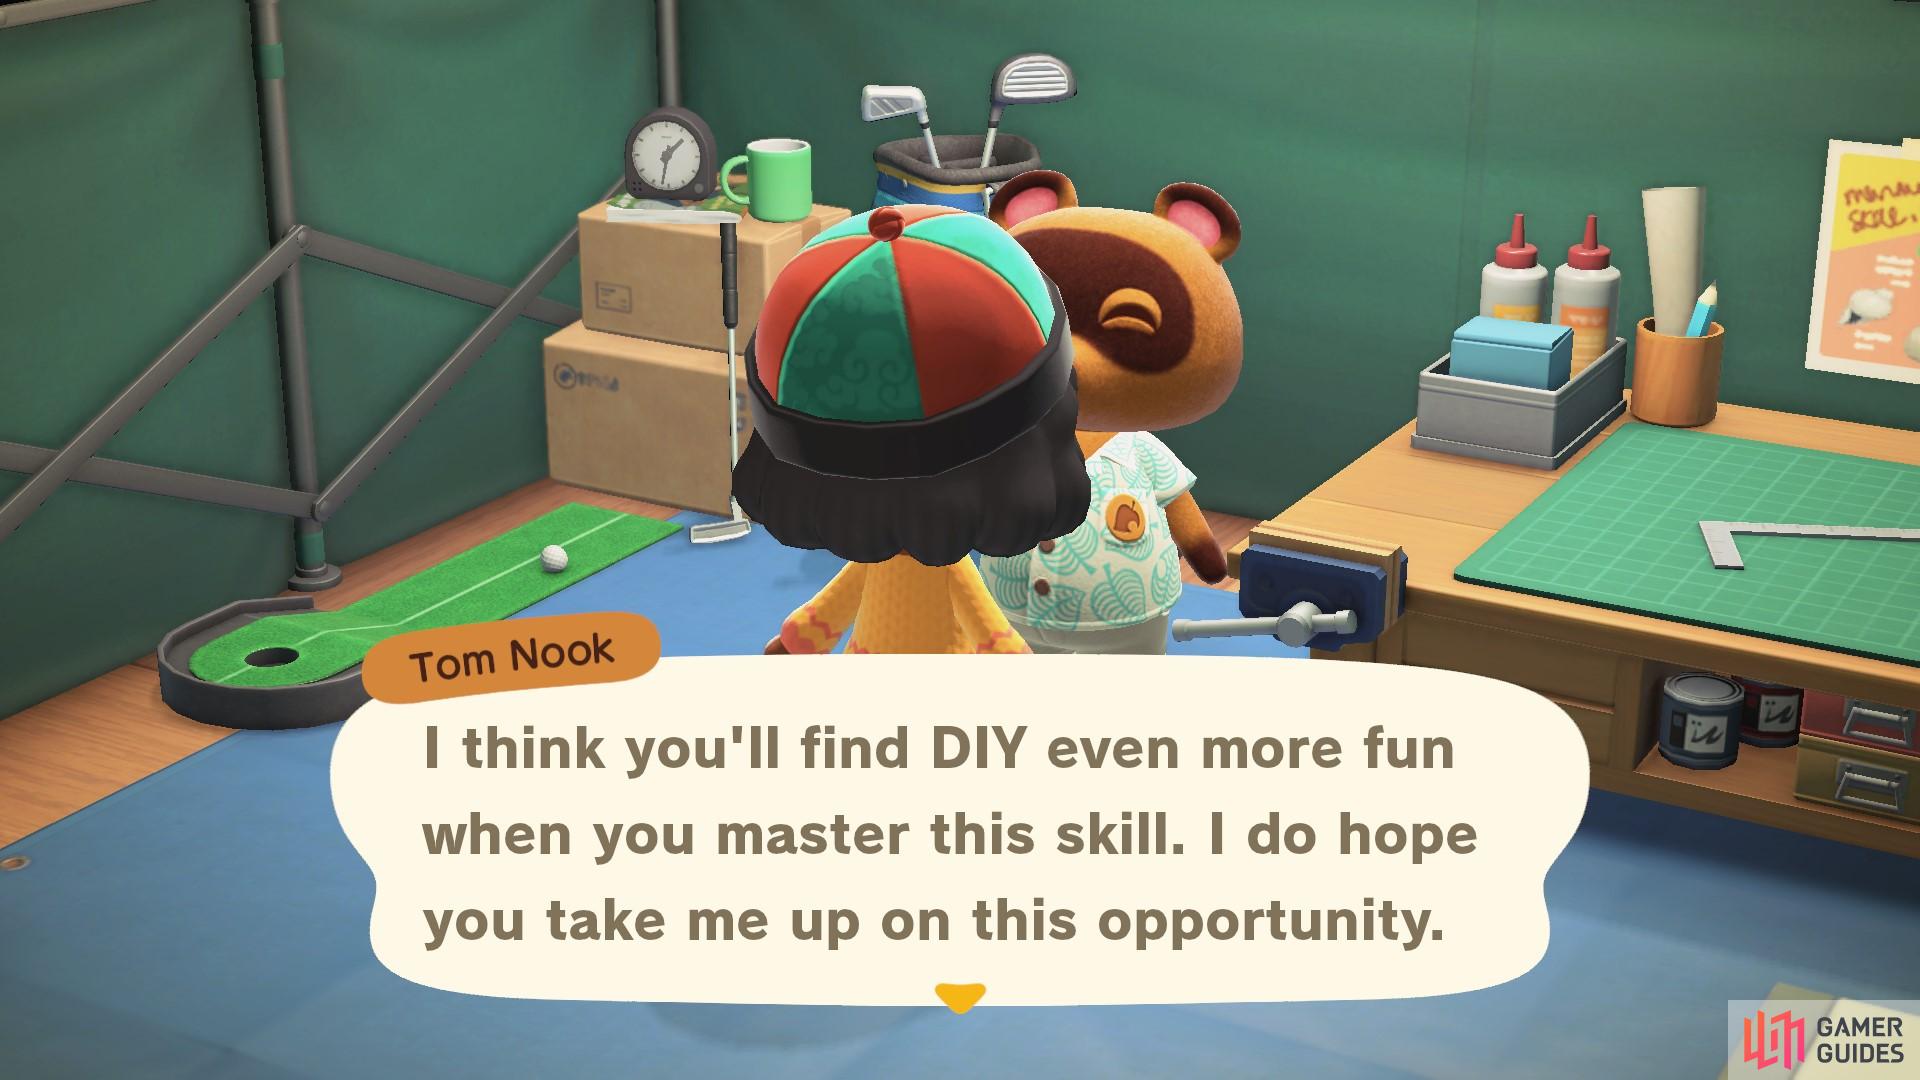
Head over to Resident Services and speak to Tom Nook. Select the option About that workshop… and he will begin the tutorial. To customize an item, you need to use customization kits. Each item will require a different amount of kits, and it is usually dependent on the size of the item.
The Customization Workshop teaches you how to change the color, pattern and styles of furniture pieces.
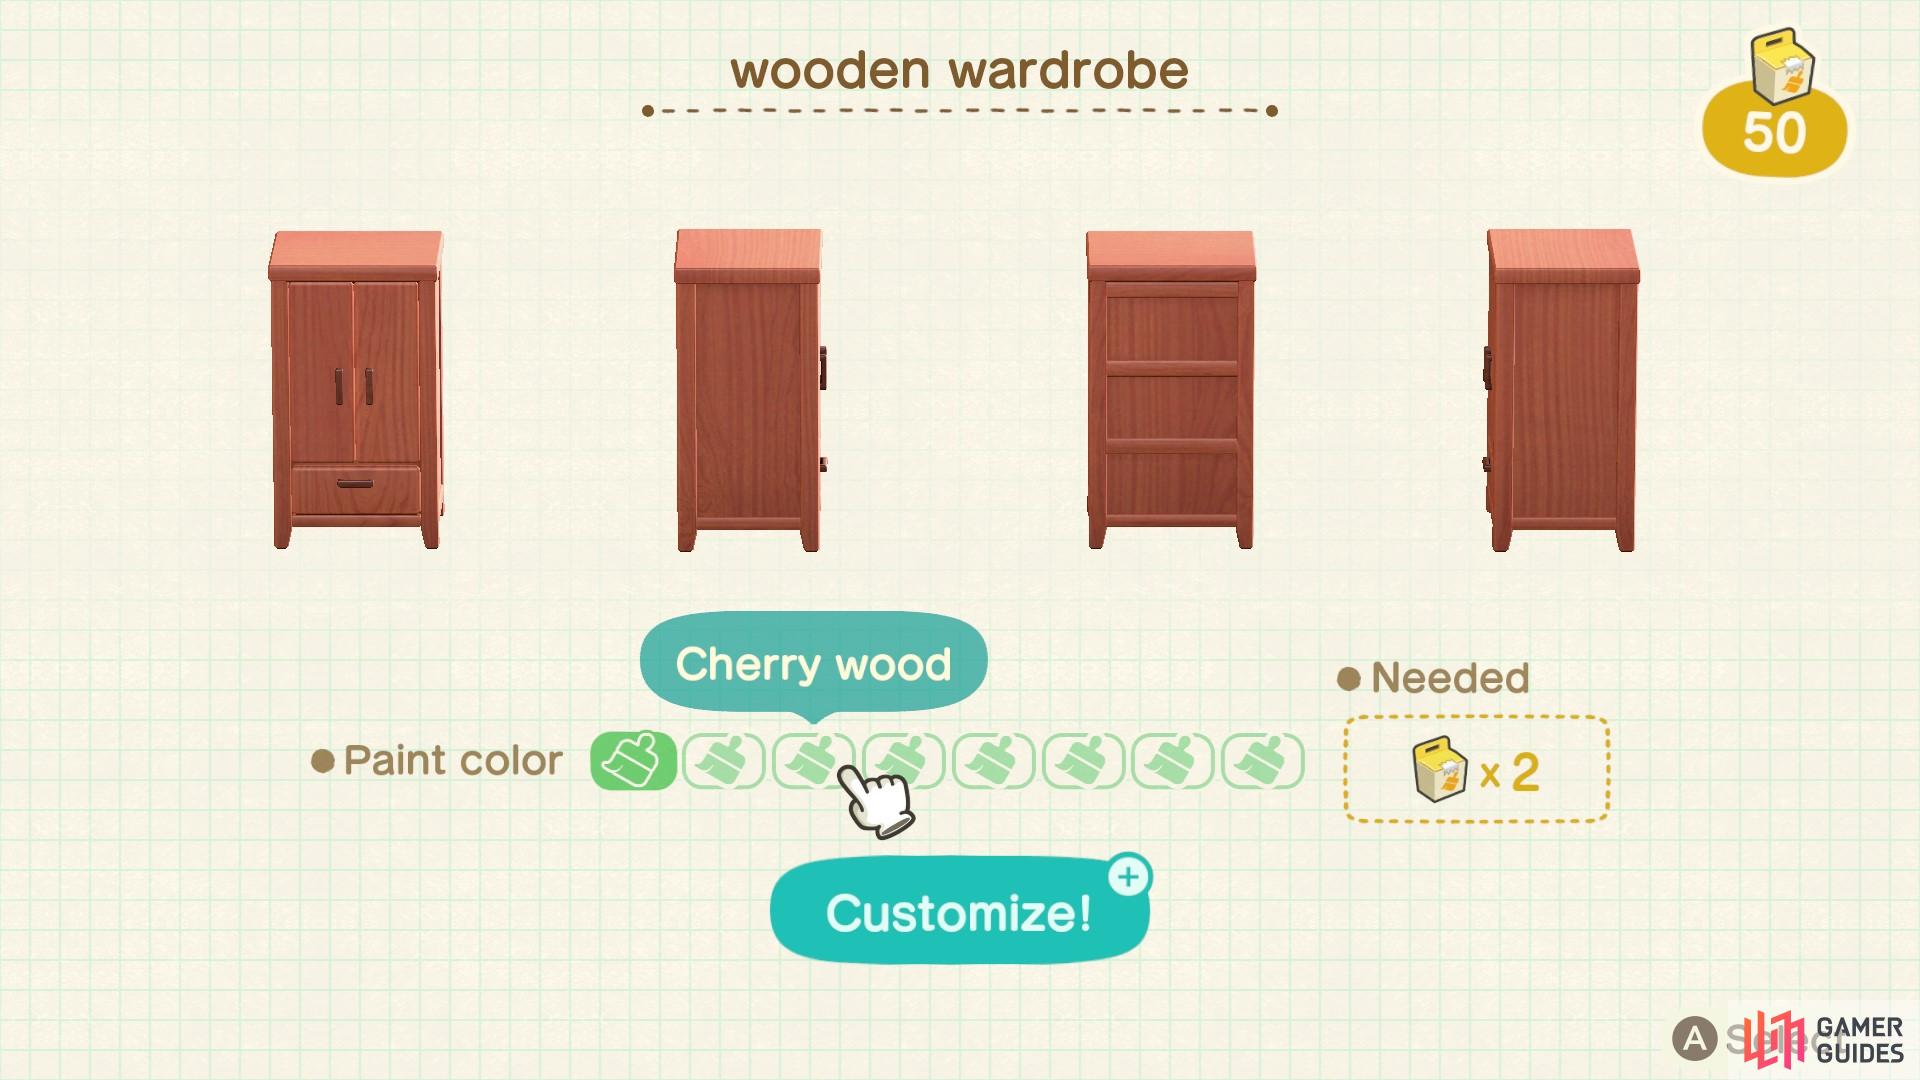
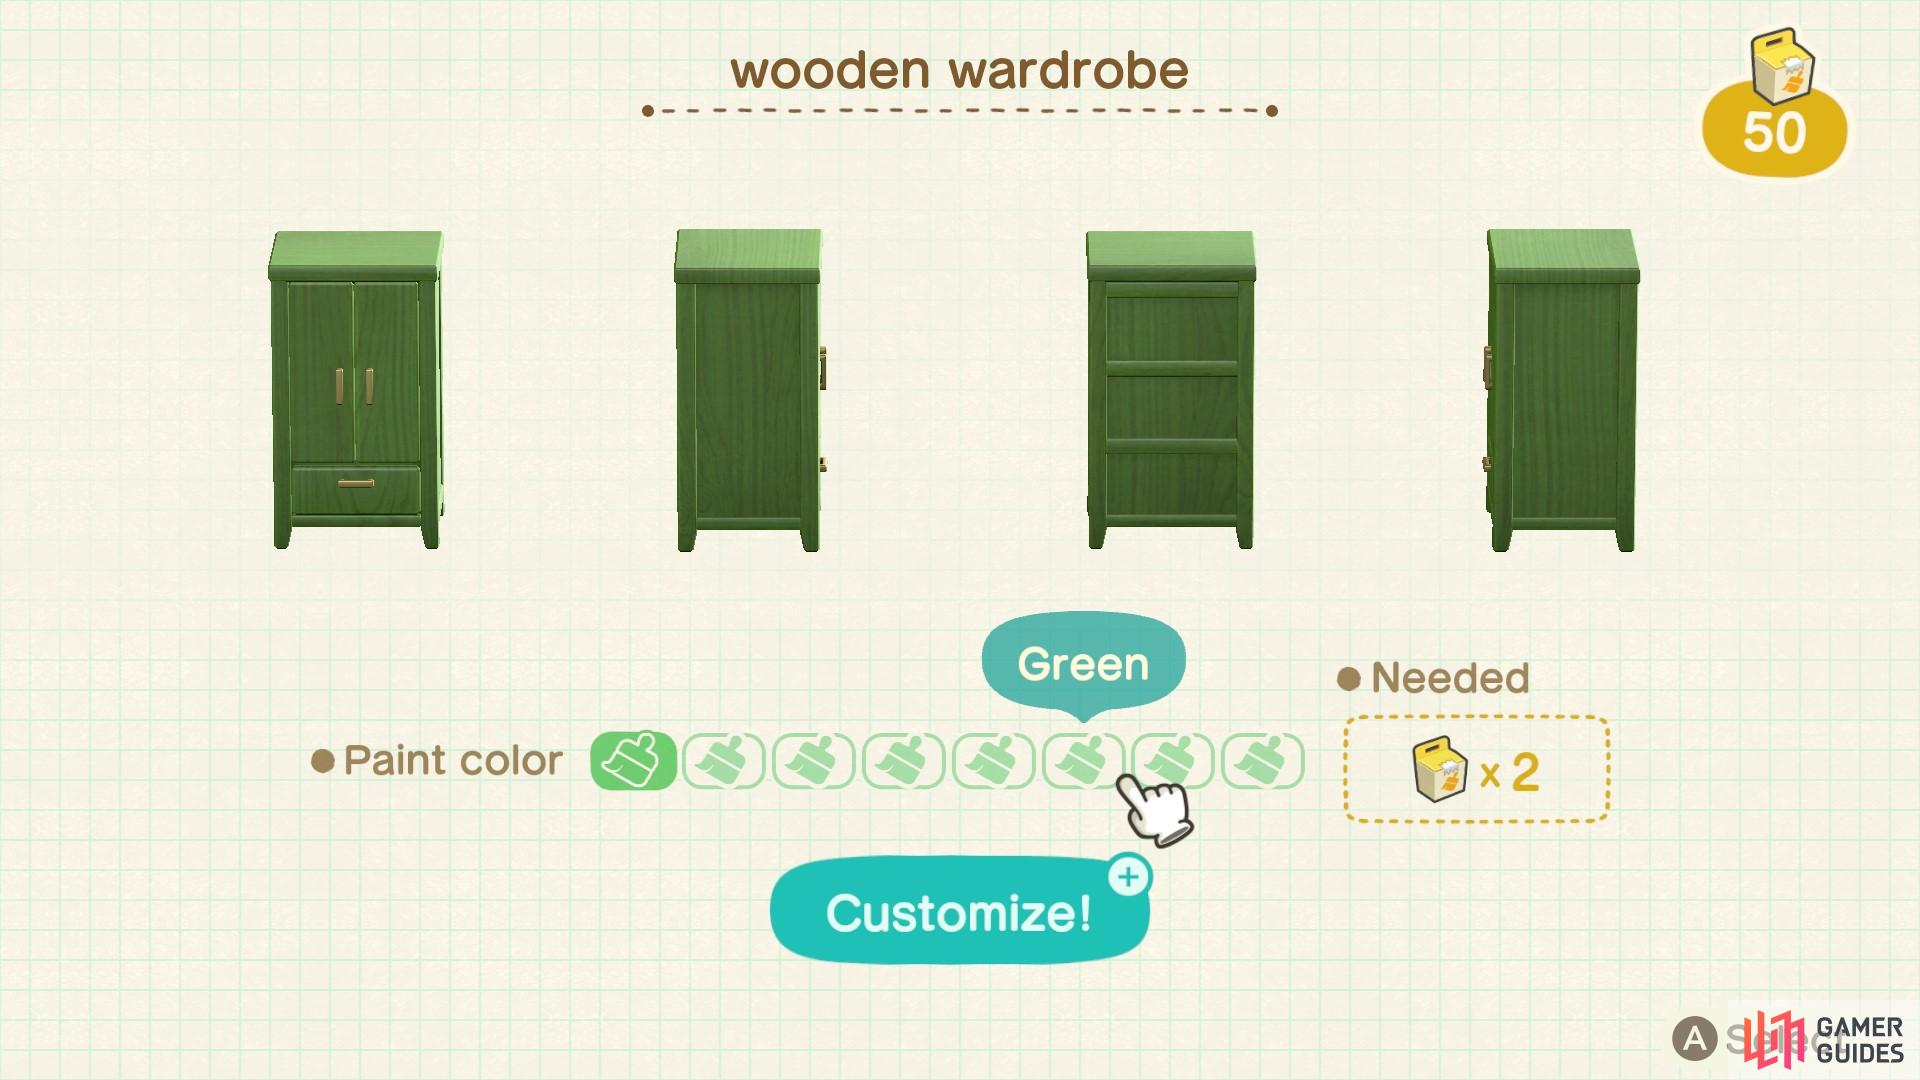
Tom Nook will ask you to make and customize a wooden wardrobe. He will send you over the DIY to make the wardrobe. Firstly, you’ll need to collect the materials needed for the wardrobe. You need 12 pieces of regular wood, so head out and chop at some trees until you have the required materials. Then, return to Resident Services and craft the wardrobe. Once you have that made, exit the workbench and select it again. Tom will now hand you some customization kits. To customize the wardrobe, you’ll need 2 customization kits. Luckily Tom Nook has given you 50. The wooden furniture range has 8 different colors to choose from, ranging from traditional woods to colors like blue, pink and green. Pick whichever you like best, and then confirm the customization using the + button.
(1 of 2) You can choose natural colors
You can choose natural colors (left), or pick a fun paint. (right)
If you want to buy more customization kits in the future, they can be found in the back cabinet at Nook’s Cranny. Most bought furniture cannot be customized, however, there are a few that you can change. Items with fabric on them will have options to change the pattern or even add your own custom design to it!
Extra Customization Tips
If you want to buy more customization kits in the future, they can be found in the back cabinet at Nook’s Cranny. Most bought furniture cannot be customized, however, there are a few that you can change. Items with fabric on them will have options to change the pattern or even add your own custom design to it! You will know when a DIY is customizable because it has a little paintbrush symbol on it.
Here are some extra examples of different types of customization.
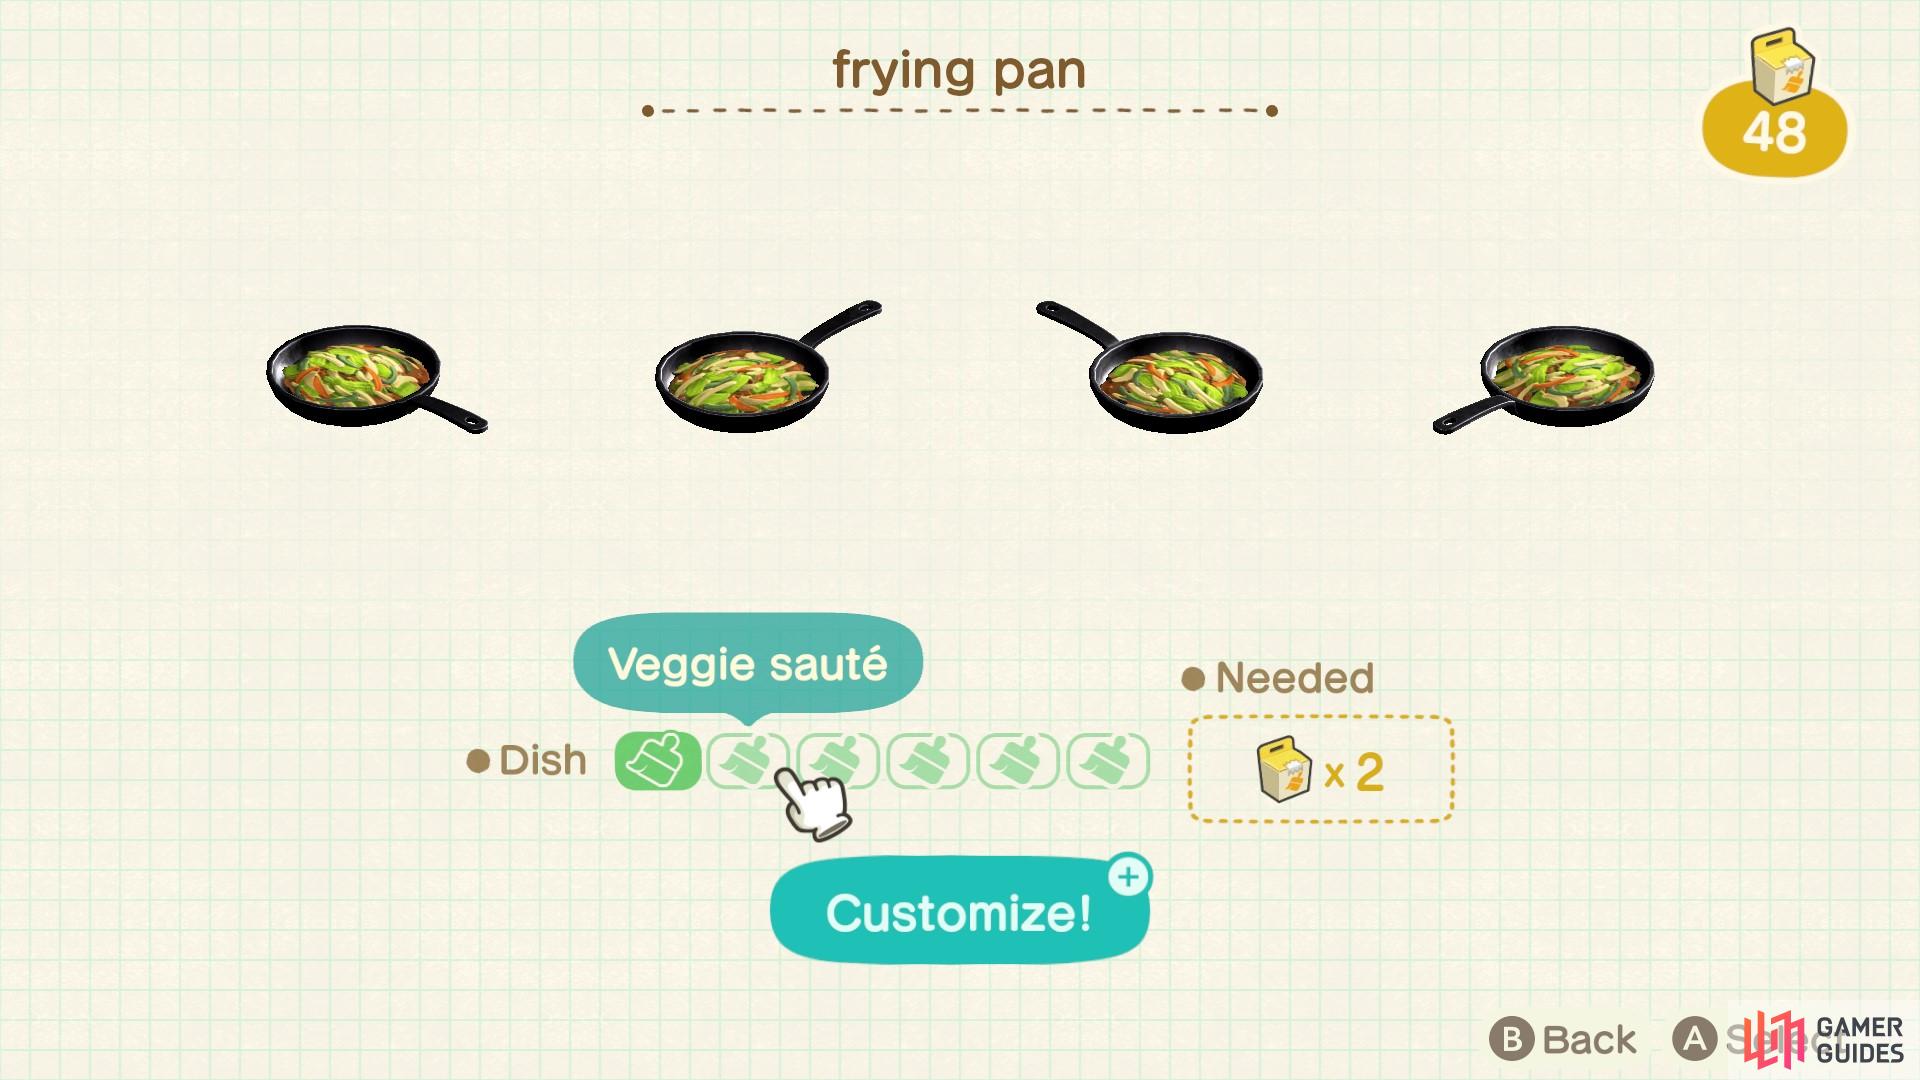
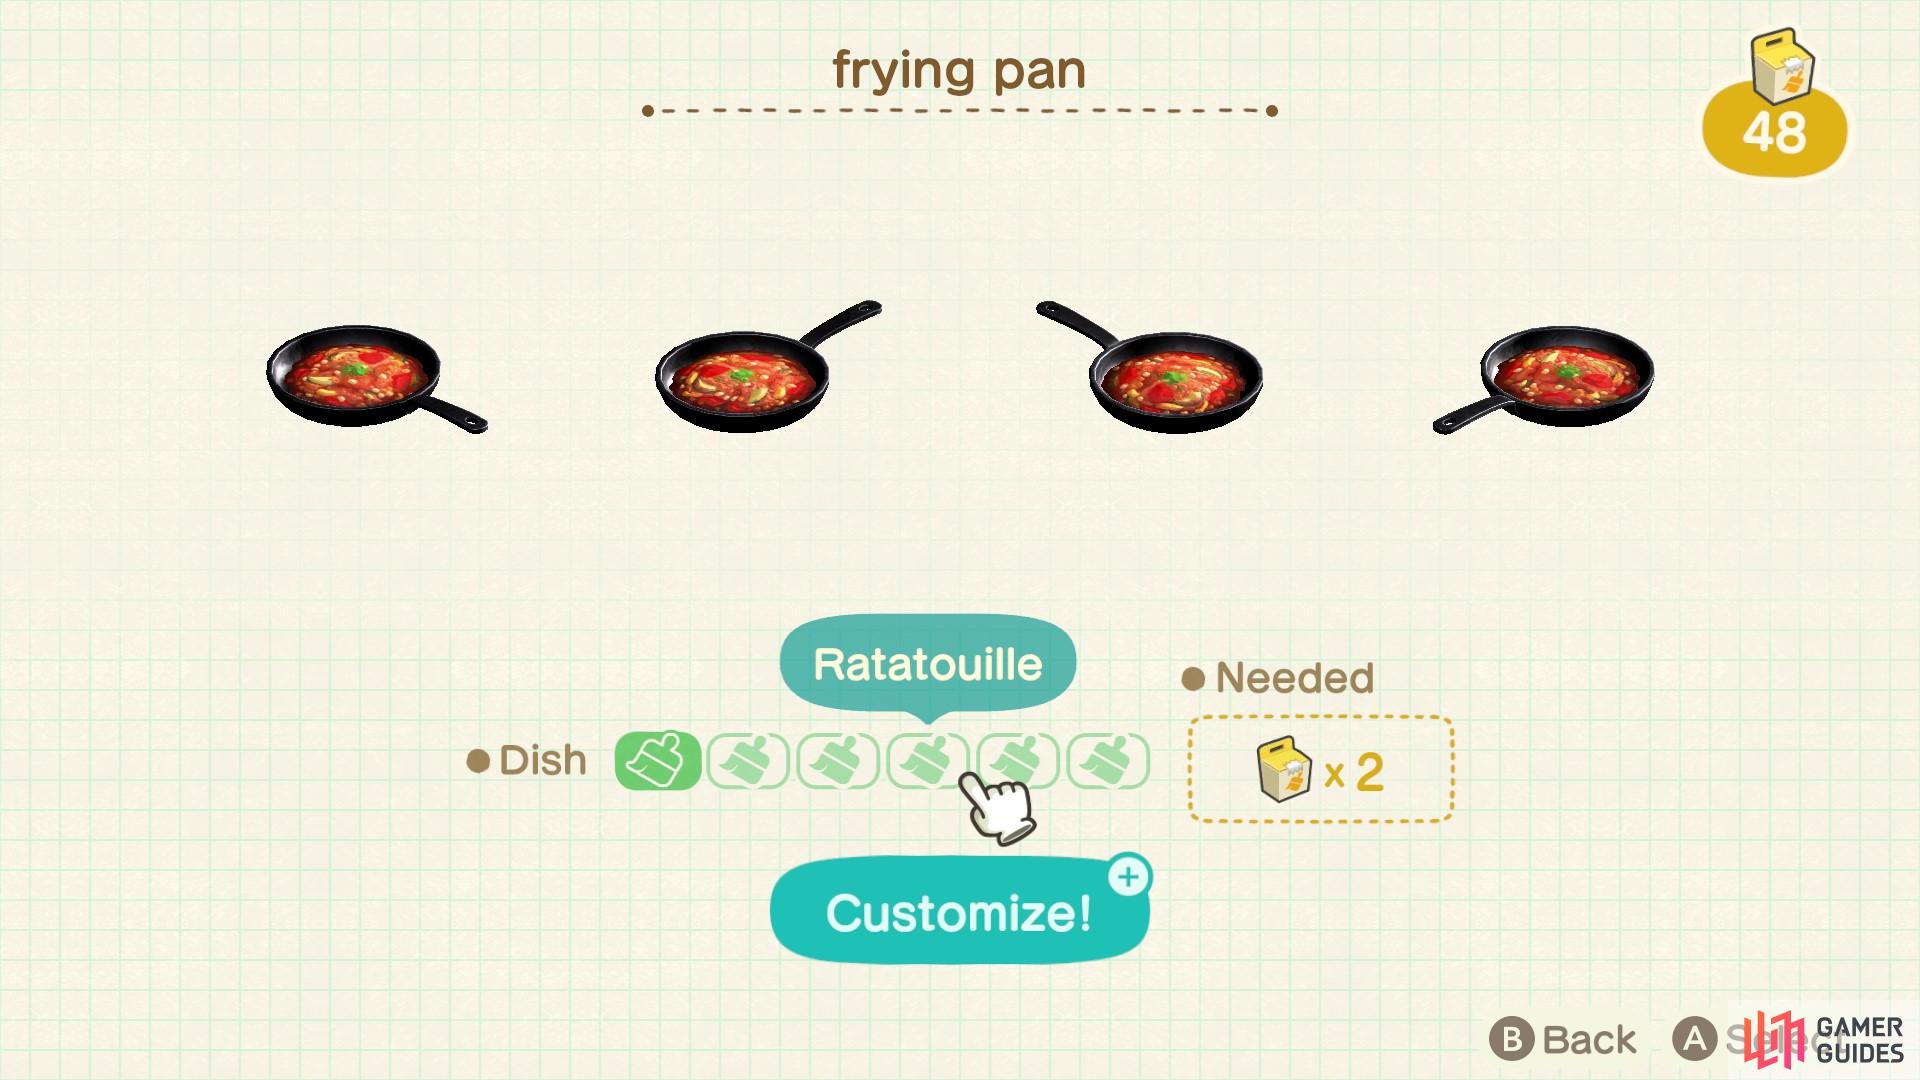
- Frying Pan - Let’s try customizing a frying pan. Firstly, to make the frying pan you’ll need to buy the DIY for Beginners set in Nook’s Cranny. It will only cost 2 iron nuggets to craft the frying pan. By customizing the frying pan, you can choose what food is in the pan! You can have vegetables, ratatouille and even burnt food. It costs 2 customization kits to customize the pan.
(1 of 2) You can choose from six different food options
You can choose from six different food options (left), including this delicious looking ratatouille. (right)
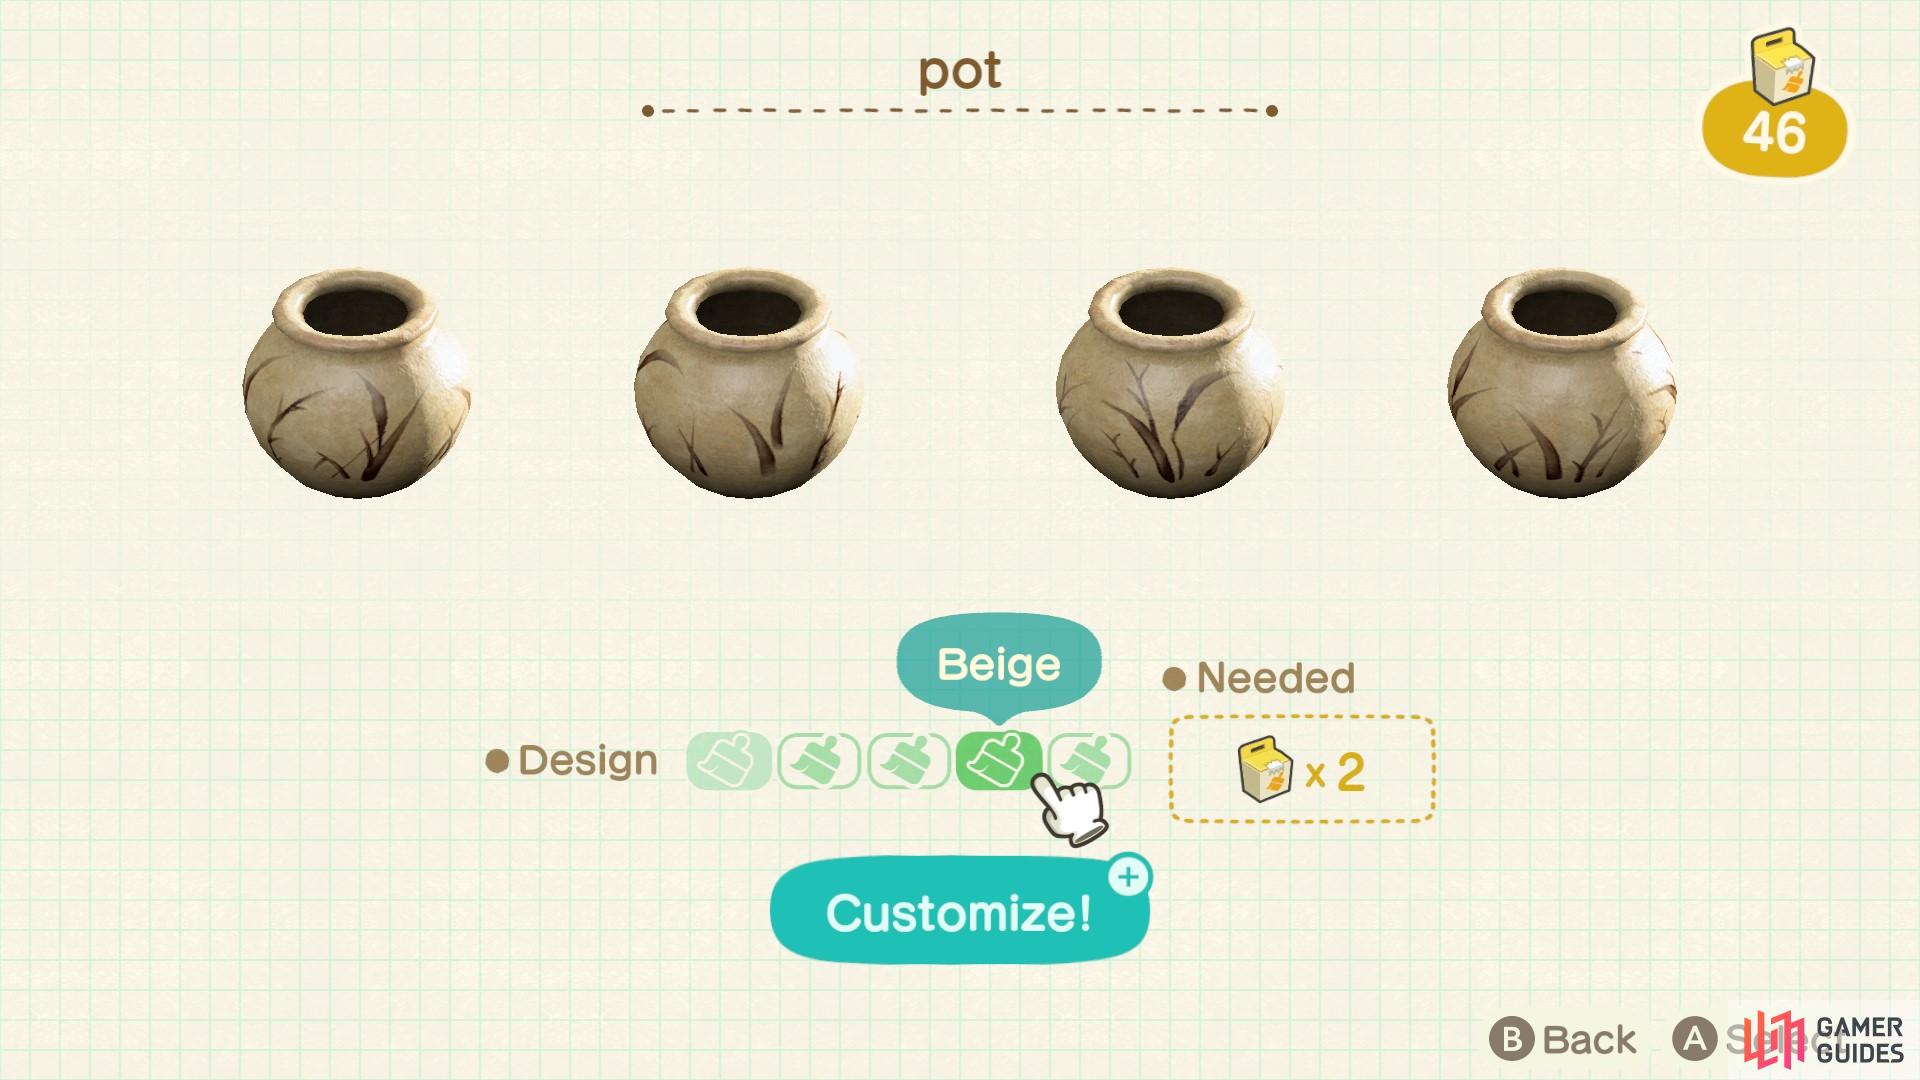
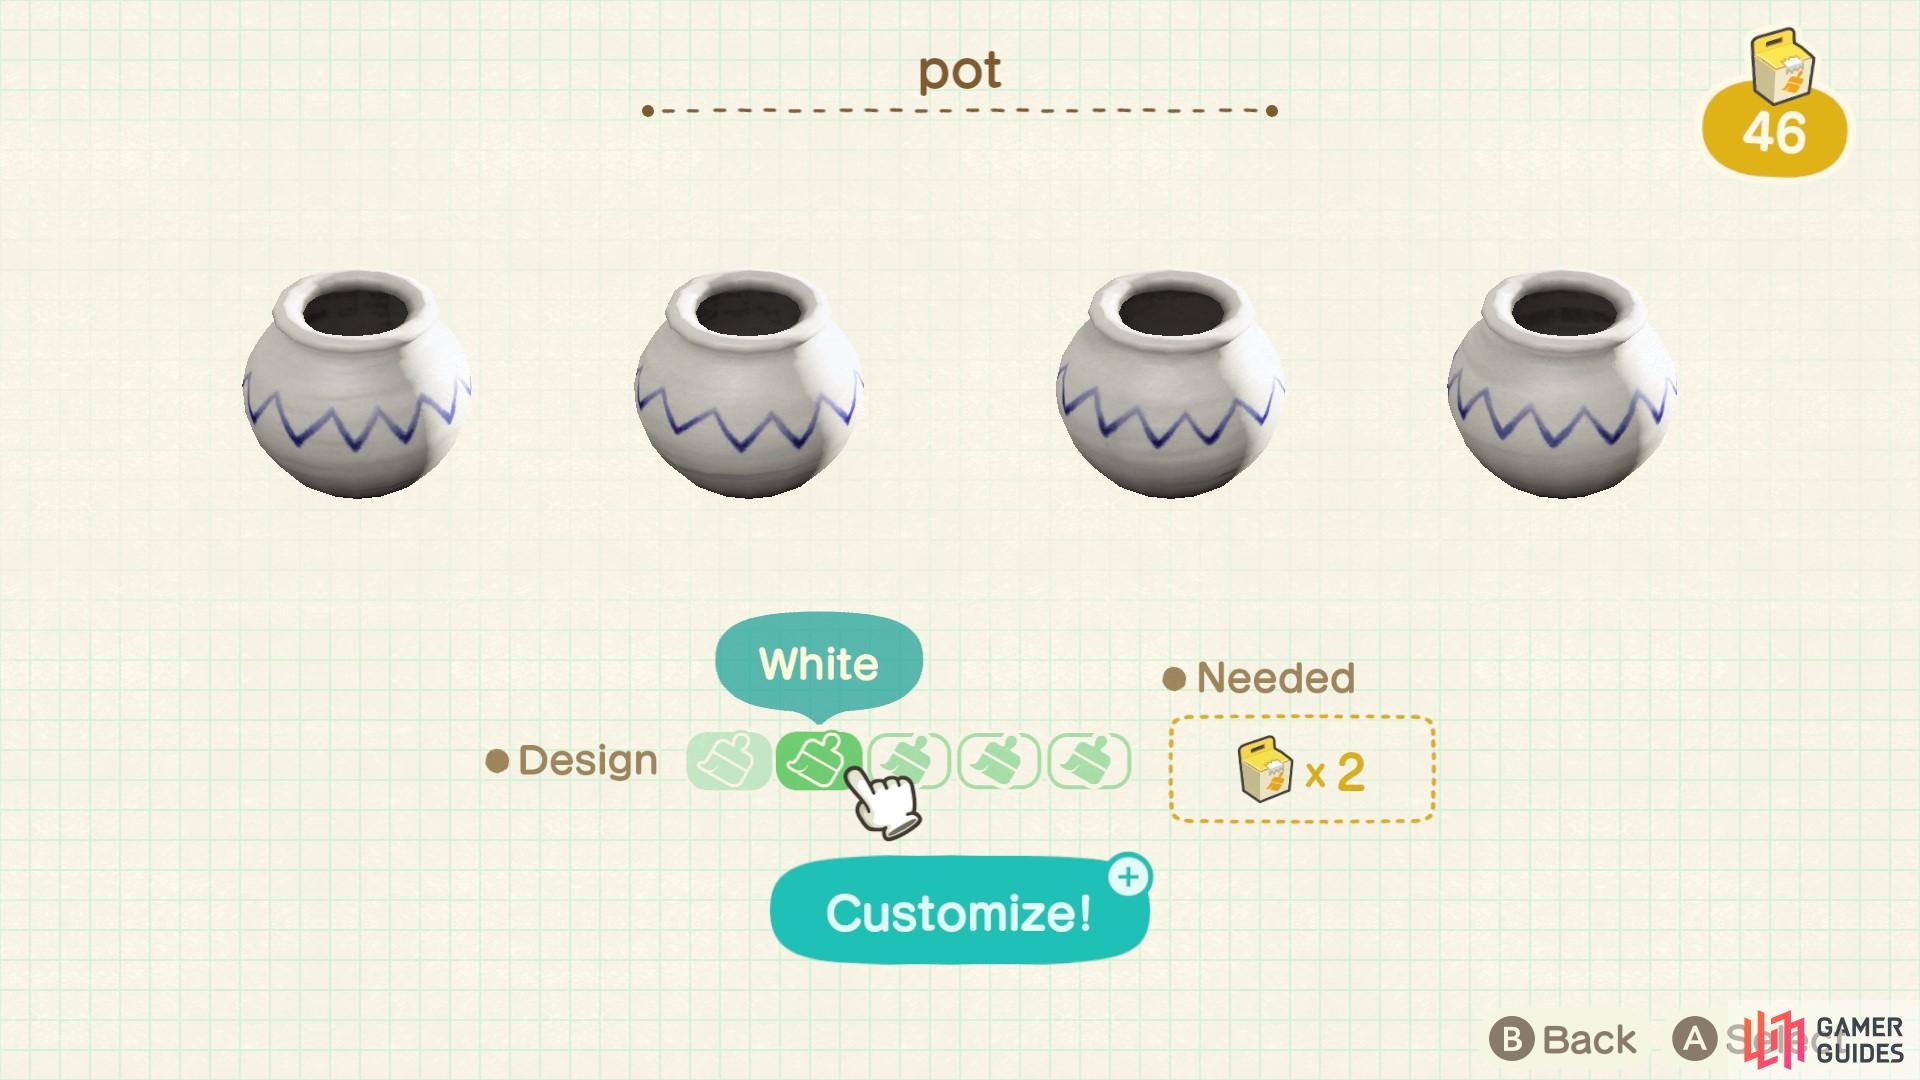
- Pot or Classic Pitcher - You should also have a DIY for a pot or a classic pitcher from when you helped furnish island homes. They are also cheap to make, only requiring 5 clay to make. The Pot and Pitcher are great examples of items that you can change the colour and pattern of. The customization changes the style of the item completely. It also costs 2 customization kits.
(1 of 2) These pots are completely different art styles from each other
These pots are completely different art styles from each other (left), you can change up the pattern and paint style. (right)
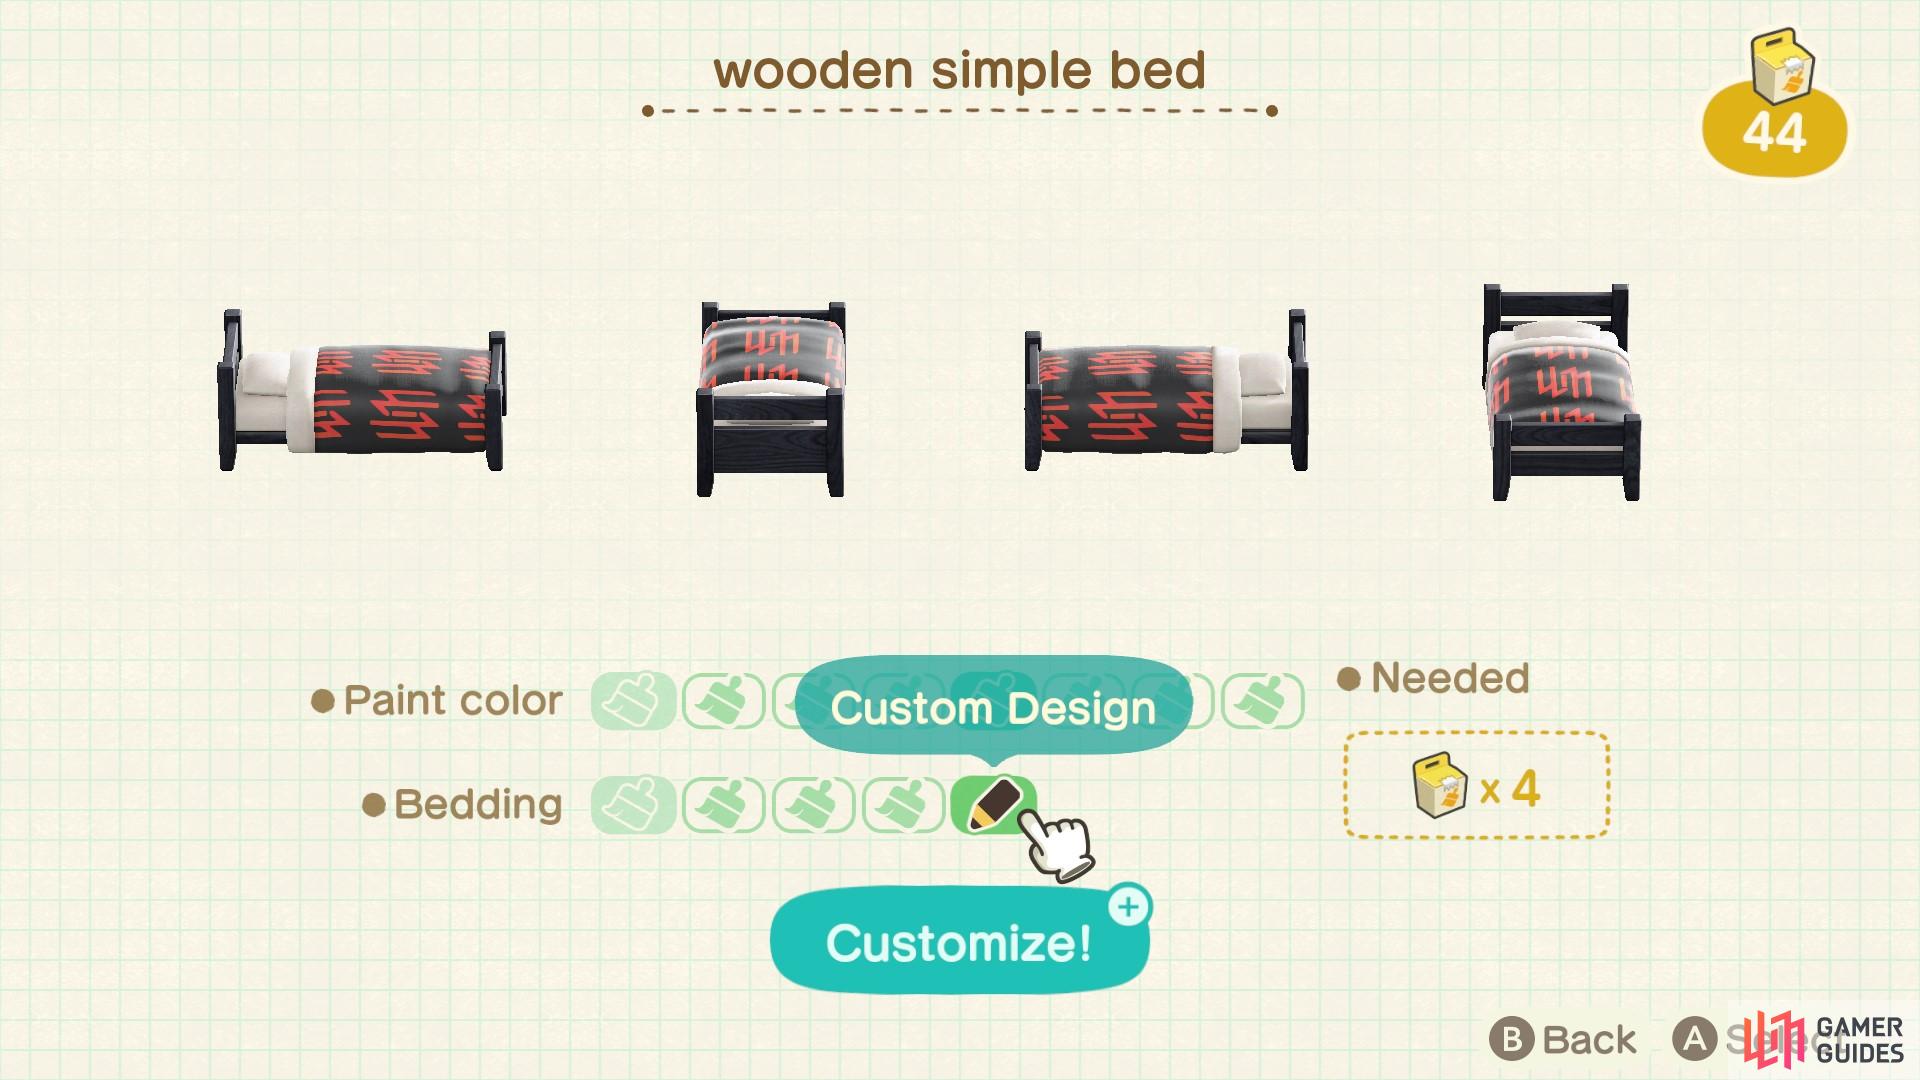
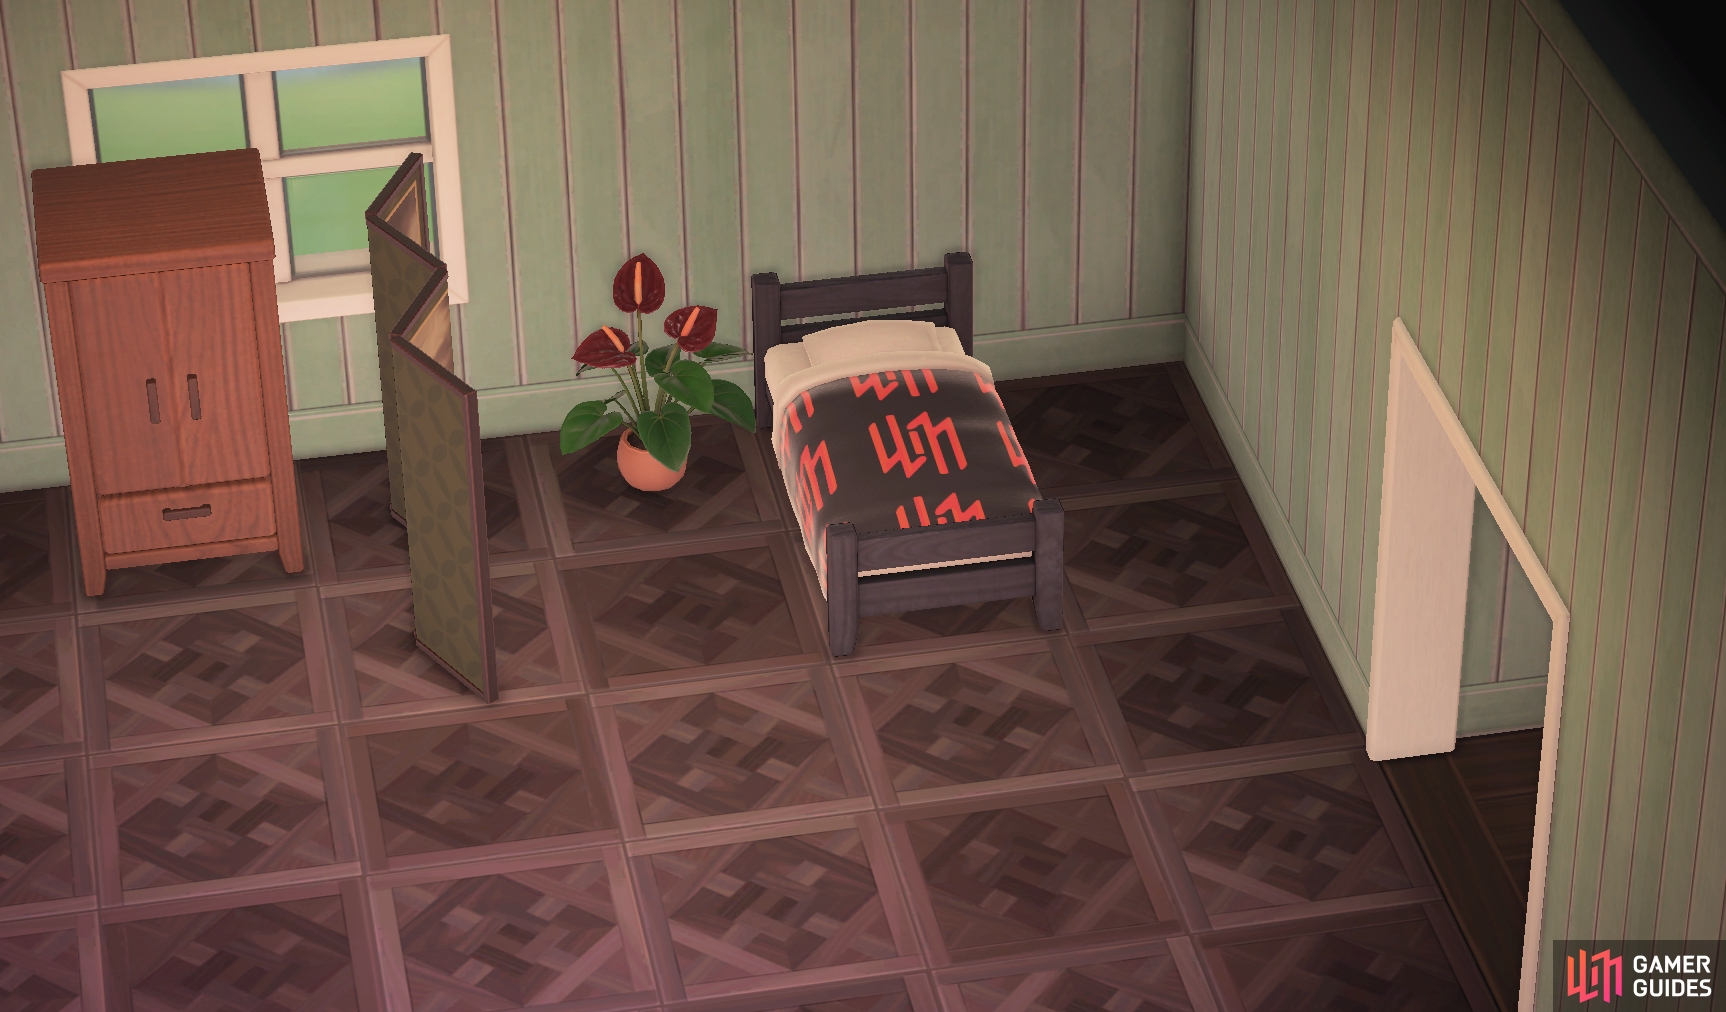
Wooden Bed - The bed is a great example of how fabrics change during DIYs. You can choose both the color of the bed frame and the fabric of the bedding. You can also use your own custom designs for the bedding!
(1 of 2) You can change the color of the bed and the fabric
You can change the color of the bed and the fabric (left), you can even use your own custom designs. (right)

 Sign up
No Comments