This is a guide for the “A Farewell Reset” Ascension Quest in Xenoblade Chronicles 3. It’ll navigate you through the necessary steps to starting the Quest and upgrading Fiona’s Class, Signifier.
A Farewell Rest is Fiona’s Ascension Quest in Xenoblade Chronicles 3.
Distrust is growing in Colony Mu toward Fiona, who feels unable to tell them the truth about Irma. Help her regain the colony’s trust.
| Icon | Character | Prerequisite | Level | Rewards |
|---|---|---|---|---|
 |
Fiona | Chapter 6 - Complete To Face Forward, Lanz Signifier at Rank 10 | 56 | 5360 EXP, 4720 G, 10 SP |
How to Start the A Farewell Reset Ascension Quest
Ascension Quests will start becoming available once you reach Chapter 5 in the main story. Beyond just simple story progress, there are several other steps for unlocking Ascension Quests which usually involve completing the Colony related Questlines (for Heroes that belong to one) along with ensuring that the Inheritor is at Rank 10 of the Class.
For Fiona’s Ascension Quest, you’ll need to first ensure that Lanz has reached Rank 10 with the Signifier Class. If he’s yet to do this, remember you can use Silver Nopon Coins to raise the levels of a Class.
The final step needed for Fiona’s Ascension Quest to become available is to complete the To Face Forward Quest that becomes available after completing the various quests associated with Colony Mu. Remember to check for Info Fragments to unlock the next Quest in the Questline and eventually you should get the Info Fragment needed for To Face Forward.
Once you’ve achieved all of these steps, return to Colony Mu with Fiona in your party to trigger a scene that begins this Quest.
How to Complete the A Farewell Reset Ascension Quest
Head to the Erythia Relay Base
Begin by heading to the Bed of Woes and Wishes Landmark with Fiona in your party to trigger a scene. Googoo will hand over Irma’s Key, and the party decides to set off on a journey to discover its use. The first step on this journey is to return to the Erythia Relay Base where you visited earlier in Chapter 5 to learn how to break into Li Garte Prison. Skip Travel to the Relay Base Bridge Landmark and head through the doors.
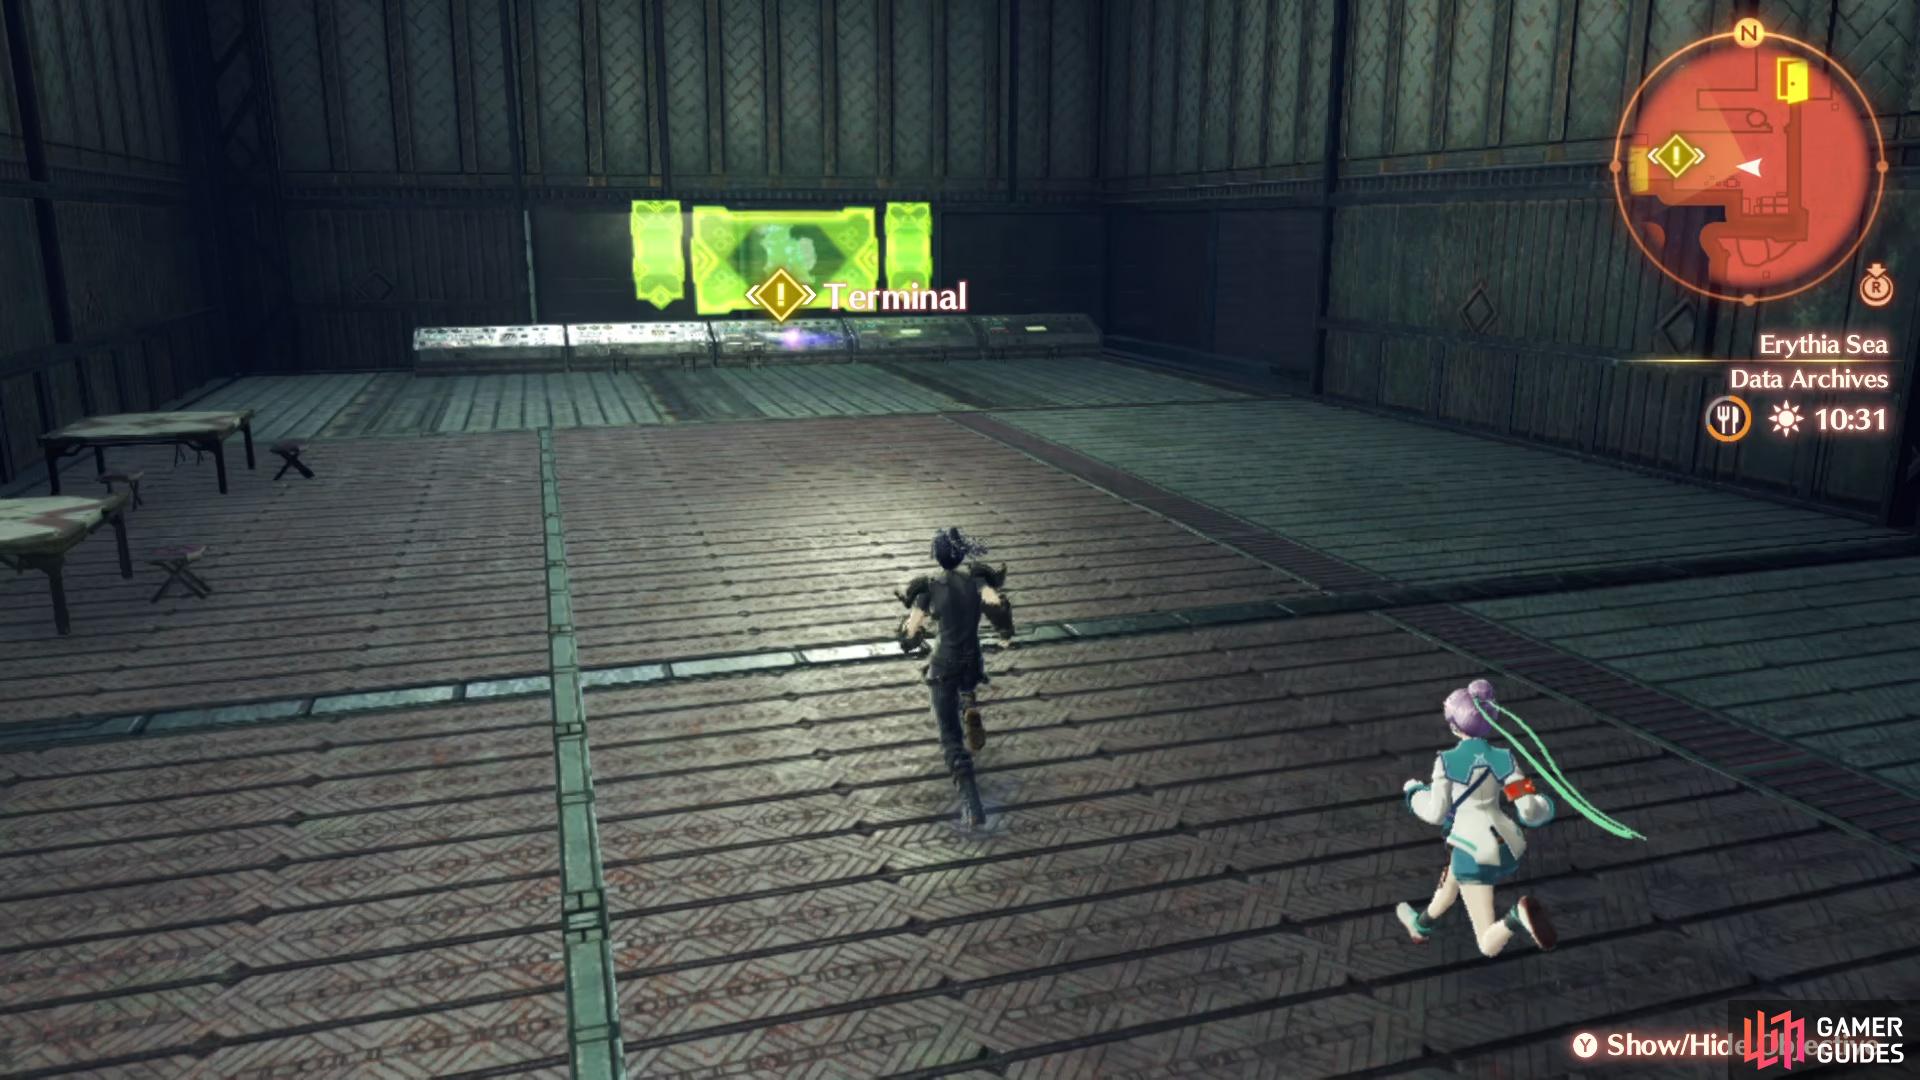
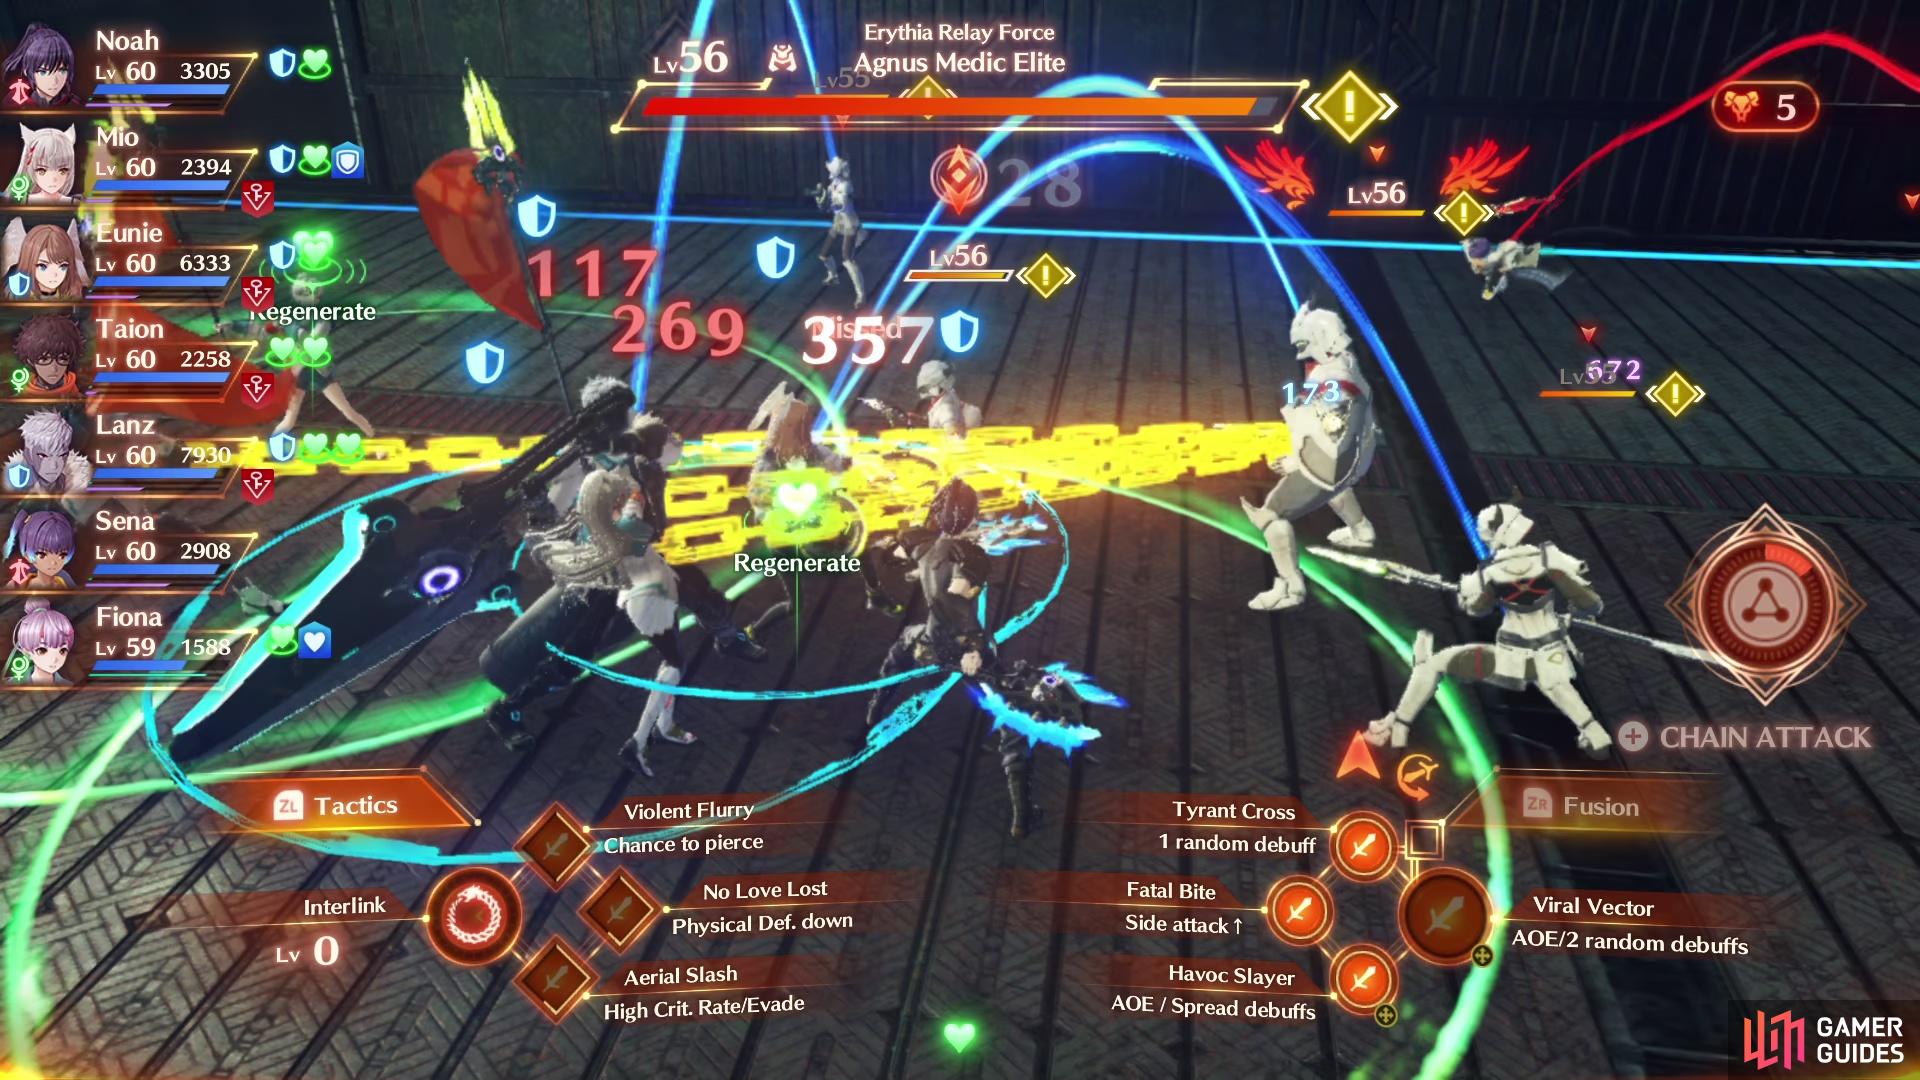
(1 of 2) Return to the PC at the Erythia Relay Base
Return to the PC at the Erythia Relay Base (left), you’ll need to deal with the Agnus Soldiers while Riku and Manana get the information. (right)
You’ll need to return to the computer from before, so head up the stairs and dispatch the Agnus soldiers that guard the way to the Data Archives. While Riku and Manana deal with the PC, you’ll have to have their backs by dealing with the ambush of Agnus Soldiers. You’ll first have to deal with a group of five Agnus Soldiers and these are no different to any of the others you’ve been mowing down throughout your adventure so far. Once the battle is over, Riku and Manana will find a location somewhere in Cadensia.
Head to Irma’s Secret Base
With the new information at hand, you’ll need to make your way to a small unmarked island found to the southwest of Hykt’s Cove. Depart from the Boundary and head up the slope to gain access to Irma’s Secret Base where a scene will take over.
(1 of 2) Irma’s Secret Base can be found southwest of Hykt’s Cove
Irma’s Secret Base can be found southwest of Hykt’s Cove (left), inside you’ll find many points of interest. (right)
Once you’re done here, all that remains is to return to the Bed of Woes and Wishes at Colony Mu so Fiona can deliver her answer to the rest of the Colony Mu residents, bringing this short Ascension Quest to an end.


 Sign up
No Comments