This is a guide for Chapter 1 of Xenoblade Chronicles 3, taking place and covering the Colony 9 Settlement in the Aetia region.
Colony 9 is the main settlement of Chapter 1.
The Flame Clock
Colony 9 is the first real settlement you’ll reach in Xenoblade Chronicles 3 where you’ll get the chance to speak to some of the locales. You’ll also be introduced to the Flame Clock mechanic, essentially it boils down to a gauge that fills up based on defeating enemies. The higher you fill it, the greater the stat increase you enjoy. On the flipside, if you let it get too lower, you’ll suffer stat penalties.
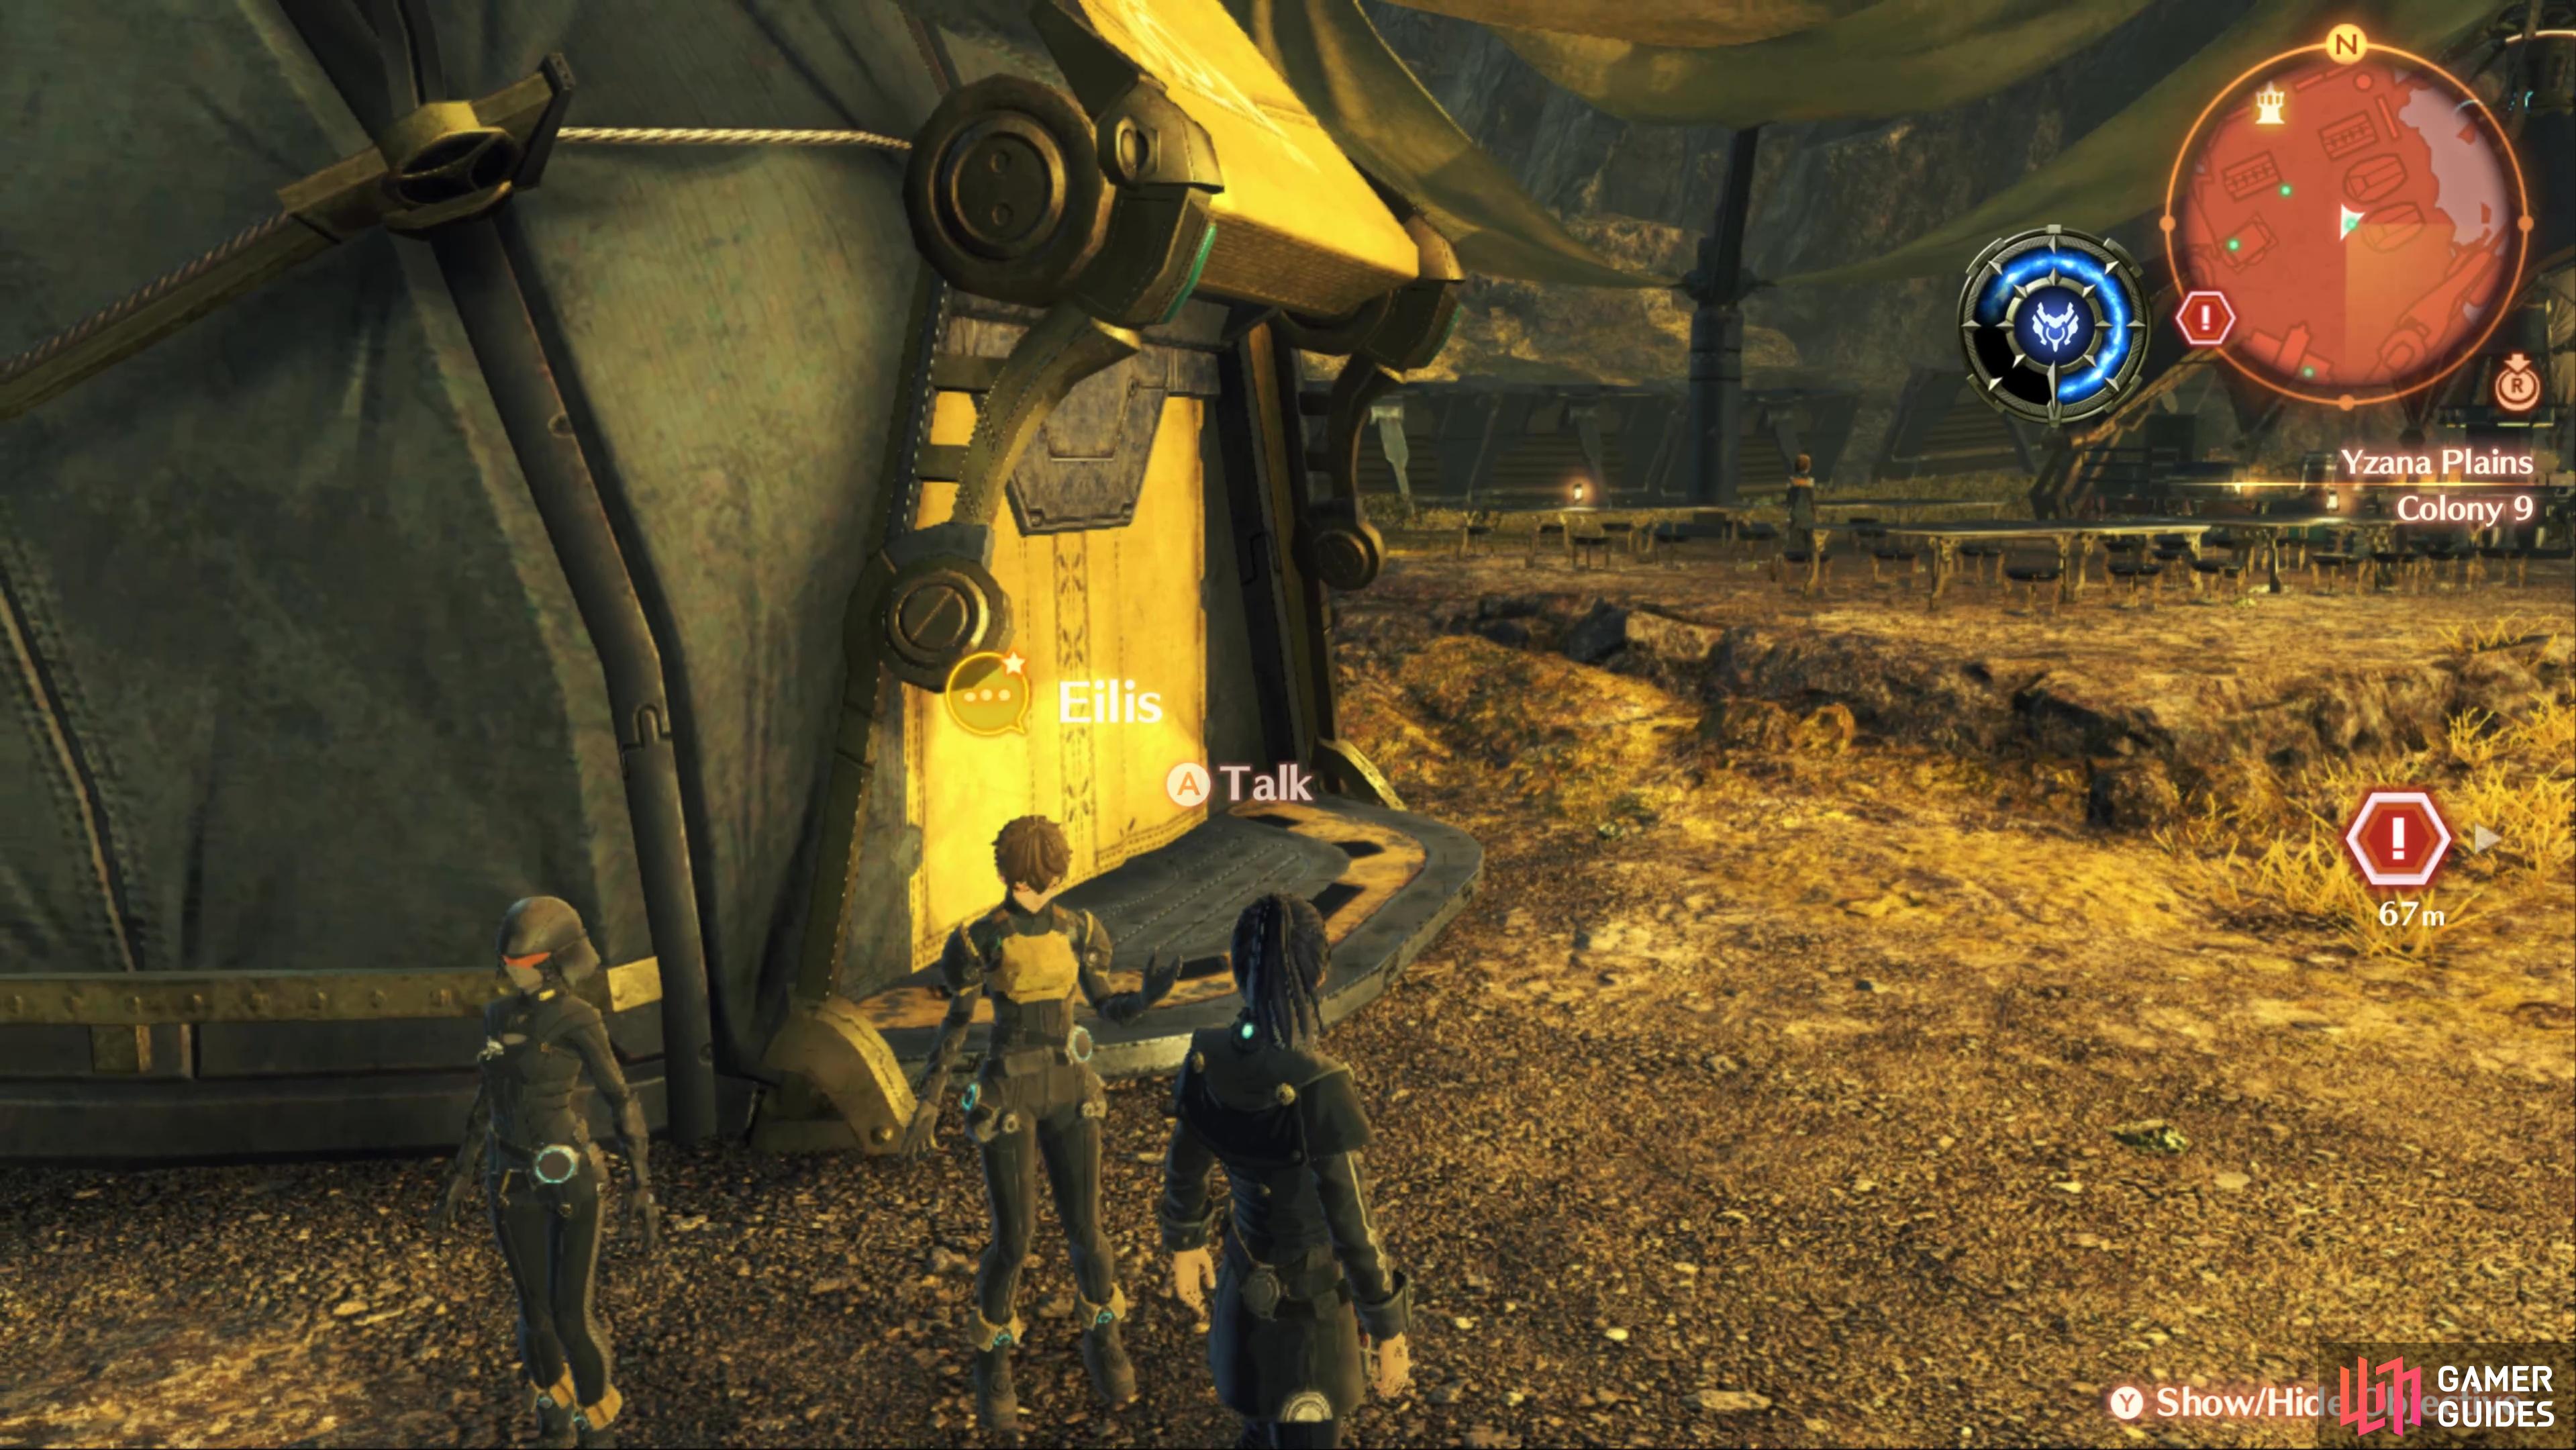
As a whole, it’s hard to cause it to drop too low unless you’re going out of your way to avoid every enemy while exploring. Unfortunately, this remains an underutilized mechanic as it’s only a real factor for Chapter 1. You’ll be introduced about speaking with NPCs here, and the game will handedly mark NPCs with something new to say with a star icon. Be sure to take the time and speak to all of them as this will give you Affinity for that location (which you’ll learn about later).
Always take the time to speak with any NPCs that have a star next to their speech bubble to improve your Affinity.
With that out of the way, head to the baths to trigger a scene before heading back to your barracks to rest until morning. You’ll be woken to the sounds of sirens, indicating that a mission briefing is about to take place. You can now head up into the Ferronis interior (the giant mech in front of you) to access the upper part of Colony 9. Be sure to take the time to speak to the NPCs and track down the Containers and then head to the destination marker to learn your next mission.
Preparing for Battle
You’ll be introduced to purchasing items following the scene, beginning the Preparing for Battle Standard Quest in the process and you have no control over what you purchase so go with the flow for now. There are a number of accessories for sale here, and you can sell any you don’t want back for the same price so feel free to experiment. This is also a good time to make some extra gold yourself, any items you have that have the scales icon should be sold, as they have no other purpose.
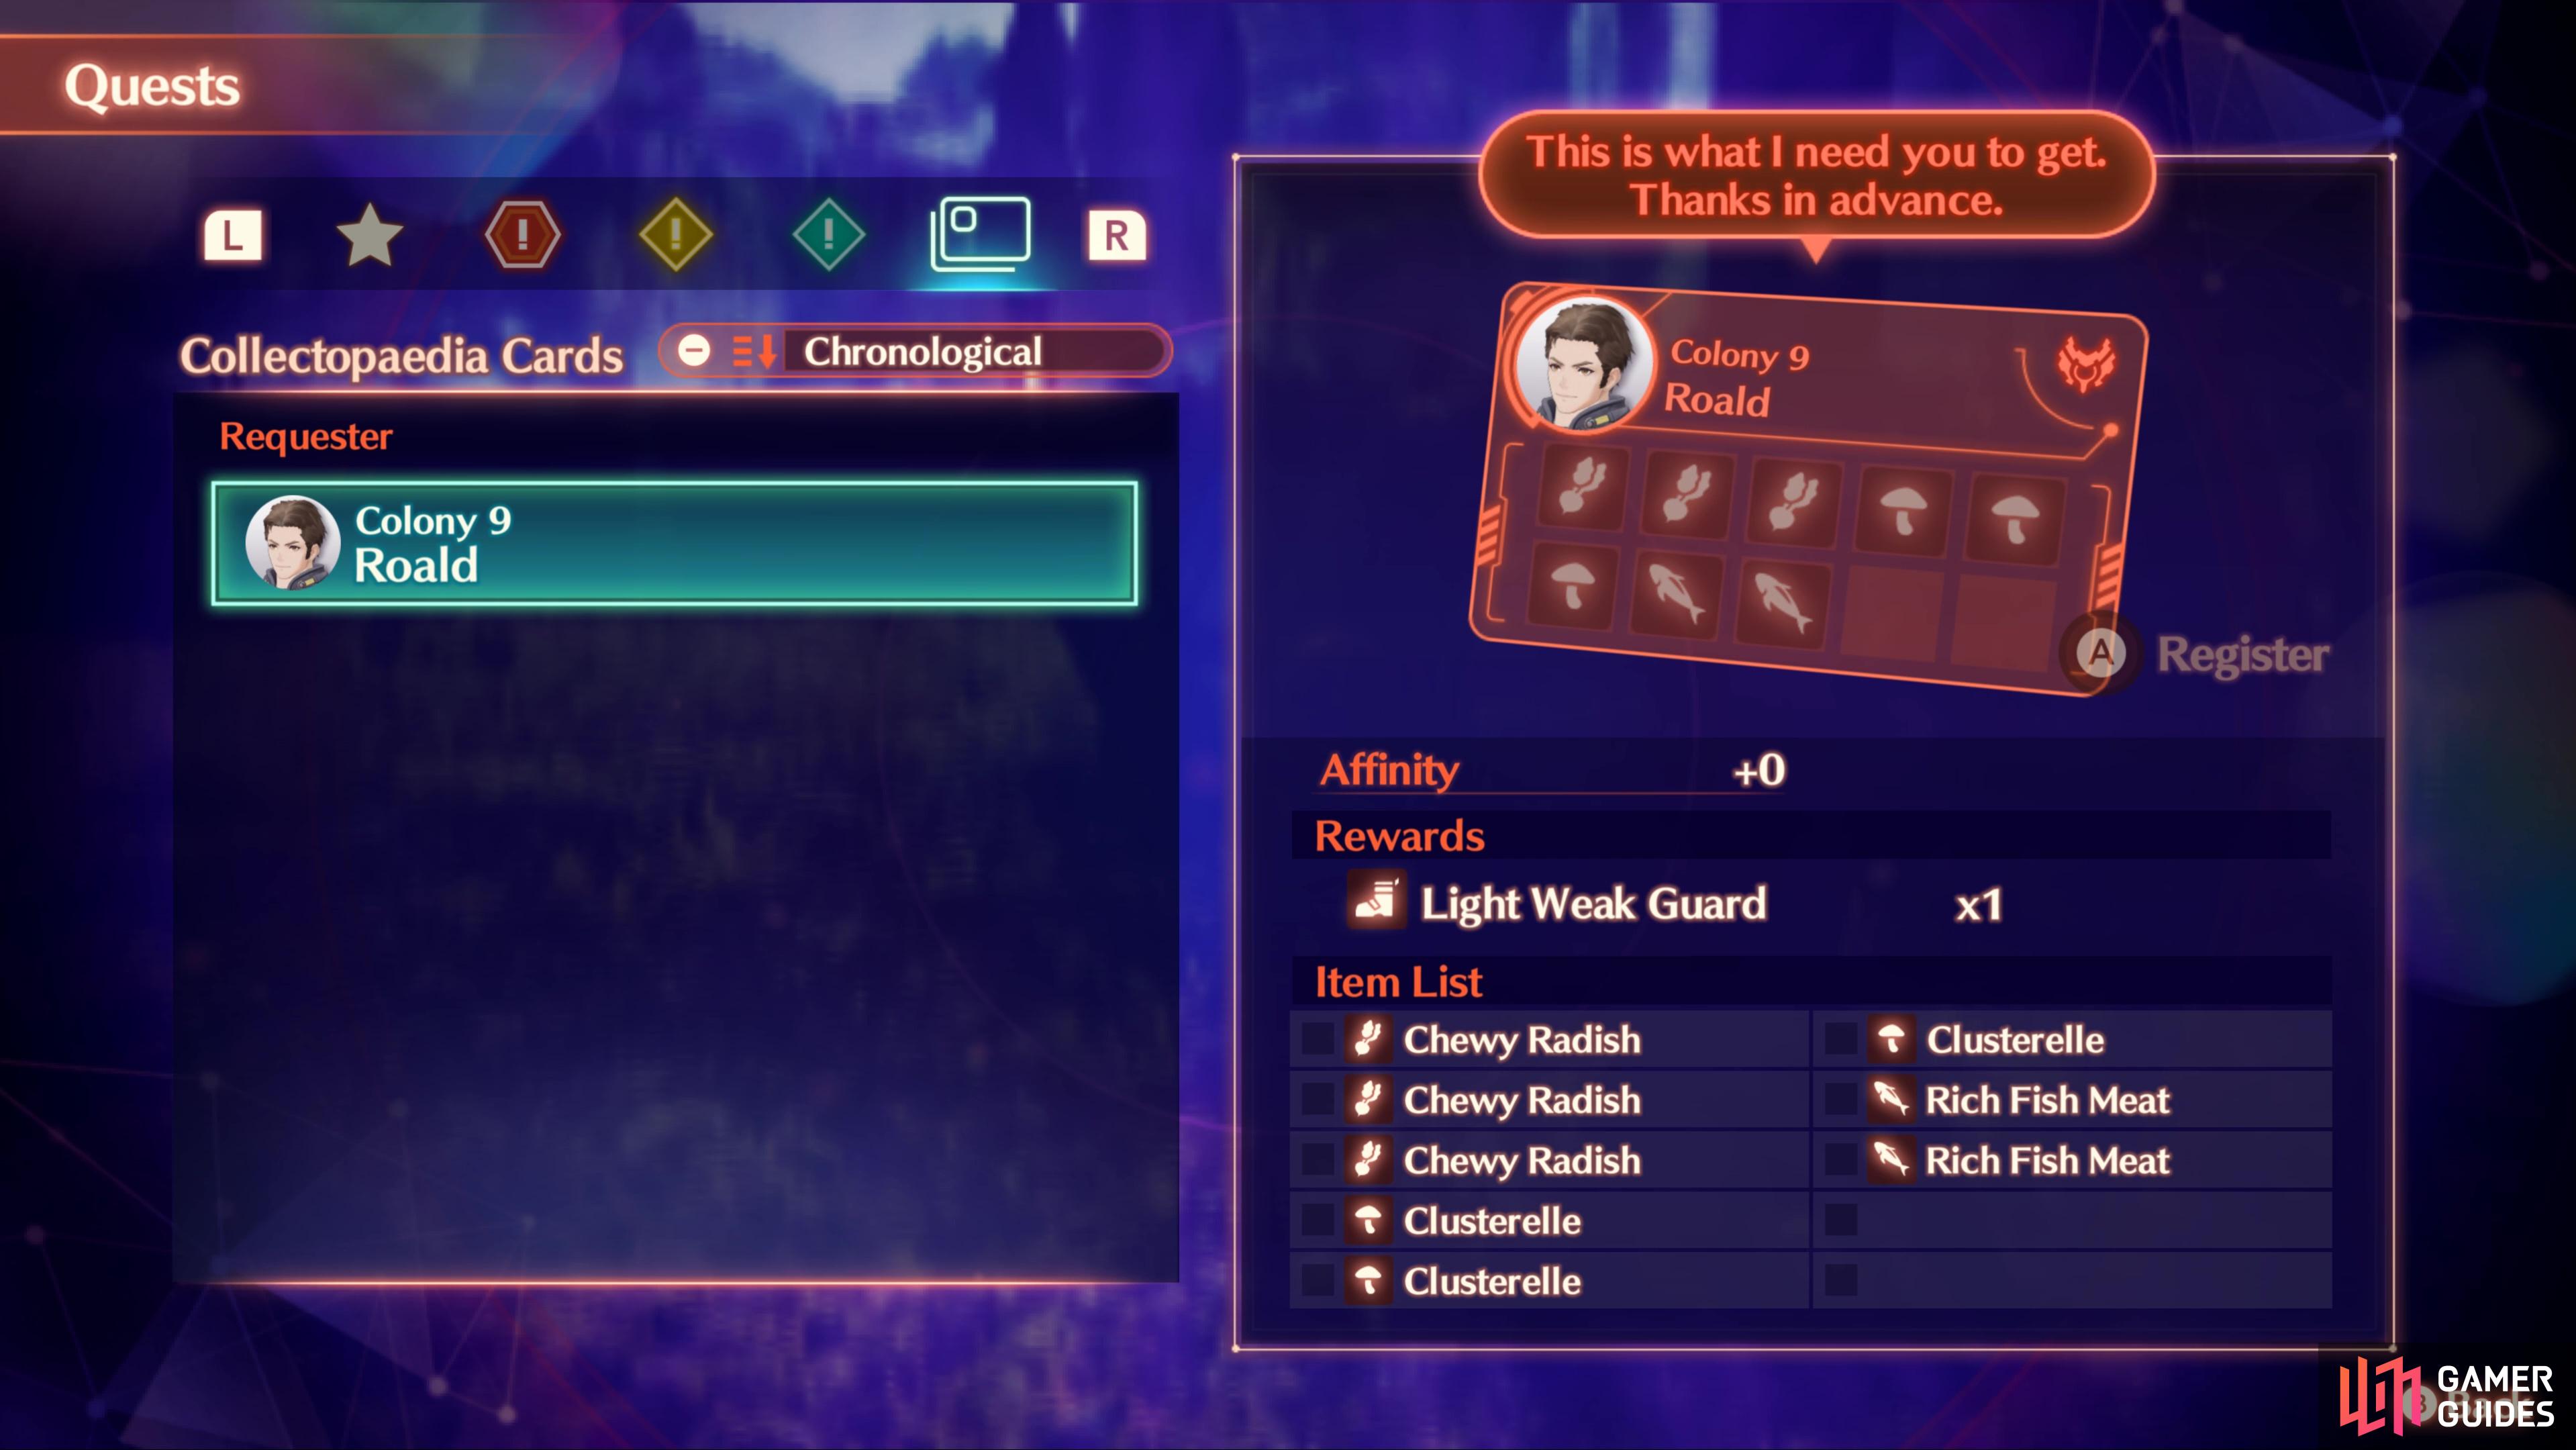
Noah will then draw his attention to Roald nearby, who looks like he’s in need of some assistance. Head on over and speak to him to learn all about Collectopaedia Cards, another form of Side Quests in Xenoblade Chronicles 3. This is what all of those collectables you’ve been collecting out in the world is for. Head to the Quests screen in the menu and you’ll be able to see all of the different types of Quests you have. For the sake of this Quest, head over to the Collectopaedia filter and you’ll see Roald’s Request for the items he needs.
(1 of 2) Speaking with Roald will unlock the Collectopaedia Card system
Speaking with Roald will unlock the Collectopaedia Card system (left), the Quest will direct you to the items for the sake of this tutorial. (right)
The game will direct you toward where you can find these Collectibles if you don’t already have them, and once you have them all, return to the menu and hold the 
For now, the selected Arts for your characters work well enough for Chapter 1, and you’ll gain access to Classes before long where you’ll want to take more in-depth look at them. With that all said and done, explore the rest of Colony 9 with the advice below and then head out the front gate.
NPCs in Colony 9
There are several NPCs to speak to here in Colony 9, all of whom will offer an Affinity Boost upon speaking to them for the first time. After unlocking the Collectopaedia Card system, many will have requests for you too.
Quests in Colony 9
| Name | Giver | Type | Rewards |
|---|---|---|---|
| Preparing for Battle | Automatically as part of the story |  |
Unlocks the Collectopaedia Card System |
There is just the one Standard Quest in Colony 9, and you’ll be forced to complete it as part of the tutorial.
Containers in Colony 9
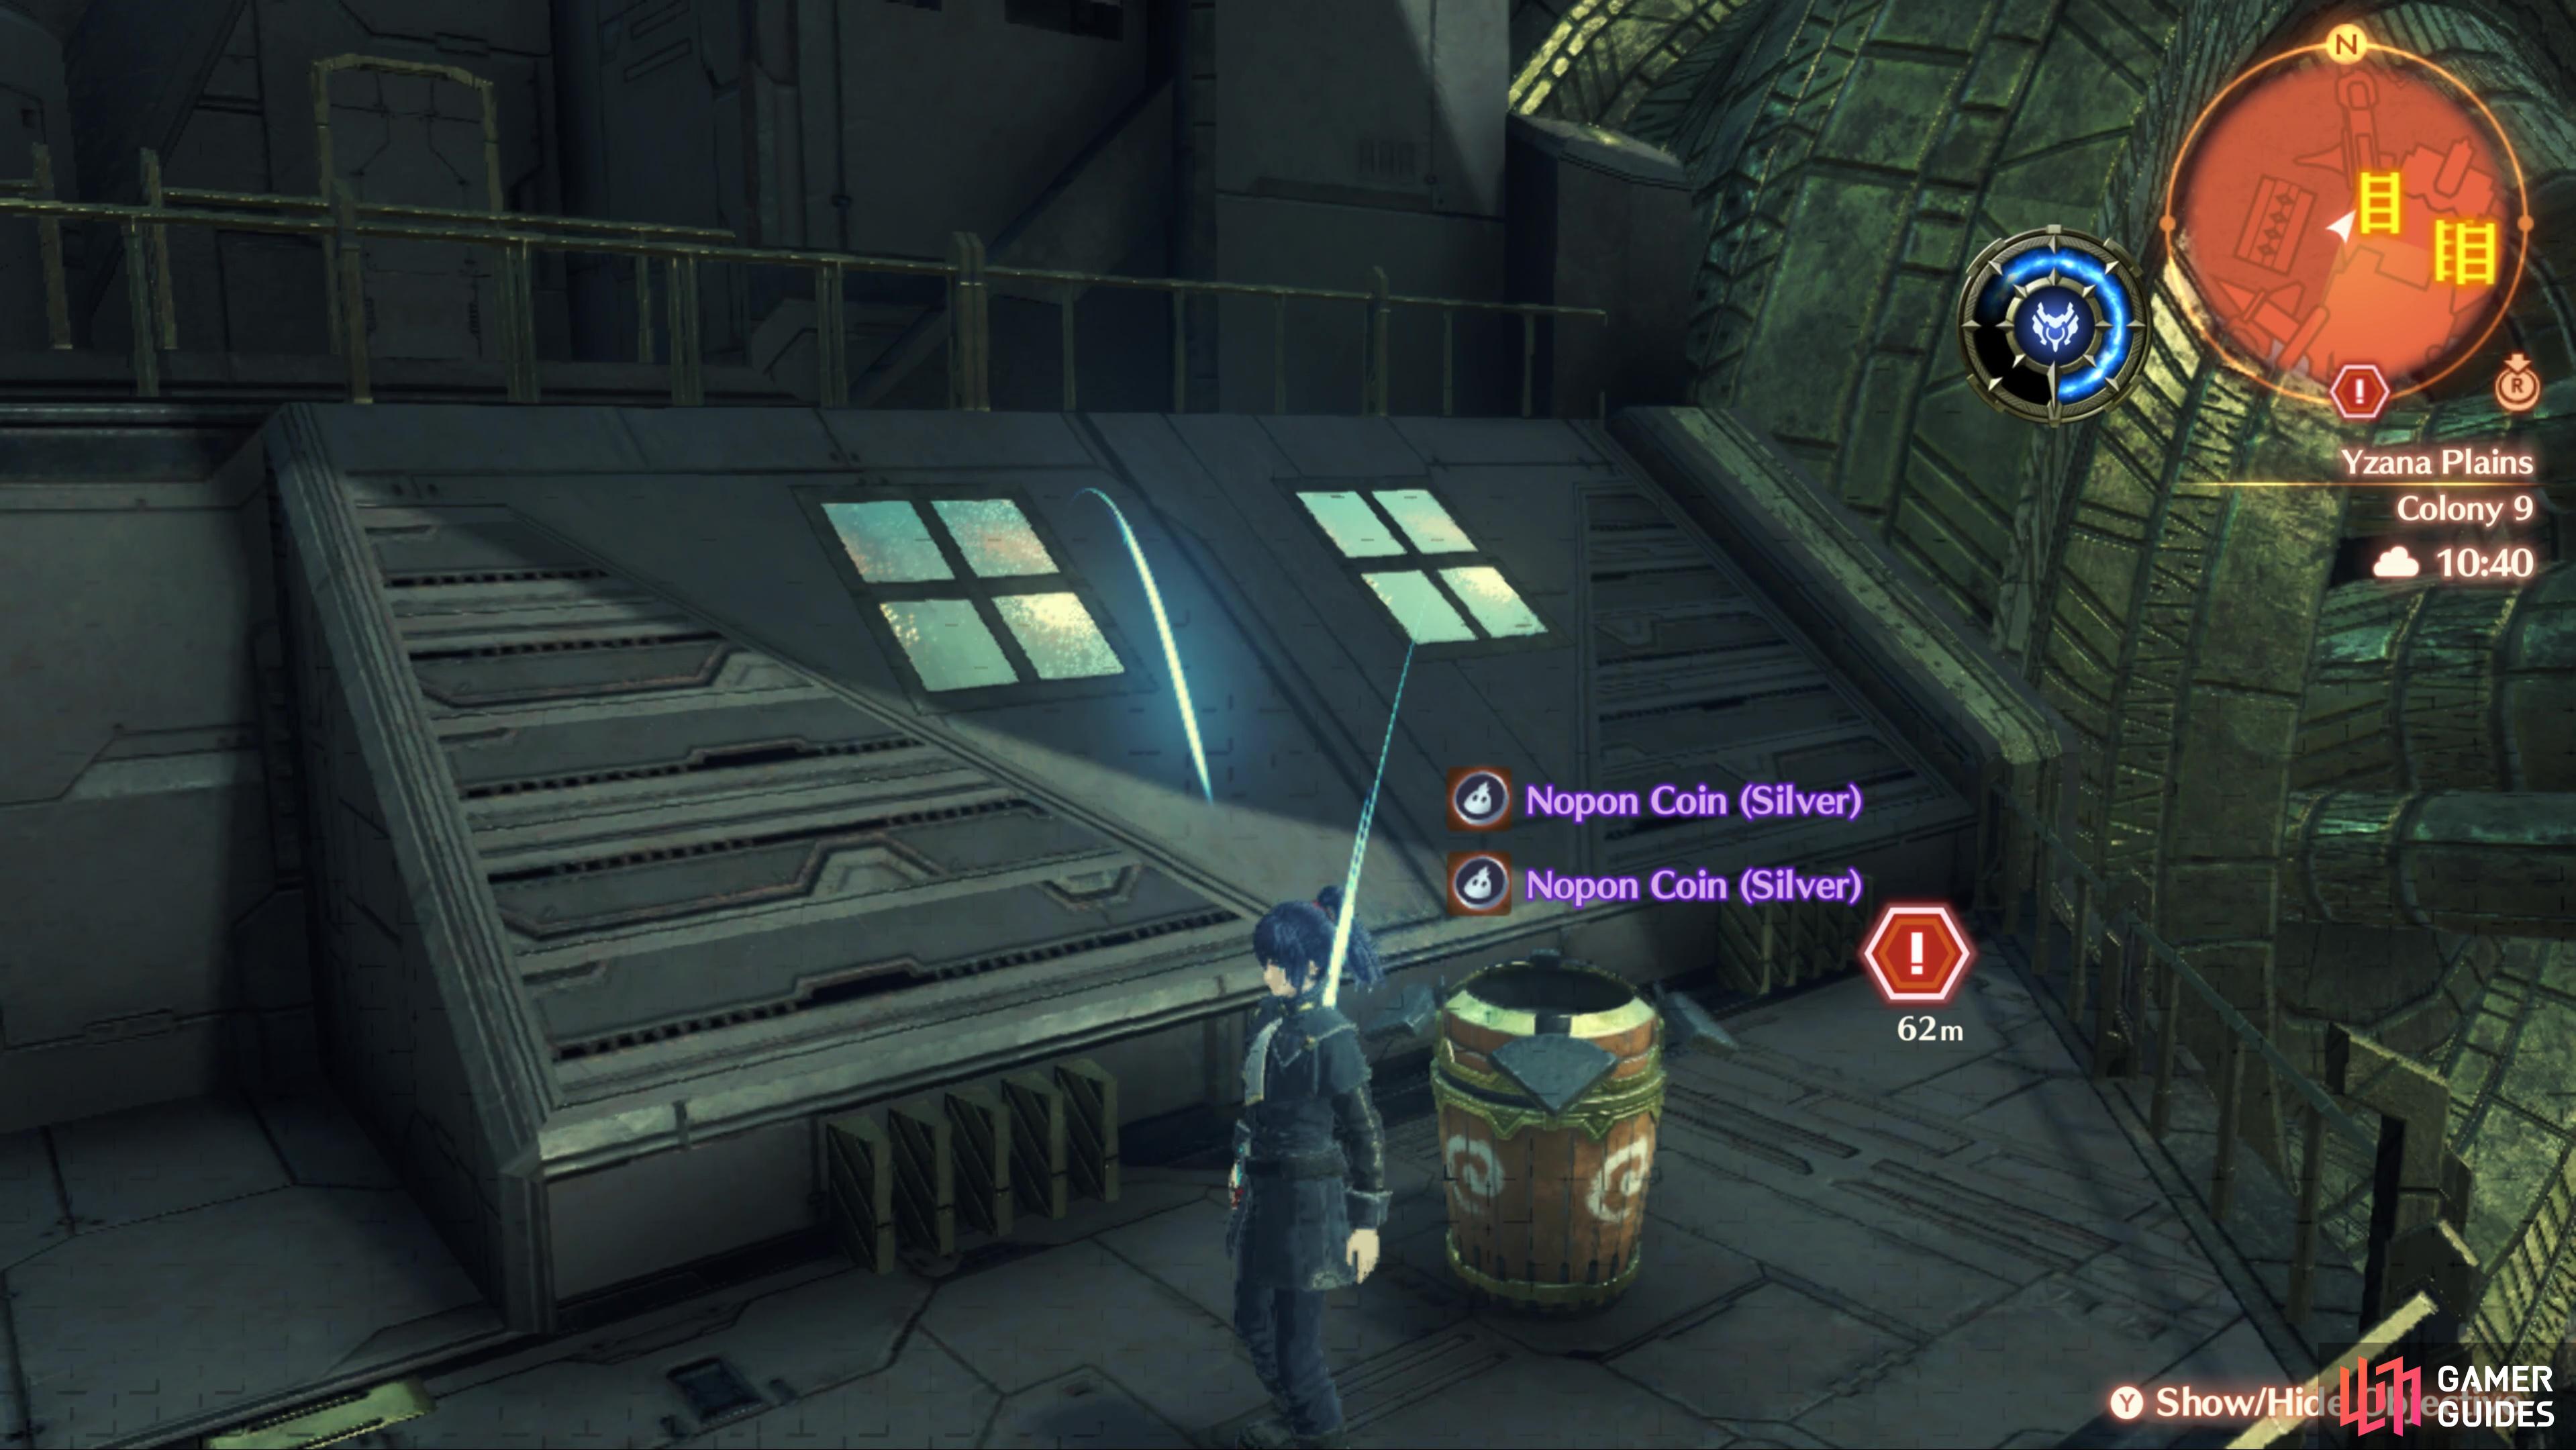
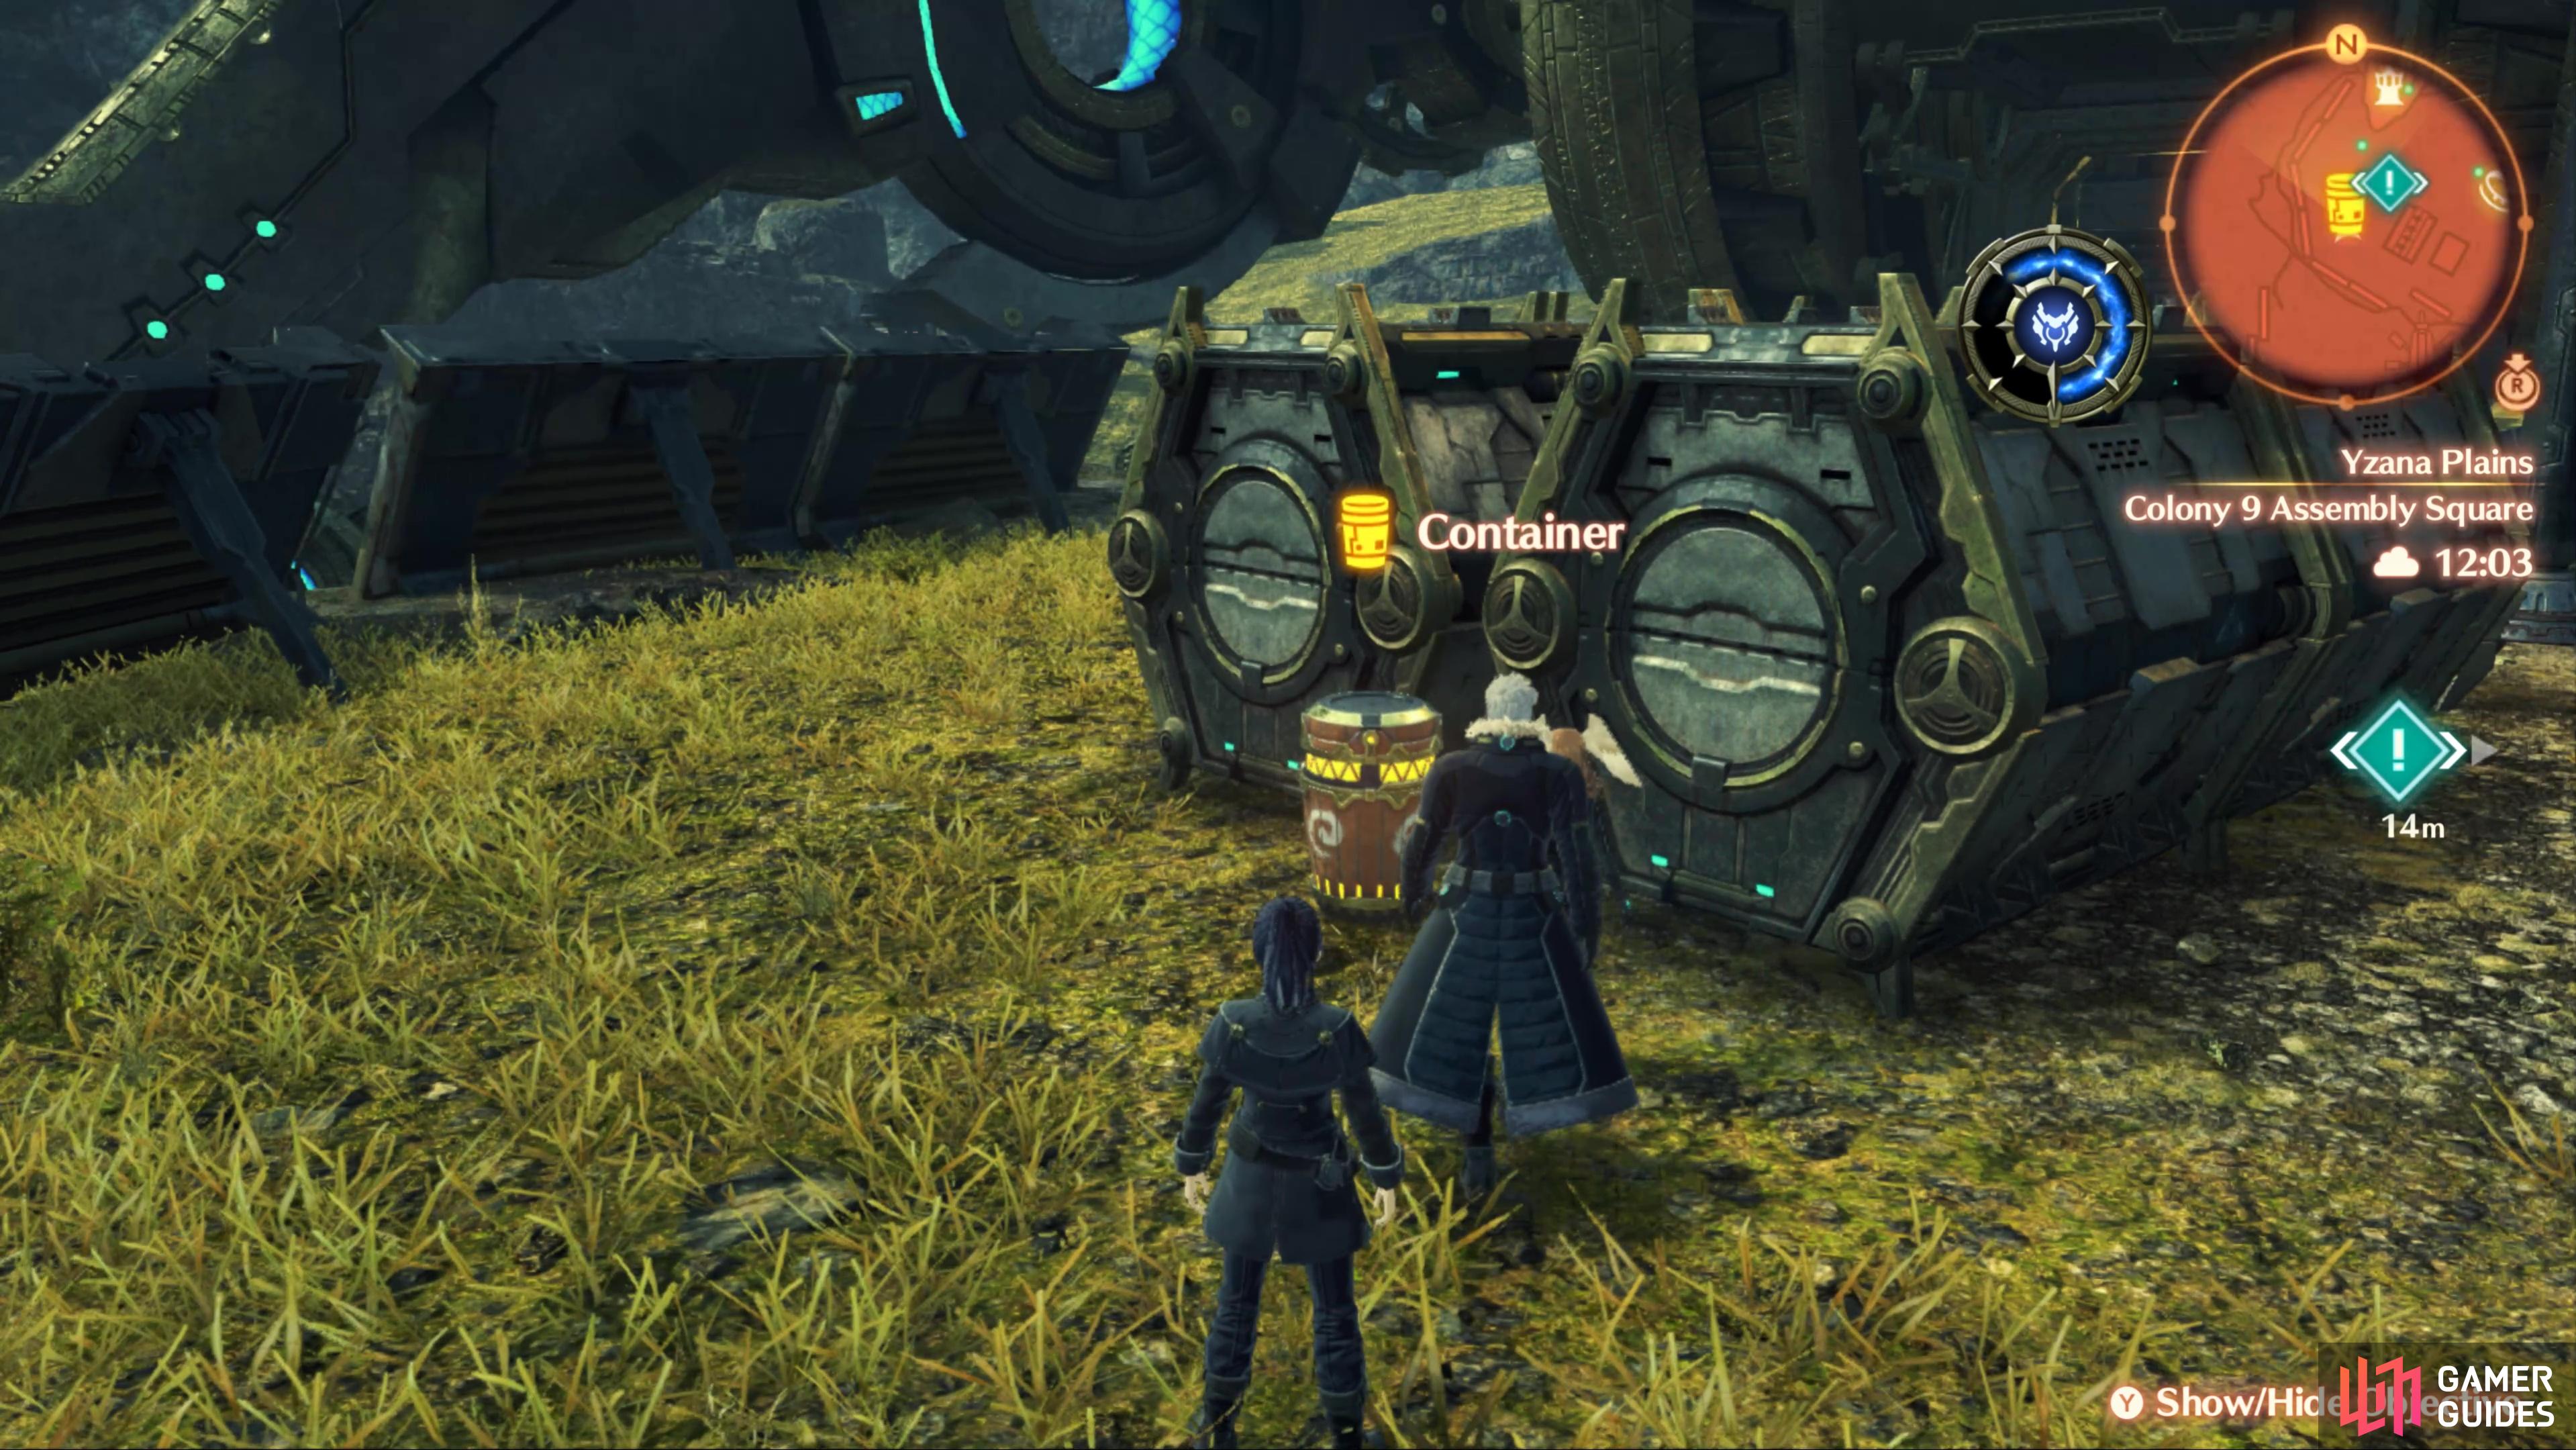
Three Containers are hidden in Colony 9, although you’ll have to wait until you’ve rested first to gain access to the Ferronis Interior. Once you can head up to it, head to the right and leap over the railing to find the first Container. Return to the Ferronis Interior and this time take the ladder to your left, at the top, leap over and head to the other side to find the second Container. Finally, you’ll have to wait until you’ve had your briefing before you can reach the final Container, located behind one of the barracks up here.
(1 of 3) Leap over the railing to reach this rooftop
Colony 9 Commissary
| Icon | Name | Effect | Cost (G) |
|---|---|---|---|
| Bronze Temple Guard | Boosts Maximum HP by 20% | 830 | |
| Pale Memory | Expands the window of opportunity for canceling by 20% | 620 | |
| Rainbow Gloves | Boosts Dexterity by 20% | 830 | |
| Black Steel Band | Boosts aggro generated from auto-attacks by 15% | 830 | |
| Silver Necklace | Reduces aggro generated from auto-attacks by 20% | 830 | |
| Prayer Necklace | Grants Armor Veil to revived allies | 750 | |
| Chrome Scarf | Extends Break Duration by 16% | 910 | |
| Light Weak Guard | Boosts Block Rate by 20% | 830 | |
| Shell Cameo | Boosts amount of HP restored to self by 10% | 750 |
The first shop you’ll encounter is well stocked with many essentials, although if you’ve been diligent about opening Containers on your way here, you should be fine with Accessories for now and can instead save your Gold for now.



 Sign up
No Comments