This is a guide for Chapter 4 of Xenoblade Chronicles 3, covering the escape from Keves Castle after, ahem, annihilating the Annihilator.
Where to go after destroying the Annihilator
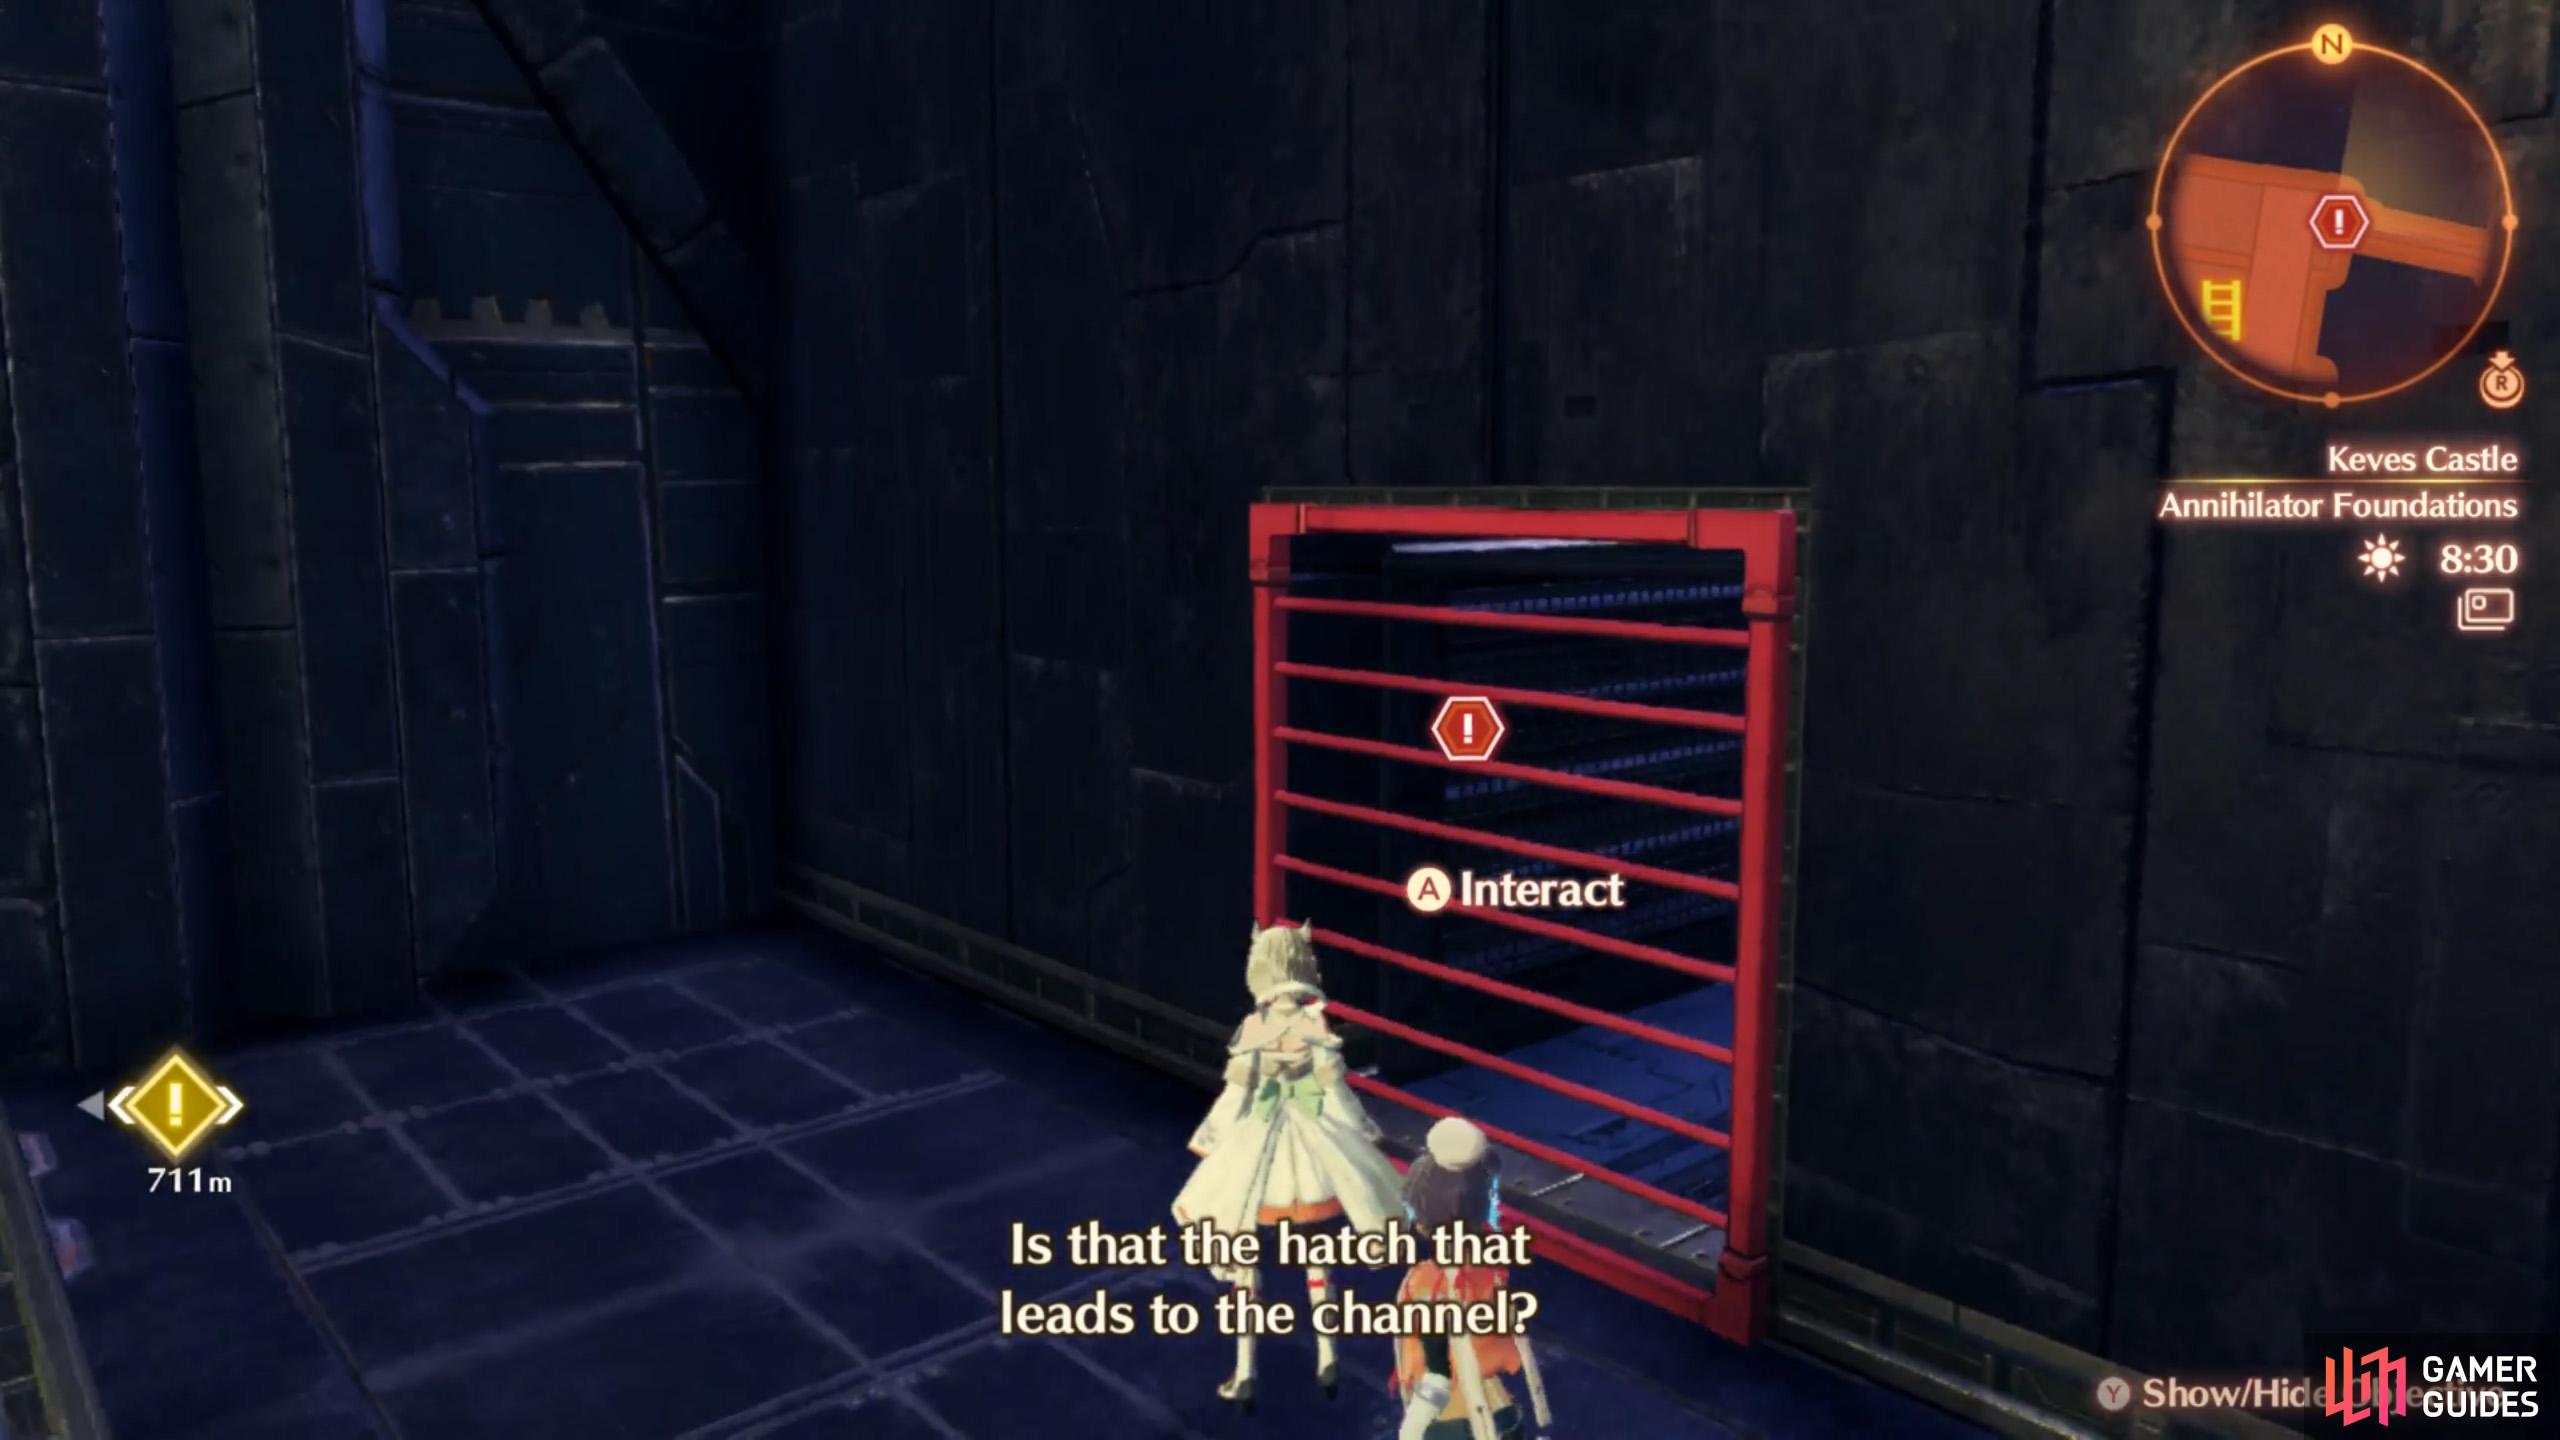
(1 of 2) Enter through this unmissable hatch entrance.
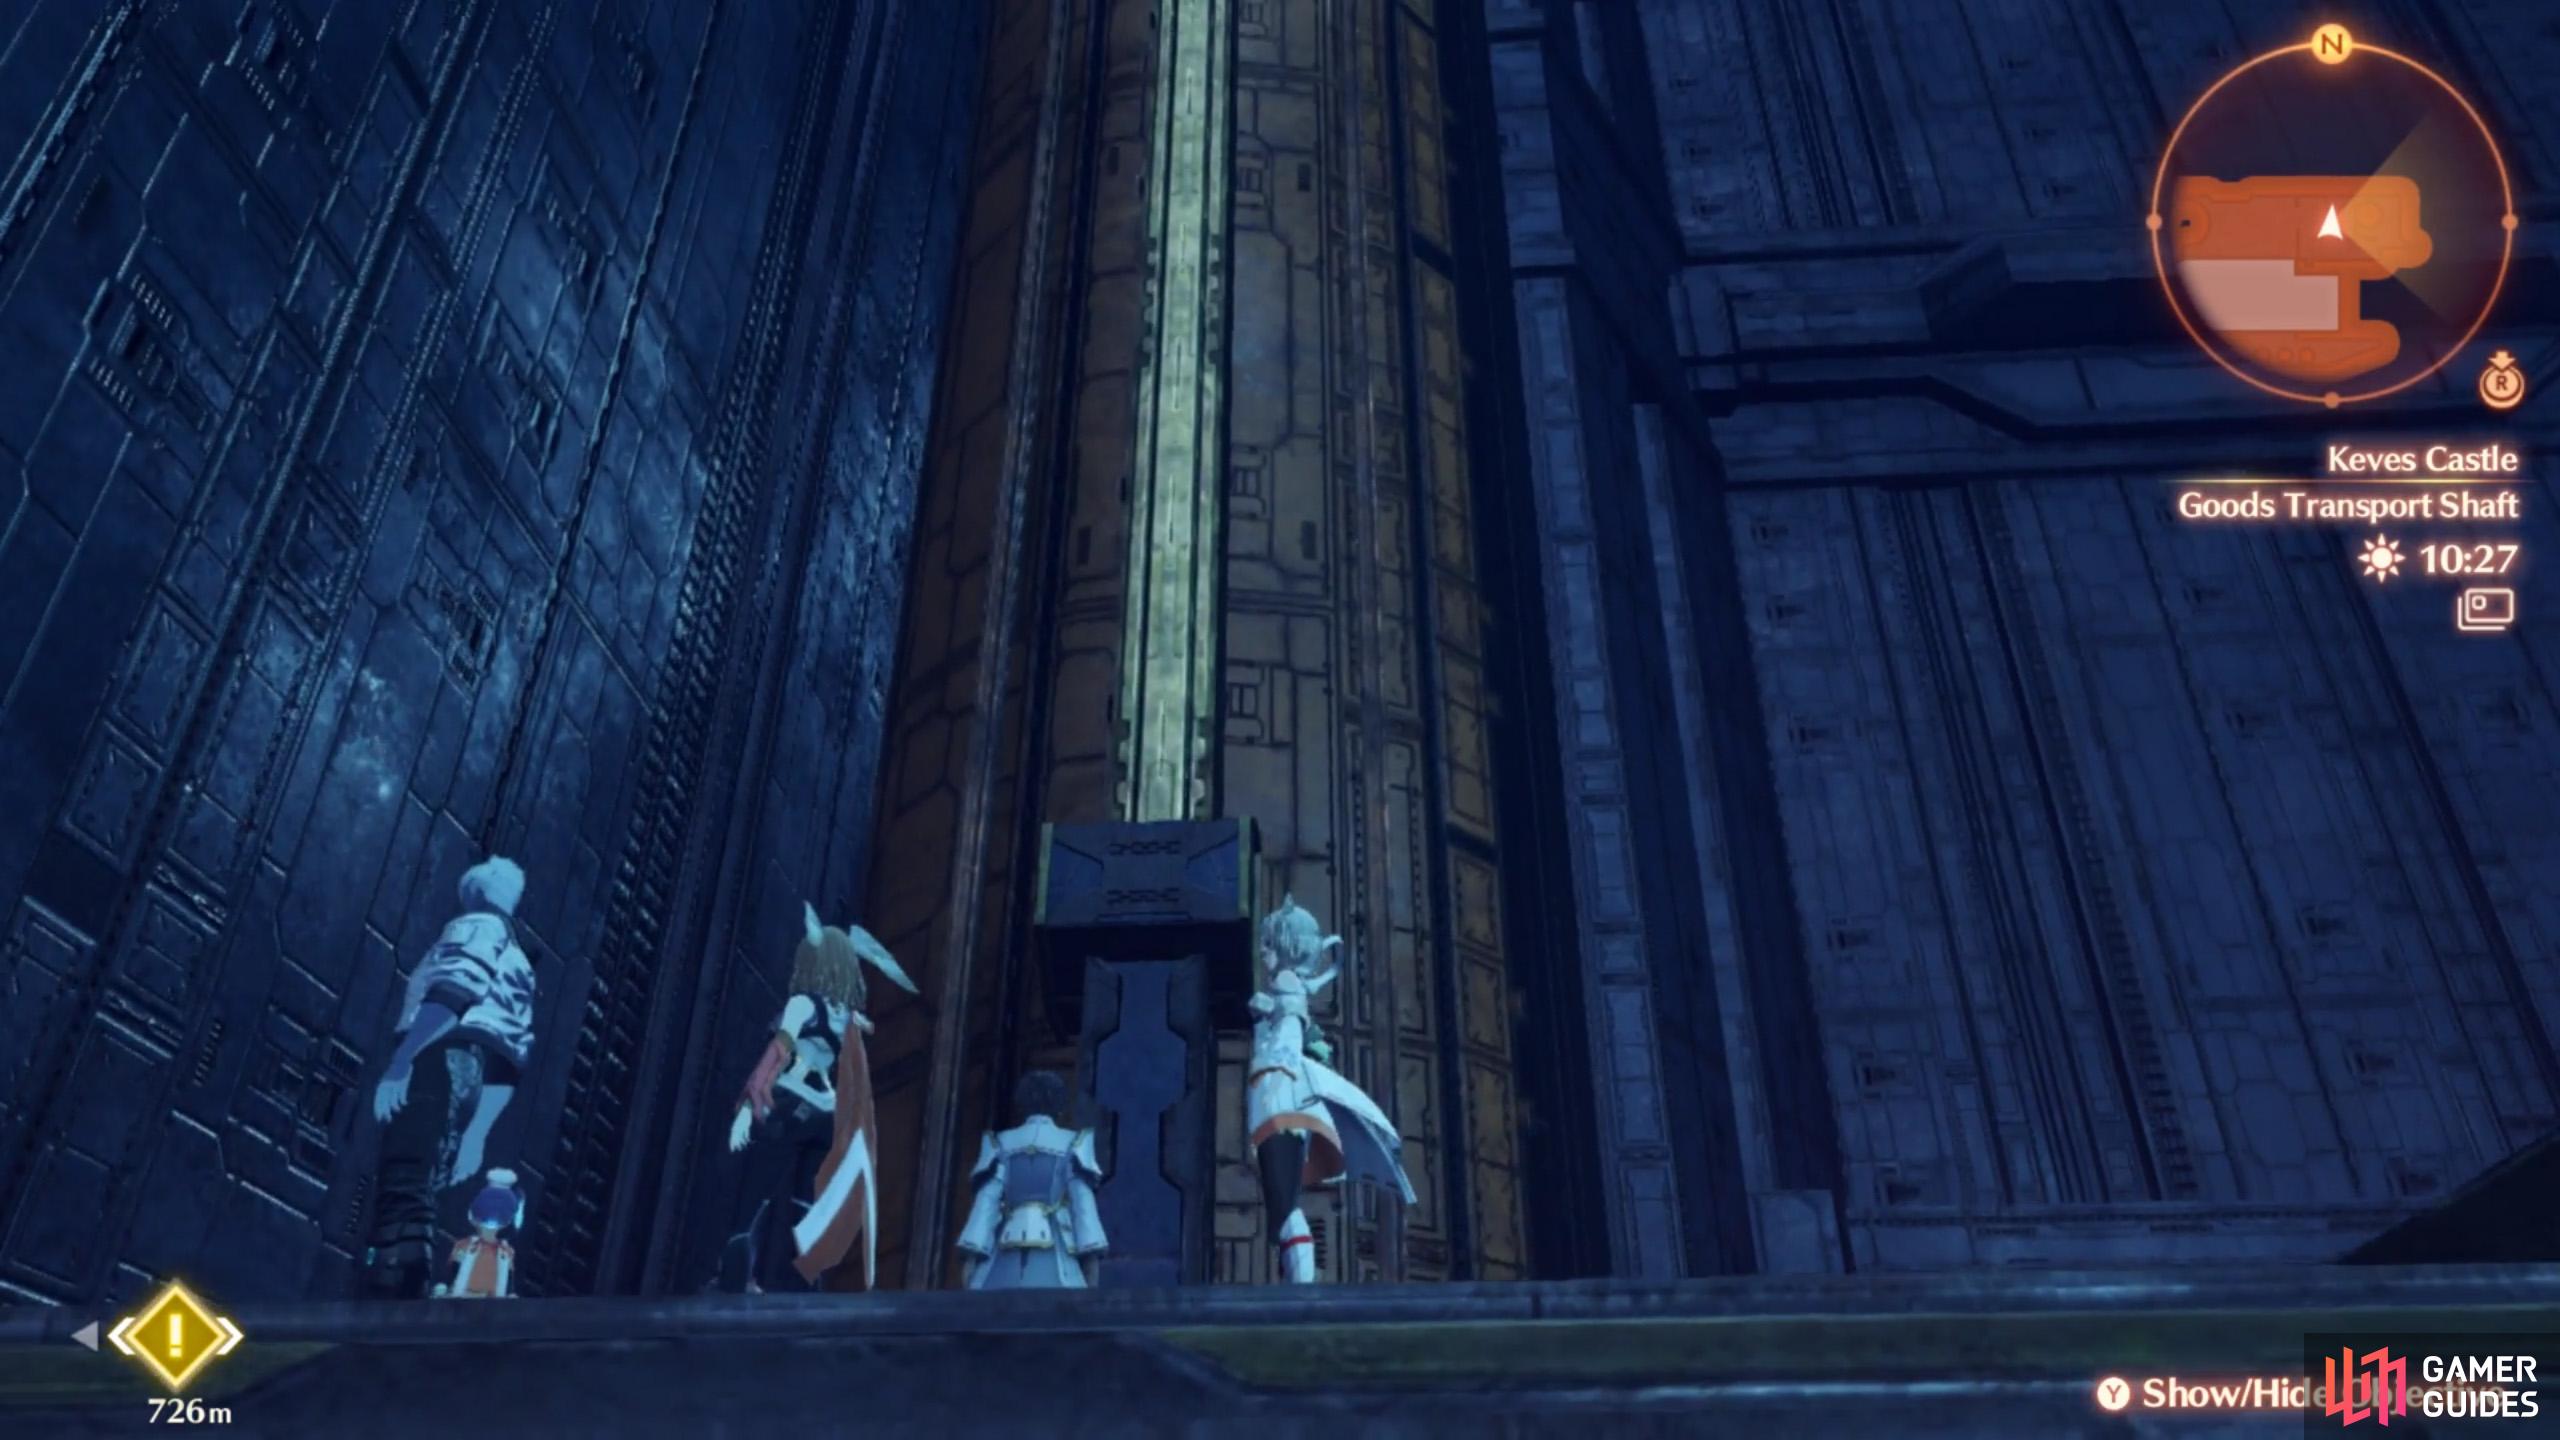
Enter through this unmissable hatch entrance. (left), After following the water current, ride the goods transport lift. (right)
Having ruined the plans of Moebius D and J, your new objective is to escape the castle. Go forward, while keeping to the left. After a while, you should spot a bright red grill on the wall. Carefully open the grill to access the narrow passageway beyond. This leads to the Middle Drainage, where there’s a strong water flow.
Enter the water and let it carry you downwards, grabbing any collectables along the way. Eventually you’ll reach a wider area, where a giant rotary fan prevents you from following the water. Once you’ve regained control, go up the nearby pipes and ride the cargo lift upwards. This’ll take you to the 4th floor. Don’t worry about stopping; the lift will automatically push you off near the end.
Up here, head east towards the Upper Water Supply rest area. Further east is another bright red grill, which leads to… we won’t spoil the surprise. Either way, you want to be fully prepared before proceeding that way.
Locations
Rest areas at Keves Castle (Part 2)
| Name | Description |
|---|---|
| Upper Water Supply | 4th floor. Towards the north-west, between the Goods Transport Shaft and the Throne Room. |
Containers at Keves Castle (Part 2)
| Container # | Map Marker | Location |
|---|---|---|
| 1 | Map Marker | 3rd floor. Towards the far north, across the cargo lift. |


 Sign up
No Comments