This is a guide for the My Memories Ascension Quest for Triton in Xenoblade Chronicles 3.
It’s going to be a trip down Triton’s memory lane
How to Start the My Memories Ascension Quest
Ascension Quests will start becoming available once you reach Chapter 5 in the main story. Beyond just simple story progress, there are several other steps for unlocking Ascension Quests which usually involve completing the Colony related Questlines (for Heroes that belong to one) along with ensuring that the Inheritor is at Rank 10 of the Class.
For Triton’s Ascension Quest, you will first need to be on Chapter 5, which is when you actually get a chance to recruit him. You will also want to make sure that the Inheritor of the Soul Hacker class, Lanz, has it at Rank 10. If he’s yet to do this, remember you can use Silver Nopon Coins to raise the levels of a Class.
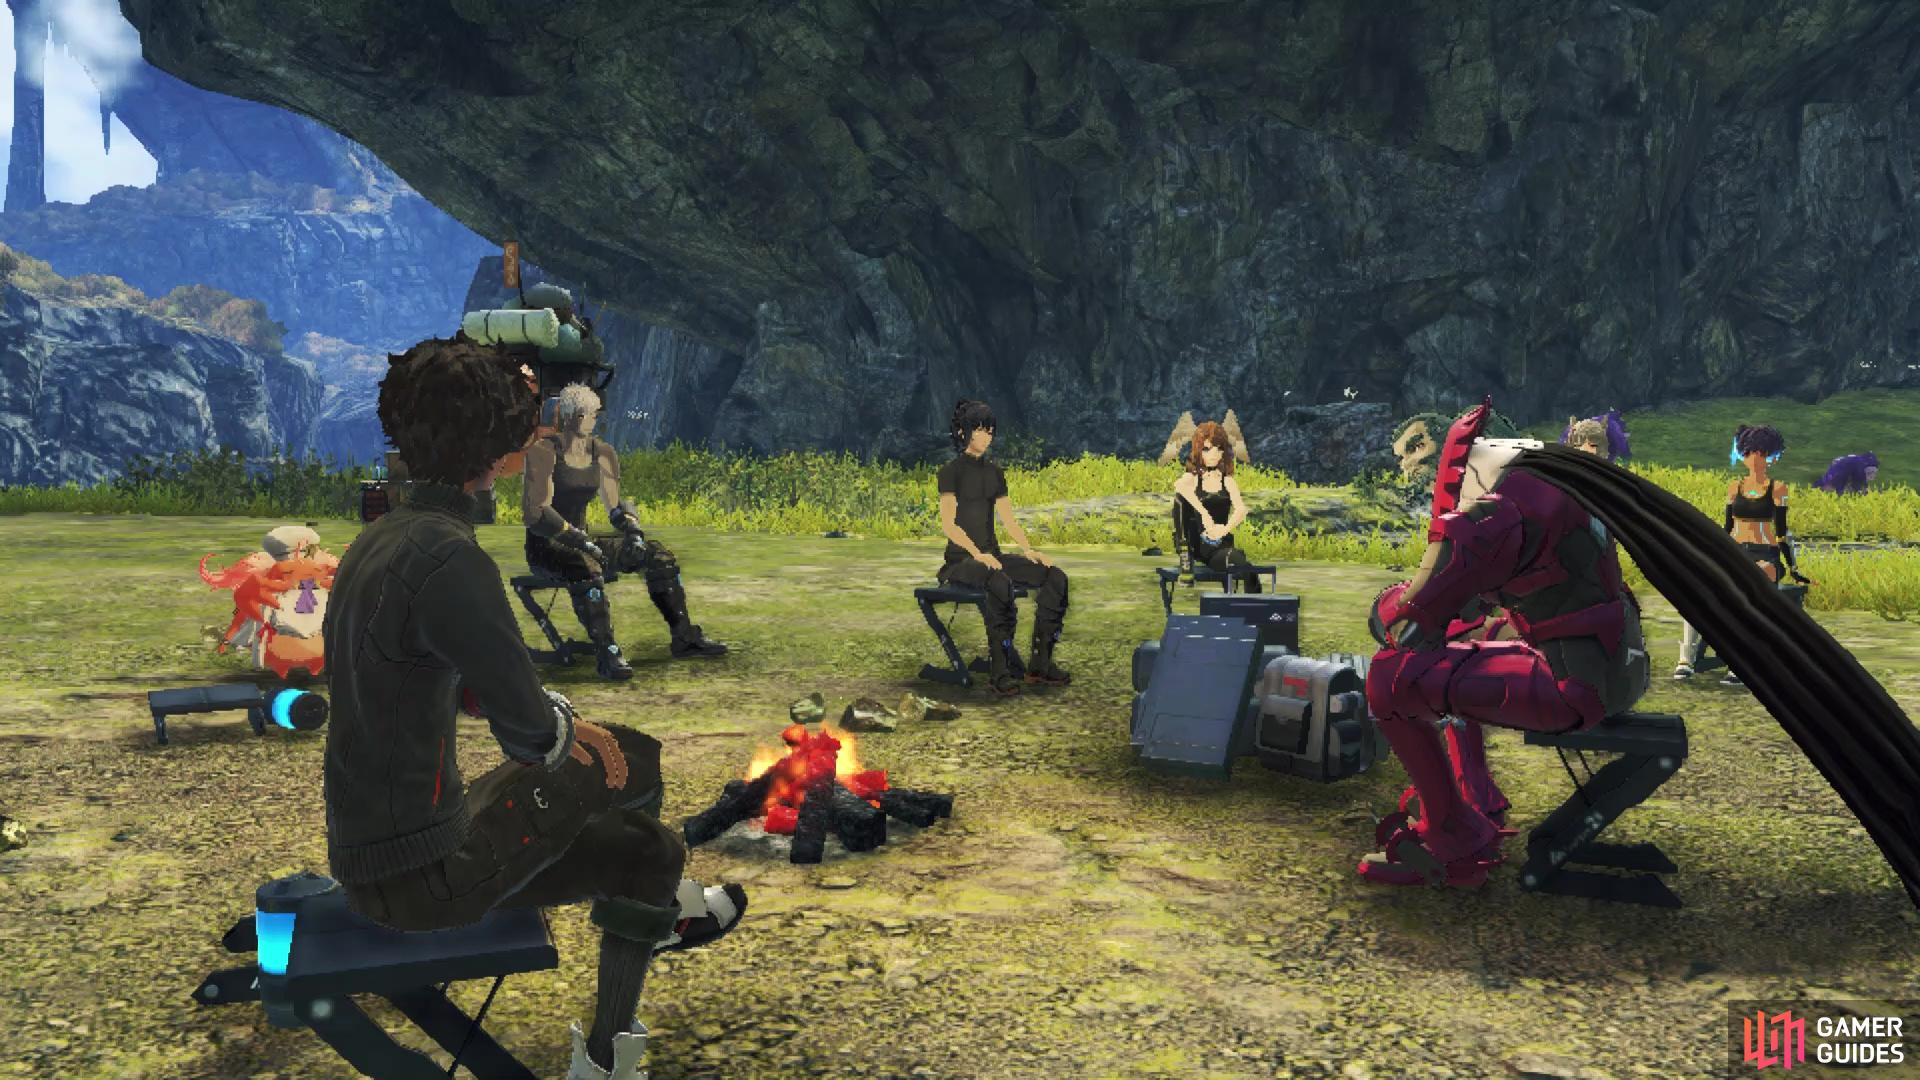
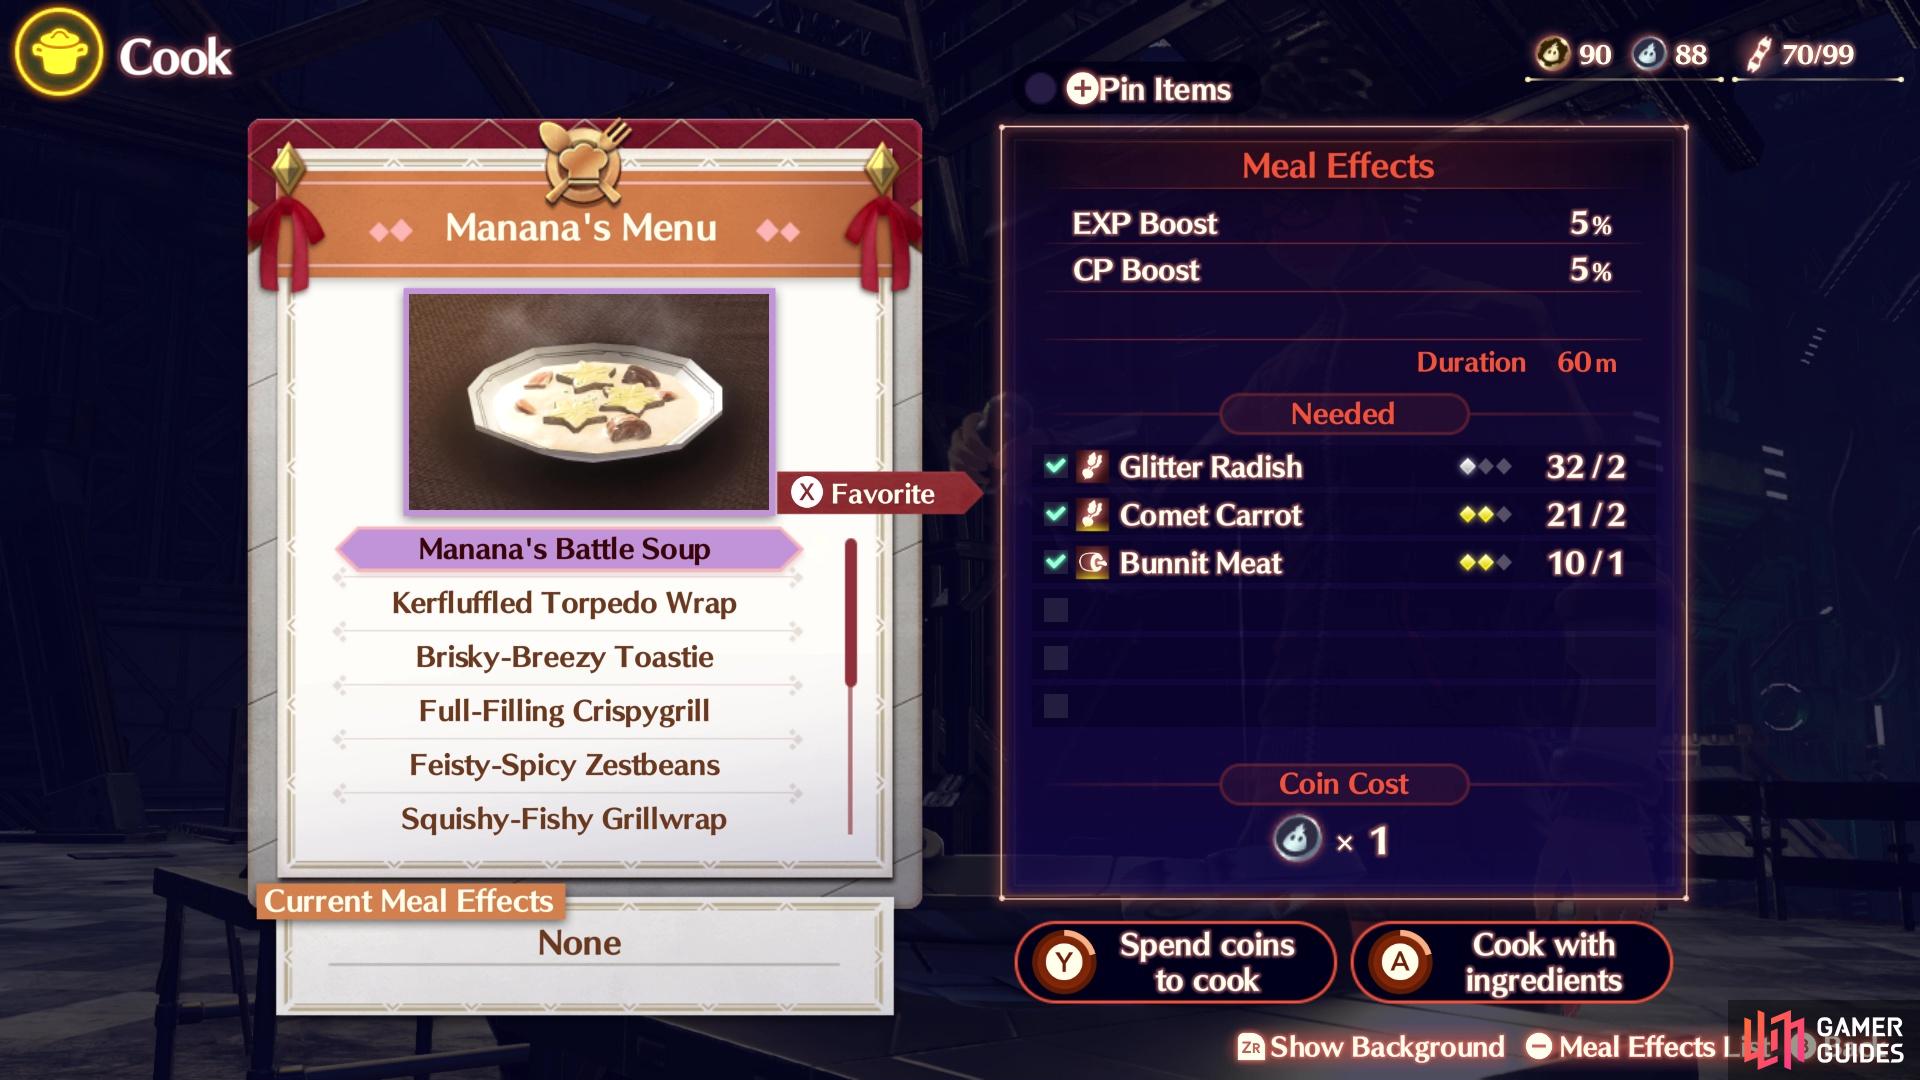
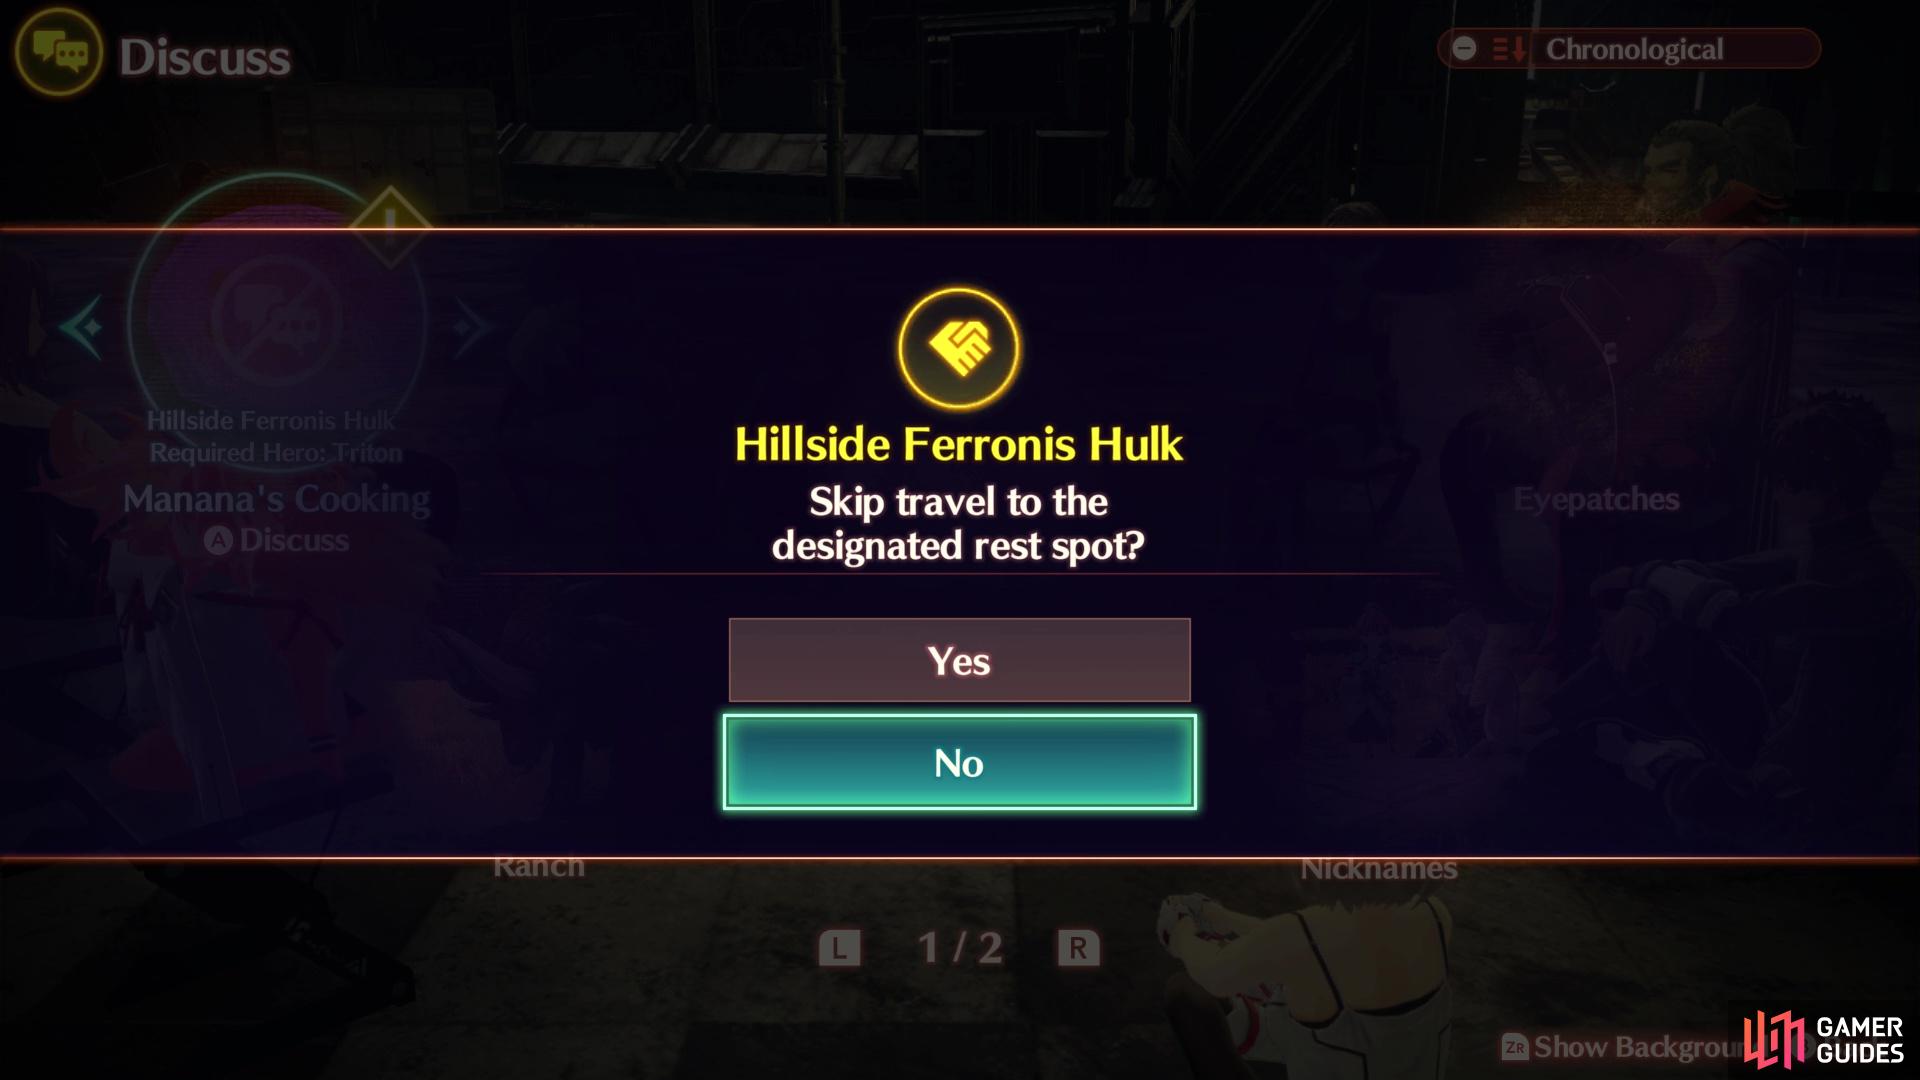
The final step in starting this Ascension Quest is to have Triton as your active Hero and go to any rest spot where you can cook your own meals. Once there, cook the Manana’s Battle Soup meal (the first one you get in the game), and you should receive the Manana’s Cooking Info. In order to discuss this Info Fragment, you will need to go to the Hillside Ferronis Hulk first, in the Aetia Region, as you won’t be able to discuss it anywhere else. When you do that, you will begin the actual quest.
(1 of 2) Cook Manana’s Battle Soup while Triton is in your active party
Cook Manana’s Battle Soup while Triton is in your active party (left), You’ll need to discuss the Info Fragment at the Hillside Ferronis Hulk (right)
How to Complete the My Memories Ascension Quest
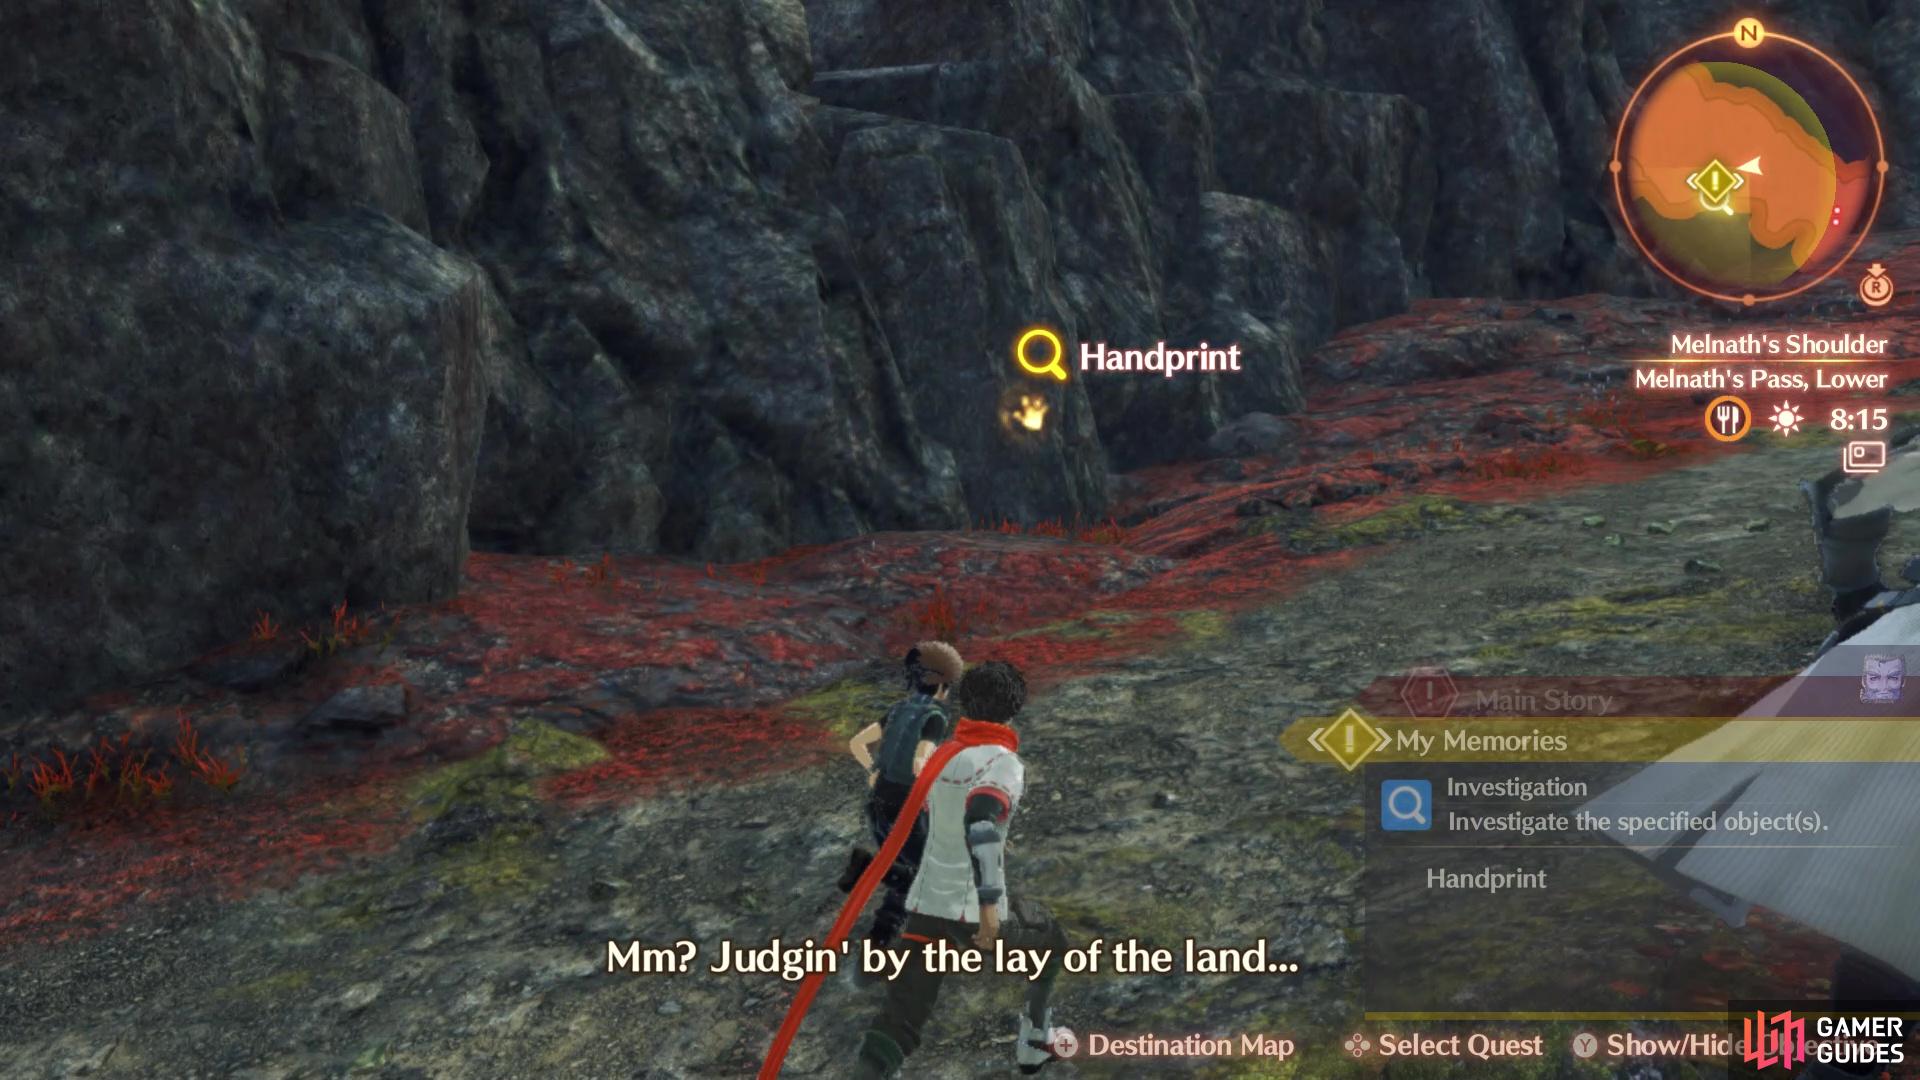
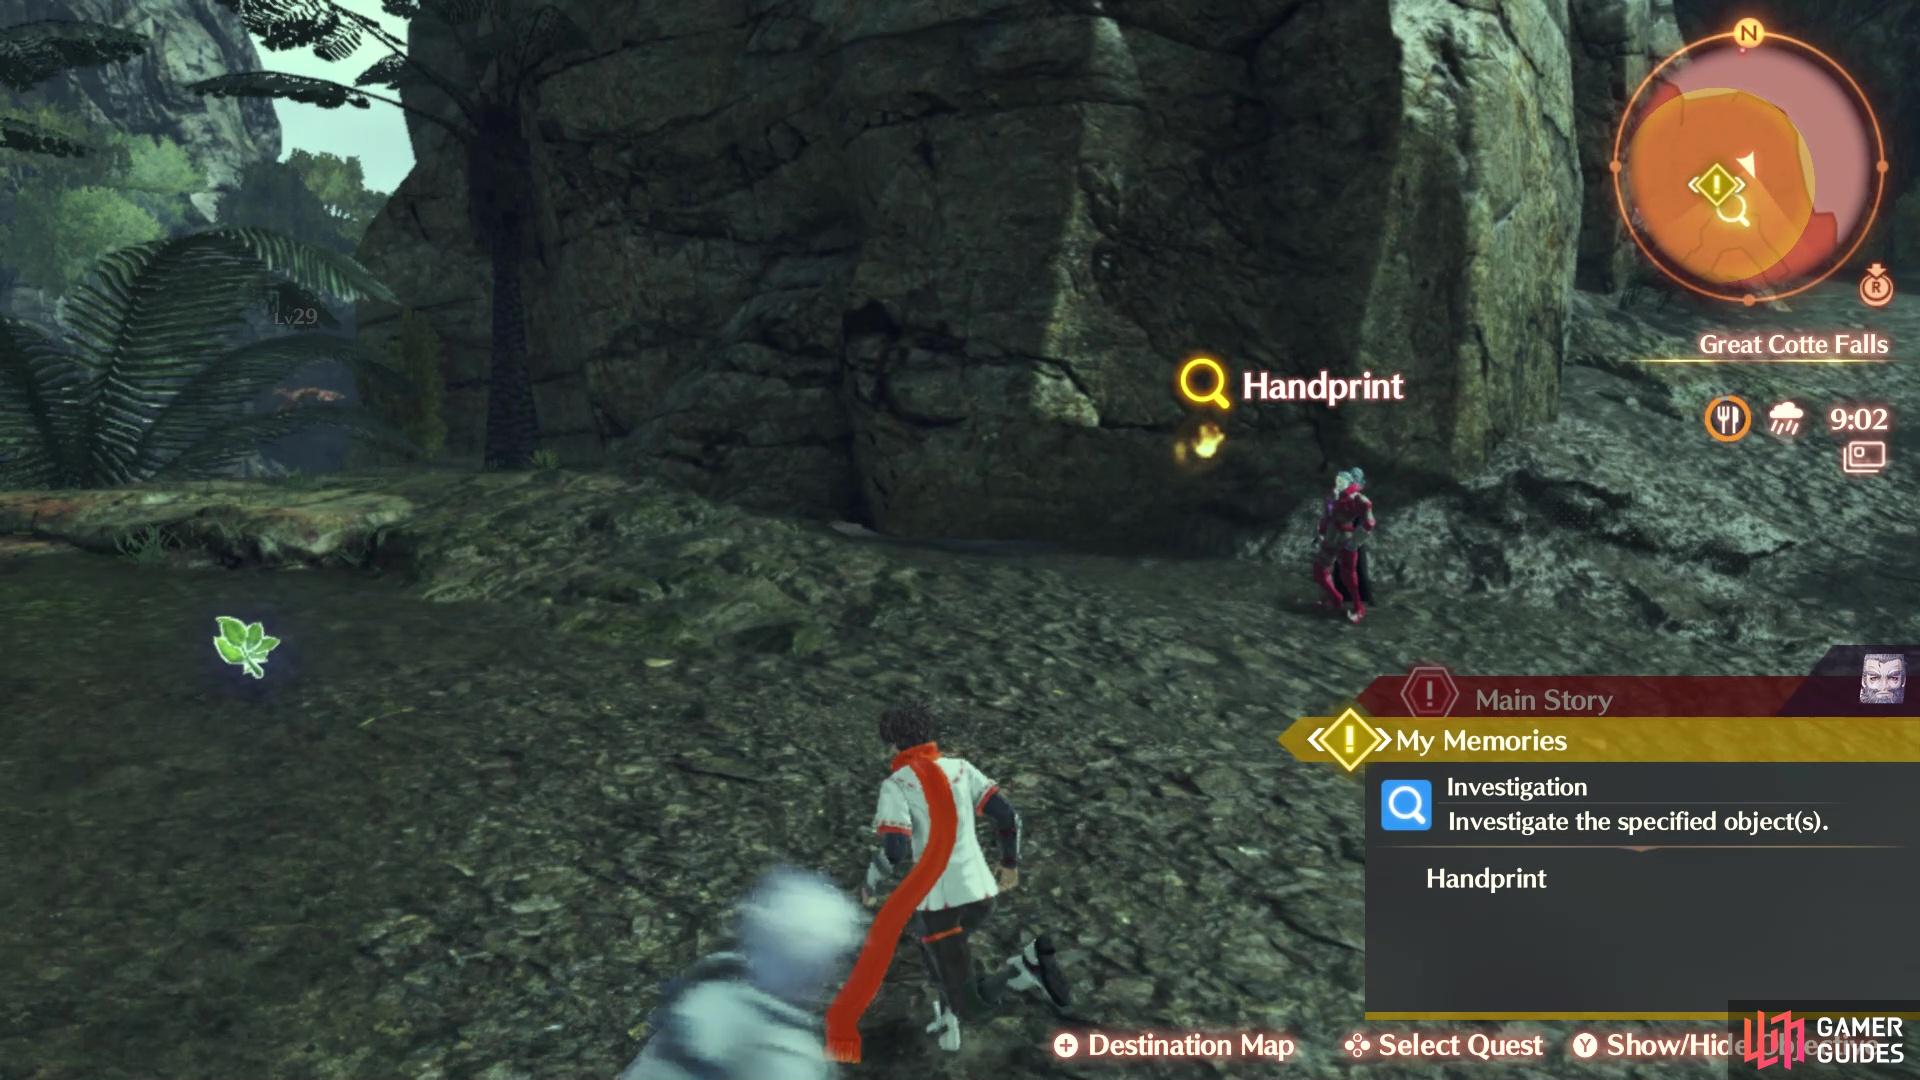
Triton is trying to remember one of his friends that has long passed, and he recalls that he placed large handprints at specific spots to make sure he remembered where he went on his travels. The first handprint he recalls is by a lake near Colony Gamma, which means you will be travelling to Melnath’s Shoulder in the Aetia Region. Fast travel to the Loch Ciel landmark, then begin heading up the hill to your west. Not that far up the hill, you should see the first handprint on the cliff wall to your south. Inspect it for a scene, then you’ll be thrown into a battle with a Memorial Ropl.
How to Defeat the Memorial Ropl
(1 of 2) Look for the handprint on the side of the trail
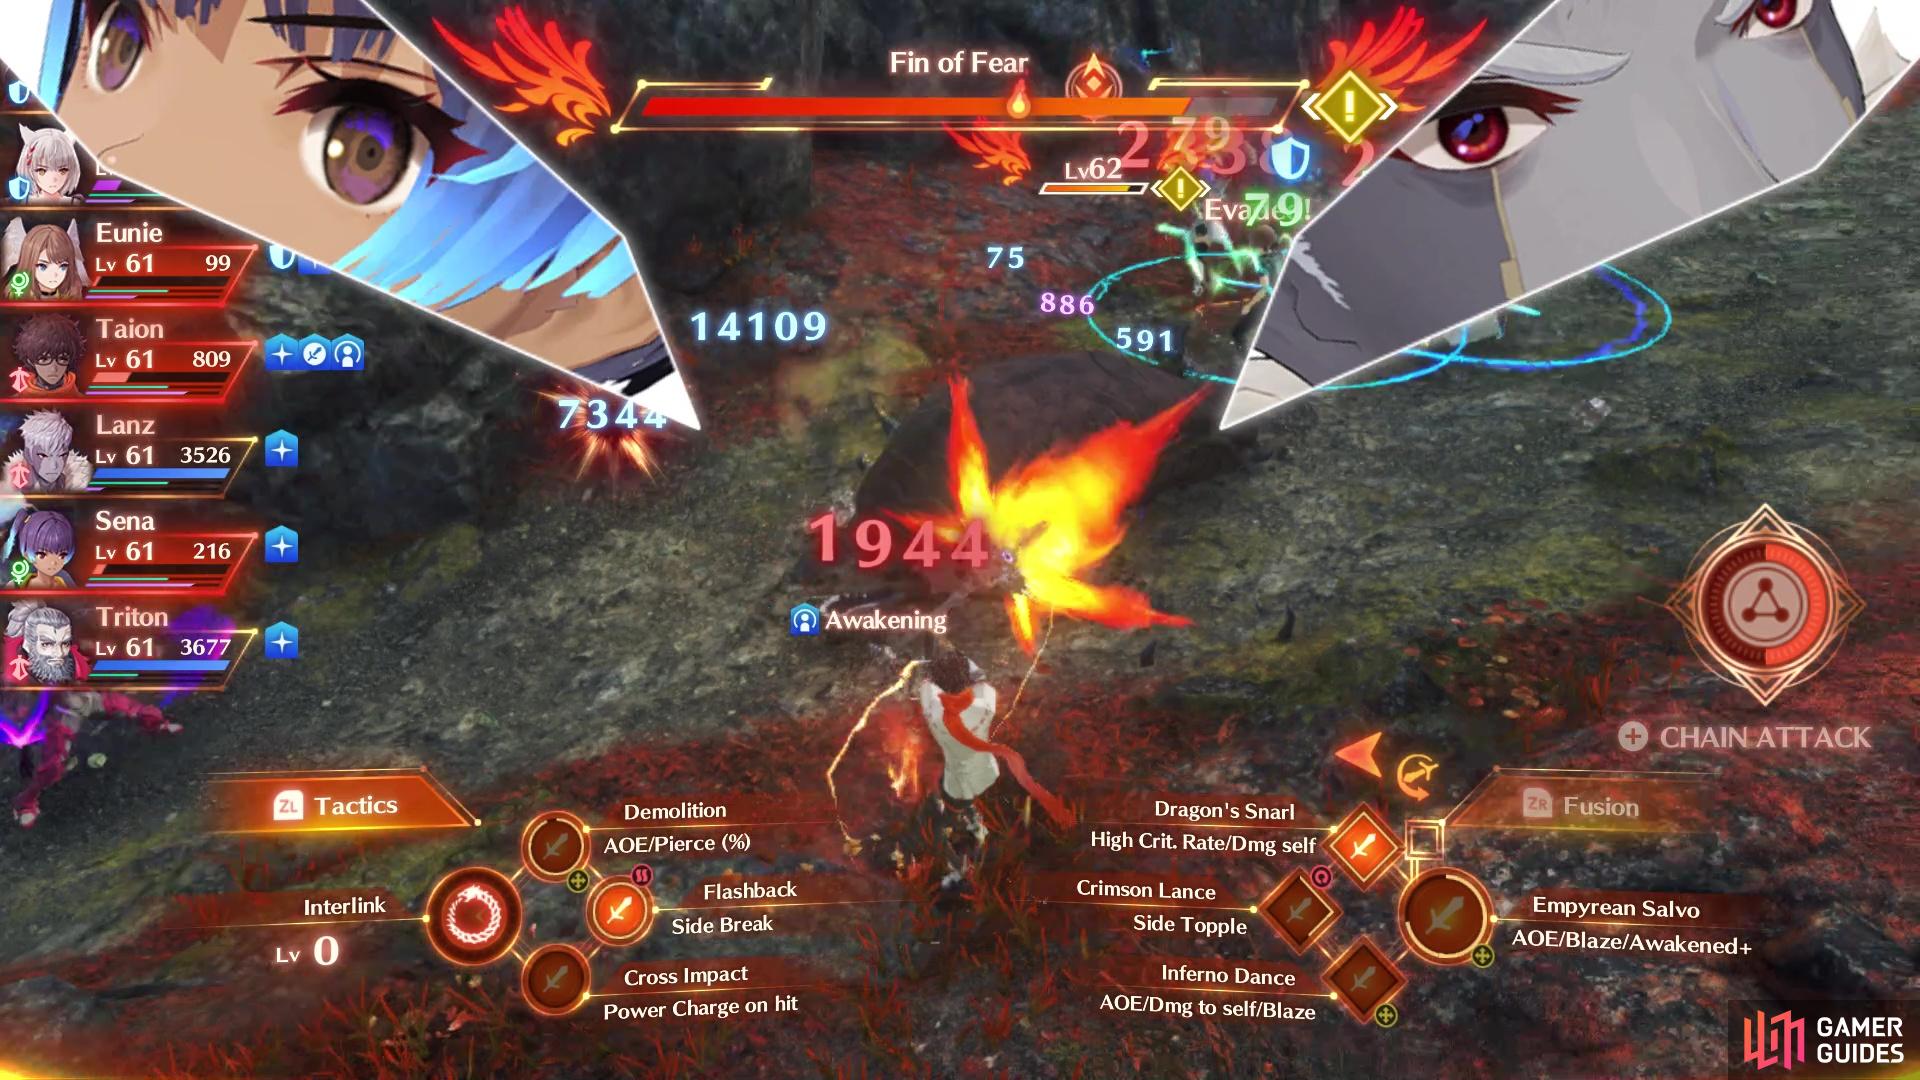
Look for the handprint on the side of the trail (left), The Ropl’s one AoE attack only hits in front of it (right)
The Memorial Ropl is level 62 and not much more than a normal Ropl, despite having a bit more sturdiness to it. Komodo Fire is definitely a very powerful move that hits a single target, as it inflicts major damage. Fin of Fear is a frontal AoE attack, where the Ropl does a front flip and smacks the ground with its tail. Naturally, this can also hurt, especially for non-Defenders. The last attack you will likely see is Cursed Cuisine, where the Ropl will dash across the battlefield and hit anyone in its way.
With that battle out of the way, the next stop on Triton’s memory tour is near Colony Lambda, in the Pentelas Region. Fast travel to the Myma Gate landmark there, then go southeast until you see the ladder contraption you can lower, if you haven’t already done so beforehand. Down the hill a little bit after descending the ladder, will be the second handprint. Similar to the first one, you will be forced into a battle.
How to Defeat the Memorial Rhoguls
(1 of 3) The location of the second handprint
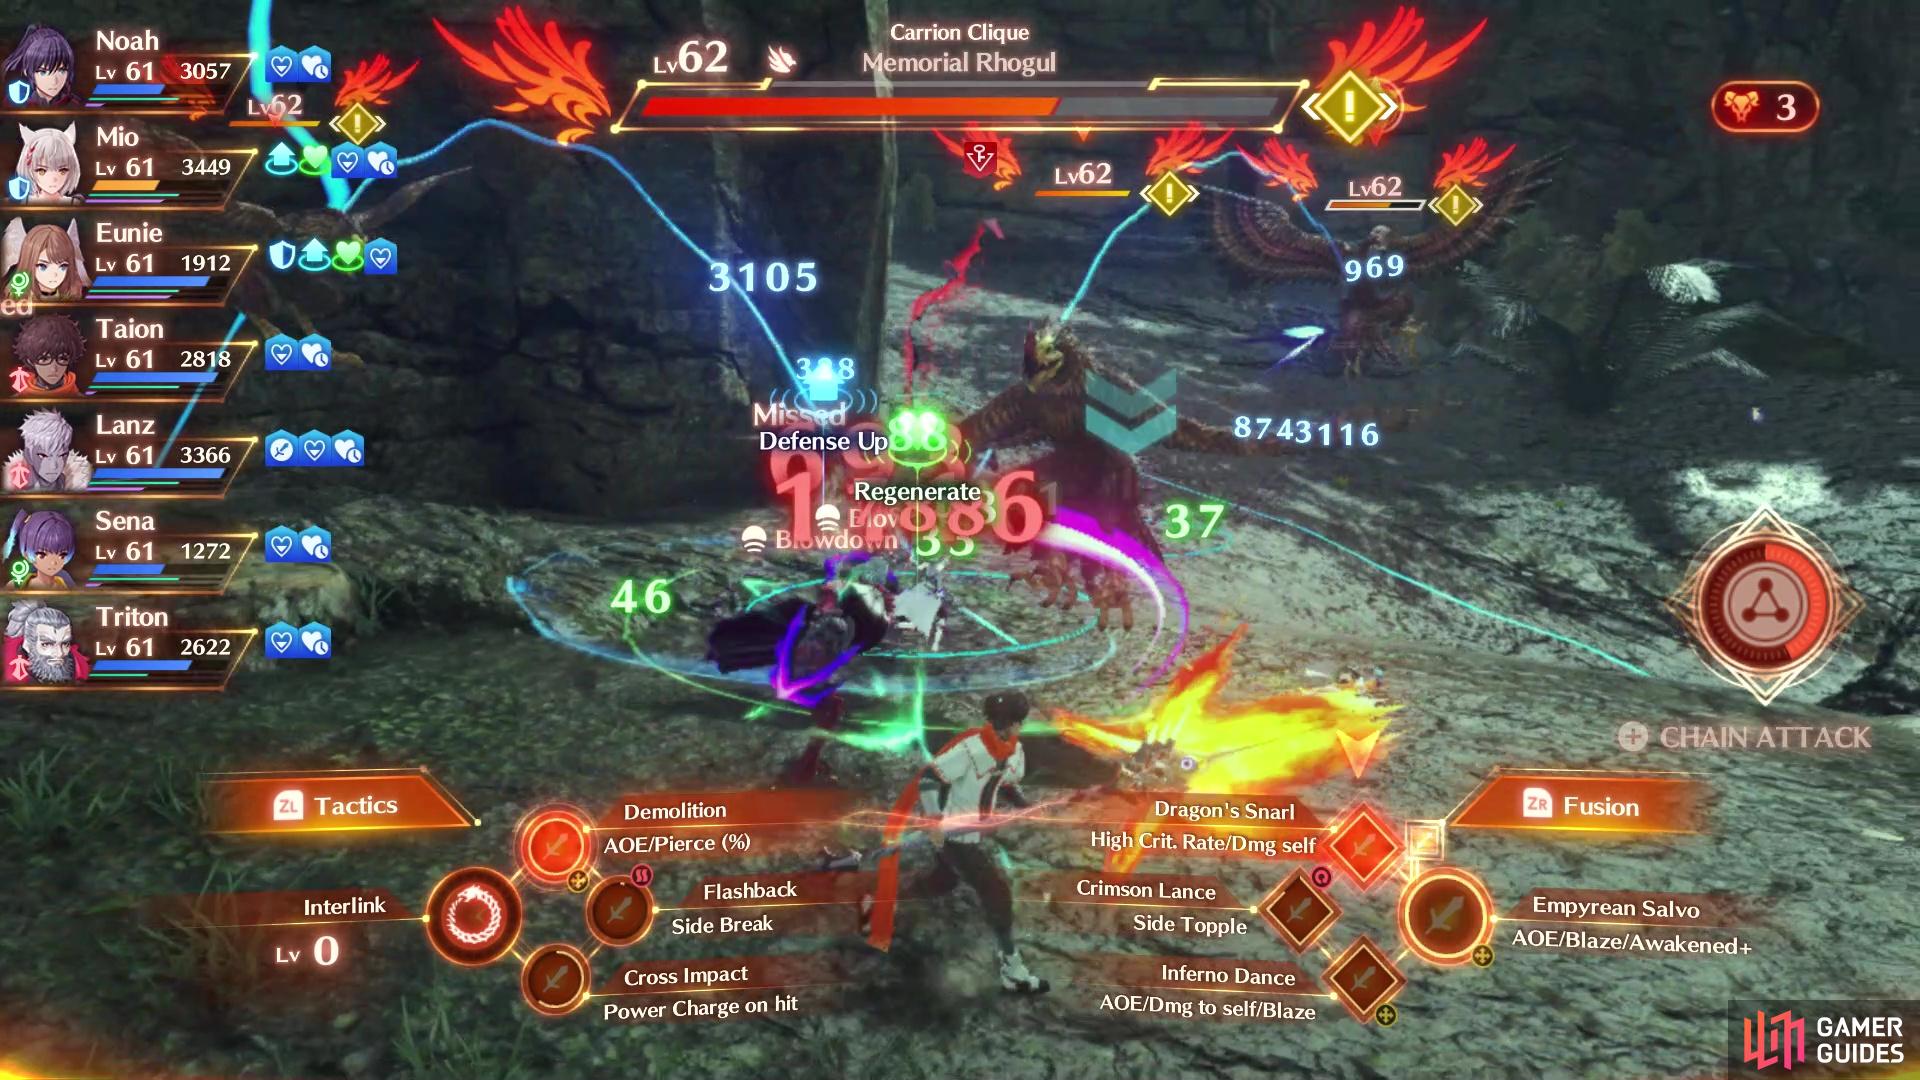
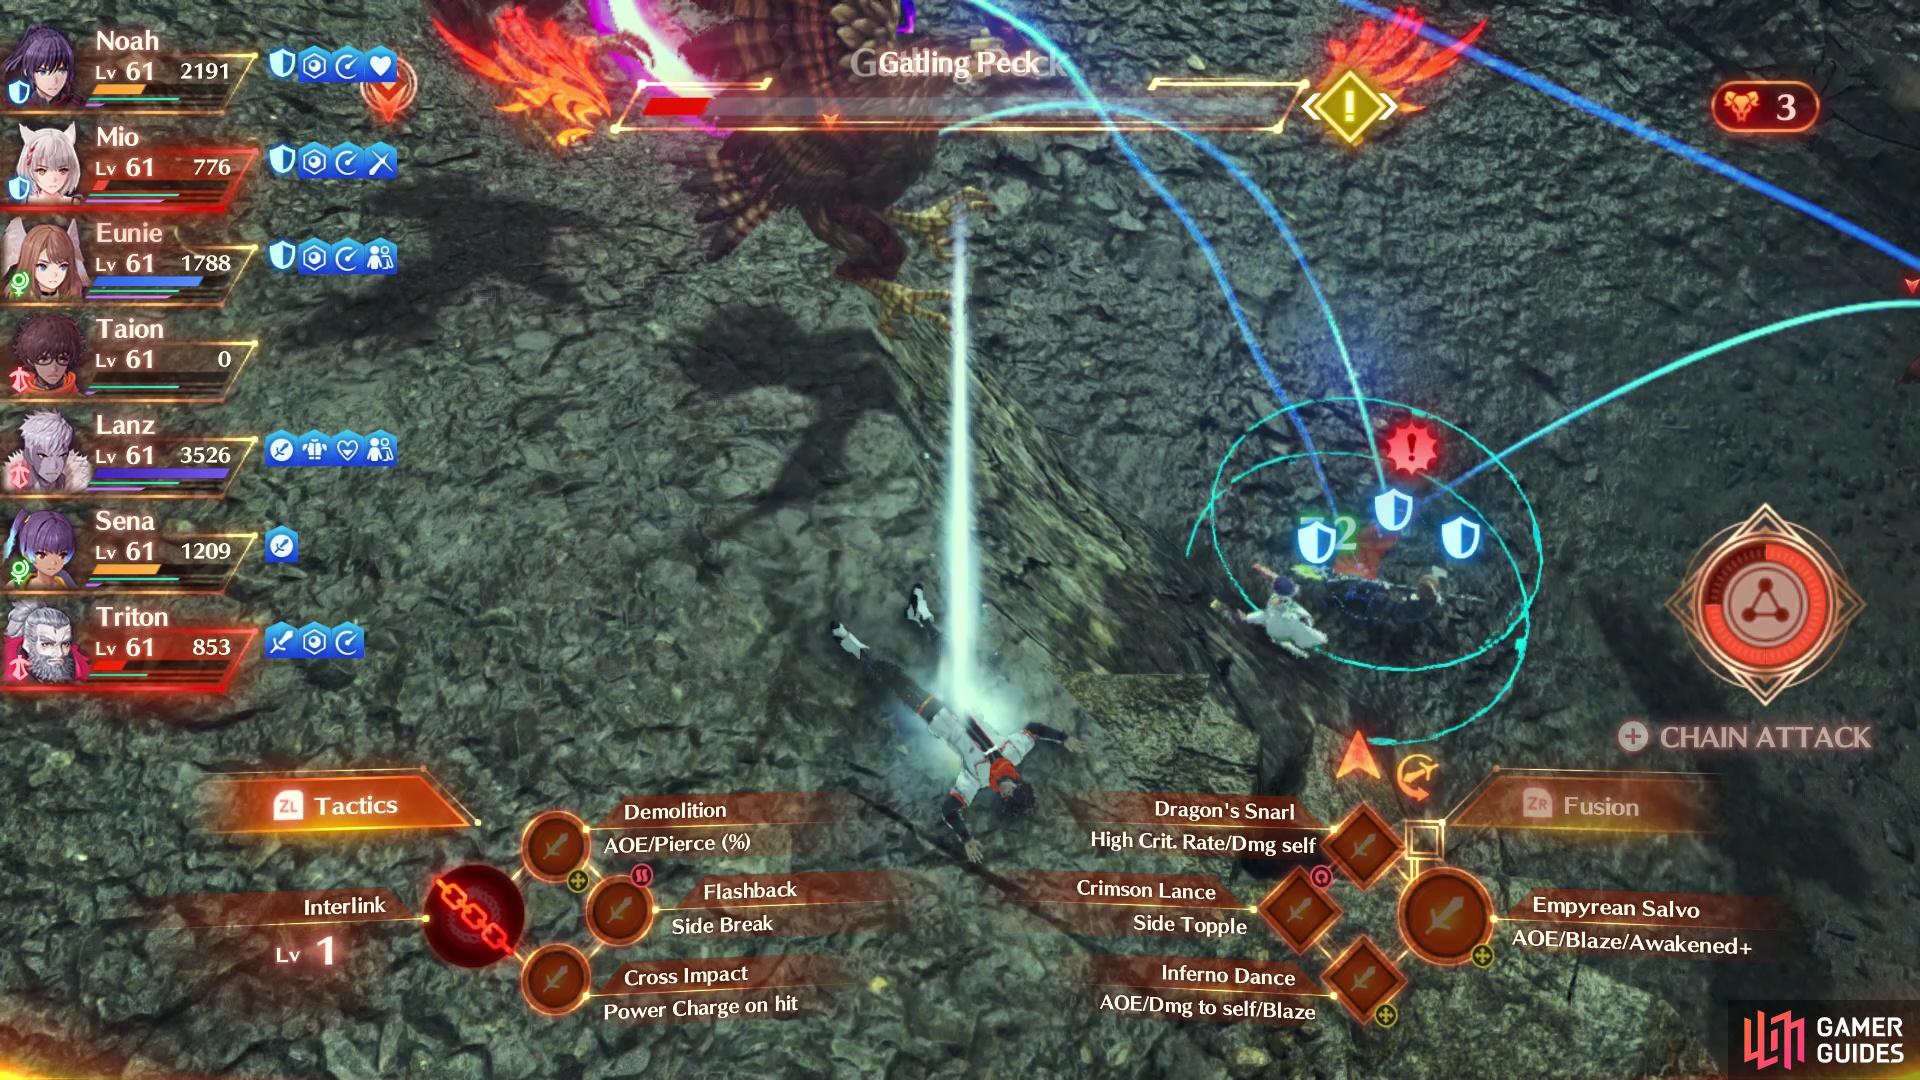
Out of the three fights in this quest, this is definitely the most challenging. Not only do you have three stronger-than-normal Rhoguls (all level 62), but the terrain can be highly annoying. There’s a slight ledge nearby that your party members can get stuck on, preventing the healers from reaching downed allies (don’t forget you can change characters in the middle of a battle). As with any multi-enemy fight, you will want to concentrate on a single enemy and blitz them until they go down, as this will lessen the load on your party. Another thing that makes this battle annoying is that the Rhoguls have an attack where they fly across the screen, meaning you will be chasing after them and this is one of the reasons why your characters can get stuck, as mentioned above.
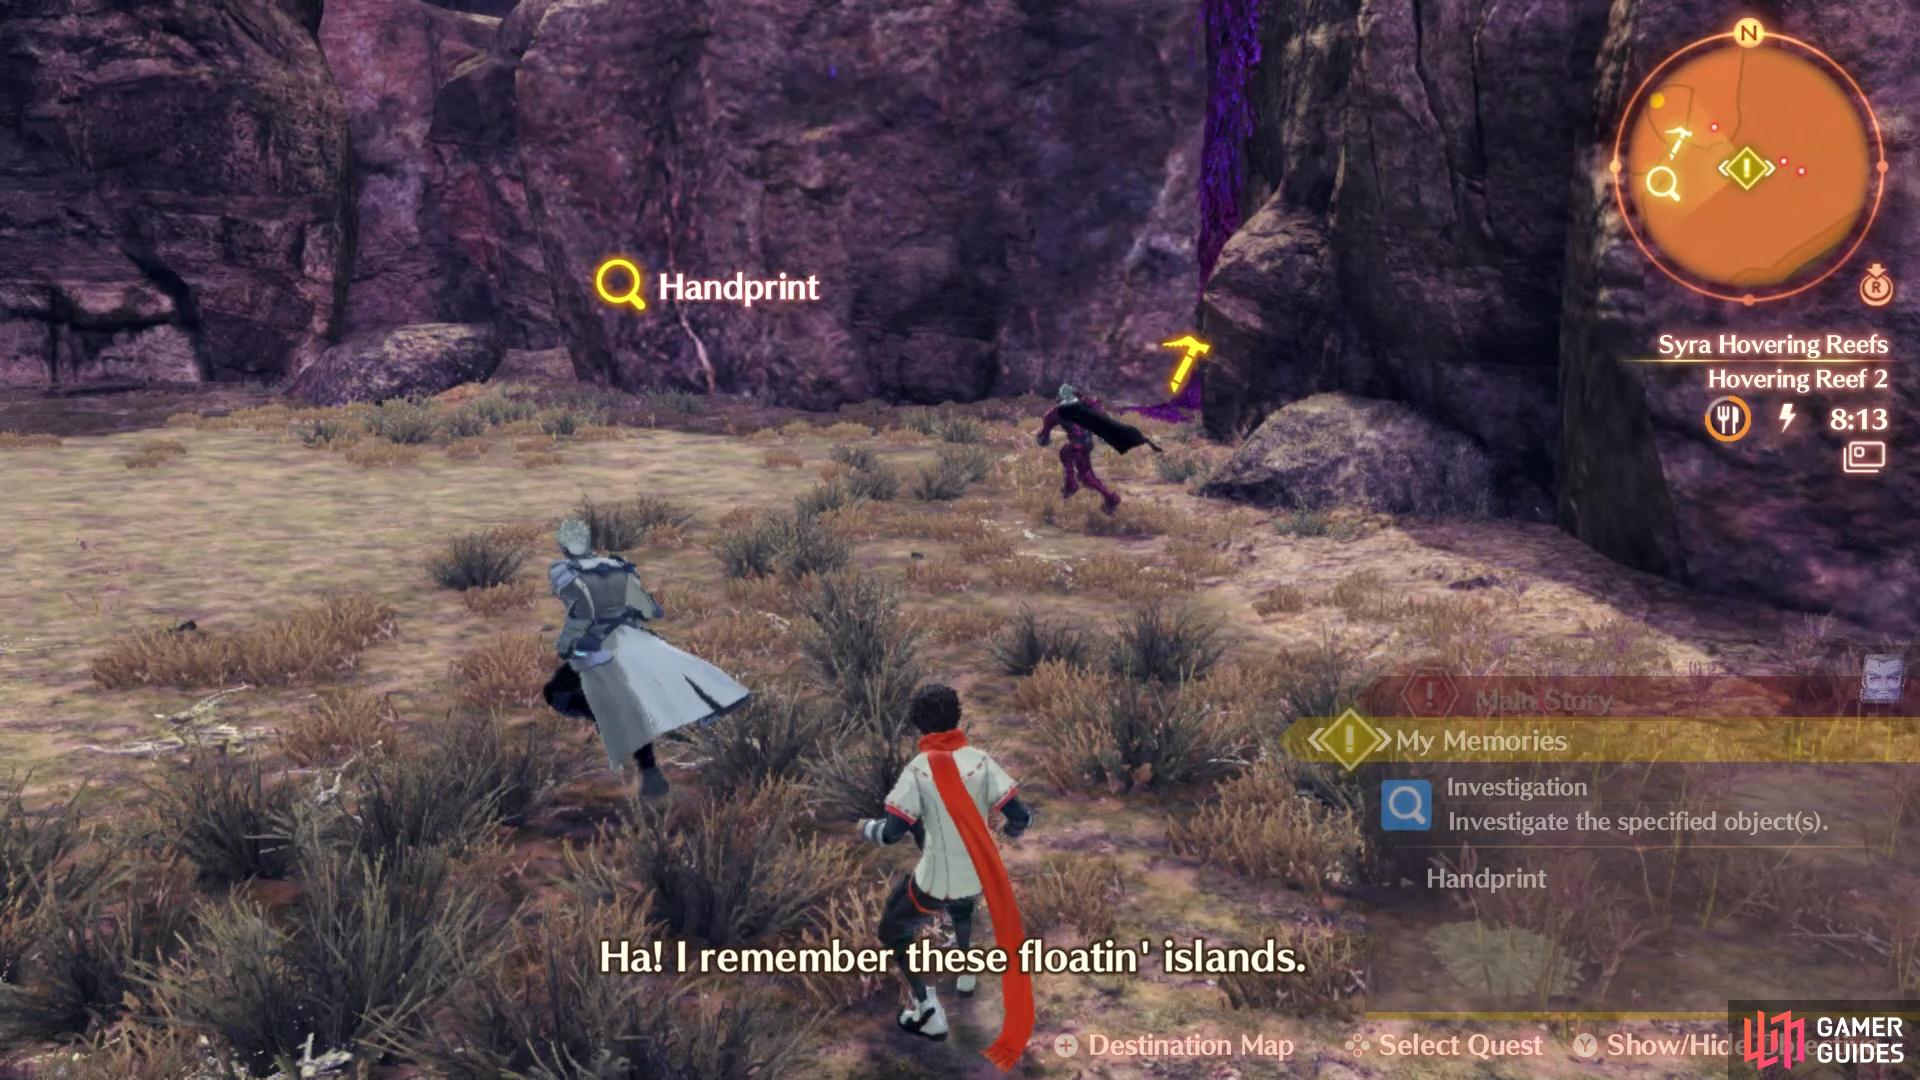
That’s two handprints down, and one more to go. The final one will be at the Syra Hovering Reefs, in the Keves Castle Region. It will be on the same island as Hovering Reef 2 Camp, so fast travel to there. Go south from the camp to find the handprint on the mountain wall, right next to the climbable vines. As before, interacting with it will trigger a scene, then one last battle.
How to Defeat the Memorial Ekidno
(1 of 2) The location of the third handprint
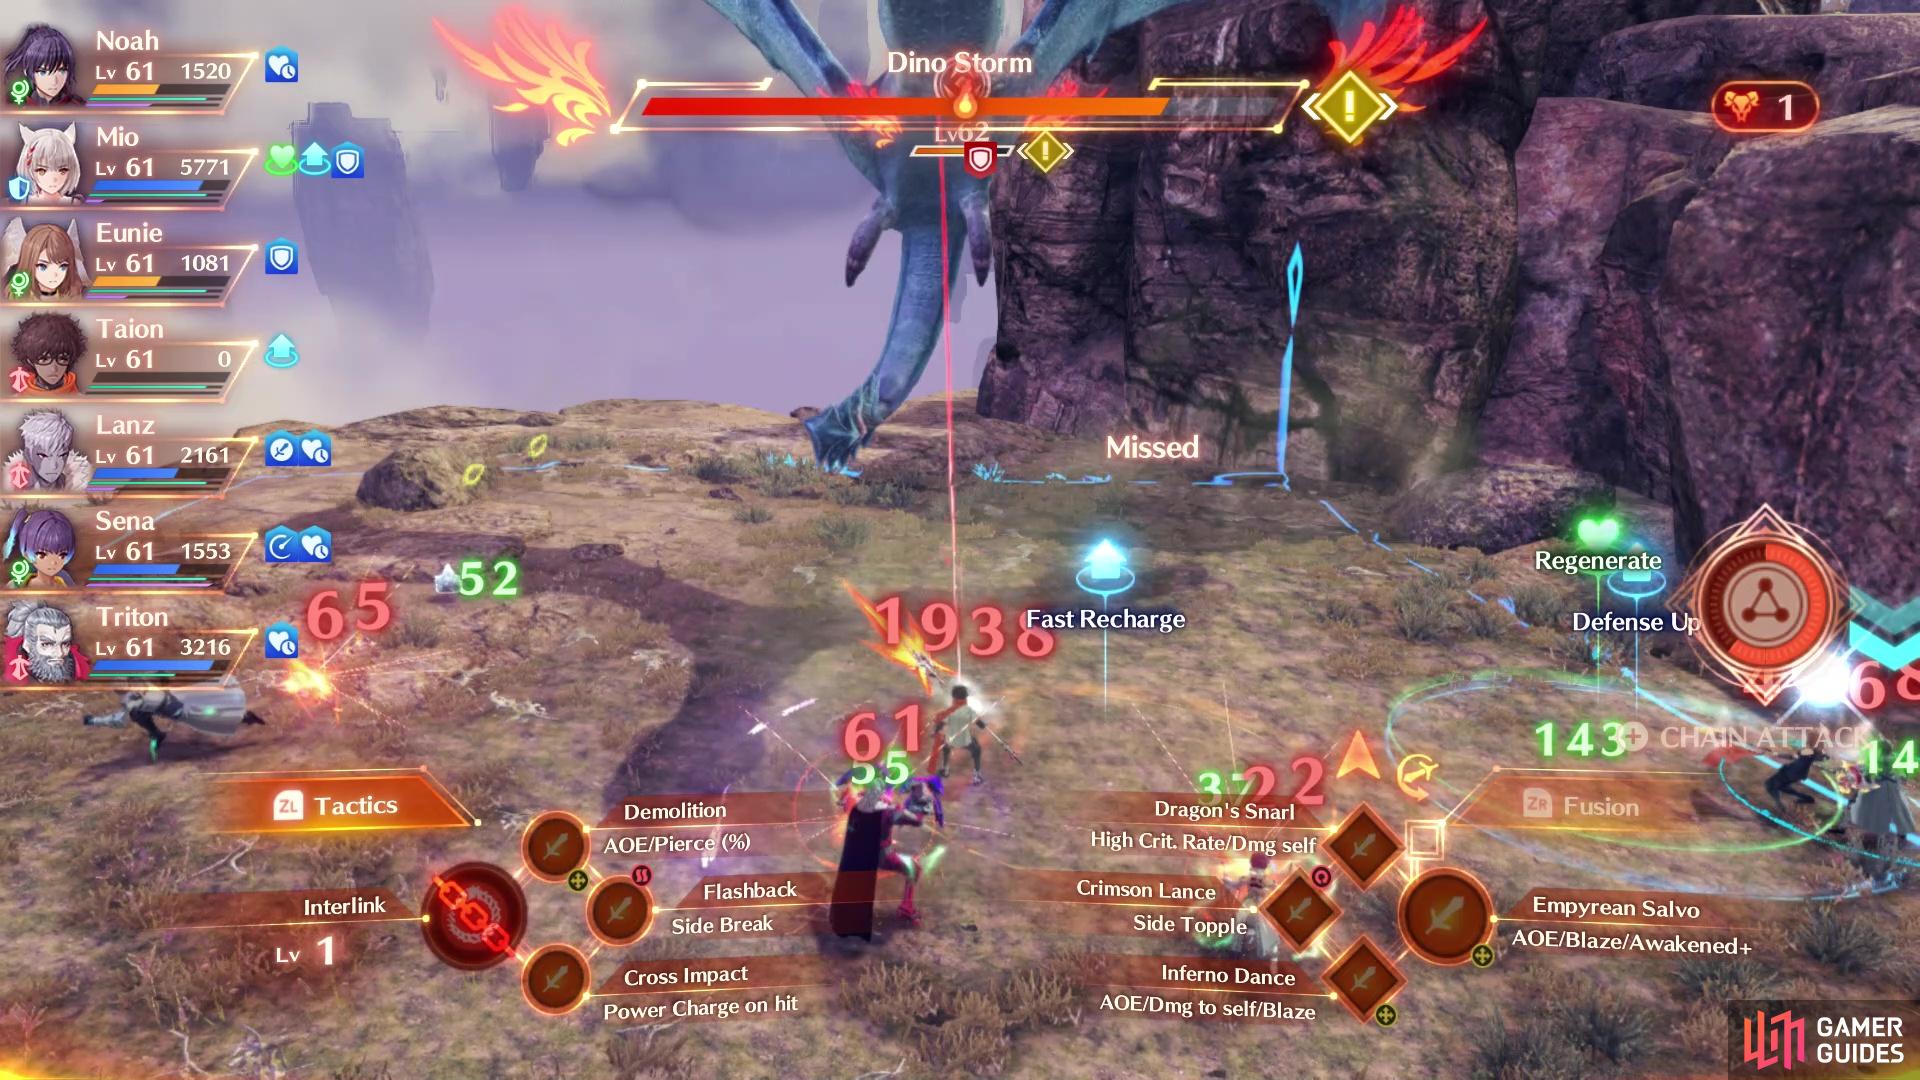
The location of the third handprint (left), Dino Storm is a pretty big AoE and can hurt a lot (right)
The Memorial Ekidno isn’t too much trouble, as it’s just a stronger version of the normal kind of Ekidno. It will have more attack, defense and health over the normal version, meaning the battle will take a little bit of time. It is level 62, so you should be around the same level as it to make things easier on yourself. Dino Storm is the one skill you need to be careful about, as it hits for some major damage and seemingly is AoE around the creature, so you’re not really going to avoid its damage.
When you’ve finally defeated the Ekidno, there will be one more scene, then the quest will be over. Note that in addition to being able to level the Soul Hacker class to Rank 20, you will also gain Miso x10 as a reward, allowing Manana to create a new dish, Manana’s Miso Soup.
| EXP | Gold | SP | Rewards |
|---|---|---|---|
| 4900 | 4600 | 10 | Miso x10, Manana’s Miso Soup |

 Sign up
No Comments