After an easy area, we have another tricky one. You’re looking for 15 of those well-hidden blighters. Once you’re finished with this area, you can probably have a quick lie down. Zzzz… Oh no, we can see the dreaded things in our sleep!
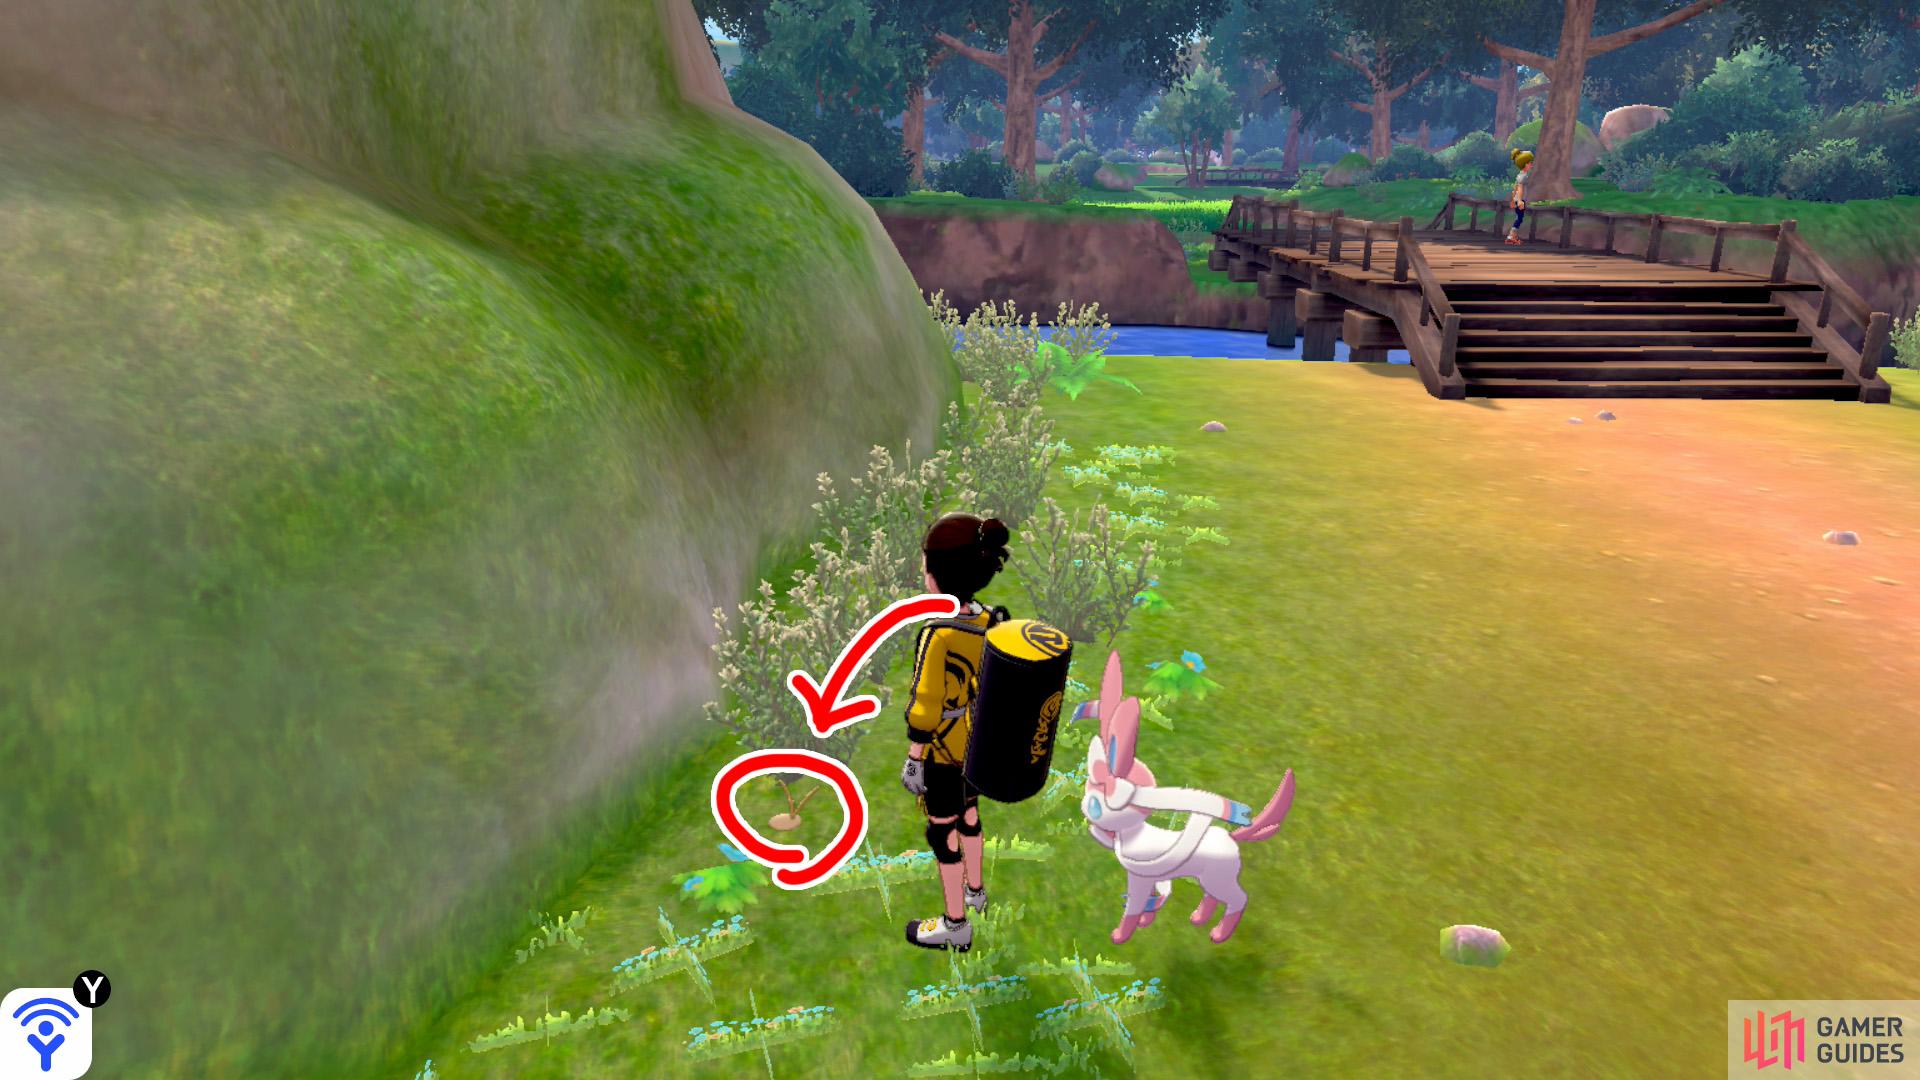
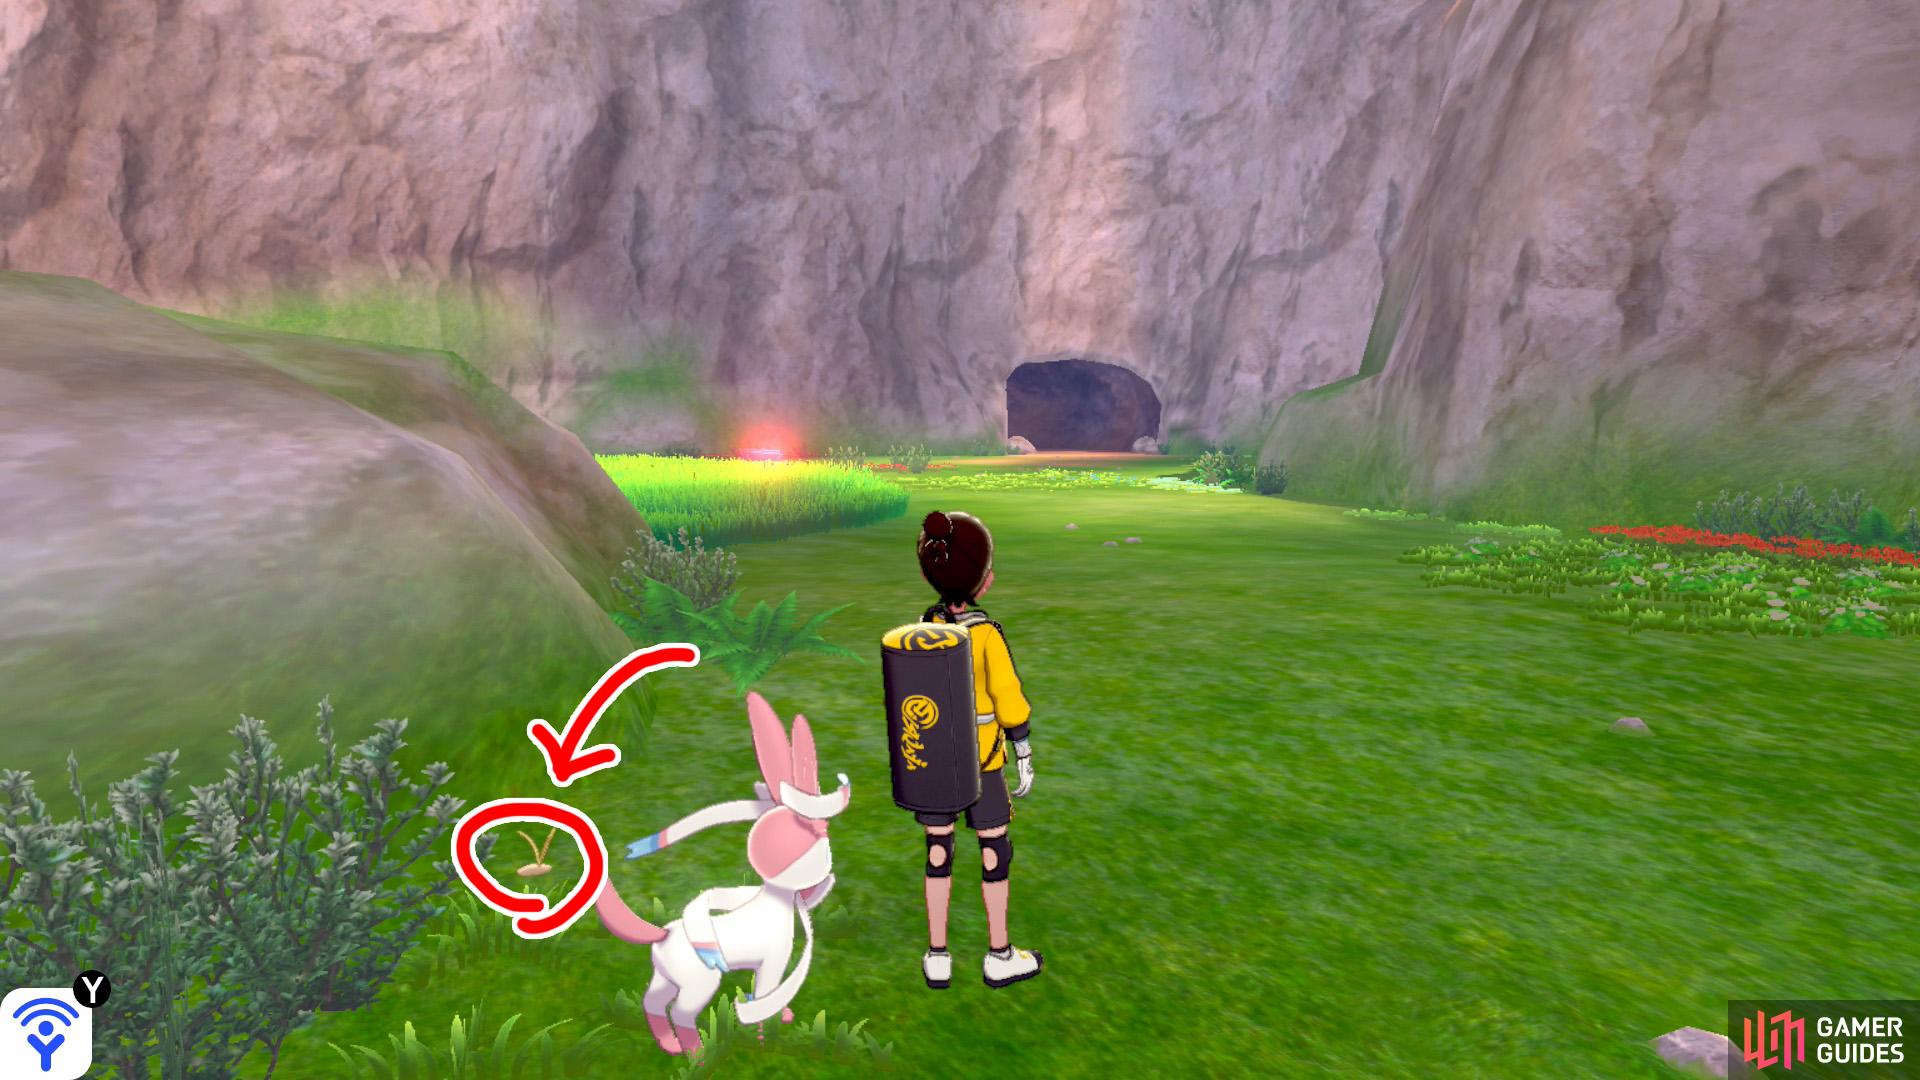
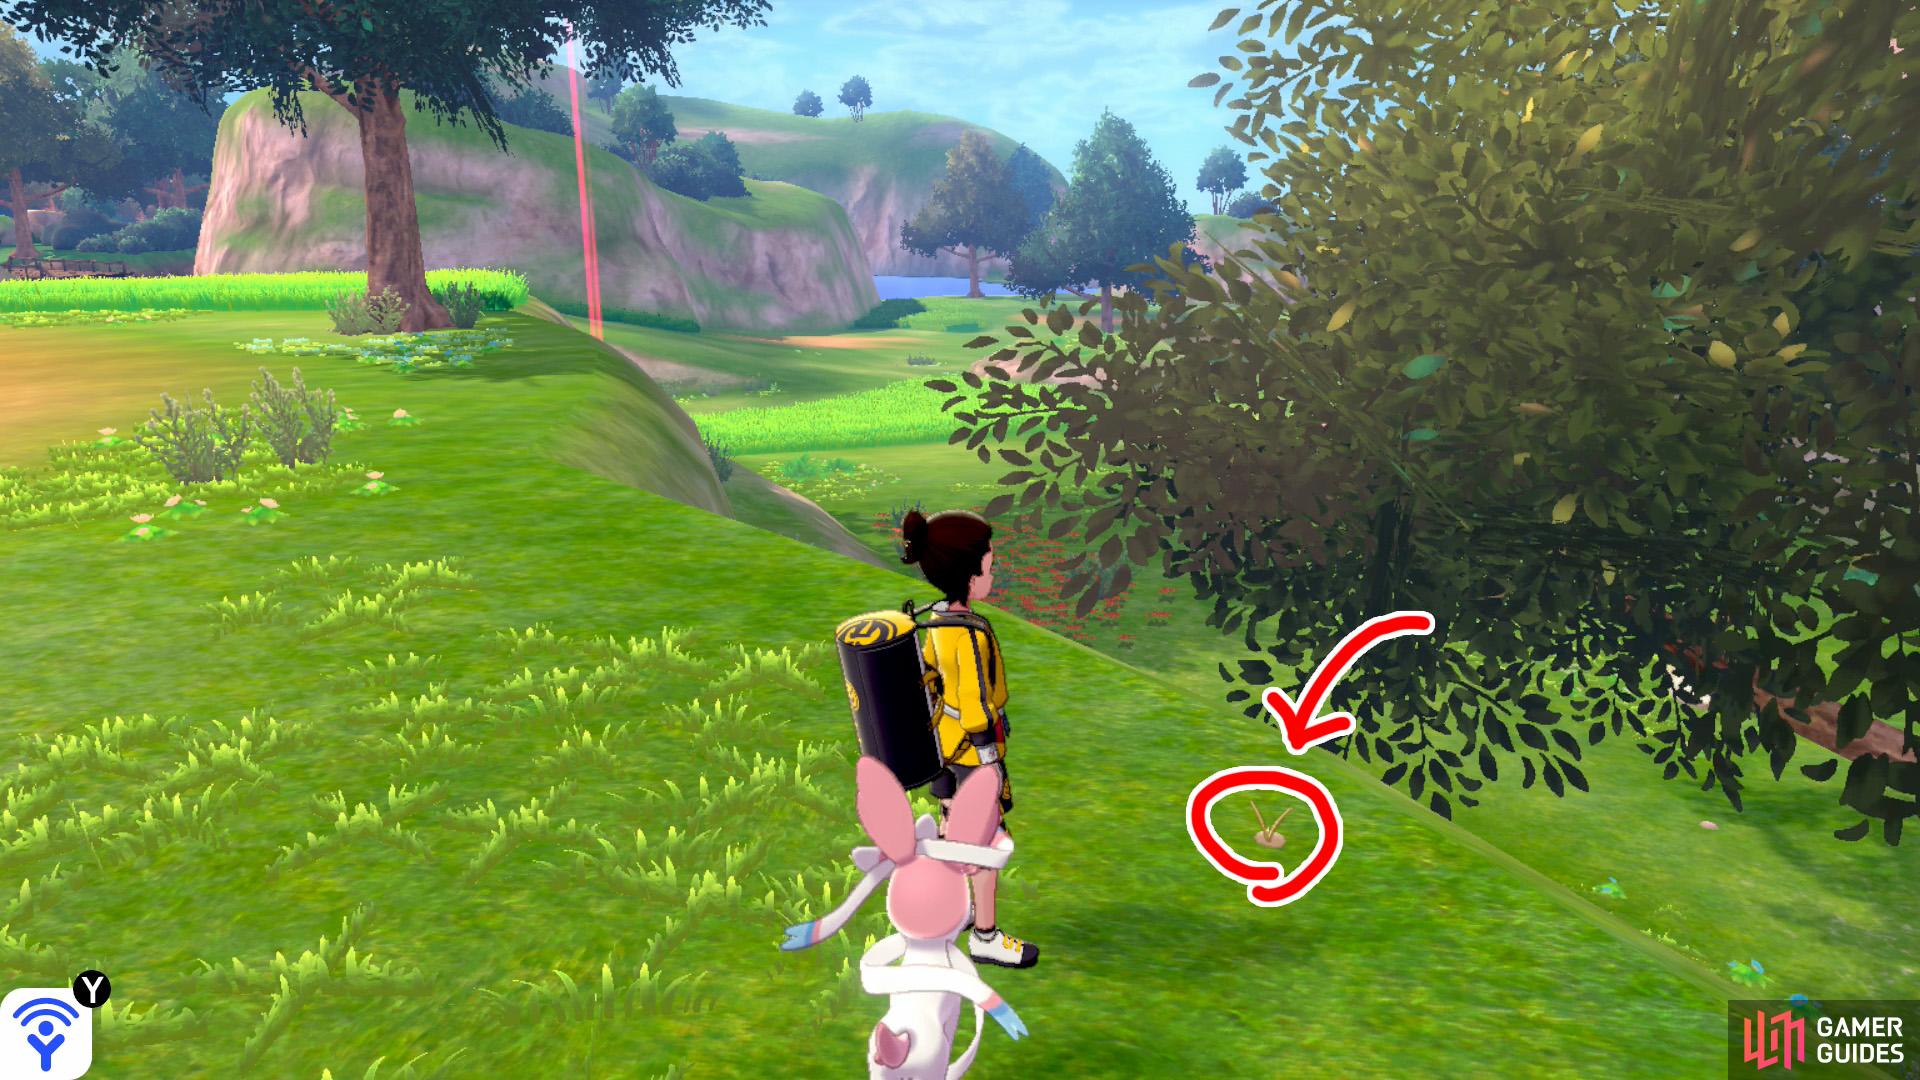
(1 of 5) 1/15: Starting from the Forest of Focus, immediately after crossing the bridge, it’s hidden near the tip of the first bunch of bushes along the right.
1/15: Starting from the Forest of Focus, immediately after crossing the bridge, it’s hidden near the tip of the first bunch of bushes along the right.
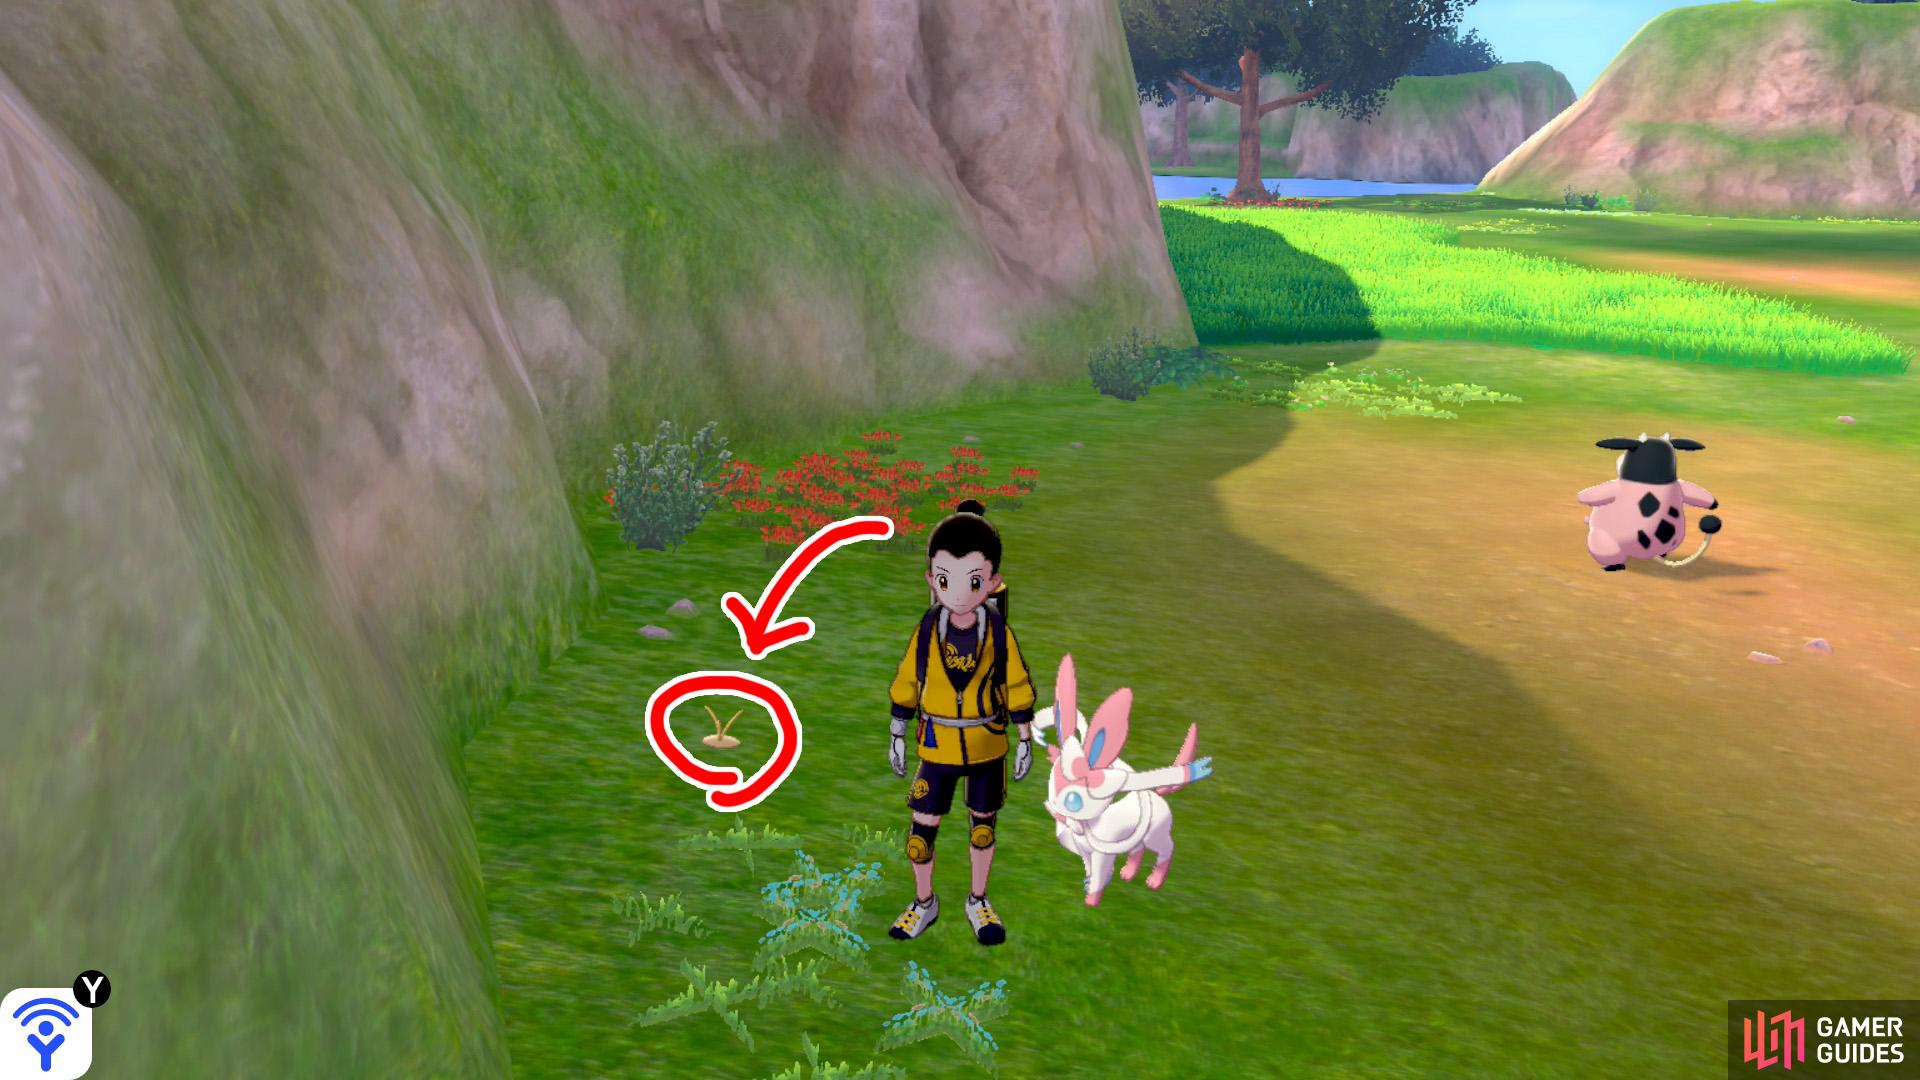
2/15: Turn left from the Forest of Focus entrance. After the small patch of tall grass, it’s burrowed near the cliff wall, before some red flowers.
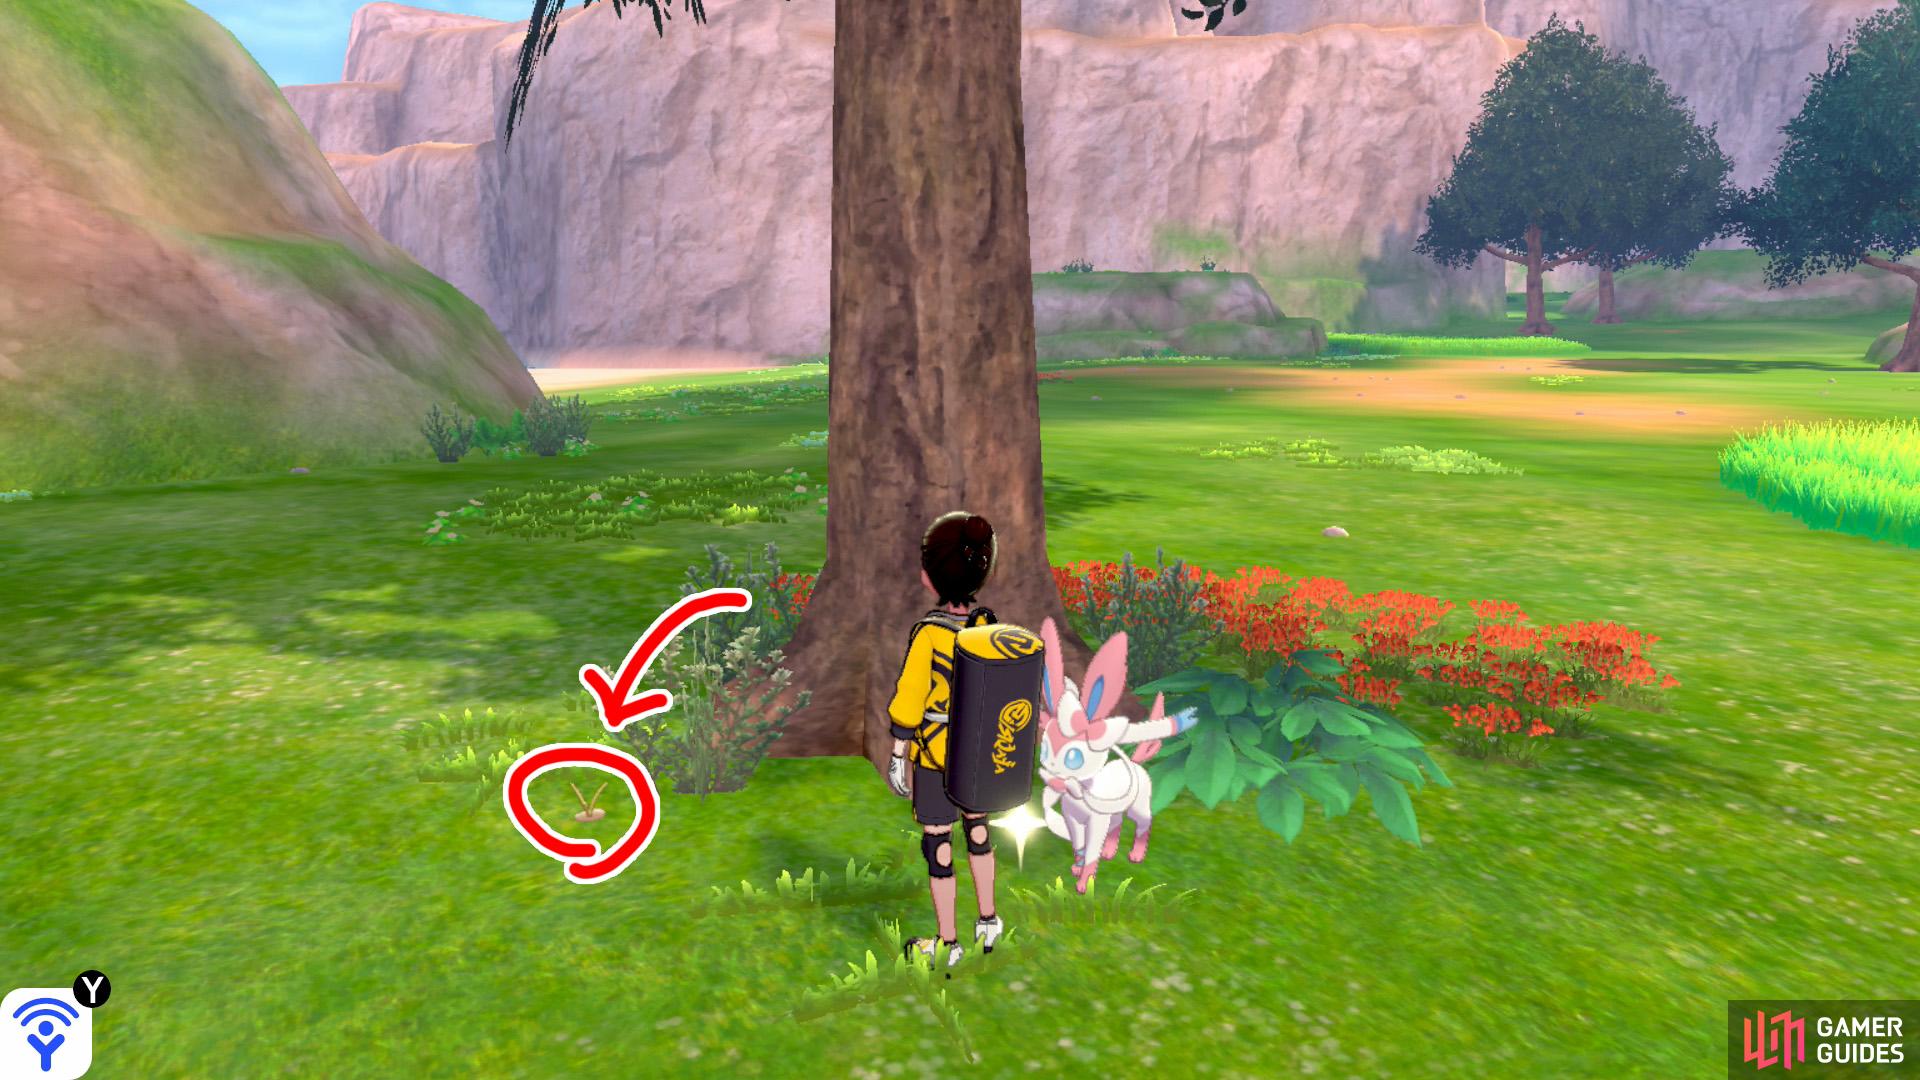
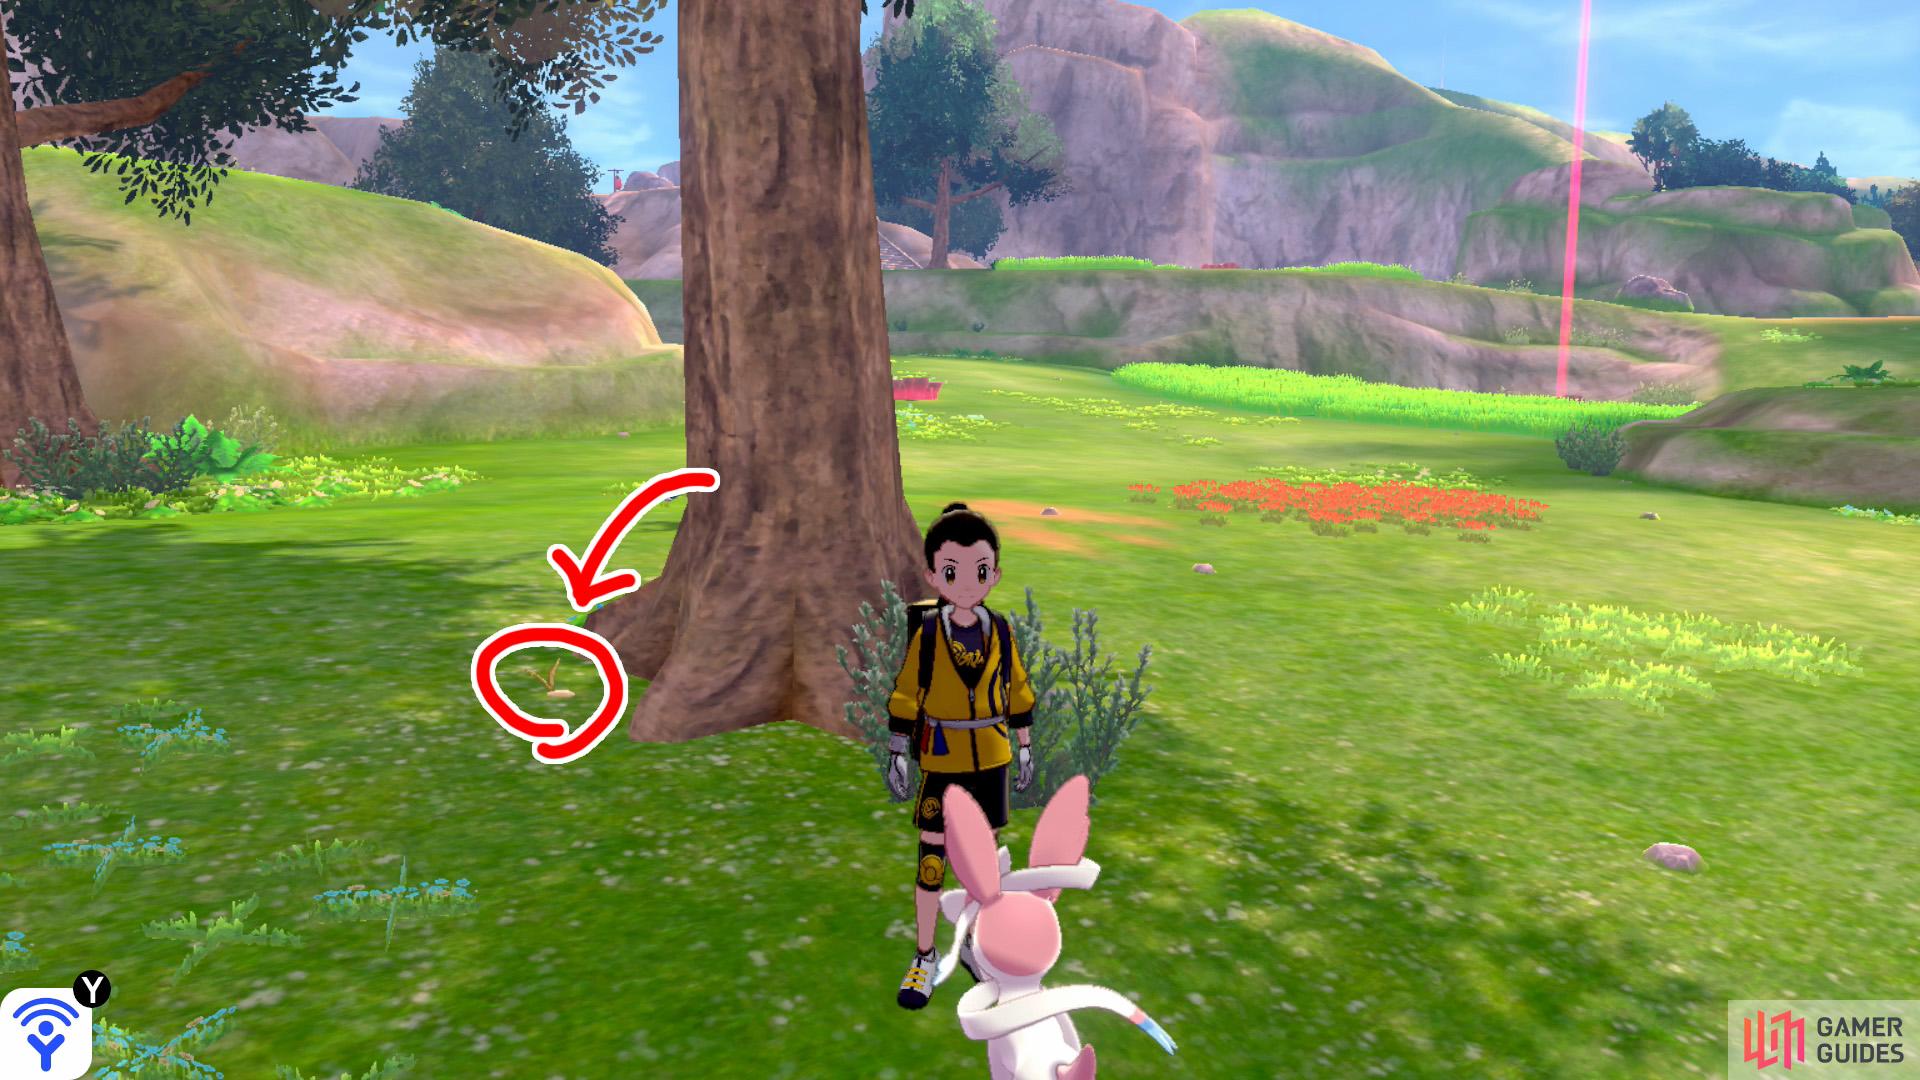
3/15: From  Diglett 3, continue forward with the cliff wall on your left. Go past the stretch of tall grass on the left. Ahead, there’s a big tree in front of a lake. Search behind this tree.
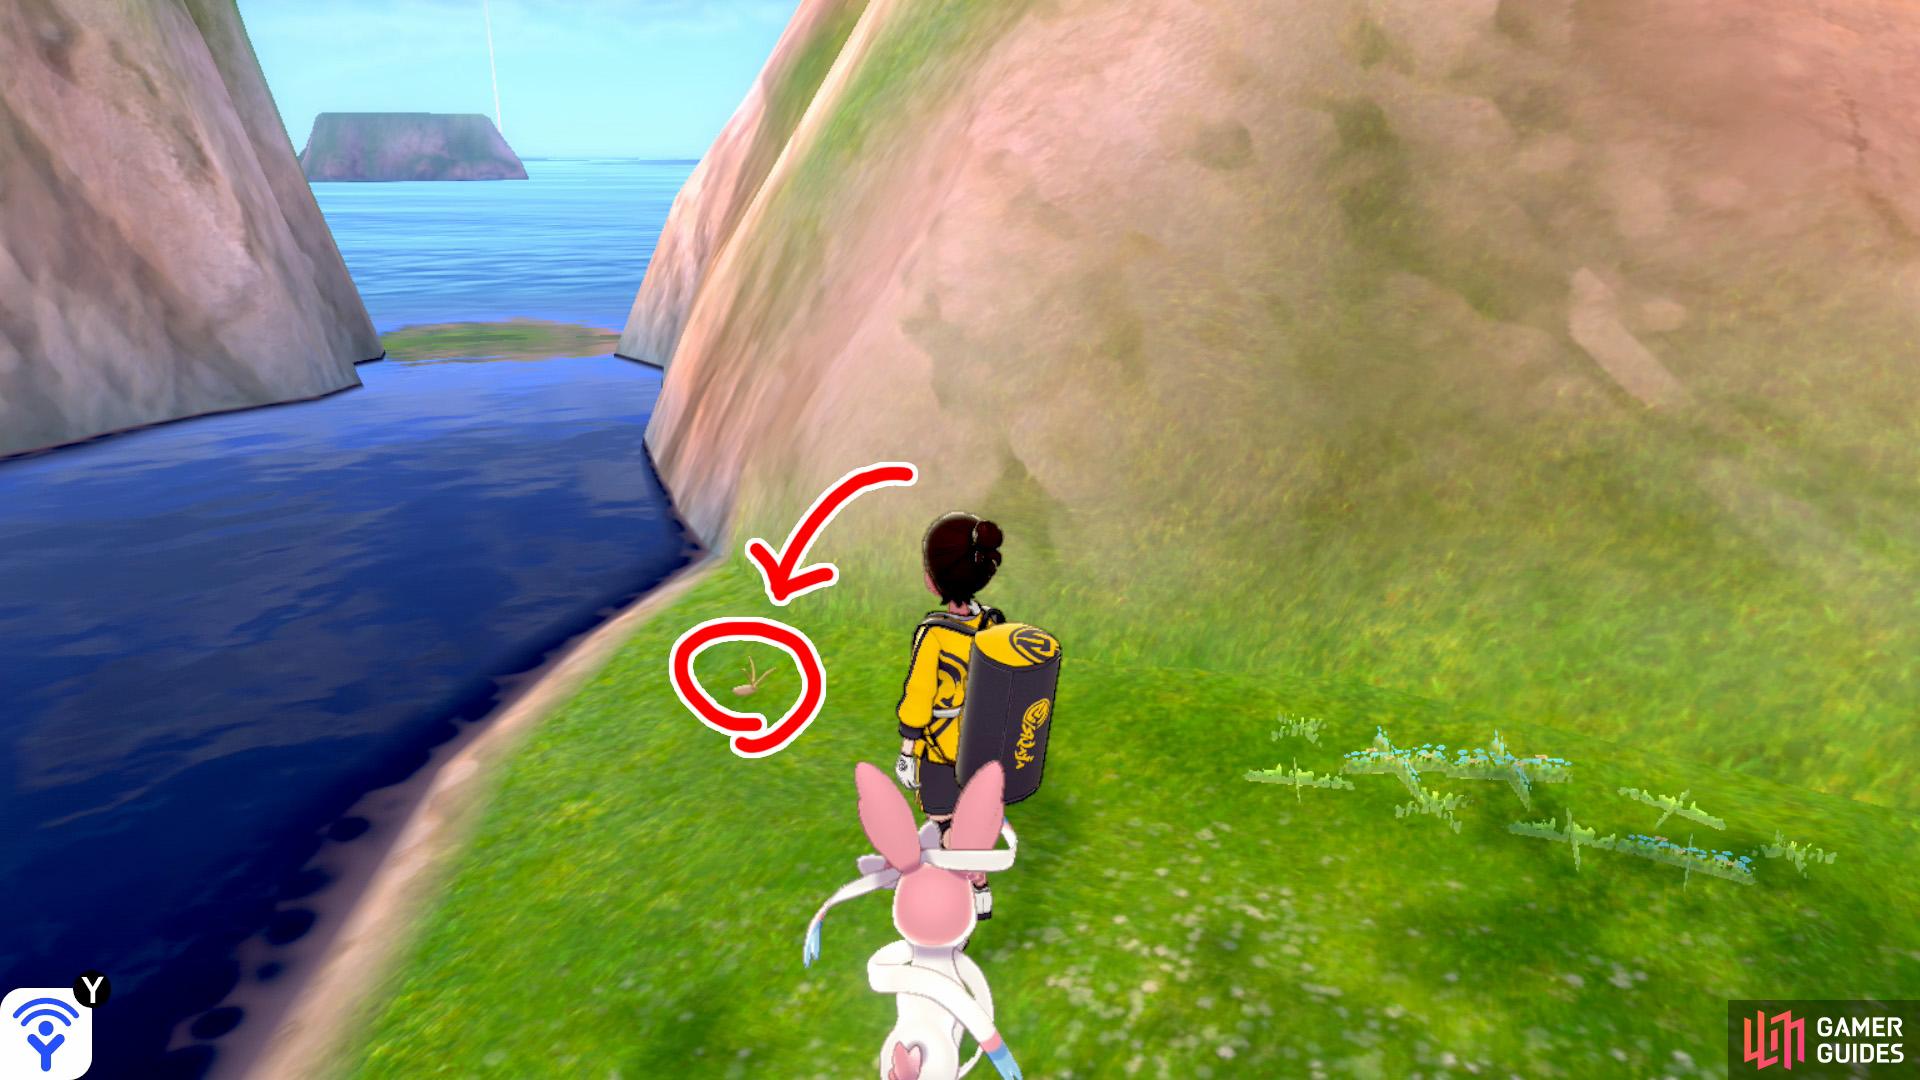
4/15: From Diglett 4, go up to the lake (but don’t go in, yet) and turn right. It’s waiting by the corner, near a gap in the cliffs that leads to the ocean.
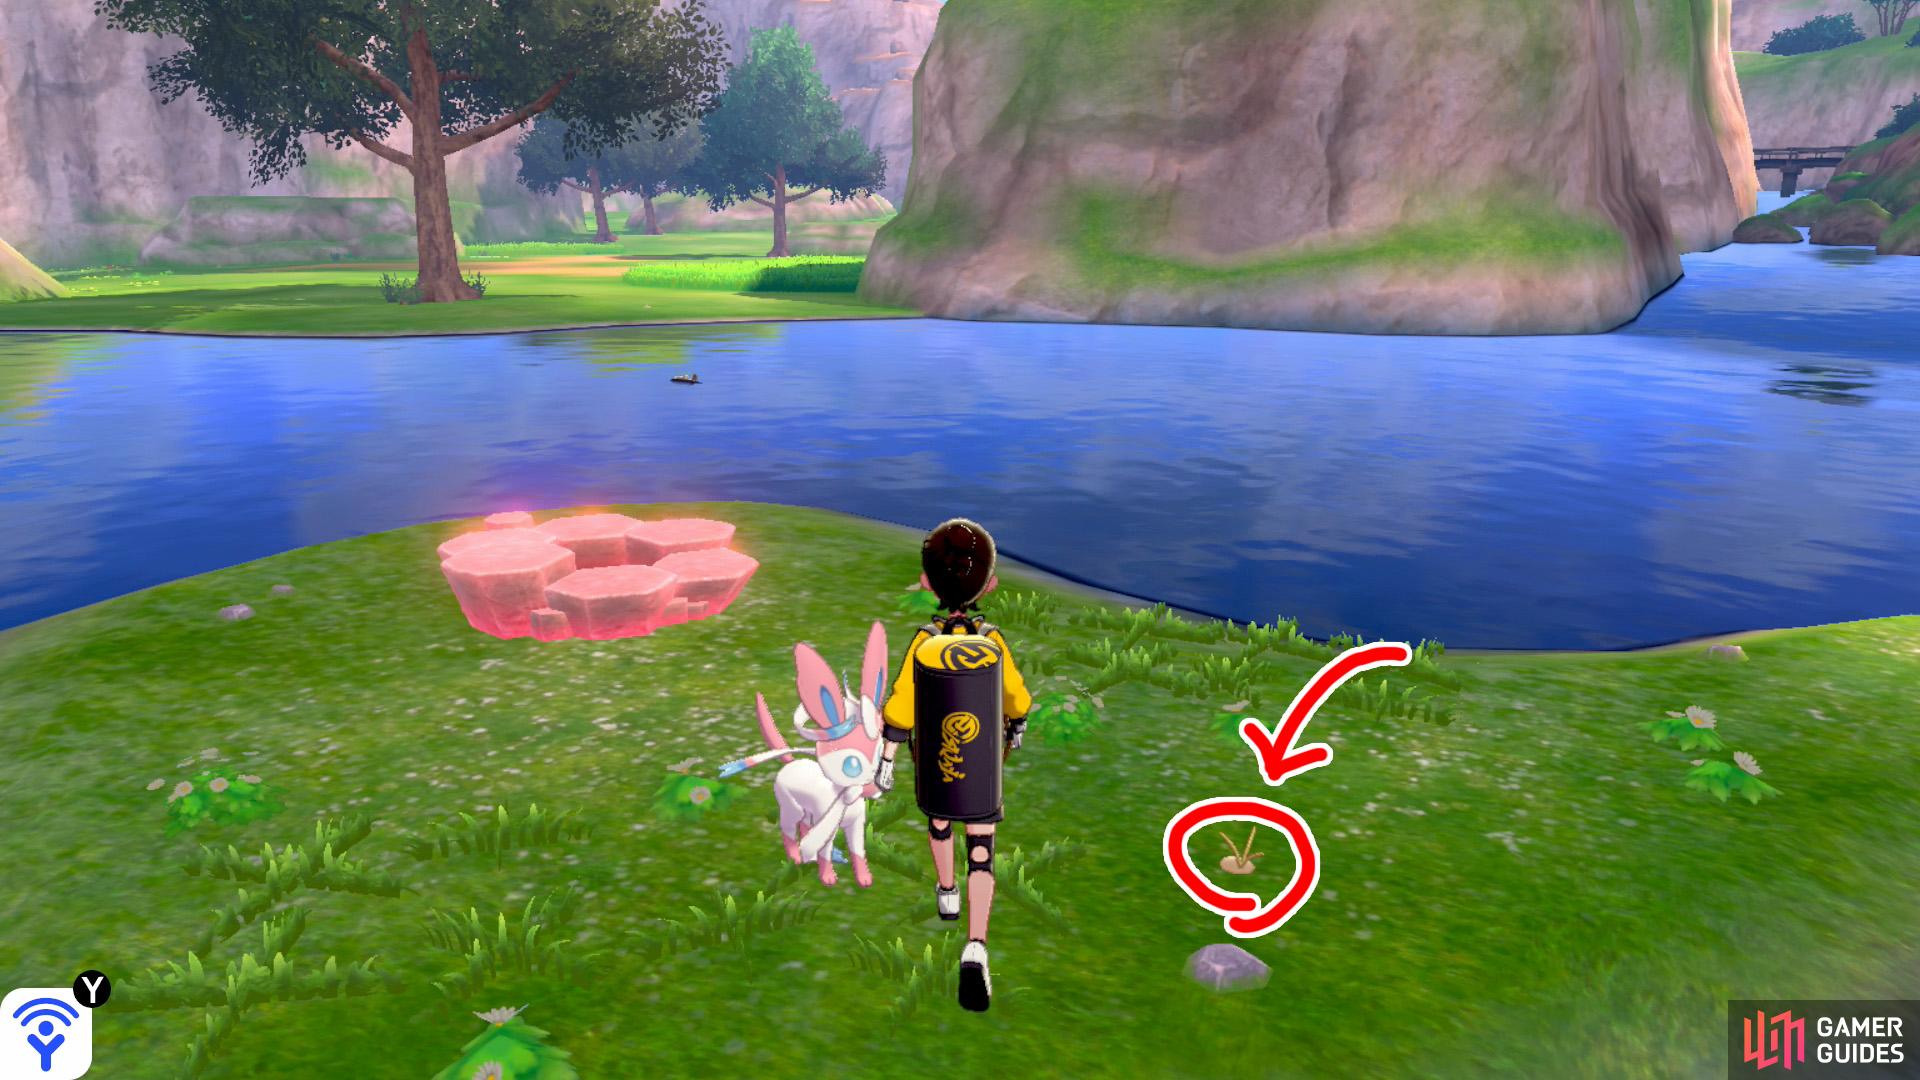
5/15: From Diglett 5, head into the lake and swim towards the island in the middle (with the Pokémon Den). It’s next to a pebble, facing away from the rest of the lowlands.
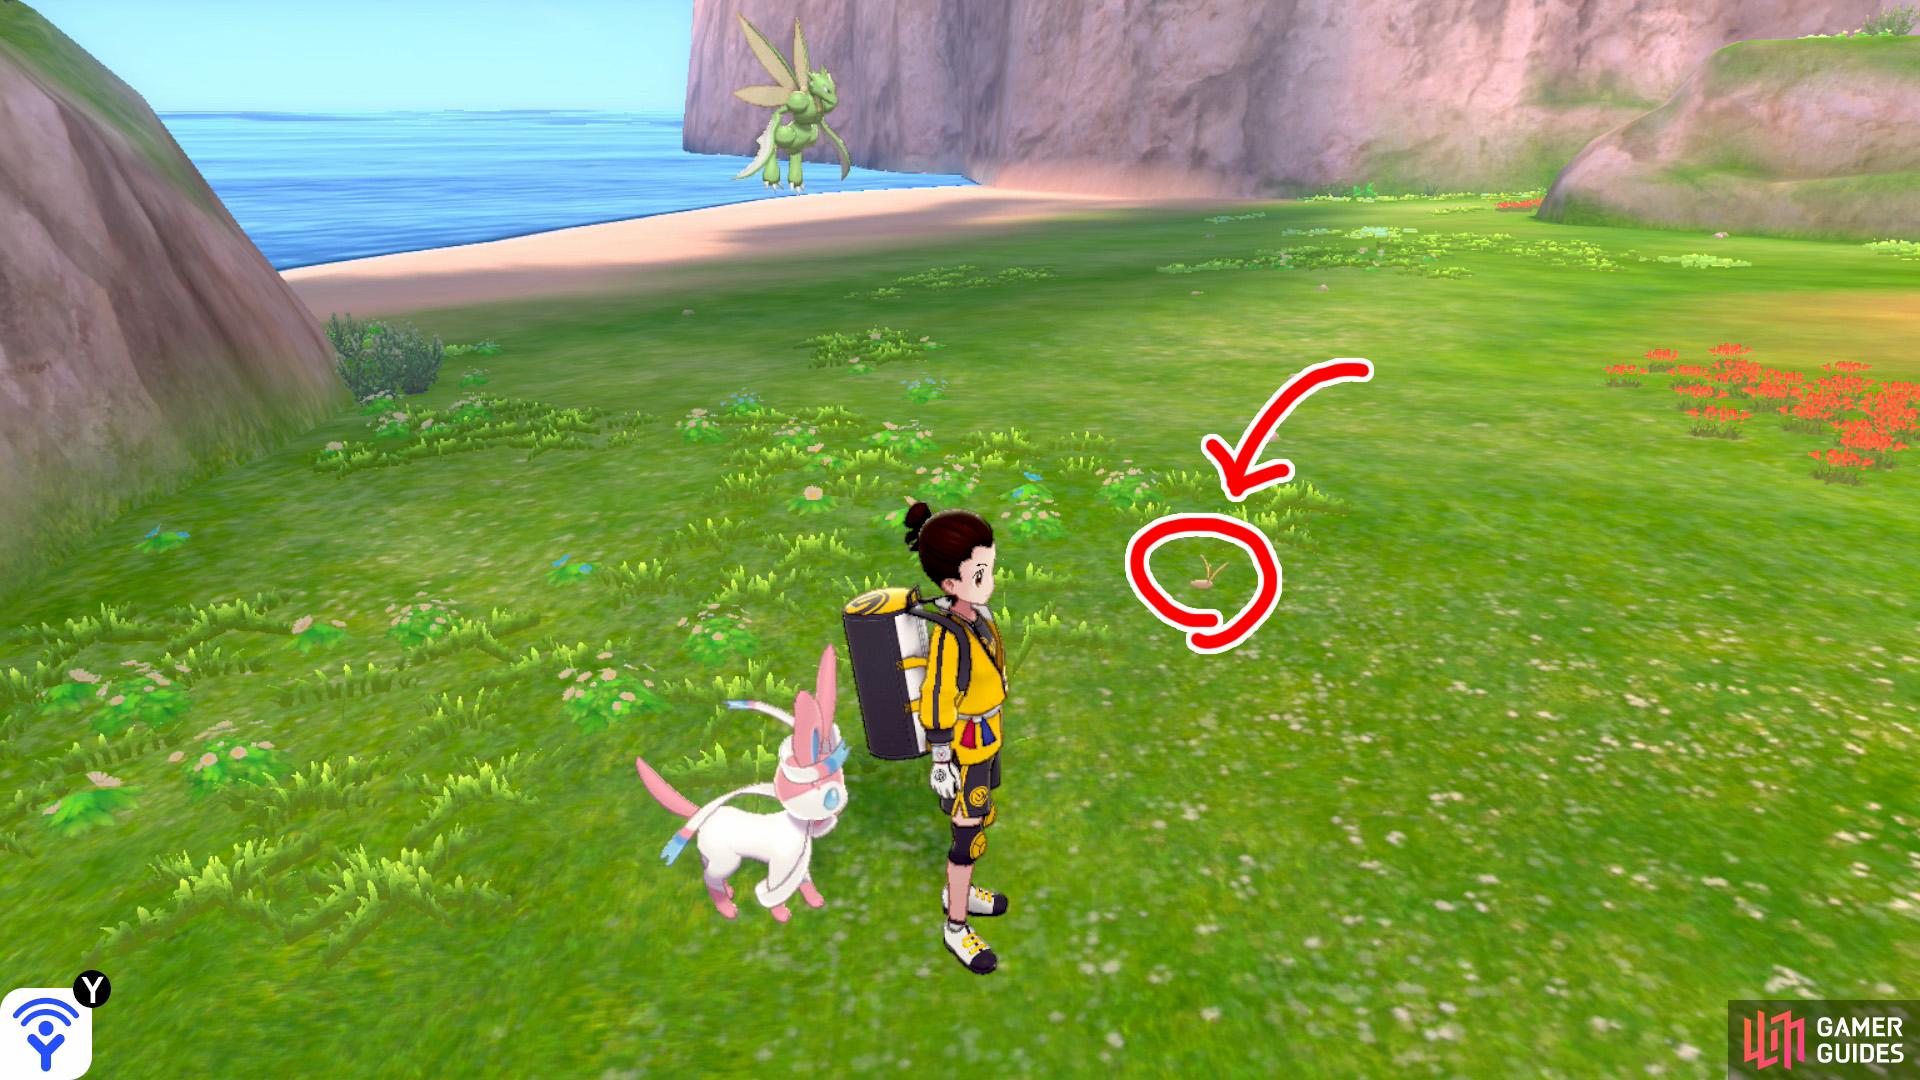
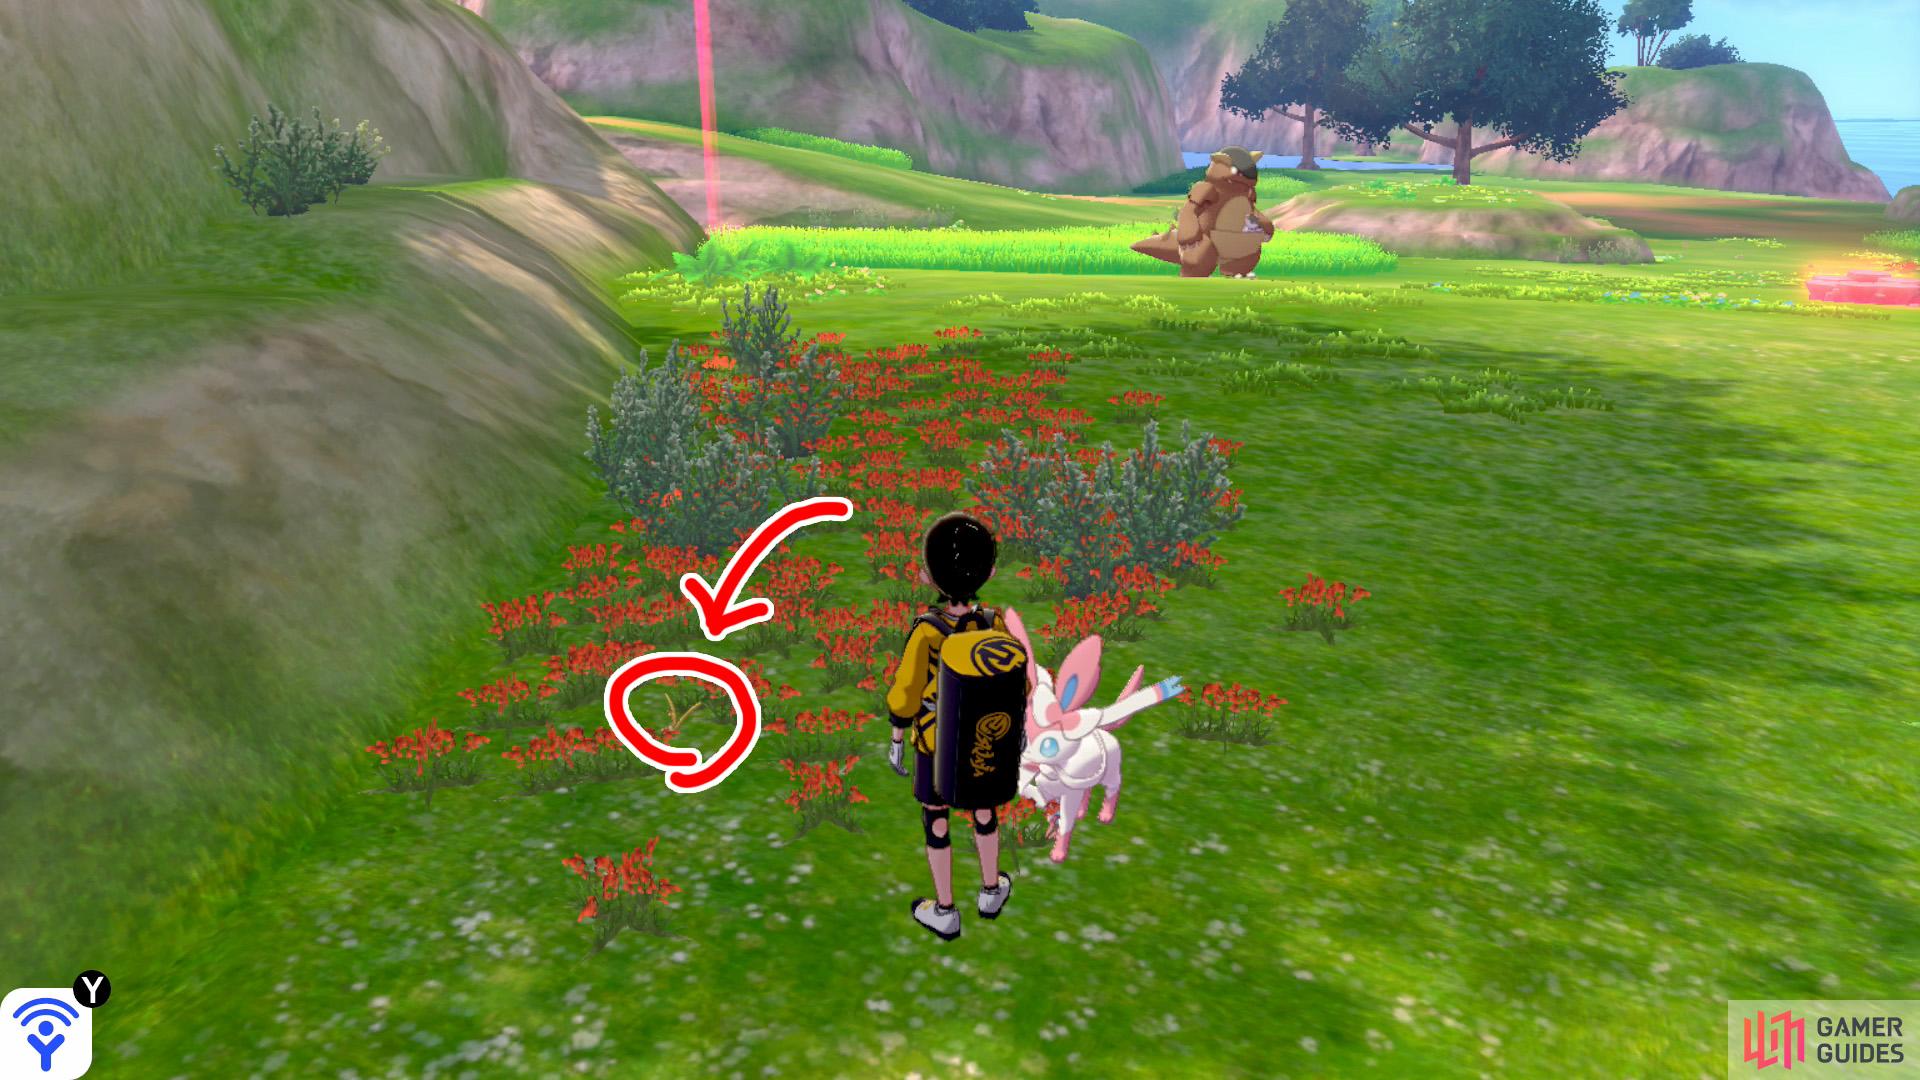
(1 of 5) 6/15: Return to where Diglett 5 was and stand with your back to the lake. Go up to the nearby bunch of bushes in front of you. Up ahead, there’s a bed of red flowers. Number 6 can be found halfway along the way to those flowers.
6/15: Return to where Diglett 5 was and stand with your back to the lake. Go up to the nearby bunch of bushes in front of you. Up ahead, there’s a bed of red flowers. Number 6 can be found halfway along the way to those flowers.
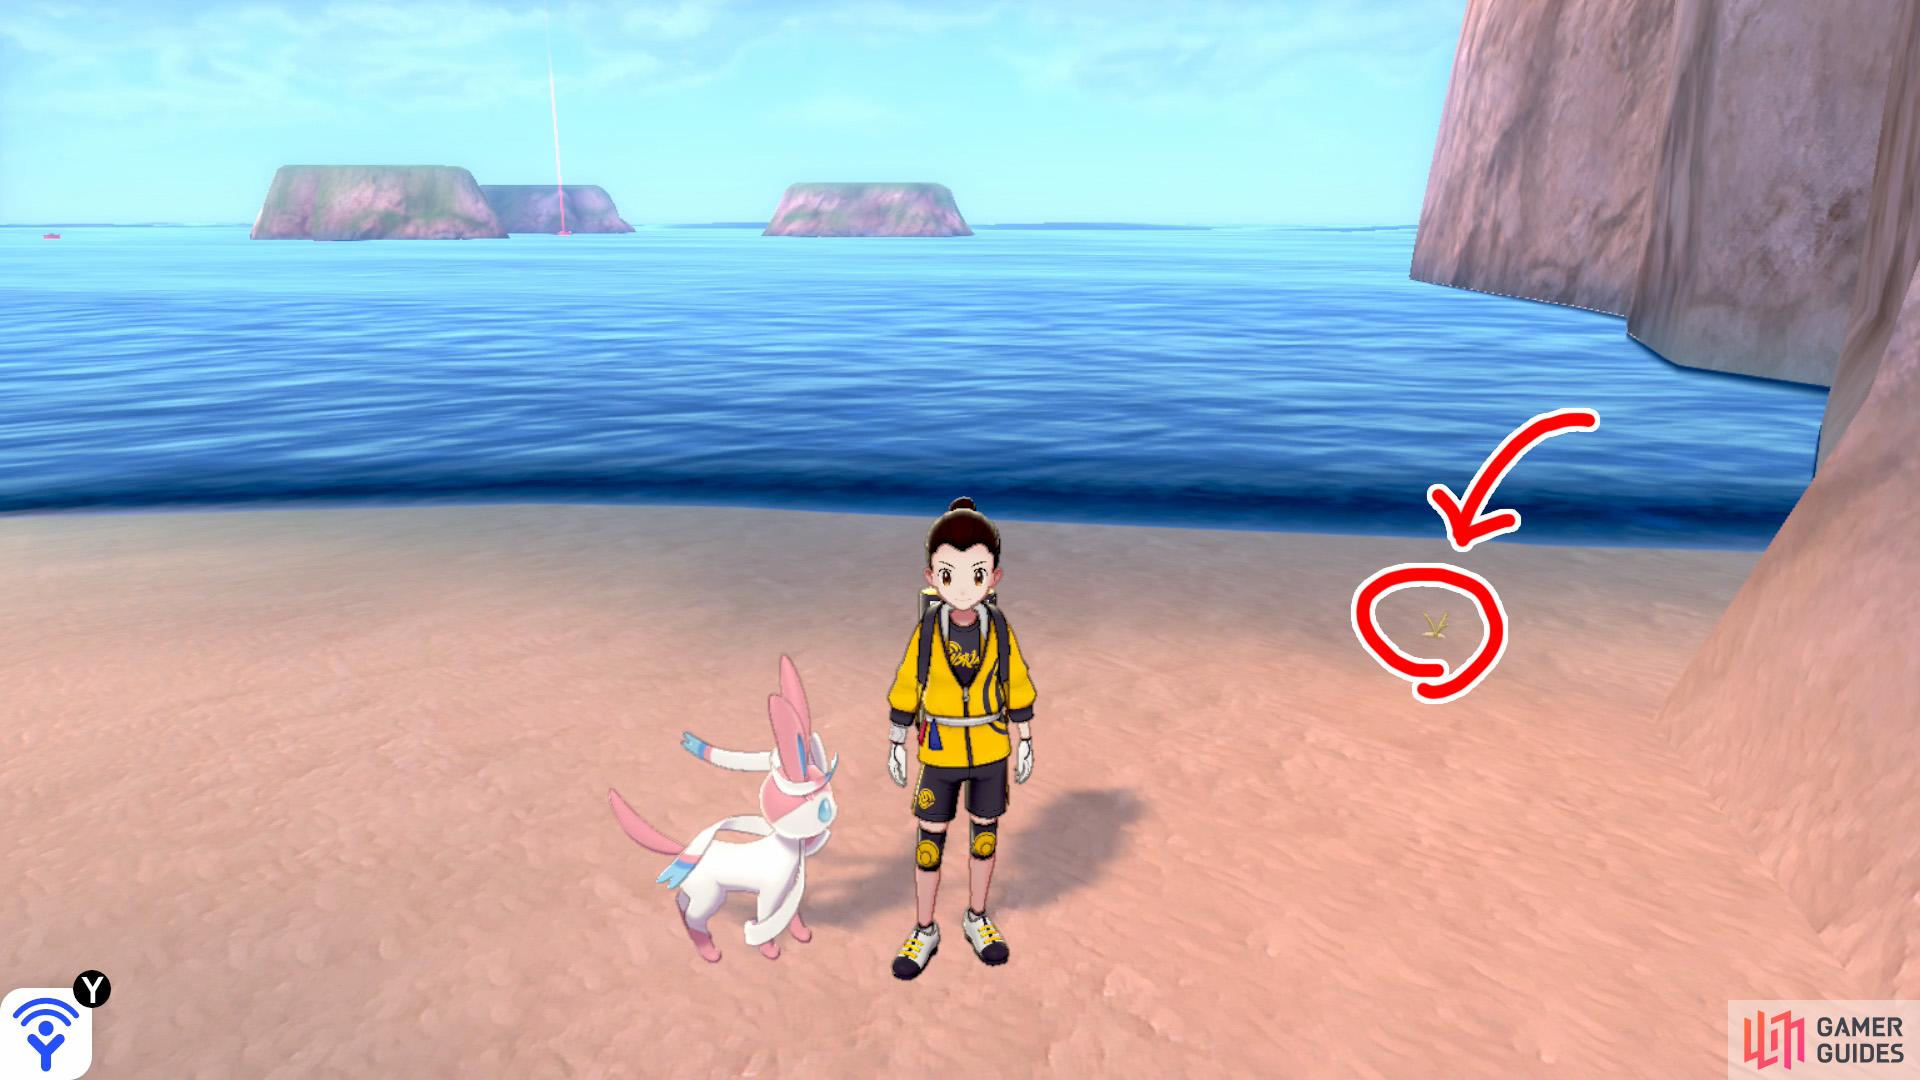
7/15: From Diglett 6, turn left and head towards the shoreline that’s facing Honeycalm Sea. Make your way to the furthest corner of the shoreline (north-east on the map). We wonder what’s sunbathing over there?
8/15: From Diglett 7, stand with your back facing the ocean. Then go forward, while keeping close to the cliff wall. Go past the Pokémon Den and the tall grass after it. Check the left side of the first tree.
9/15: From Diglett 8, there should be another tree ahead, next to a rocky hill. Head for the right side of the rocky hill. You’ll find it above some shrubbery, past a cluster of 5 pebbles.
10/15: From Diglett 9, while facing the entrance to Warm-Up Tunnel, look to your right. Go up to the tree that’s just ahead, then turn right. The sneaky little bugger is hidden near the beginning of the red flowerbed.
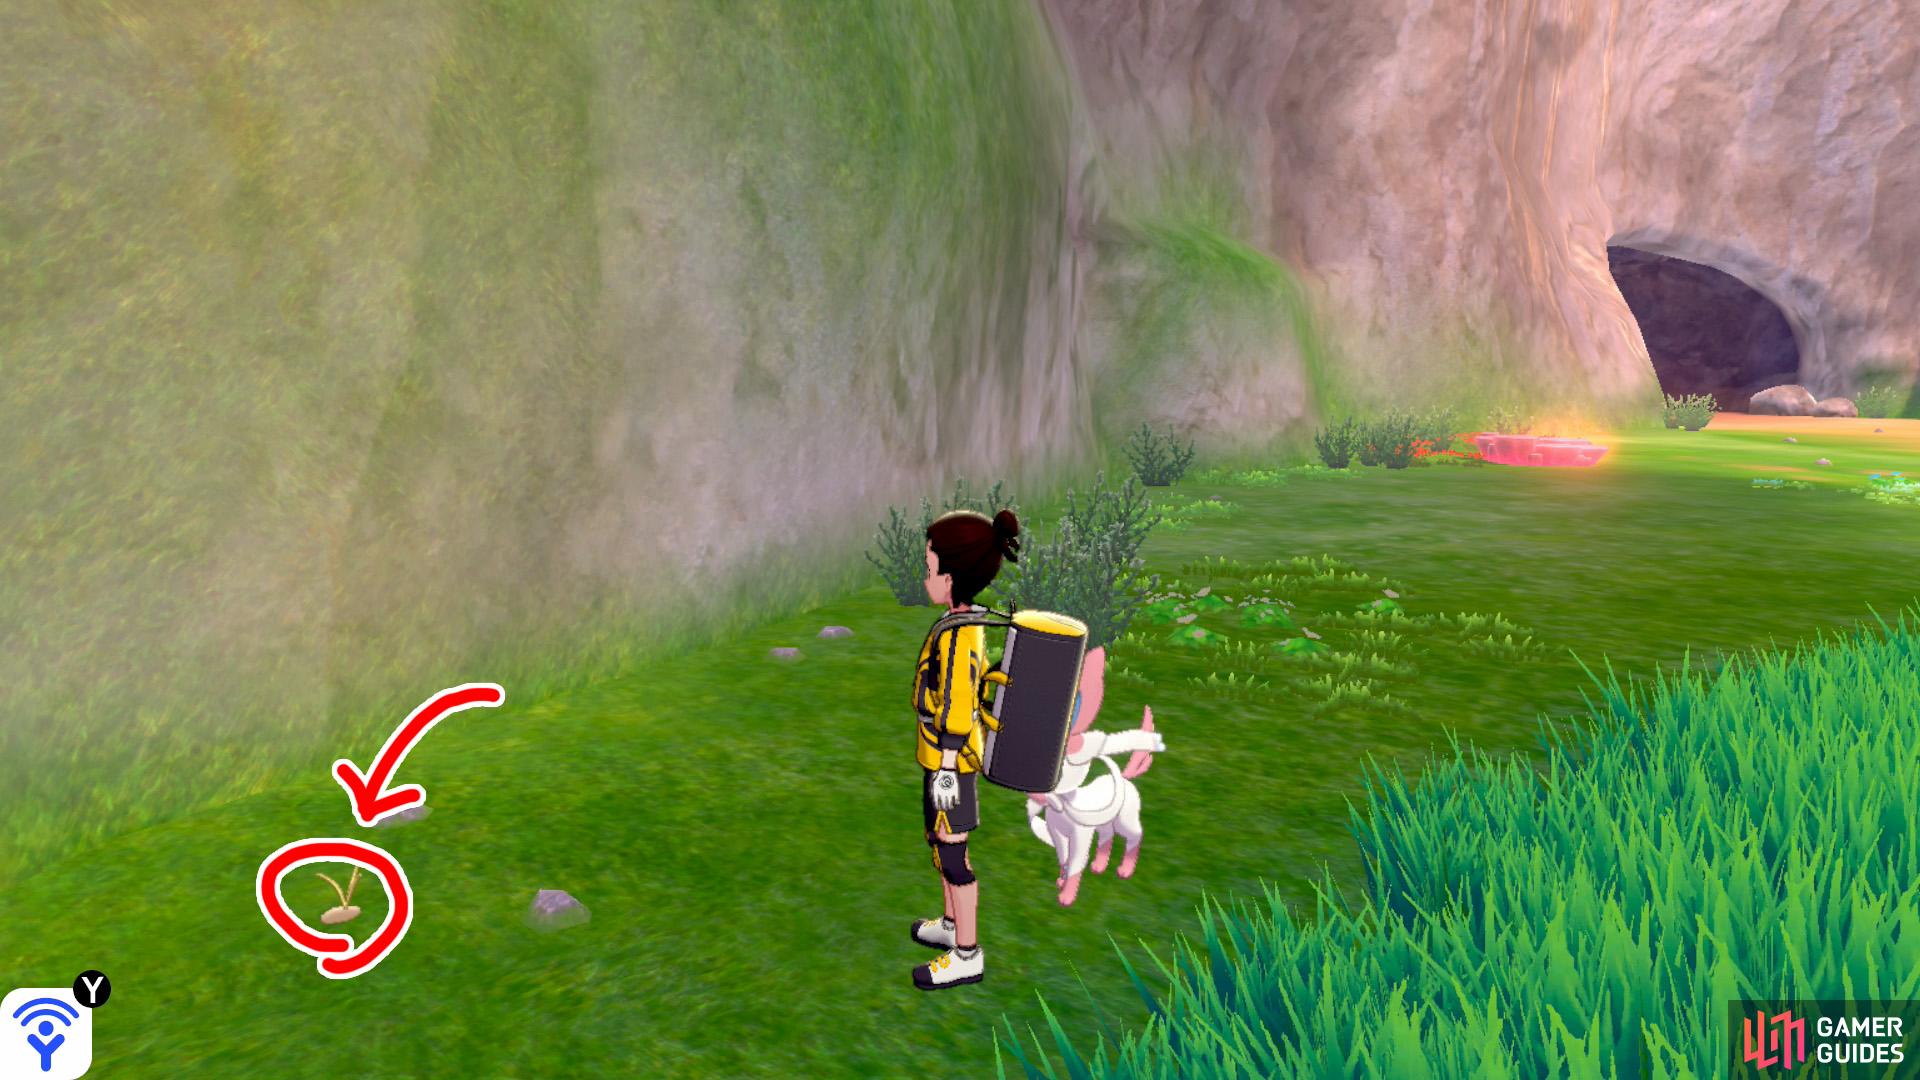
(1 of 5) 11/15: From Diglett 10, turn around and start heading towards Warm-Up Tunnel. After going past the tall grass on the left, turn left. It’s next to some pebbles, near the point where the ground, tall grass and cliff all meet up.
11/15: From Diglett 10, turn around and start heading towards Warm-Up Tunnel. After going past the tall grass on the left, turn left. It’s next to some pebbles, near the point where the ground, tall grass and cliff all meet up.
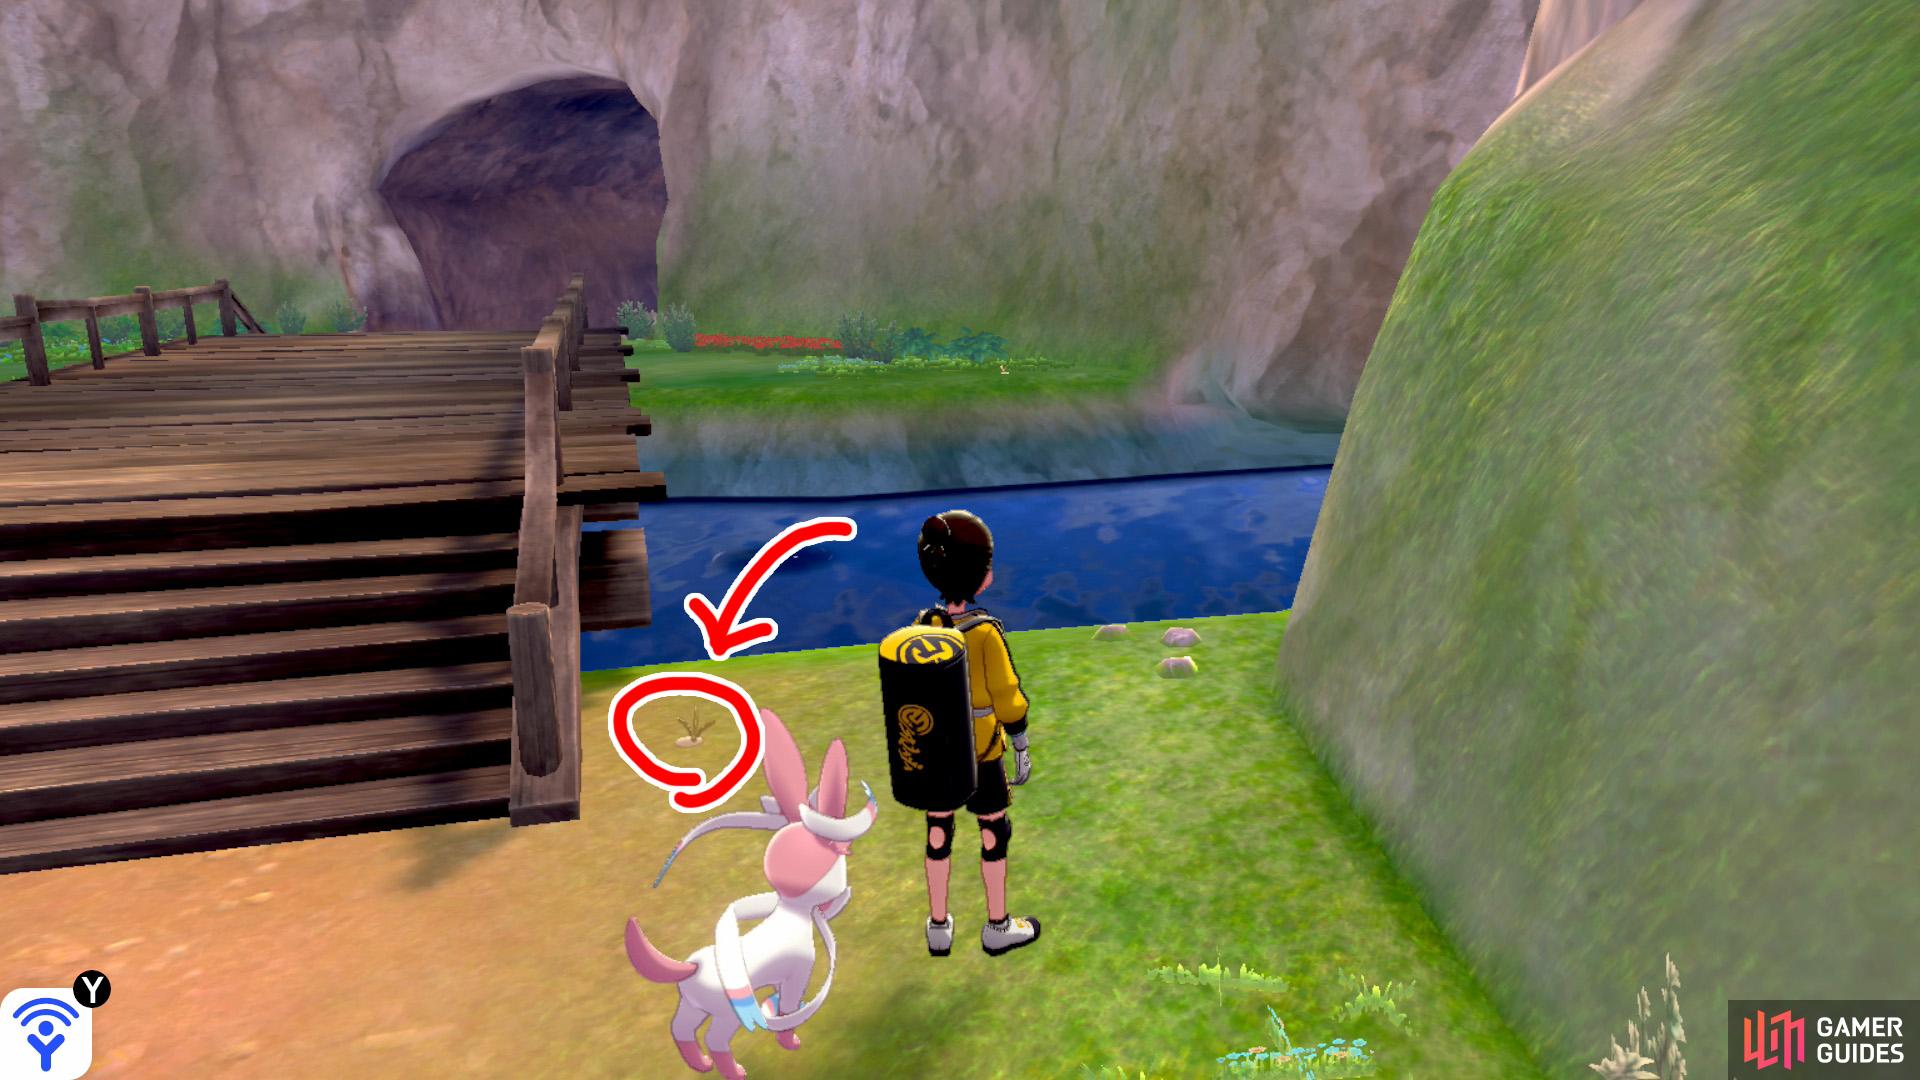
12/15: From the Forest of Focus entrance, turn right. Then turn right again just before the stairs to Challenge Road. You’ll find it to the right of where the bridge begins.
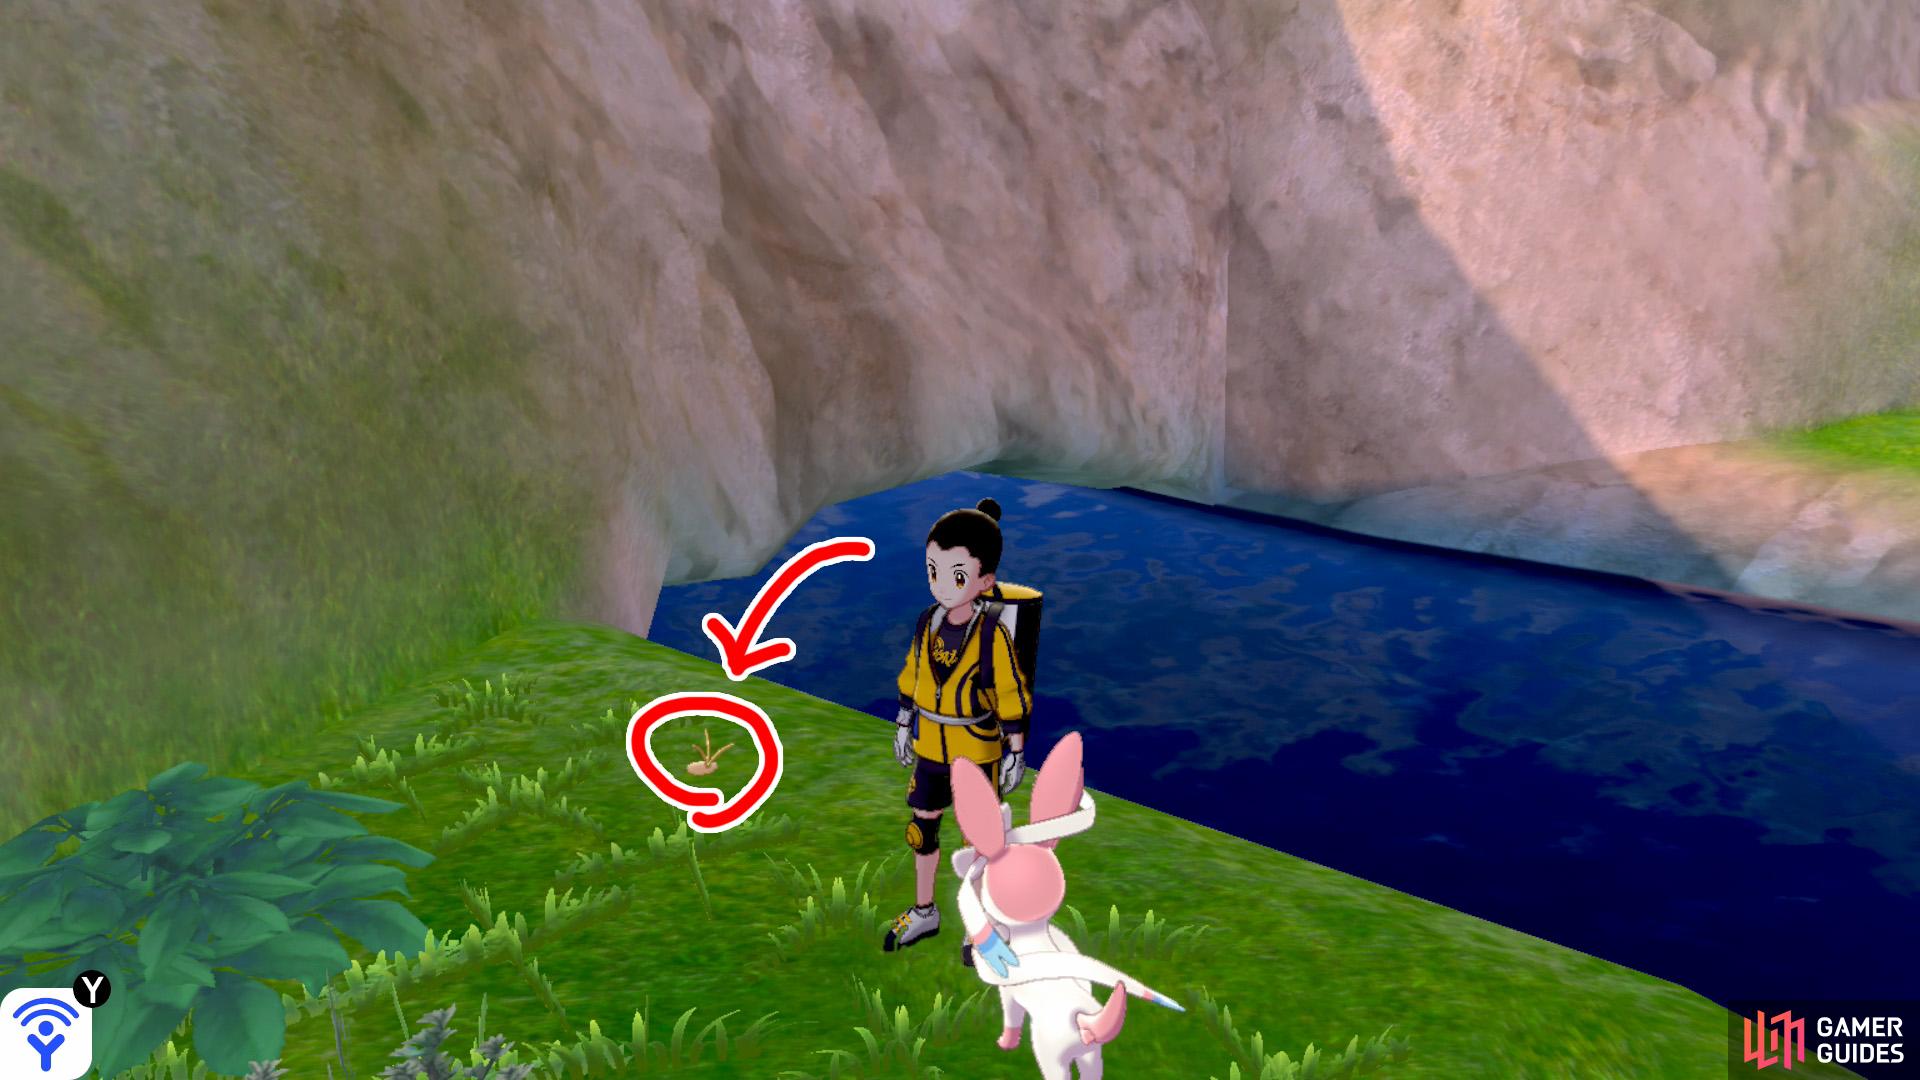
13/15: From Diglett 12, go across the bridge towards Brawler’s Cave. Then turn right. It’s waiting for you by the corner, where the ground, river and cliff meet up.
14/15: From the stairs leading to Challenge Road, turn left (while facing the stairs). Then turn right from the nearby tree. The pesky thing is hiding at the edge of the raised land, right next to the tree that’s on lower ground.
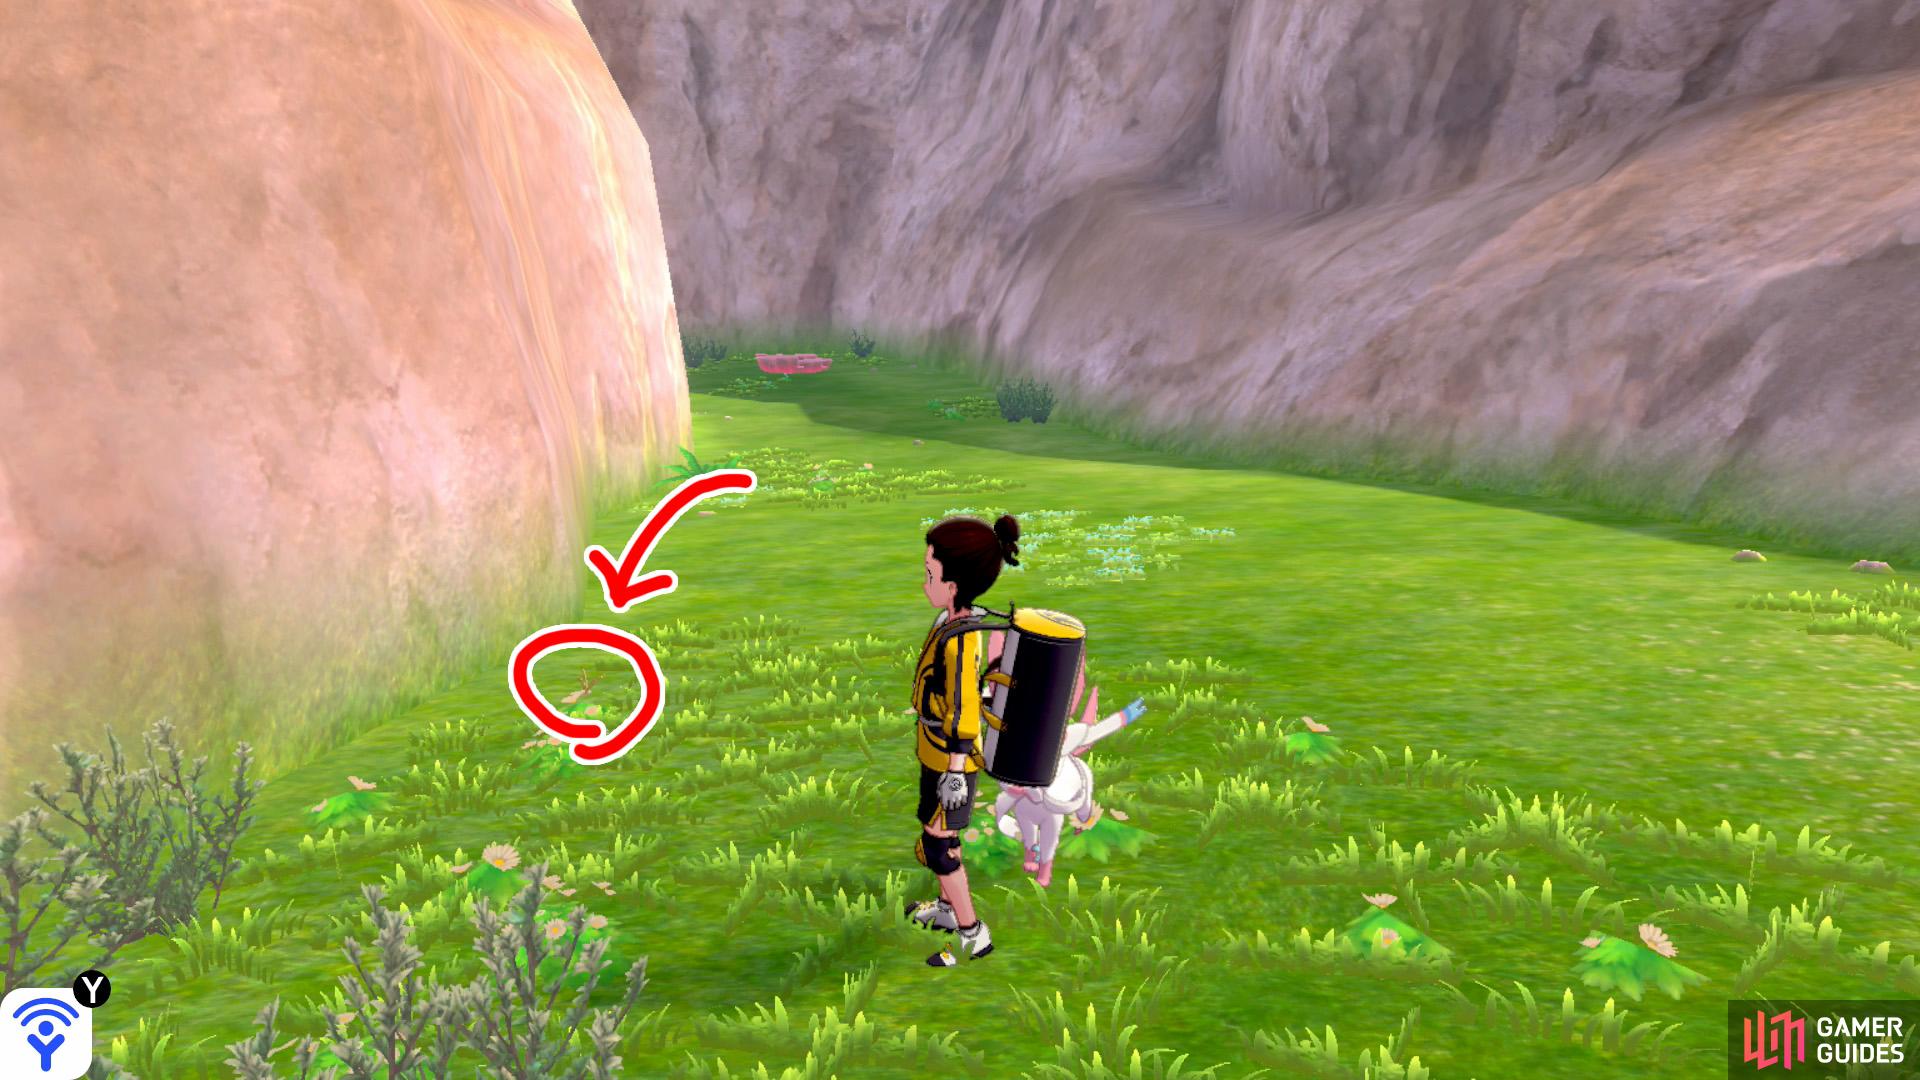
15/15: From Diglett 14, stand with your back facing the tree that’s on lower ground. Ahead, there’s a dead end with a Pokémon Den. The final Diglett is sleeping halfway from here and the den, near the left-hand side cliff.

 Sign up
No Comments