What exactly are they trying to imply here?
Inside the stadium, you’ll run into Marnie. You’ll receive Marnie’s League Card from her. Afterwards, go over to the Ball Guy on the right to receive another rare Poké Ball. This time it’s a Love Ball, which works better if the wild Pokémon is the opposite gender. Once you’re all geared up, speak to the staff member ahead to enter the Gym mission.
Opal’s a shrewd one. Maybe in the next Gym mission, you’ll be in a factory doing somebody’s work for free!
The Fairy-type Gym mission involves quizzes. Halfway during each battle, you’ll be asked a question. Answer correctly and your Pokémon’s stats will increase. Answer incorrectly and their stats will decrease. Honestly, it barely amounts to anything and you can switch your Pokémon to reset their stat penalties. So just relax and let your Pokémon do the answering!
From the entrance, head right to enter the audition hall. Note that you’ll be battling multiple trainers without a break.
Gym Trainer Annette
Annette has a  Spritzee and the evolved form of
  Swirlix; both are Fairy-types. On your 2nd turn, you’ll be asked what Fairy-types are weak against. Both answers (Poison and Steel) are correct.
Gym Trainer Teresa
| Pokémon | Level | Type |
|---|---|---|
 Swirlix Swirlix |
34 | Fairy |
 Aromatisse Aromatisse |
34 | Fairy |
Teresa has a Swirlix and the evolved form of Spritzee; again, both are pure Fairy. On your 2nd turn, you’ll be asked what the previous trainer’s name was. Er, were you paying attention? It was “Annette”, of course.
Gym Trainer Theodora
Theodora has a  Morgrem, which is an evolved Imdipimp, and
  Gardevoir, the final evolved form of
  Ralts. The former is weak to Poison and Steel; the latter is weak to Poison, Ghost and Steel.
On your 2nd turn, you’ll be asked what the trainer eats for breakfast. What kind of question is that!? Logically, it should be “omelets” and thankfully that’s the correct answer. Note that Morgrem has Fake Out (causes a flinch on the 1st turn), while Gardevoir has Mystical Fire (strong against Steel-types).
After you’ve done three battles, you’ll proceed to the exit. Keep going to be transported to the entrance tunnel. From there, go forth and greet your adoring crowd!
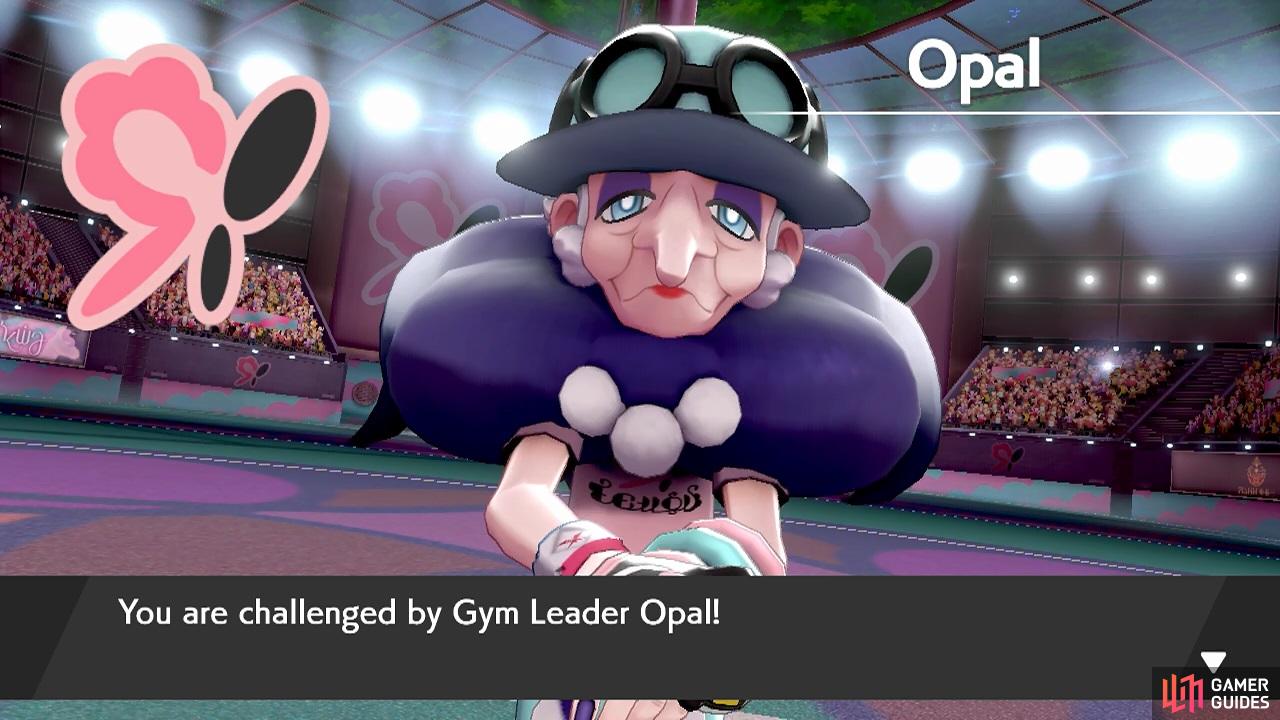
Gym Leader Opal
| Pokémon | Level | Type |
|---|---|---|
 Weezing (Galarian) Weezing (Galarian) |
36 | Poison/Fairy |
 Mawile Mawile |
36 | Steel/Fairy |
 Togetic Togetic |
37 | Fairy/Flying |
 Alcremie Alcremie |
38 | Fairy |
Opal leads with Galarian  Weezing, which has evolved from a common
  Koffing. It’s gained the Fairy-type and is weak to Ground, Psychic and Steel.
Next, she may send out  Mawile. This deceitful Pokémon is weak to Fire and Ground. Avoid using Poison moves because it’s immune to them. Also, be wary of its Intimidate ability, which reduces Attack.
Her third Pokémon is  Togetic, which is a fully evolved
  Togepi. It’s weak to Electric, Rock, Ice, Poison and Steel.
Finally, she has an  Alcremie that she will Gigantamax straightaway. It can use G-Max Finale, which restores HP for its party. You should clean up with a Dynamax or Gigantamax Poison or Steel-type.
During the battle, Opal will pose up to three questions. The correct answers are “wizard”, “purple” (not pink!) and “16” (that’s a lie, but flattery will get you everywhere).
After that dazzling showcase, you’ll receive the Fairy Badge, TM87 Draining Kiss and a Fairy Uniform all from Opal. Exit the stadium. Outside, Opal will ask if you want to follow her to Hammerlocke. You need to go there next, so you might as well accompany her. In any case, when you reach Hammerlocke, head over to the main entrance, from the Wild Area side.
You’ll run into Bede, although he’s not here for a fight. Next, head all the east, to reach the exit to Route 7. When you get to the train station, Sonia will stop you this time. As luck would have it, there’s another explosion. This time, you don’t need to go and investigate though. Carry on east to where Hop is waiting for you. Once he’s gone, follow him east to Route 7.
Before that though, there’s a third Pokémon Centre! Inside, the right Poké Mart clerk is selling TMs. Of note, there are TMs that alter the terrain. Plus the “Fang” series, which you can teach to  Boltund (Thunder Fang and Fire Fang) or
  Drednaw (Ice Fang) to take advantage of their Strong Jaw ability. Finally, exit Hammerlocke via the right.


 Sign up
No Comments