This is a walkthrough for Da’at: Taito of Shin Megami Tensei V, taking place in the Komagata area. How to complete every objective, find every chest and locate every Miman.
Komagata
Demons
| Icon | Name | Lv | Weakness |
|---|---|---|---|
| Loup-garou | 54 | ||
| Hecatoncheires | 55 | ||
| Queen Medb | 56 | ||
| Titania | 57 | ||
| Fafnir | 60 | ||
| Cerberus | 64 | ||
| Yamata-no-Orochi | 72 |
Items
| Name |
|---|
| Skadi’s Essence |
| Mara’s Essence |
| Balm of Life x2 |
| Aogami Type-10 Essence |
| Ishtar’s Essence |
| Garuda’s Essence |
| Throne’s Essence |
| Chakra Pot x2 |
| Life Drain Gem x3 |
| 60,000 Macca |
| Norn’s Essence |
Quests
| Subquest | Location | Reward |
|---|---|---|
| The Egyptians’ Fate | North of Asakusa Main Street Leyline | Small Glory Crystal x5 |
| The Sleeping Sands | Northwest of Asakusa Main Street Leyline | Amrita Shower |
| The Raid on Tokyo | Next to Umabayashi Leyline | Magic Balm x2 |
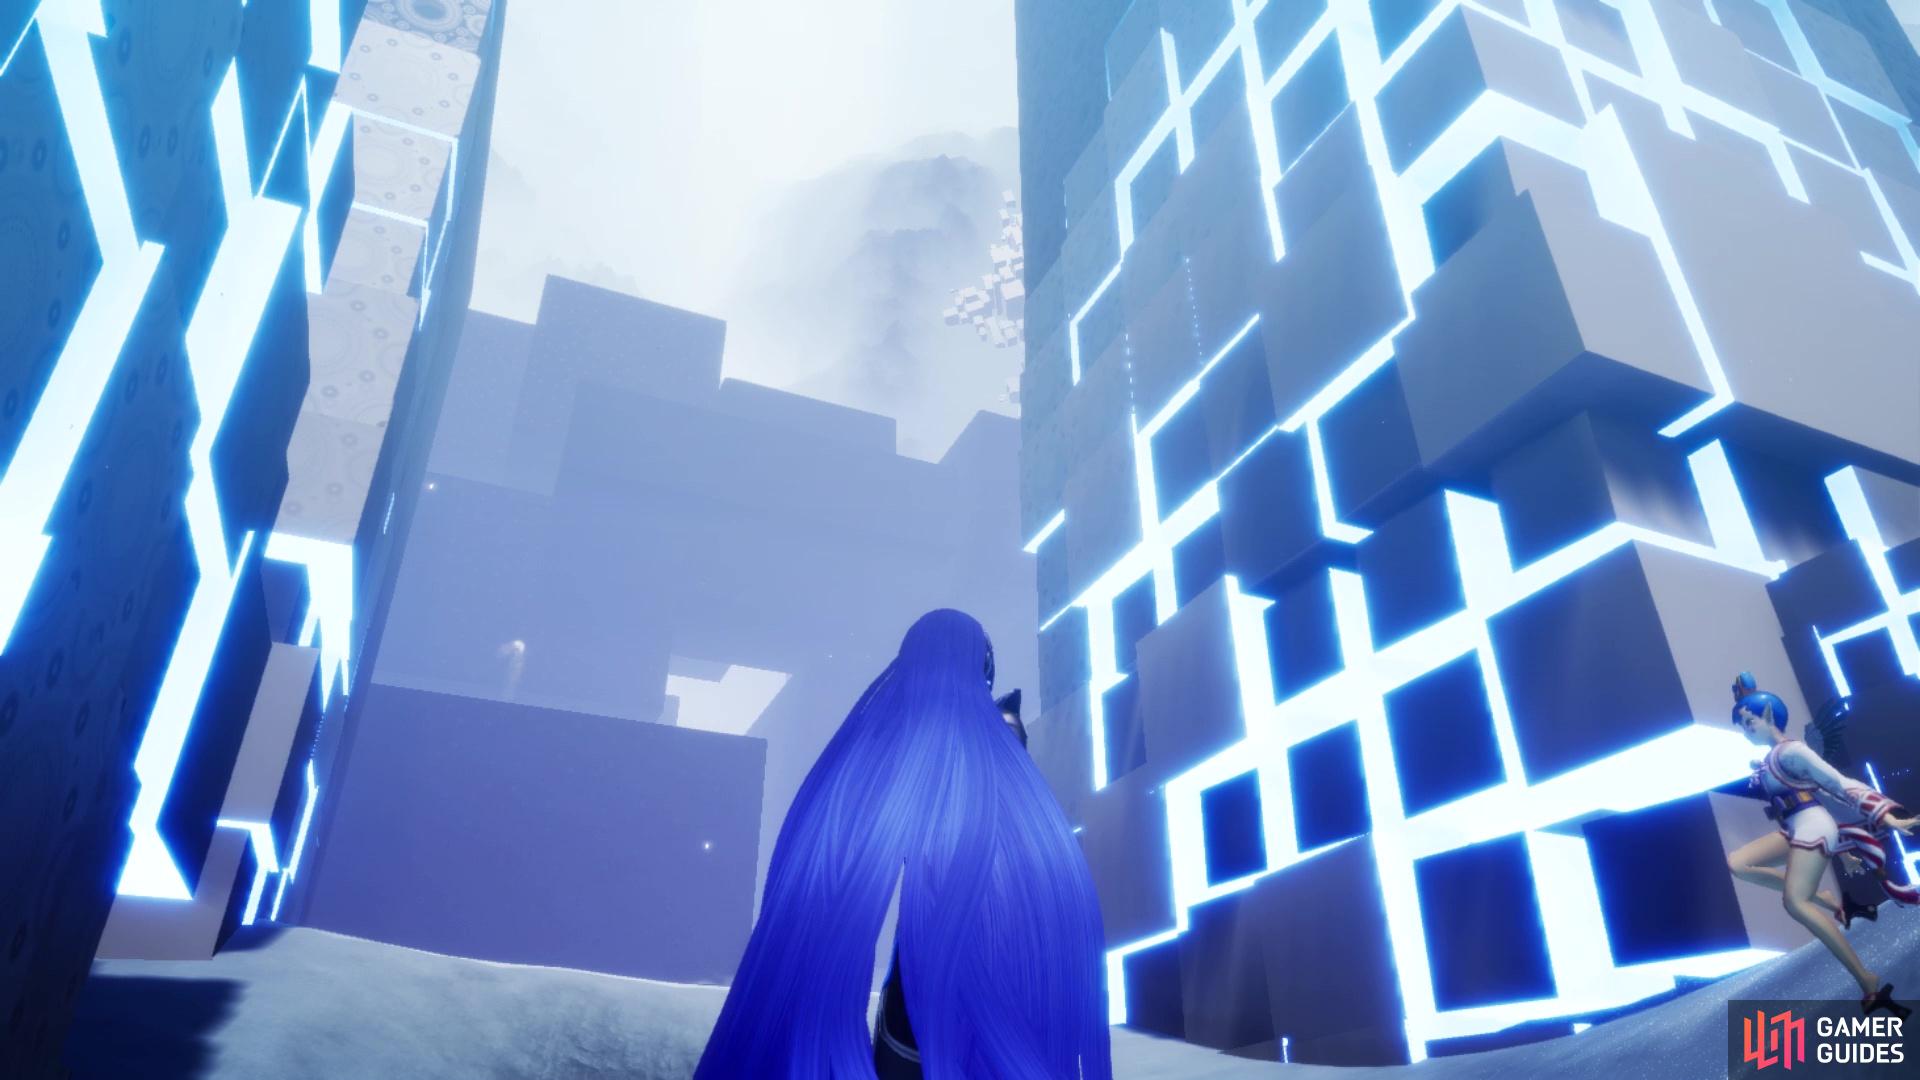
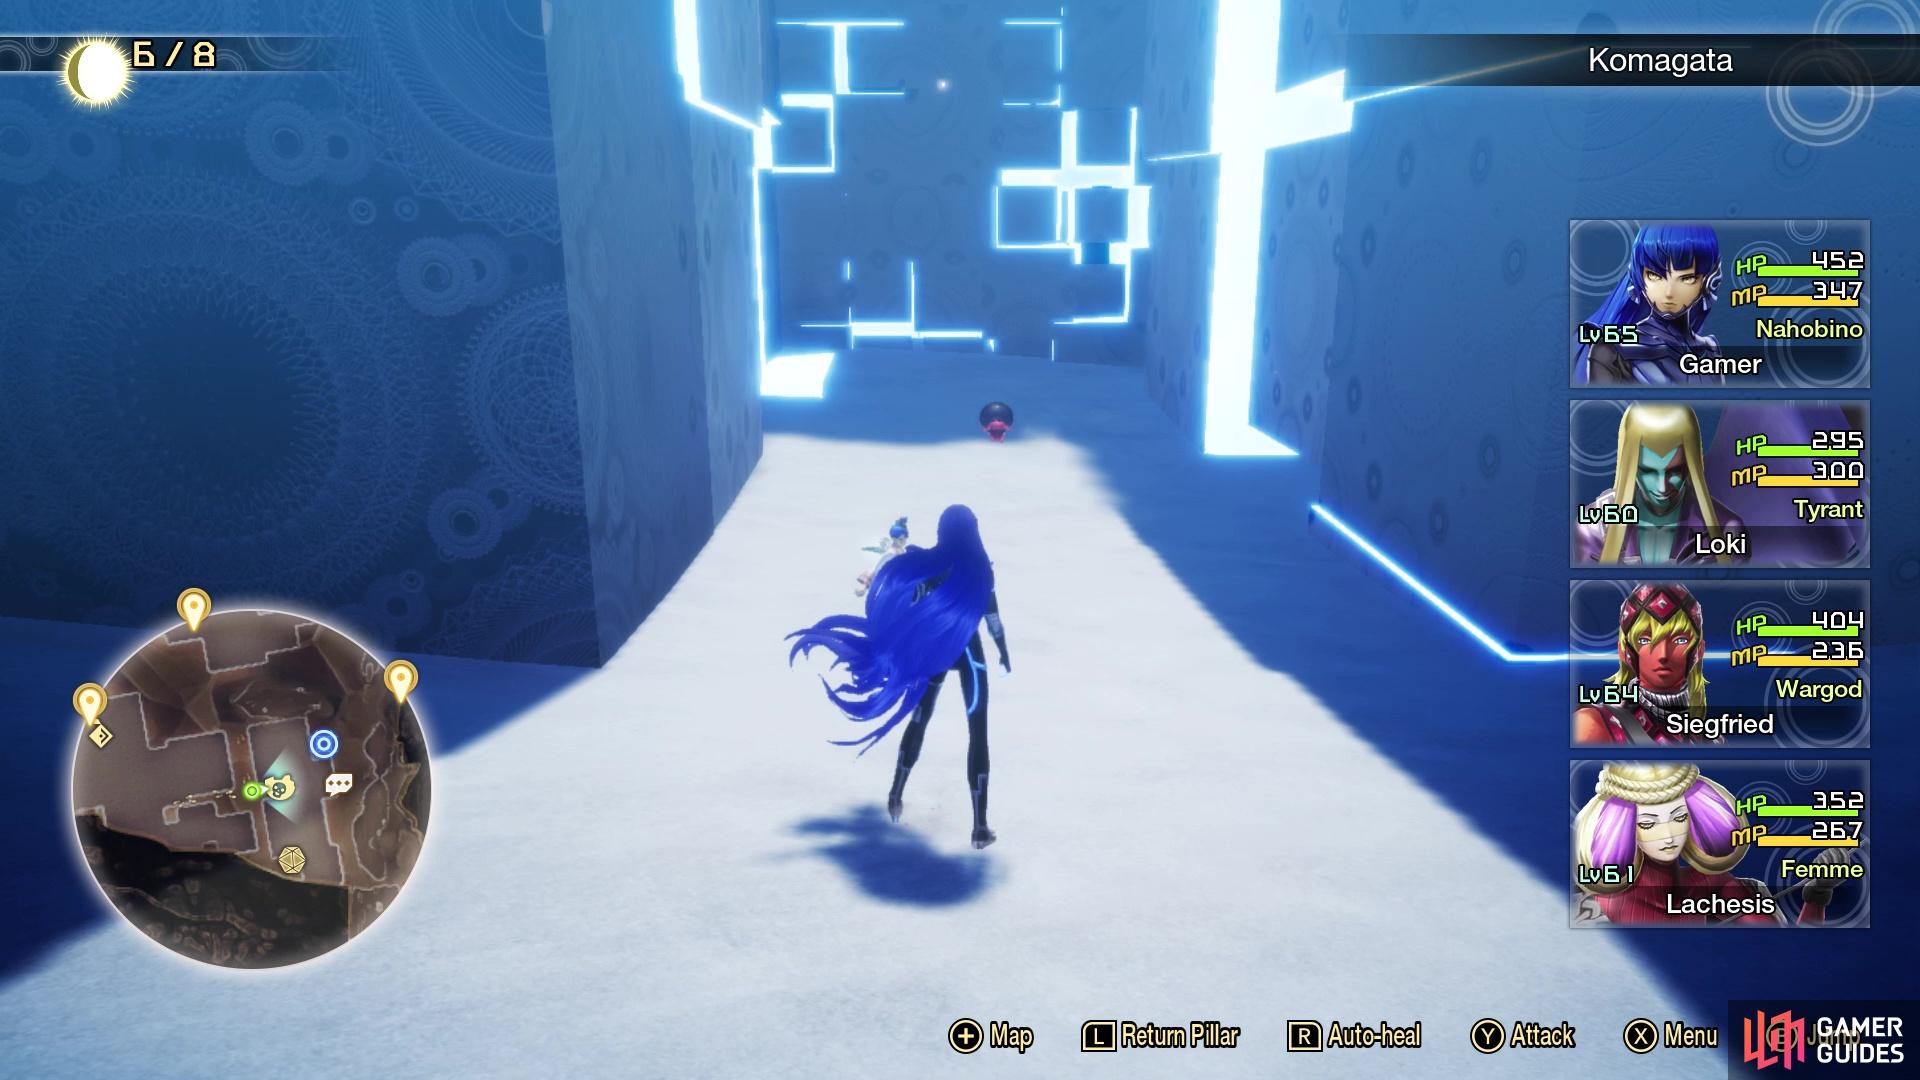
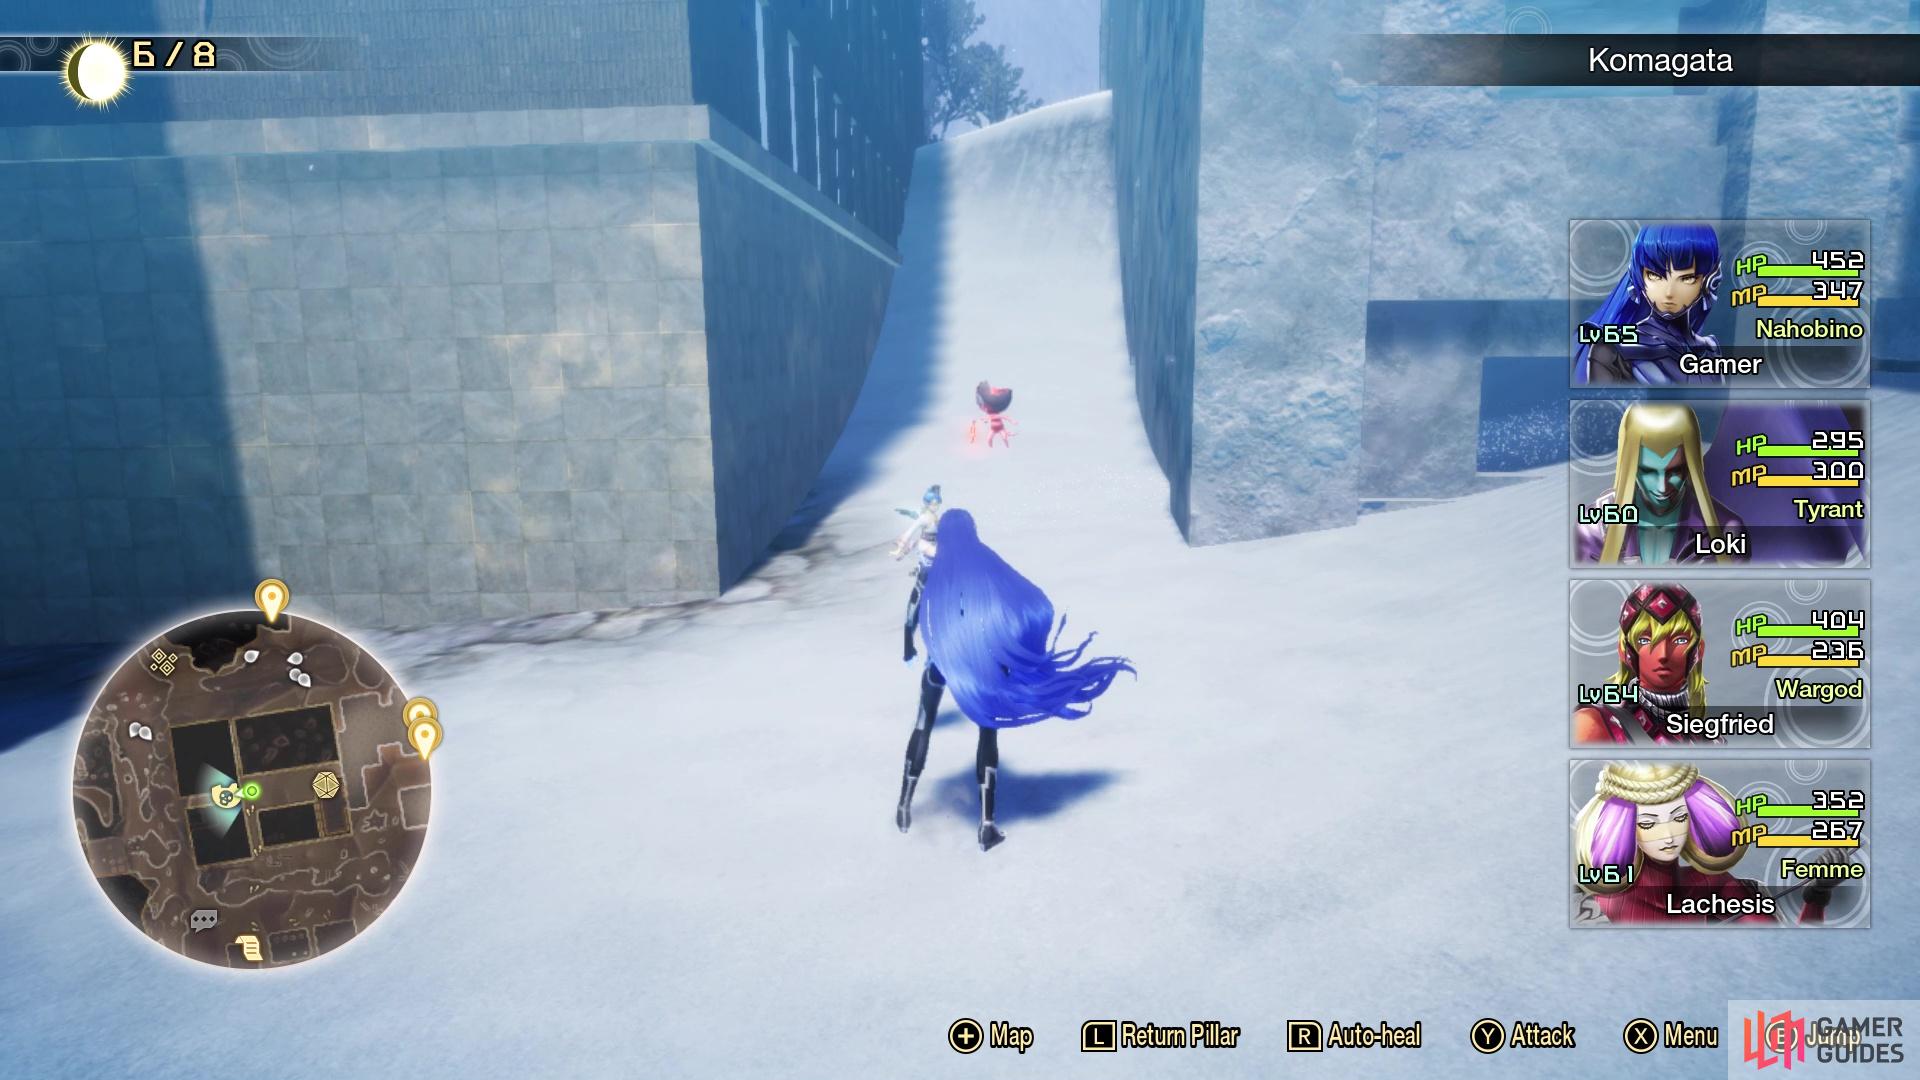
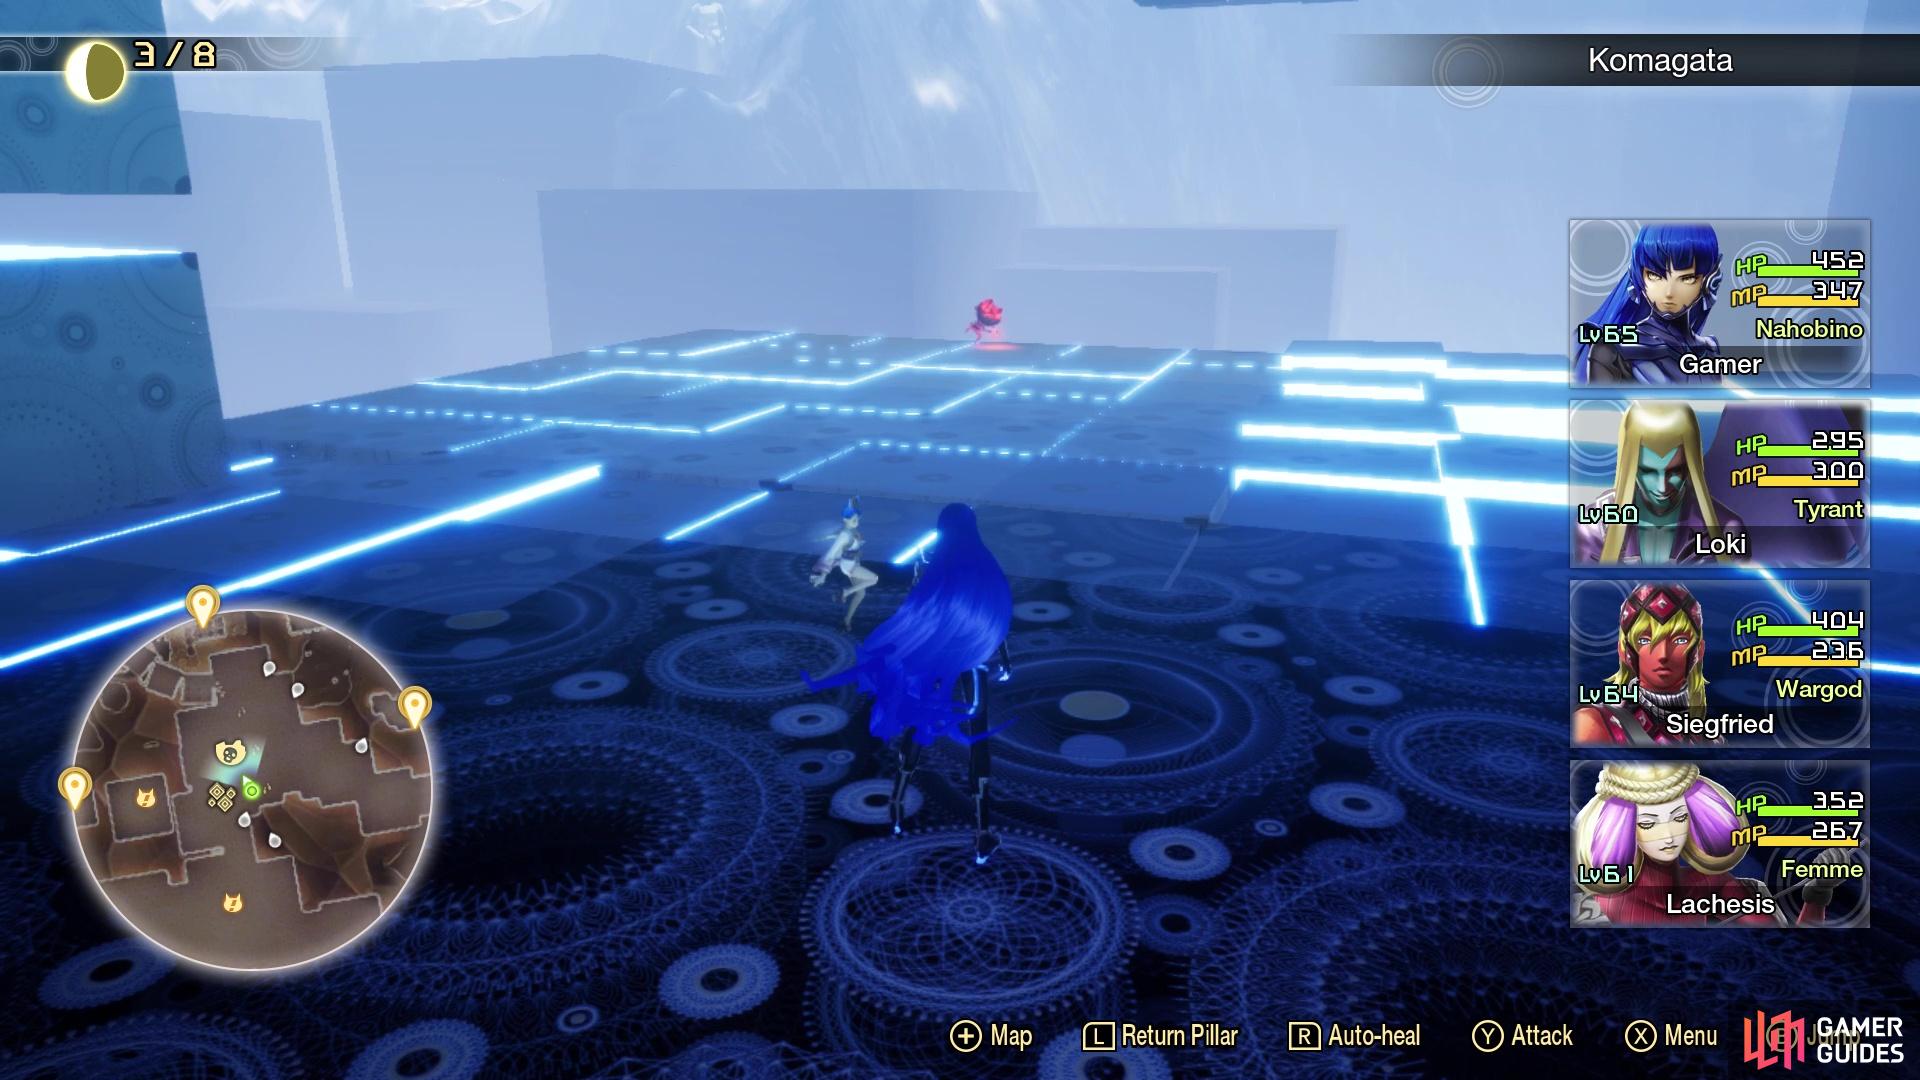
You will be starting from the Asakusa Main Street Leyline this time, which is just north of where the Azumabashi Abscess was located. Komagata will be the next place to explore, which is made up of a bunch of those big, glowy blocks. There’s also a few bits of verticality here, so you will need to do a bit of climbing to get to some of the items. To begin, head north a tiny bit from the leyline fount, then west to enter the Komagata area. A little to the west, look to your south to see an opening between the big blocks, so head in there. Miman #183 will be located in this little alleyway, as well as two Treasure Boxes, which will contain a Skadi’s Essence and a Mara’s Essence.
(1 of 2) Miman #183 will be in the little passage right near the Asakusa Main Street Leyline
Miman #183 will be in the little passage right near the Asakusa Main Street Leyline (left), Look behind the blocks next to the Dominion NPC to find Miman #184 (right)
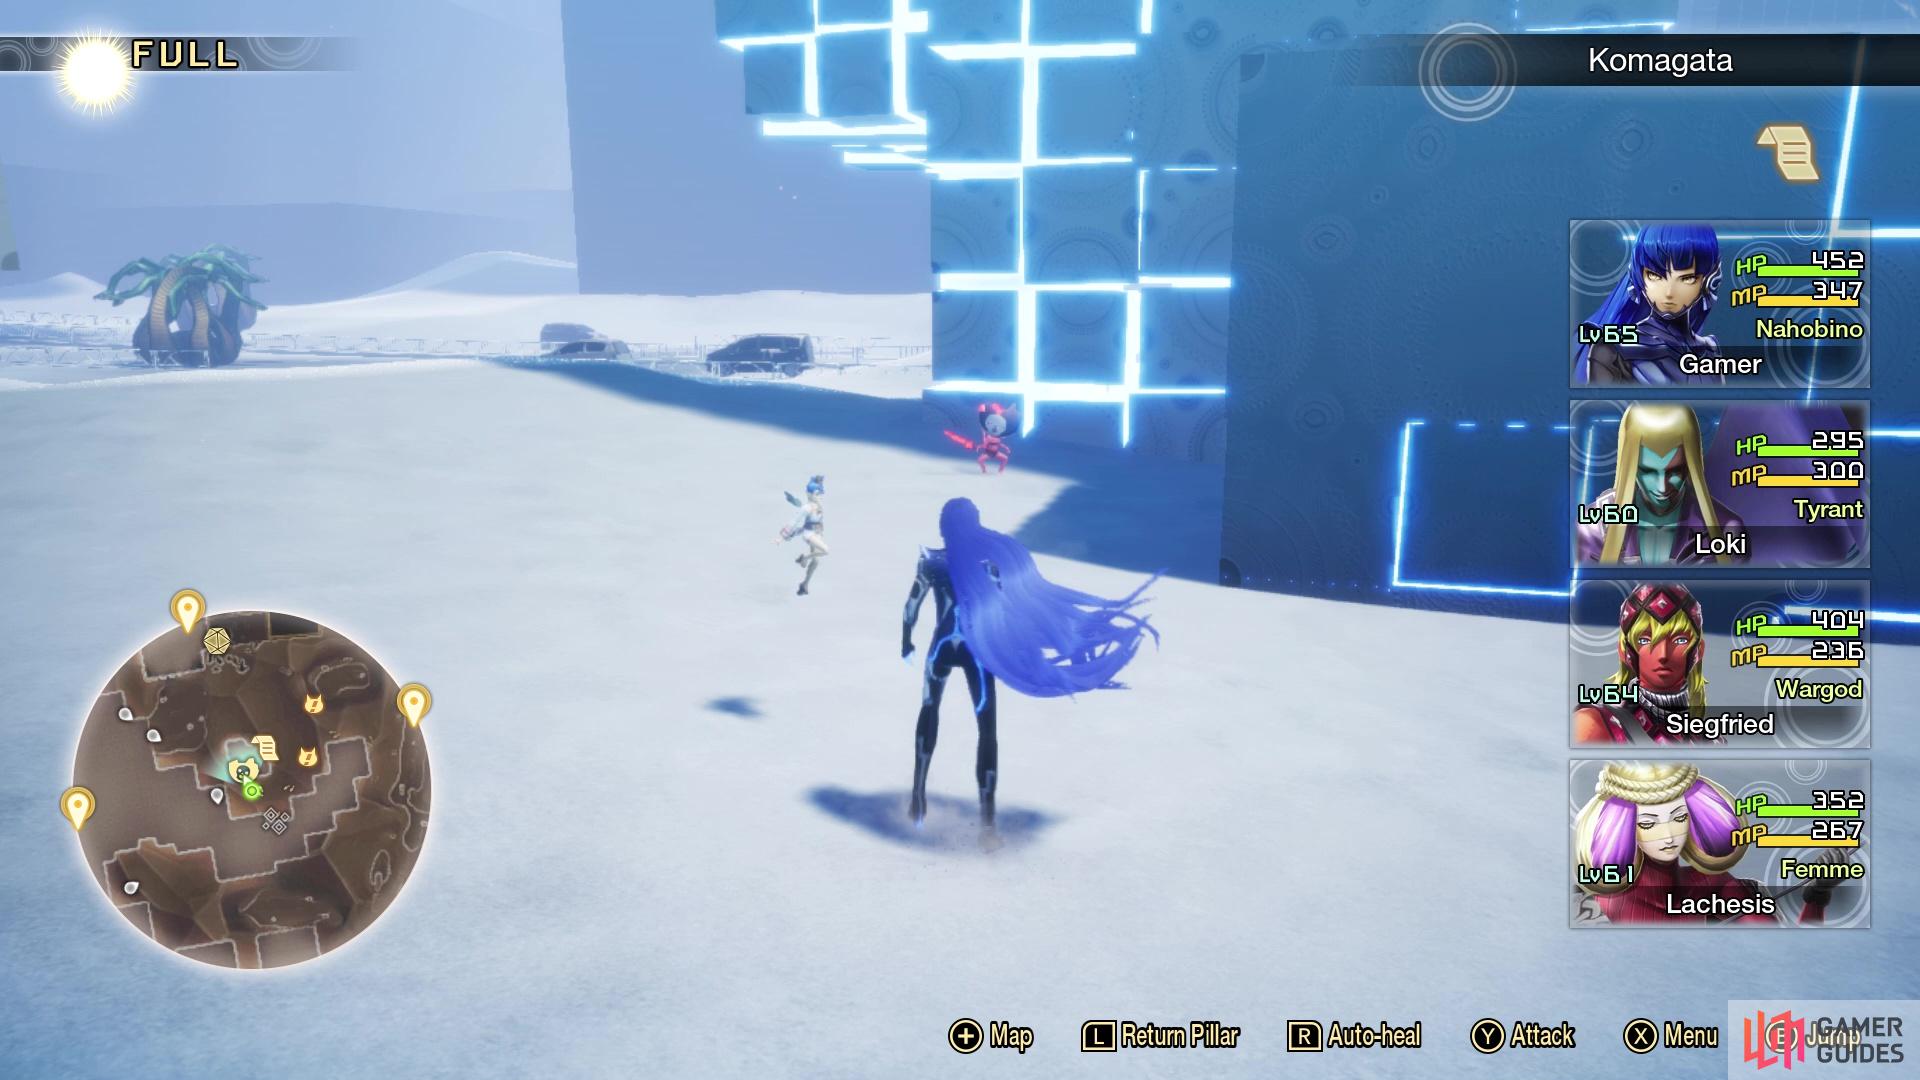
Return to the leyline fount and run to the north, past the first opening to the area and to the second one. Head west and you should see a Dominion a little to the south, who will give you a quest, The Egyptians’ Fate. On the ground, behind the blocks where you found the Dominion, will be Miman #184. Continue northwest from there, looking for the big blocks you can climb on. The blocks to the west have nothing, but if you jump up and around to the east, you will find a ruined building that is housing a Treasure Box (Balm of Life x2). Drop back to the ground and venture west, until you see a Sandman who has a quest for you, called The Sleeping Sands. He simply wants two Sleep Gems, which you probably have enough of at this point, so hands them over, if you want, to quickly finish the quest.
The orange blocks next to the Sandman is how you start climbing upwards towards Odin, but ignore those for now and keep moving west. Looking at the map, you should see two Treasure Boxes to your north, but the eastern of the two is out of reach right now. However, the western of the two just requires you to go behind the big blocks to bust it open (Aogami Type-10 Essence). That’s all of the items on the northern end, on the ground, so start moving south now. As you continue west while on the southern edge of the map, you should see a Treasure Box behind the last set of big blocks there (Ishtar’s Essence). Keep going west, to the road, and you will witness a cutscene with Ichiro.
(1 of 2) Miman #185 will be behind the building near Adramalech
Miman #185 will be behind the building near Adramalech (left), Go north of Adramelech to find Miman #186 in between the buildings there (right)
After it’s over, touch the fount here to register the Umayabashi Leyline. The bridge to your south is where you will be going once you have the three Keys from the bosses here in Taito, but for now, you can’t go that way. Right next to the leyline fount, enter the building to find an Aramelech, who can give you the quest, The Raid on Tokyo. He will ask you to defeat Futsunushi, who had given you In Defense of Tokyo. You will have a choice here, as the two quests are mutually exclusive, so you can only complete one. Go in between the buildings here, on the southern side, to find Miman #185 behind the one. Between the last set of large blocks and the one building will be some stairs, so climb them and jump over into the next building for a Treasure Box (Garuda’s Essence).
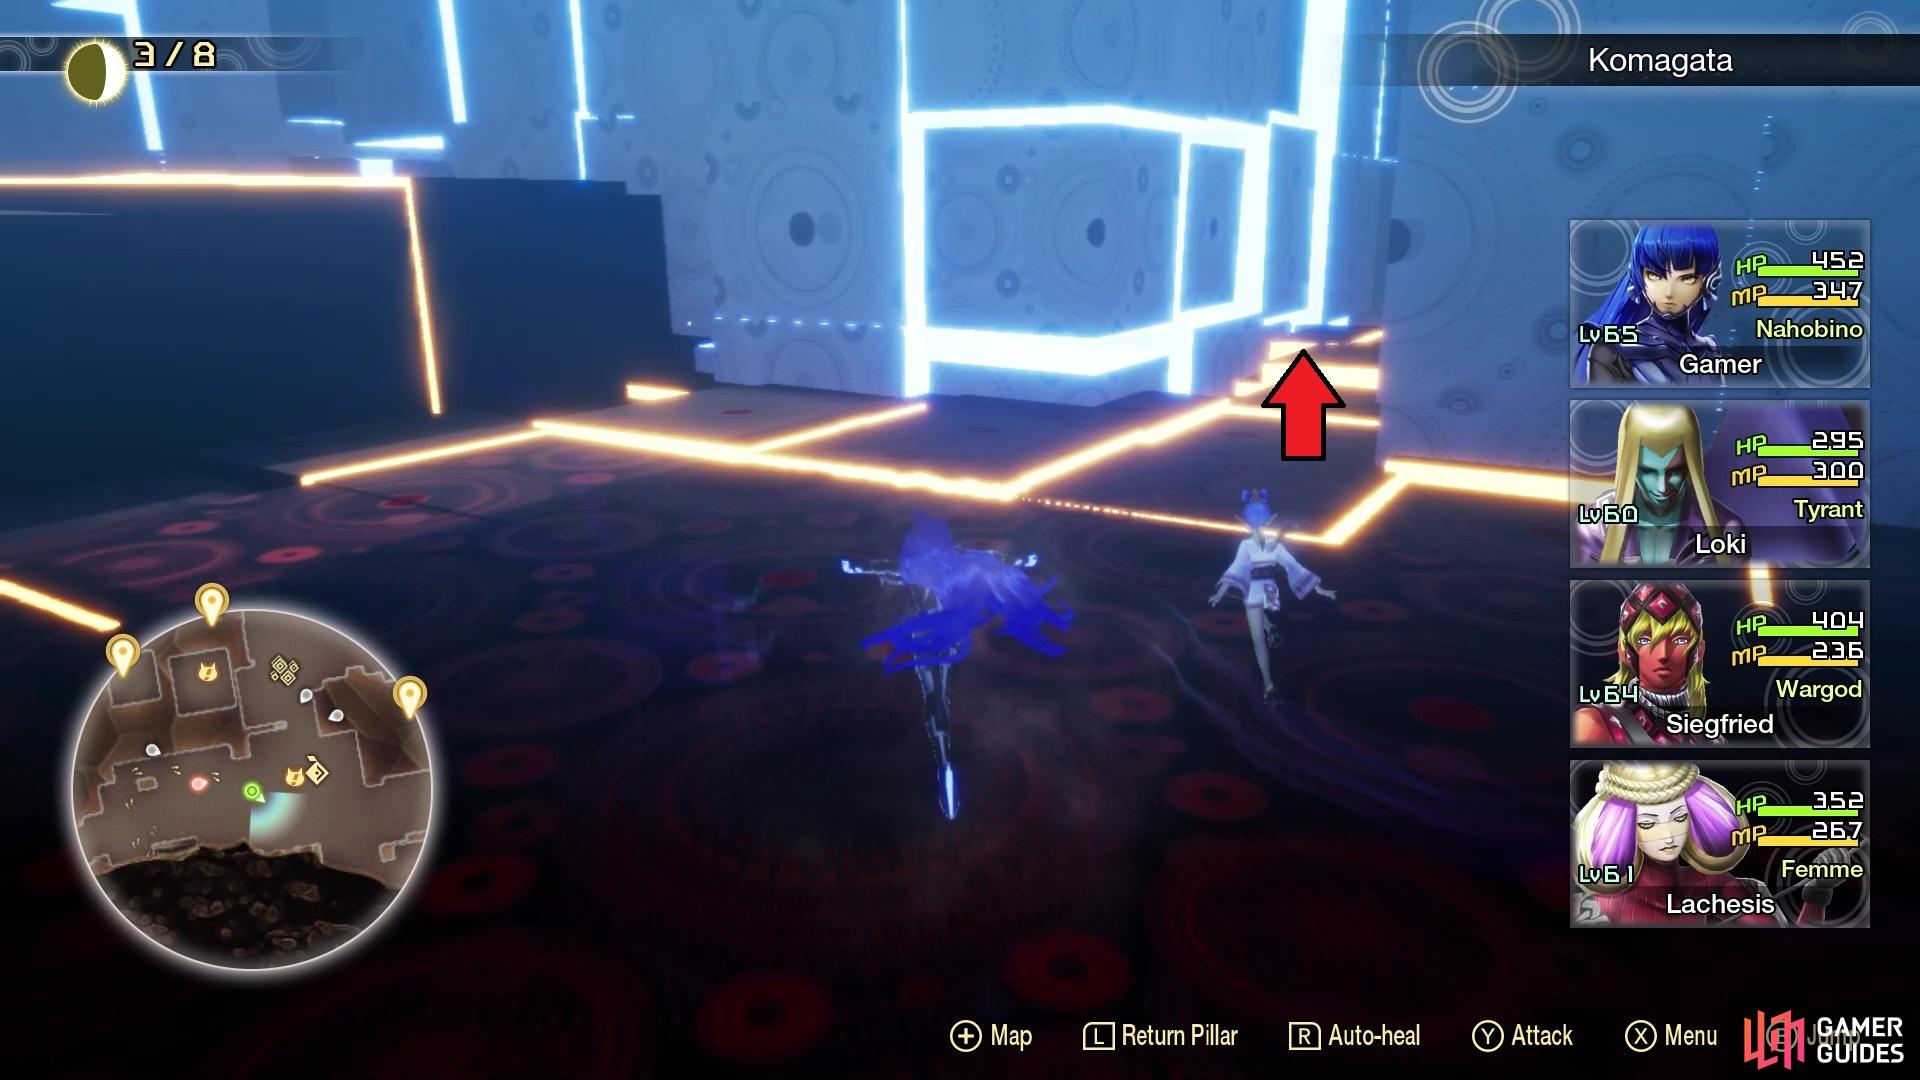
Head straight north from Adramelech’s position and in between the buildings here, then look in the little space to the west to find Miman #186. That’s everything on the ground now, so double back to where the Sandman NPC was and go through the space behind the Macabre NPC to find some orange blocks to climb. As you go through this set path, stairs will materialize whenever you get close enough to where to progress. After the first set of stairs, you can head through a narrow space, with the blocks going back to blue, which will lead to a Treasure Box at the end (Throne’s Essence). When you get to the second set of stairs, jump to the south before climbing them to reach another Treasure Box (Chakra Pot x2).
(1 of 2) There is another platform in the middle, that allows you to reach Miman #187
There is another platform in the middle, that allows you to reach Miman #187 (left), Miman #188 requires you to jump down from here to get to it (right)
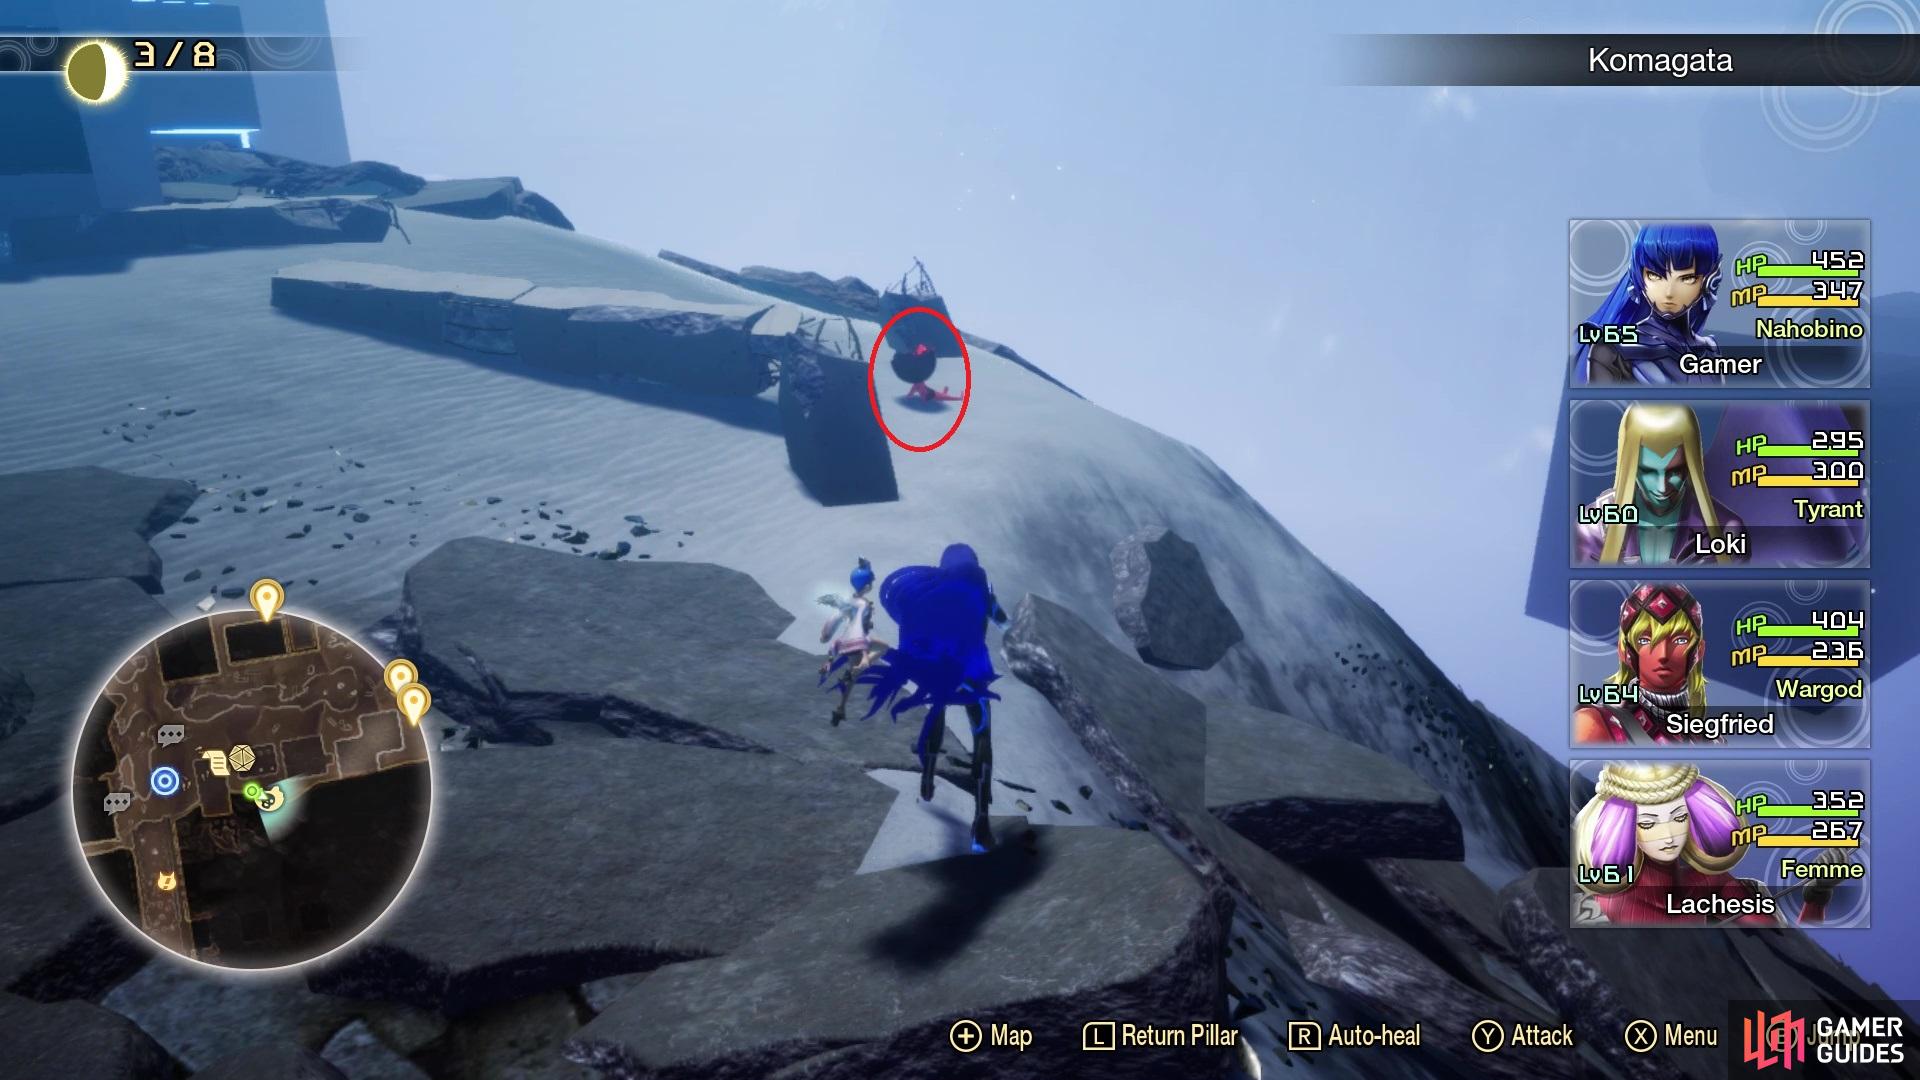
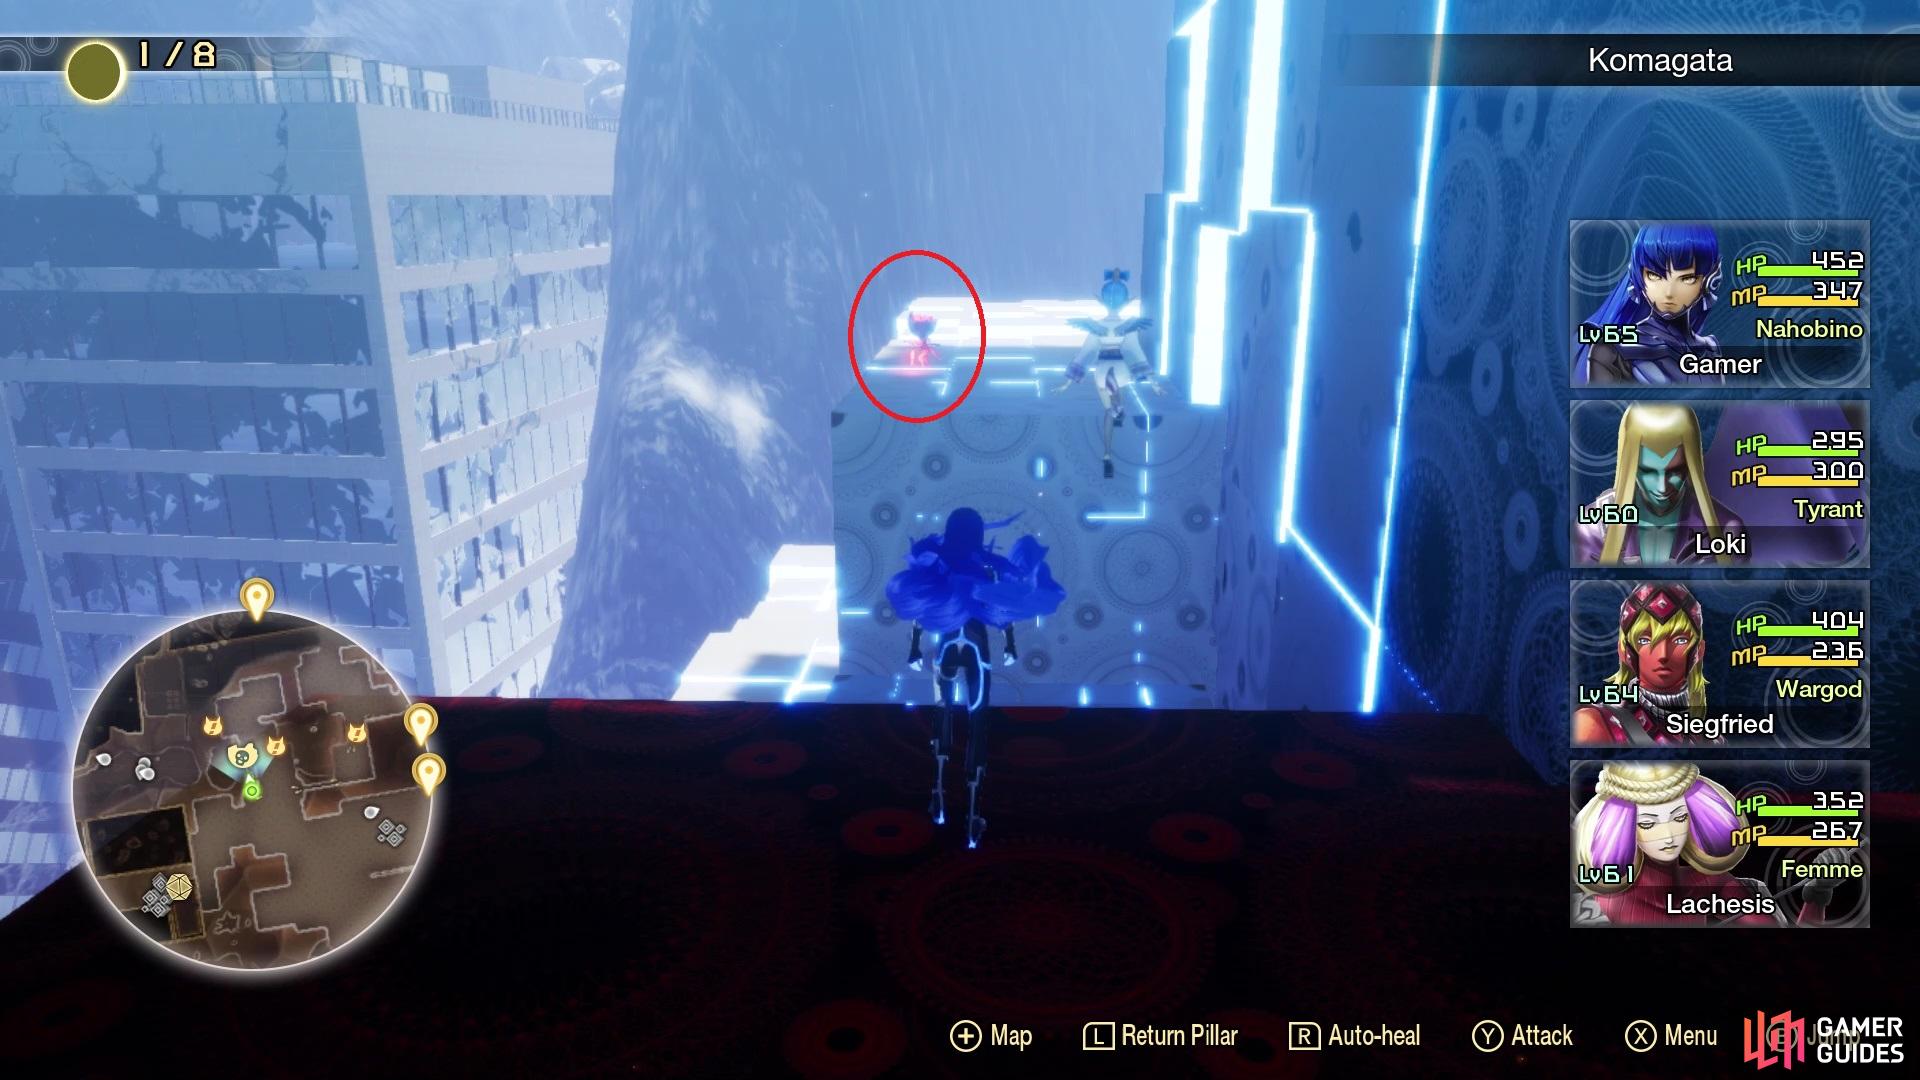
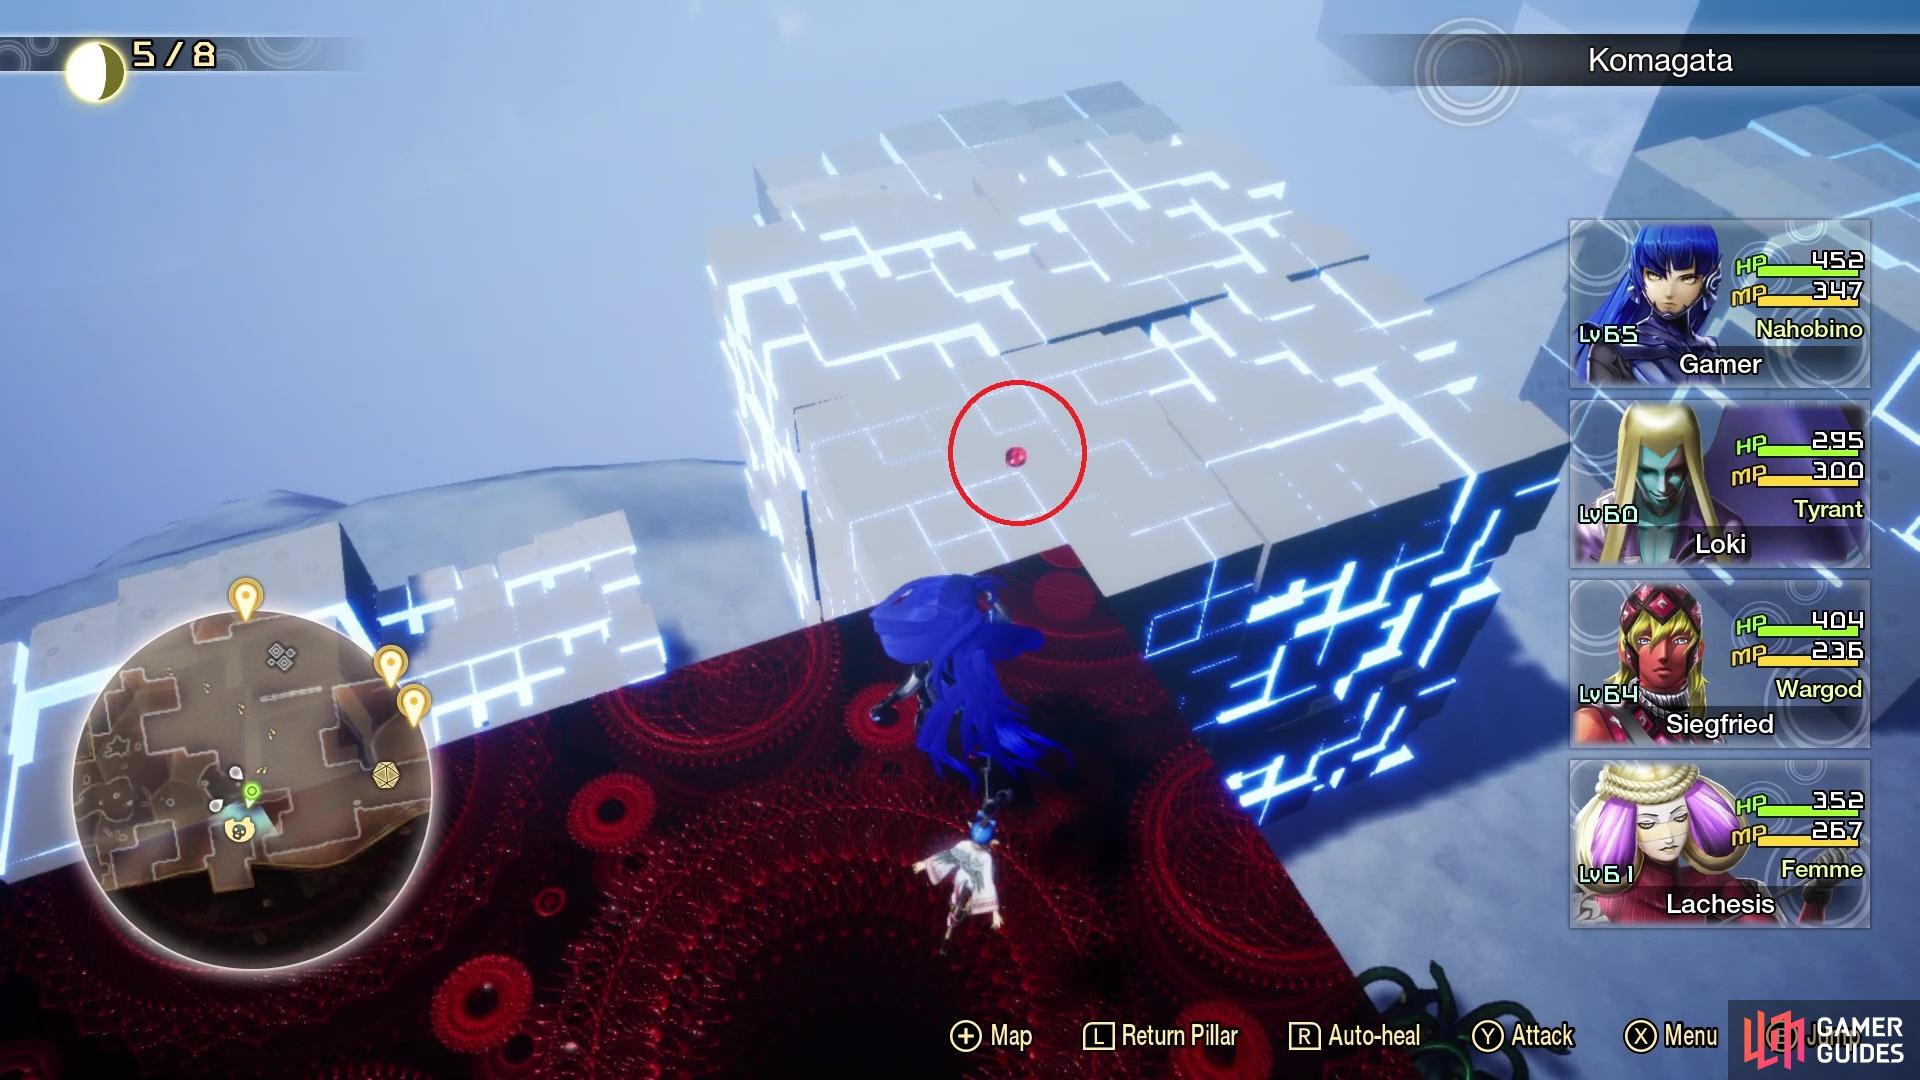
There’s nothing else you can do from here, so climb your way back up to that second set of stairs mentioned above. At the top, head to the edge to the west, then look north to see a Miman across the gap. Despite what it seems, you can use the lower platform in the middle of the gap to reach Miman #187 on the other side. Jump back across and go south, stopping at the corner there. Take a gander down and to the west, to see a spot to jump down to, allowing you to enter the nearby building to loot a Treasure Box (Life Drain Gem x3). Return to where you jumped down, then continue south to the corner. If you look slightly southwest, you will see a Miman on a much lower block. You need to jump down to it, allowing you to collect Miman #188.
Make your way back up to where you jumped down and skirt the edge to the east of that spot to find some stairs. This will lead to more stairs, then a Treasure Box, which contains 60,000 Macca. Return to the previous spot and continue east, hopping over the gaps and platforms, then climbing up two sets of stairs. As you go across this big block here, there will be a small gap in between the two big blue blocks, allowing you to drop down and access some stairs, leading to Amalgam #38. Get back up and follow the trail, until you have to jump across some misaligned blocks. Do that and you will be right by the Komagata Leyline, so touch it to register it. Hop back to the third to last misaligned block and look northeast, towards the ground, to spy a Miman far below you. Jump down towards it and collect Miman #189, then hop up the one step to loot the Treasure Box there (Norn’s Essence).
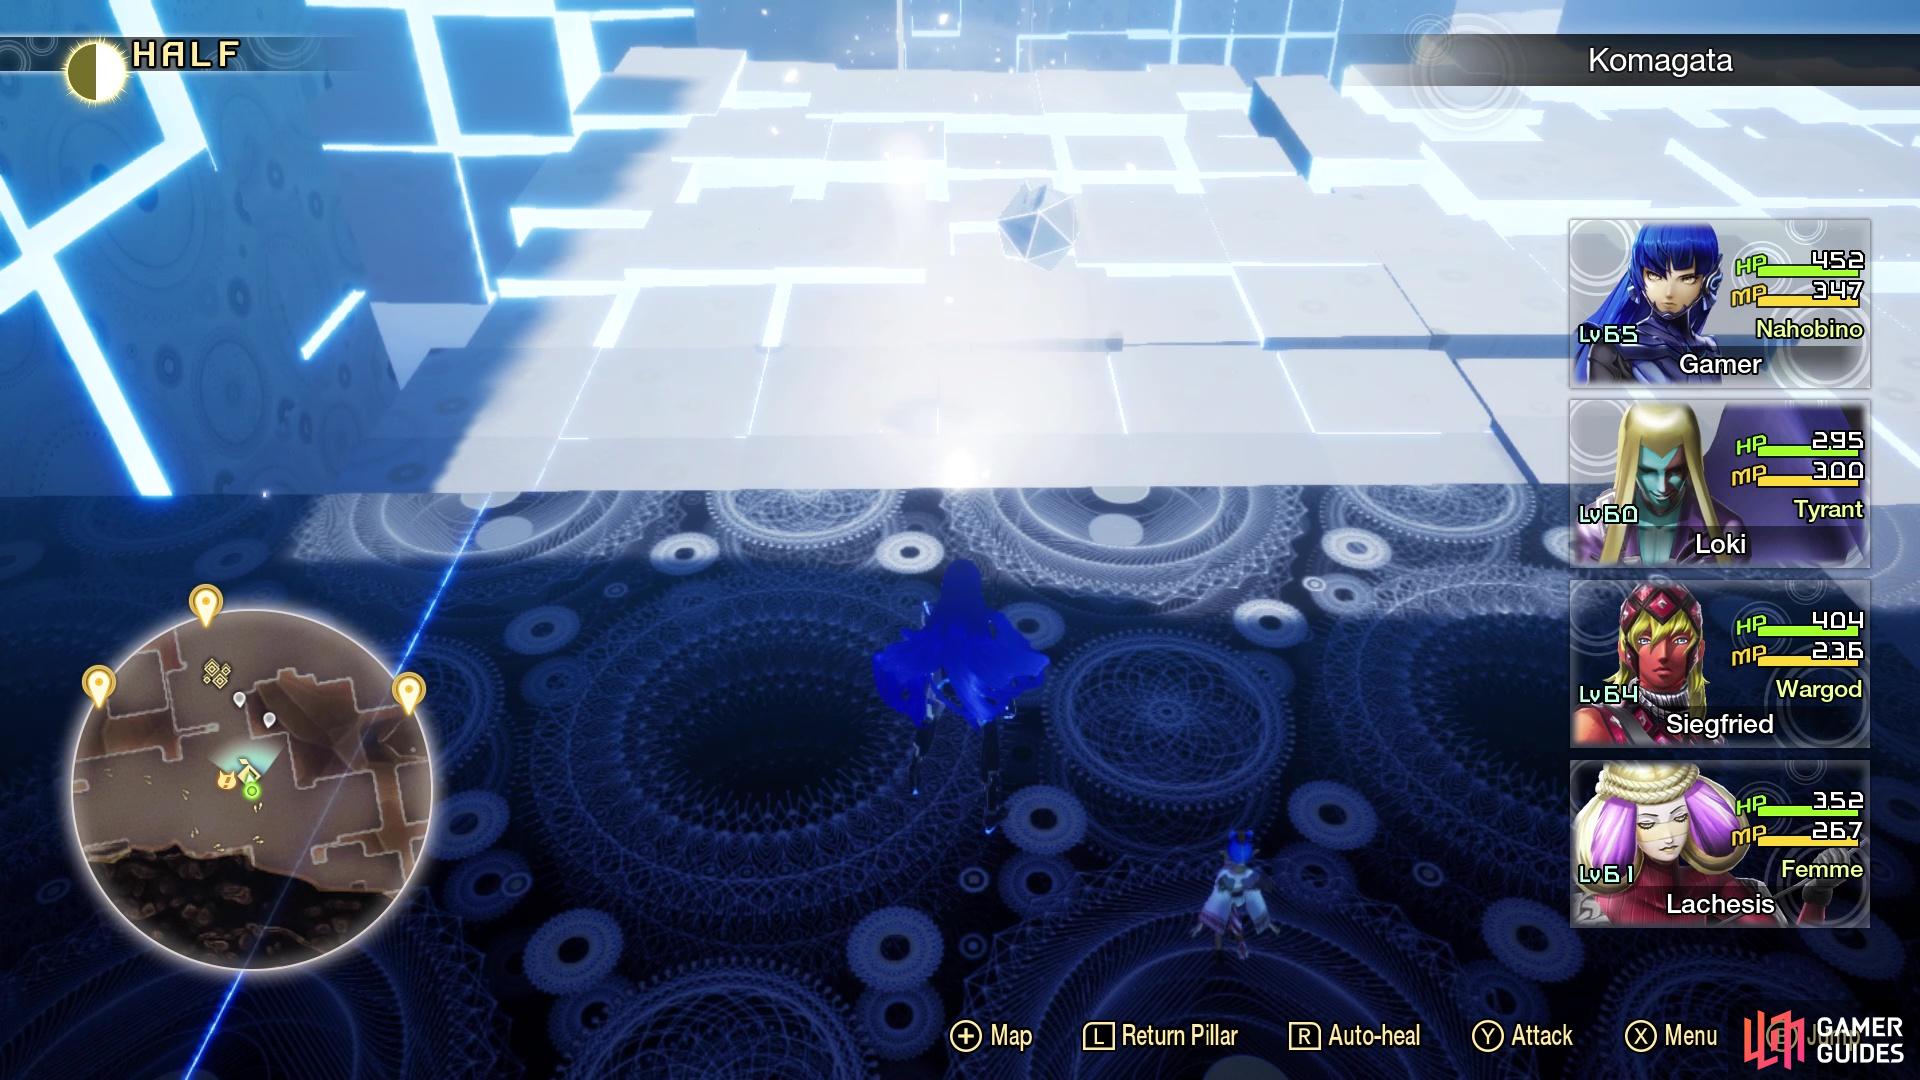
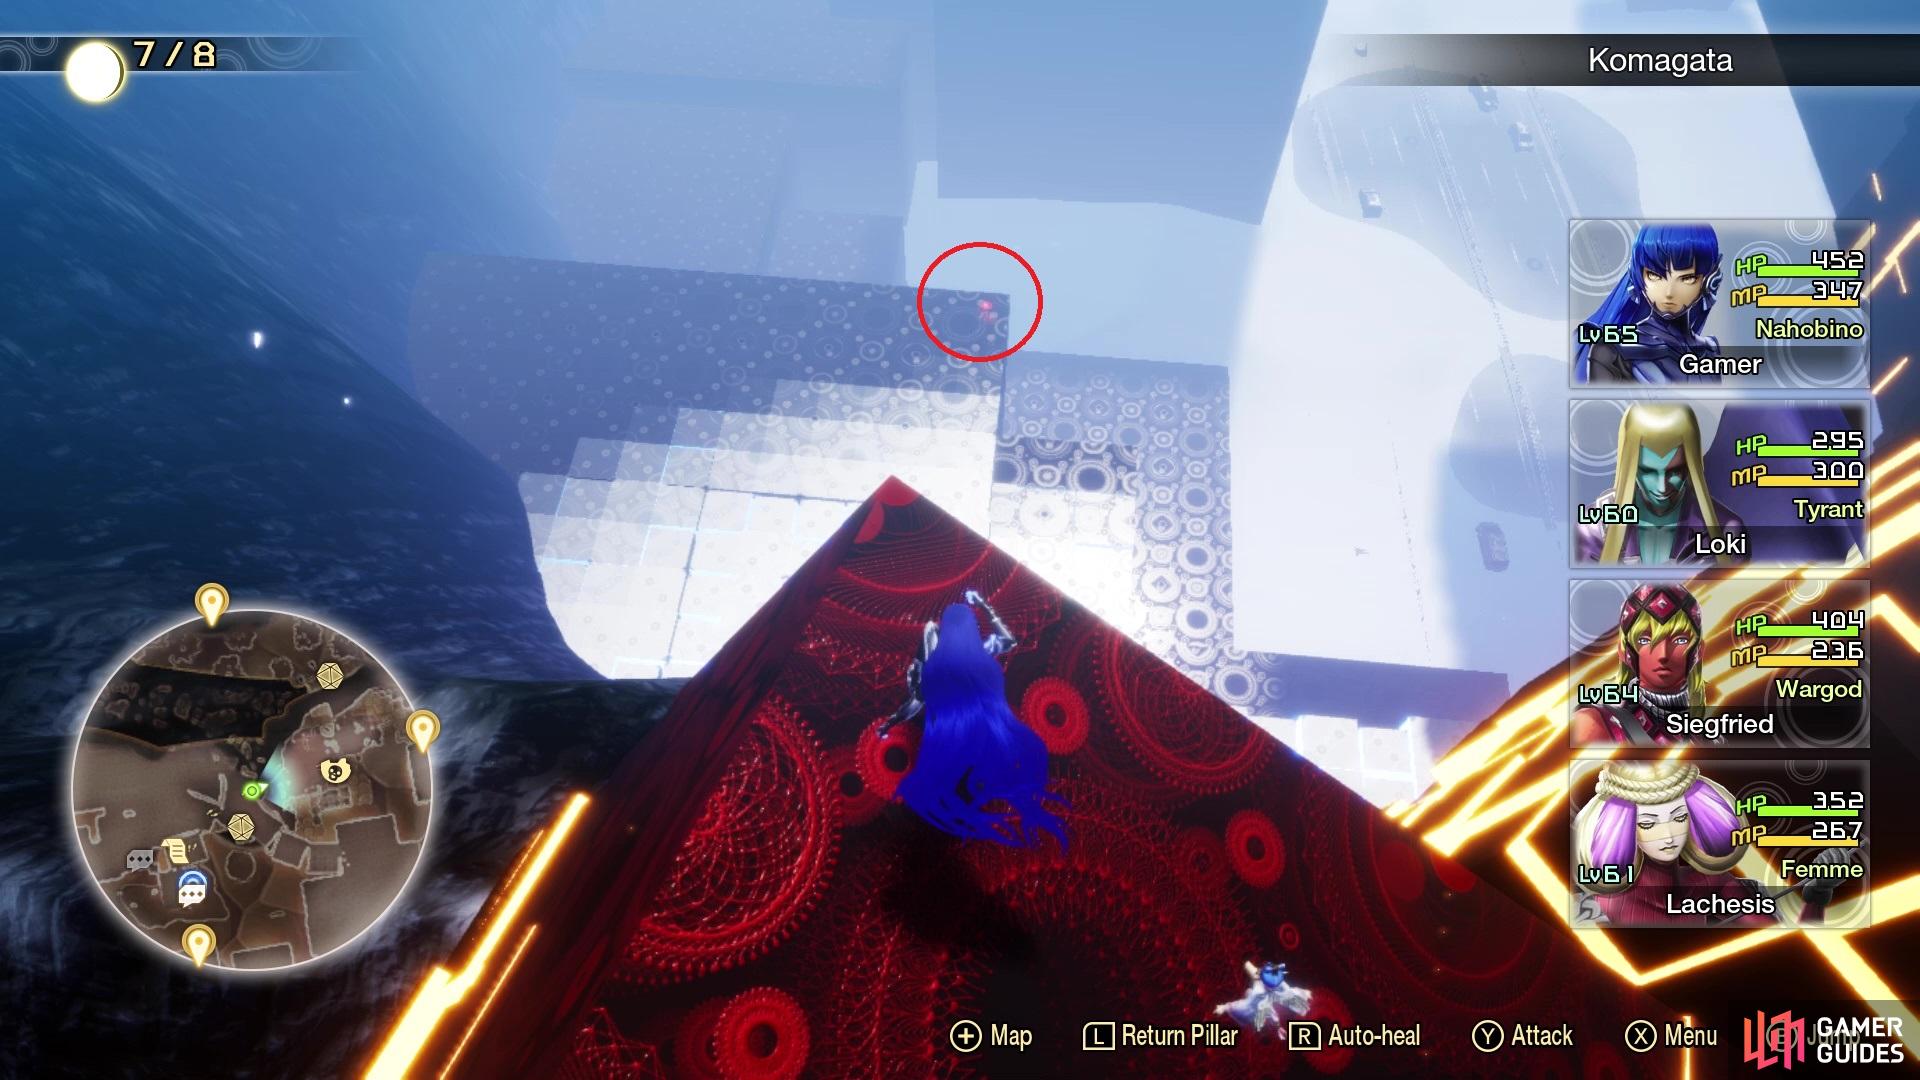
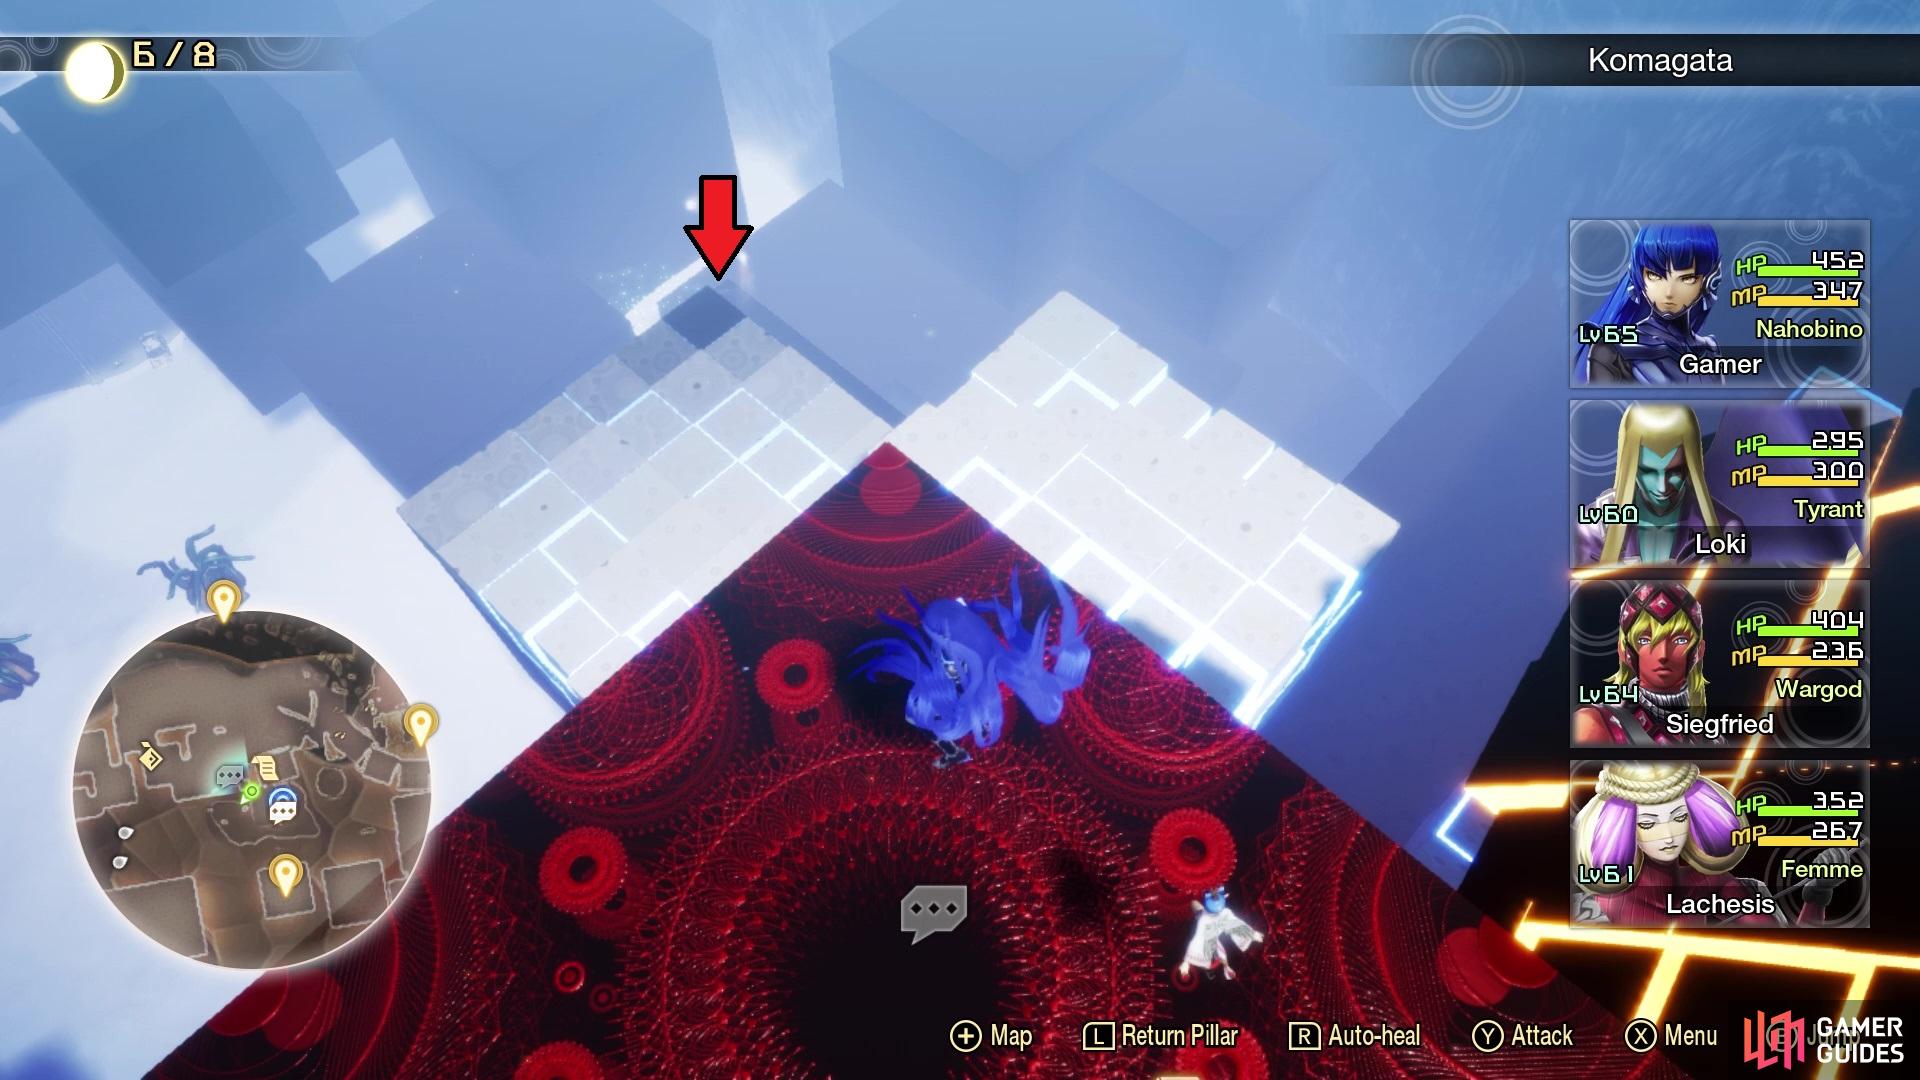
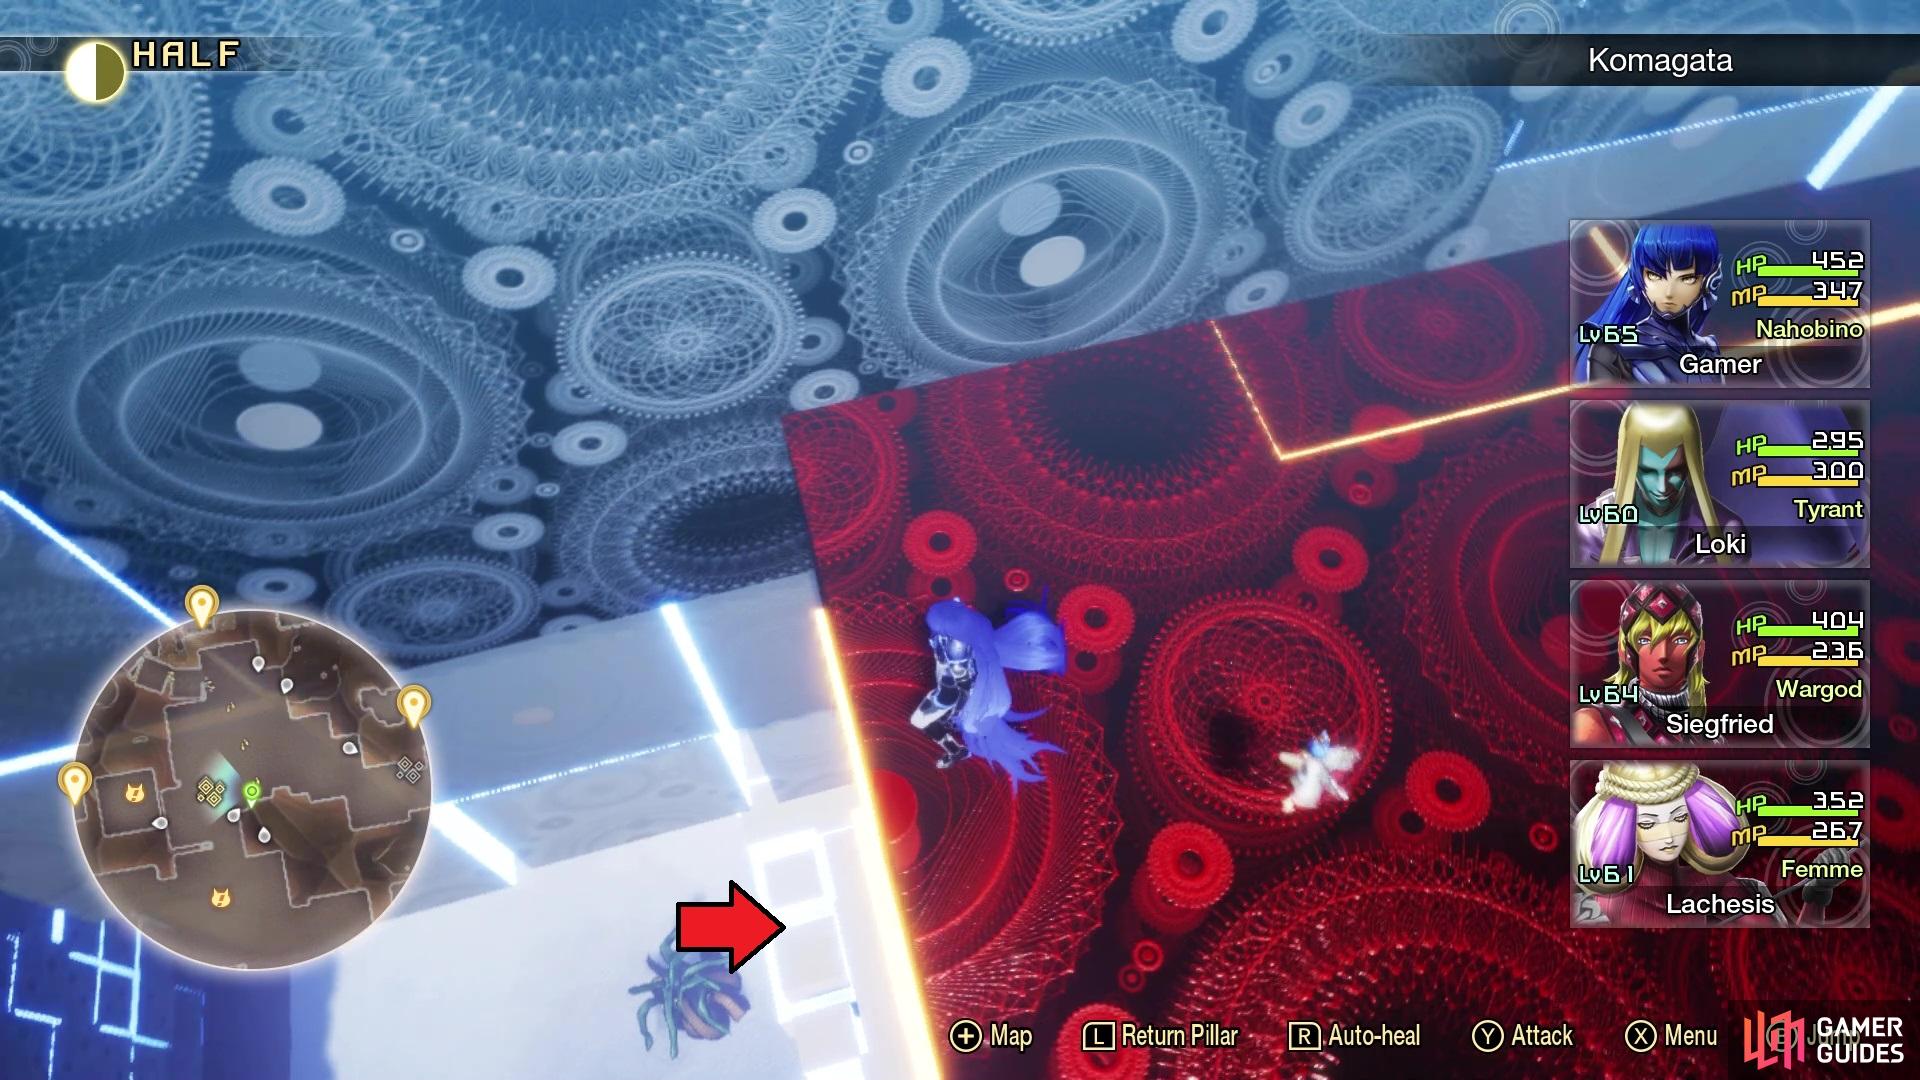
You can now use the Return Pillar to get back up the Leyline and collect the rest of the goodies without needing to do the lengthy trek. Jump straight off the northwest corner of the platform with the leyline, which will put you close to Amalgam #39. Back at the leyline fount, jump back across all of the blocks, then go straight south to the edge. Although it’s a bit hard to see, you can drop down here, onto a blue block below you. You will know you’re at the right spot, if you can see a Yamata-no-Orochi on the ground. Drop down at the corner and hug the wall of the block you drop from. If done right, you will land on the blue block and see Miman #190 on the opposite ledge.
(1 of 6) Go through this narrow passage and drop down the platforms to find Amalgam #38
That is all of the treasures, Mimans and Amalgams in this area, so it’s time to move onto the final set of areas before tackling the bosses.

 Sign up
No Comments