The Master Sword
The Master Sword is completely optional in this game, but is definitely worth getting once you have a minimum of thirteen heart containers. You start with three hearts and will gain four from the Divine Beasts if you complete them first, so that leaves you with six hearts you must get from 24 Shrines.
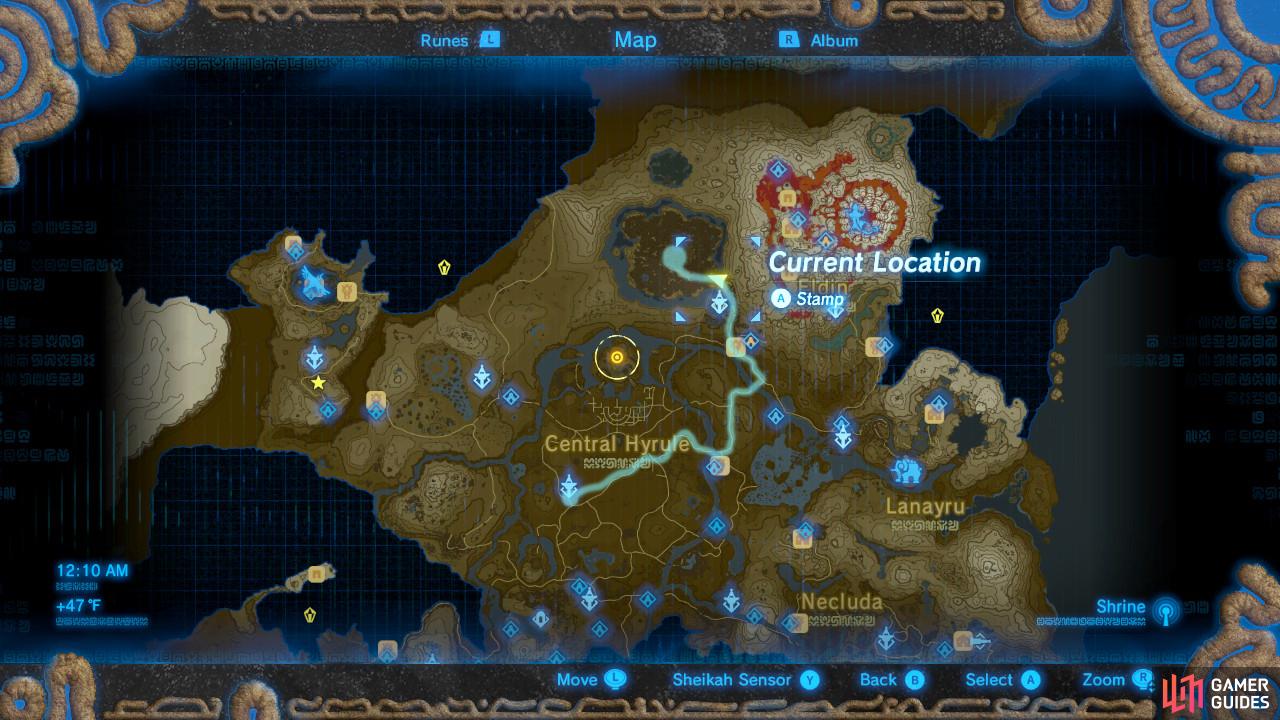
Once you are ready, the fastest way to get to the Korok Forest is by fast traveling to the Central Tower. Your aim is to get to the footpaths east of Hyrule Castle that go around it and to the northern region west of Death Mountain. You might run into several Guardians along the way, either kill them or run for your life.
Wetland Stable
(1 of 2) Stop by here to catch a break
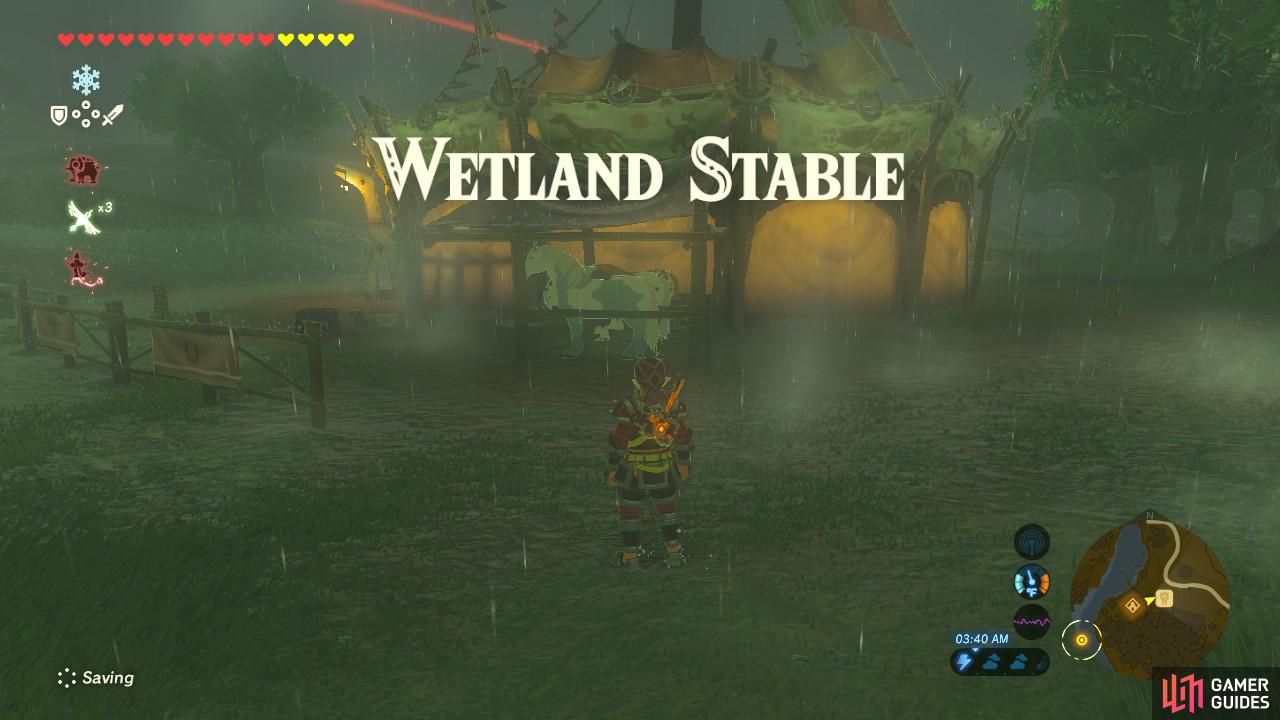
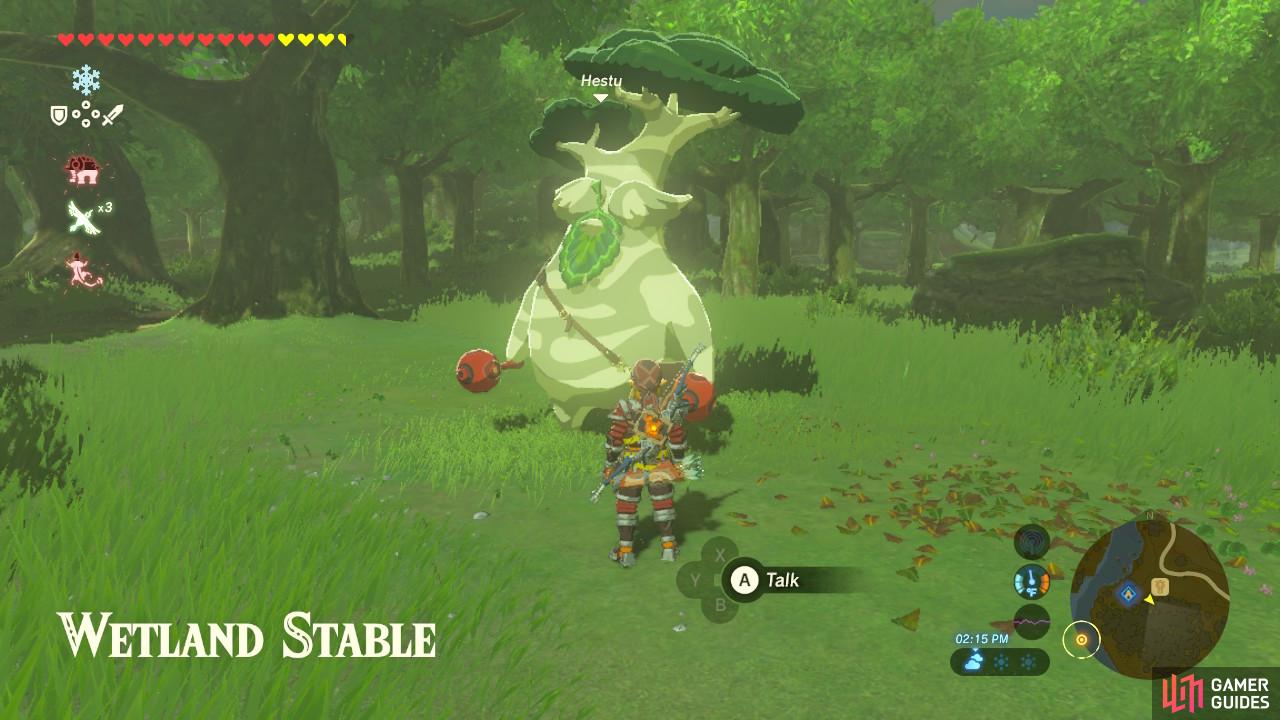
Stop by here to catch a break (left), Hestu will be here, also trying to go to Korok Forest (right)
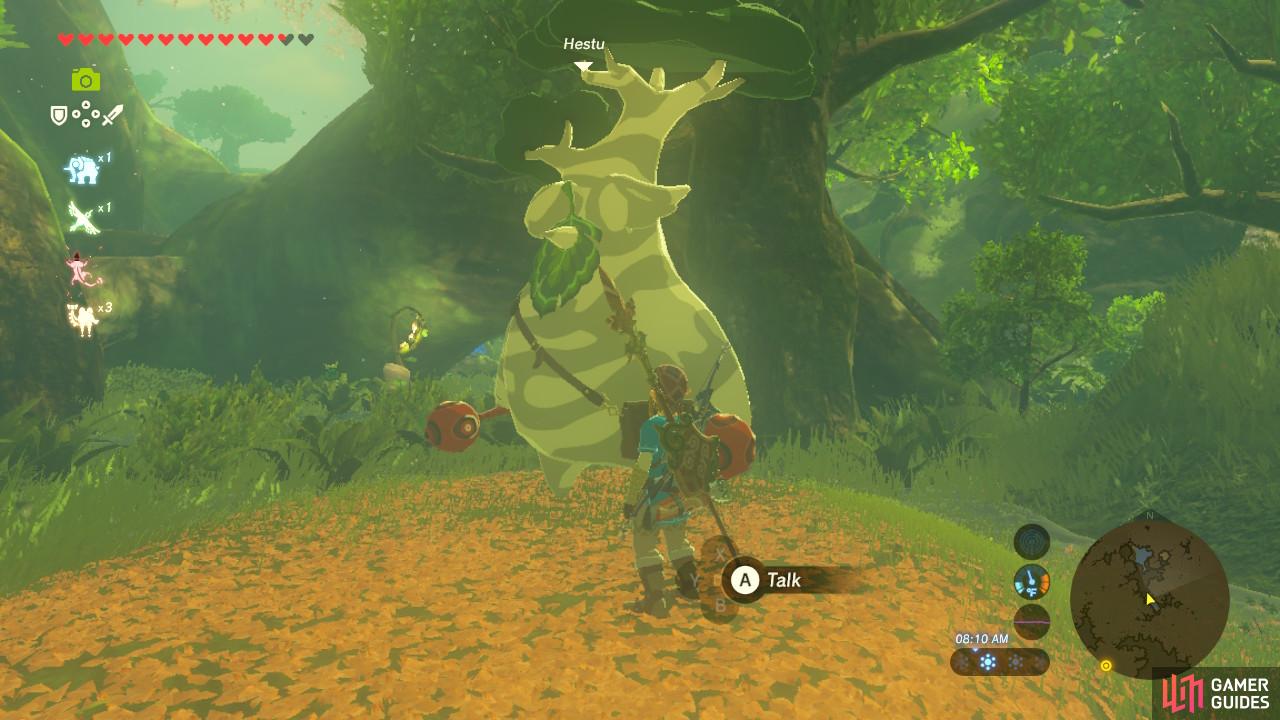
Your first checkpoint along the way will be the Wetland Stable. At this point you can grab a horse if you’d like to speed up the journey. If you have completed Hestu’s original sidequest on the way to Kakariko Village, The Priceless Maracas, then you will see him chilling out here trying to get back to Korok Forest. Feel free to expand your inventory as necessary.
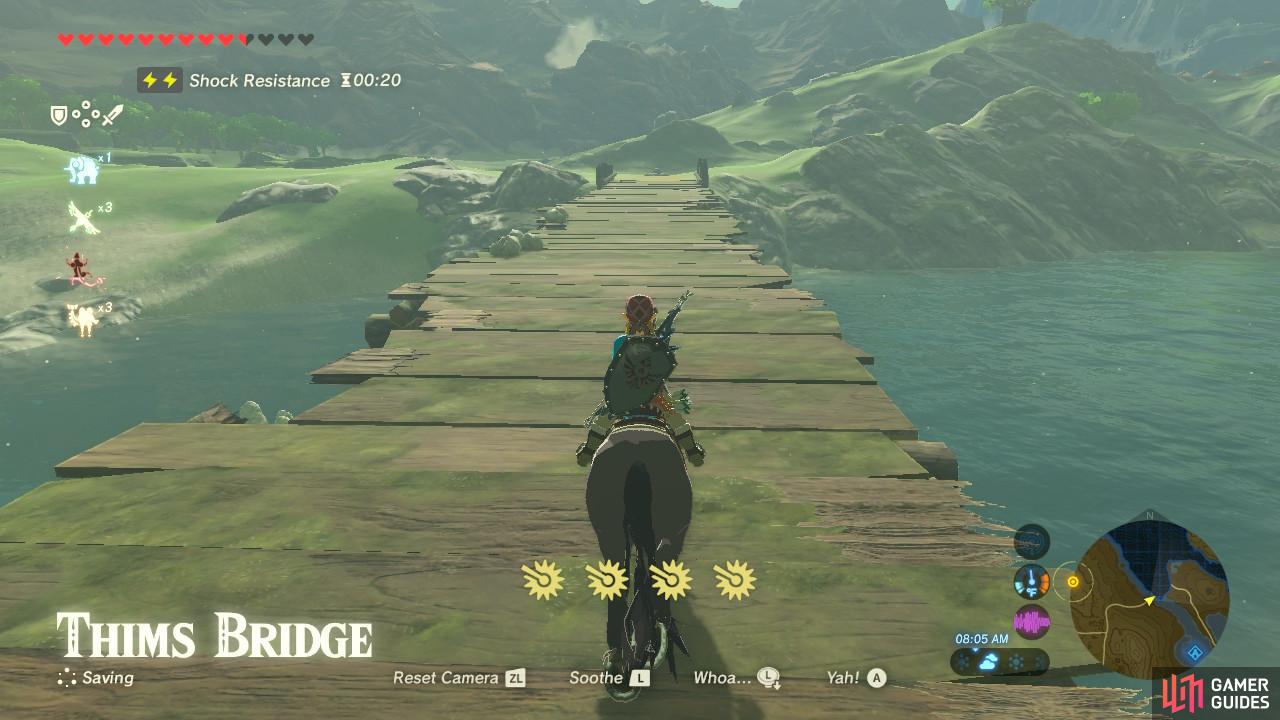
Continue north and cross Thims Bridge. There will be to your right an NPC who you can interact with to learn how to shield surf. Go left and you will arrive at your next checkpoint.
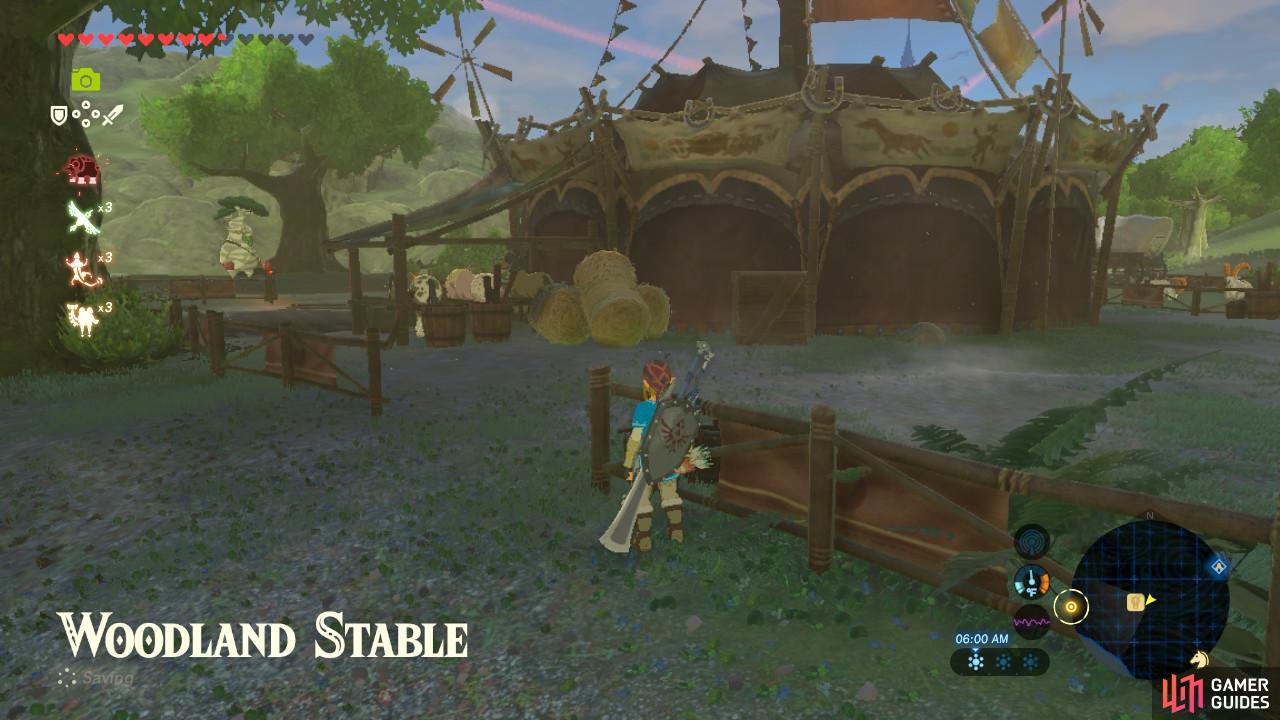
Woodland Stable
Again, Hestu will be at the Woodland Stable for you to talk to. He will again say that he is lost but will keep trying to get to Korok Forest.
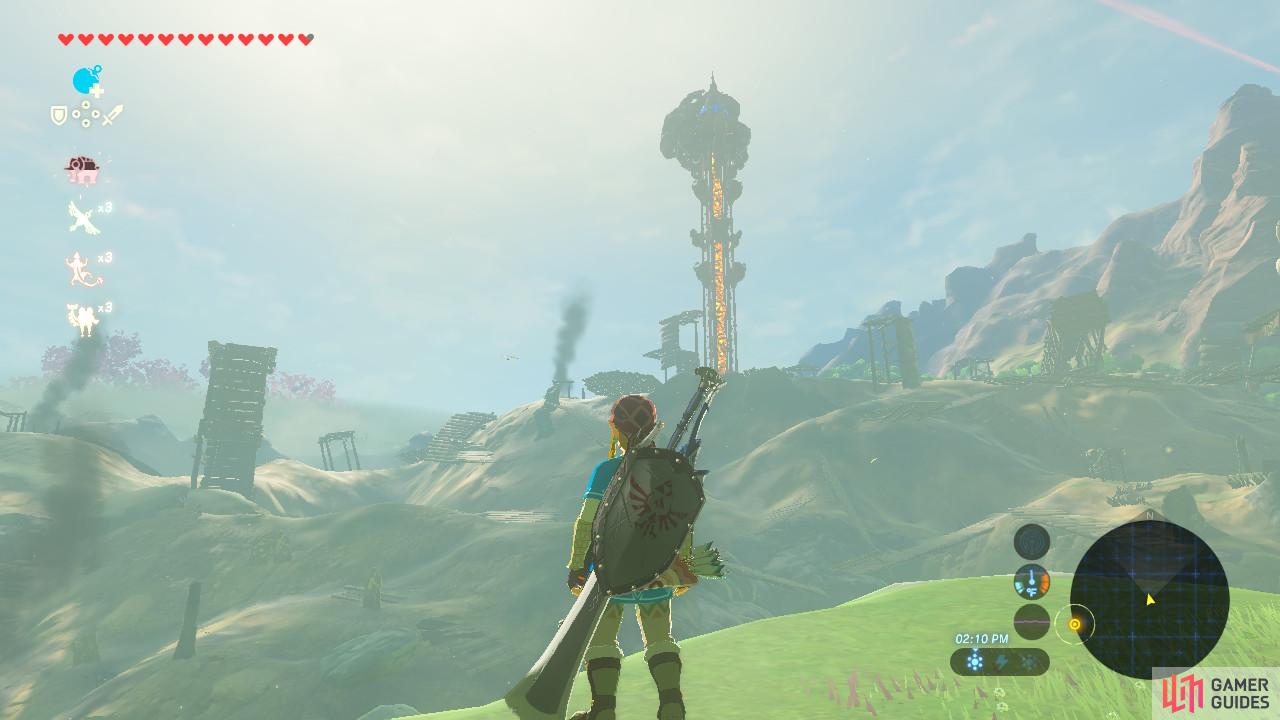
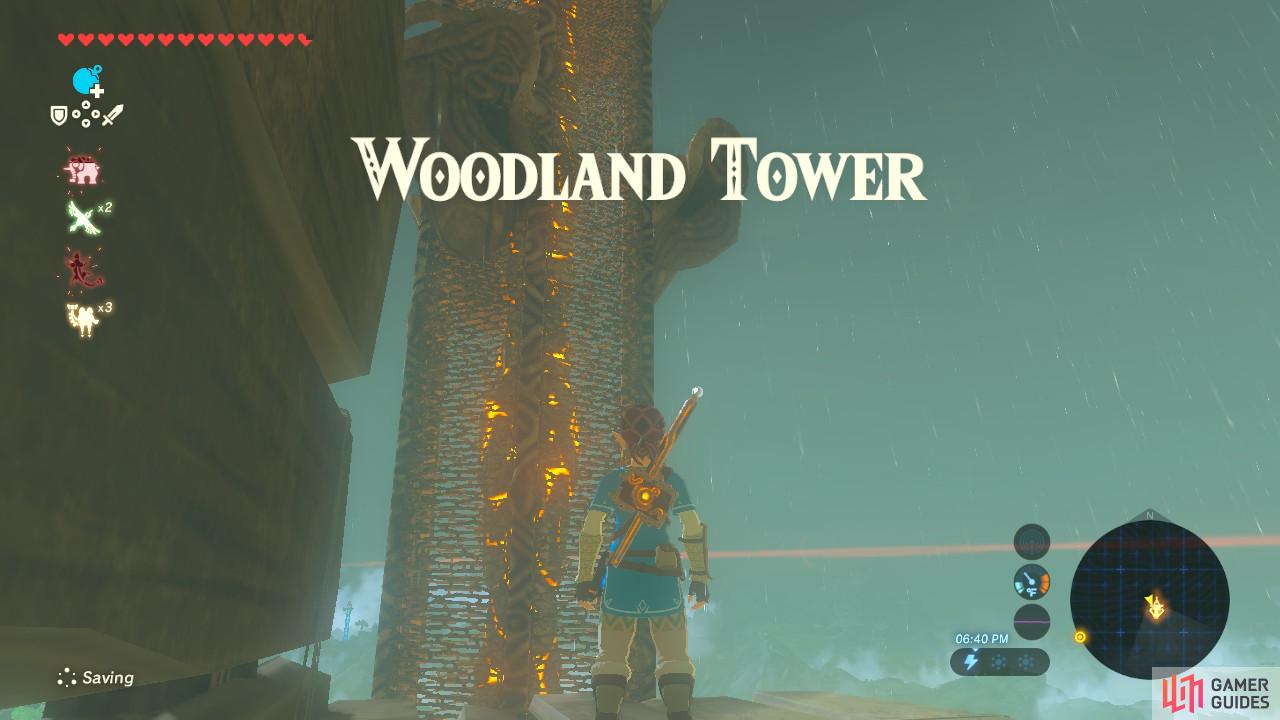
To get a map of the region, the Woodland Tower is on the way to our destination. It is in the middle of the abandoned Military Training Camp and is absolutely infested with enemies. Additionally, the water is lethal mud, similar to the Wasteland Tower in the Gerudo region.
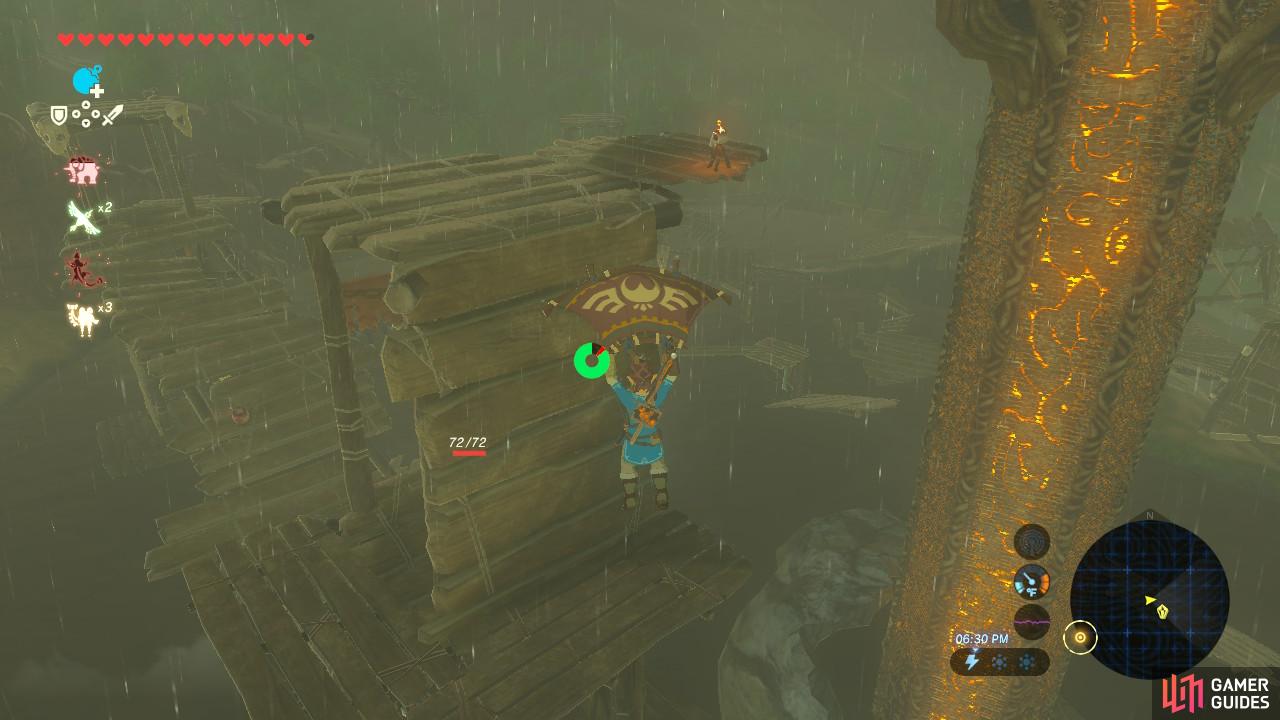
(1 of 2) If you have it, use Revali’s Gale to Paraglide to the outside of this post and sneak past the Moblins
If you have it, use Revali’s Gale to Paraglide to the outside of this post and sneak past the Moblins (left), You can then Revali’s Gale again to get a head start on the tower and avoid the Wizzrobe (right)
You will need to walk around the left perimeter of the mud lake. If you have Revali’s Gale and wish to avoid confrontation with Wizzrobes and Moblins, fast travel to the outside of the Moblins lookout post, and then Revali’s Gale again up to the tower. If you do not have or do not want to use Revali’s Gale, again circumvent the left perimeter of the lake and run through the Moblin camp.
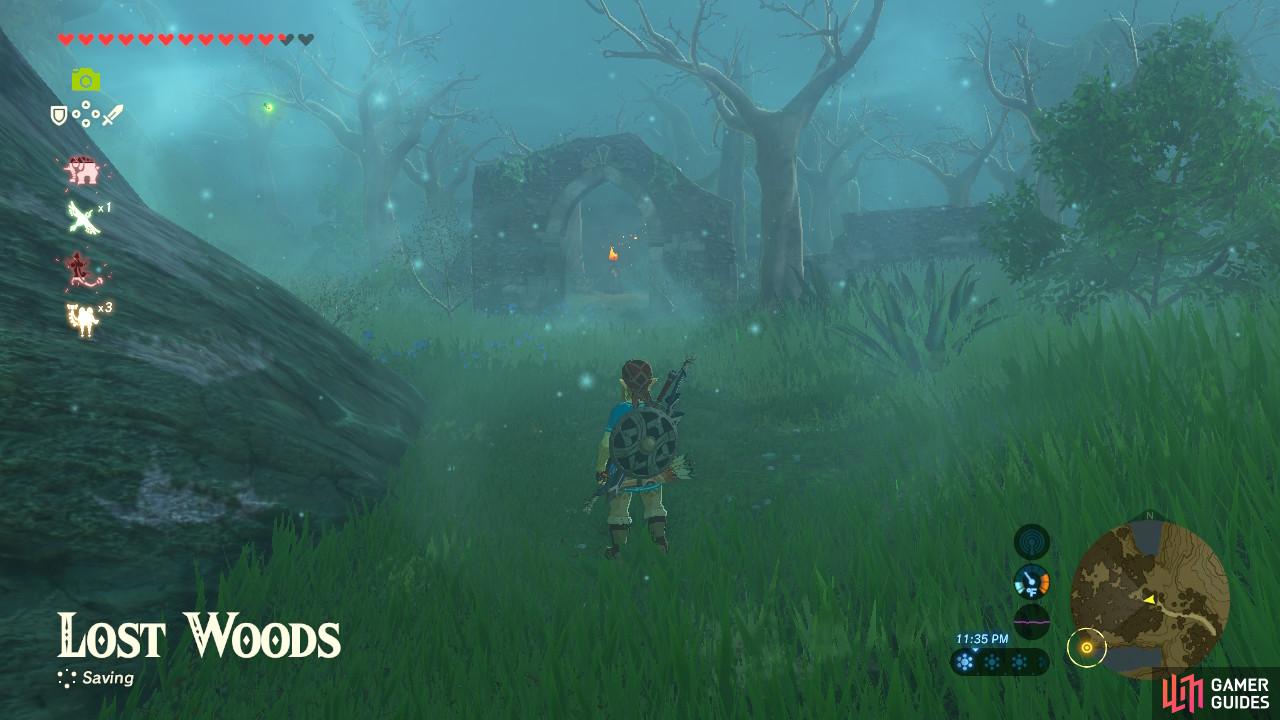
From the peak of the tower you can Paraglide to the footpath that is the entrance to the Lost Woods. The Korok Forest is the northern part of the dense forest area you see, but you can only get to it through the Lost Woods.
Lost Woods
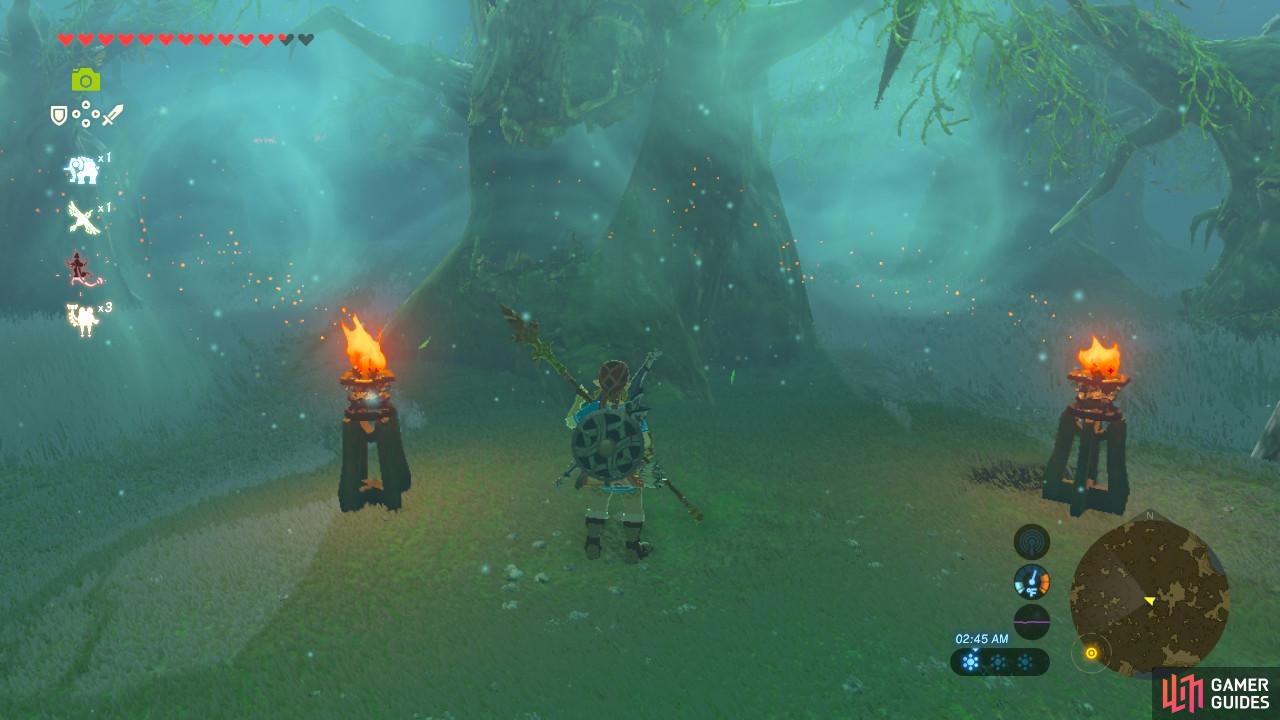
Once you reach the Lost Woods, the forest will darken considerably and the music will change to this game’s Lost Woods leitmotif. To get through the first half of the Lost Woods, you must run from torch to torch. If you stray too far from them you will end up at the beginning again.
(1 of 2) This tree and the two torches marks the halfway point in the Lost Woods
This tree and the two torches marks the halfway point in the Lost Woods (left), The embers in this picture are blowing straight ahead of us, indicating that we must continue forward (right)
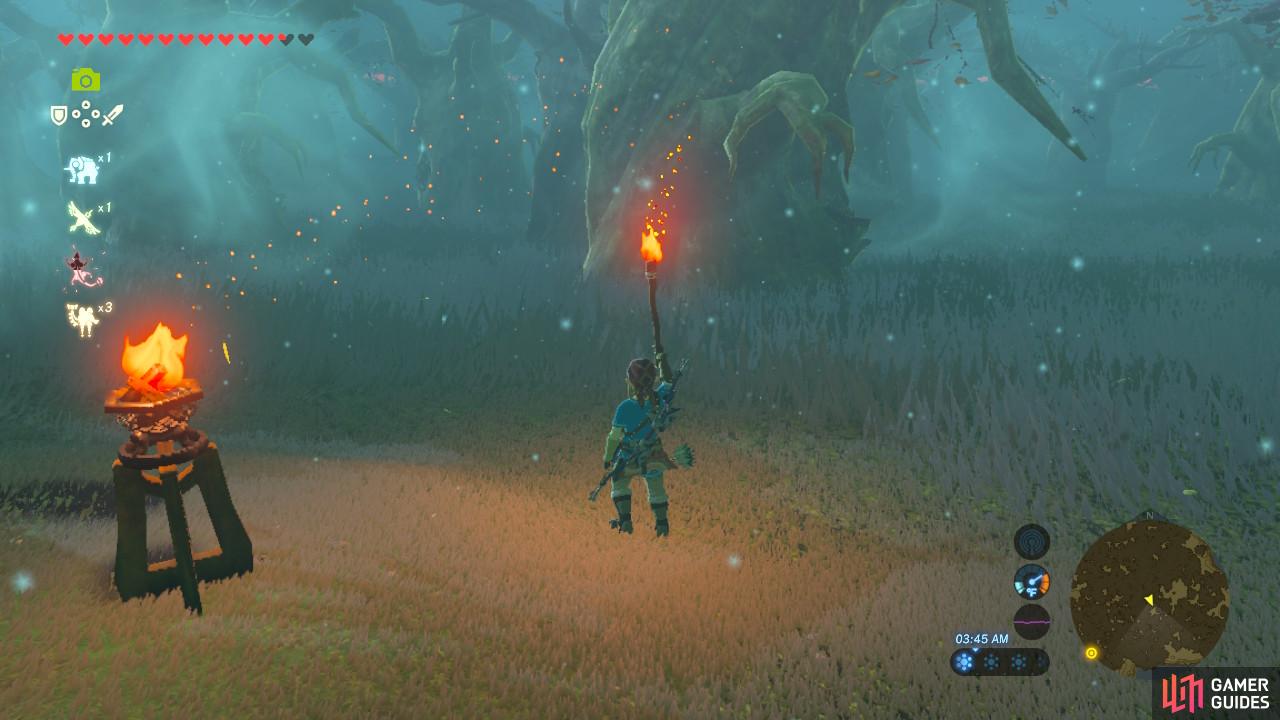
The halfway point of Lost Woods is marked by a larger tree with two torches in front of it. For the second half, you must have a Torch equipped. It will be laying on the ground by the two torches, so pick it up. You can also open the treasure chest in the tree for a Forest Dweller’s Spear.
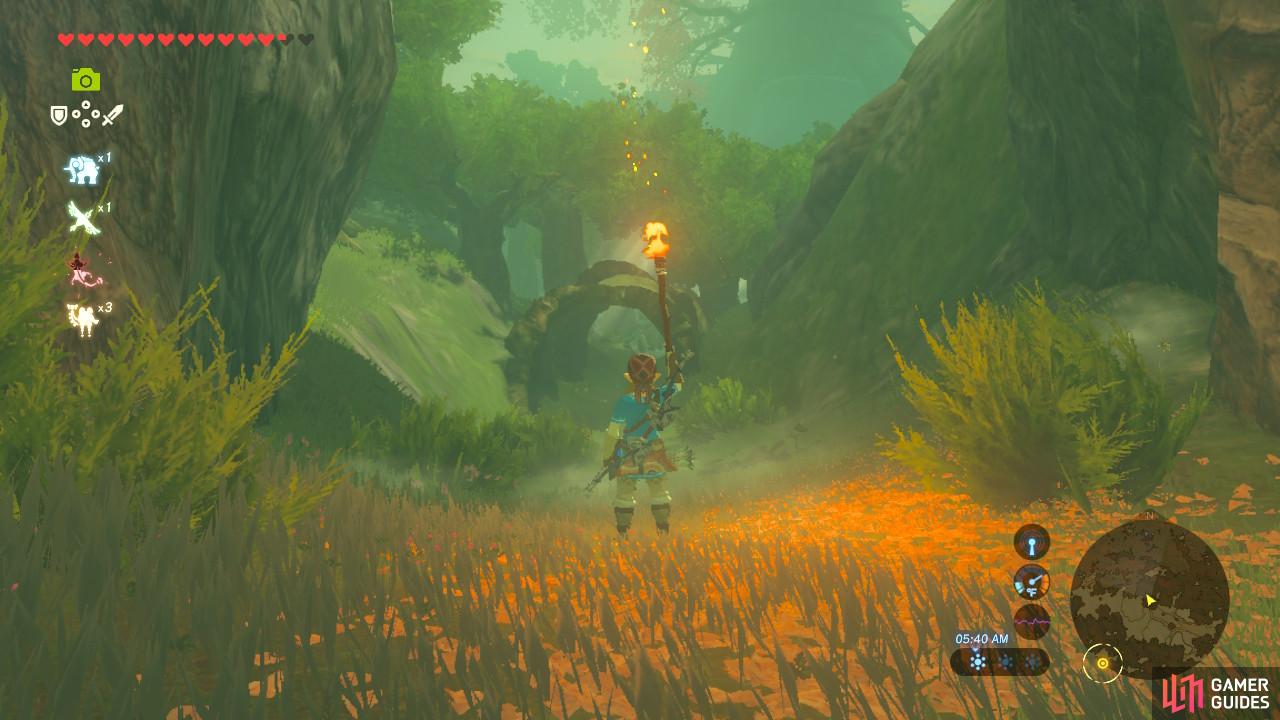
Light your Torch on fire and pay attention to the direction the embers blow. That is the direction you need to go in. As long as the embers are blowing straight ahead of you, you are going in the right direction.
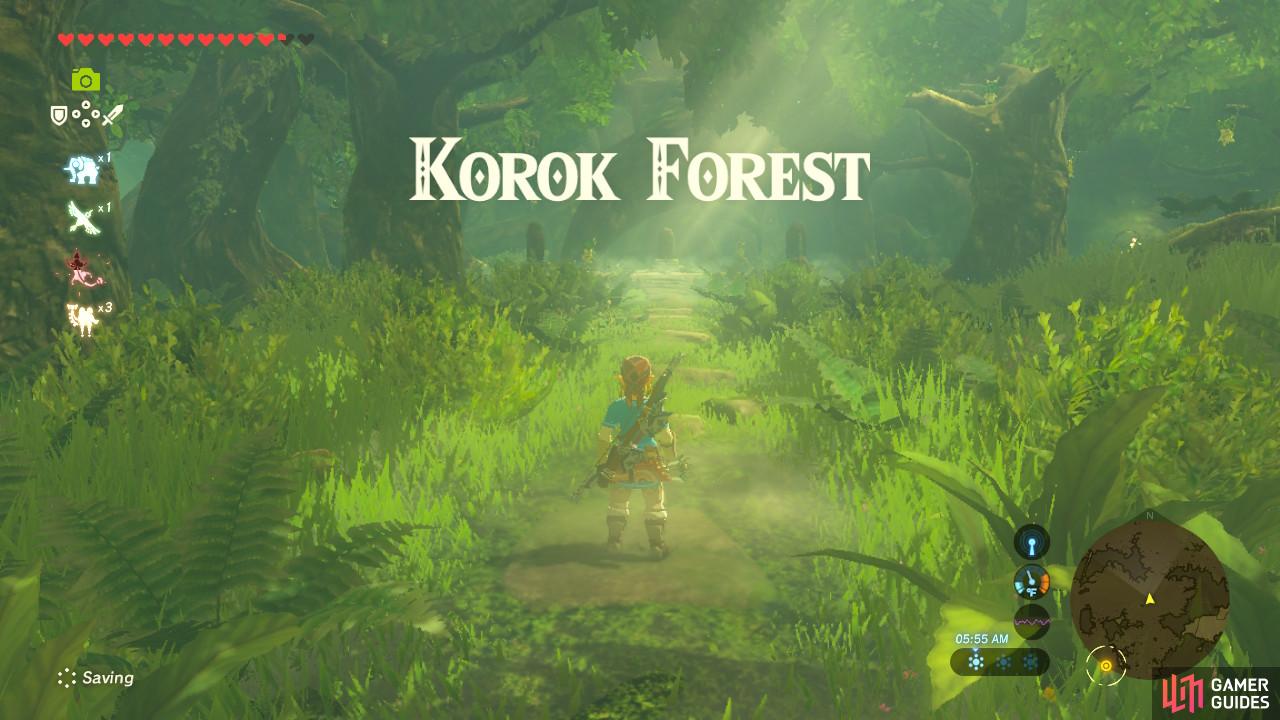
Korok Forest
(1 of 2) This hollow log marks the end of the Lost Woods
This hollow log marks the end of the Lost Woods (left), Korok Forest is a safe and wholesome place so you can relax here and enjoy the greenery (right)
The entrance to Korok Forest is marked by a large, hollow log. Go through it and you will arrive at the Korok Forest, a location free of enemies and filled with the Korok children.
Hestu is also in the vicinity, and you can talk to him anytime here for the rest of the game to expand your inventory. If you got to the Korok Forest and ignored the stables along the way, he will be here anyways and you will never see him at the stables.
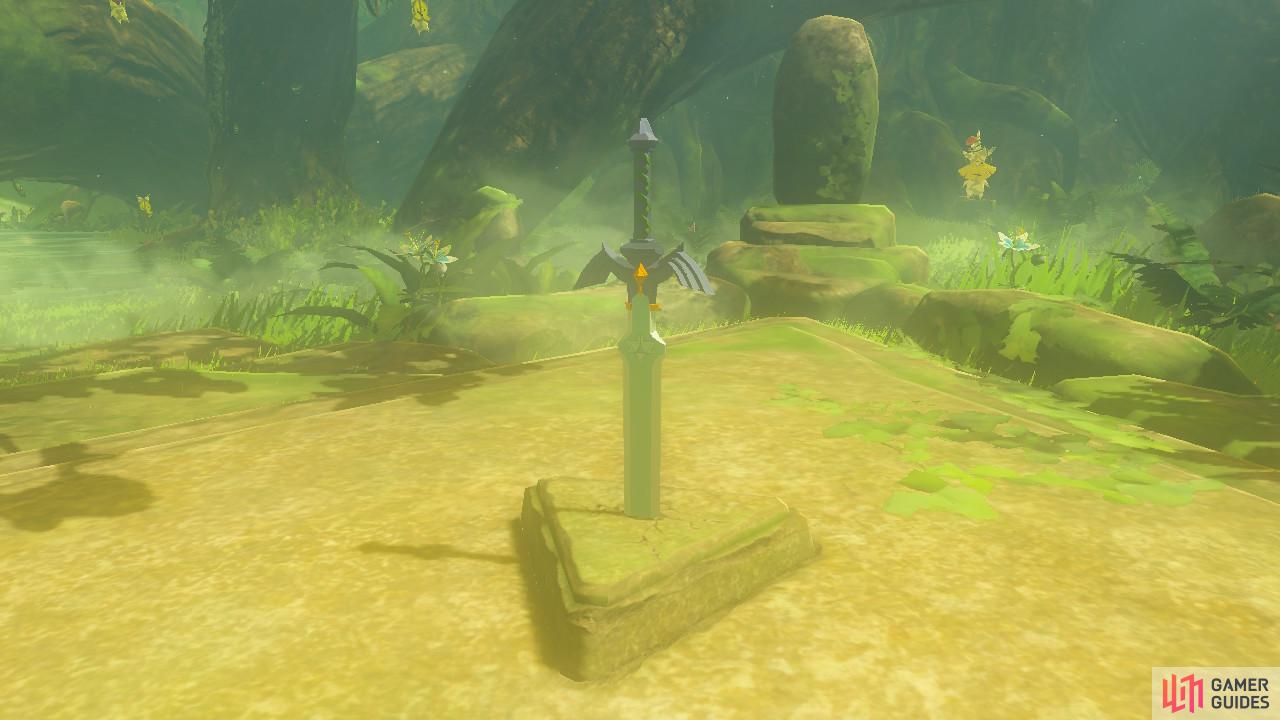
To get to the Master Sword, keep running around the roots of the Deku Tree. A short cutscene zooming in on the Master Sword resting in its pedestal will indicate that you have arrived. Press [A] to try and pull up the sword and you will remember a surge of memories. At this point, the Deku Tree will wake up and tell you about the Master Sword.
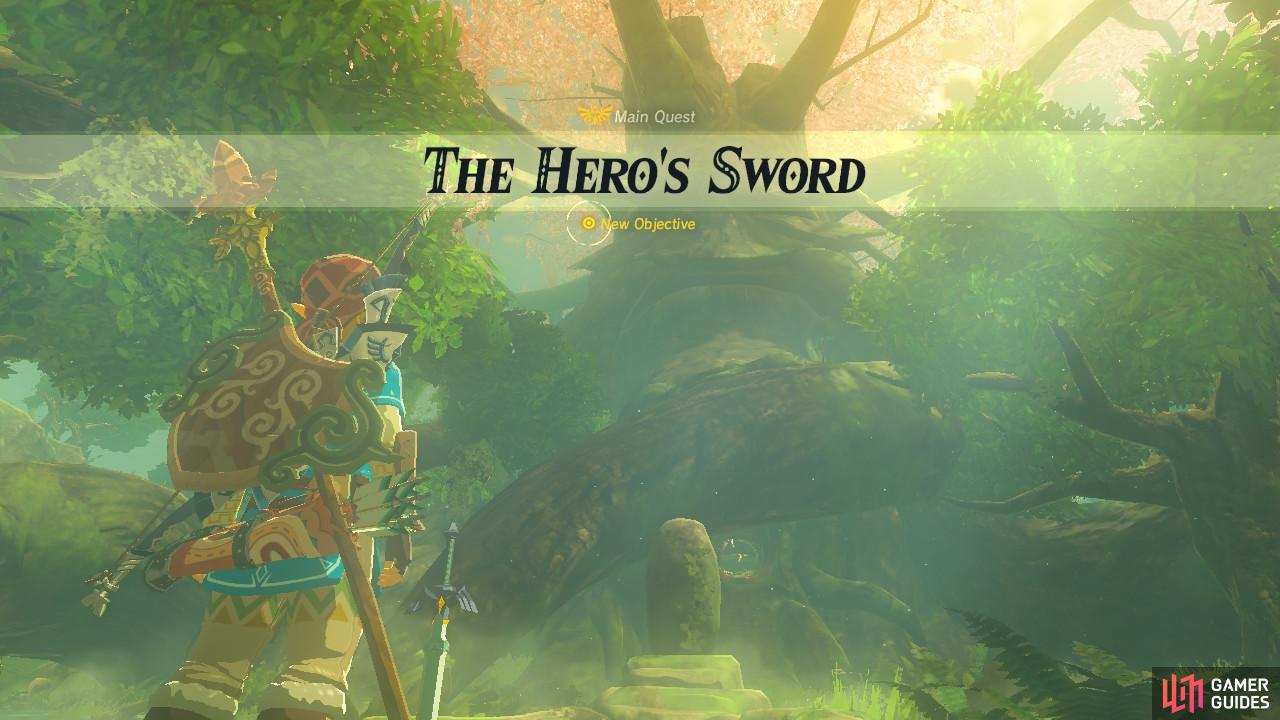
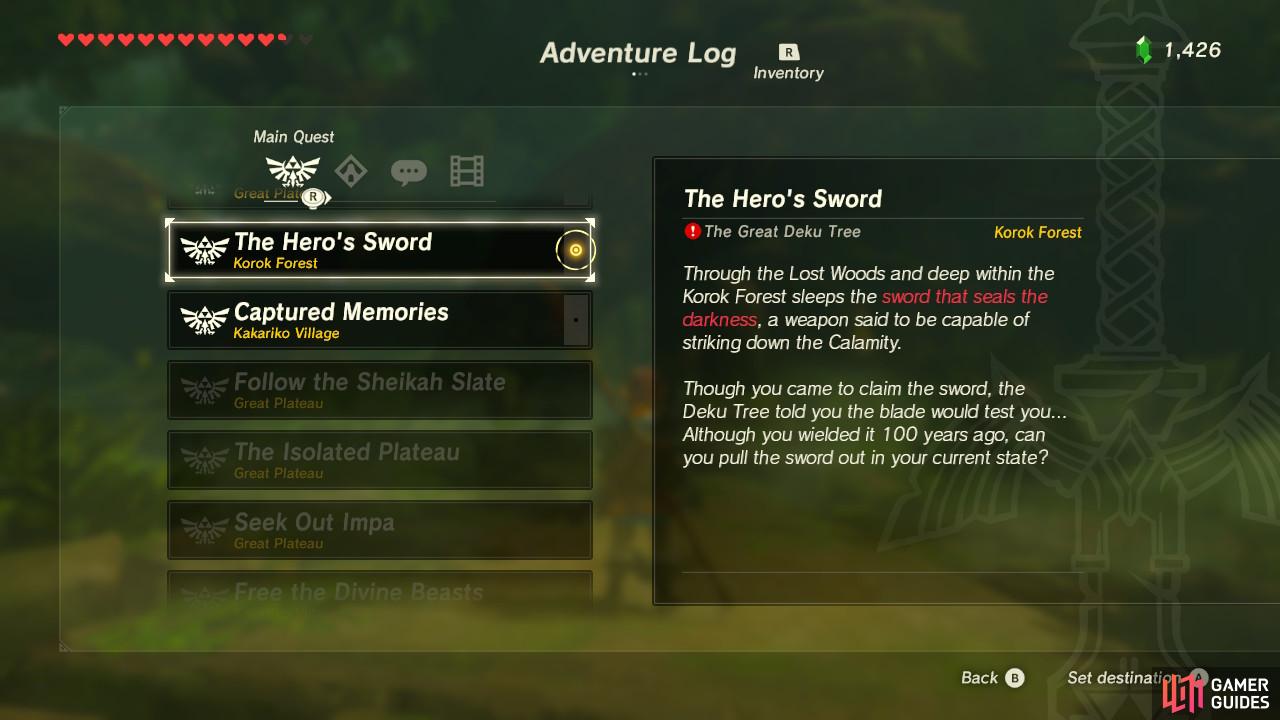
After the cutscene has concluded, you will be assigned the main quest The Hero’s Sword.
Main Quest: The Hero’s Sword
(1 of 2) This next main quest is fairly short if you have met the requirements
This next main quest is fairly short if you have met the requirements (left), The Master Sword will seriously come in handy once you have it so this quest, while optional, is worth it (right)
Do you have thirteen hearts? Are you at full health? If you try to get to thirteen hearts by artificially extending your health with food or Mipha’s Grace, it won’t work. As the Deku Tree said, the Master Sword will test your true strength.
(1 of 2) Press and hold [A]
Press and hold [A] (left), Congratulations! You have the sword that seals the darkness (right)
If you are ready, press [A] to pull and you will then be directed to press and hold [A]. The Master Sword will slowly chip away at your health. If you have thirteen hearts, you will successfully pull up the Master Sword on your last quarter heart.
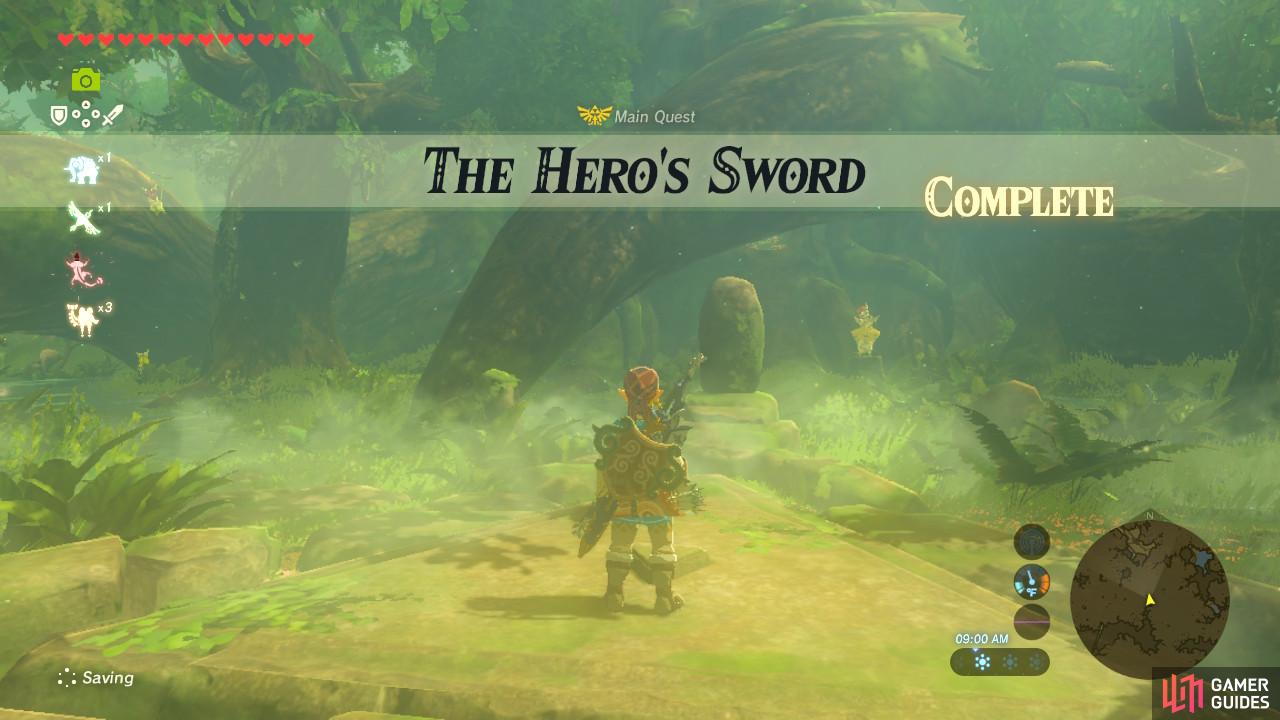
Enjoy the next cutscene and the quest is complete.
Here is some information on the Master Sword that you need to know.
Firstly, the Master sword can break. But it will not be destroyed. Rather, it will go into a state of disrepair where it is unable to be used. Give it ten minutes and it will be back and good as new. As a result, this makes the Master Sword surprisingly handy for mundane tasks like mining ores and cutting trees without dipping into your other, more finite resources (we’re sorry, Master Sword).
Against enemies corrupted by Ganon (including Ganon himself and the blight Ganons if you have not completed the Divine Beasts yet), which includes Guardians, will “bring out the true power of the Master Sword”. The Master Sword will double in strength making it the best weapon against these kinds of foes.
Finally, the Master Sword does not occupy any spots in your weapons inventory. It will create its own special spot!
Congratulations, you now have finally obtained the Master Sword! On a sidenote, if you choose to talk to the chiefs of each of the four races of Hyrule that piloted the Divine Beasts, they will change what they say in response to seeing you with the Master Sword.
![Press and hold [A]](/assets/guides/resize1140x-/144/The_Legend_of_Zelda_Breath_of_the_Wild_Pulling_the_Master_Sword.jpg)
![Press and hold [A]](/assets/guides/resize200x-/144/The_Legend_of_Zelda_Breath_of_the_Wild_Pulling_the_Master_Sword.jpg)
![Press and hold [A]](/assets/guides/resize550x-/144/The_Legend_of_Zelda_Breath_of_the_Wild_Pulling_the_Master_Sword.jpg)

 Sign up
No Comments