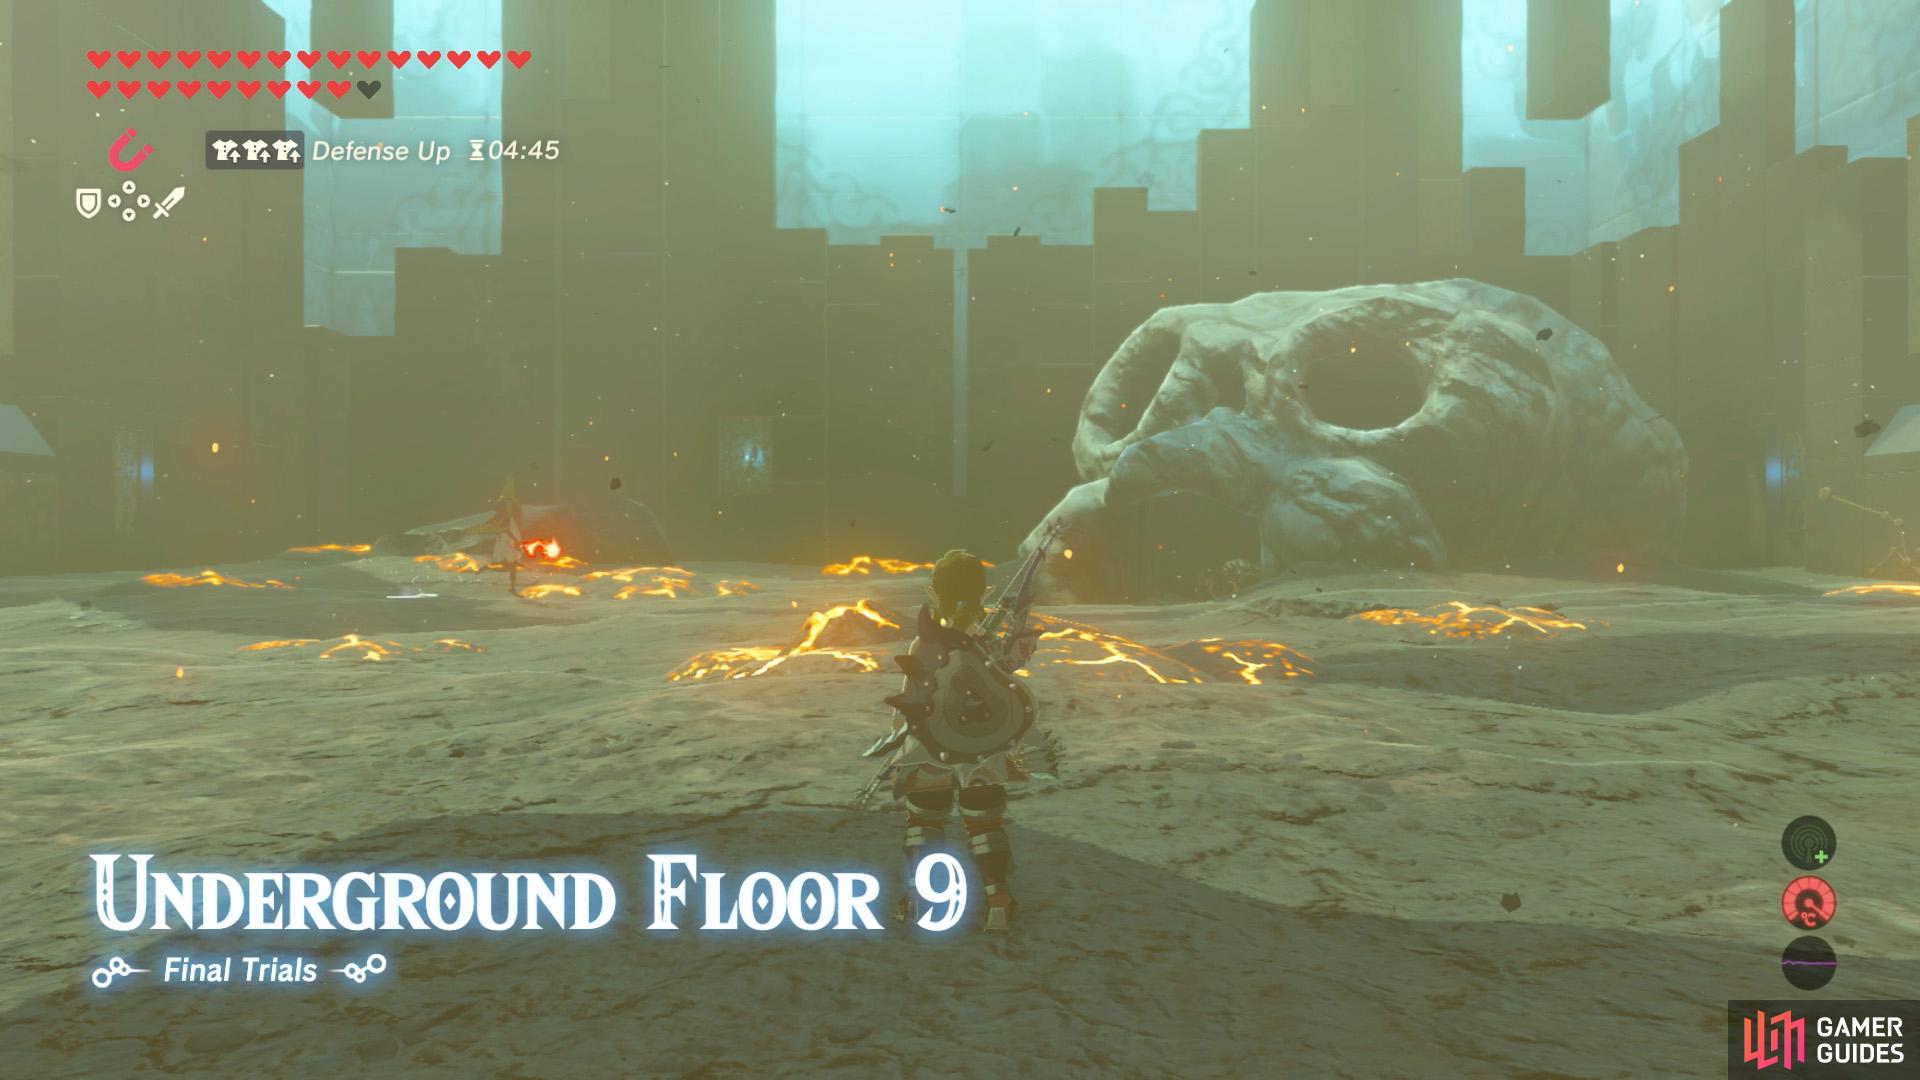
(1 of 2) For a change, there’s no lava here.
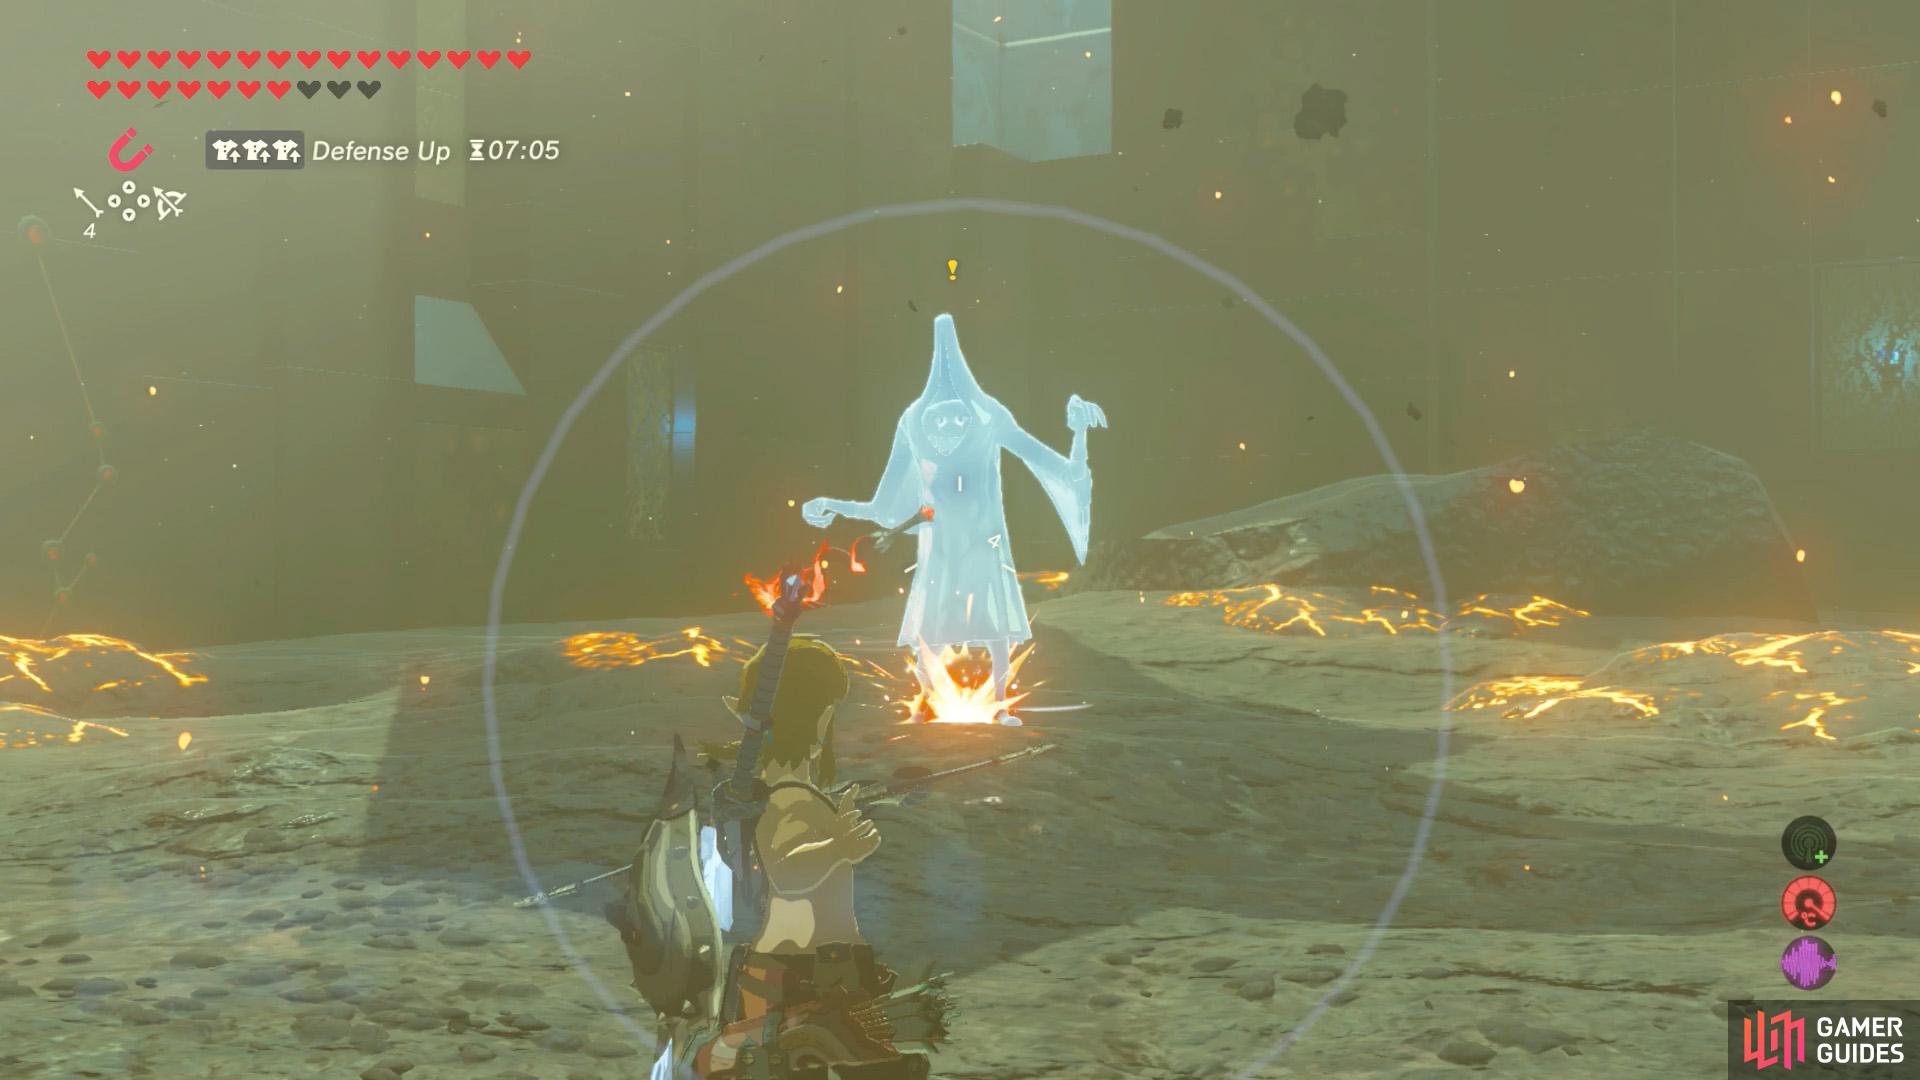
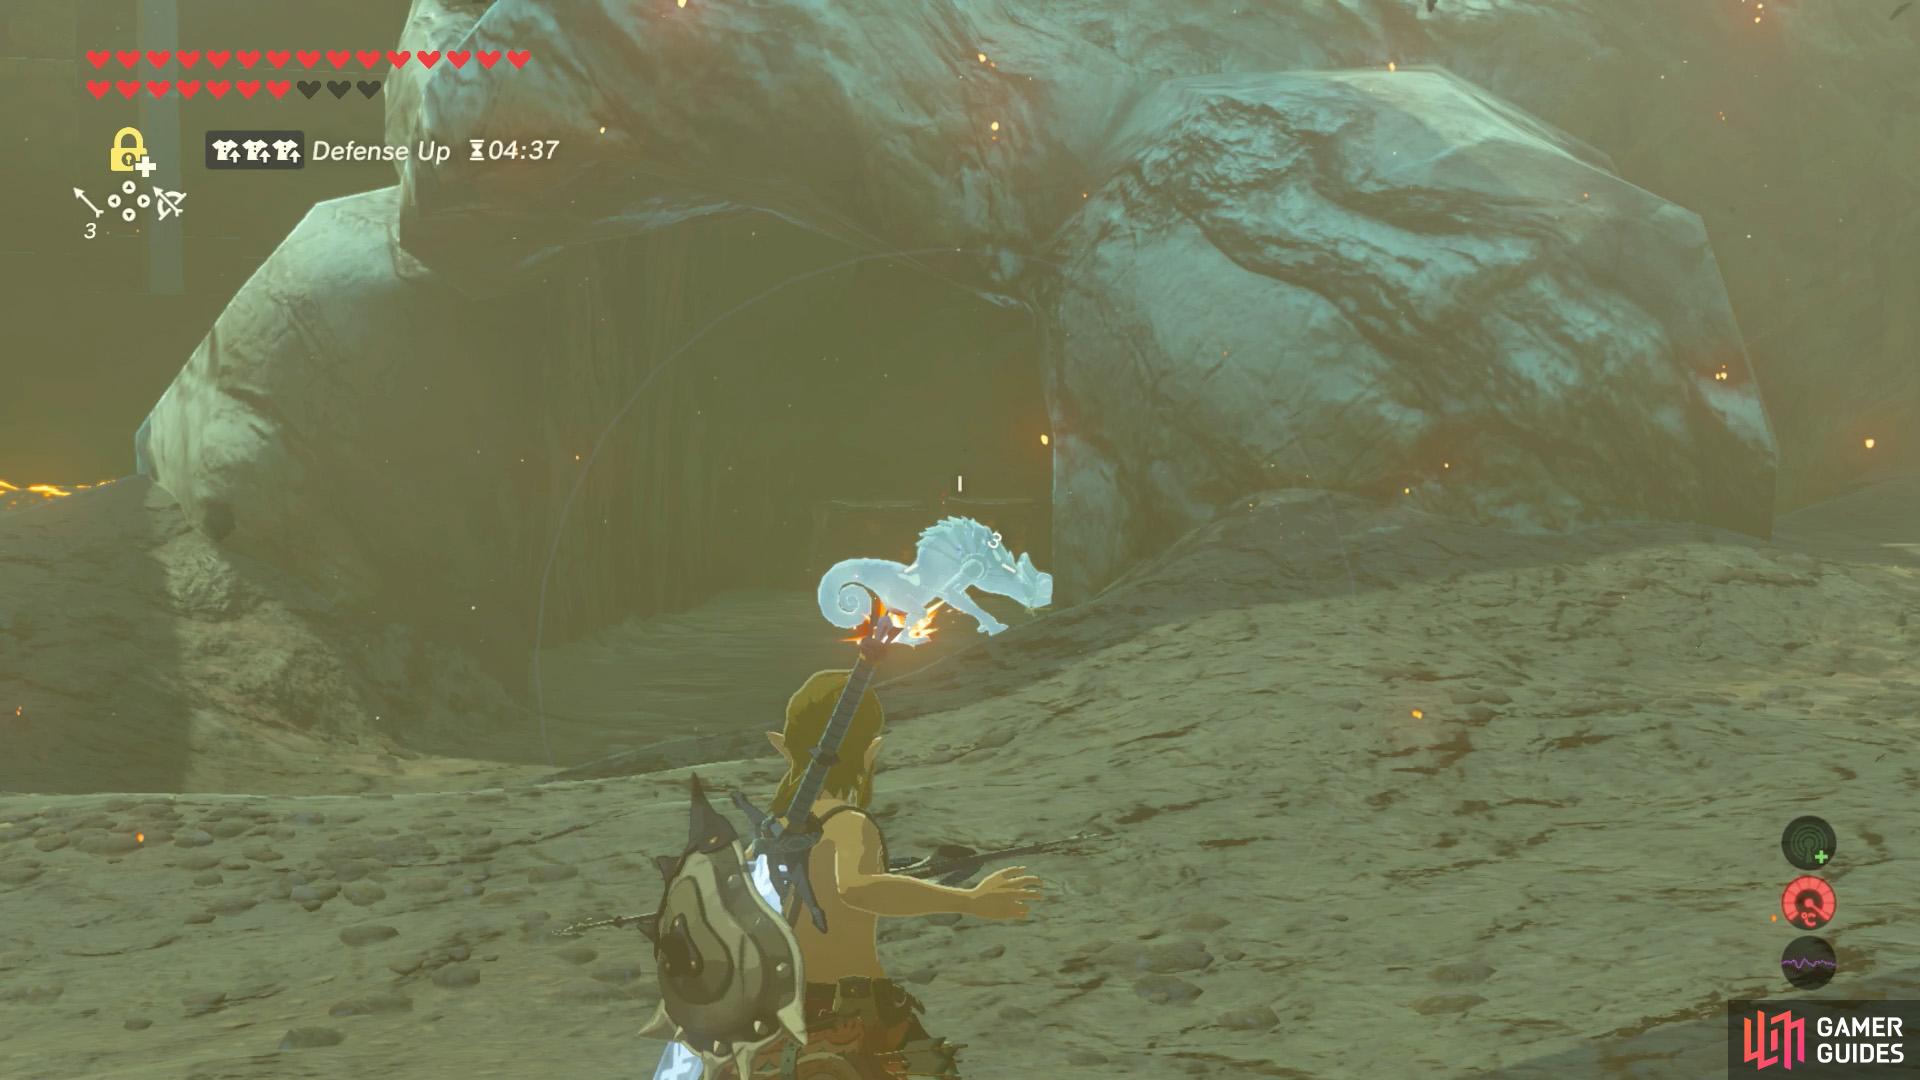
For a change, there’s no lava here. (left), Freeze the Wizzrobe to instantly kill it. (right)
| Difficulty | Monsters |
|---|---|
| ★★★★★★☆☆☆☆ | Meteo Wizzrobe x1, Fire-Breath Lizalfos x2, Black Moblin x1 |
This scorching hot floor consists of a wide open space with a skull camp near the far corner.
Strategy
Your first call of duty is to slay the Meteo Wizzrobe dancing around on the left. For a quick kill, we recommend shooting the Wizzrobe with an Ice Arrow obtained from Floor 5. If you’re not confident about aiming, climb up the back of the skull camp. Then glide down to the Wizzrobe and shoot it while in mid-air.
In the event you have no Ice Arrows (or want to conserve them), shoot the Wizzrobe in the head with regular arrows to stun it (you can use Stasis to stop the Wizzrobe moving). Then when it falls to the ground, hit it with the Great Frostblade to finish it off. Anyway, once the Wizzrobe’s dead, grab its Meteor Rod, then cautiously approach the skull camp.
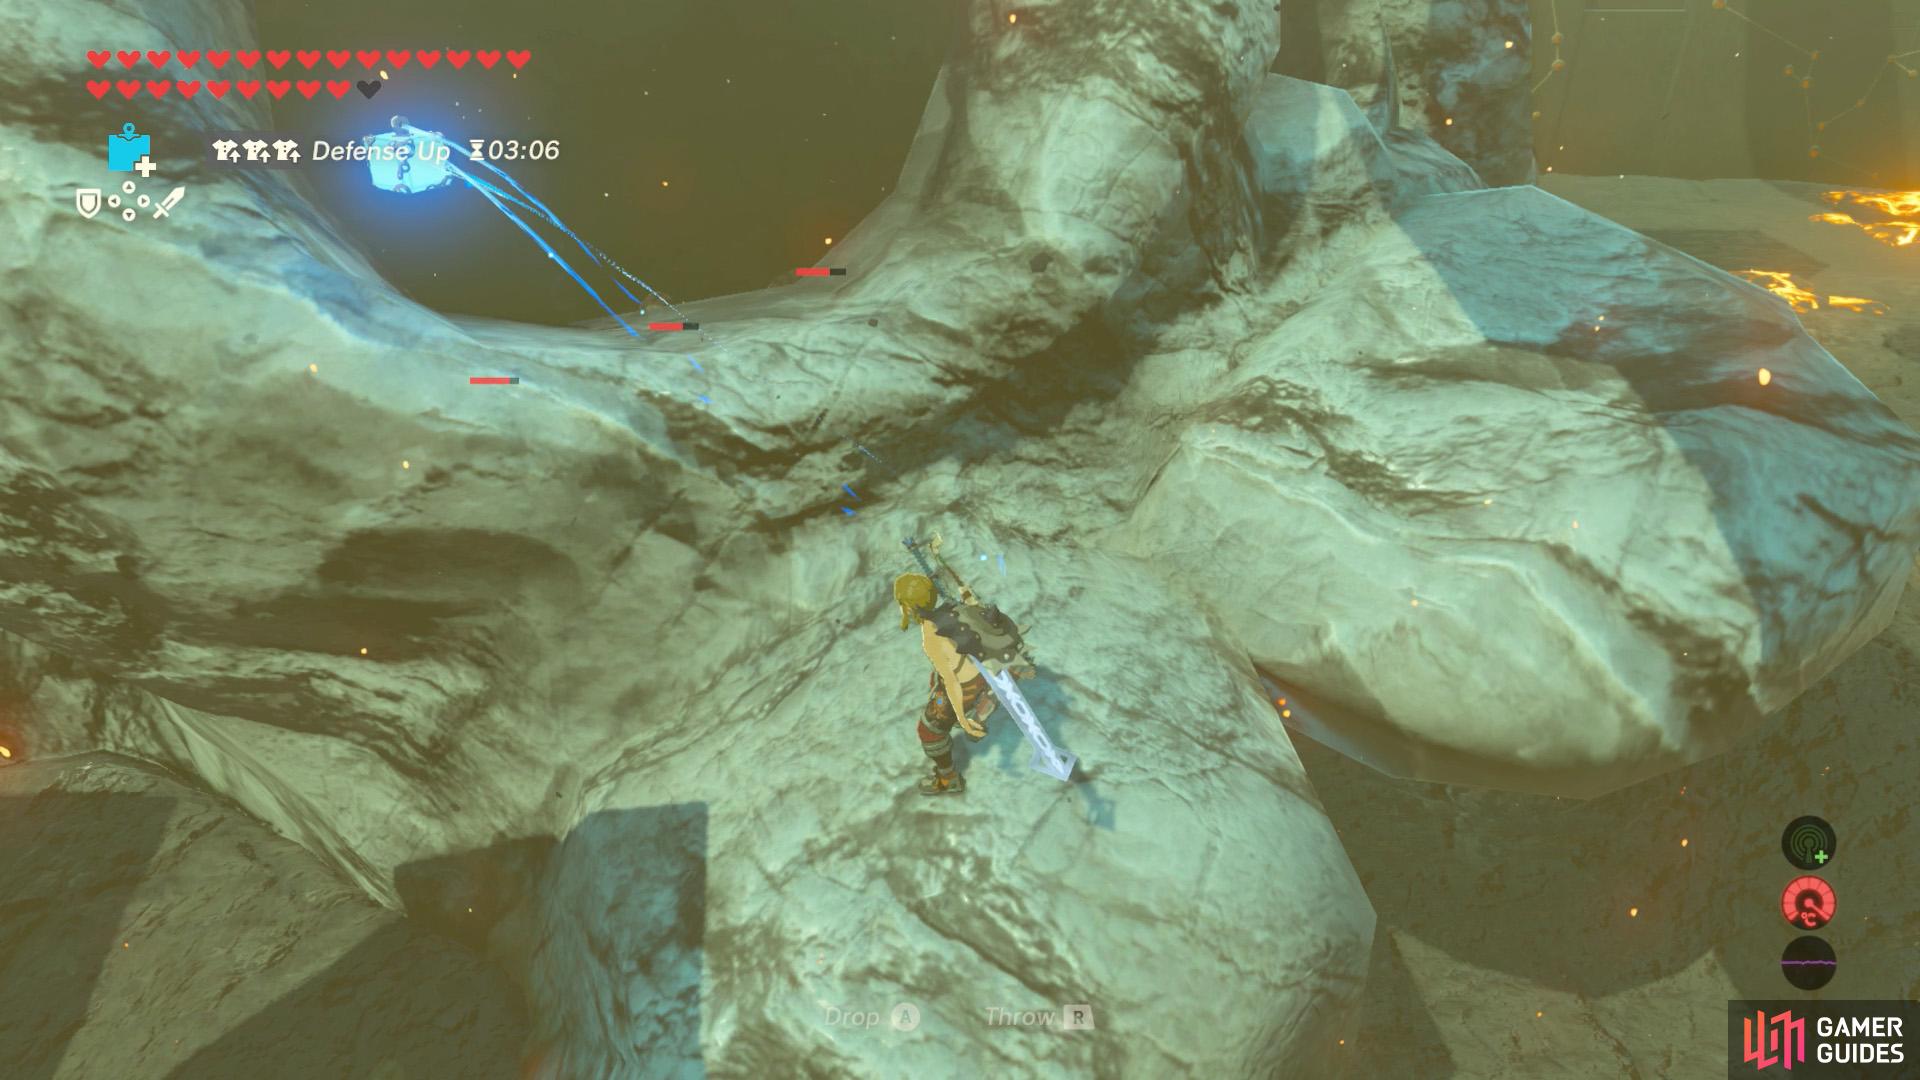
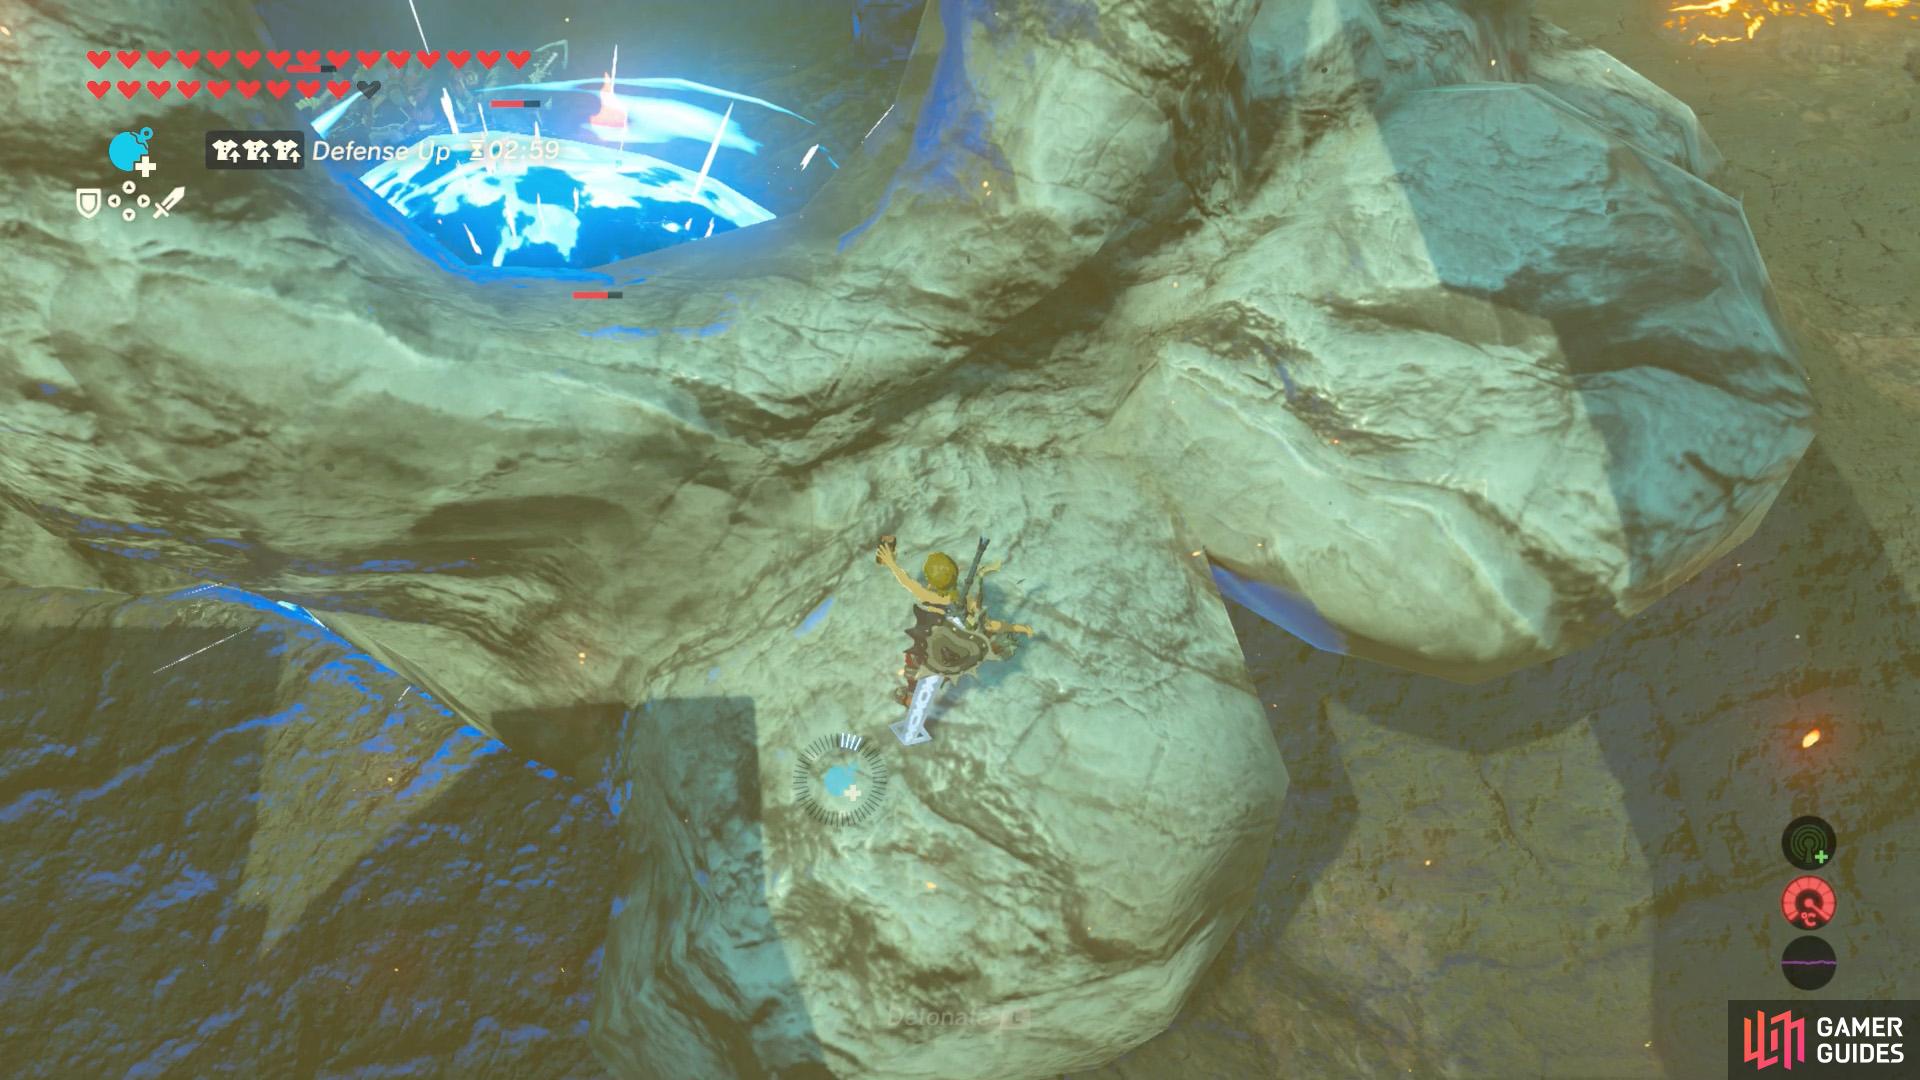
(1 of 2) If you’re patient, stand on the skull and throw bombs into the socket.
If you’re patient, stand on the skull and throw bombs into the socket. (left), The dumb enemies usually won’t figure out where the bombs are coming from… (right)
Inside, there’s a Black Moblin accompanied by two Fire-Breath Lizalfos. For once, there are no bomb barrels inside, so you can’t “surprise” them.
Since none of the foes have ranged weapons, you can stand at the top of the skull or on the groove above the mouth and casually drop remote bombs or shoot arrows. Otherwise, if you want to kill them quick (to preserve a meal buff), shoot the two Lizalfos with Ice Arrows to kill them instantly.
However, we recommend saving at least 1 or 2 Ice Arrows for an upcoming boss. If killing the Lizalfos with Ice Arrows would leave you with not enough arrows, you may want to try something else.
(1 of 2) If you can afford to, snipe the Lizalfos with Ice Arrows.
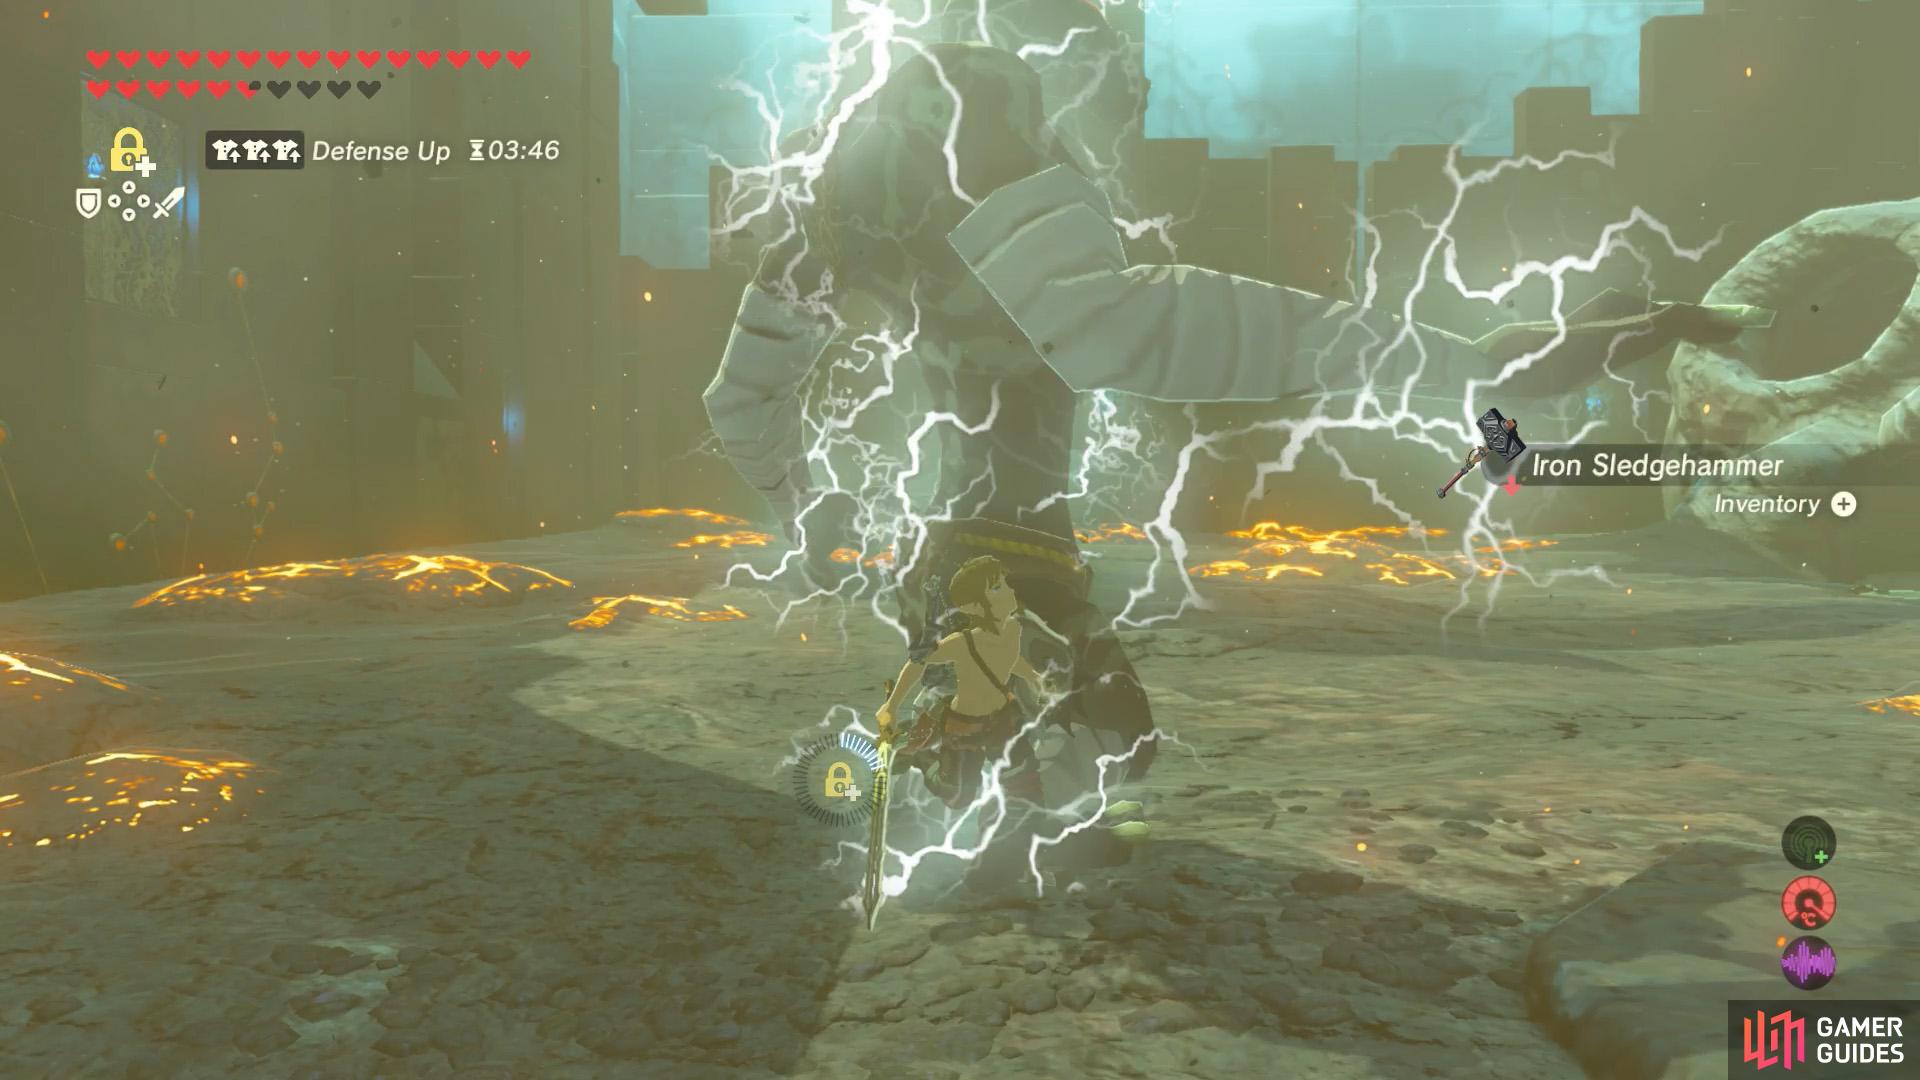
If you can afford to, snipe the Lizalfos with Ice Arrows. (left), When fighting the Moblin, disarm it with the Thunderblade first. (right)
Just like the Wizzrobe, you can kill the Lizalfos with the Great Frostblade instead. In which case, try your best to lure as few enemies as possible. When a Lizalfos chases after you, wait for an opening, then swing that Frostblade! You can also stop the Lizalfos with Stasis, but wait until Stasis ends before hitting them (or the ice effect won’t work).
As for the Moblin, you should disarm it with the Thunderblade from Floor 5 before whacking it with a different weapon. Once the Moblin’s dead, definitely pick up the Iron Sledgehammer that it drops. When all the enemies are toast, loot the skull camp for roasted food and arrows (you can never have too many arrows).

 Sign up
No Comments