A guide on how to complete The Test of Wood Shrine Quest, found in Great Hyrule Forest. This shrine quest is a part of The Korok Trials. Completing this shrine quest will grant you access to Maag Halan Shrine.
(1 of 2) Make sure you have one open space in your weapon, bow, and shield inventories
Make sure you have one open space in your weapon, bow, and shield inventories (left), This is the most difficult of the three Korok trials (right)
How to Complete The Test of Wood
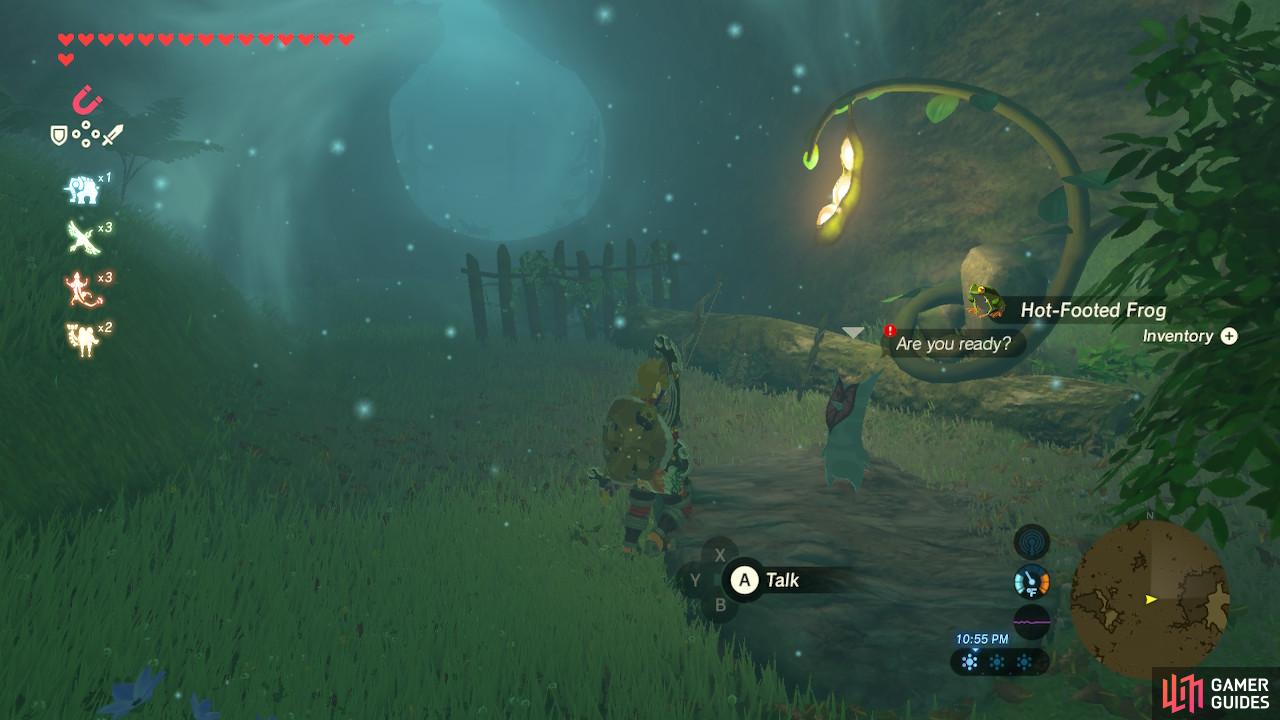
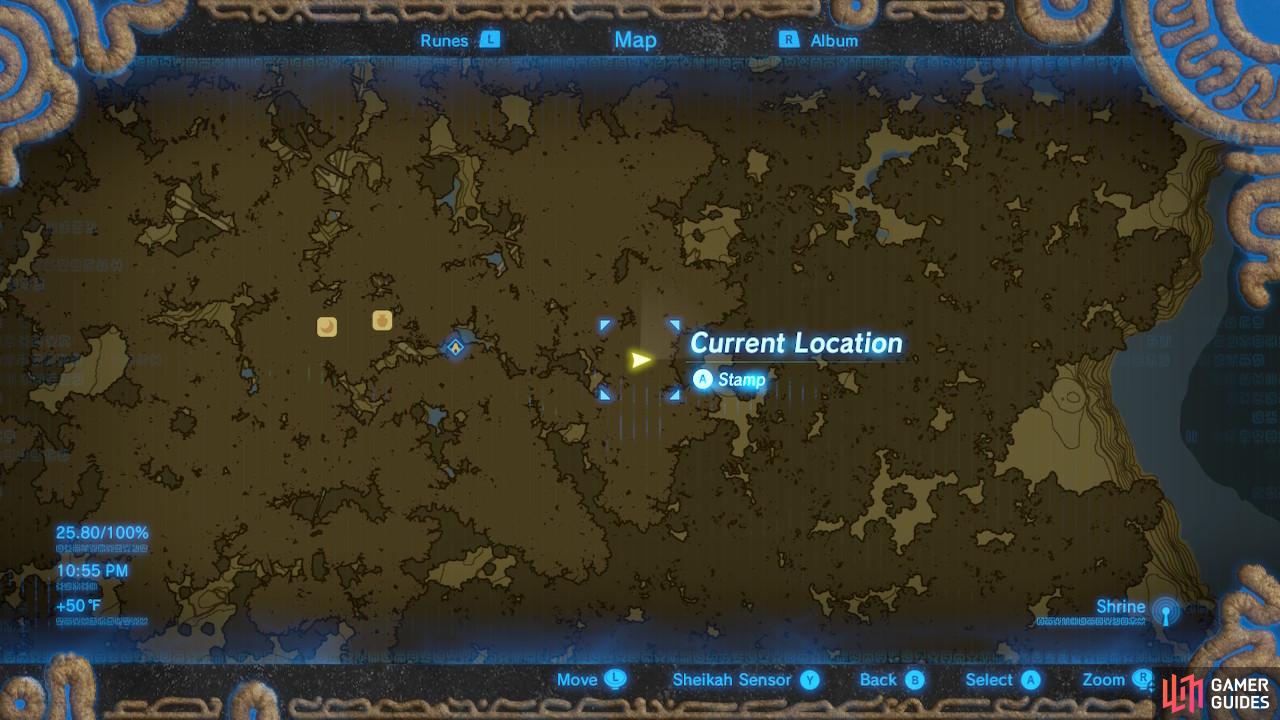
This Shrine Quest is one of three required to complete the sidequest The Korok Trials. To find the Korok who will assign you this quest, go to the east side of Korok Forest and find a narrow path marked by archways. Follow it back into the Lost Woods and then you will see a lone Korok named Damia.
(1 of 2) Follow the archways and path east of the Korok Forest until you find this lone Korok
Follow the archways and path east of the Korok Forest until you find this lone Korok (left), Here is the specific location (right)
Damia will give you a challenge: Make it to the Shrine using only Korok weapon series. If the weapons break or you unequip them, you lose. You will need to have at least one space open in your weapon, Bow, and Shield inventory to accept this Shrine Quest. So get rid of what you have to and then accept Damia’s challenge.
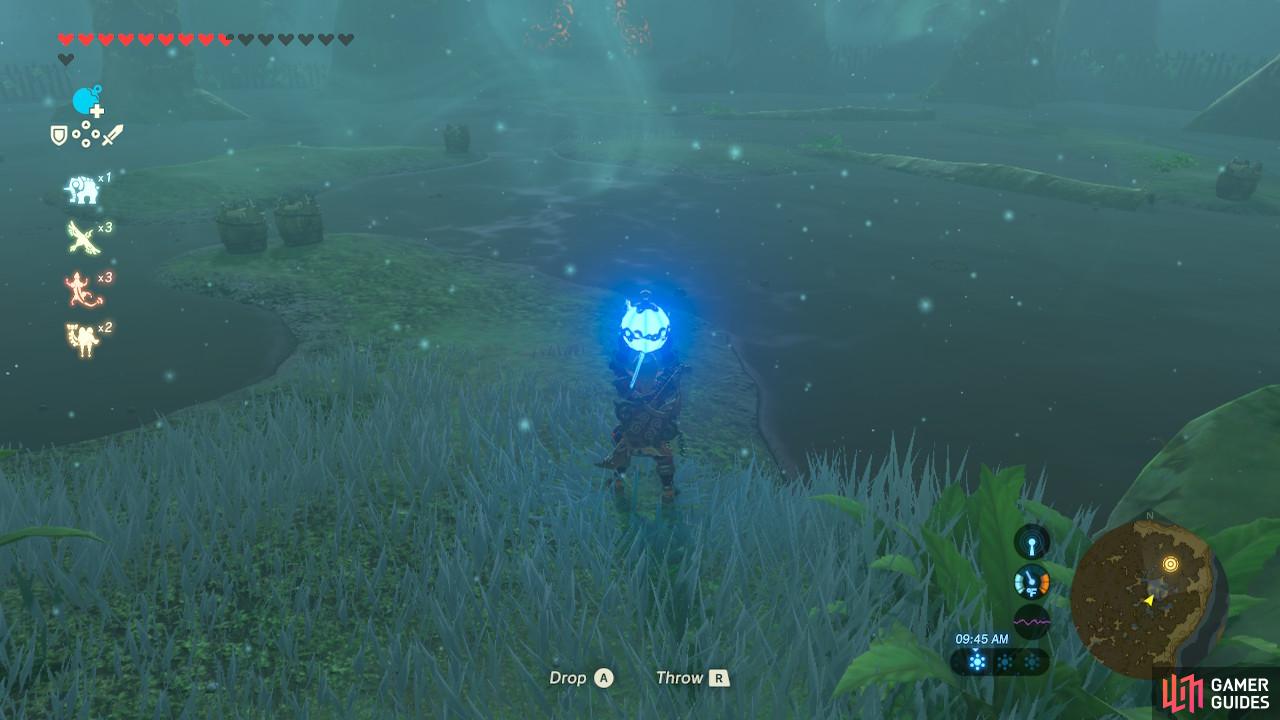
The trick to surviving this challenge is to be as conservative with your weapons and combat as possible. Many enemies later in the challenge will also be sporting fire arrows to try and burn up your gear. If you must fight or want to clean out the area, stick to using Remote Bombs.
(1 of 2) Continue straight forward along the path
Continue straight forward along the path (left), It’s ideal to use your Remote Bomb to defeat these enemies (right)
First, you will encounter a bunch of Keese. They will fly at you and bother you, but you can easily Bomb them out of the sky. Then normal, blue Chuchu will try and glomp you. Blow them up too and continue.
(1 of 2) You are going the right way if you see this pile of boxes
You are going the right way if you see this pile of boxes (left), Past the boxes are Bokoblins waiting to ambush you (right)
Your first landmark is a pile of boxes. Undead Bokoblins are behind the boxes. You can either climb over the boxes or blow them up with a Bomb. Then, defeat or run past the Bokoblins.
(1 of 2) Throw a bomb at the Fire Keese since their fire can burn up your weapons!
Throw a bomb at the Fire Keese since their fire can burn up your weapons! (left), Run past the archers (right)
After that, Fire Keese will come to try and burn up your weapons. Don’t let them! Throw some Bombs or sprint to leave them behind. Turn around the corner, do not jump the short fence or you will go off-course. There will be more Bokoblins shooting ice arrows at you. Ignore them too. Finally, at the end of the narrow path, you will run into an Electric Chuchu.
(1 of 3) See the Octorok in the distance? You’ll want to use your Bow to shoot it (not a Bomb!)
Next, you will come across a muddy moat. If you try to swim, you will die instantly and start the challenge over. Now is the time to whip out the Bow and shoot the Octoroks in the moat so you can cross safely. You can use whatever type of arrow you want. Once the Octoroks are down, use Cryonis to cross. An Octorok is hidden to the right near a treasure chest that contains a Forest Dweller’s Sword.
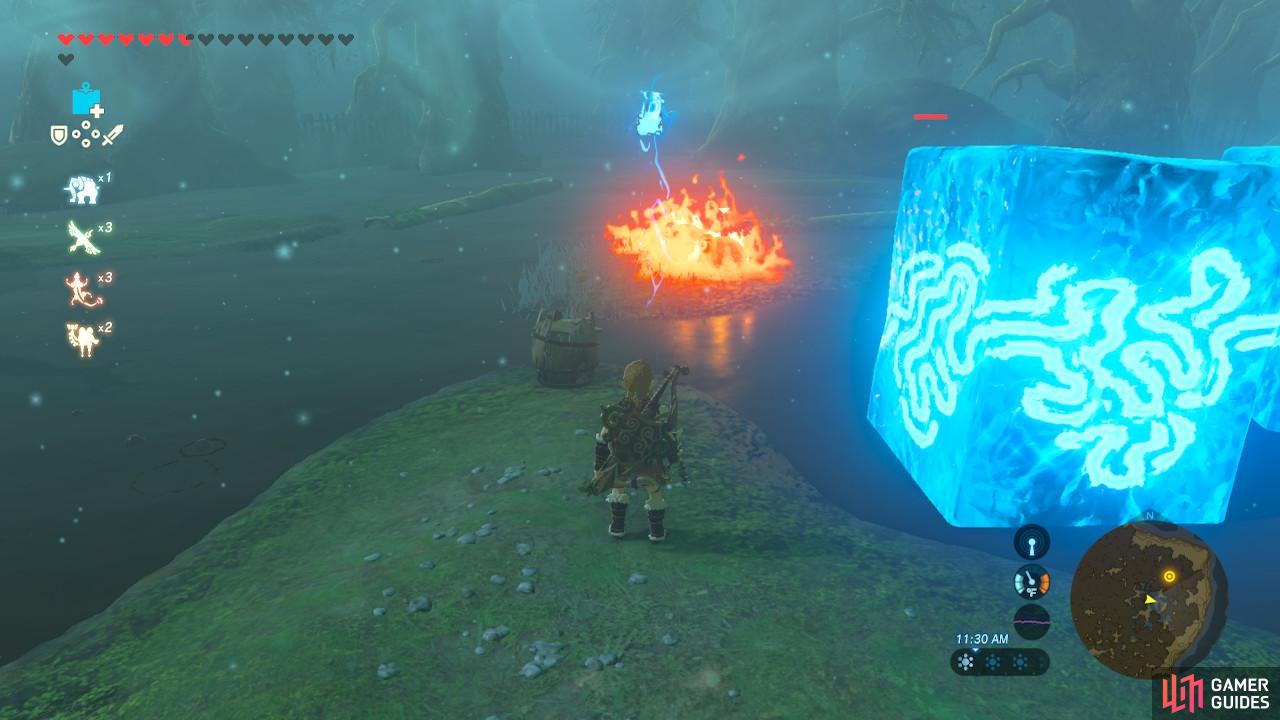
You are over halfway there now. You will see yet another muddy swamp, this time with several larger islands in the middle with barrels to mark them. There are also more Bokoblins wanting to shoot arrows, and this time they are shooting fire arrows. Keep your distance, because the arrows will set a small area of grass on fire. If it’s too much to handle, shoot them with a thunder arrow to disarm them.
Use Cryonis to carefully navigate the muddy swamp. Once you reach the last island mass, however, you will be ambushed by Fire Chuchu. Don’t let them burn you. If you use a Remote Bomb, bear in mind that they will explode upon death.
(1 of 2) Once Damia has dropped in to congratulate you, you are officially done
Once Damia has dropped in to congratulate you, you are officially done (left), All that is left is to activate the Shrine ahead (right)
Once you have crossed the swamp, Damia will drop in and congratulate you on completing this trial. At this point, the Shrine Quest is complete and you are free to activate the newly discovered Maag Halan Shrine!







 Sign up
No Comments