There’s a lot to see and do in a game like Starfield, and while keenly examining the environment is a passable way to scour for loot and resources, it’s painfully slow and inefficient, and will leave you prone to missing out on considerable treasure. That’s where the scanner comes into play, a handy tool that highlights interactable objects and displays waypoints, making it invaluable for both scouring for loot in enemy installations and for surveying minerals and xenobiology out in the wilderness. This page will cover scanning in all its various applications in Starfield, including how to survey fauna, flora and resources, and how to highlight objects.
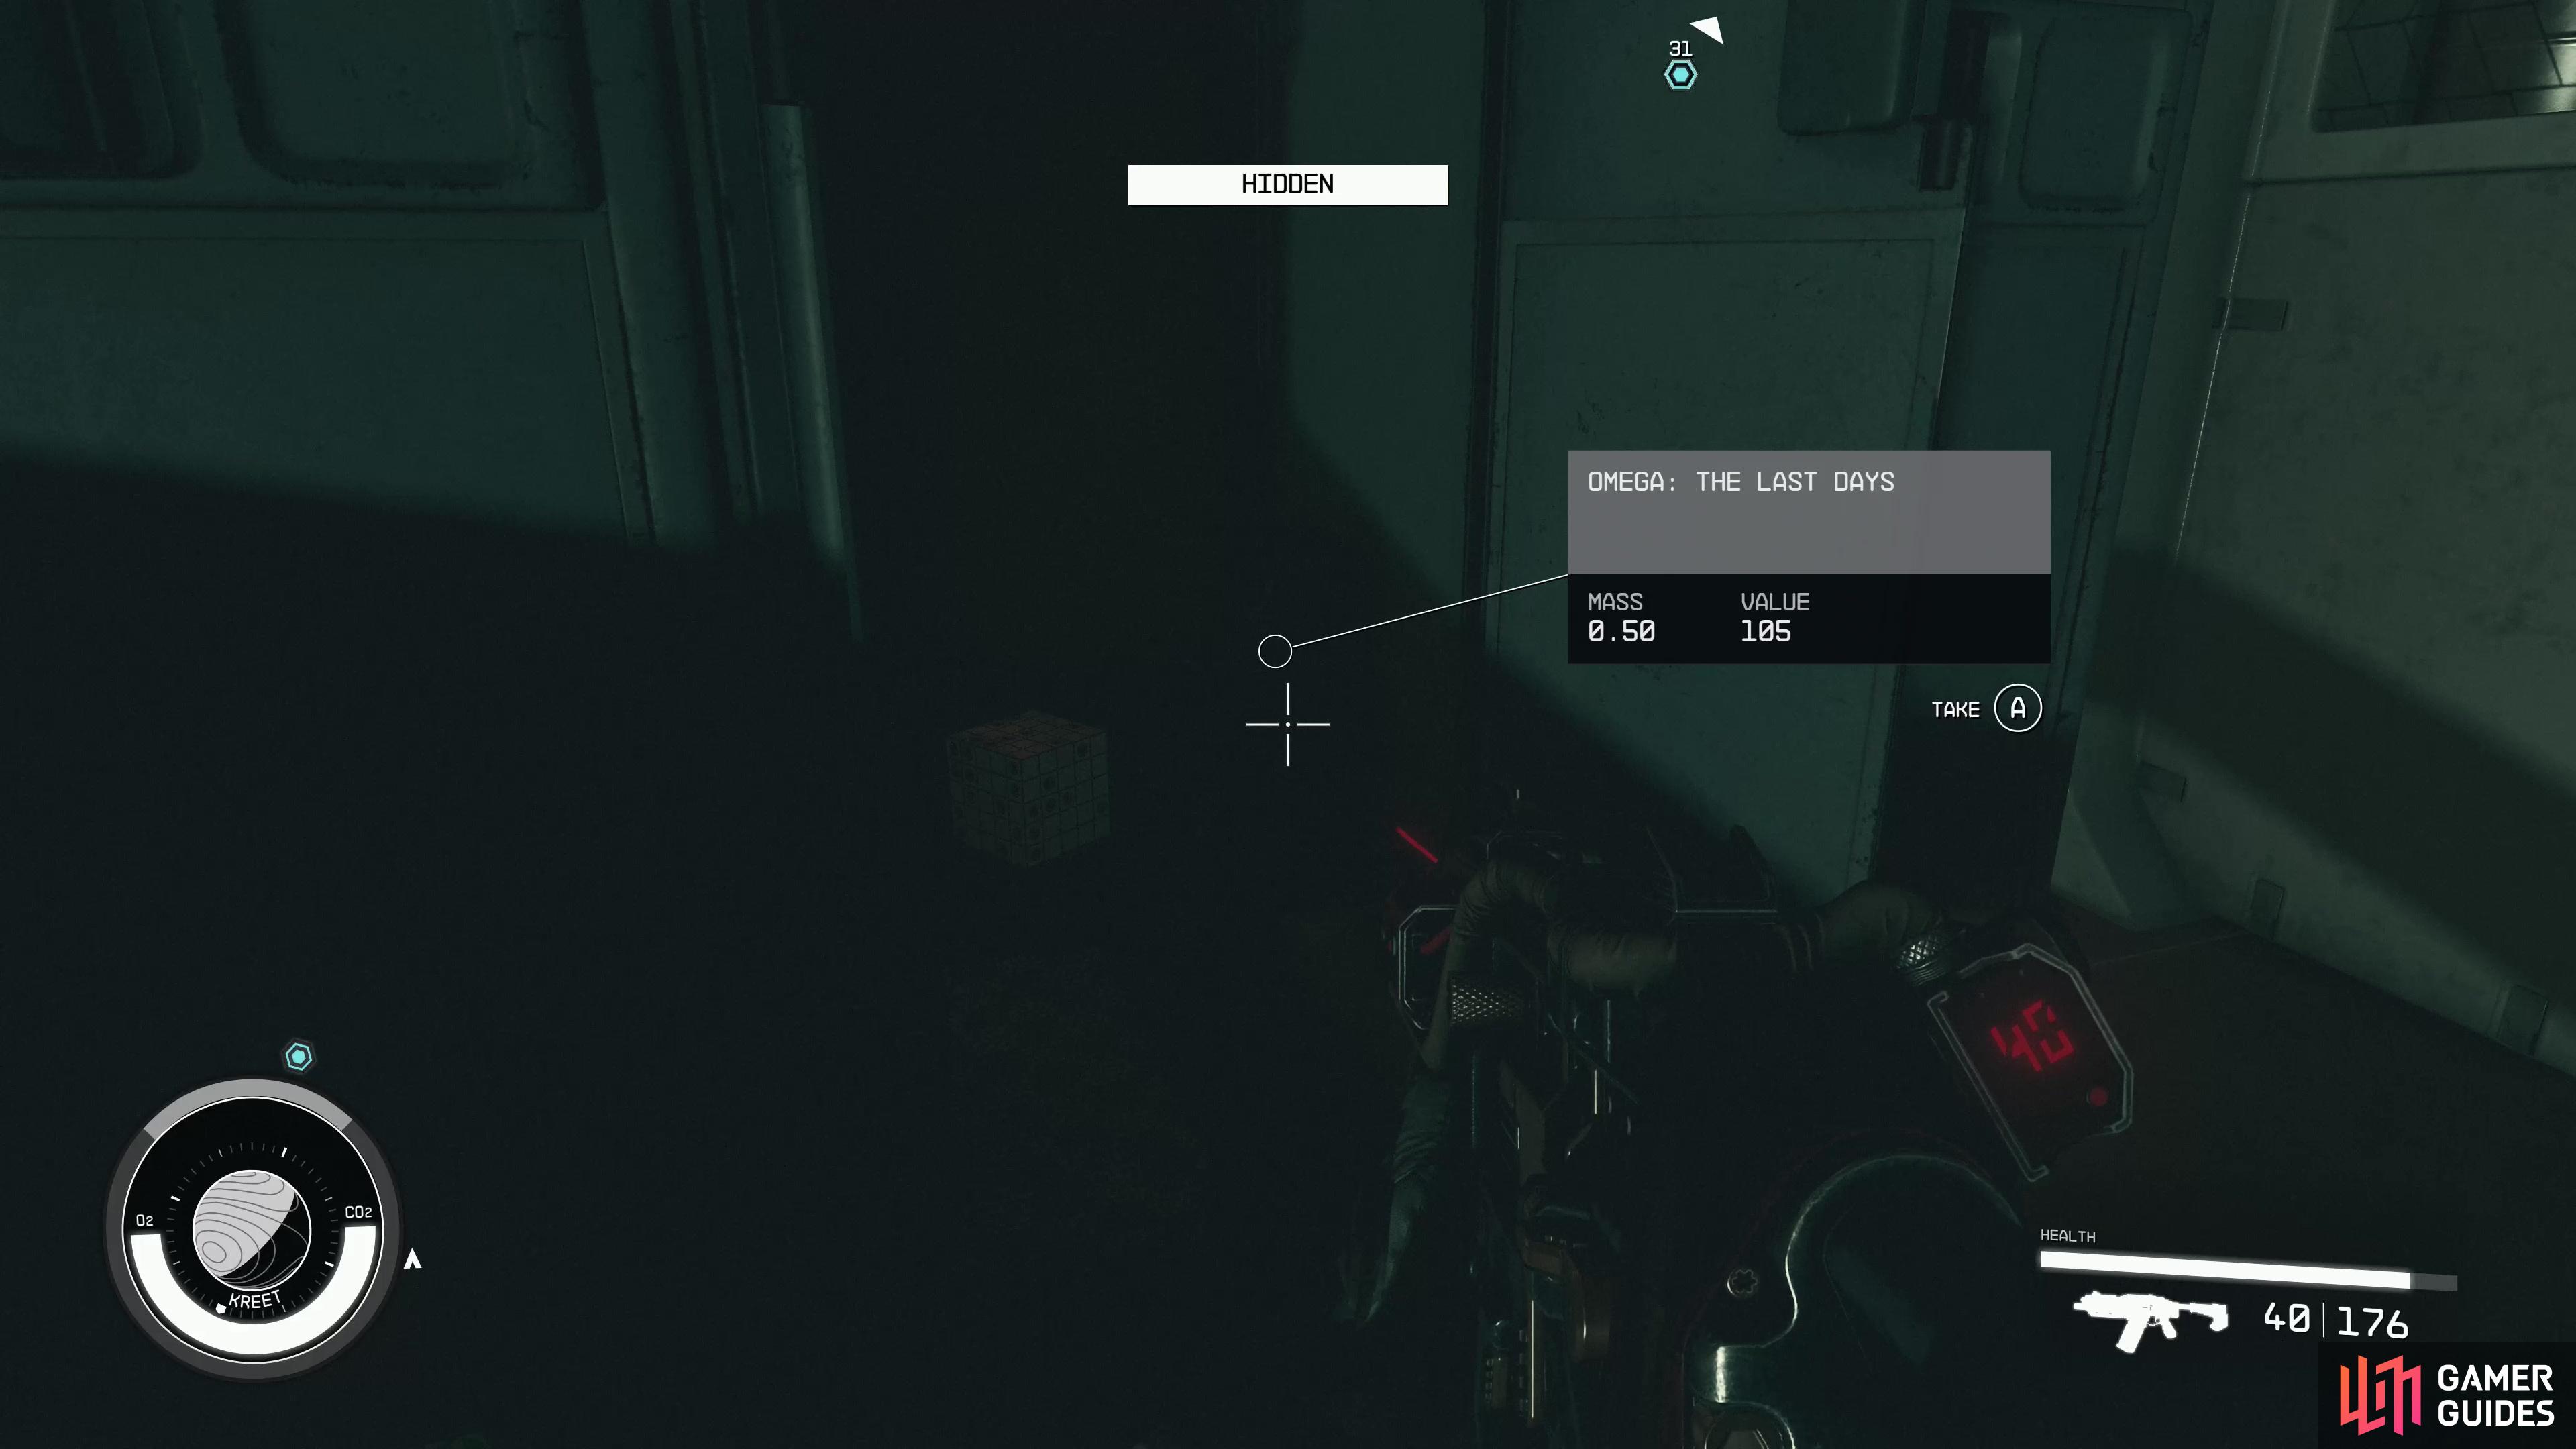
(1 of 2) It can be difficult at times to spot loot in the environment.
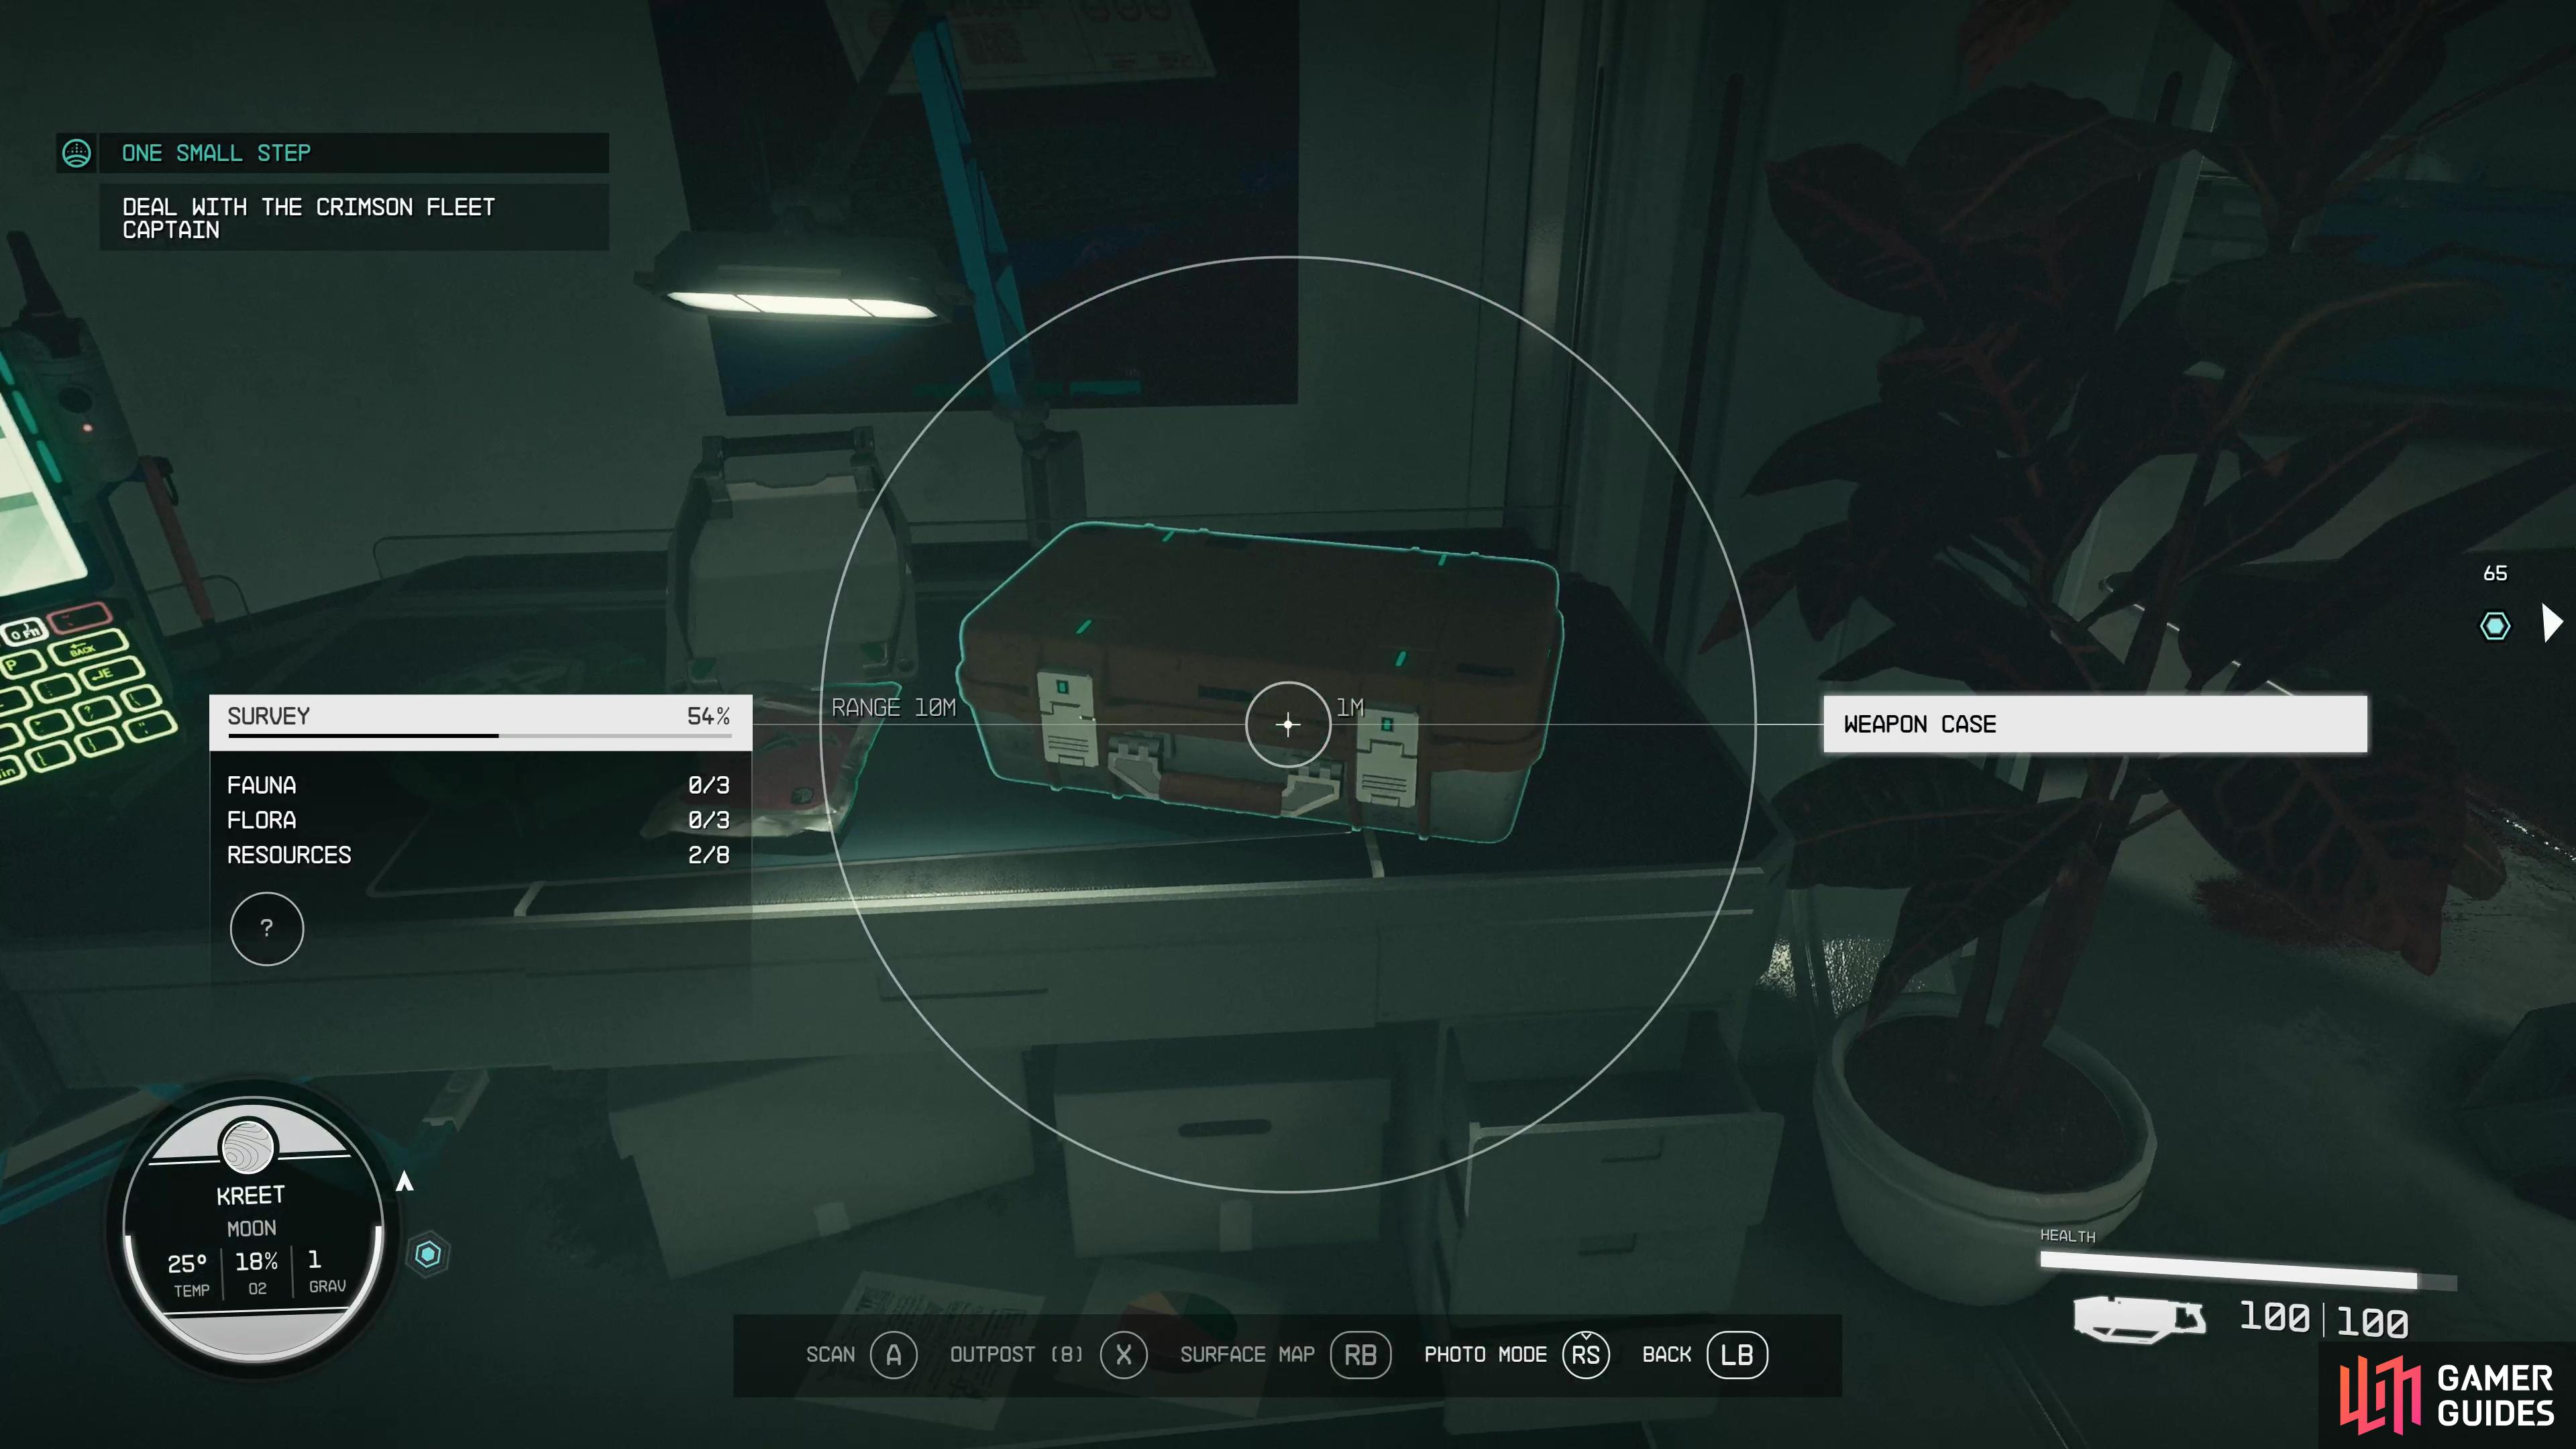
It can be difficult at times to spot loot in the environment. (left), With the handy-dandy scanner, however, interactable objects will be highlighted with a blue outline. (right)
How to Highlight Loot in Starfield
For better or worse, most loot blends into the environment fairly well, especially when lighting is suboptimal. While you’ll invariably become more familiar with standouts, like weapon cases and safes, there’s an easy way to expedite the process; at any time you can bring up your scanner by pressing the 
![]() Cutter.
Cutter.
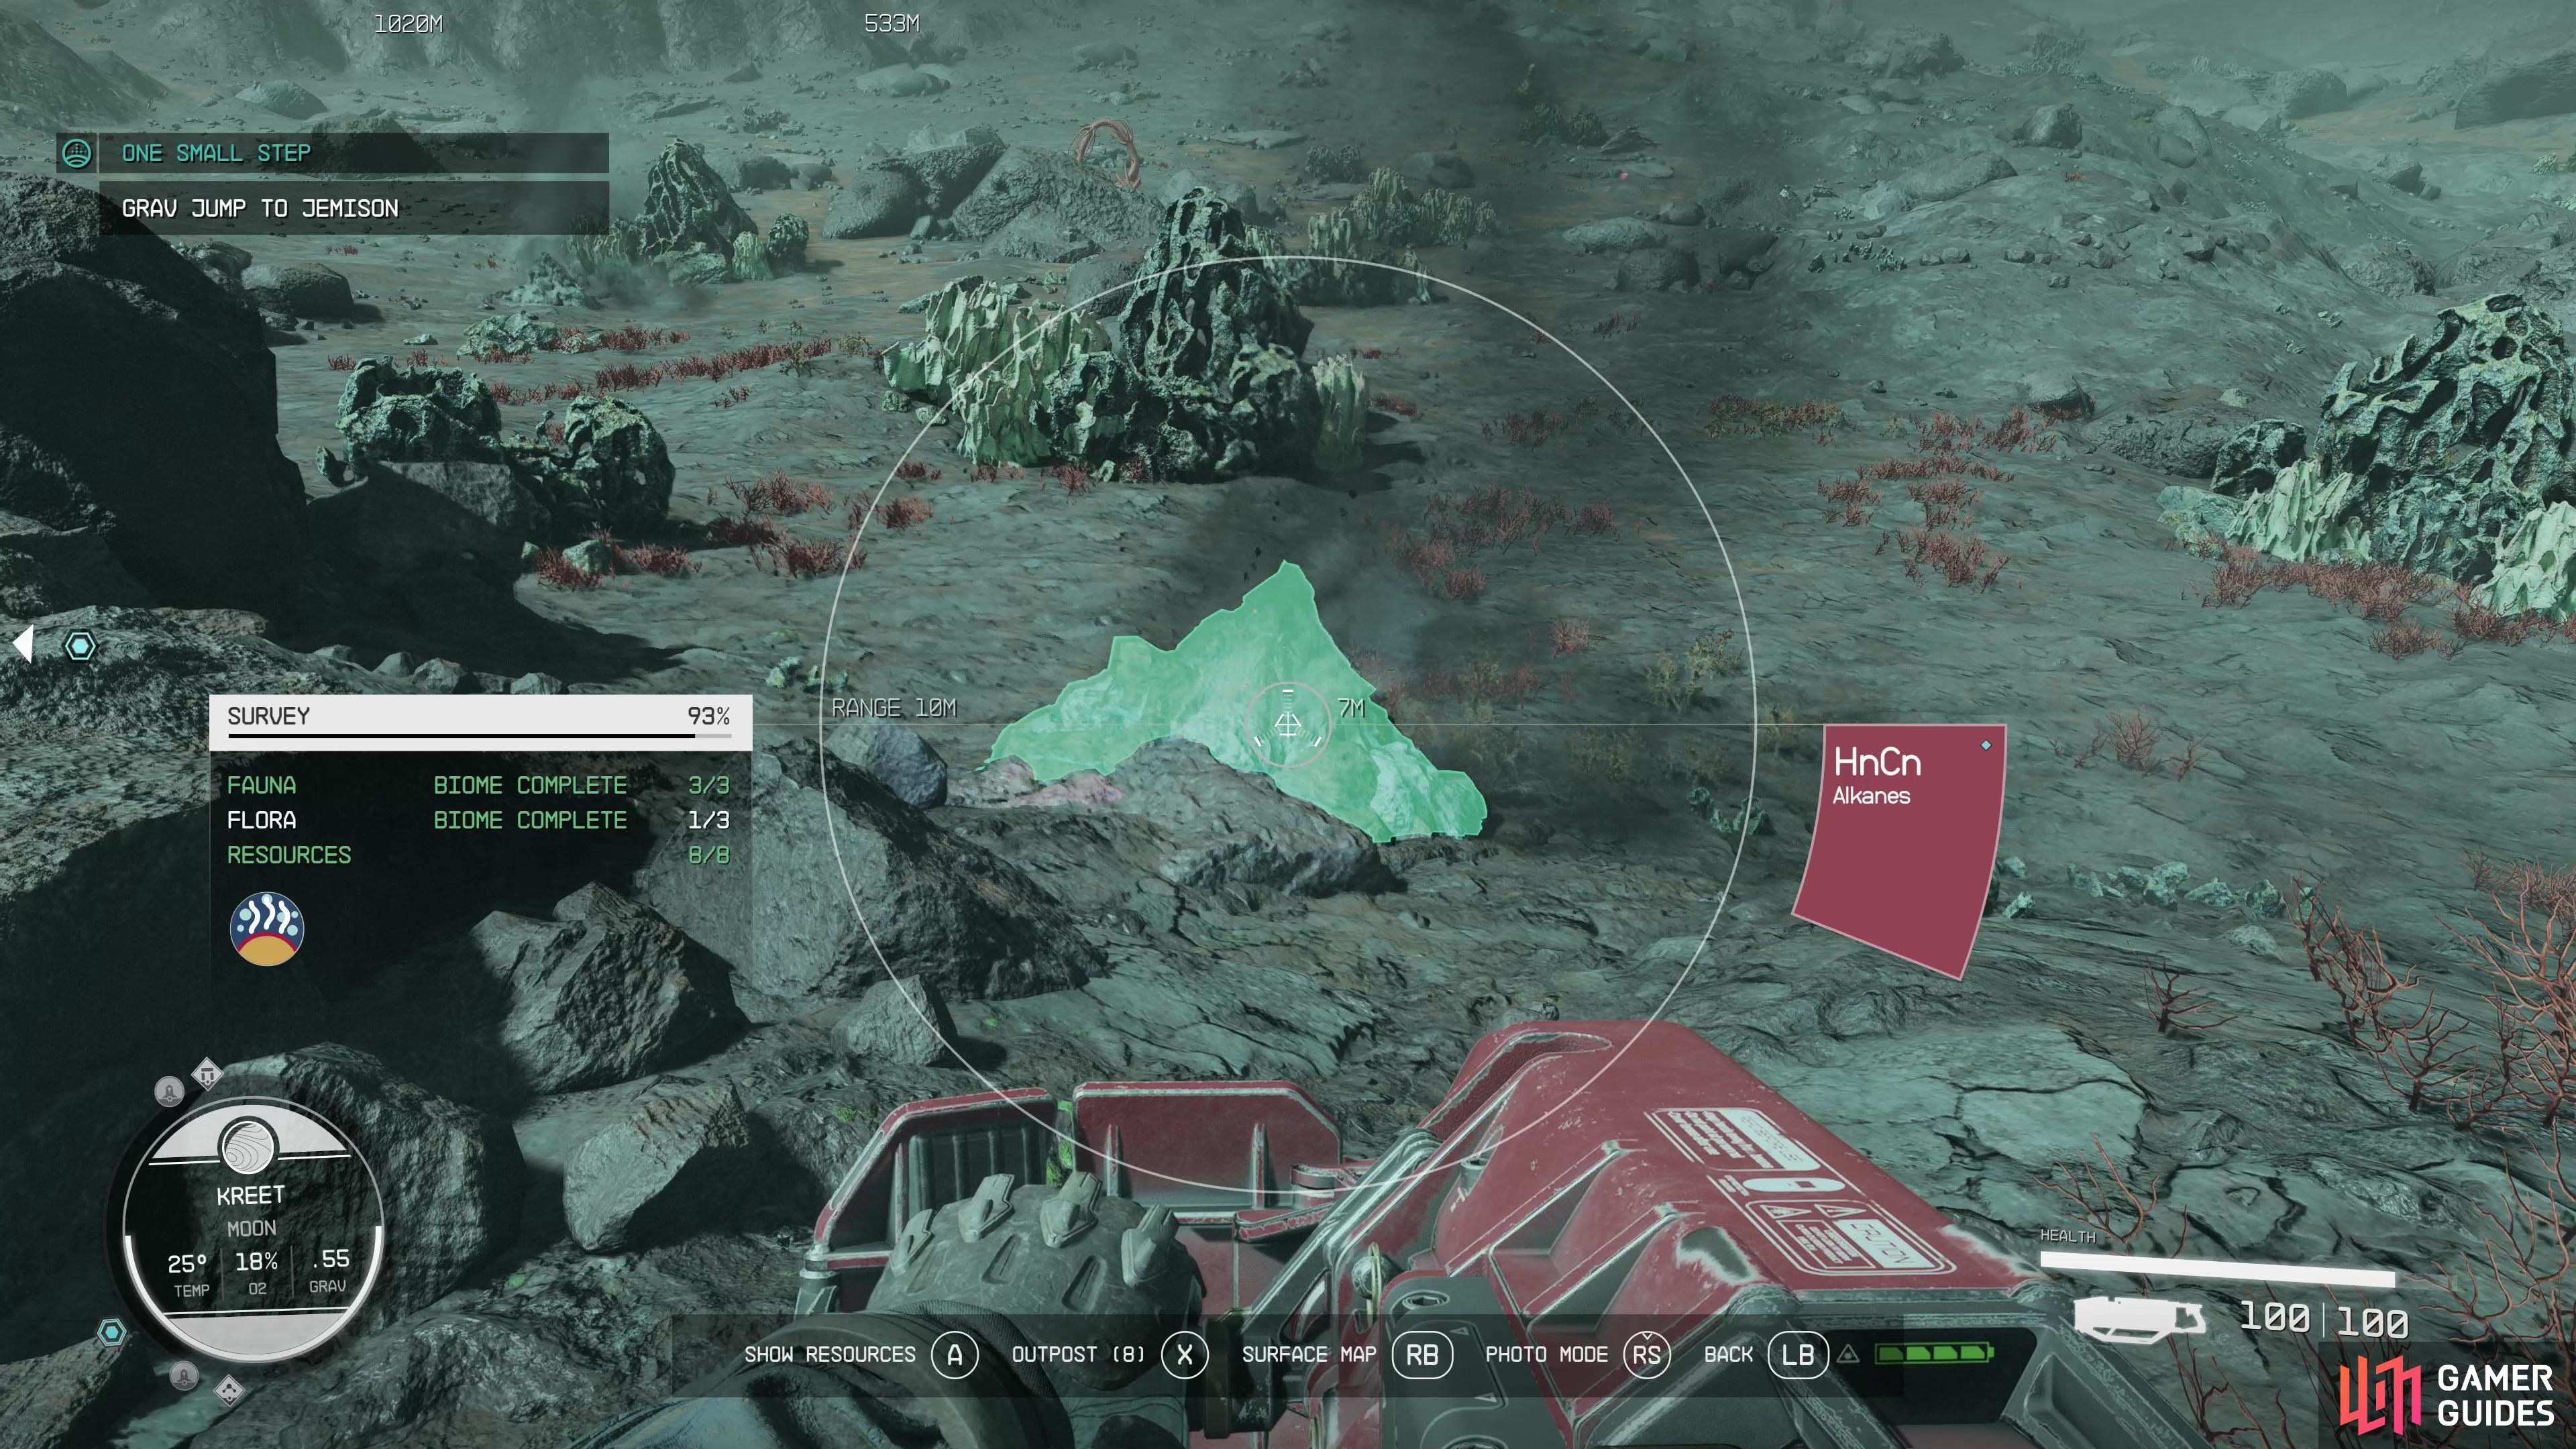
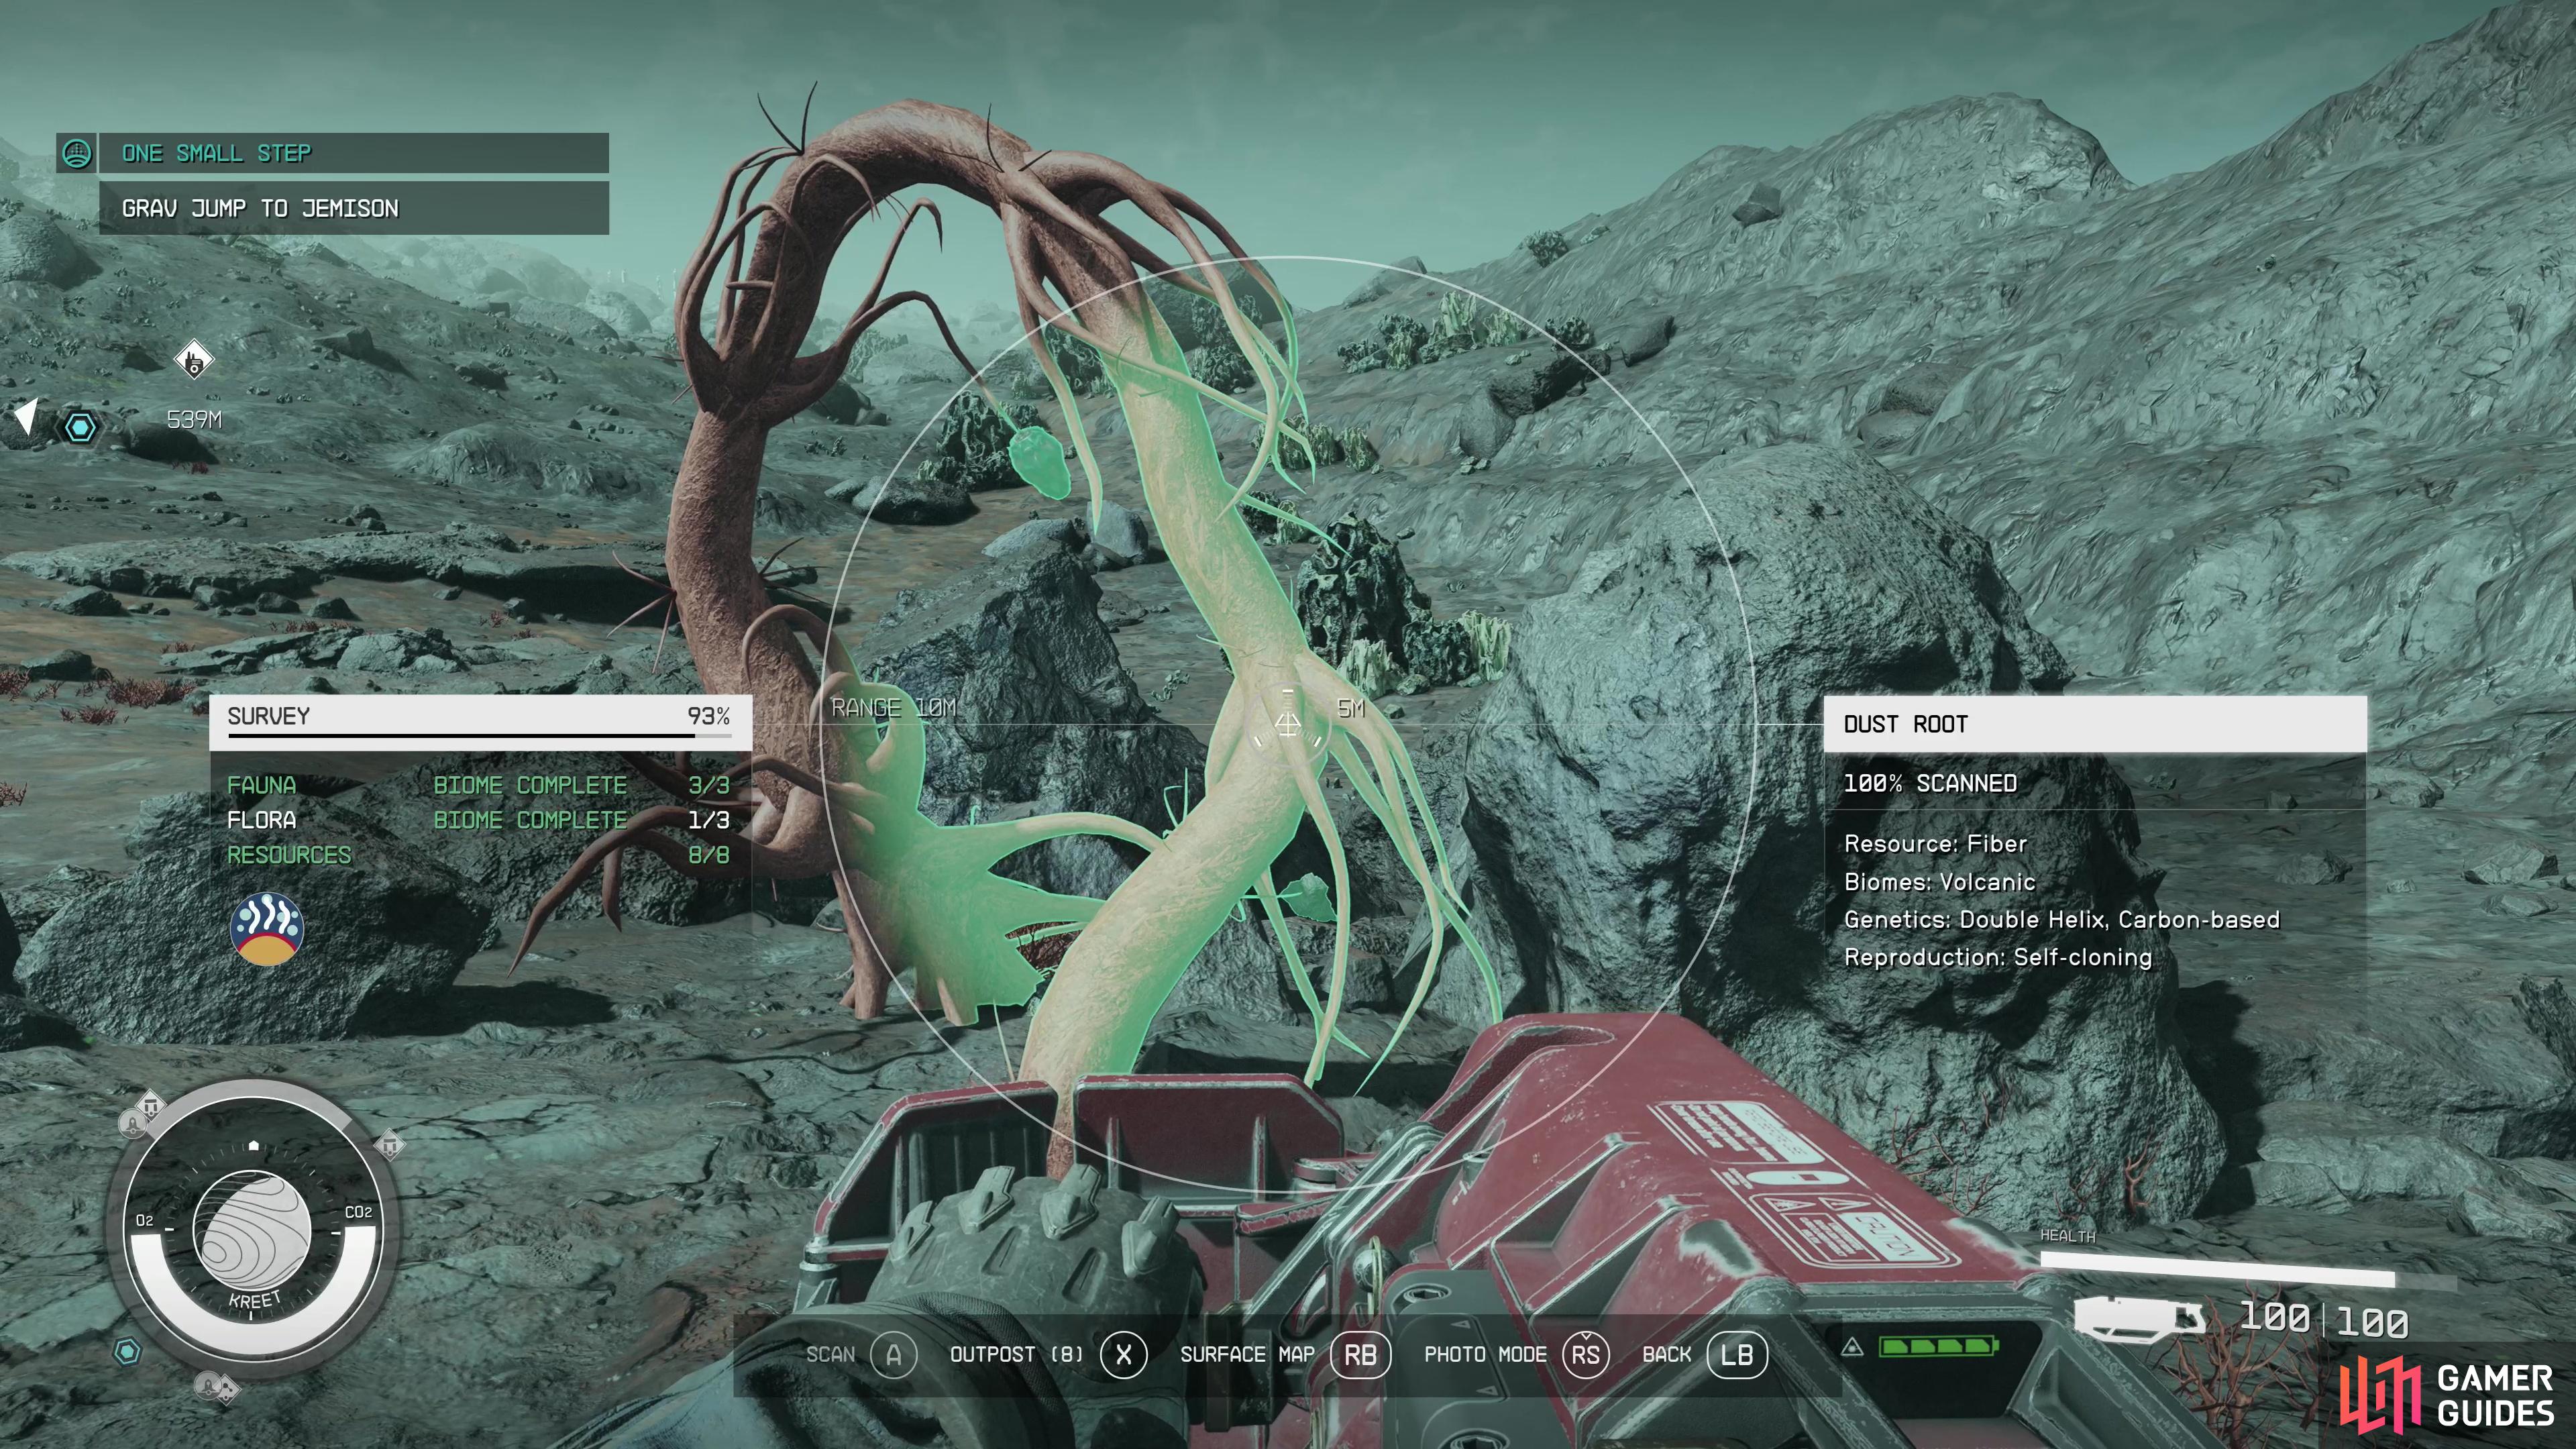
(1 of 3) You can use the scanner to highlight nearby resources,
How to Use the Scanner to Survey Flora, Fauna and Resources
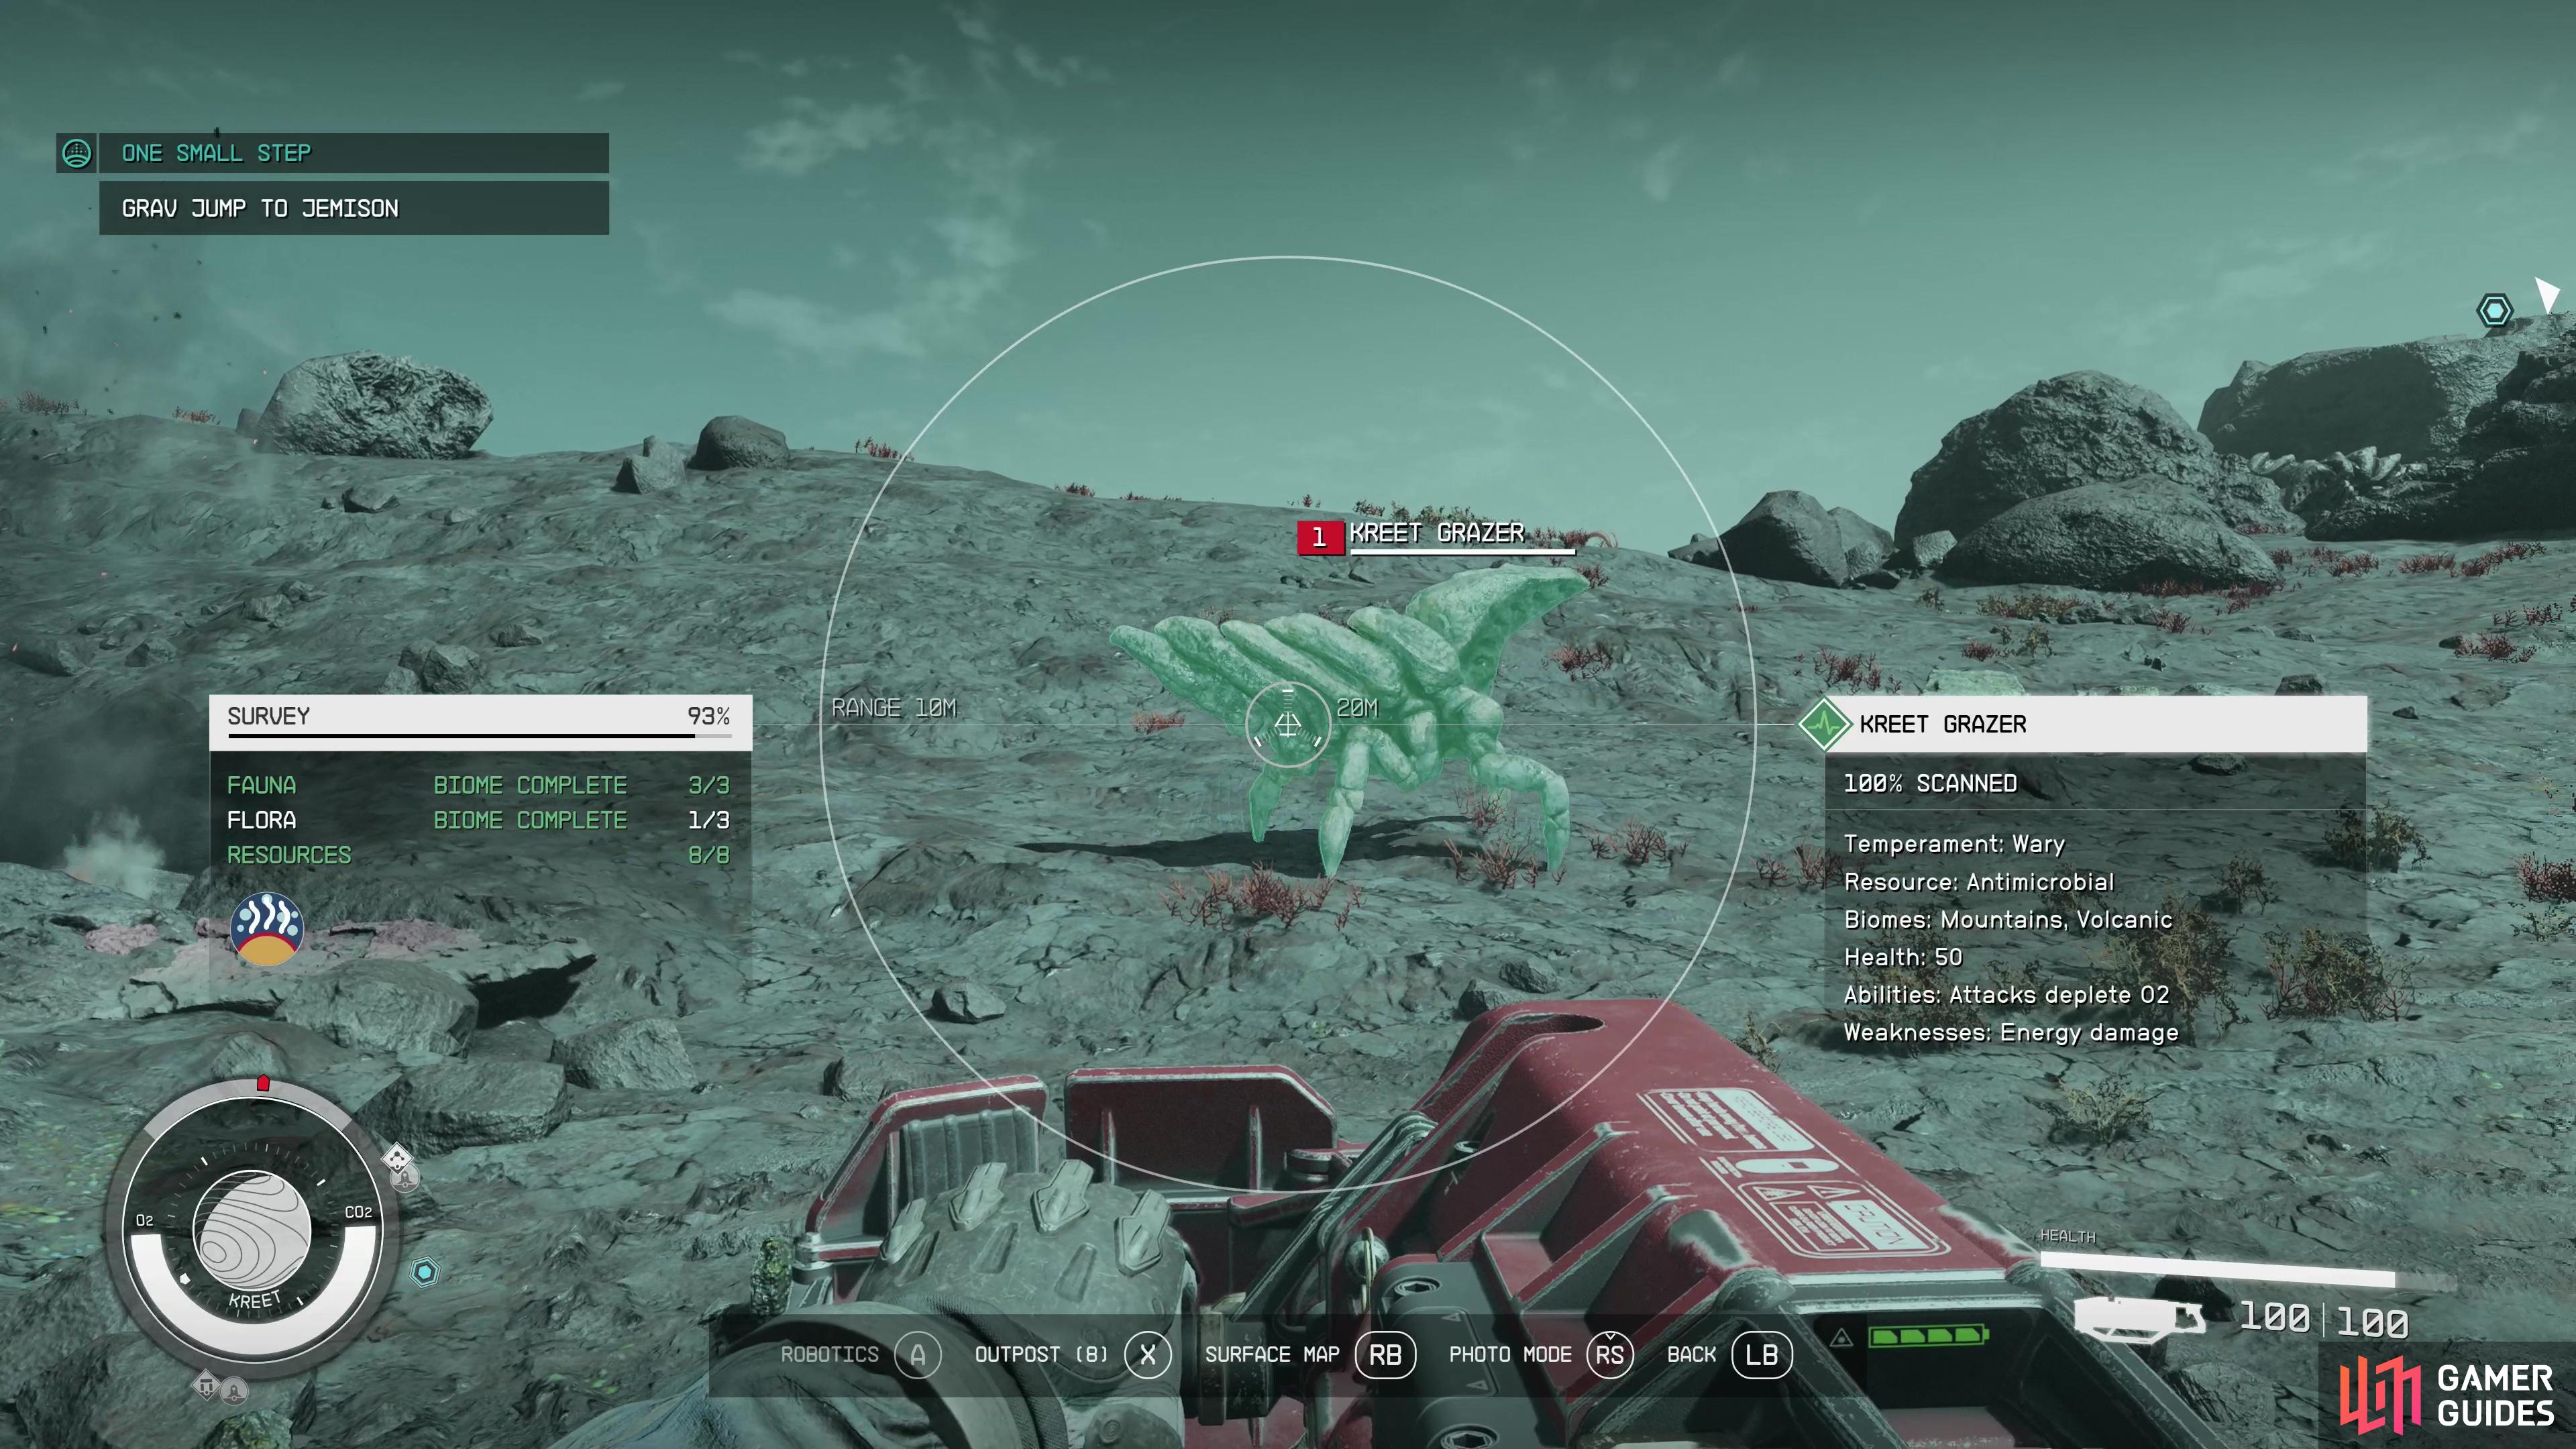
While using the scanner to locate goodies is definitely a welcome property of the scanner, it’s far from its only function. Arguably its primary function is to survey the terrain and wildlife on planets you explore, and every biome will generally have three categories for you to survey: fauna, flora and resources. Animals, plants and (usually) minerals. Like lootables, when viewed through the scanner these will be highlighted in various colors, depending on its scan status. Most scannable objects will initially be highlighted blue, but once you’ve scanned enough specimens (in the case of flora and fauna) these will be highlighted green. Typically only one of each type of mineral or resource is required for survey completion, but flora and especially fauna will require multiple specimens to be scanned - in the case of hostile wildlife, their corpses will suffice. Note that similar biomes can be shared between numerous planets, so the task of scanning everything in Starfield - while still a considerable undertaking - isn’t quite as monumental as it may initially seem. It’s generally a good idea to keep your scanner out while exploring so you can more readily spot surveying subjects, or at the very least so you can mine mineral deposits as you come across them.
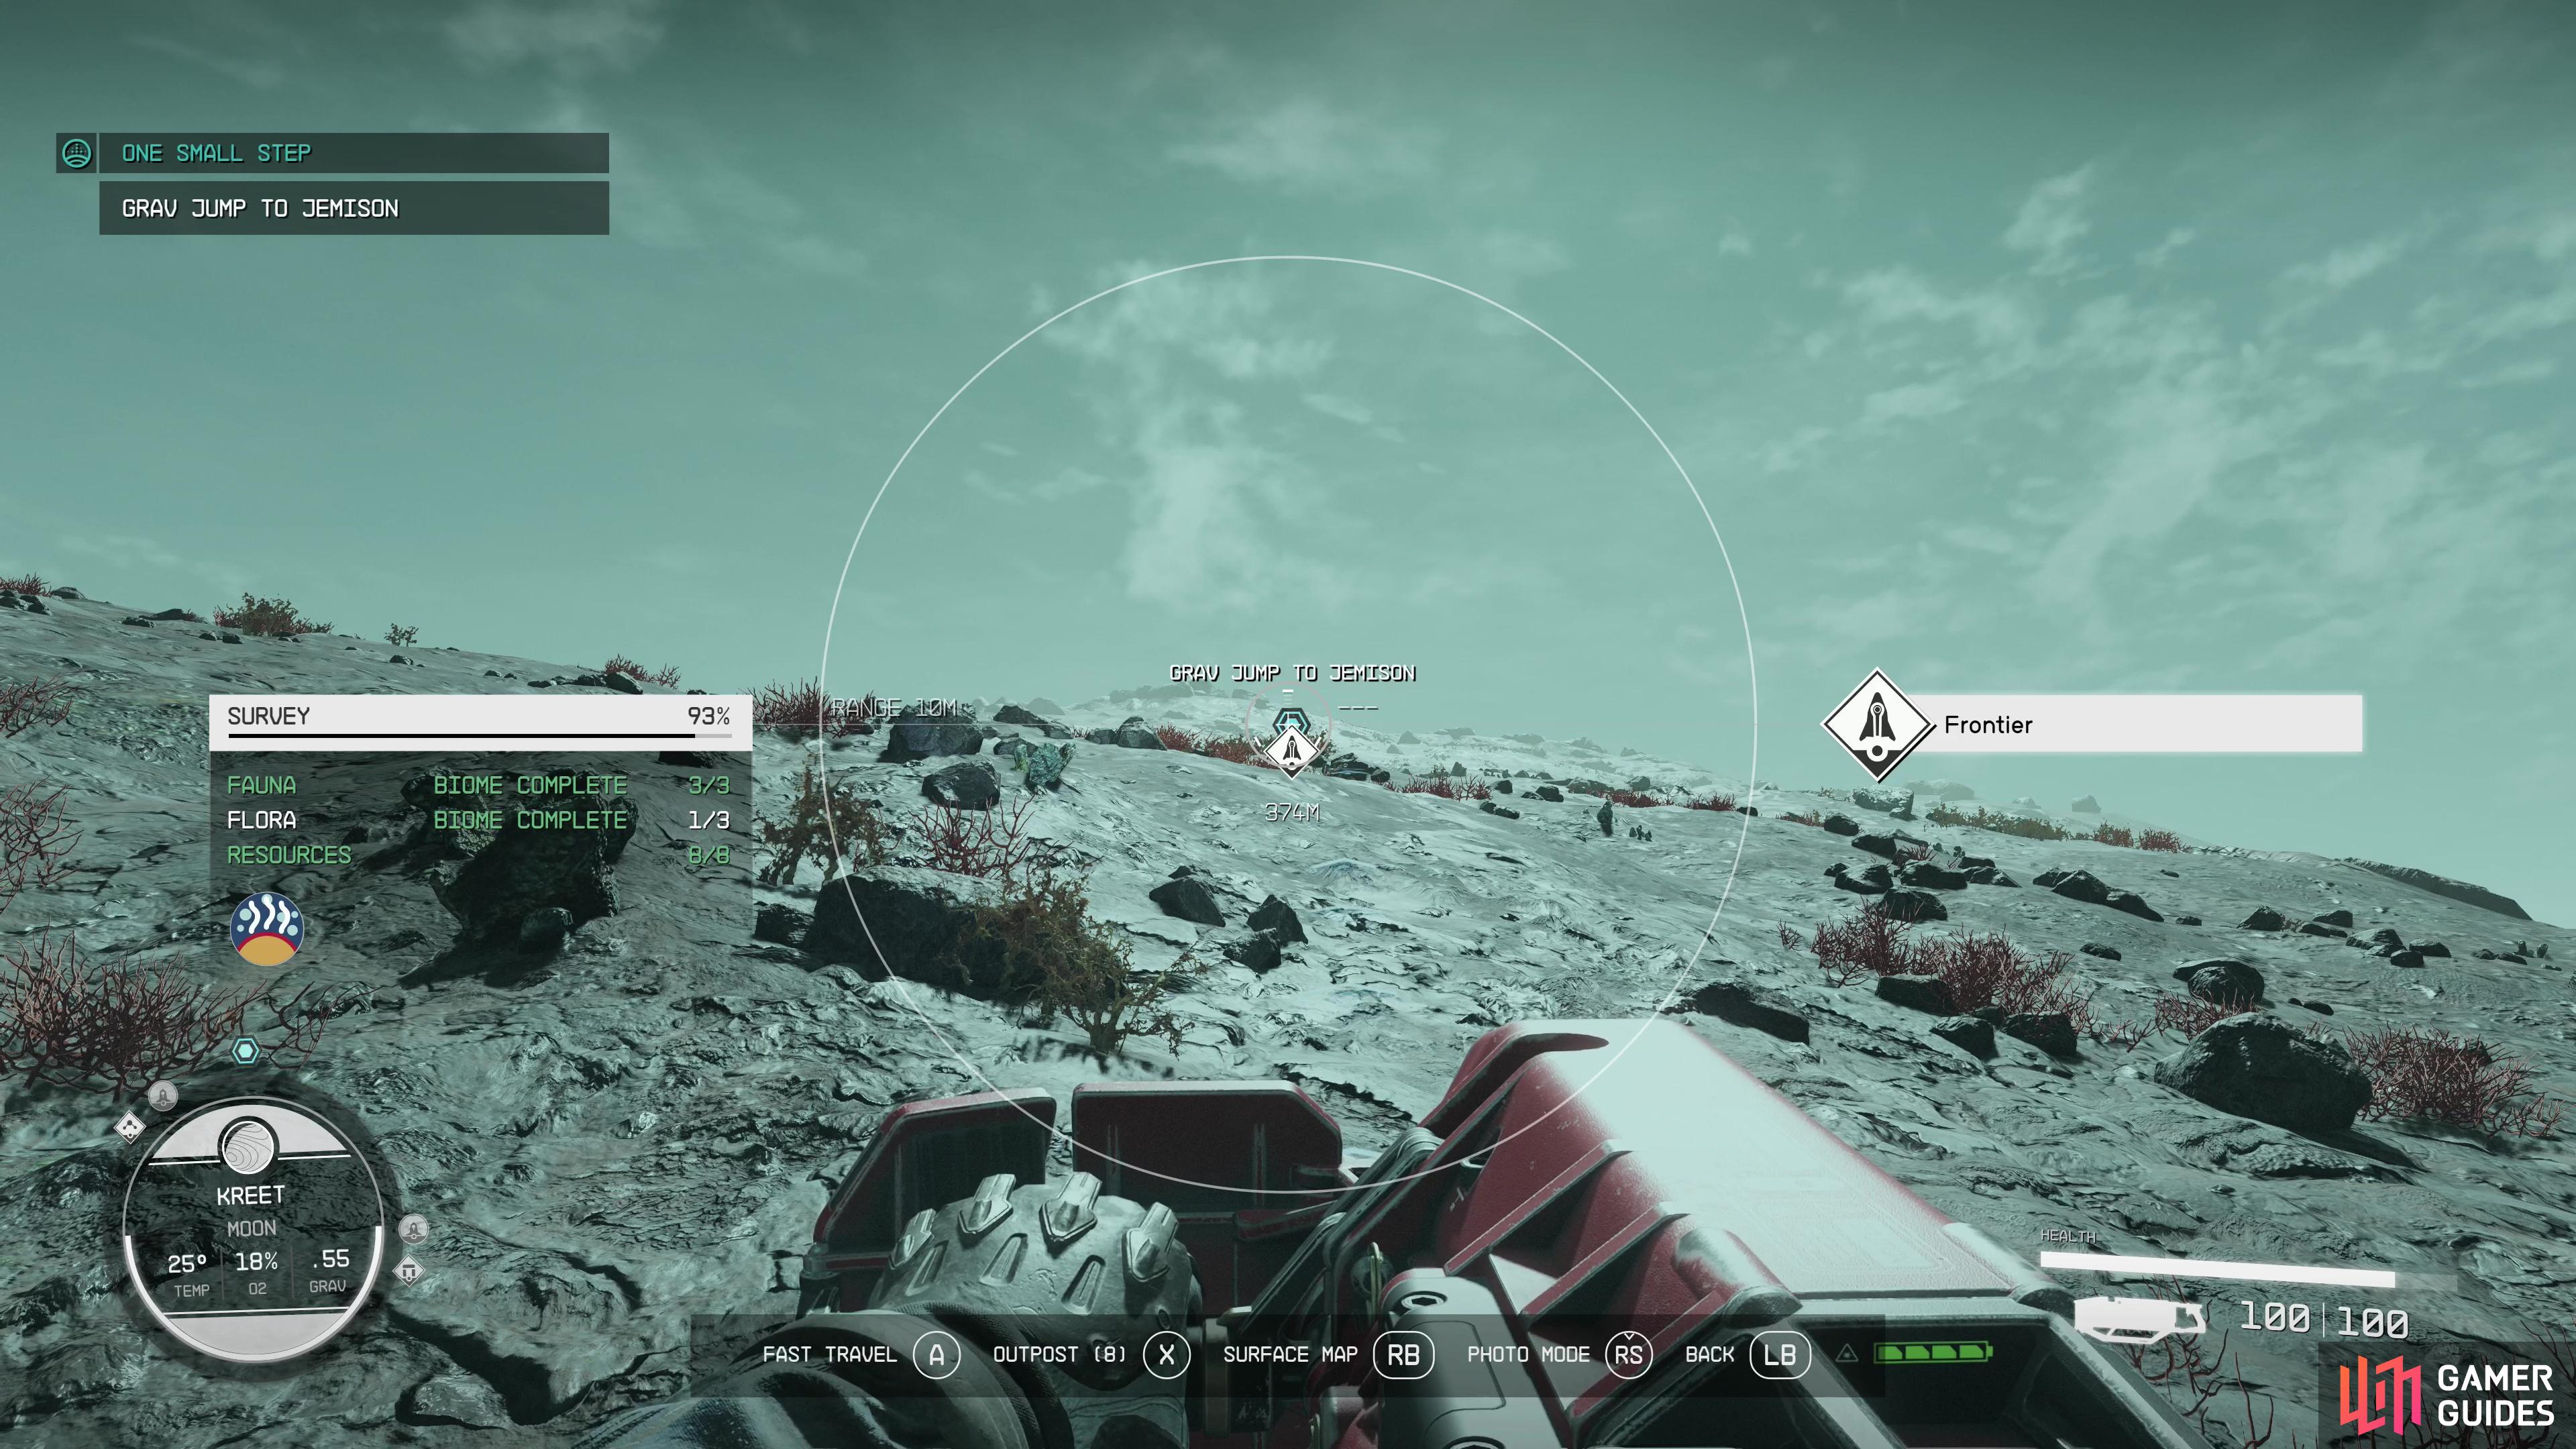
In addition to all the functions listed above, you can spot and fast travel to points of interest while the scanner is active.
How to Use the Scanner to Fast Travel, Navigate and Find Points of Interest
Finding loot, resources, flora and fauna should be sufficient cause to keep your scanner at the ready, but in addition to those functions your scanner serves yet another important purpose - it helps you sniff out and travel between points of interest. As you explore the surfaces of planets, you’ll occasionally find new map markers popping up both on the starmap and as icons that show up when the scanner is in use. If you’ve discovered said point of interest, you can just look at it while the scanner is equipped and hold down 

 Sign up
No Comments