You’re almost halfway through your task; the fourth group is waiting not far from the 49th floor’s entrance. This gang of misfits is too busy to discuss its strategy prior to battle, but you can be sure the battle’s not going to be easy…
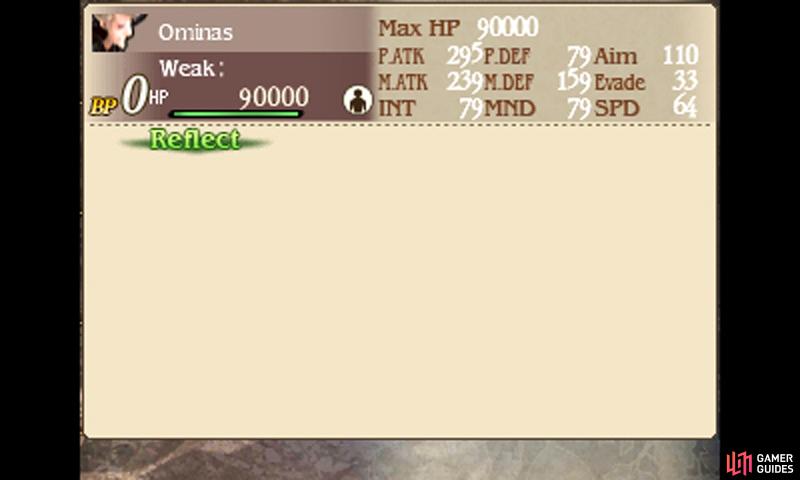
Boss: Qada, Ominas, Yulyana, Mephilia
(1 of 2)
| Level | HP | Weak to |
|---|---|---|
| 70 | 95,000 (Qada), 90,000 (Ominas), 99,999 (Yulyana), 85,000 (Mephilia) | Nothing |
Come into this battle with a standard party and you’ll likely suffer a Game Over on the first turn. Qada begins by compounding a Fire Bane to drop your characters’ resistance to Fire, while the other three blast you with potent fire magic–Firaga from Ominas and Yulyana, Promethean Fire from Mephilia. Not an ideal combination for you at all…
There are a few ways you can survive. One way is to defeat Qada on the first turn. You can do this by having three Pirates use the Swordmaster’s Free Lunch (Level 14), followed by three lots of Amped Strike (Level 14) for approximately 90,000 damage, then have your fourth character dish out at least 5000 damage (e.g. use two battle items that do 1500 damage with the Salve-maker’s Attack Item Amp).
Alternatively, you can have three Ninjas or other high-speed characters unleash a flurry of attacks on Qada, before finishing the turn with the Spiritmaster‘s Stillness to block the magical onslaught for two turns. Then rinse and repeat. For this strategy, you need to manage your character’s Speed so the Stillness user is quicker than the enemy, but slower than your attackers.
With Qada gone, you’ll still need to survive the three spell-casters. For this purpose, have at least one character–ideally the support character–equip the Iceflame Shield to negate the fire damage. Our suggestion? Do as the enemy would do to you and wipe them out in one turn with twelve lots of the Vampire’s Firestorm or Dark Knight‘s Dark Nebula. All’s fair in war…
The penultimate group is ready for action halfway along the 49th floor; this group will focus on crippling the heroes with a hail of status ailments.
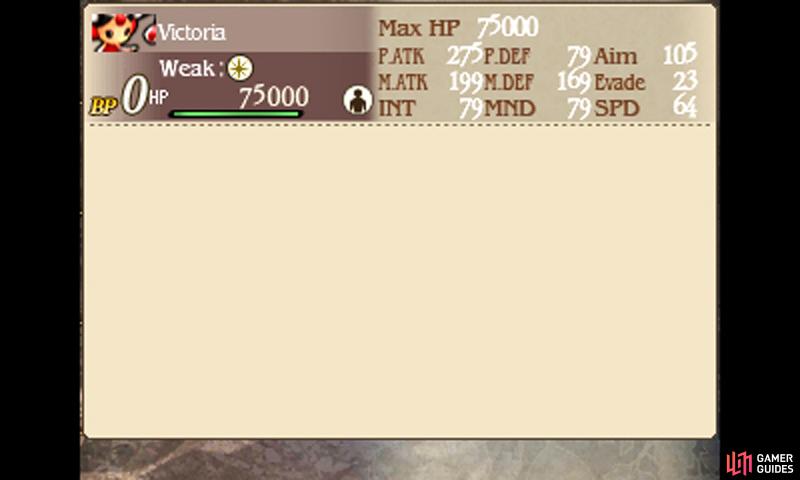
Boss: Khint, DeRosso, DeRosa, Victoria
(1 of 2)
| Level | HP | Weak to |
|---|---|---|
| 70 | 95,000 (Khint), 99,999 (DeRosso), 90,000 (DeRosa), 75,000 (Victoria) | Light (DeRosso and Victoria), Nothing (Other two) |
This nightmarish battle becomes a cinch with one thing: the Spiritmaster’s Fairy Ward, which protects the party from ailments for 5 turns. Without Fairy Ward, you’ll suffer multiple ailments including Sleep, Paralysis, Charm, Poison, Doom, while also leaving your characters vulnerable to Victoria’s Exterminate (damages those poisoned) and Twilight (kills those asleep).
Besides the ailments, you need to watch out for damage from Khint’s sword, DeRosso’s Genome abilities and Victoria’s Dark. Abate Dark or the Dark Shield will come in useful, plus Rampart if you need to block DeRosso’s hits. The key thing is to remember to cast Fairy Ward when it expires or your fortune will run out…
For your final challenge, speak to Braev at the council chamber on the top floor. In his words, he’s ready to give our heroes a “training ordeal of a lifetime”.
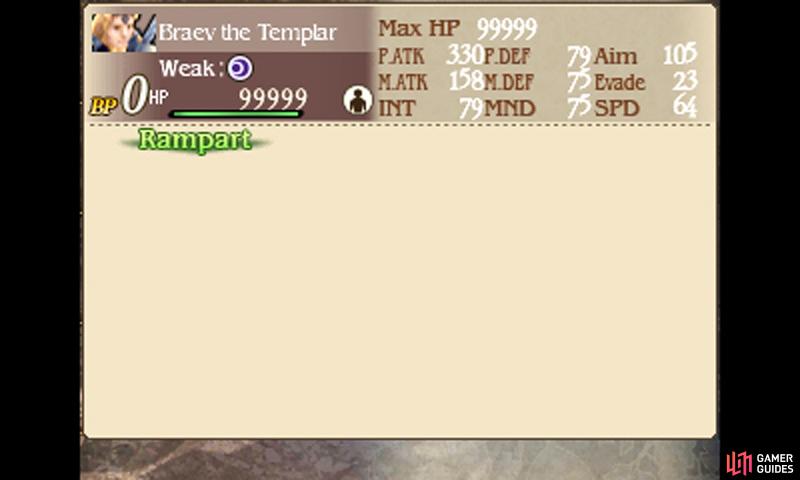
Boss: Khamer, Braev, Victor, Artemia
(1 of 2)
| Level | HP | Weak to |
|---|---|---|
| 70 | 85,000 (Khamer), 99,999 (Braev), 90,000 (Victor), 95,000 (Artemia) | Dark (Braev and Victor), Fire (Artemia), Nothing (Khamer) |
The gimmick of this battle is that Khamer has Hasten World, which gives everyone–friend or foe–an extra 1 BP at the end of each turn. This benefits the enemy, as they can afford to use their powerful moves with great frequency–Khamer will rain Meteor, Braev has his usual powerful Templar moves, while Artemia has Multi-Burst.
Victor meanwhile functions as a buffer of sorts, using Moderation to give 1 BP to those with negative BP and -1 BP to those with positive BP. Either way, neither party is going to run out of BP any time soon… One way to survive this ordeal is to defeat Khamer as soon as possible; like with Qada in the fourth battle, you can rely on Free Lunch and Amped Strike to utterly waste him.
After you’ve gotten rid of Khamer, you need to defend yourself from the other three. Abate Light or the Lustrous Shield will protect you from Victor’s Holy and Braev’s Radiant Blast; Rampart is good against Multi-Burst, provided nobody else chips in before Artemia. Focus on felling Artemia after Khamer, as her attacks are harder to protect from; watch out that Braev knows Rampart too.
Alternatively, you may use the Stillness strategy–where you have three extremely high-speed characters attack, before ending the turn with Stillness for a two-turn ceasefire. Stillness works well here because your Stillness user will have no shortage of BP thanks to Khamer’s Hasten World, nor your attackers, mind…
Your Reward…?
(1 of 2) You’d have to be either incredibly brave or insane to go through the whole ordeal again!
You’d have to be either incredibly brave or insane to go through the whole ordeal again! (left), (right)
Triumph the last of the asterisk holders and you can be assured nothing can stop you from saving the world!





 Sign up
No Comments