Information and walkthrough for the Highroad Cave location in Elden Ring, including details about how to defeat the Guardian Golem and information about how to obtain the Shamshir and the Blue Dancer Charm.
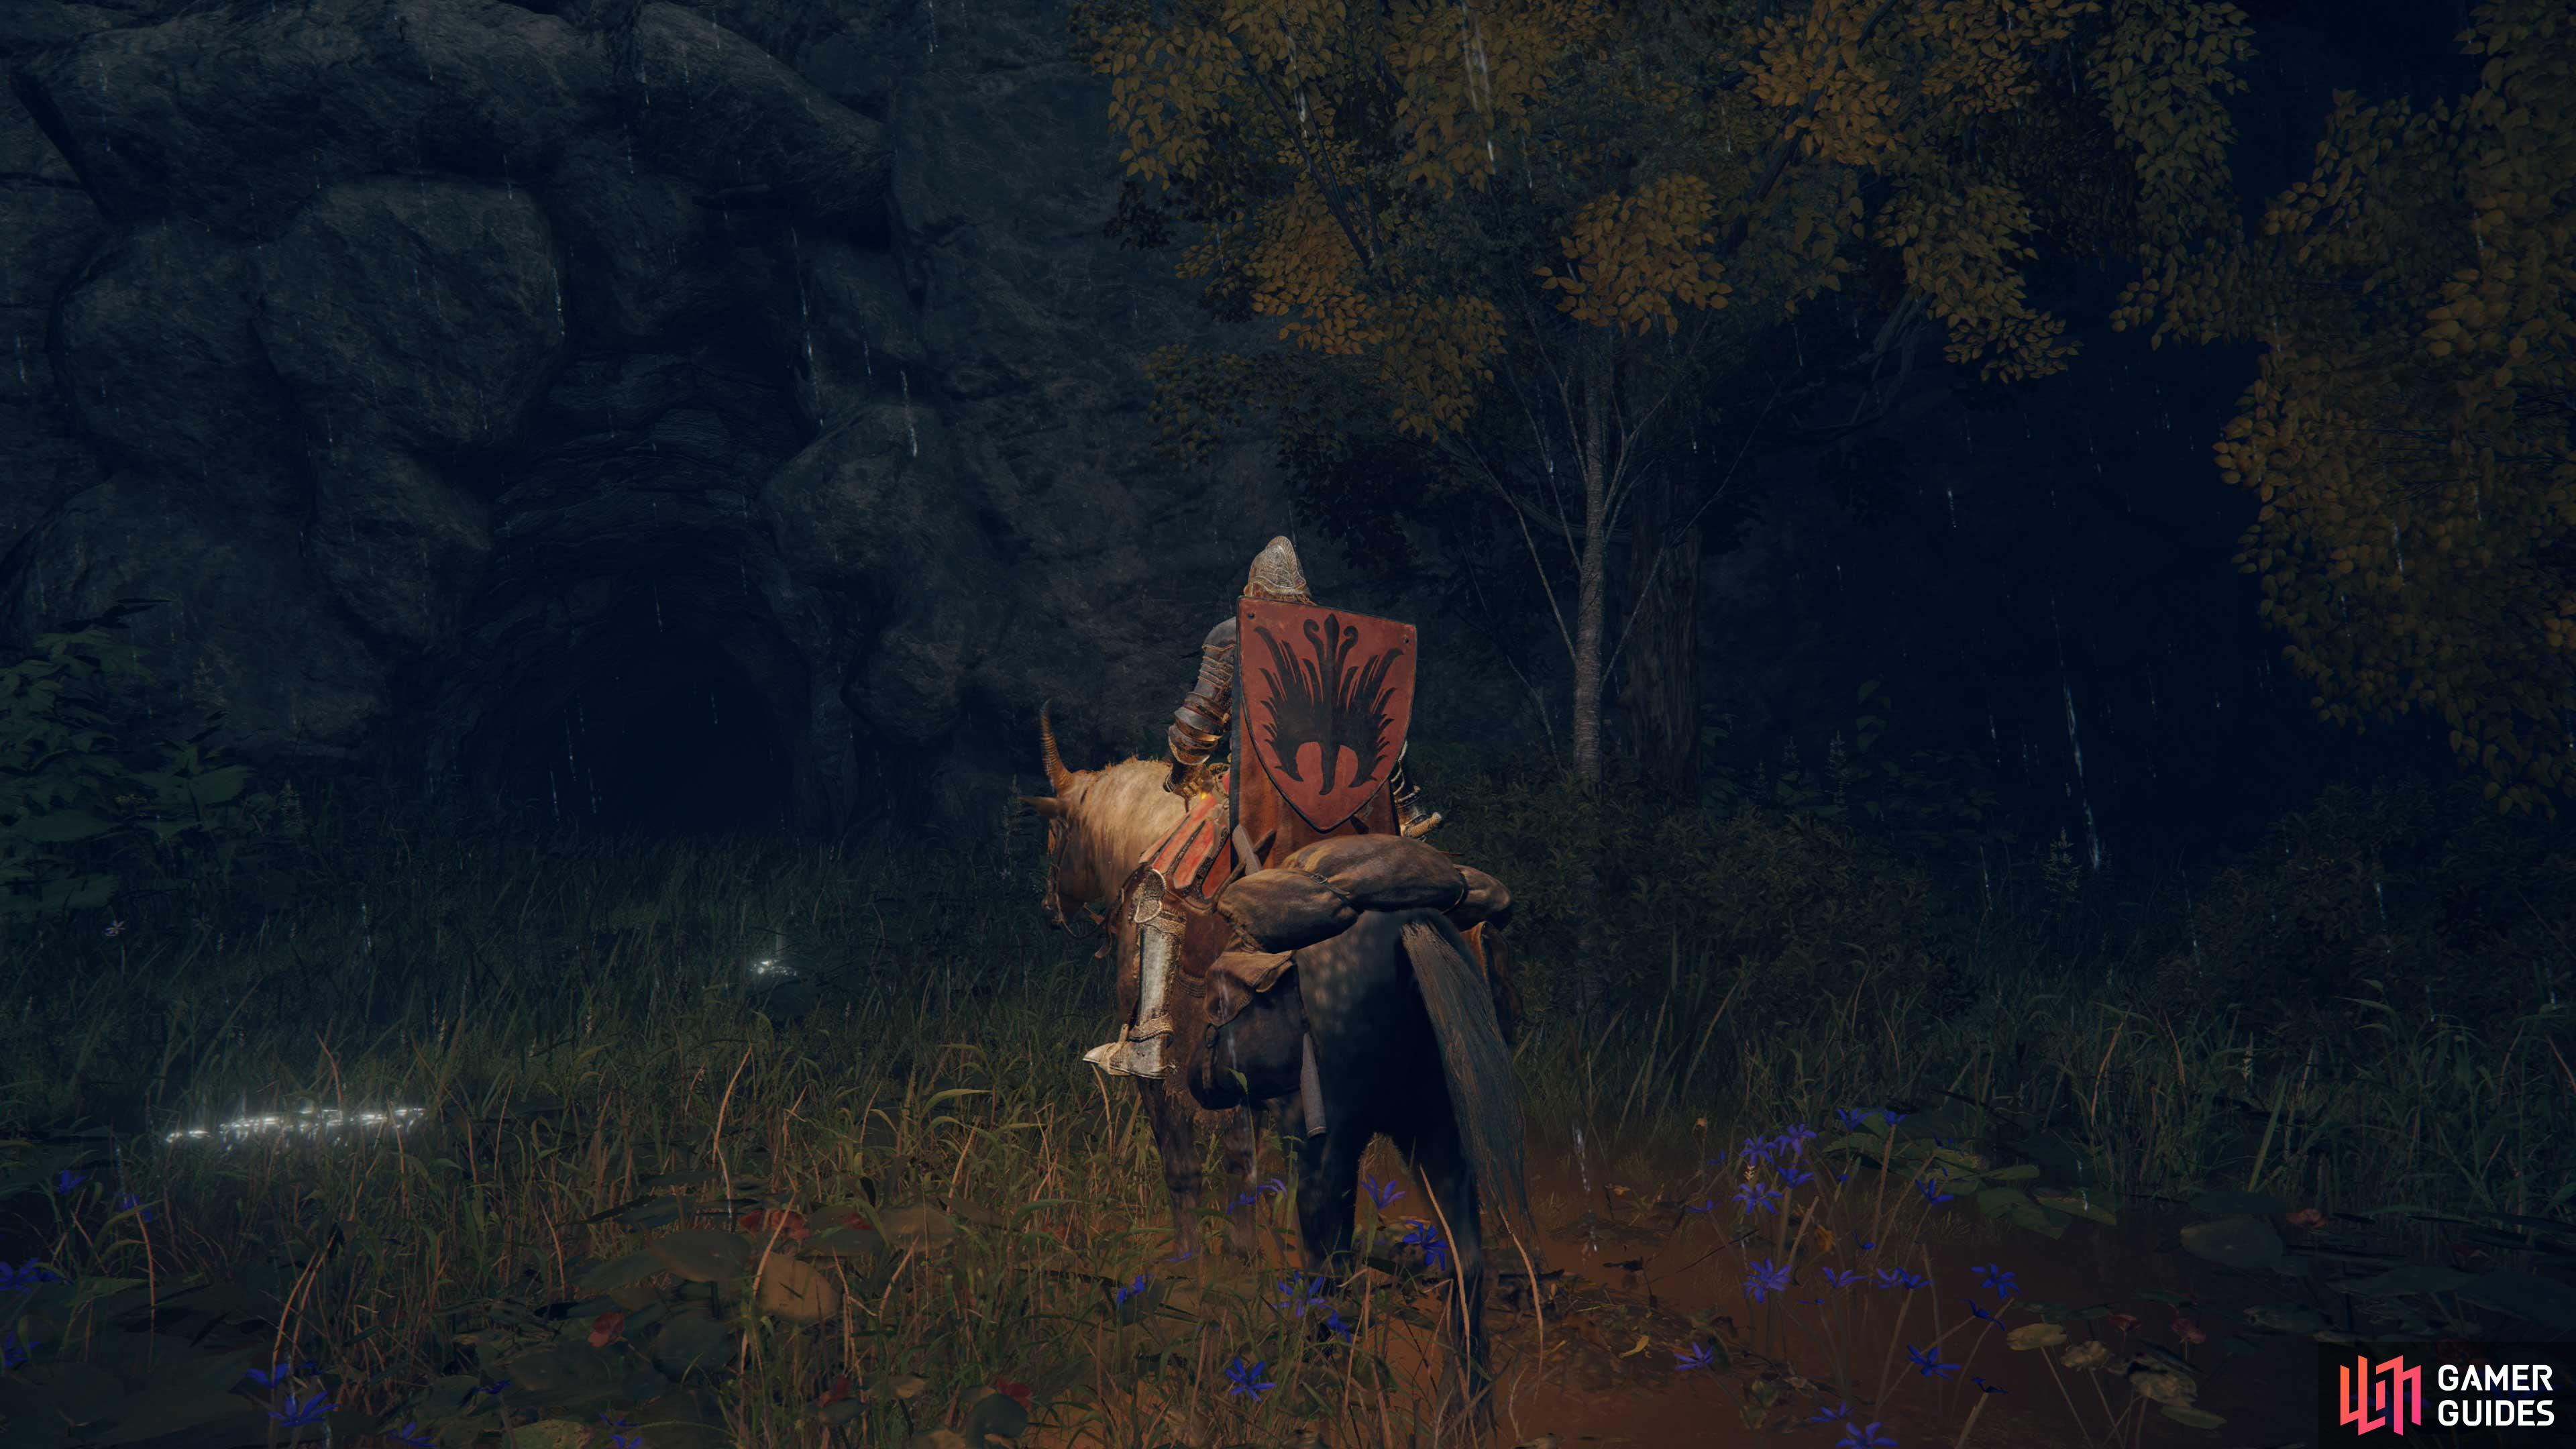
The entrance to the Highroad Cave.
How to Find Highroad Cave
The Highroad Cave can be found northeast of the Deathtouched Catacomb, north of the Saintsbridge, albeit below it. To reach the Highroad Cave, however, you’ll want to follow the cliffs northeast from the Gatefront Ruins until you reach the ravine splitting Limgrave in half. From here you’ll want to pick your way down the cliffs to the south, then work your way north past the chasm where the Murkwater Catacombs is located. Follow the river north until you pass under the Saintsbridge (be wary of Giant Land Octopus enemies) and look for the entrance to the Highroad Cave in the cliffs to the left.
Best Loot in the Highroad Cave
| Item | Location |
|---|---|
| Blue Dancer Charm | Defeat the Guardian Golem. |
| Shamshir | Loot a corpse on a platform in the middle of the waterfall chamber. |
Enemies in the Highroad Cave
| Enemies | Runes | Drops | Notes |
|---|---|---|---|
| Alpha Wolf |  97 97 |
Lump of Flesh, Thin Animal Bones | - |
| Giant Bat |  57 57 |
Golden Rune | - |
| Giant Land Octopus |  320 320 |
Land Octopus Ovary, Octopus Head, Strip of White Flesh | - |
| Guardian Golem BOSS |  1700 1700 |
Blue Dancer Charm | Optional Boss. |
| Land Octopus |  14 14 |
Land Octopus Ovary, Octopus Head, Strip of White Flesh | - |
| Wolf |  66 66 |
Lump of Flesh, Thin Animal Bones | - |
How to Complete the Highroad Cave
Enter the cave and continue until you find the Highroad Cave Site of Grace. Be prepared for a relatively lengthy dungeon - the enemies within aren’t all that dangerous, but the area is somewhat convoluted and it isn’t a matter of going down a side tunnel and pulling a lever to reach the boss. Having a Torch is also recommended.
When you’re ready, press on to the north and drop down a put, using several ledges to control your descent. When you reach the bottom, continue down a passage to reach a chamber with a pit in the middle which, like the last pit, you can descend using various ledges to break up the fall.
Before you drop down, however, note the Wolf out in the open - two more of the beasts are waiting in ambush down a tunnel to the northwest of the pit and two more (including an Alpha Wolf) lurk to the east. Only the former two should enter the larger chamber and attack.
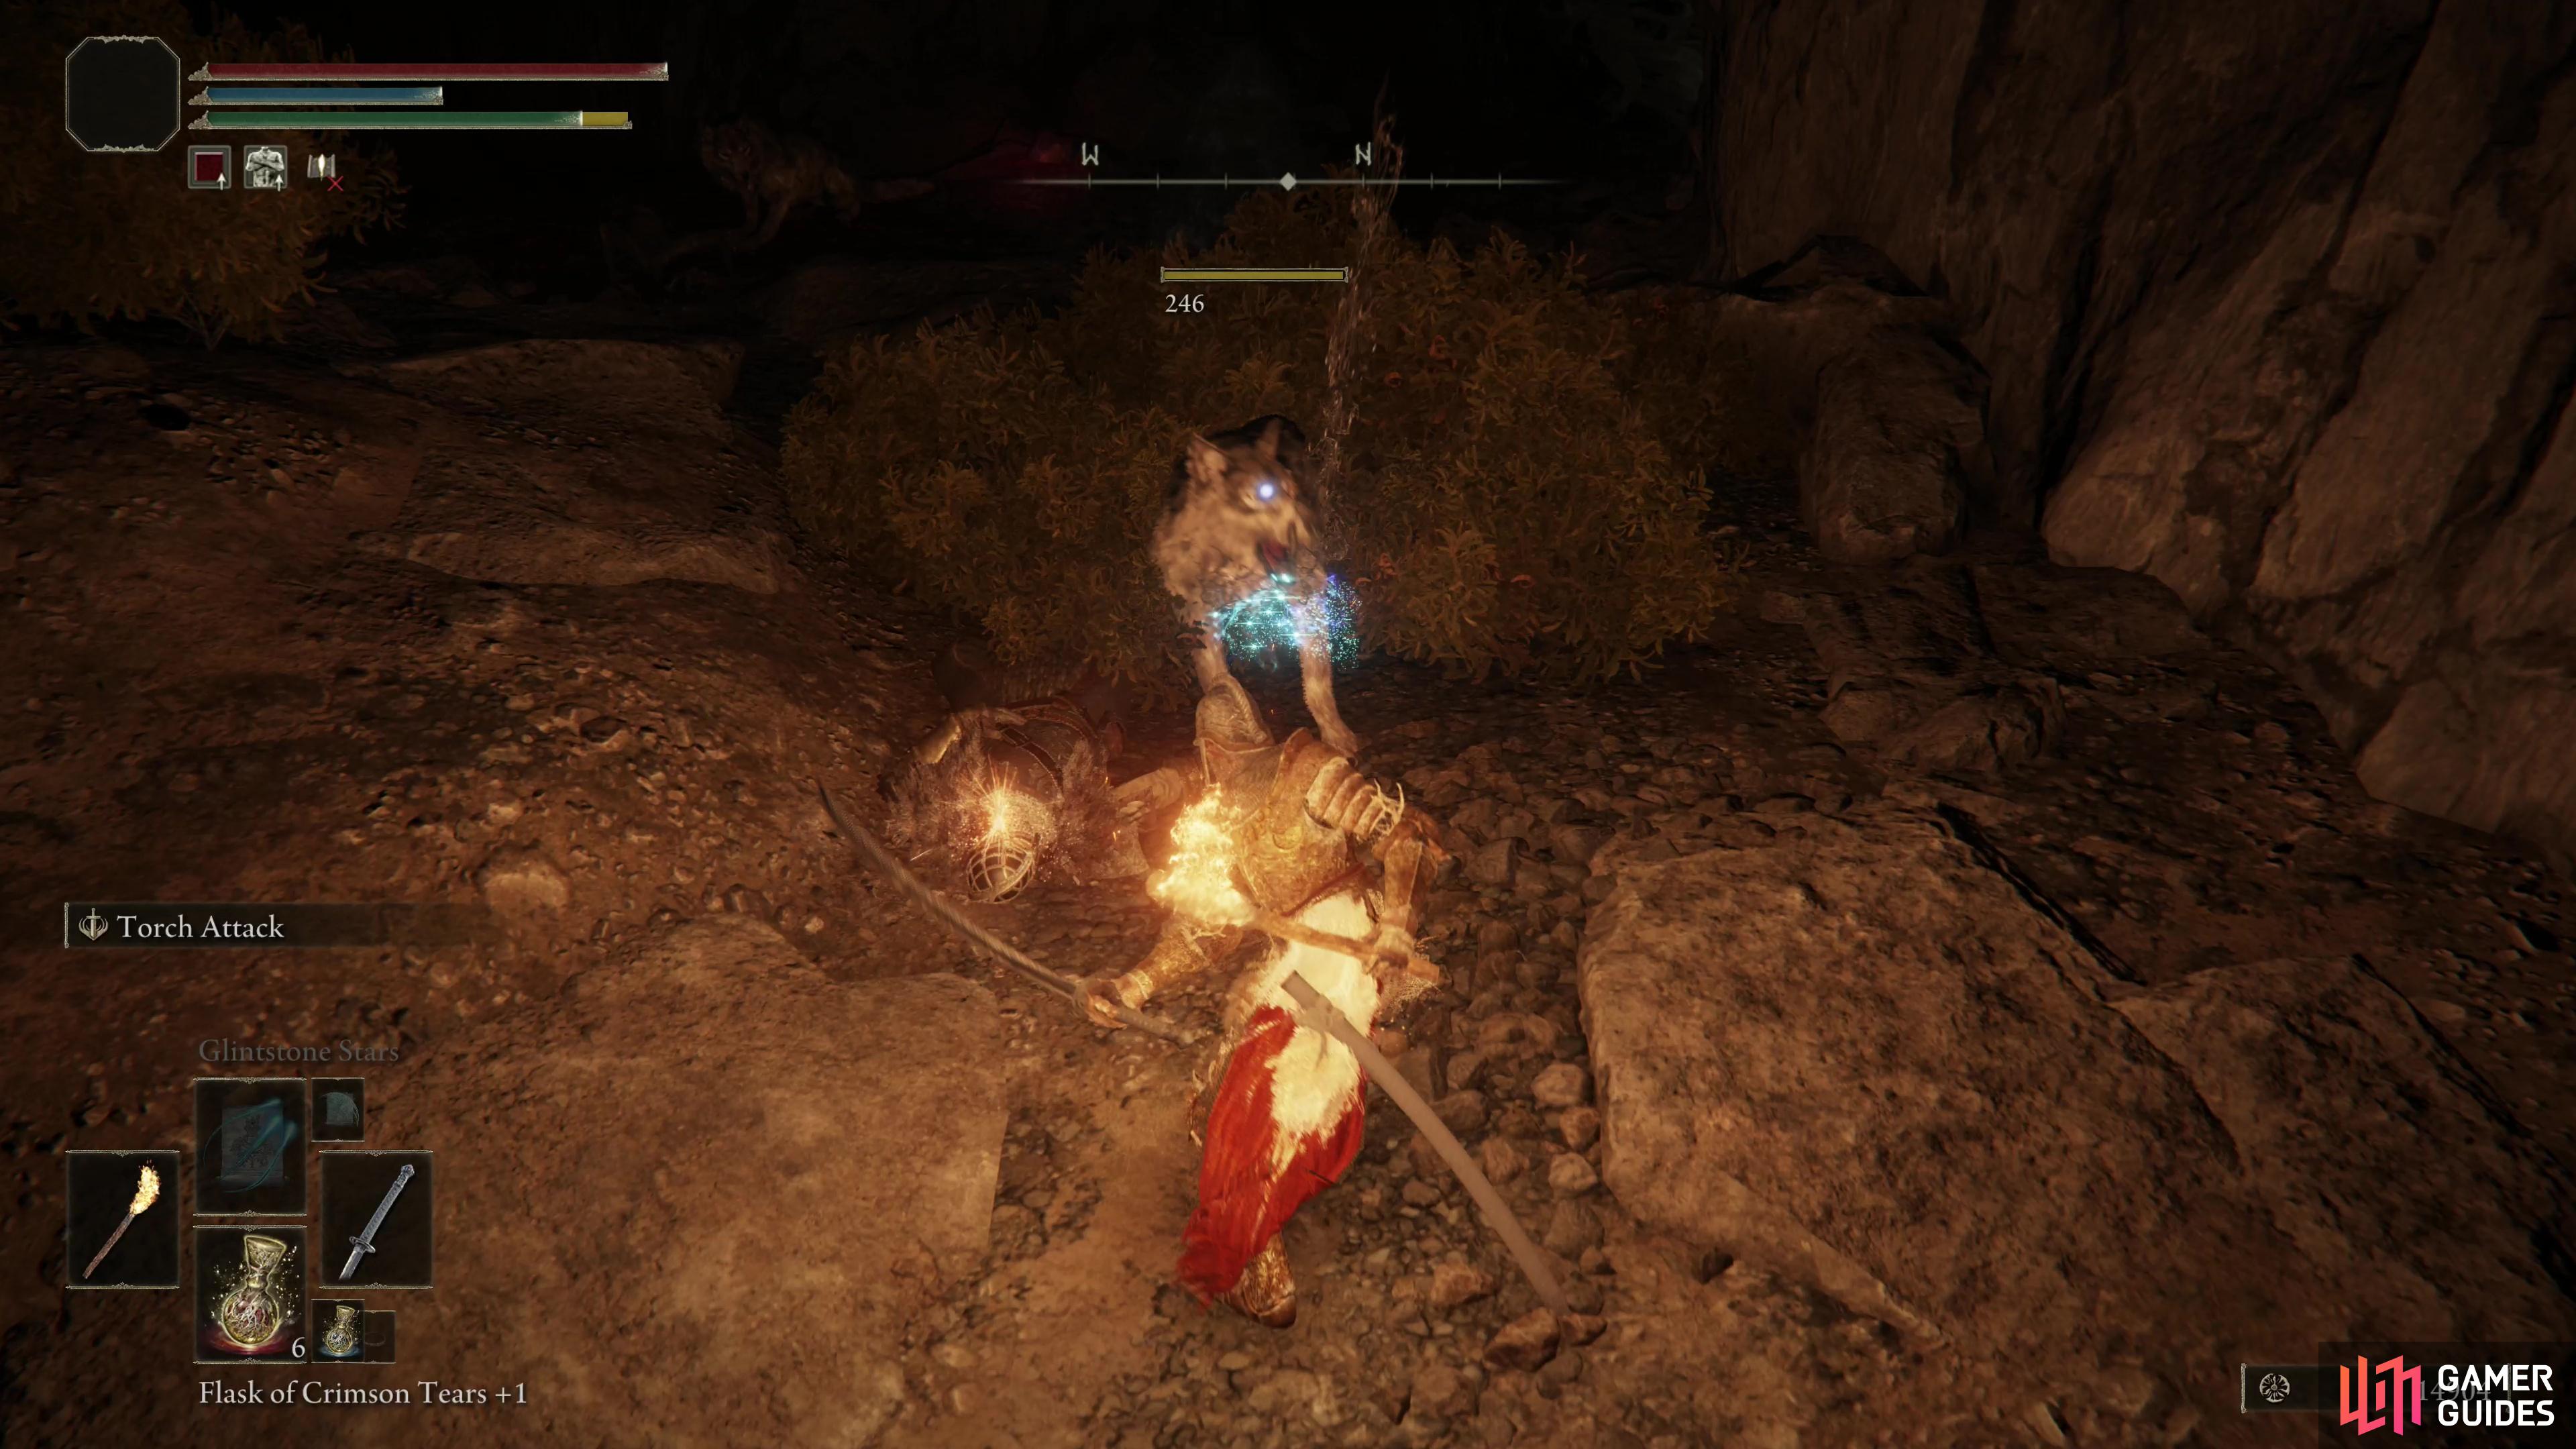
Drop down the pit and turn right (northeast) and you’ll reach a ledge down which two Wolves rest. Get the drop on them (literally) then continue forward to find another fork. Either continuing forward (north) or turning left (west) will both lead to a chamber where several Wolves dwell, many of which are hiding in bushes. Ah, those famous subterranean bushes… makes sense. Cut through the Wolves and head through a passage to the north to reach a large, water-filled chamber with a waterfall running through it.
(1 of 4) The upper reaches of the cave are infested with Wolves.
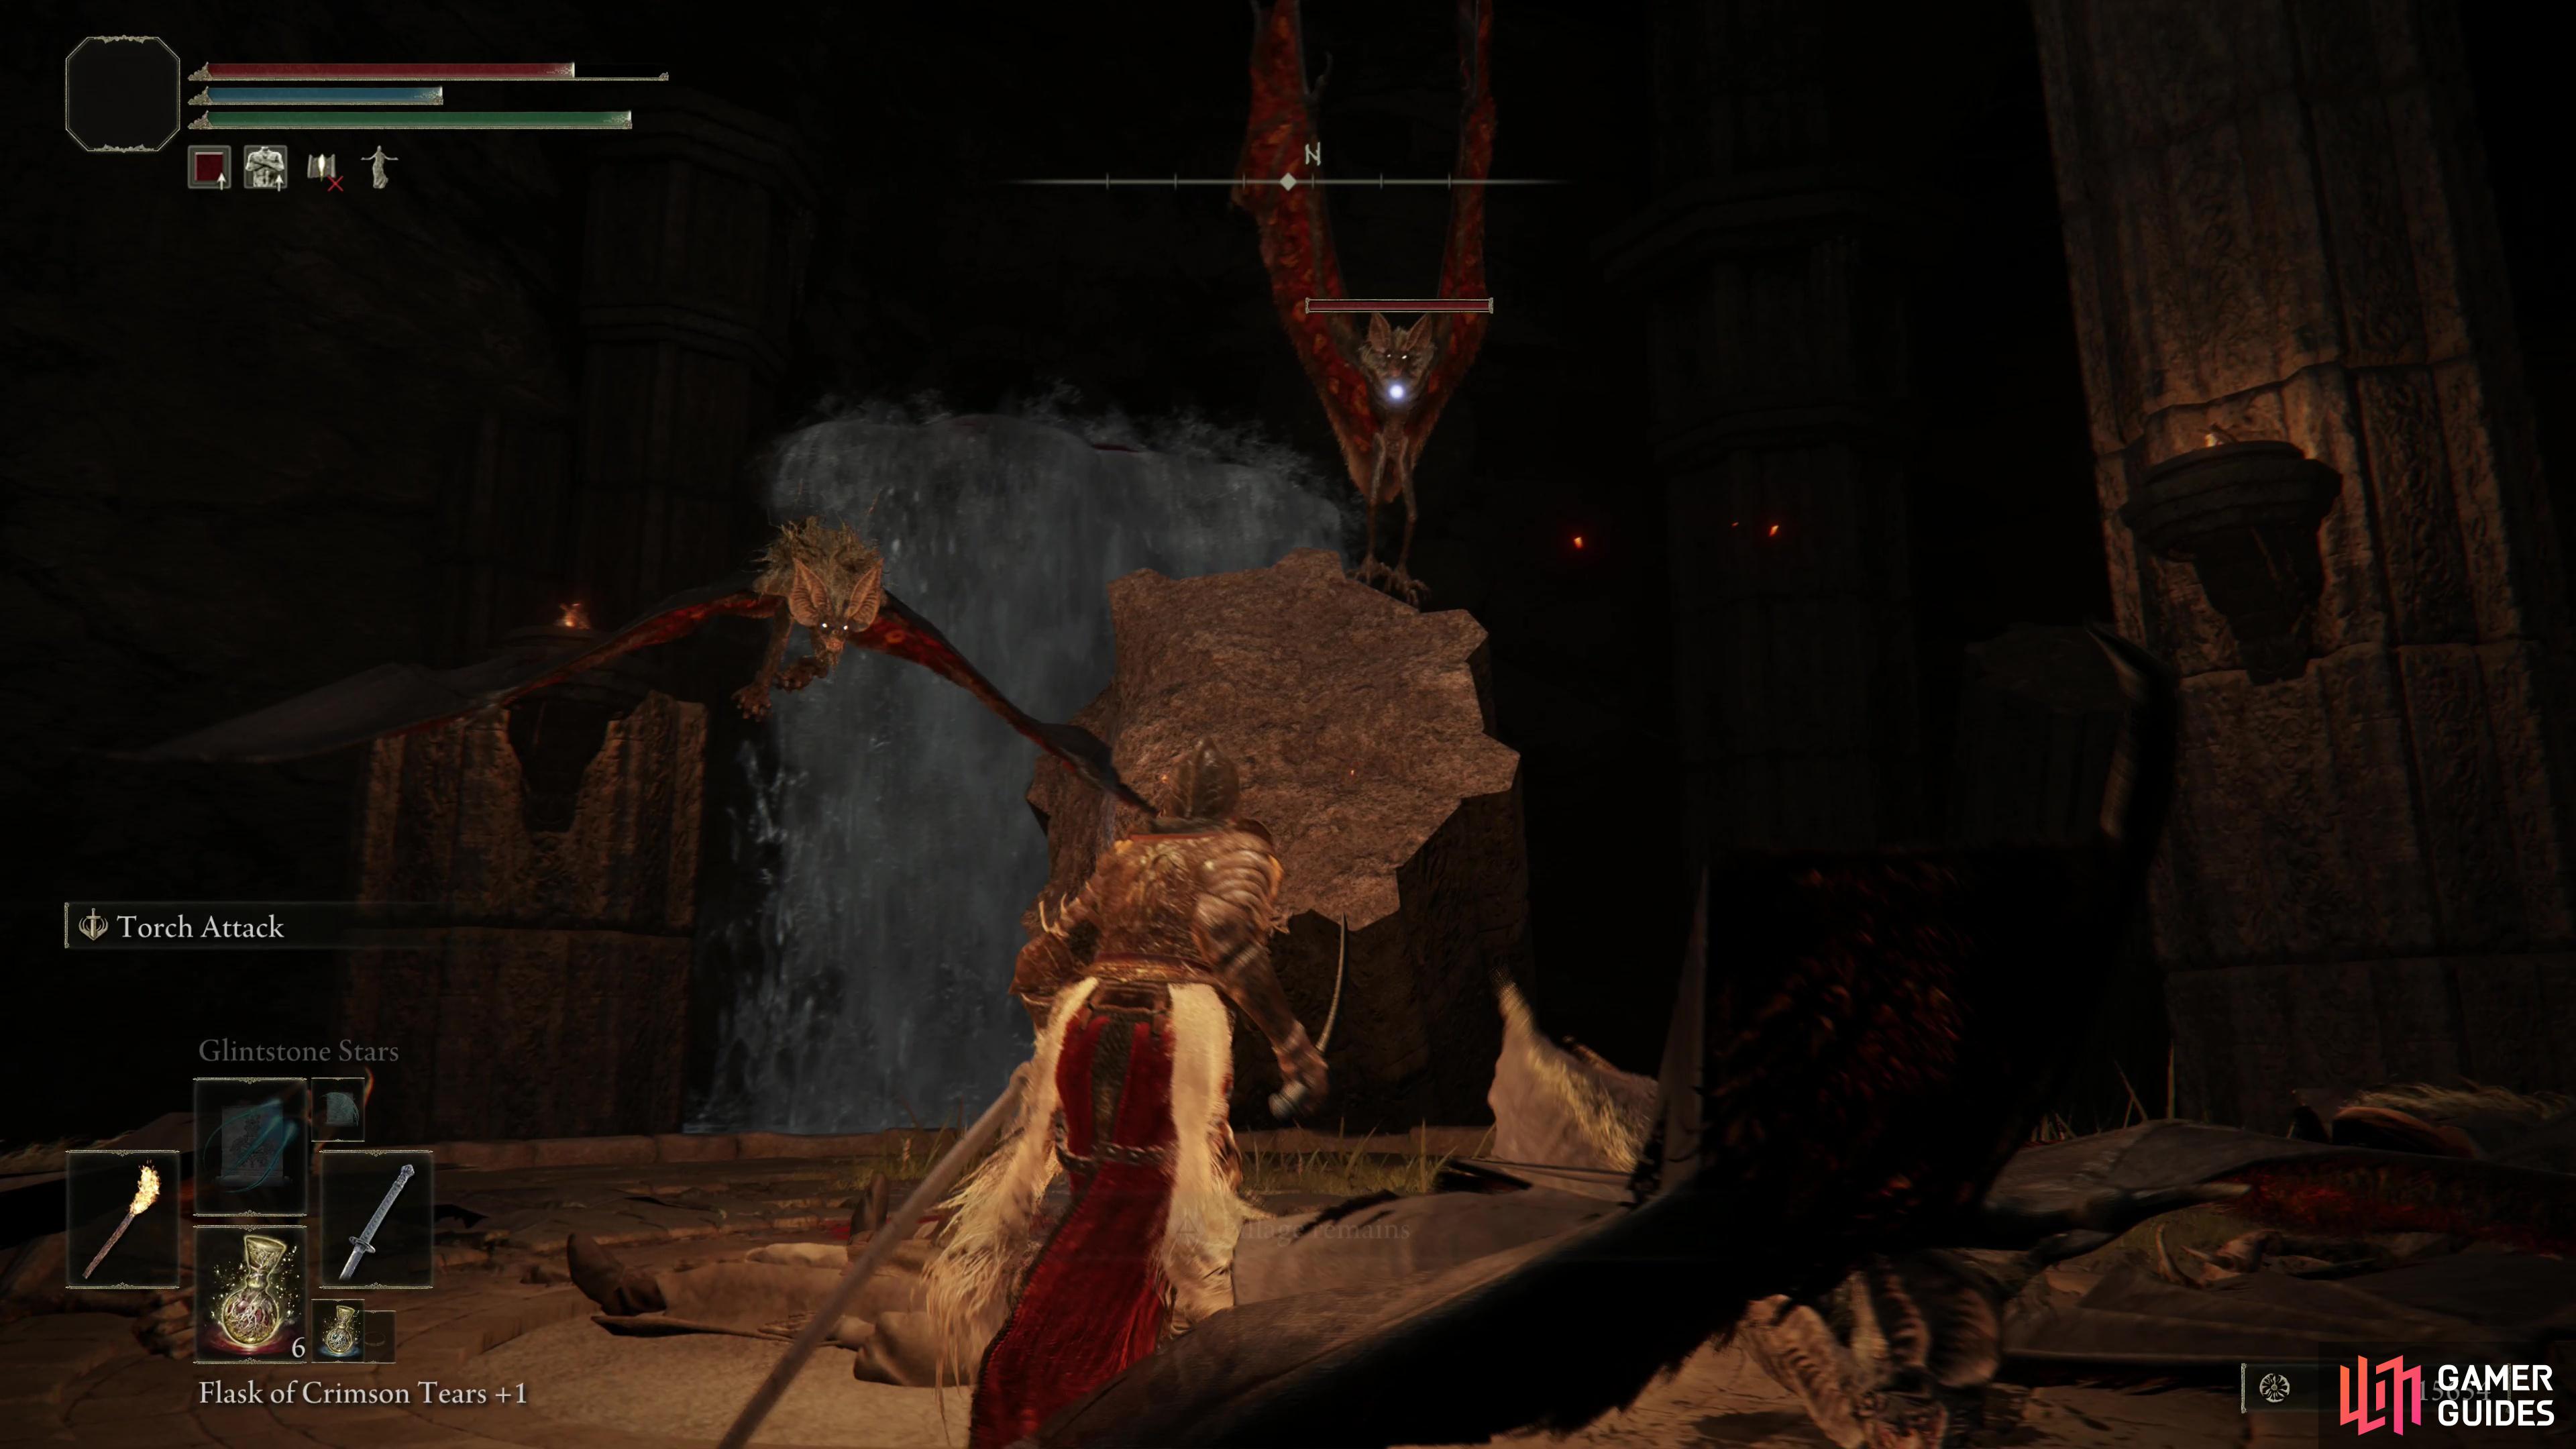
This chamber is infested with Giant Bats, many of which are perched out of reach - a ranged weapon will make things much easier, but failing that, a bit of situational awareness and a shield will suffice.
Turn left (north) and note the Stake of Marika, which will allow you to continue from here if you die. Beats having to fight through a half dozen Wolves again. Drop down a ledge and kill several Giant Bats, both ahead of you and behind you, then drop down onto the waterfall to the northeast.
To the left (northwest) you’ll find a passage leading into a watery chamber - kill two more Giant Bats, then turn right (northeast) and head uphill, killing some Land Octopus enemies as you work your way to another, smaller waterfall. Be wary of two Land Octopus enemies behind the waterfall, which you can kill in order to loot a corpse for a Golden Rune (4).
Return to the previous waterfall in the larger chamber and drop down the waterfall (southeast) to land on a ledge at the waterfall’s base, then jump onto a pillar to the south and use it to reach a circular platform to the south, where you’ll have to fend over several Giant Bats. When all the bats are dead, loot a corpse in the middle of the platform to obtain the Shamshir.
You can now advance in two directions: either jump onto a partially submerged pillar to the south which will lead behind a waterfall, or head upstairs and turn northeast to find a pillar you can jump onto, then from there jump east onto a ledge. The latter route is more difficult, but it’ll result in more loot.
When you reach the northeastern ledge, kill a Land Octopus, then head up a passage to reach a chamber where you can find a Giant Land Octopus clinging to the ceiling. Approach to lure it down, then defeat it, then mop up any Land Octopus enemies crawling around. When the chamber is clear, go down a tunnel to the west to emerge back into the waterfall chamber, where you can loot a corpse for a Furcalling Finger Remedy. Grab it, then head west and drop down onto a ledge under a waterfall.
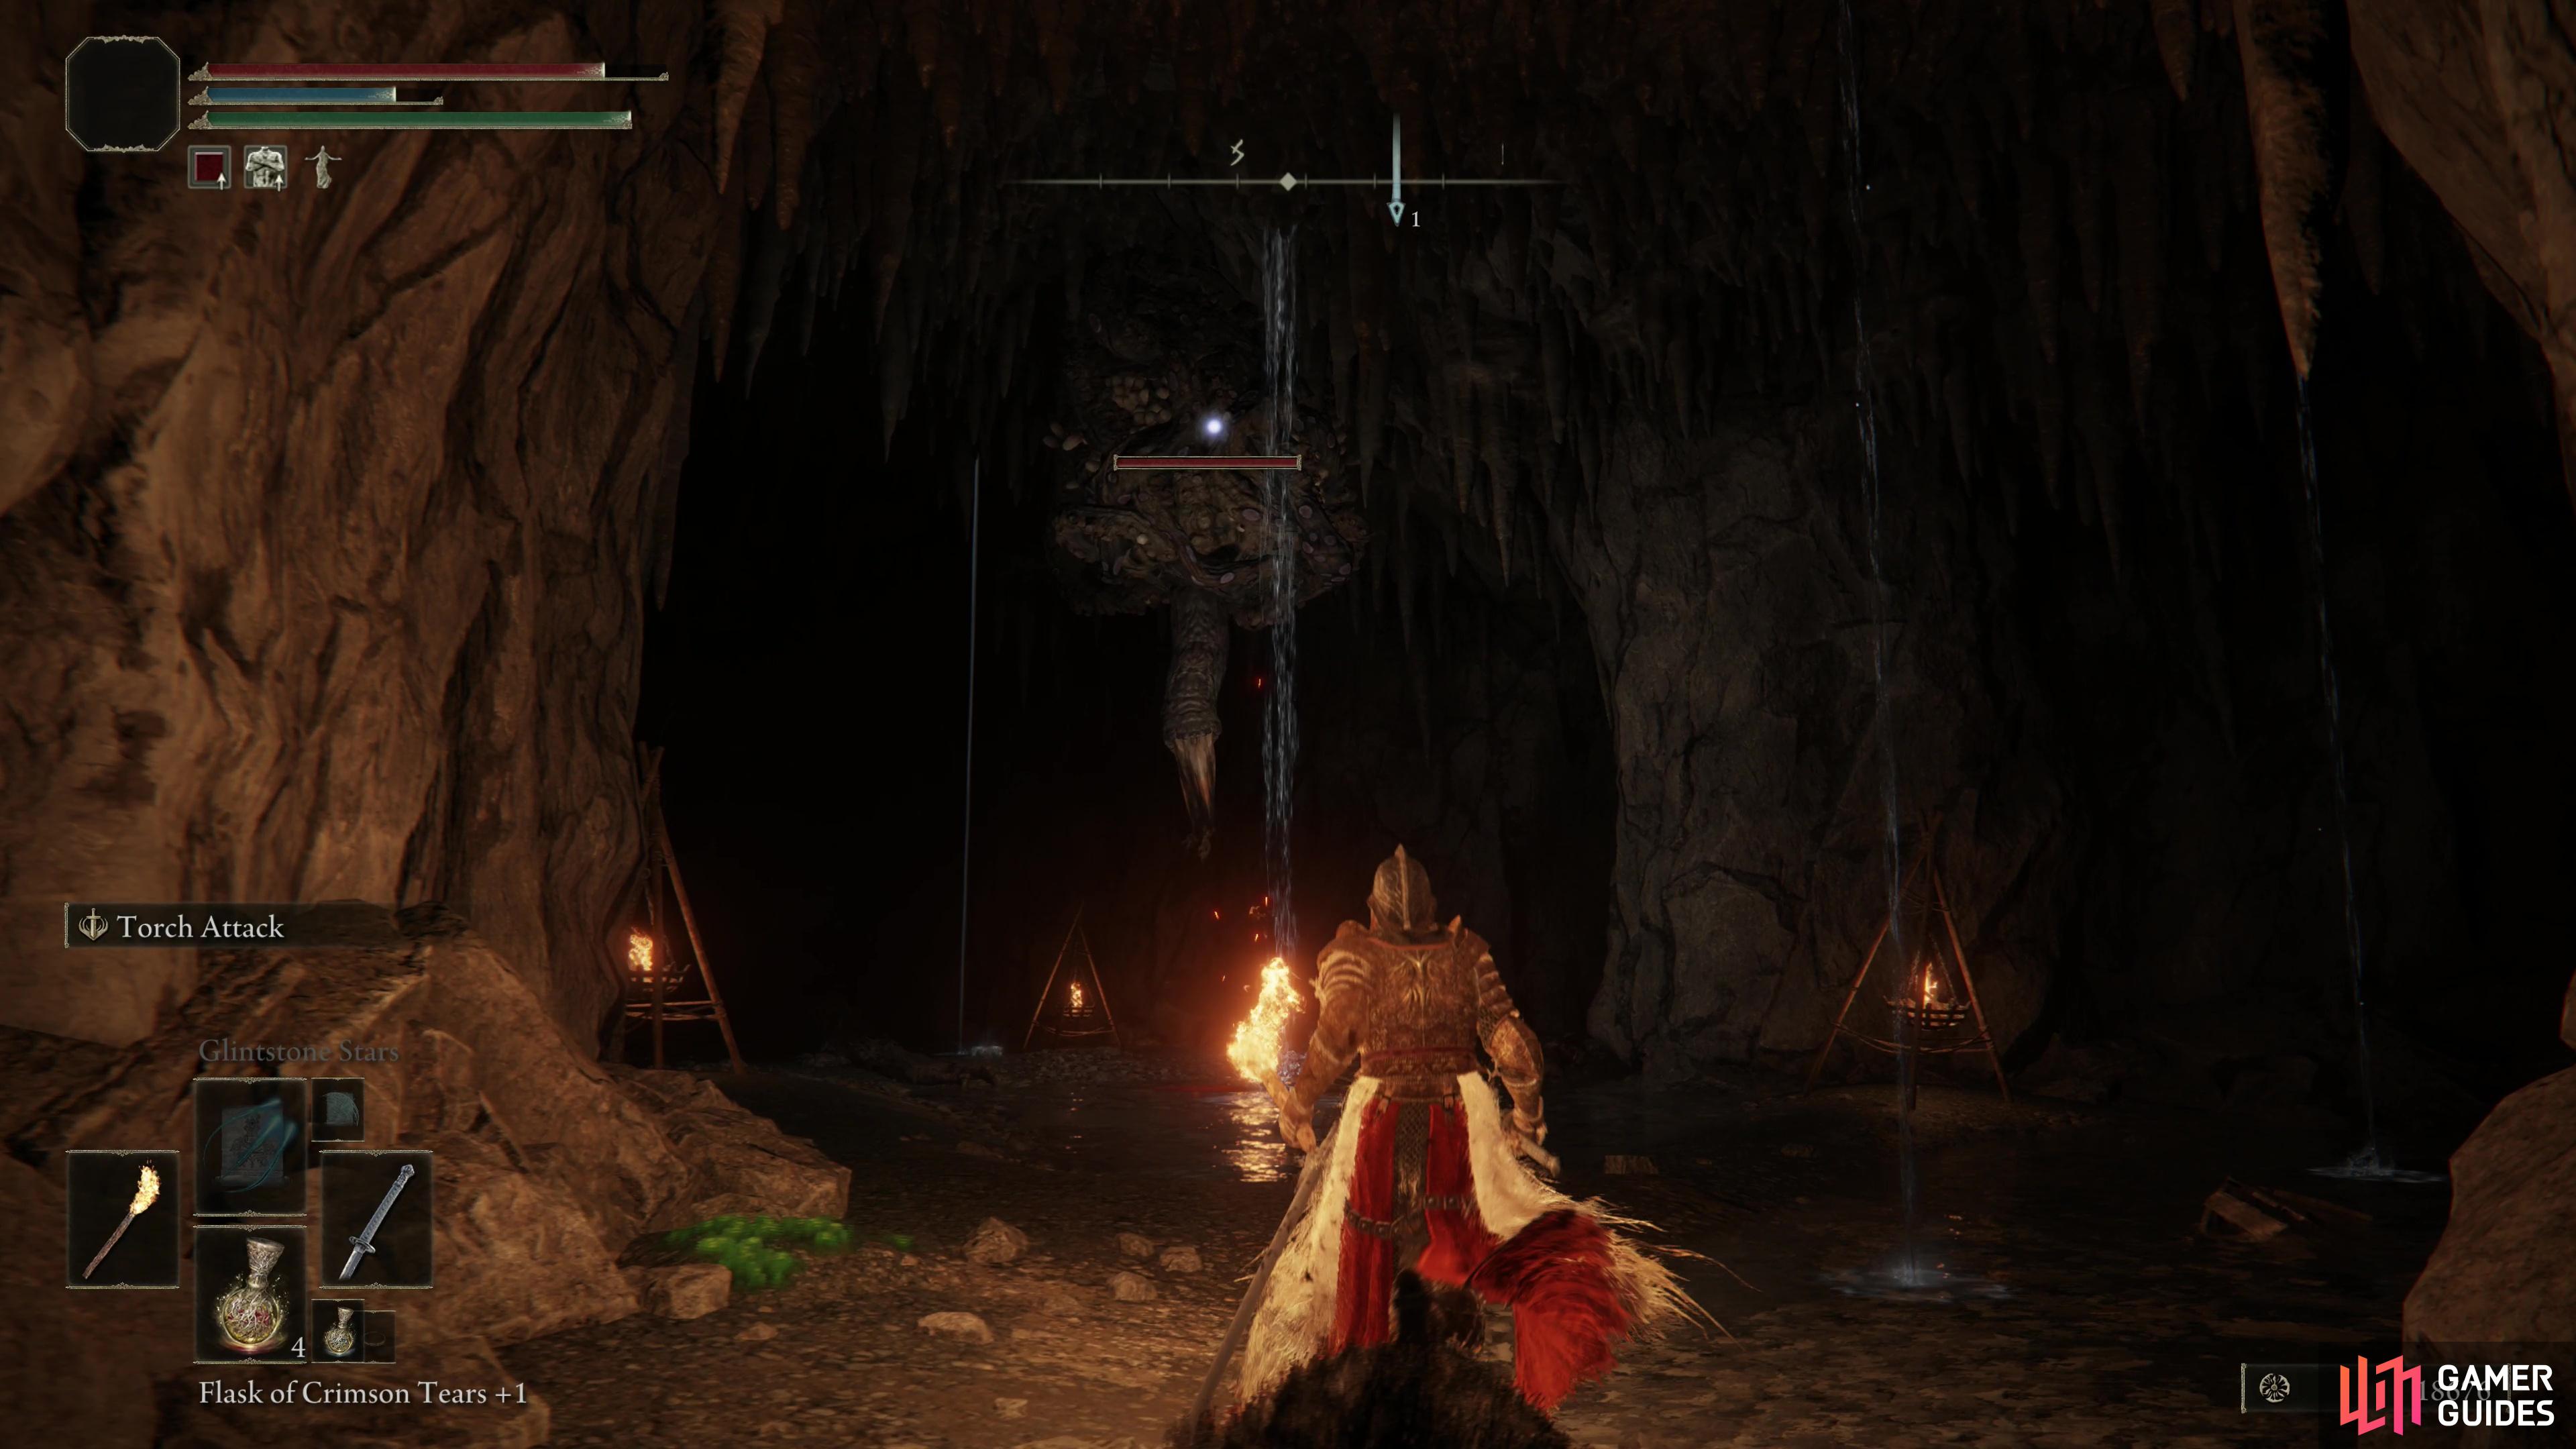
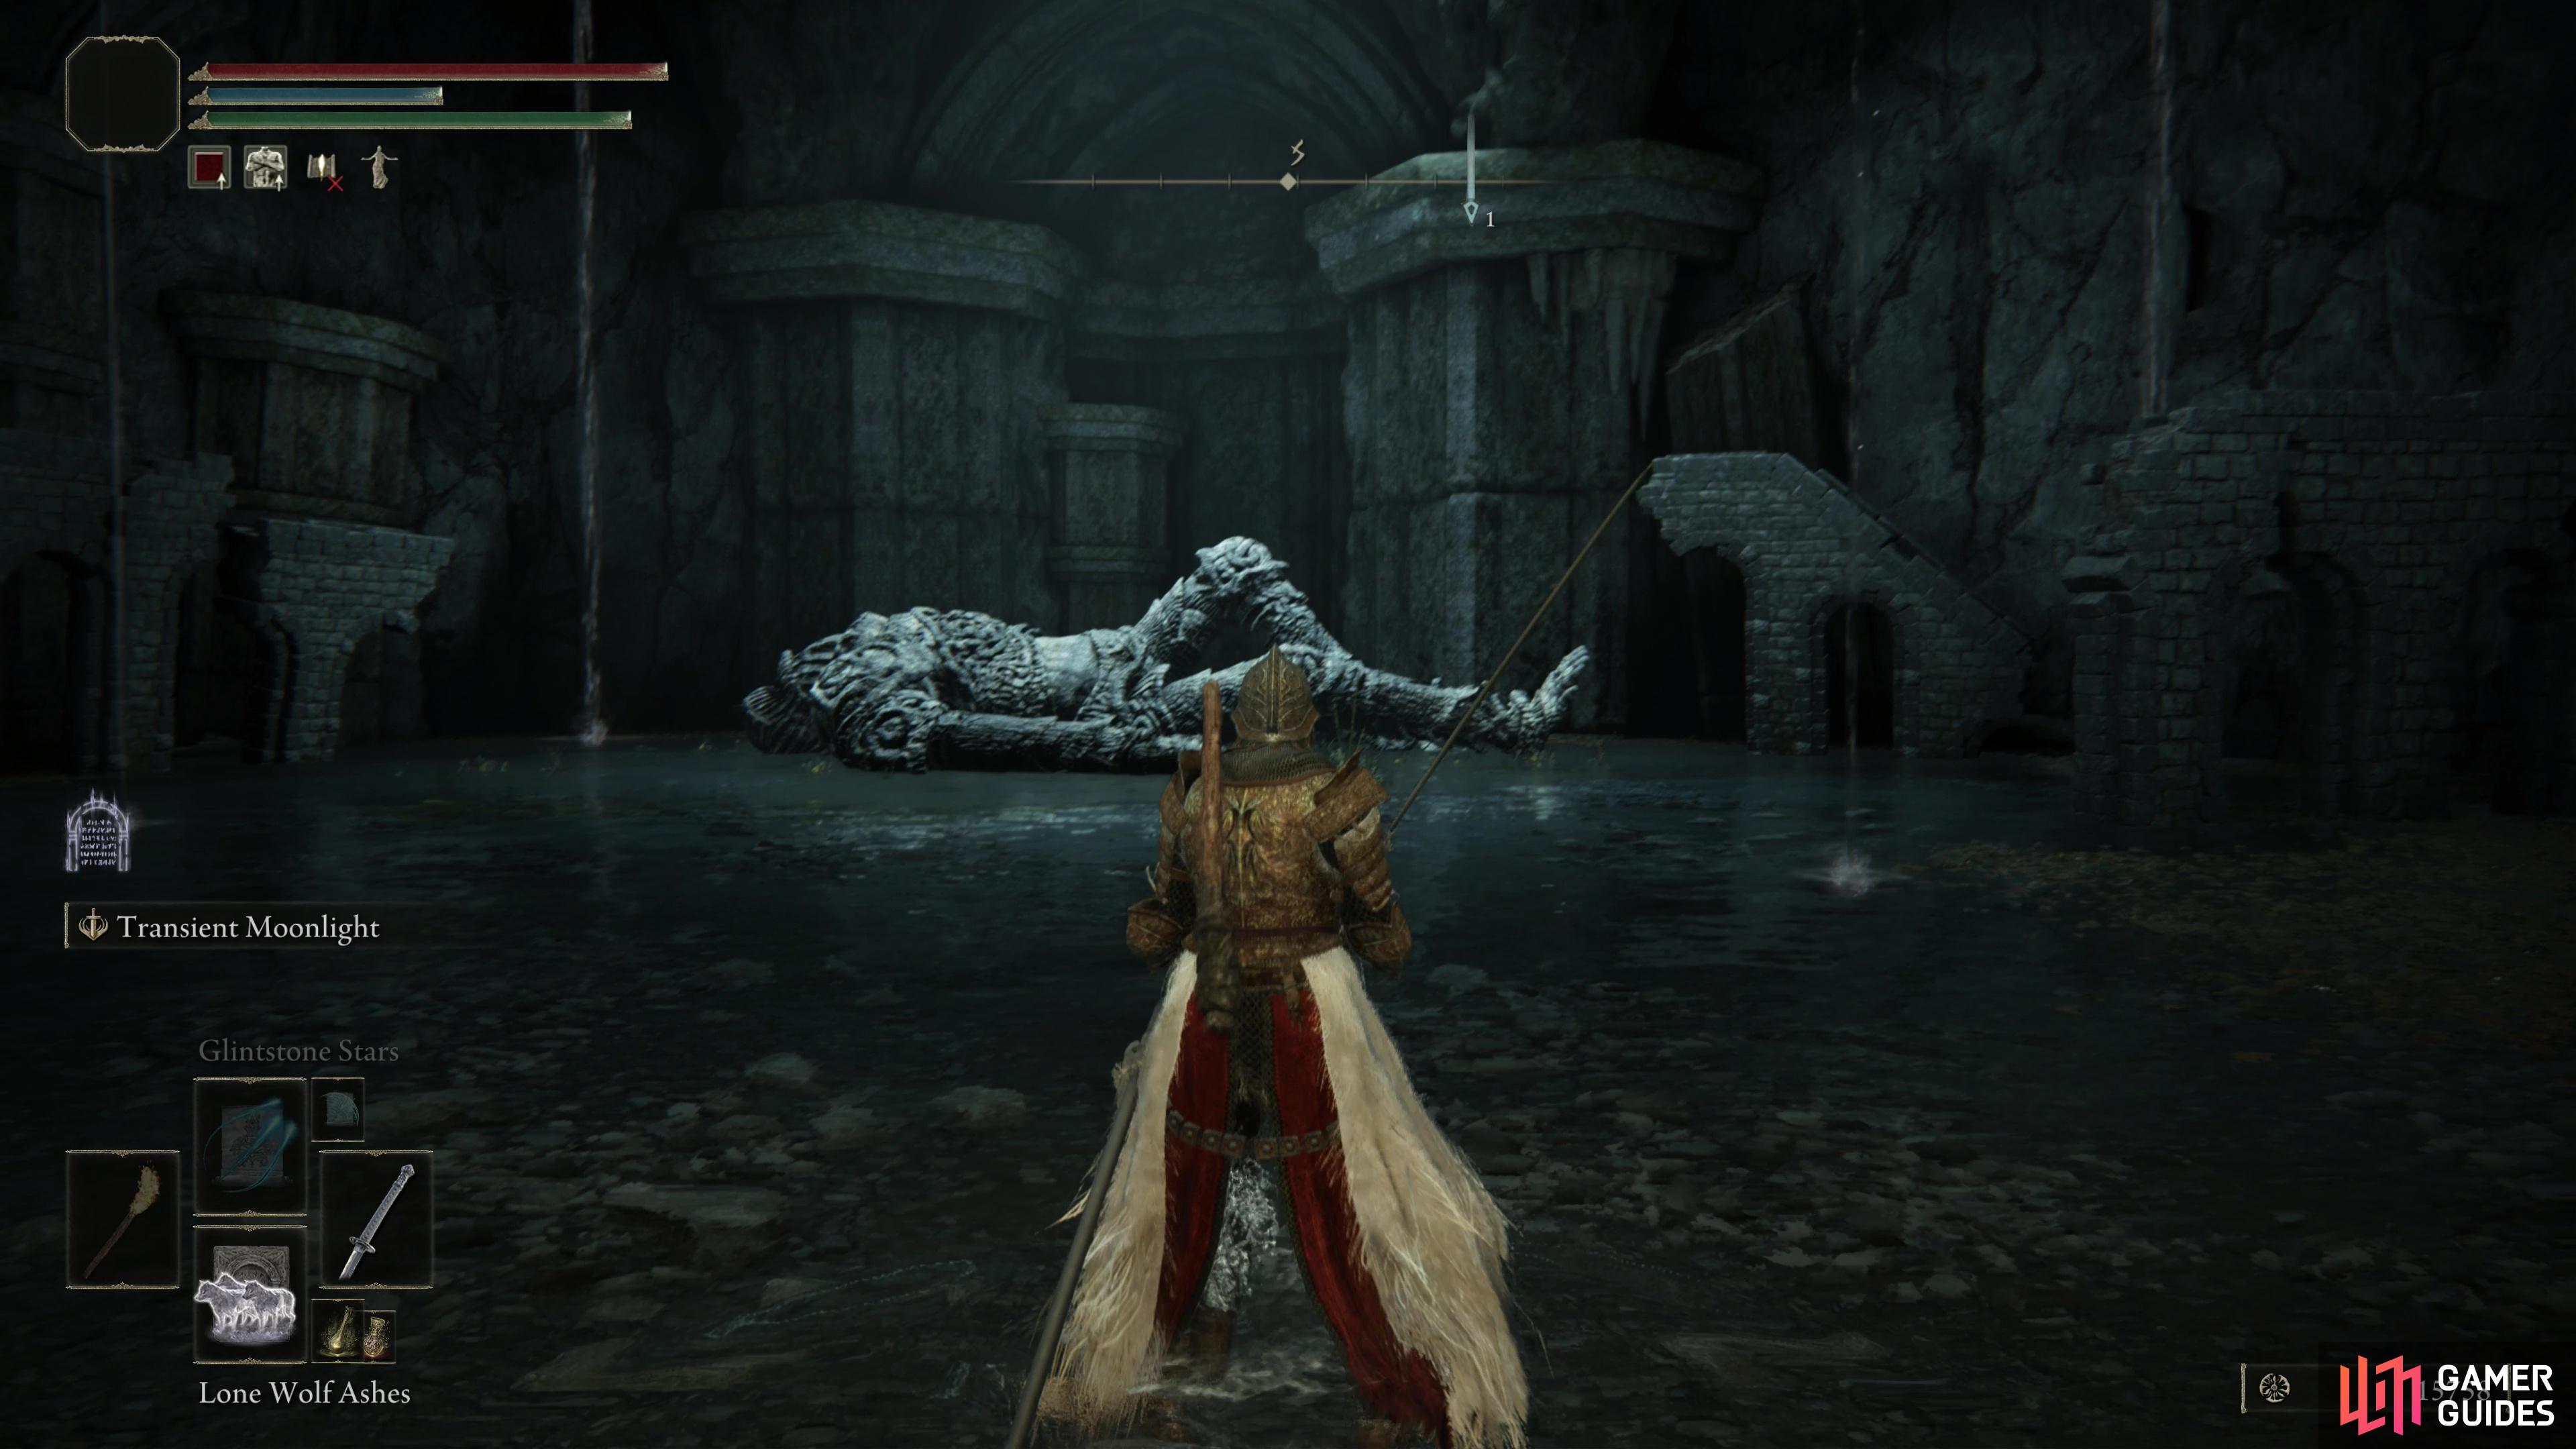
(1 of 2) You’ll find the Guardian Golem in the depths of the Highroad Cave.
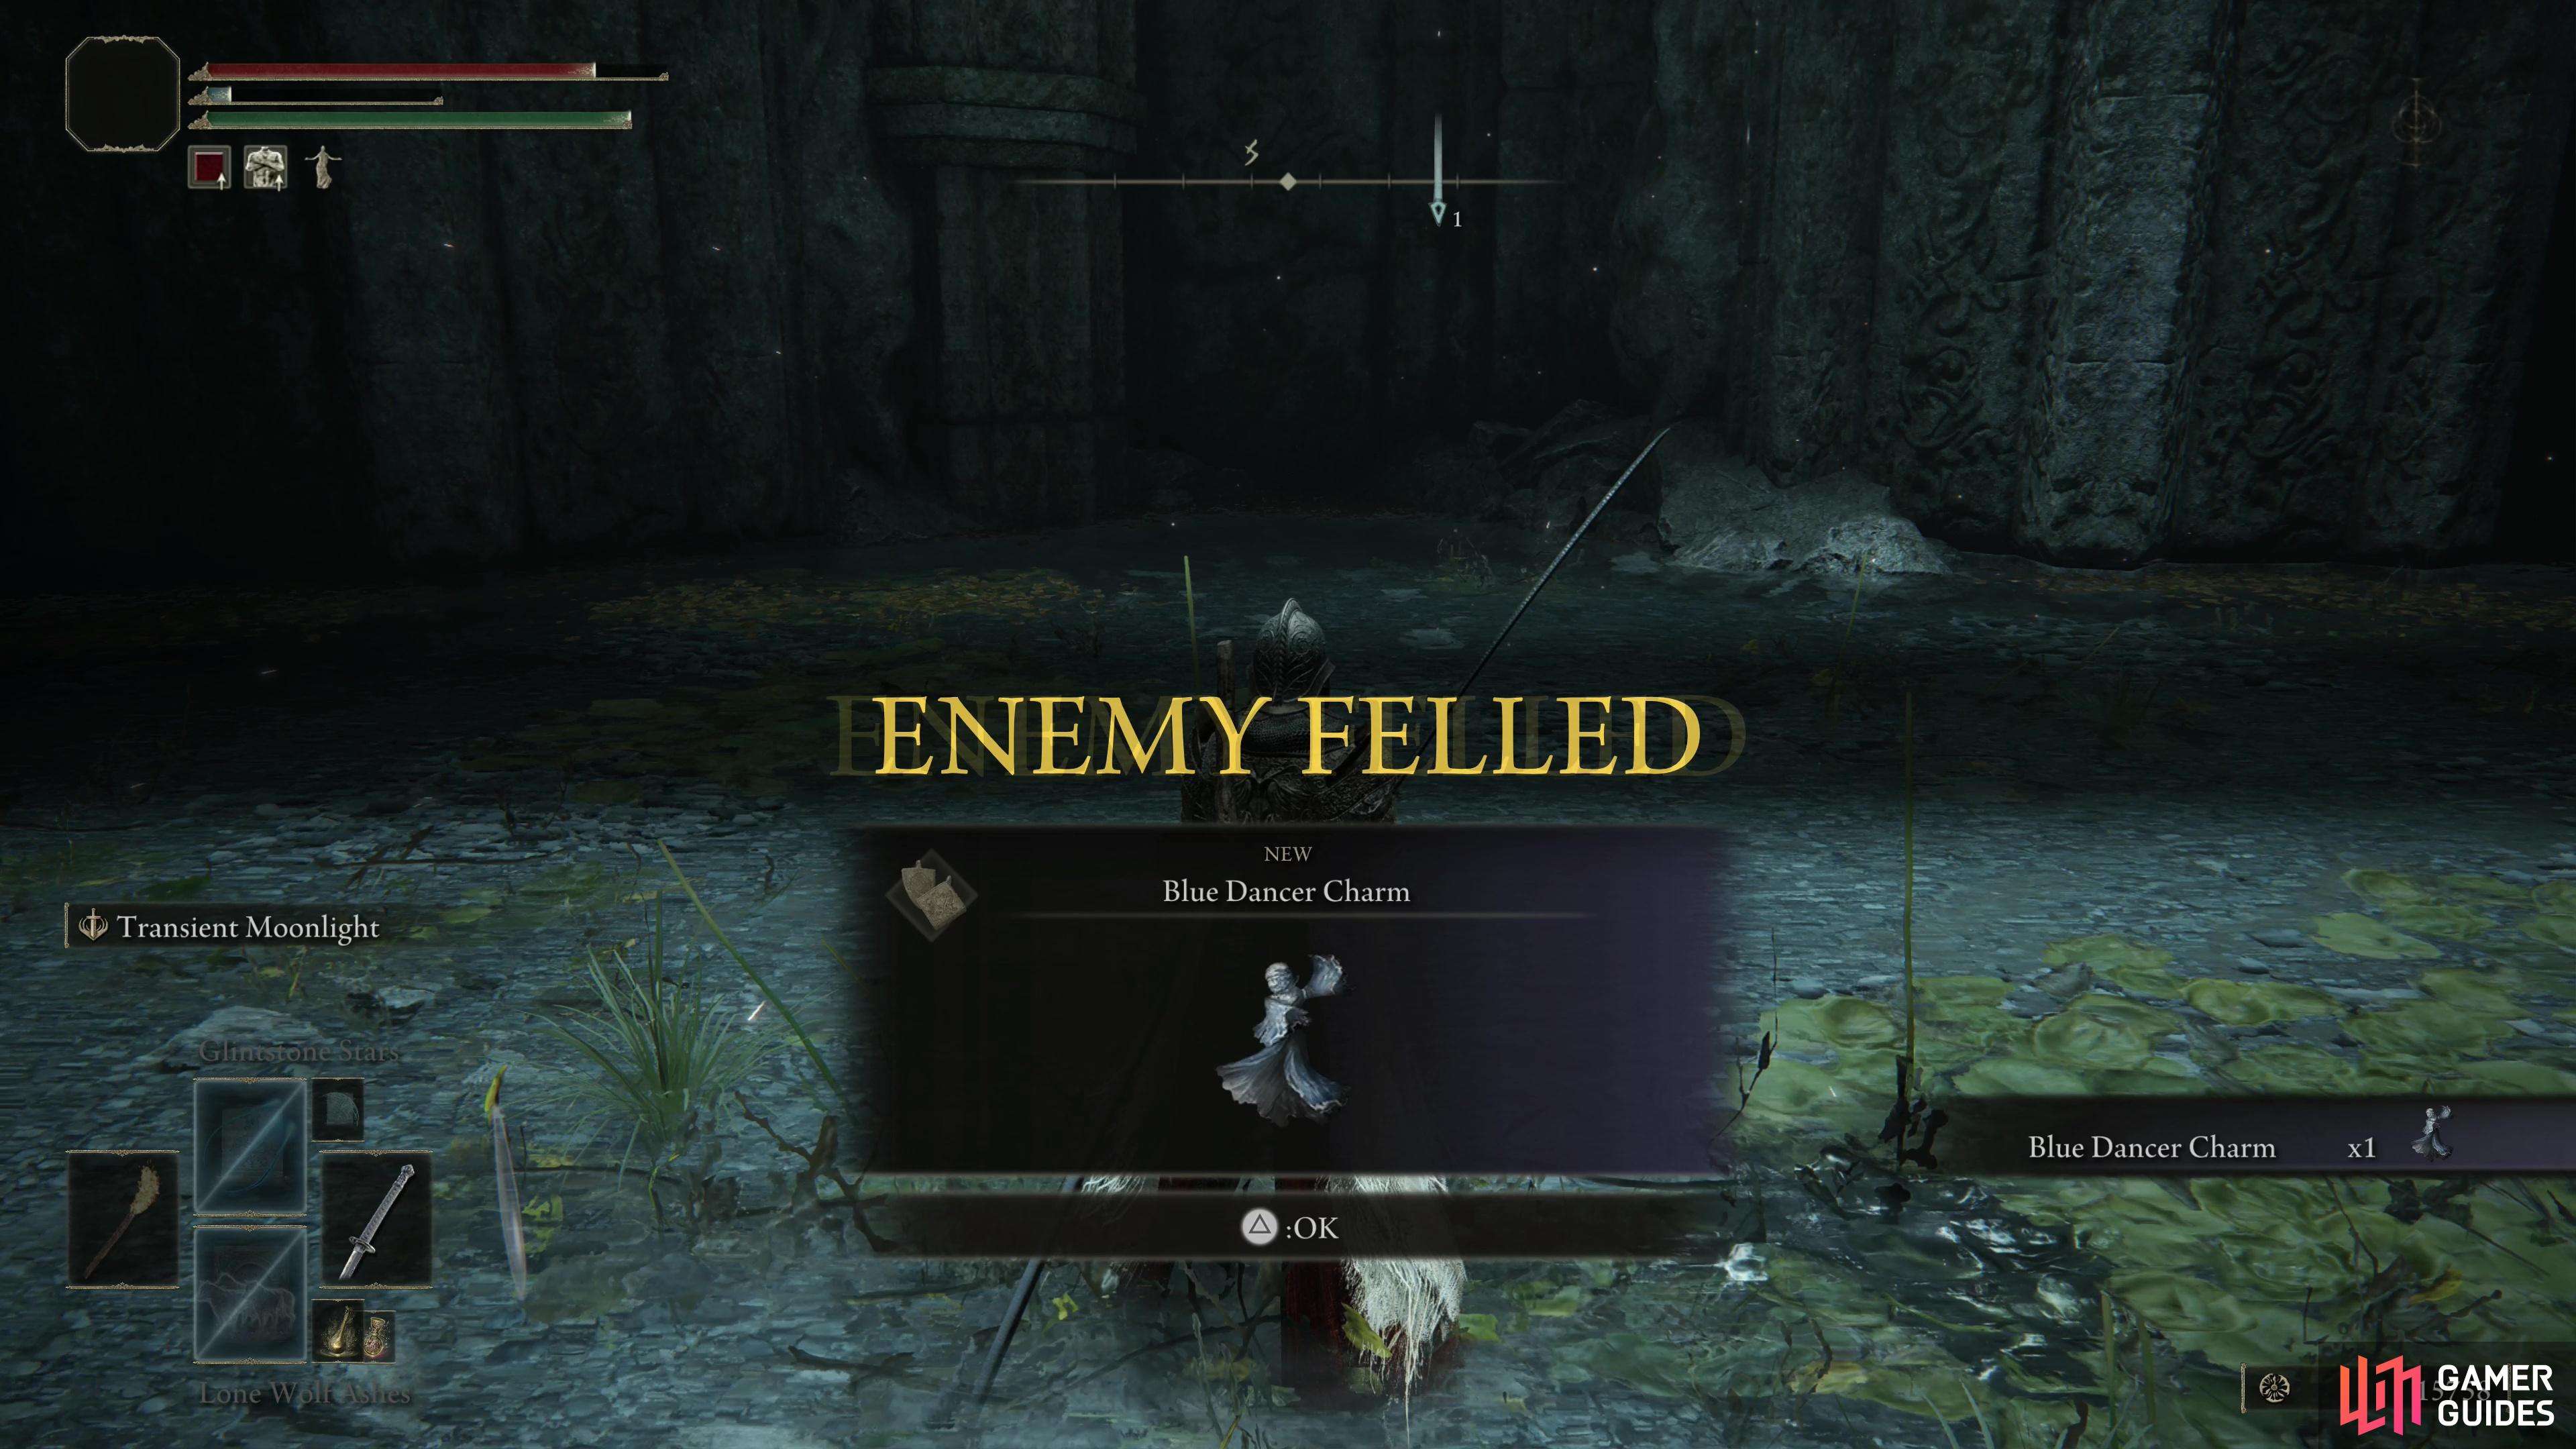
You’ll find the Guardian Golem in the depths of the Highroad Cave. (left), Defeat it to obtain the Blue Dancer Charm. (right)
Turn left to find a tunnel descending into the earth behind the waterfall, which you can follow to a boss chamber wherein the Guardian Golem dwells. A massive boss, it doesn’t hit nearly as hard as its size suggests, and it’s fairly lumbering with its movements and attacks. It balances out somewhat by having good reach and AoE with its staff, which it can use to punish summons. Still, it’s not strong enough to render summons useless, and you’ll want to use them to draw aggro so you can get up close and slash at its legs. Once you deal enough damage to its legs it’ll collapse, allowing you to perform a critical strike on its chest. It’s weak to all forms of physical damage (particularly strike), and fairly susceptible to magic damage, but resistant to fire, lightning and holy. It’ll drop the Blue Dancer Charm when defeated.


 Sign up
No Comments