This page will tell you how to find and defeat Commander Niall in Elden Ring.
About Commander Niall
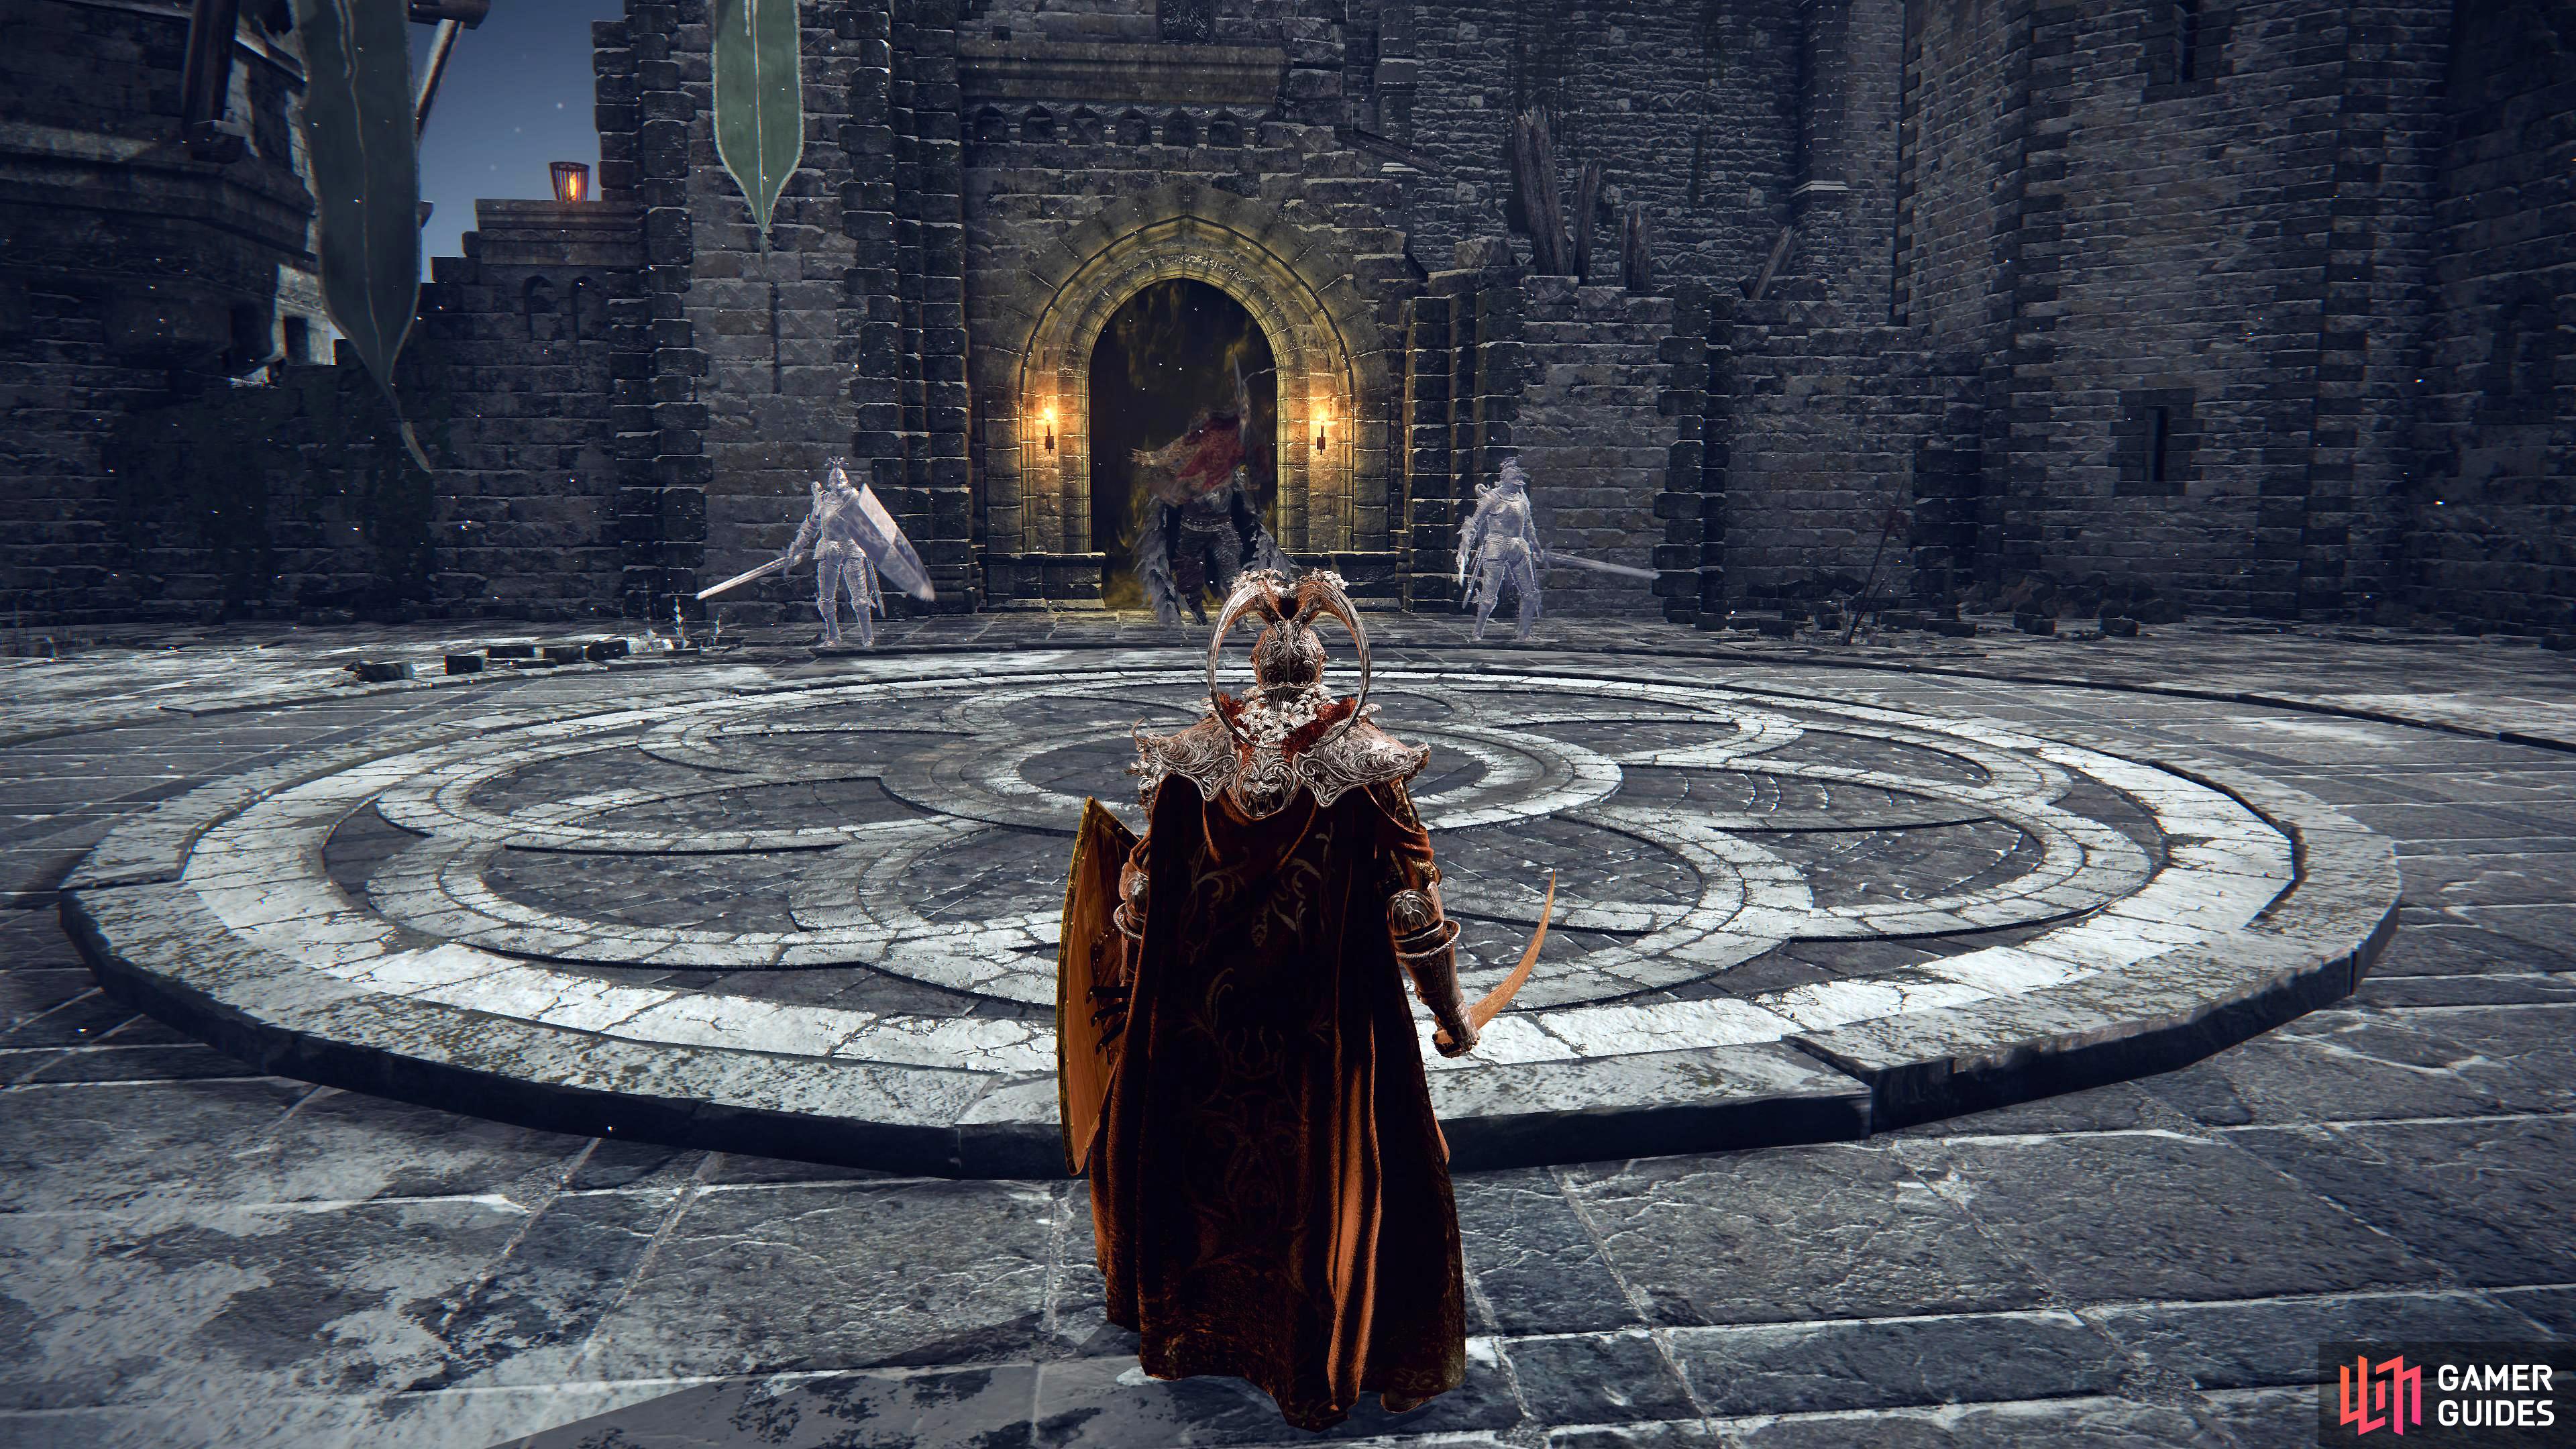
Commander Niall and his two Spectral Knights.
Commander Niall was a veteran to Castle Sol who had a prosthesis meant for his leg, but he had it attached to his fist instead to use a weapon. He offered this prosthesis in exchange for the lives of the defeated knights held prisoner. He then went on to lead these men as an army of no nation.
Commander Niall Location in Castle Sol, Elden Ring
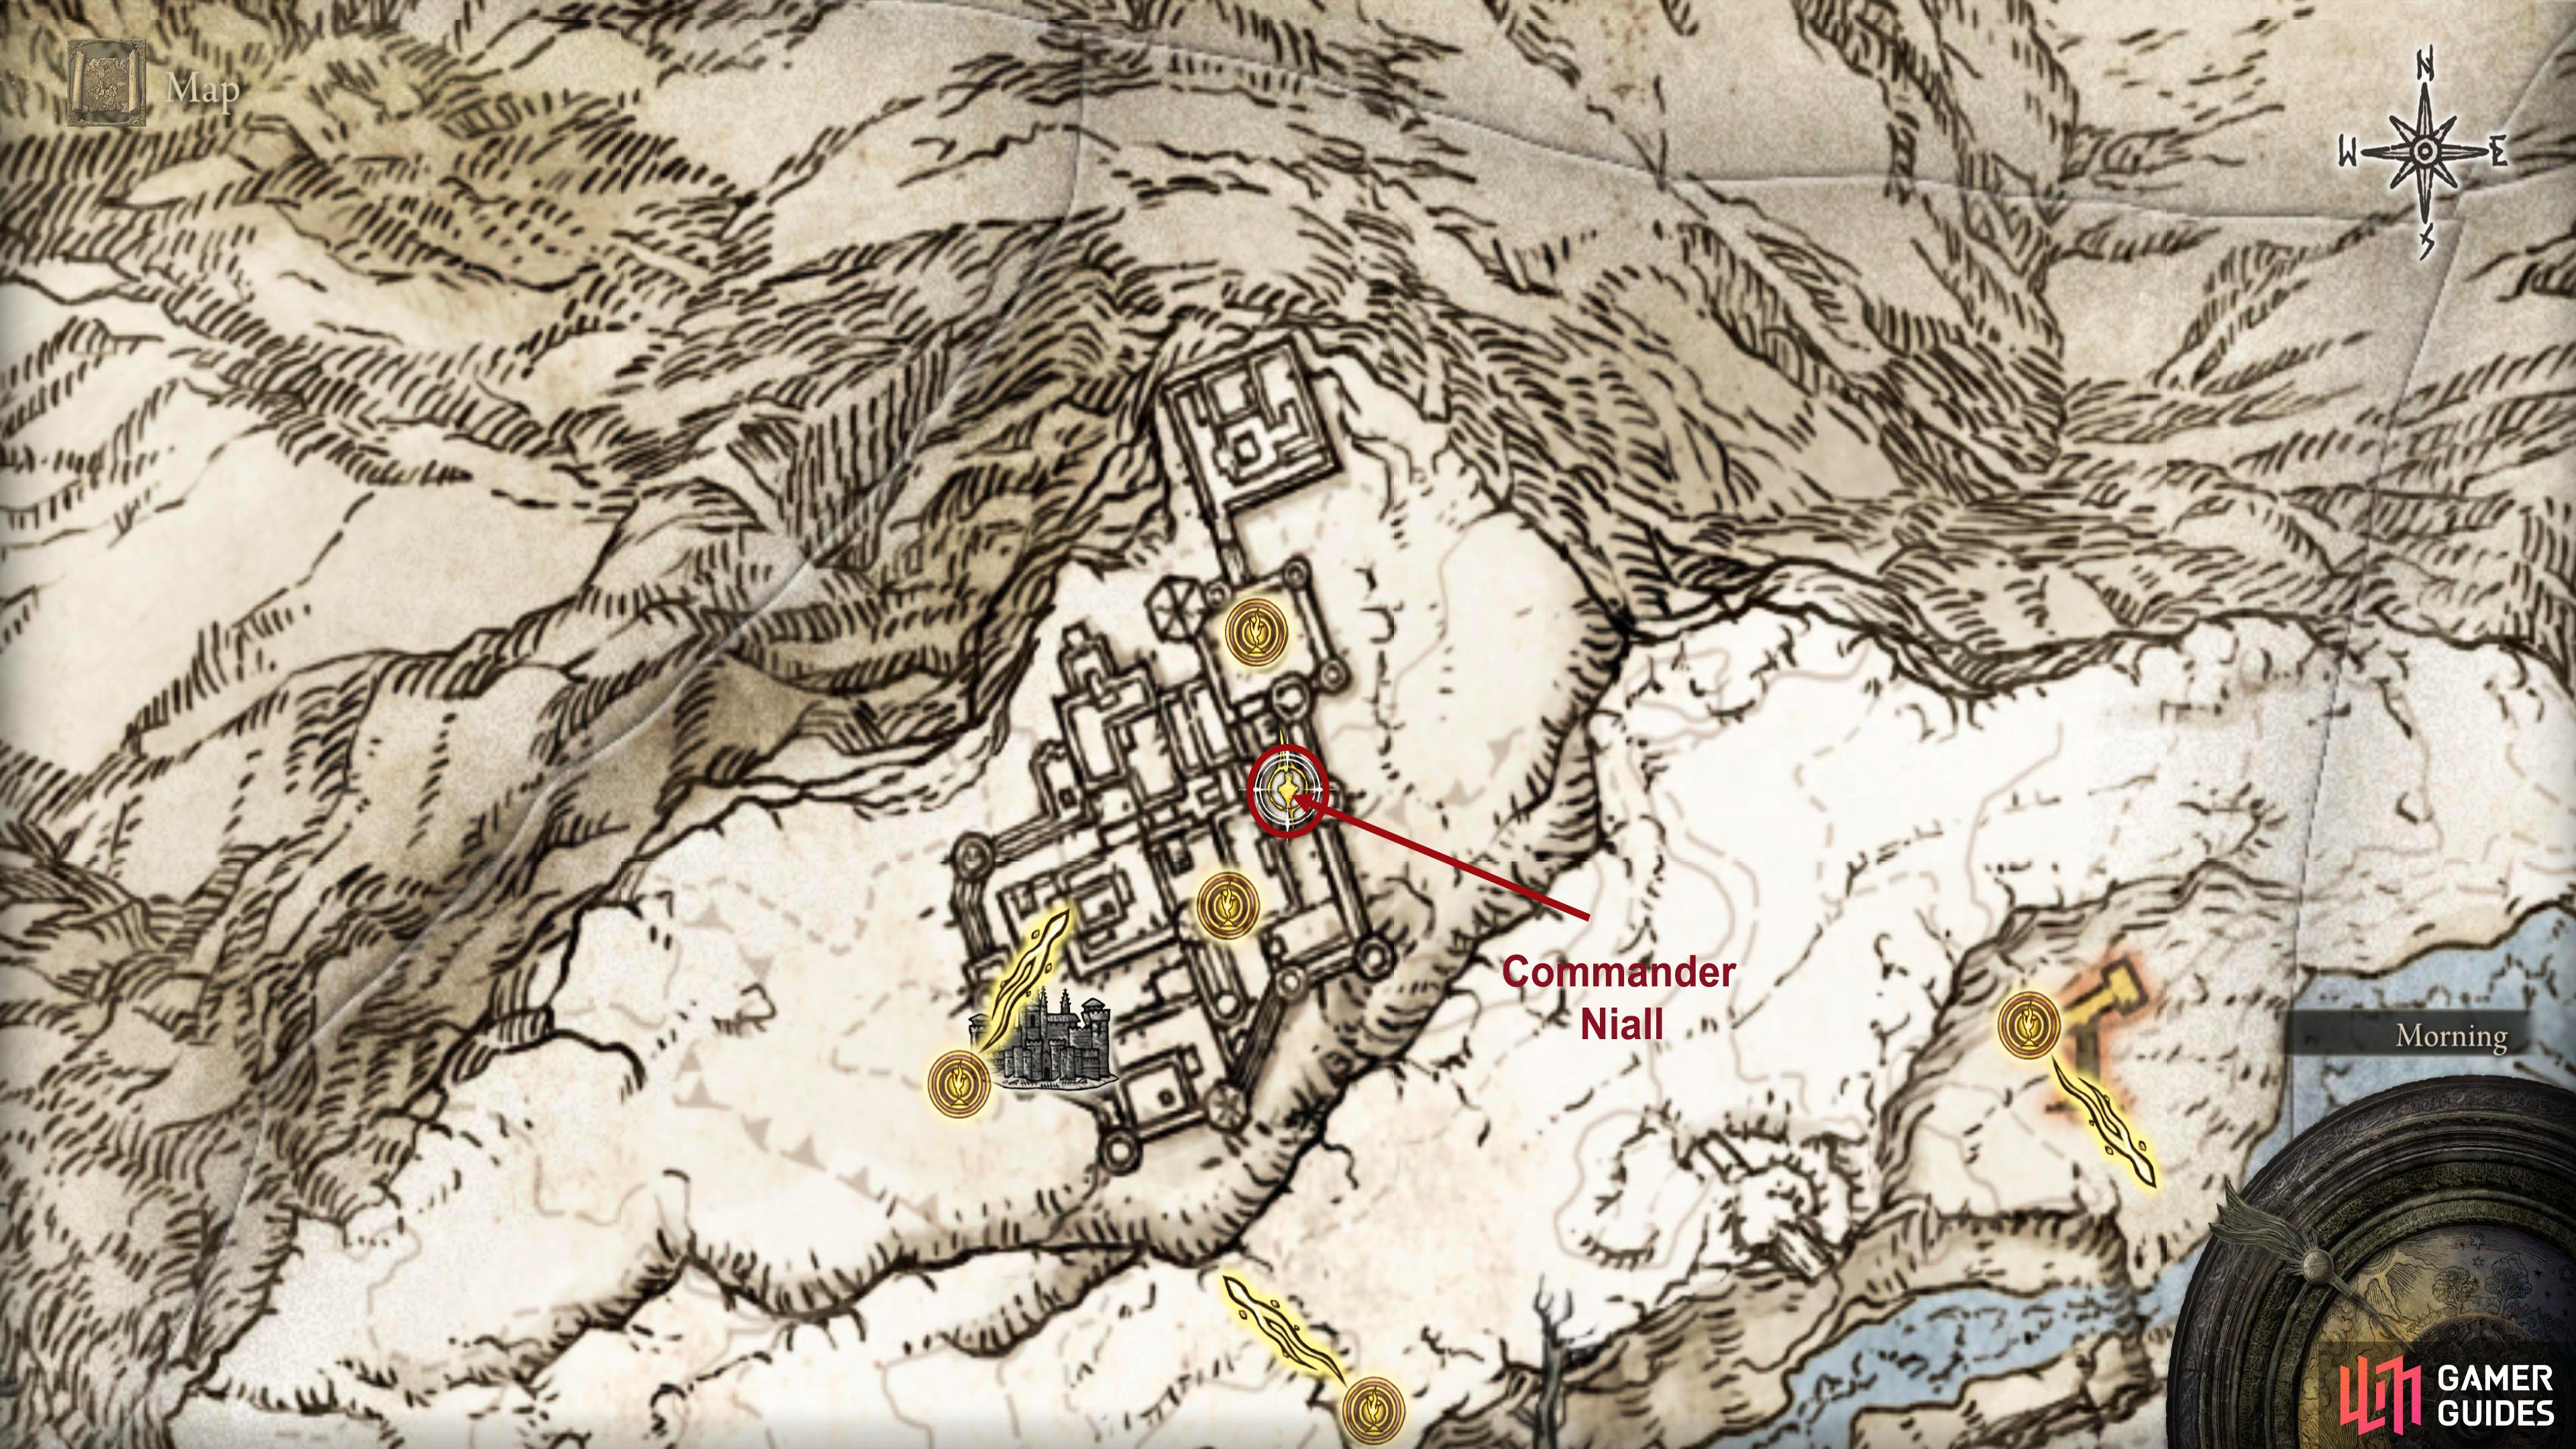
Commander Niall can be found lurking at the top of the northeastern section of Castle Sol. Castle Sol is located at the far north of the Mountaintops of the Giants. From the Castle Sol Main Gate site of grace, kill or sneak past the Lion Guardians. One will be in front of you whilst the other is hidden to your right. If you choose to defeat them now, they won’t respawn, making your life easier when you fight Commander Niall as the shortcut is best taken from the Main Gate.
(1 of 2) Commander Niall can be found at the top of Castle Sol.
Commander Niall can be found at the top of Castle Sol. (left), Which is on the northeastern side of the castle. (right)
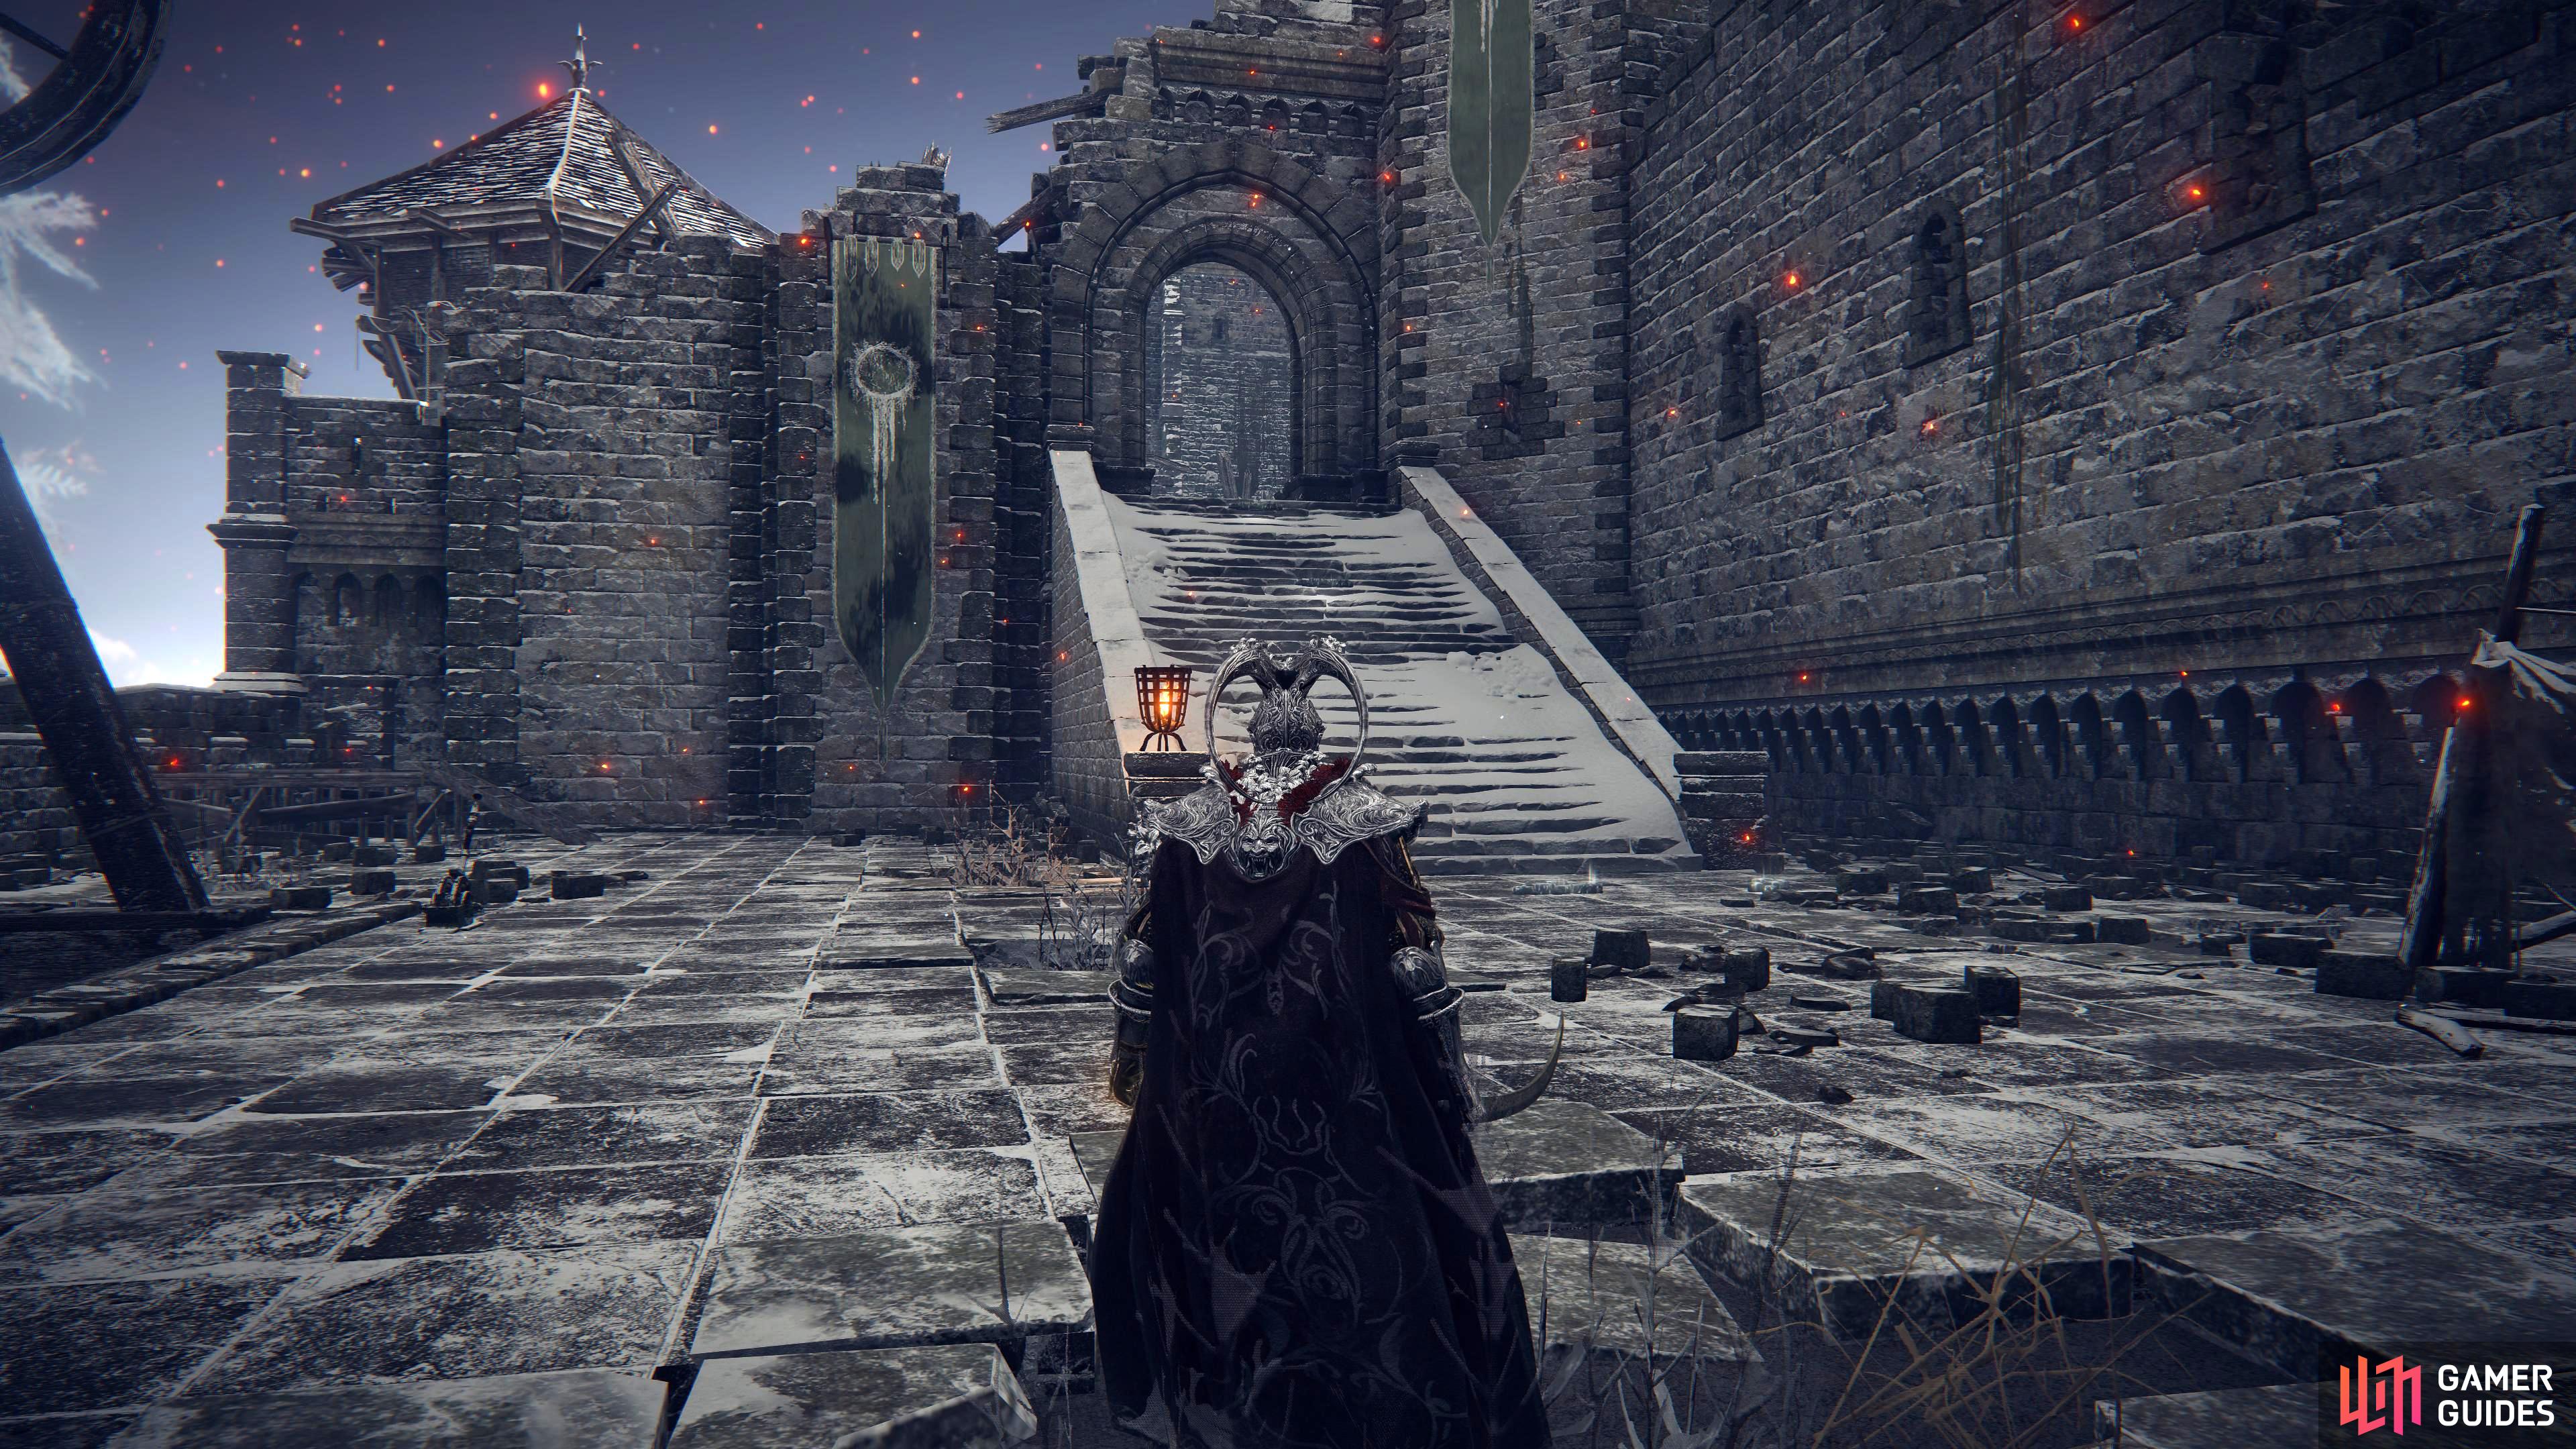
Either way, head to the northeastern wooden stairs at the back and follow them up and go up the second set of stairs too. Now follow the path northwest and two dogs will pass by in front of you, but they’re a distraction for the real threat, a Stormhawk above you. Take them all out, and head through the doorway at the back. In the building, go up the stairs and exit the other doorway. In the open area, you’ll be ambushed by a couple of spectral castle guards as well as one with a crossbow to the left of the stairs. Defeat the first two and as you approach the top of the stairs, a spectral Banished Knight will attack. Either fight it on the stairs or pull it back to the previous room to avoid being hit by the crossbow guard.
These are tough opponents who have multi-hit combos, can teleport, as well cause frostbite. So make sure to take it slow against these and wait for an opening. When you’ve defeated the knight, head back to the top of the stairs, take out the crossbow guard, and enter the church. As soon as you enter, head through the left door and activate the Church of the Eclipse site of grace and replenish any healing items you may have used as you’ll need them for the next room. Exit the site of grace, and head through the church, and take the next door on your left.
In this room, there are two hanging albinaurics who’ll scream and summon two spectral Banished Knights with dual swords as well as several lesser albinaurics on the bottom floor. What you want to do here is sneak into the room to shoot the first hanging albinauric with ranged attacks. This won’t alert them for some reason, and you’ll be able to take it out.
Sneak a little further up the stairs and face to the north and look carefully near where the exit is as there’ll be another hanging albinauric near there. Once again, attack it with ranged attacks, then you can clear out the bottom floor if you want. Exit the room from the top and activate the elevator shortcut to your left. This allows you to run from the main gate site of grace to the elevator avoiding all the enemies unless you left the Lion Guardians alive. Just up the stairs will be your boss fight with Commander Niall.
How to Defeat Commander Niall
At first, you may expect a similar battle to Commander O’Neil from the Aeonian Swamp, but this battle is much tougher. At the start of the battle, he’ll summon two spectral banished knights. One with a sword and shield, the other with dual swords. In the first phase, you’ll have to mainly deal with the two knights. The dual swords variant is by far the toughest and should be your primary focus out of the two. The second knight with the sword and shield is still a formidable foe, and should not be underestimated. Phase 2 will begin when both knights have been defeated where you’ll fight Commander Nial on his own.
Attacks
Commander Niall is a tough fight who is surprisingly agile for his size. He attacks with his halberd as well as his prothesis.
Halberd Combo
Niall will produce a four-hit combo, starting with three sweeps before unleashing an overhead smash. You’ll have two choices to avoid this attack. Either, get some distance, or dodge each attack separately. If you choose the latter, the overhead smash is charged thus taking more time for the attack to come which can throw off your timing. Wait until the halberd is about to smash down before dodging.
Lightning Stomp
Nial will use his prosthesis for this attack, he’ll stomp and spin his halberd around producing wind around him to generate the lightning he needed for the attack. Then he’ll launch himself into the air and crash down, stomping the ground below with his charged up prosthesis. This will deal significant damage as not only will the impact of the attack deal damage, but it’ll also unleash a small shockwave of lightning around him.
When he starts charging up the attack, back away from the initial swings as that can deal frost damage, and when he lands, dodge just before impact. Similar to Margott’s hammer attack at the beginning of the game.
Ground Stomp
Similar to the Lightning stomp, Nial will raise his leg in the air and stomp at you. He’ll do this whilst standing on the ground, and he won’t charge it up in the same manner as the previous attack. Keep your distance or time your dodge as the attack is about to hit the floor.
Frostwhirl Lunge
After spinning his halberd once which produces wind around him, he’ll lunge at you before unleashing an upwards strike. Although you’ll still take minor frost damage from the wind, the upwards strike is where the damage will come from so don’t dodge until he unleashes it.
Charged Frostwhirl
This attack is a charged up version of the Frostwhirl. Nial will spin his Halberd several times generating frosty winds around him. The whirlwind will exponential expand before he jumps to the side and lunges at you, finishing with an upwards strike. He can do this attack without the upwards strike or even the wind, and sometimes just use it as a movement ability which makes it hard to know if you should dodge the upcoming upward strike or not. After using this attack, it leaves him open and vulnerable for several seconds which makes it the best time to attack him, and deal as much damage as possible.
Strategy
Commander Niall is a formidable foe, and is no pushover. He’ll zip all over the arena whilst unleashing Frost and Lightning attacks, and he’s surprising agile to boot.
As the battle begins, he’ll summon two spectral Banished Knights, one with a sword and shield, the other with dual swords. This will be phase 1 of the fight.
The dual sword’s knight is the bigger threat, but the sword and shield knight isn’t any pushover. The easiest and arguably the best way to deal with these are to make them fight each other as well as Nial.
To do this, you’ll need at least two Bewitching Branches, so you can use one on each knight. You can purchase them from the Nomadic Merchant near Bellum Church in Liurnia or you can craft them if you have the Fevor’s Cookbook [3], a Sacramental Bud, and aMiquella’s Lily. If you have to fight them properly, focus on the dual sword knight first, and roll through its attacks, so you can try to backstab it. For the sword and shield knight, you can guard counter most of its attacks.
Phase 2 will begin when both knights are down. Niall will furiously twirl his halberd several times and become charged with lightning. As he is fairly aggressive, you can let him come to you instead of chasing him around the arena.
You can’t really get that many attacks on Niall without suffering damage back, so it’s best to wait for him to perform one of his many attacks and getting a couple of hits in during his short recovery period. When he does his Charged Frostwhirl Lunge attack, he’ll kneel to recover the stamina he spent performing it for several seconds. This is where you’ll want to go to town on him and hit him with everything you’ve got. When he recovers, repeat the above steps until you take him down for good.
Your reward for defeating Commander Niall will be none other than the prothesis he was using against you, with its name being: Veteran’s Prosthesis. If you take the elevator up behind him, you can find the other half of the Haligtree Medallion which is needed to access the Haligtree optional secret area.


 Sign up
No Comments