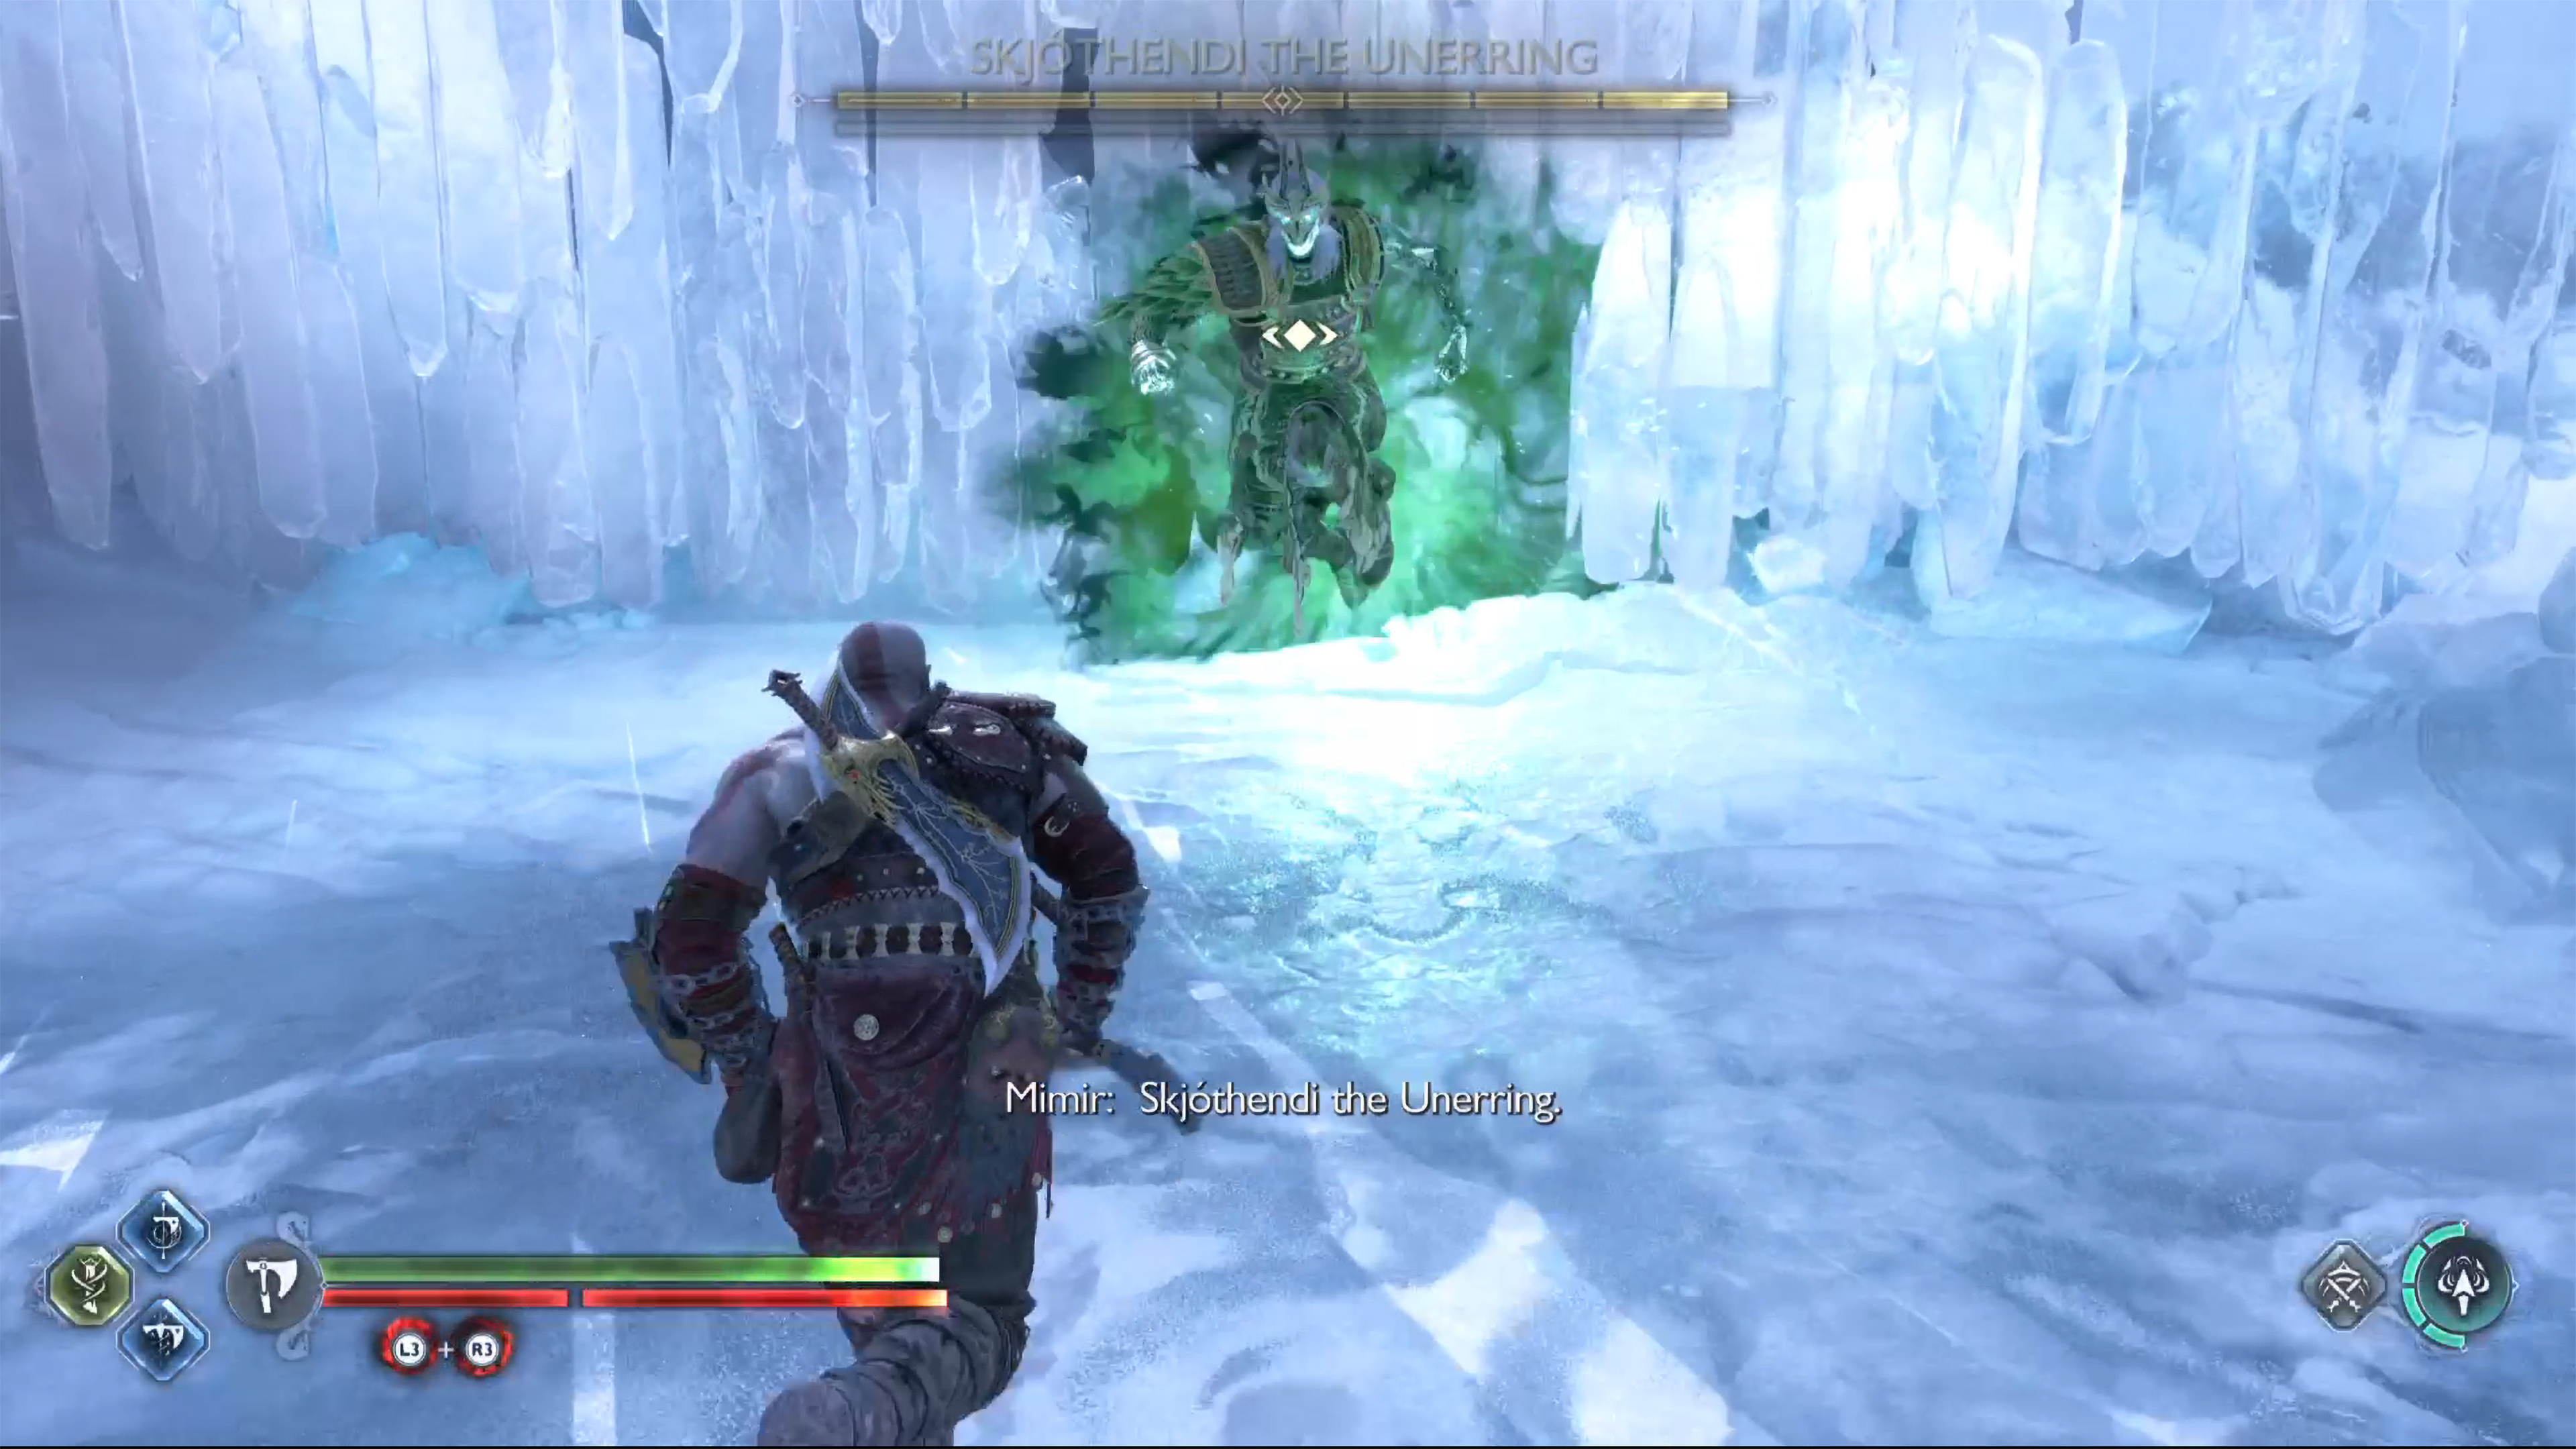
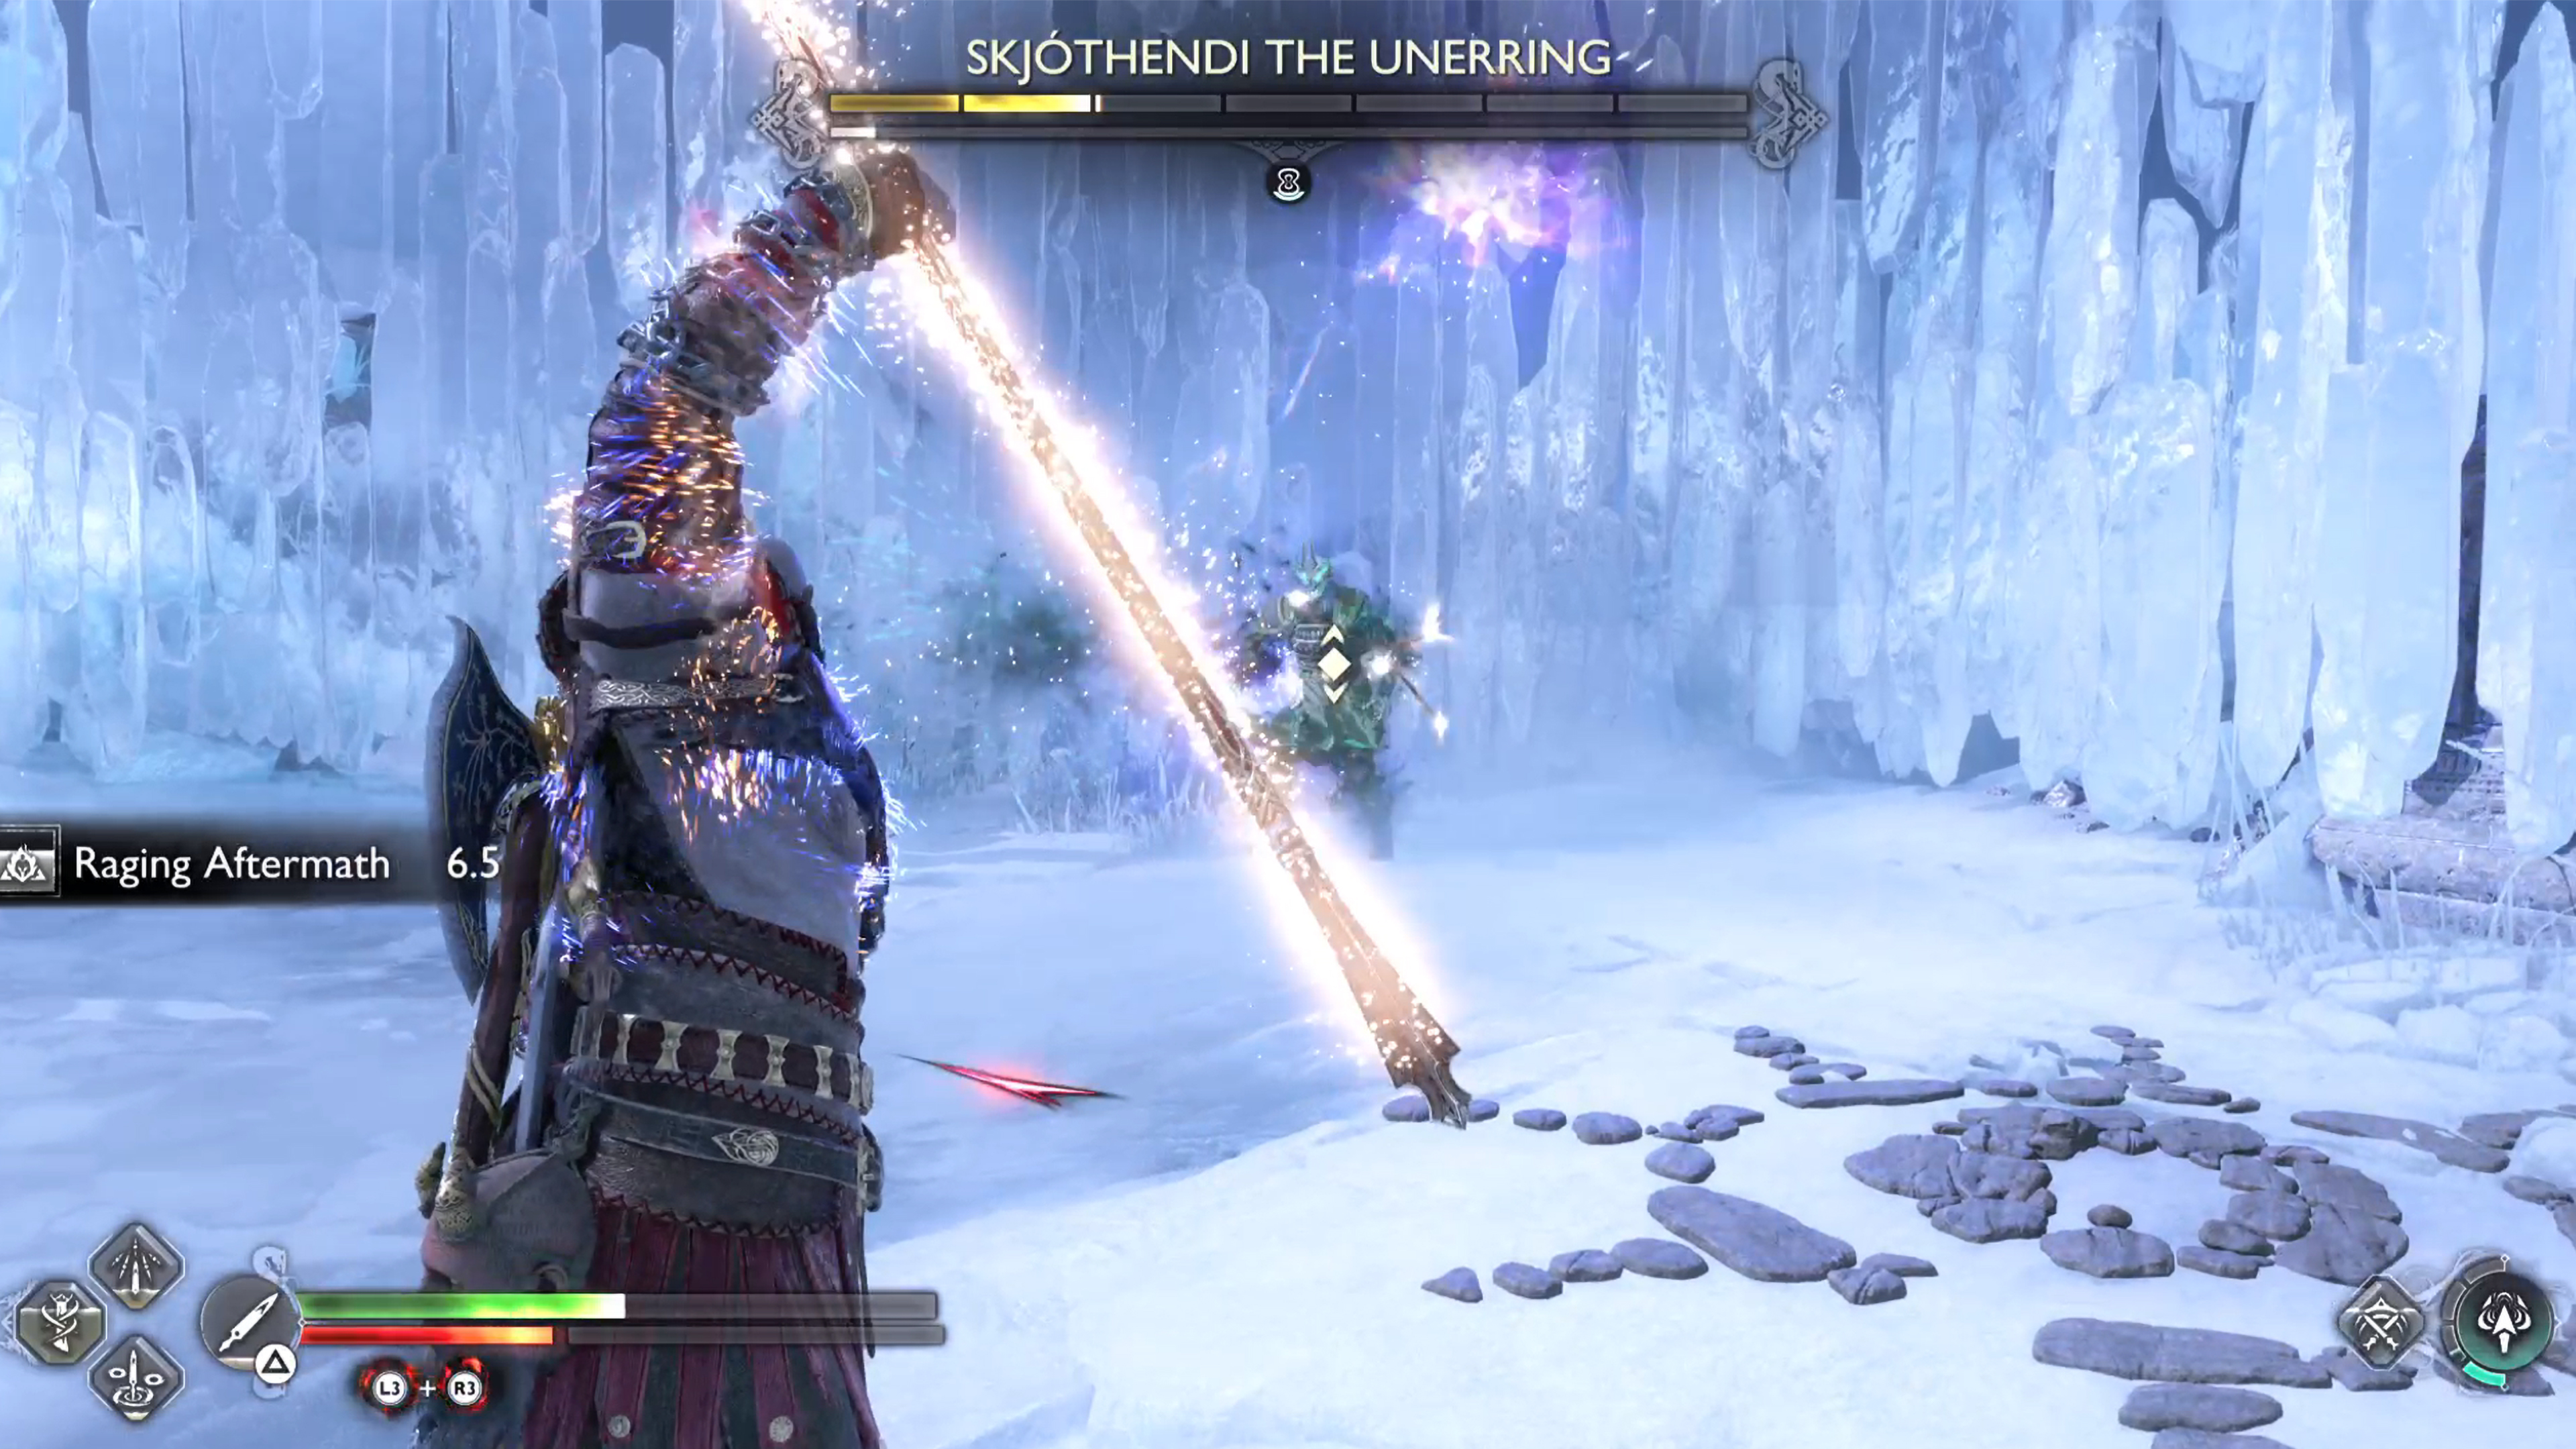
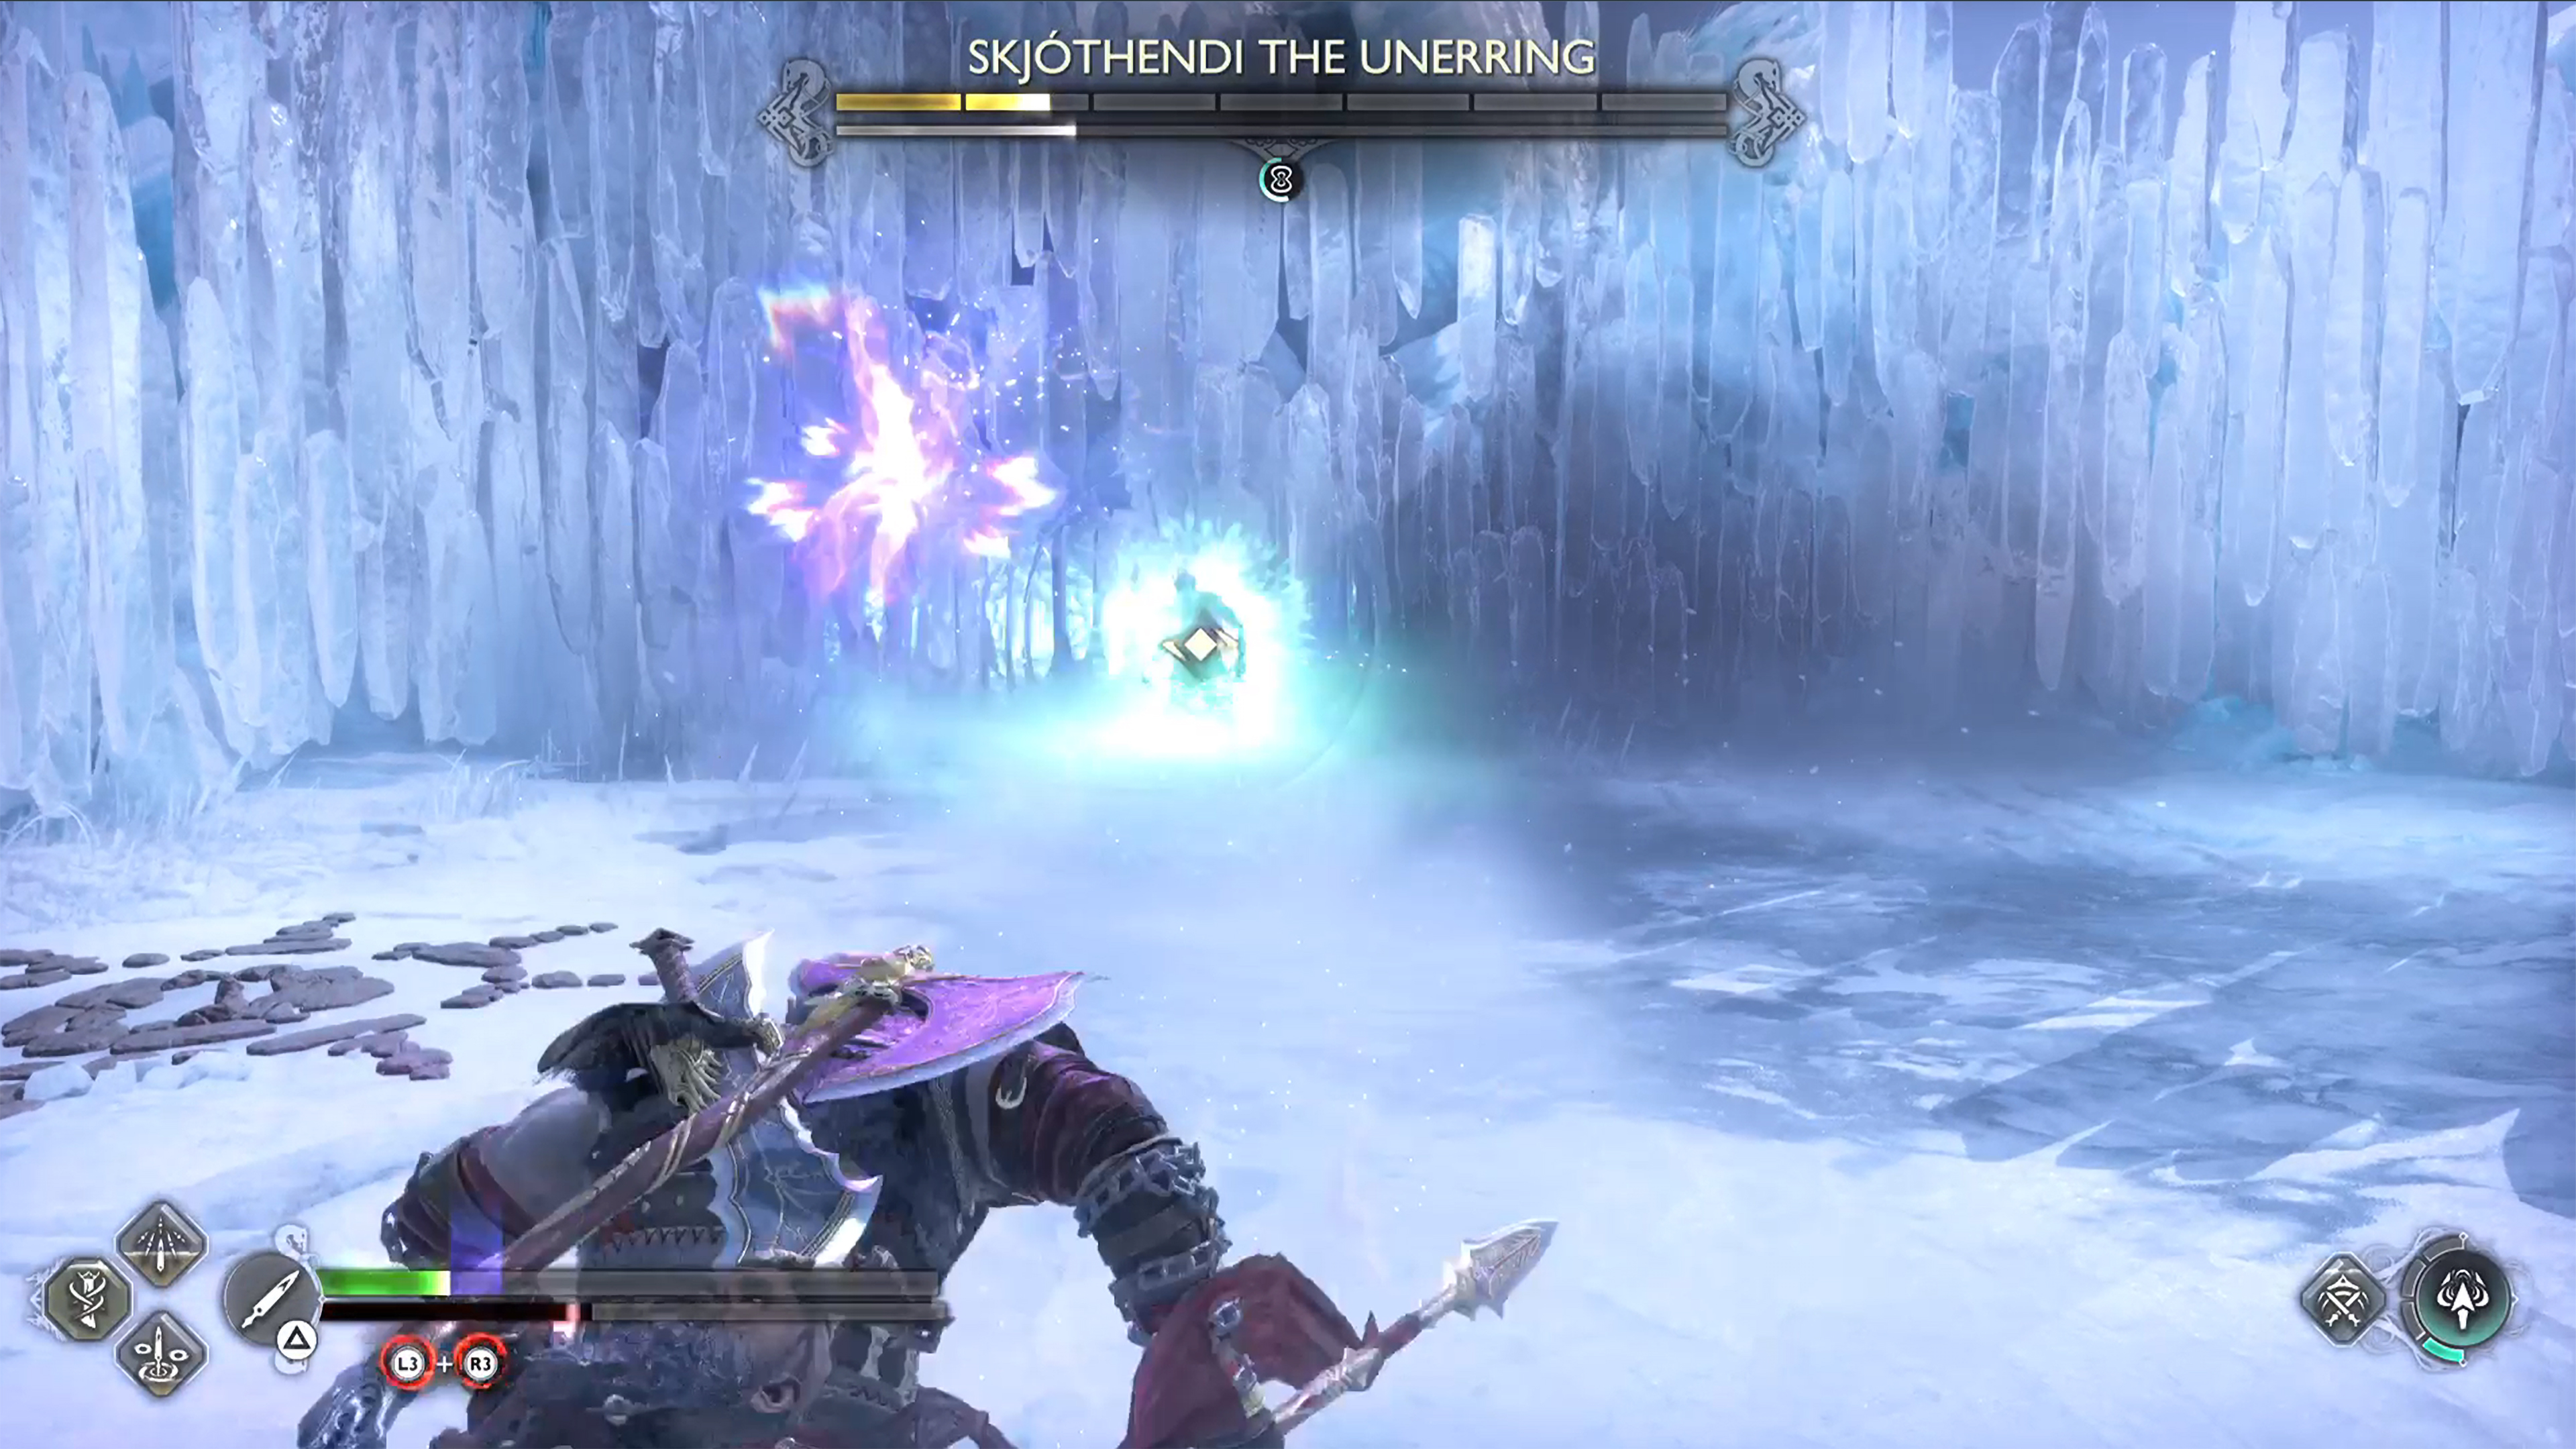
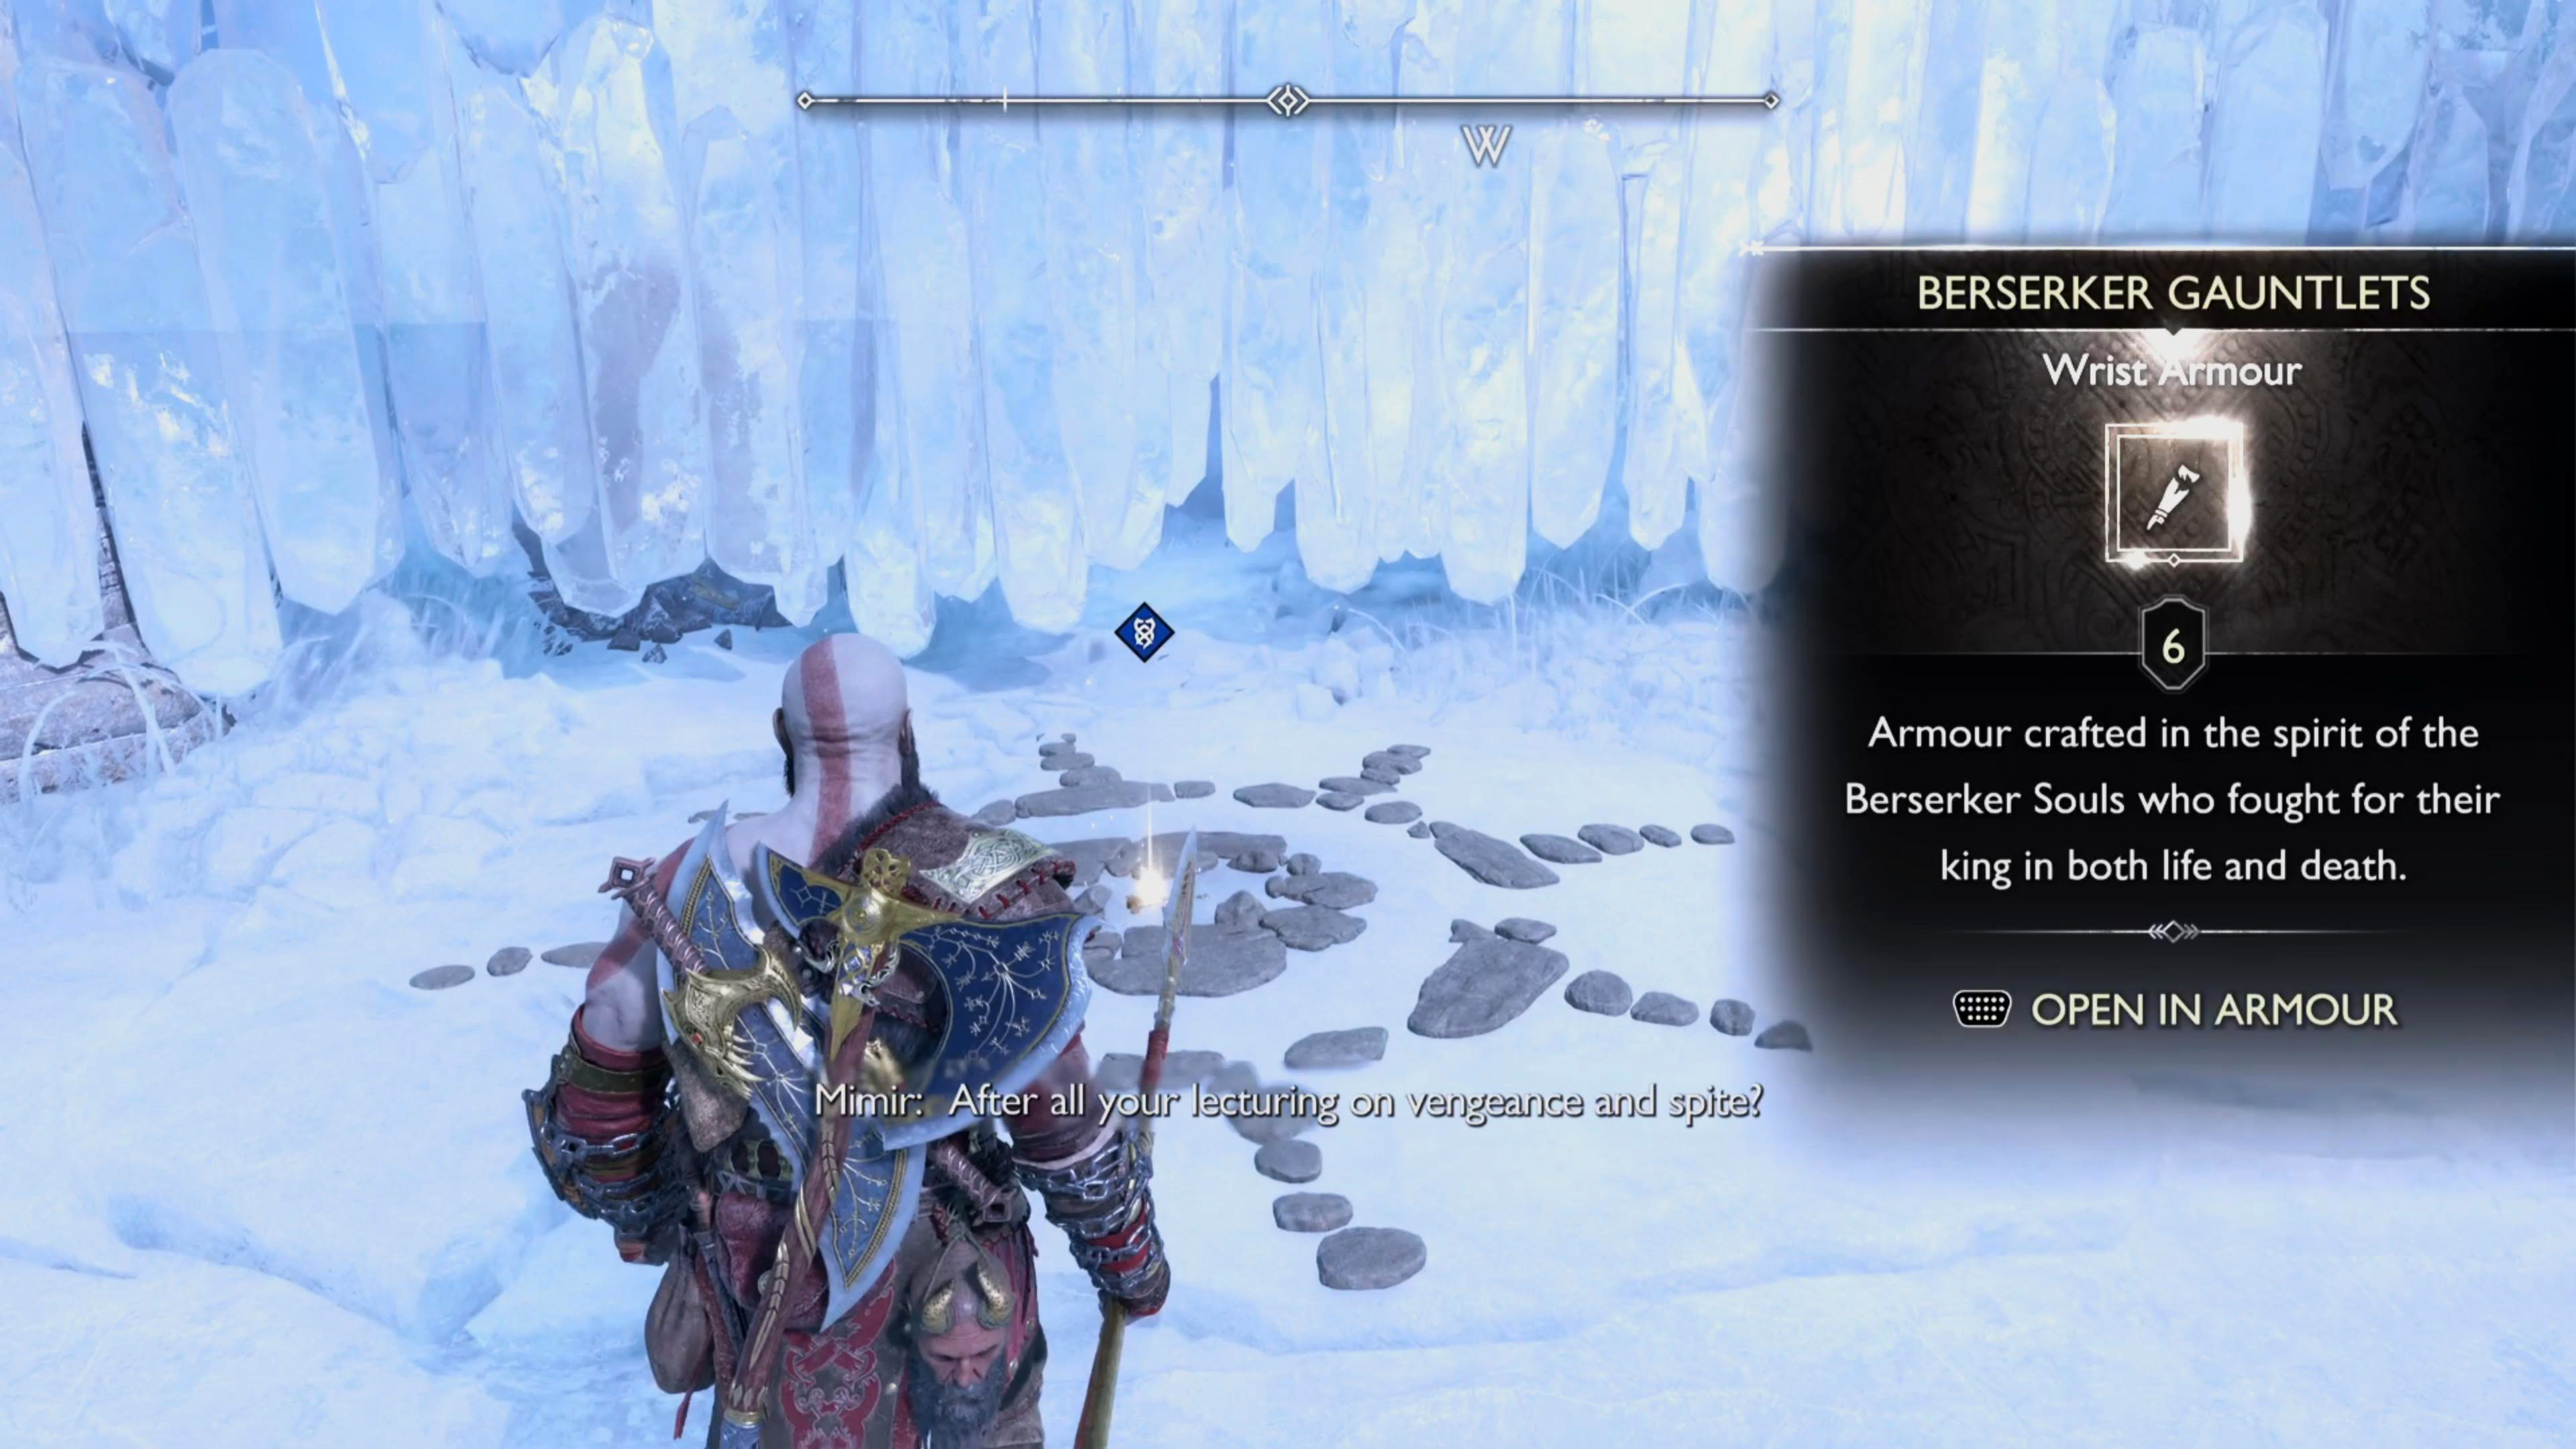
As you explore the numerous areas in the world of God of War Ragnarok, you may have passed some gravestones sitting out in the open. These are called “Berserker” Gravestones, and when you interact with them, you’ll be placed in an arena where you’ll have to fight one (or more) of them. There are 13 Berserkers’ in total, but only 10 gravestones to beat them in. Defeating all Berserker’s is required for 100% completion as well as to unlock, and finish the Favor “Fit for a King”. This page will guide you through finding, and defeating the Berserker “Skjorthendi The Unerring”.
Skjothendi the Unerring is arguably the toughest Berserker other than the King.
How to Activate the Berserker Gravestones
To activate the gravestones, you’ll need the key-item Hilt of Skofnung which you’ll acquire during the story mission “The Word of Fate”. With Hilt in hand, interact with the gravestone to place a circular arena around the gravestone, and one or more of the Berserker’s will spawn. If you die, and you most likely will, you will start near the gravestone, so there’s no reason not to try them whenever you see one.
Where to Find Berserker Skjorthendi The Unerring
You won’t be able to access Skjorthendi’s gravestone until you finish the main story. This is because it’s in the Mist Fields in Niflheim which you can’t get to until the post-game. Once you’ve finished the game, head back to Sindri’s House, and Ratatoskr will give you some Yggdrasil Seeds to open more realms. Hover over Niflheim, and you’ll be able to unlock the Mist Fields area. Now teleport to the gateway there, and follow the snowy path all the way west where you’ll find her gravestone.
Skjorthendi The Unerring Attacks
Like all Berserker’s, Skjorthendi is extremely aggressive, and she has an arsenal of attacks to throw at you. She’ll have her normal melee attacks alongside her more unforgiving attacks listed below.
Bifrost Aura (Keep your distance/avoid attacks)
This is the toughest attack to deal with for Skjorthendi. At the beginning, and throughout the fight she’ll gain a Bifrost Aura which will continuously cover your health bar with Bifrost. If she attacks you while your health is blue, you’ll take that as damage. It is a devastating attack that can end your life pretty quickly. Unfortunately, there isn’t much you can do to negate this attack, but equipping the enchantments Celestial Panacea, and Remedy of the Bifrost can help. Other than that, keep your distance while your health is affected by Bifrost, and make sure you don’t get hit until it dissipates.
Bifrost Wave (Dodge or Block)
From range, Skjorthendi will unleash a wave of Bifrost energy at your location. The best way to deal with this attack is to start walking in one direction, and quickly rolling to the opposite side. You can block this attack, but you will take a small amount of Bifrost damage, so avoiding it is the best call.
Close Bifrost Blast (Roll away from it)
Sometimes Skjorthendi will close the distance, and do a quick blast of Bifrost energy at you. There will be a short charge, so you should see it coming. As soon as you see the attack, roll away from her until she uses it, then close the distance yourself, and punish her with a few attacks of your own.
Ranged Bifrost Blast (Throw Weapon to Interrupt)
Skjorthendi will rise into the air with her arms spread out charging a room-wide blast of Bifrost. On harder difficulties, this attack can cover your entire health bar in Bifrost, but thankfully a well-placed spear or axe can interrupt her, and make her drop to the floor.
Magic Missiles (Dodge)
Skjorthendi will leap to the back of the arena, jump into the air, and hurl several missiles at you. This attack is preceded by a red-ring which means you’ll have to avoid it. The easiest way to avoid the attack is to wait until the missiles get close to you, then roll to the side. This may take you a few tries to get the timing down.
Lunging Punch (Parry/Dodge)
This is a simple lunge attack which is preceded by a yellow-ring. Skjorthendi will lunge across the arena, and throw a forward punch at you. As this is a yellow-ring, it can be parried, but dodging it is the easier option. If you want to parry the attack, wait until she throws the punch before parrying, but be quick as the timing window is short. If you choose the easier method of avoiding the attack, just dodge to the side.
Bifrost Projectiles (Block/Dodge)
Skjorthendi will jump to the back of the arena before she leaps side to side while throwing a Bifrost projectile each time. These are easily dodge by sidestepping or rolling to the side. She will always throw two at a time. If you mess up the dodge or are too late to react, you can block these.
Bifrost Melee Combo
A simple two-hit attack with her Bifrost covered fists. They’re downward strikes which can make them harder to avoid, but you can either block or dodge them with relative ease. They’re classed as a normal attack, so you don’t have to worry about parrying or anything else.
Teleport Smash
All the Berserker’s have this attack and Skjorthendi is no different. She’ll teleport/jump into the air, and come crashing down at your location. A simple sidestep or roll will negate this attack. It can be used multiple times in quick succession, so always be ready for another one straight after.
Skjorthendi The Unerring Strategy
At the beginning of the fight, she will put Bifrost Aura on herself. You have two ways to deal with this, keep your distance, or be aggressive. If you stay far enough away from her, you won’t take much Bifrost damage, but she can, and will close the distance to you with it on. The aggressive method is to keep attacking her, and when your health takes a significant amount of Bifrost damage, jump into rage to remove it. After a short duration, the aura will wear off, and you’ll be free to attack her normally.
The next attack that she does which can end the fight quickly is her “Ranged Bifrost Blast”. She’ll jump into the air at the back of the arena, and charge up the blast. Quickly throw either your spear or axe at her to interrupt the charge, and drop her to the floor. If you get hit by this attack, your entire health bar could be Bifrosted, especially on higher difficulties.
(1 of 2) Throughout the fight, Skjothendi will bombard you with ranged projectiles.
Throughout the fight, Skjothendi will bombard you with ranged projectiles. (left), She will always throw two of them, one after another. (right)
Other than the above attacks, a lot of her attacks are relatively easy to avoid, although her magic missile attack may take you a few tries to get the timing down. The Bifrost wave can be avoided by heading one direction (to make it head that direction) and rolling to the opposite side as it closes in on you. Her Lunging Punch can sometimes be tricky to avoid, as it comes at you with pace, but it is preceded with a yellow-ring, so you can get ready to dodge or parry it. All of her other attacks you should be used to by now as they’re not too different from the other Berserkers.
When Skjorthendi gets too low health (around 20-30%) she’ll cast Bifrost Aura again. This can end the fight quickly for you because she is a lot more aggressive at this stage of the fight, and you most likely don’t have any Rage left to negate it. You may want to sit back and attack more purposefully, or if you have Rage, jump into that, and finish her off. With Skjorthendi defeated, you’ll only have the King left to take care off at the King’s Grave in Midgard which you can read about here.
Recommended Equipment For Skjothendi the Unerring
Below you’ll find a list of gear that we recommend for tackling the Bifrost Queen Skjothendi the Unerring, this is just what we had great success with, and isn’t necessarily the best.
Weapon, Grip, and Relic
| Weapon | Stats (Max) | Grip | Relic |
|---|---|---|---|
| Draupnir Spear | Luck: +50 | Warrior’s Echo Sauroter: Spear attacks against Sonic-afflicted enemies deal bonus damage and build bonus Maelstrom skill charge. | Hilt of Angrvadall: Slash forward three waves of light that deal increased damage against enemies afflicted with Sonic. |
Shield and Attachment
| Shield | Stats (Max) | Description | Attachment |
|---|---|---|---|
| Onslaught Shield | Defense: +130 Luck: +26 | Shield Rush: Charge the enemy while blocking enemy attacks. | Rond of Restoration Restoring Shield: On taking damage, Kratos has a luck chance to gain Defense and for his next shield strike hit to restore health. The chance increases with lower health. |
Runic Attacks
Light
| Name | Damage (Max) | Force (Max) | Stun (Max) | Description |
|---|---|---|---|---|
| Mountain Splitter (Light/Spear) | Repeated long-range wind slices that stagger enemies. Press  precisely while slashing to enhance each wave. precisely while slashing to enhance each wave. |
OR
| Name | Damage (Max) | Force (Max) | Stun (Max) | Description |
|---|---|---|---|---|
| Thrust of a Thousand Soldiers (Light) | Perform a flurry of stabs with Draupnir which embeds Spears into the enemy. Press  for extra stabs! for extra stabs! |
Heavy
| Name | Damage (Max) | Force (Max) | Stun (Max) | Description |
|---|---|---|---|---|
| Honor The Fallen (Heavy/Spear) | A long-range, leaping dive that slams into enemies with overwhelming force. |
OR
| Name | Damage (Max) | Force (Max) | Stun (Max) | Description |
|---|---|---|---|---|
| Vindsvalr’s Windstorm (Heavy) | An array of chaotic cyclones rampages through the field, damaging all enemies in their paths. |
Blades of Chaos
Light
| Name | Damage (Max) | Burn (Max) | Stun (Max) | Description |
|---|---|---|---|---|
| Rampage of the Furies | – | A robust flurry attack that ends in a powerful cross-slash. Holding  extends the barrage with both blades. extends the barrage with both blades. |
Heavy
| Name | Damage (Max) | Burn (Max) | Stun (Max) | Description |
|---|---|---|---|---|
| Tame the Beast | A series of Blade whips scorches nearby enemies. Press  again for more swipes! again for more swipes! |
Leviathan Axe
Light
| Name | Damage (Max) | Frost (Max) | Stun (Max) | Description |
|---|---|---|---|---|
| Hels Touch | – | An extremely quick burst of energy that interrupts and knocks back all enemies. Enables a follow-up burst by quickly pressing  again. again. |
Heavy
| Name | Damage (Max) | Frost (Max) | Stun (Max) | Description |
|---|---|---|---|---|
| Breath of Thamur | – | A massive area-of-effect attack that deals damage to all enemies within an extremely large area. |
Best Amulet Enchantments For Skjothendi the Unerring
| Icon | Enchantment | Description | Attributes |
|---|---|---|---|
| Svartalfheim’s Honor | Increases stun damage inflicted based on Kratos’ Defense | Defense: +10 | |
| Svartalfheim’s Safety | Increases stun damage inflicted based on Kratos’ Defense | Strength: +8 Defense: +5 | |
| Svartalfheim’s Fortune | Increases stun damage inflicted based on Kratos’ Defense | Defense: +4 Cooldown: +9 | |
| Jotunheim’s Honor | Increases Kratos’s Maximum Rage based on his Vitality | Defense: +4 Vitality: +4 Luck: +6 | |
| Jotunheim’s Essence | Increases Kratos’s Maximum Rage based on his Vitality | Strength: +4 Vitality: +4 Luck: +6 | |
| Jotunheim’s Virtue | Increases Kratos’s Maximum Rage based on his Vitality | Vitality: +3 Cooldown: +12 | |
| Celestial Panacea | CELESTIAL PROTECTION: 25% resistance to all status effects (including frost, burn, blind, daze, poison, shock and bifrost) | N/A | |
| Token of Elemental Evasion | EVASIVE CLEANSE: Dodge rolling will hasten the expiration of Burn, Poison, and Frost Status Effects on Kratos | Requires 130 Defense | |
| Remedy of the Bifrost | BIFROST PURIFICATION: Successful attacks against enemies will cleanse small amounts of Bifrost from Kratos’ health bar | Requires 130 Defense |
Armor
| Name | Piece | Stats (Max) | Perk |
|---|---|---|---|
| Steinbjorn Plackart | Chest | Defense: + 190 | Bloodthirsty Retaliation: After significant damage is taken, Kratos’ attacks will restore some lost health for a time. |
| Bracers of Raven Tears | Wrist | Strength: + 64 Defense: + 34 Luck: + 30 | Healing Efficacy: Increases healing from Healthstones, Rage, and Gear (Up to 30%). |
| Girdle of Raven Tears | Waist | Defense: + 98 Luck: + 30 | Healing Efficacy: Increases healing from Healthstones, Rage, and Gear (Up to 30%). |
Best Freya Sword and Accessories For Skjothendi the Unerring
| Sword | Runic Summon | Accessory 1 | Accessory 2 | Accessory 3 |
|---|---|---|---|---|
| Thrunga | Steel Harmony | Runic Potency | Runic Capacity | Sigil Amplification |
Defeating Skjothendi will reward you with the last part of the Berserker Armor among resources.
Skjothendi the Unerring Rewards
Defeating Skjothendi will reward you with the following items:
| Icon | Name | Icon | Name |
|---|---|---|---|
| Bonded Leather +40 | Shattered Rune +40 | ||
| Tempered Remnants +3 | Berserker Gauntlets |


 Sign up
No Comments