This page will detail how to complete the Hel To Pay Favor in God of War Ragnarok. It will list the locations of all six Hel Tears.
Where to Start the Hel To Pay Favor in God of War Ragnarok
The Hel To Pay Favor will not begin until you go to close the first optional Hel Tear in the game. The first chance you get for this is during the main quest, Reunion, where you venture through Helheim. During this quest, you will come across a Hel Tear on the main path, with the option to close it or not. The first one you close as part of the story, at Sindri’s House, and while it actually counts towards the overall total, it doesn’t trigger the start the Favor.
Each Hel Tear will reward you with a Frozen Spark. Once you complete all six tears, you will have a complete Frozen Flame to use to upgrade your Leviathan Axe.
How to Close a Hel Tear
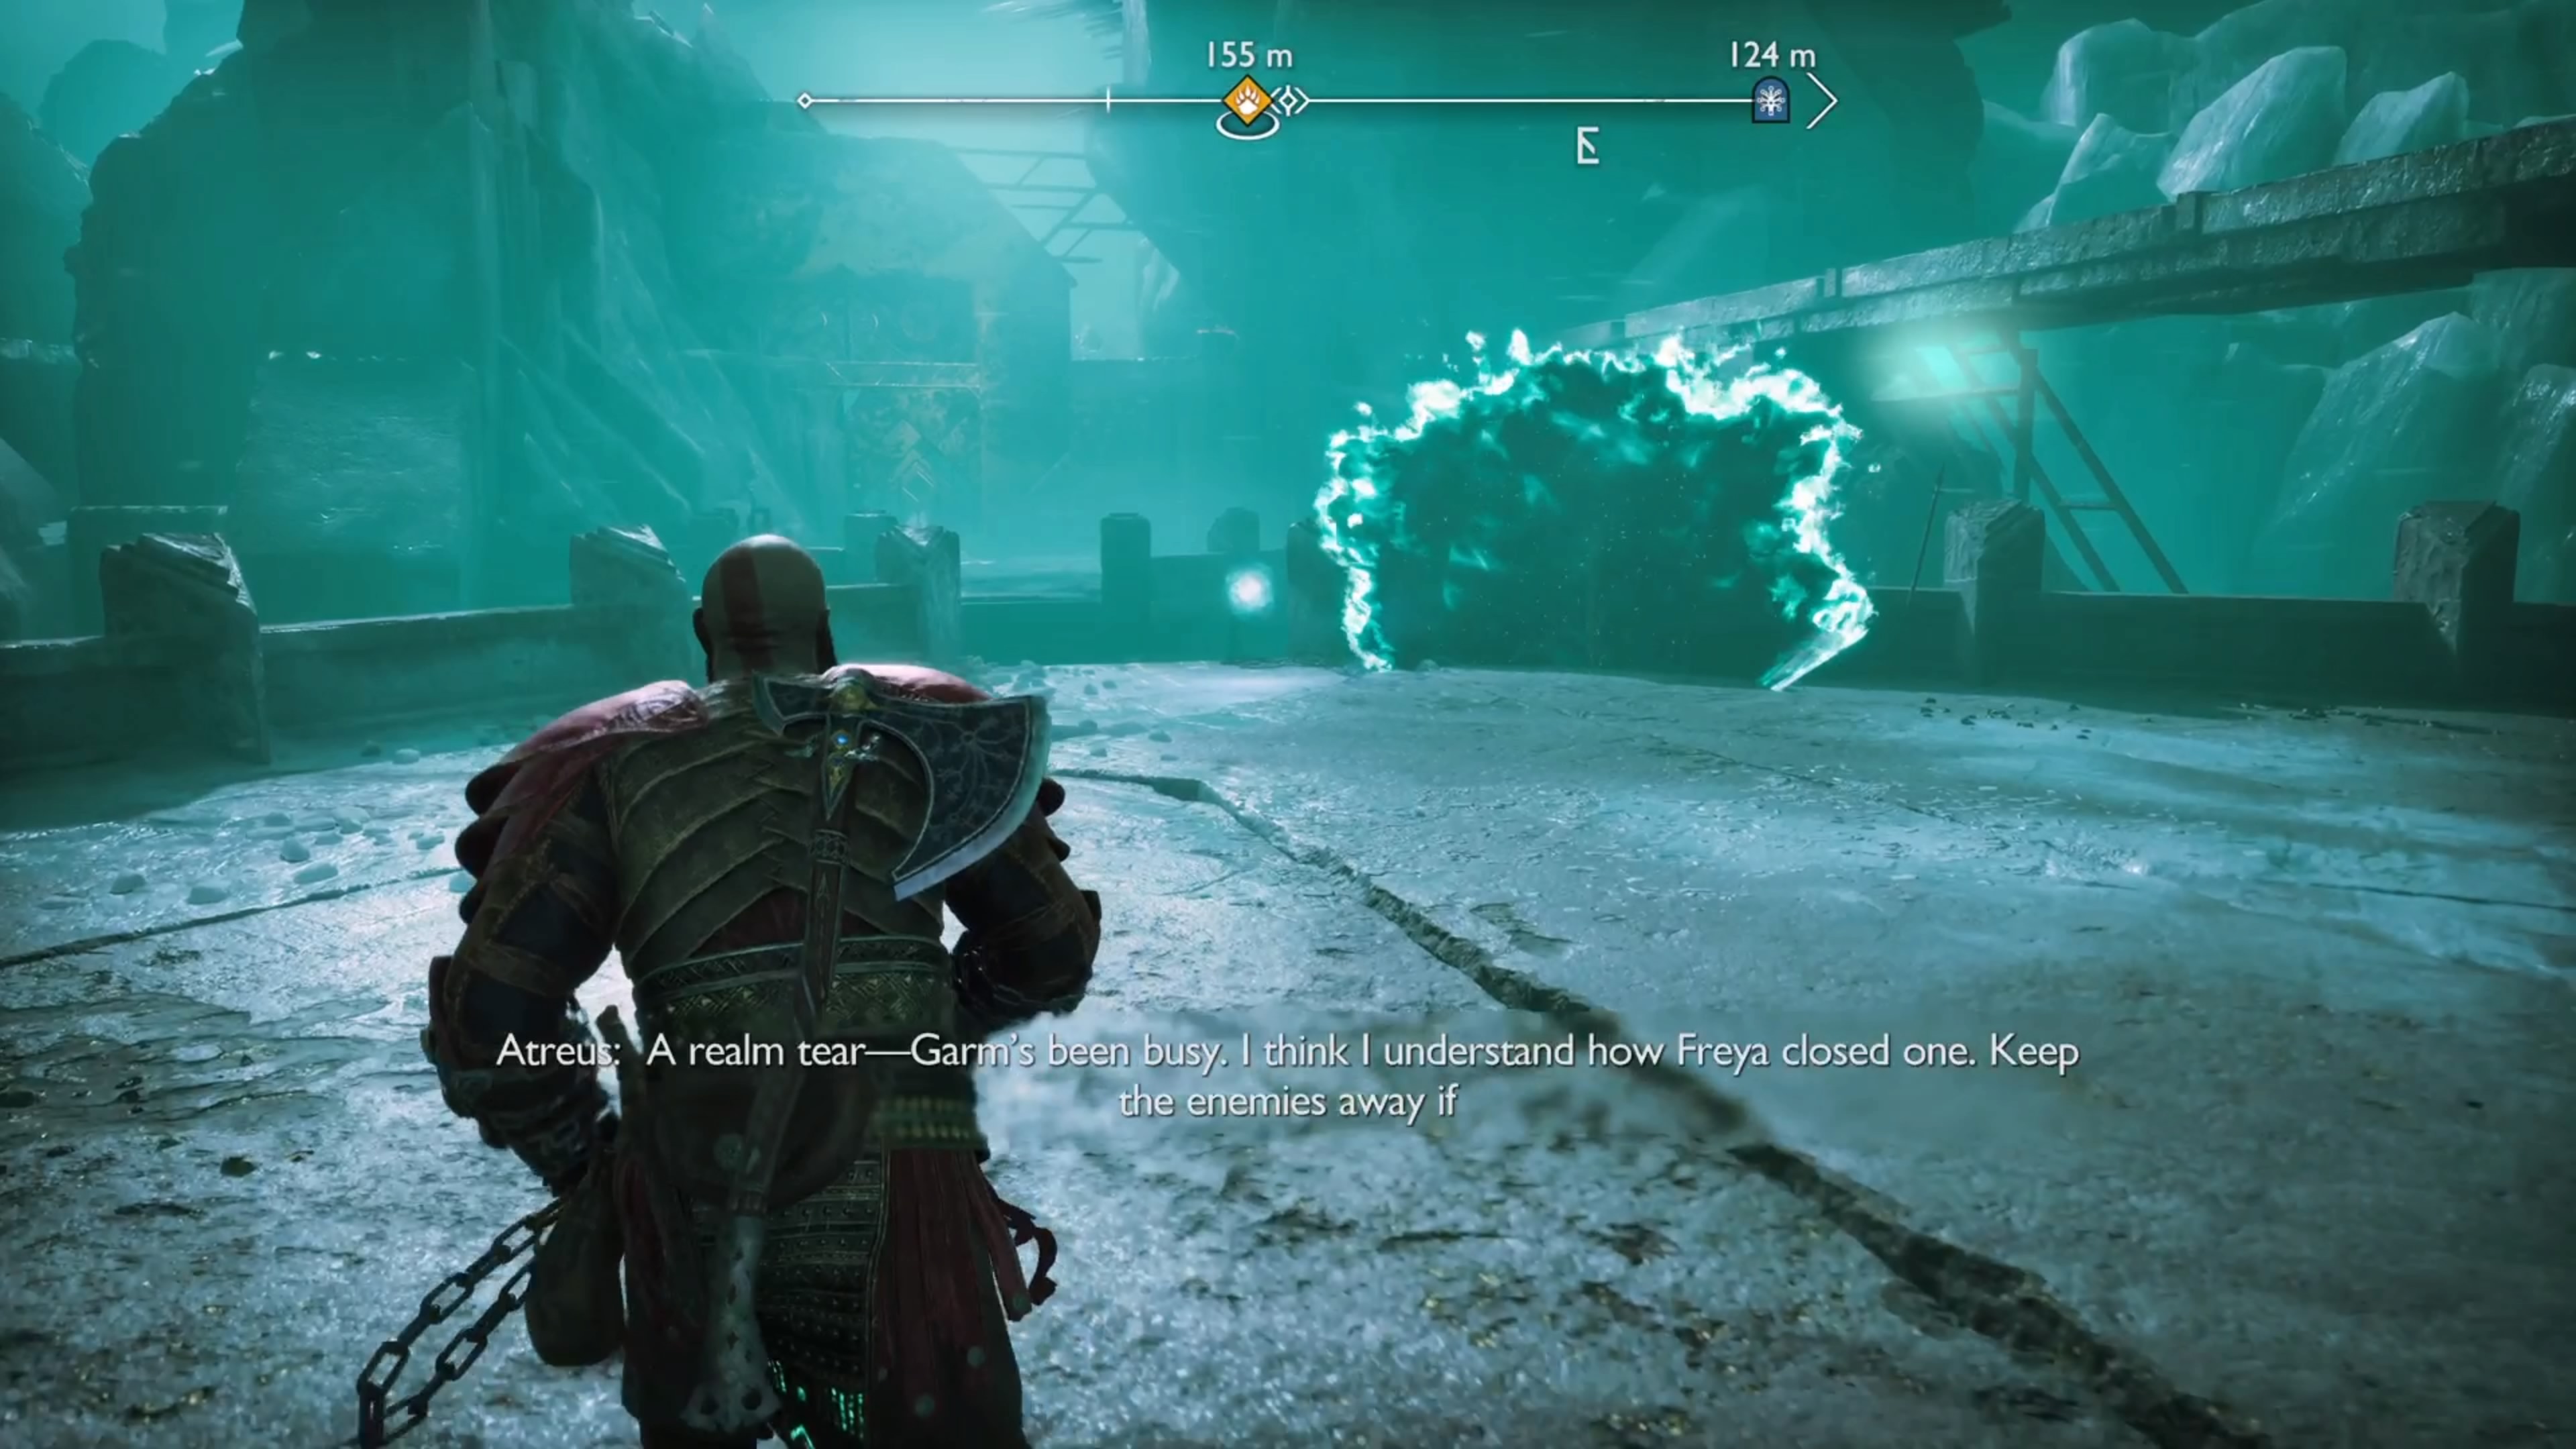
(1 of 2) The Hel Tears are pretty big and easy to see
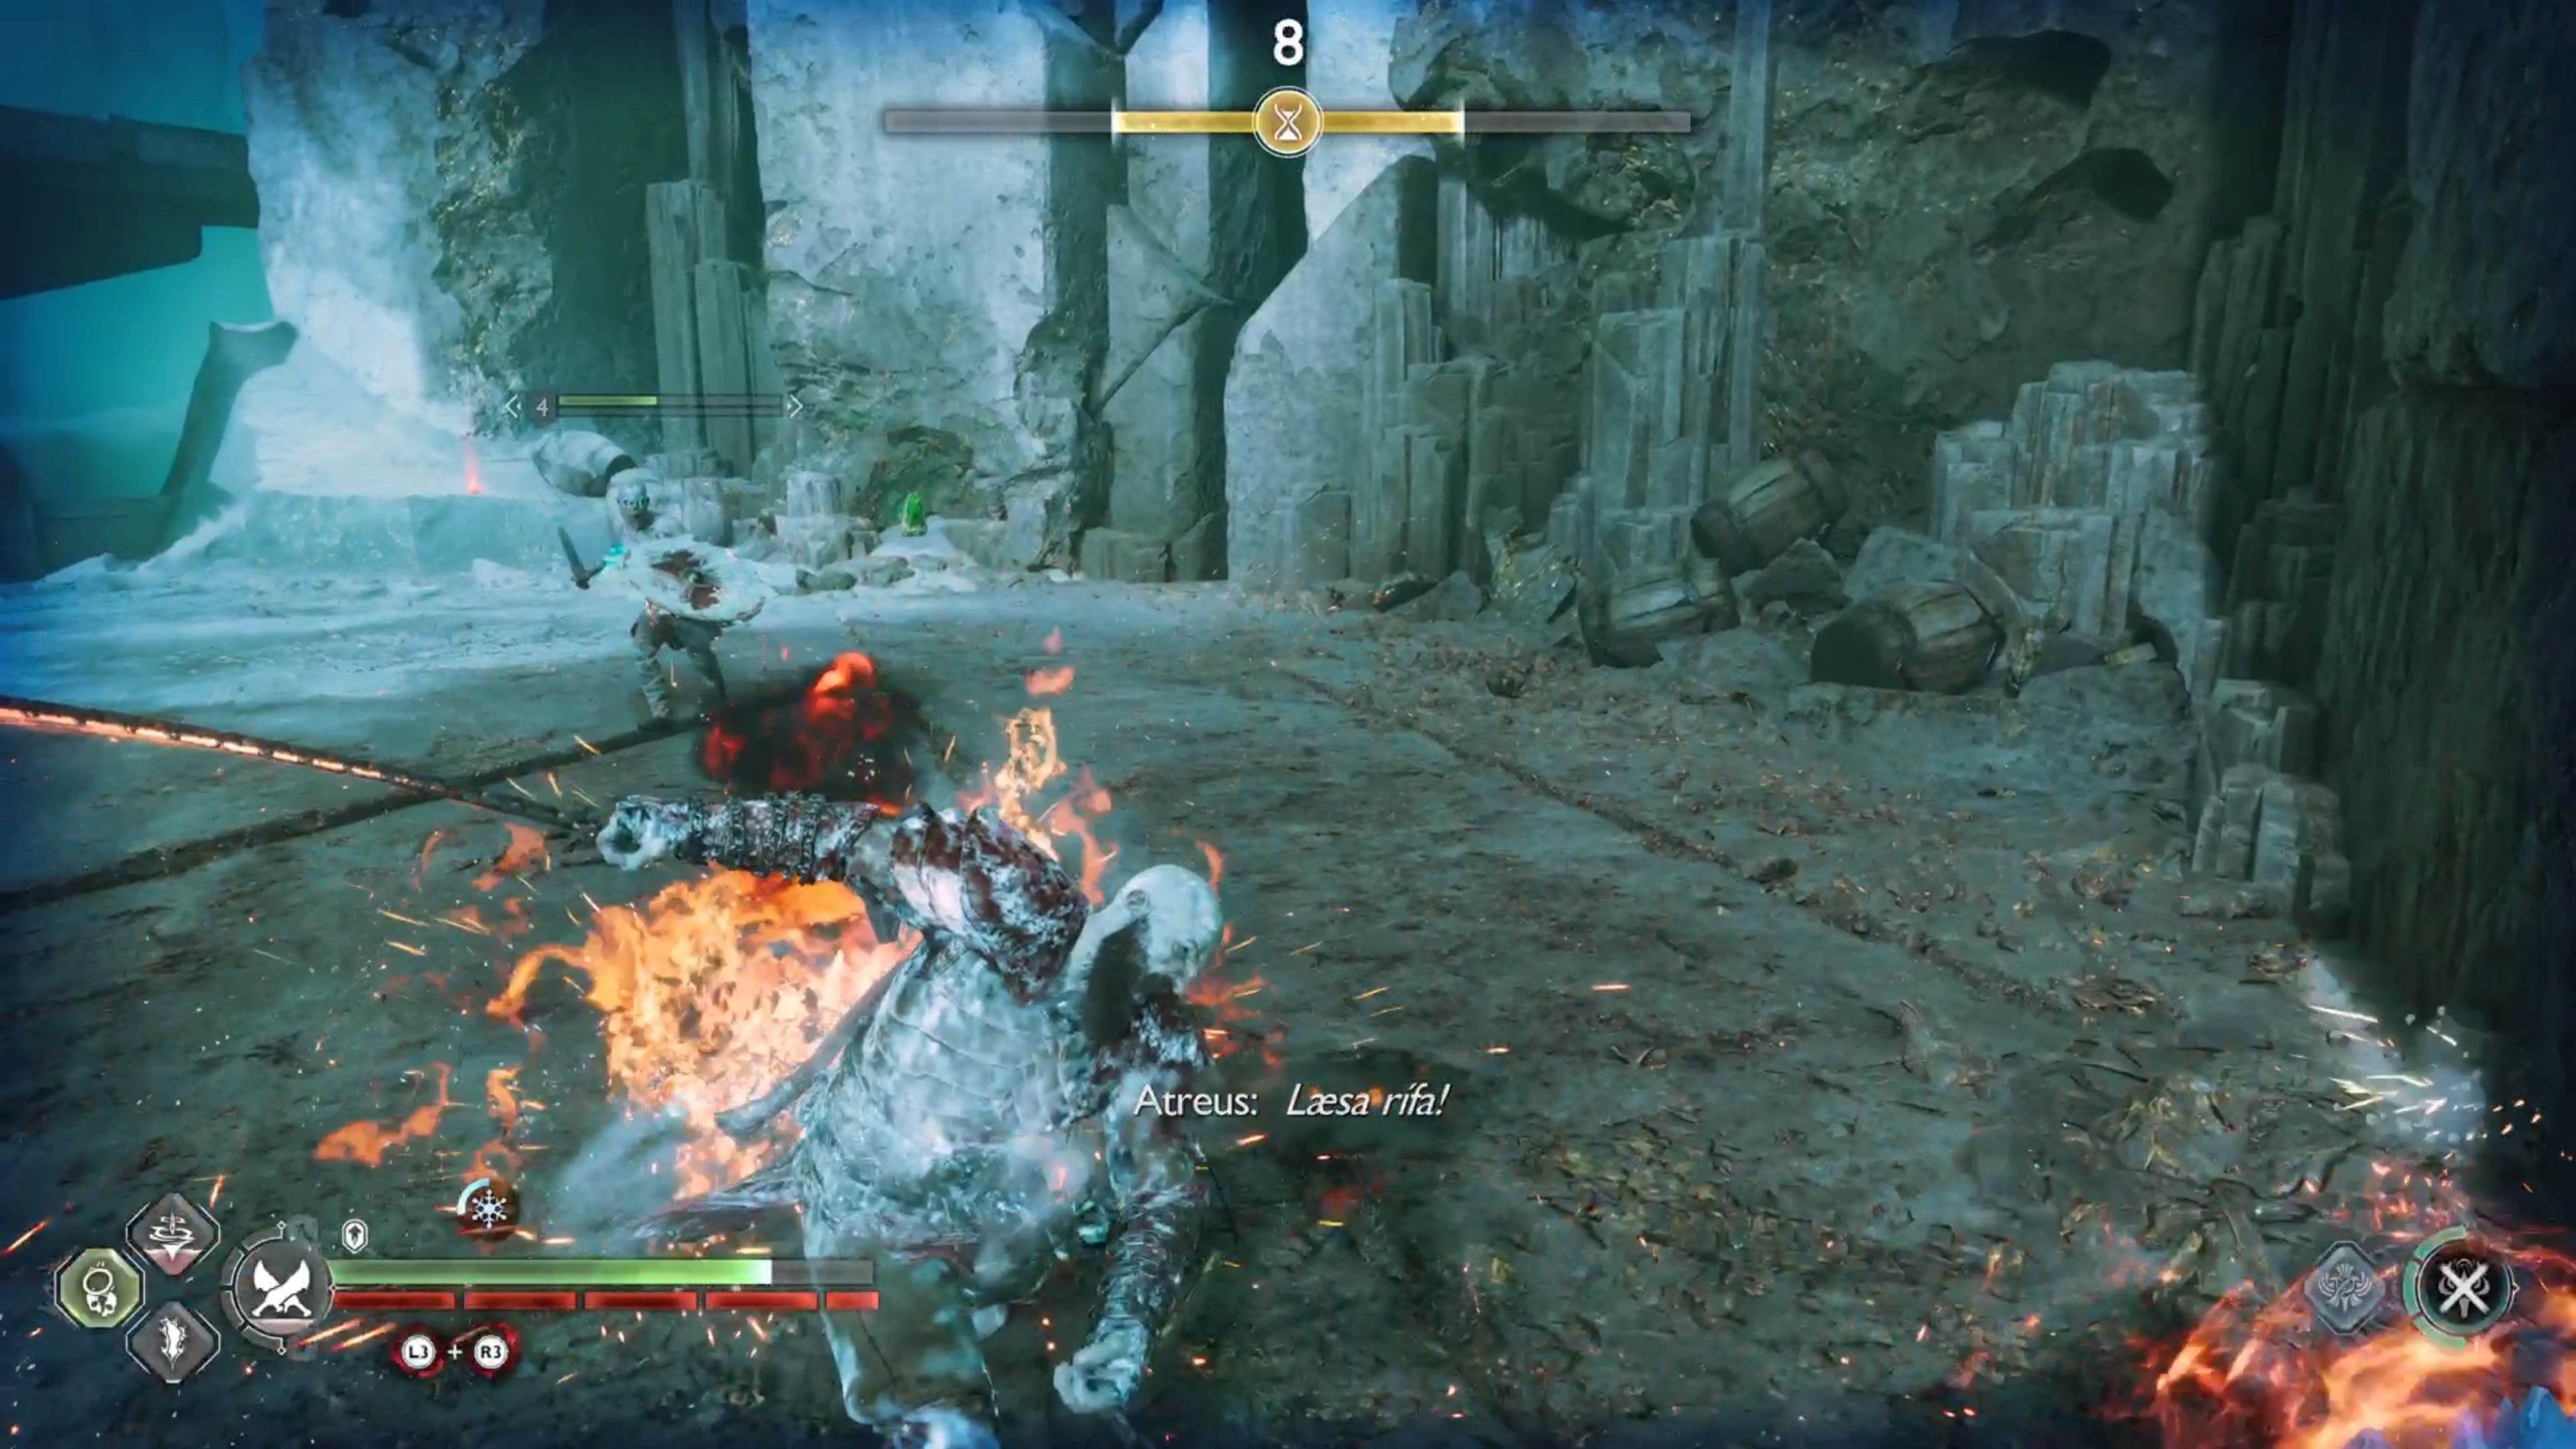
The Hel Tears are pretty big and easy to see (left), Just survive until the timer at the top is depleted to close the tear (right)
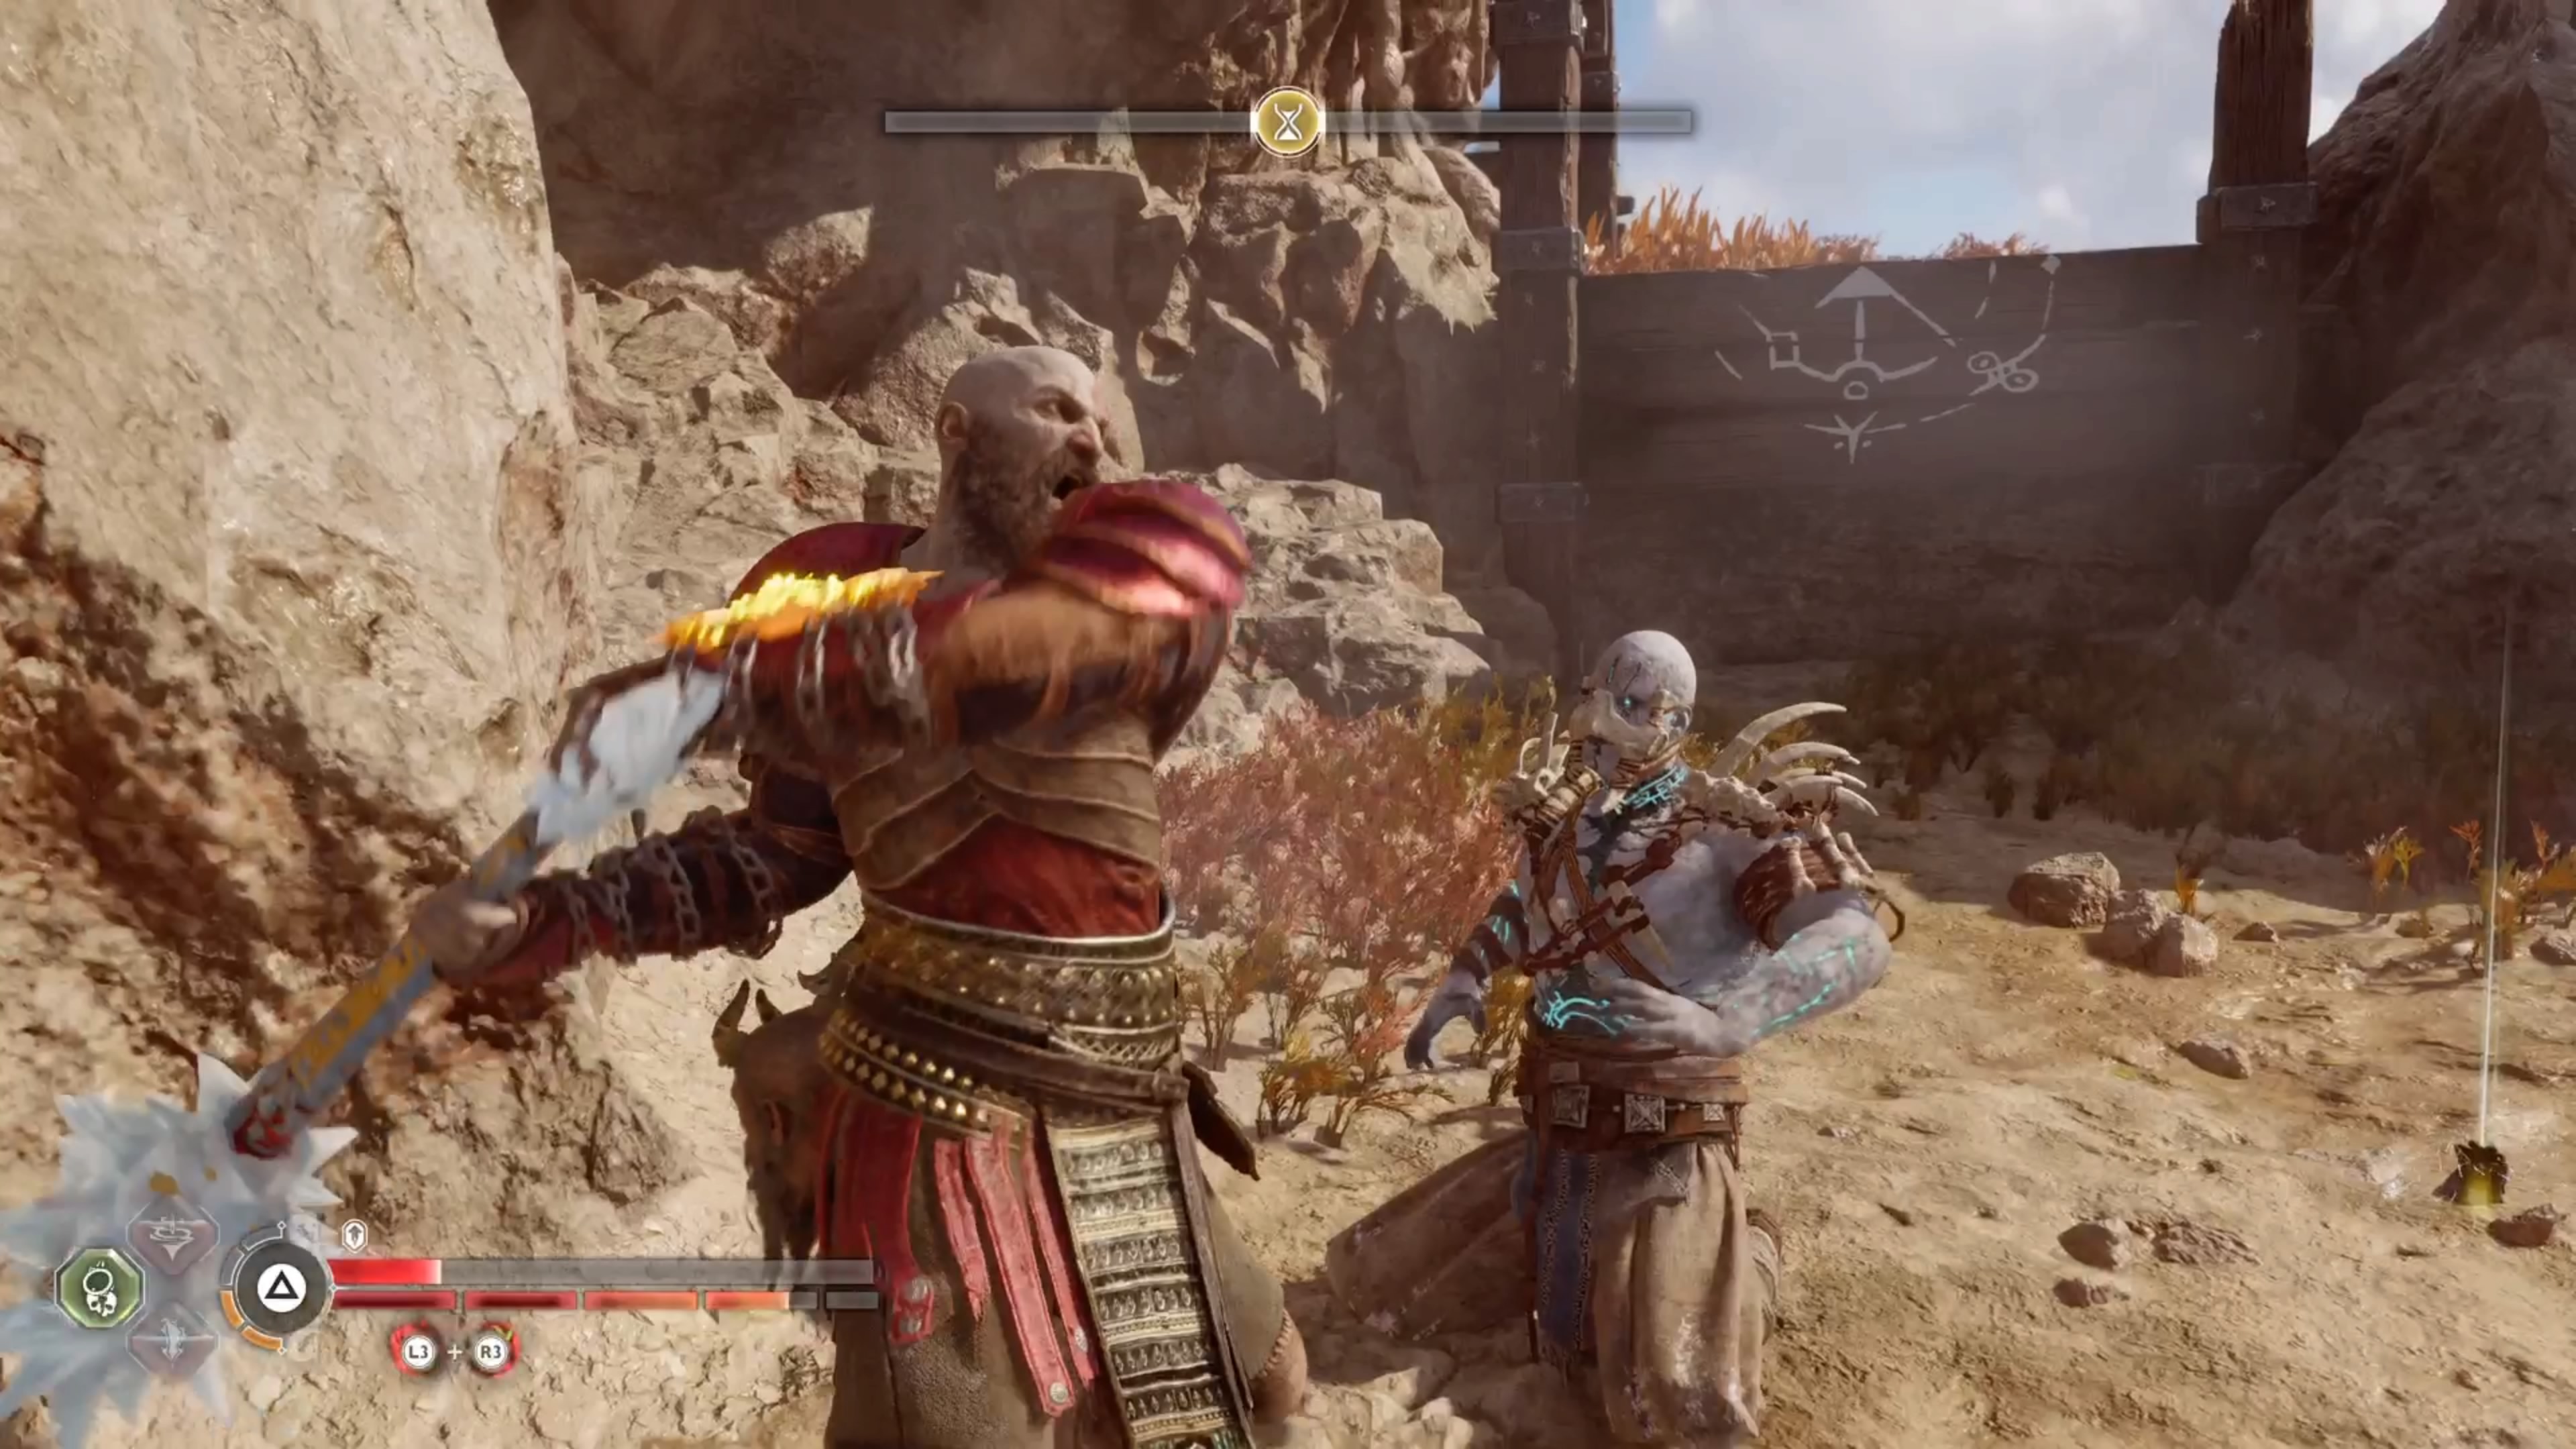
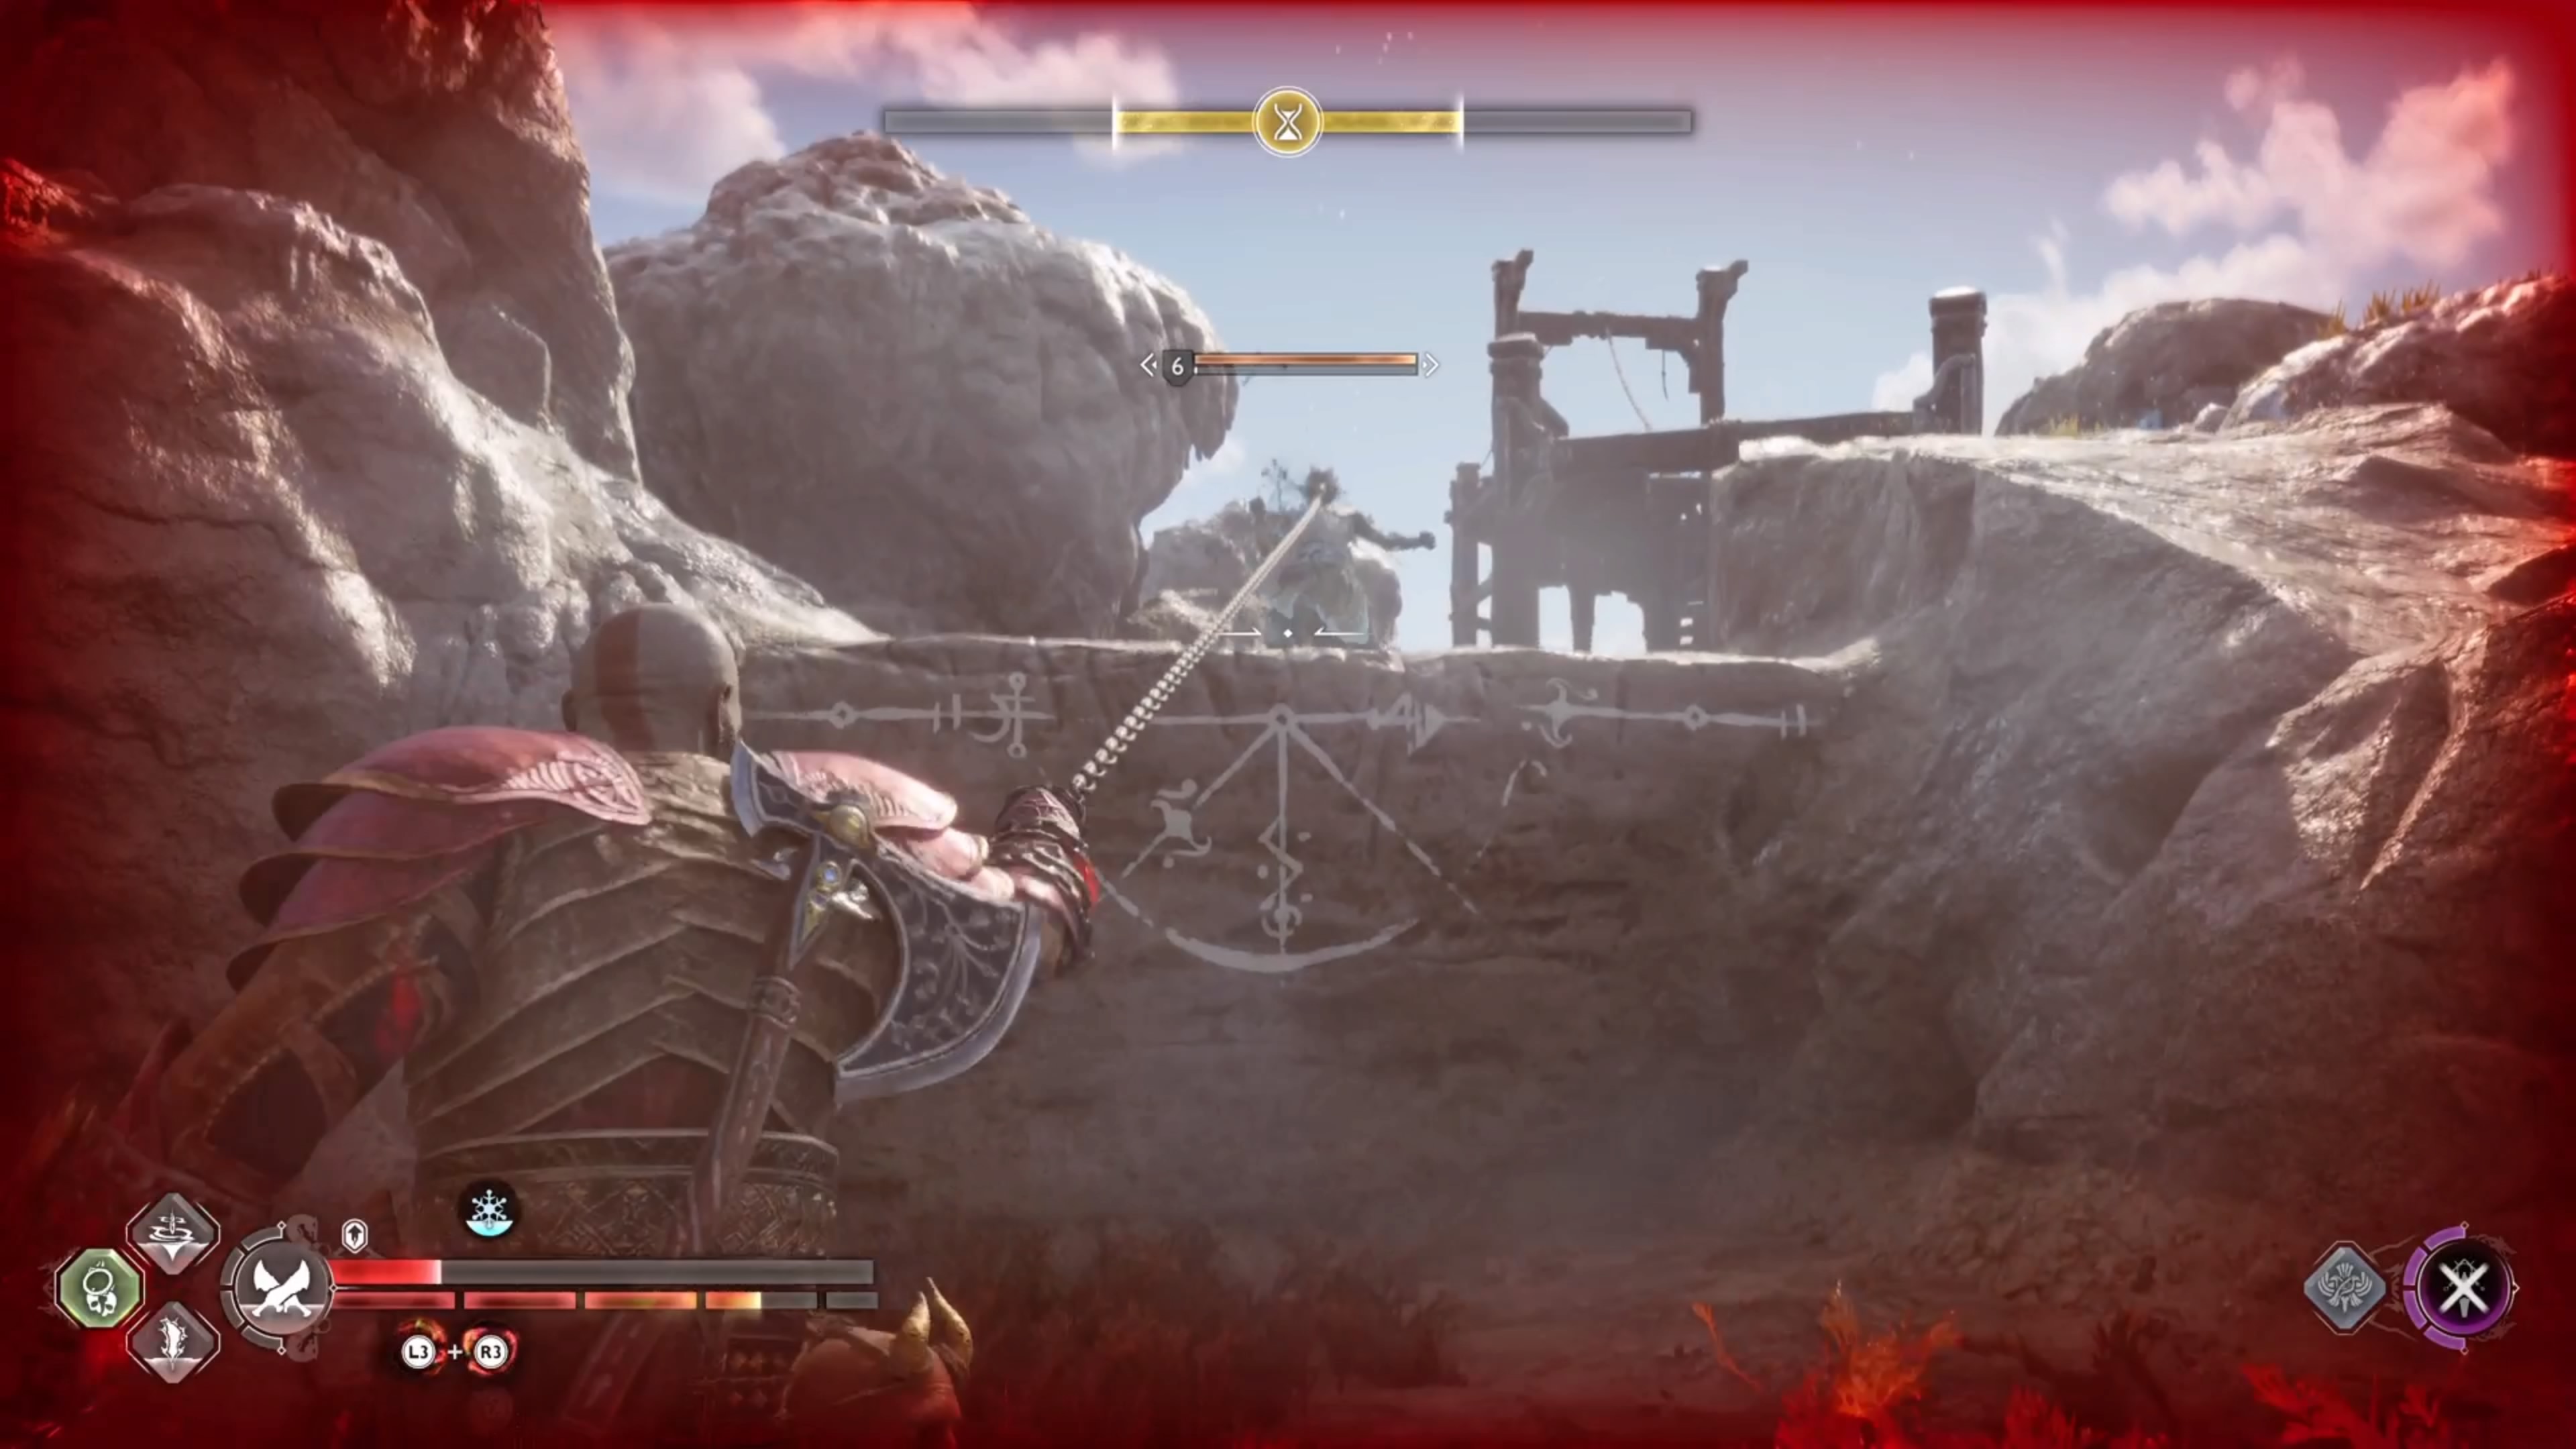
Hel Tears are a little different than the other Yggdrasil Tears, as you will send your companion to try and close them. While this is happening, a timer will appear at the top of the screen, which when depleted, will cause the tear to close. Your objective is to protect your companion while they are doing this, since enemies will come out of the Hel Tear to attack both you and your companion. So, you just need to survive/protect your ally and the Hel Tear will eventually be closed. As soon as it closes, the enemies will disappear, so you won’t need to do anything else past that point, besides grab the loot, of course.
Where to Find the Hel Tear in Helheim
You will come across this one as you’re doing the main story, Reunion. It’s impossible to miss this one, so you might as well do it while it’s in your way. You will find it in The Gleaming Bale area. This is the first optional one you can do, which if you do, you will start the Favor.
Where to Find the Hel Tear in Svartalfheim
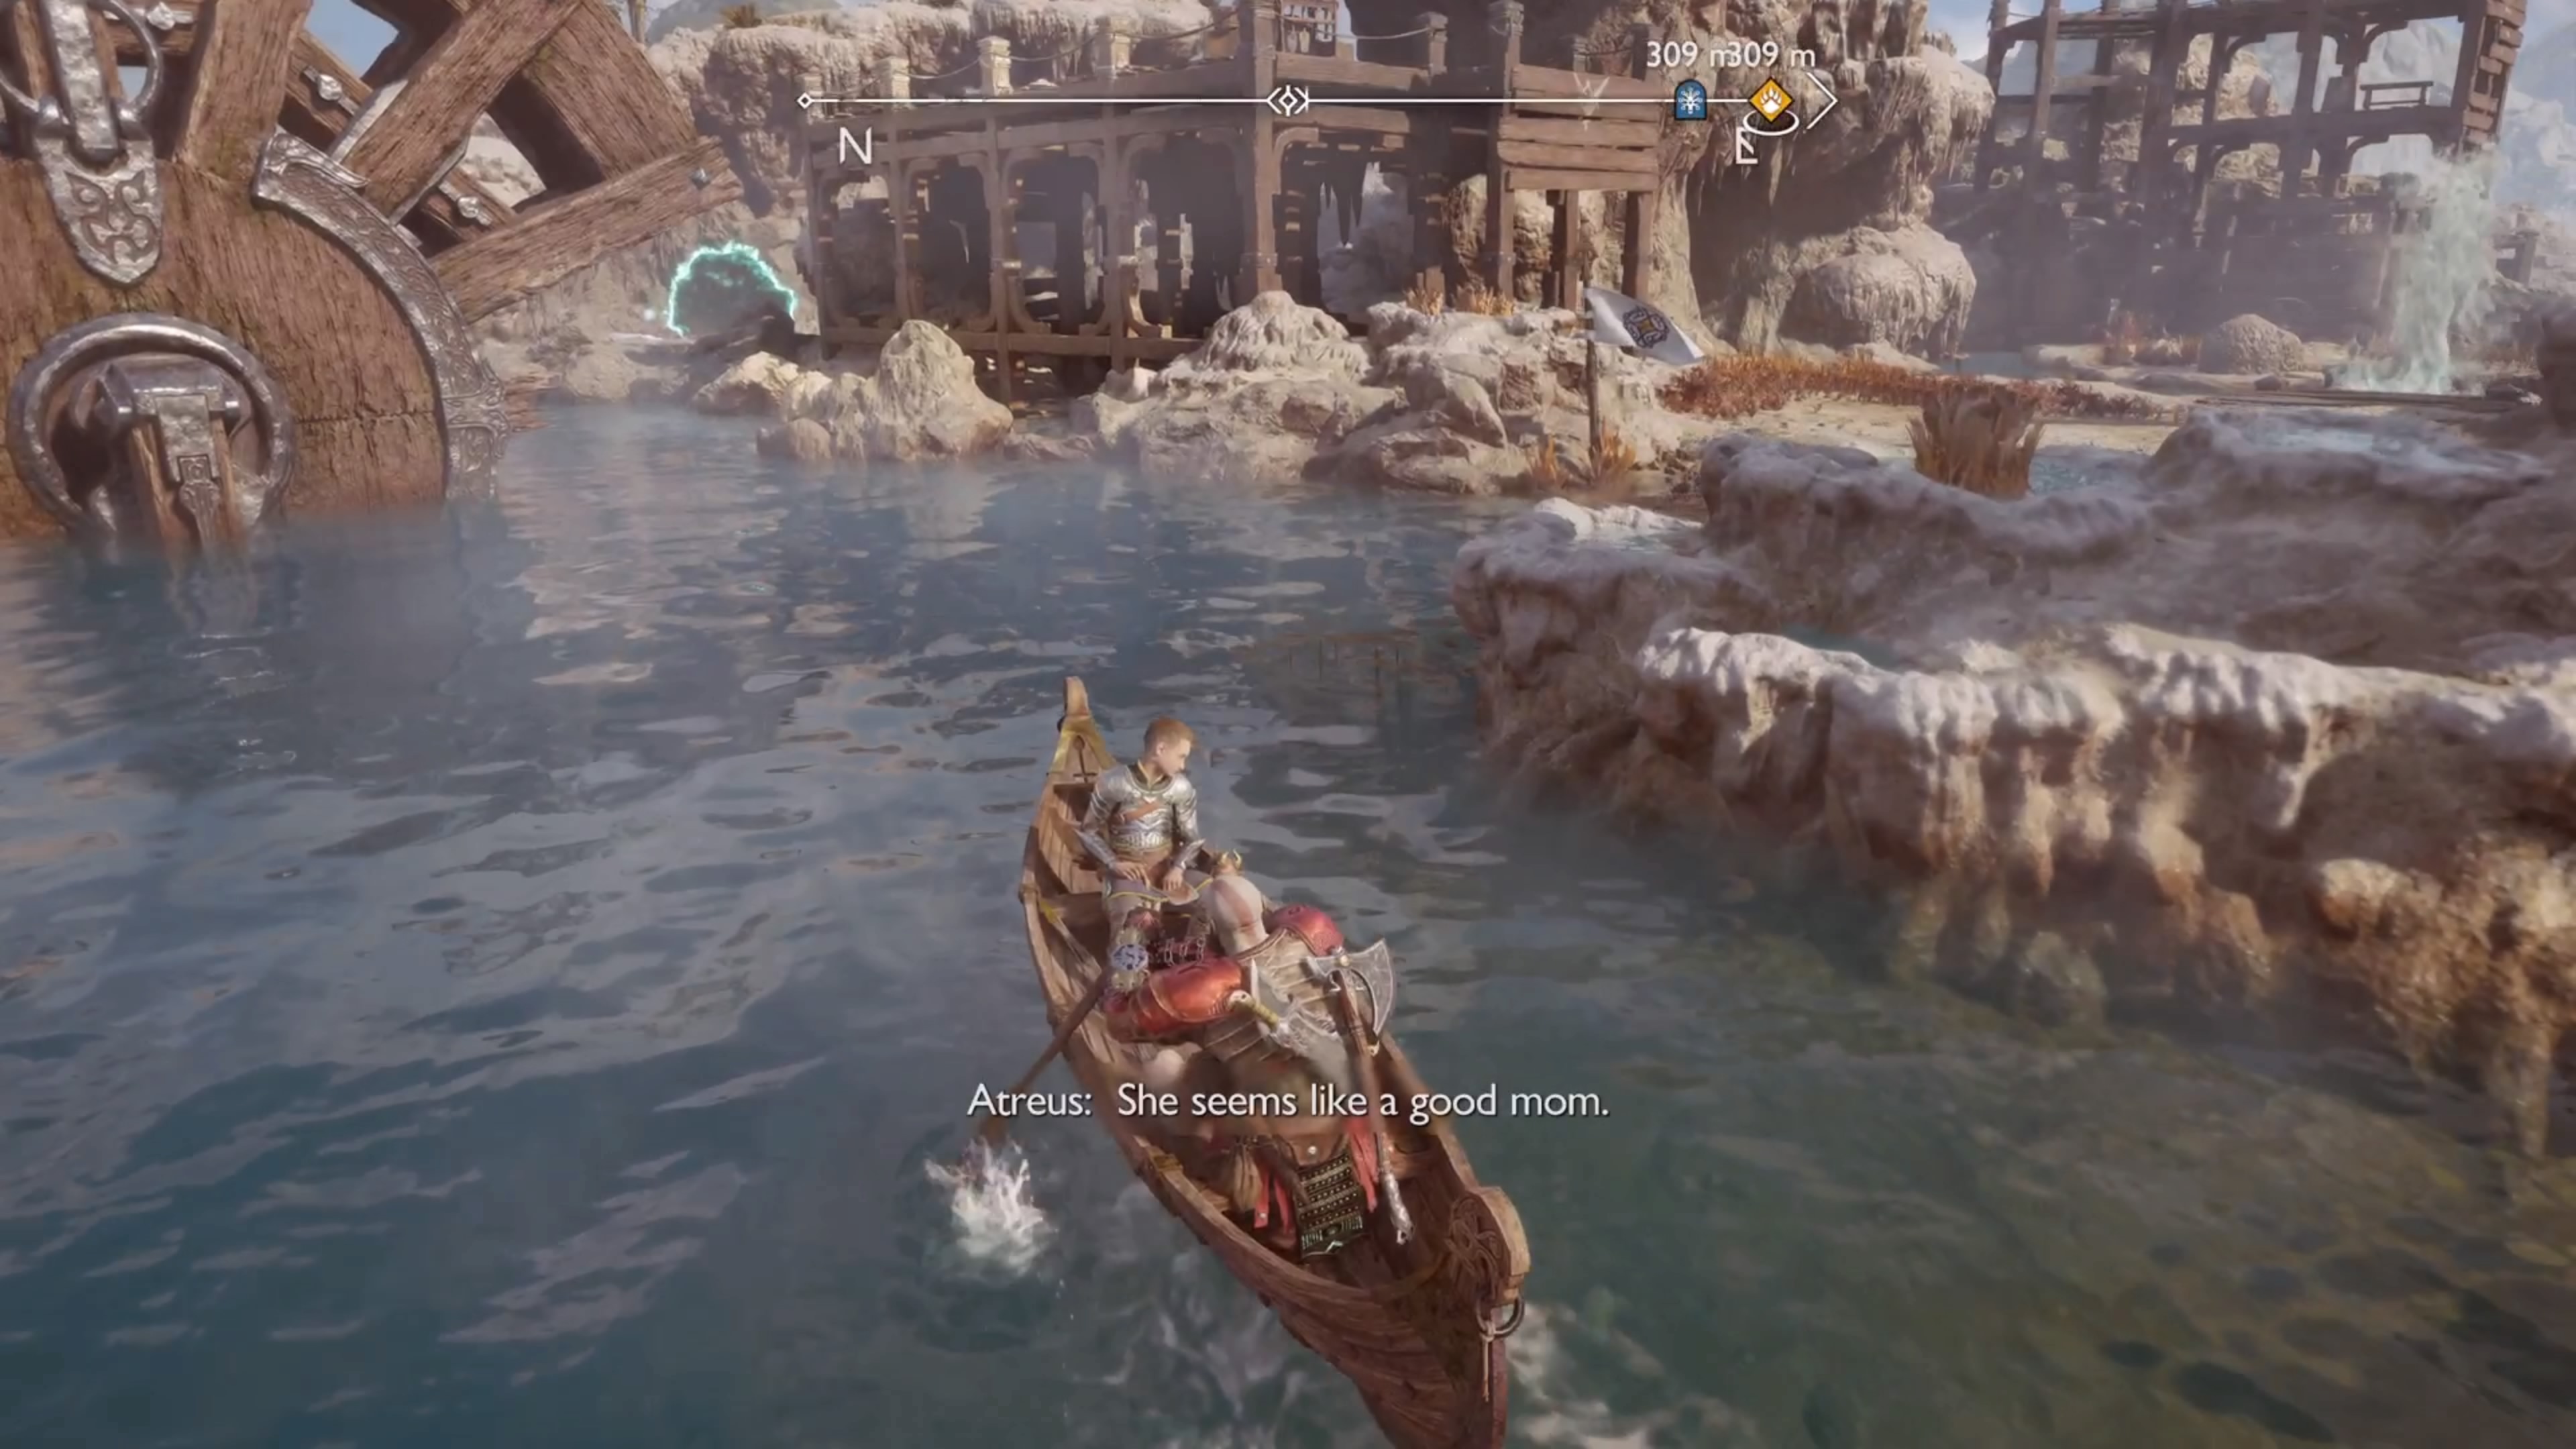
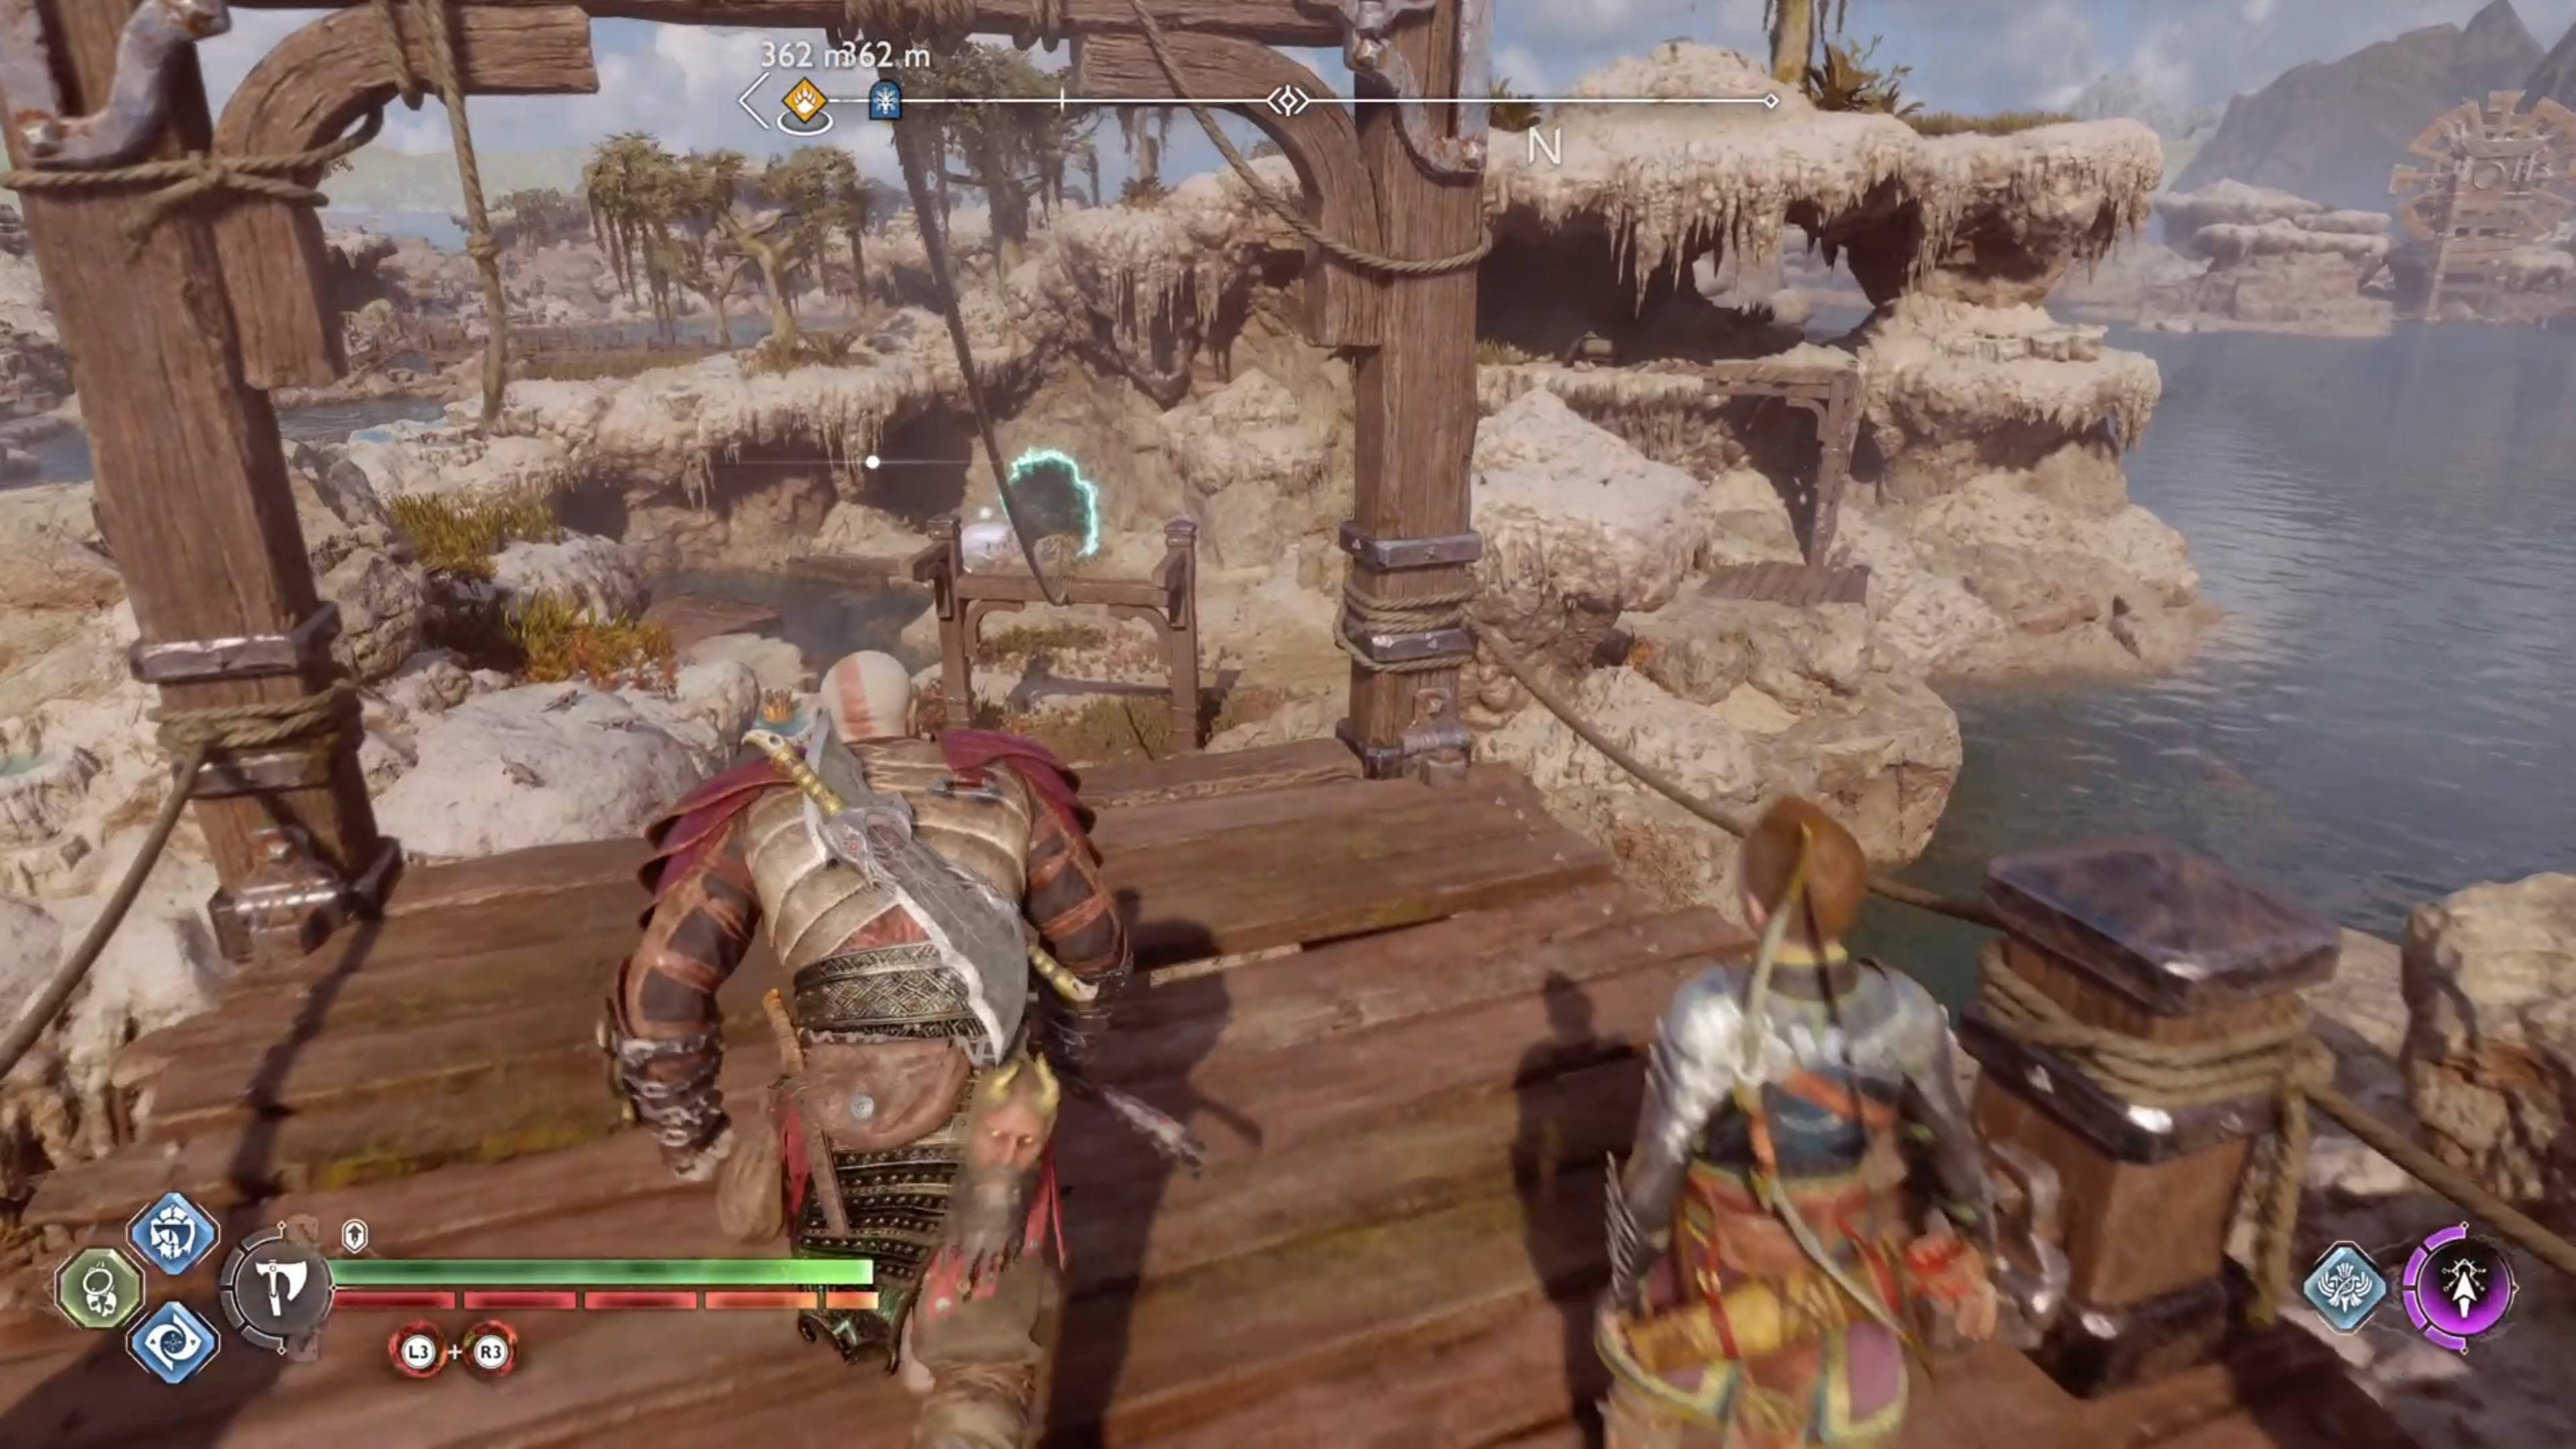
(1 of 4) Dock your boat right before the water wheel
Start off by going to the Aurvangar Wetlands gateway, then head north and hop into your boat. Row north and stop right before you pass the water wheel, docking on the beach to the right of it. Freeze the geyser and hop over it, then climb the wooden wall. At the top, zipline down and you will see the Hel Tear right in front of you. Be wary of the Archers during this, as they might be sitting on higher ledges and trying to pelt you with arrows, while you try to deal with the Hel-Viken.
Where to Find the Hel Tear in Alfheim
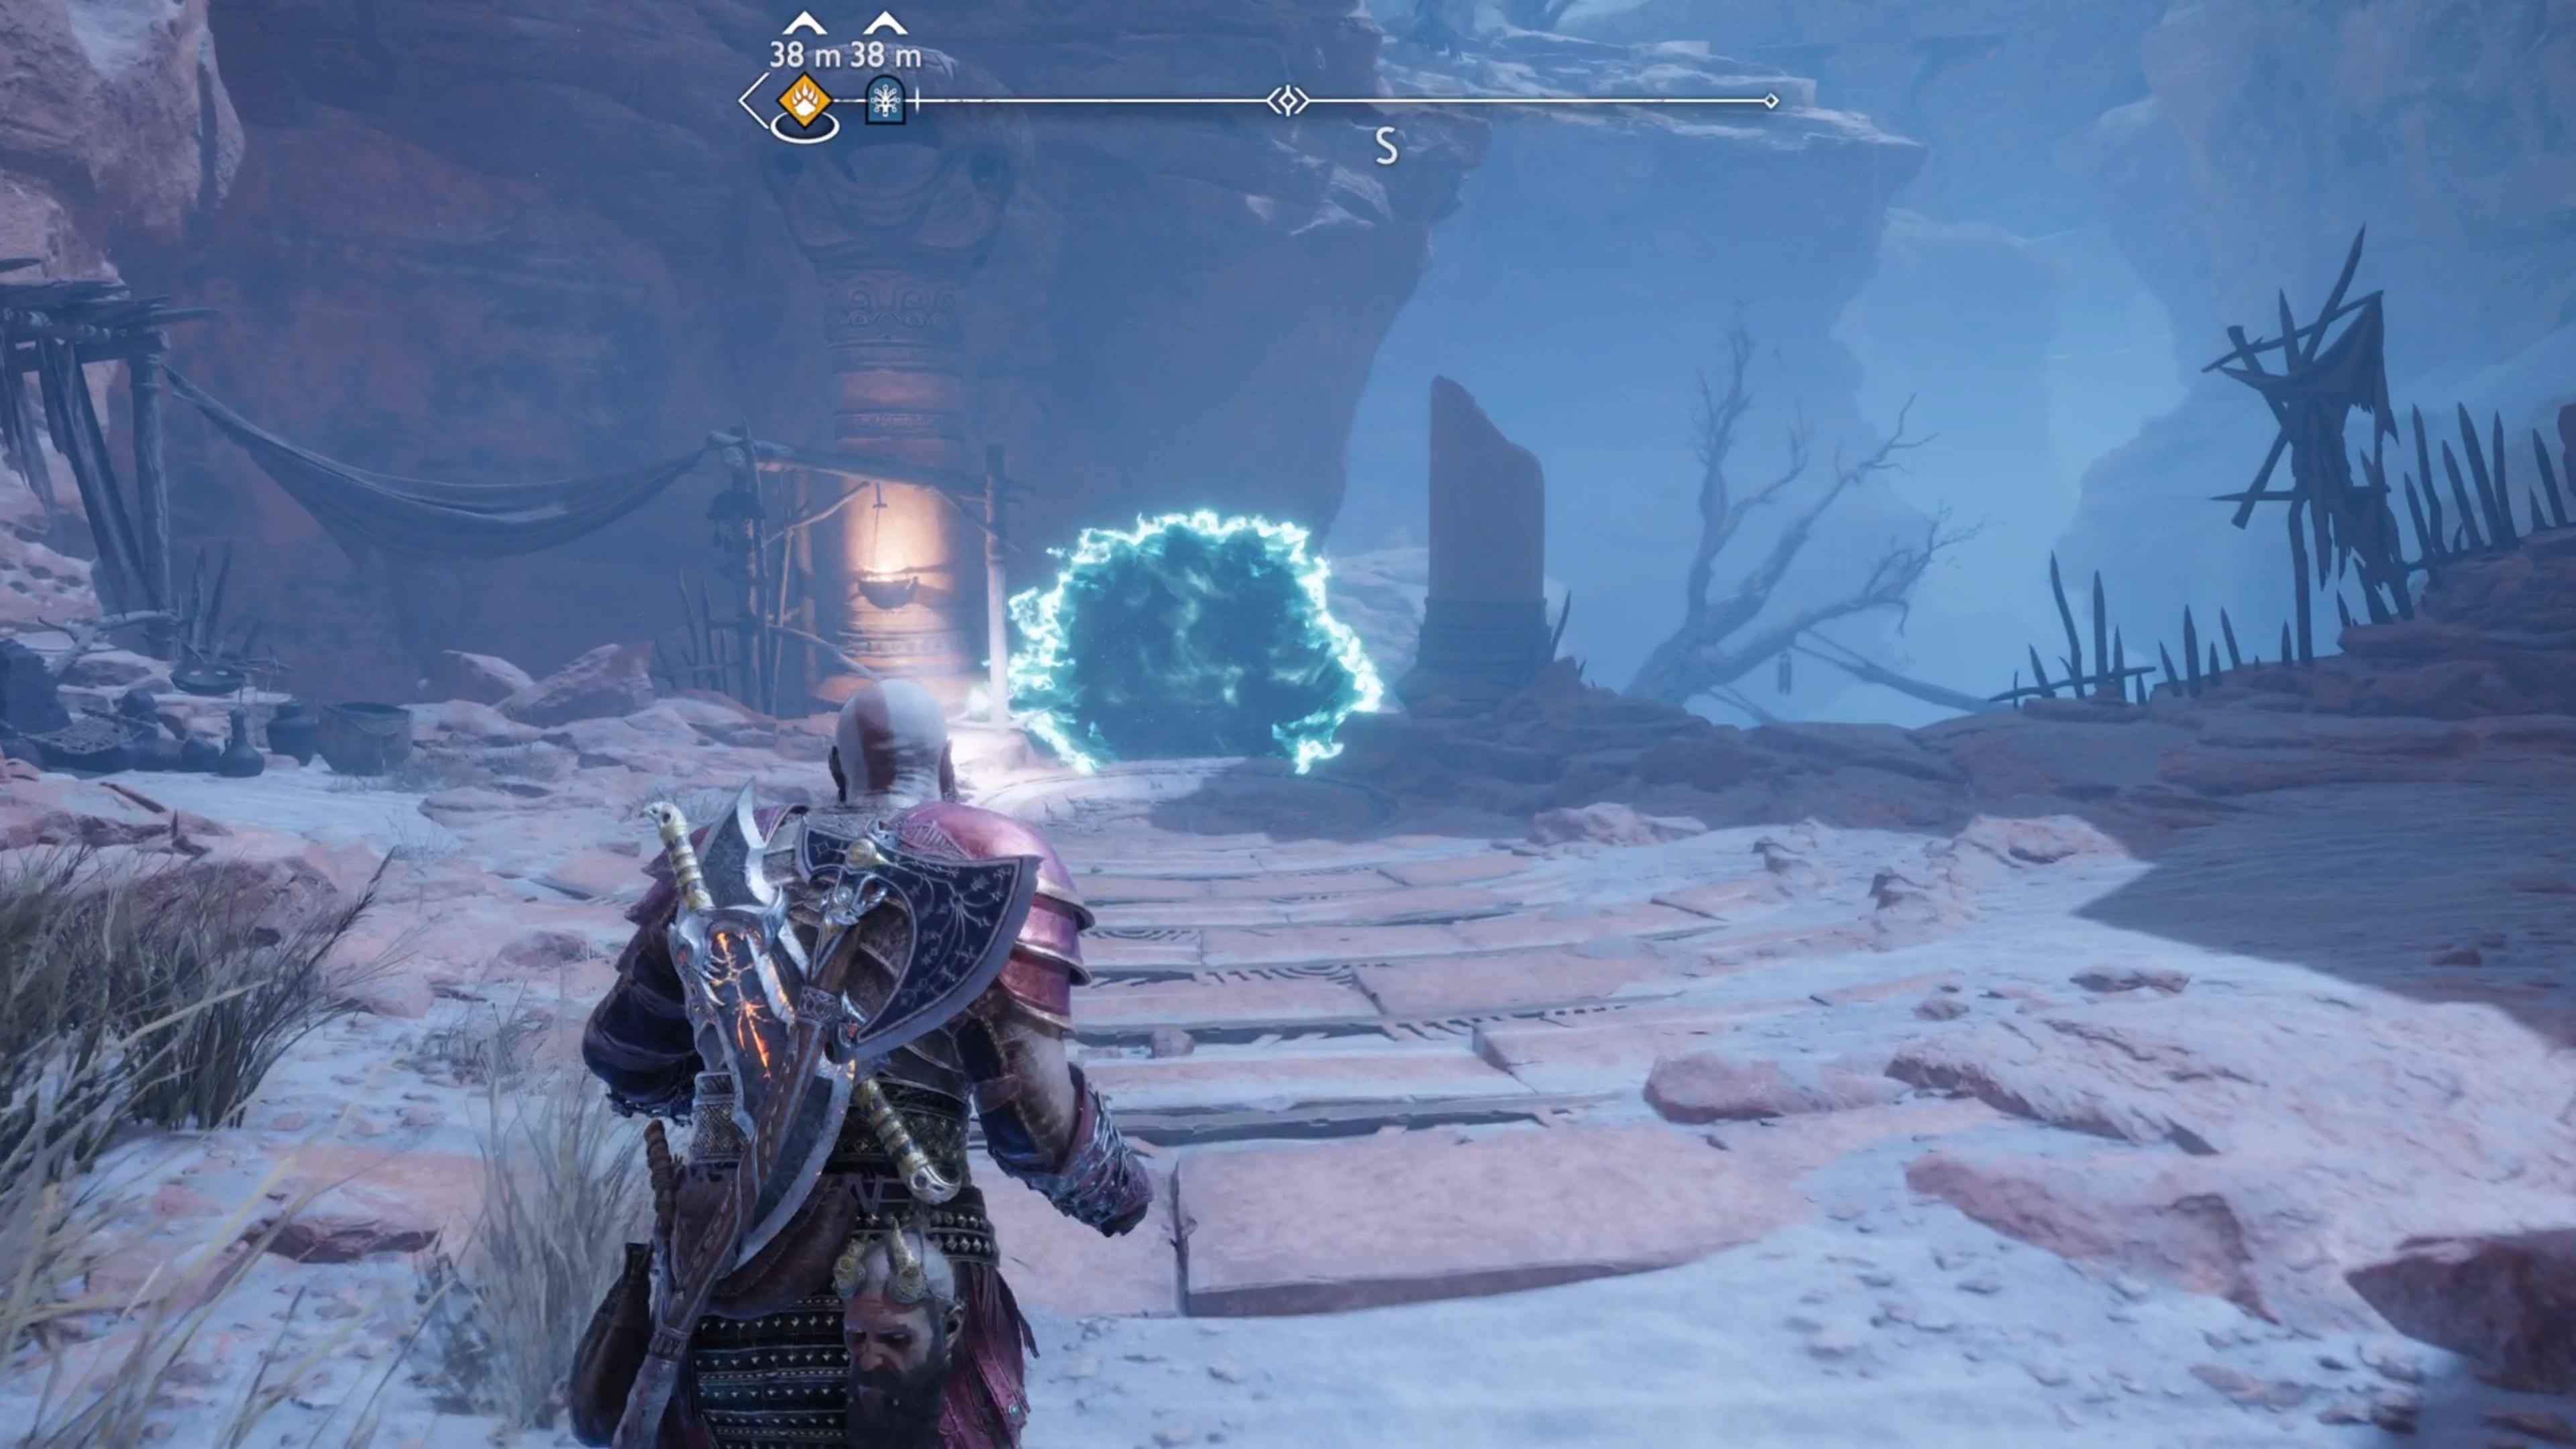
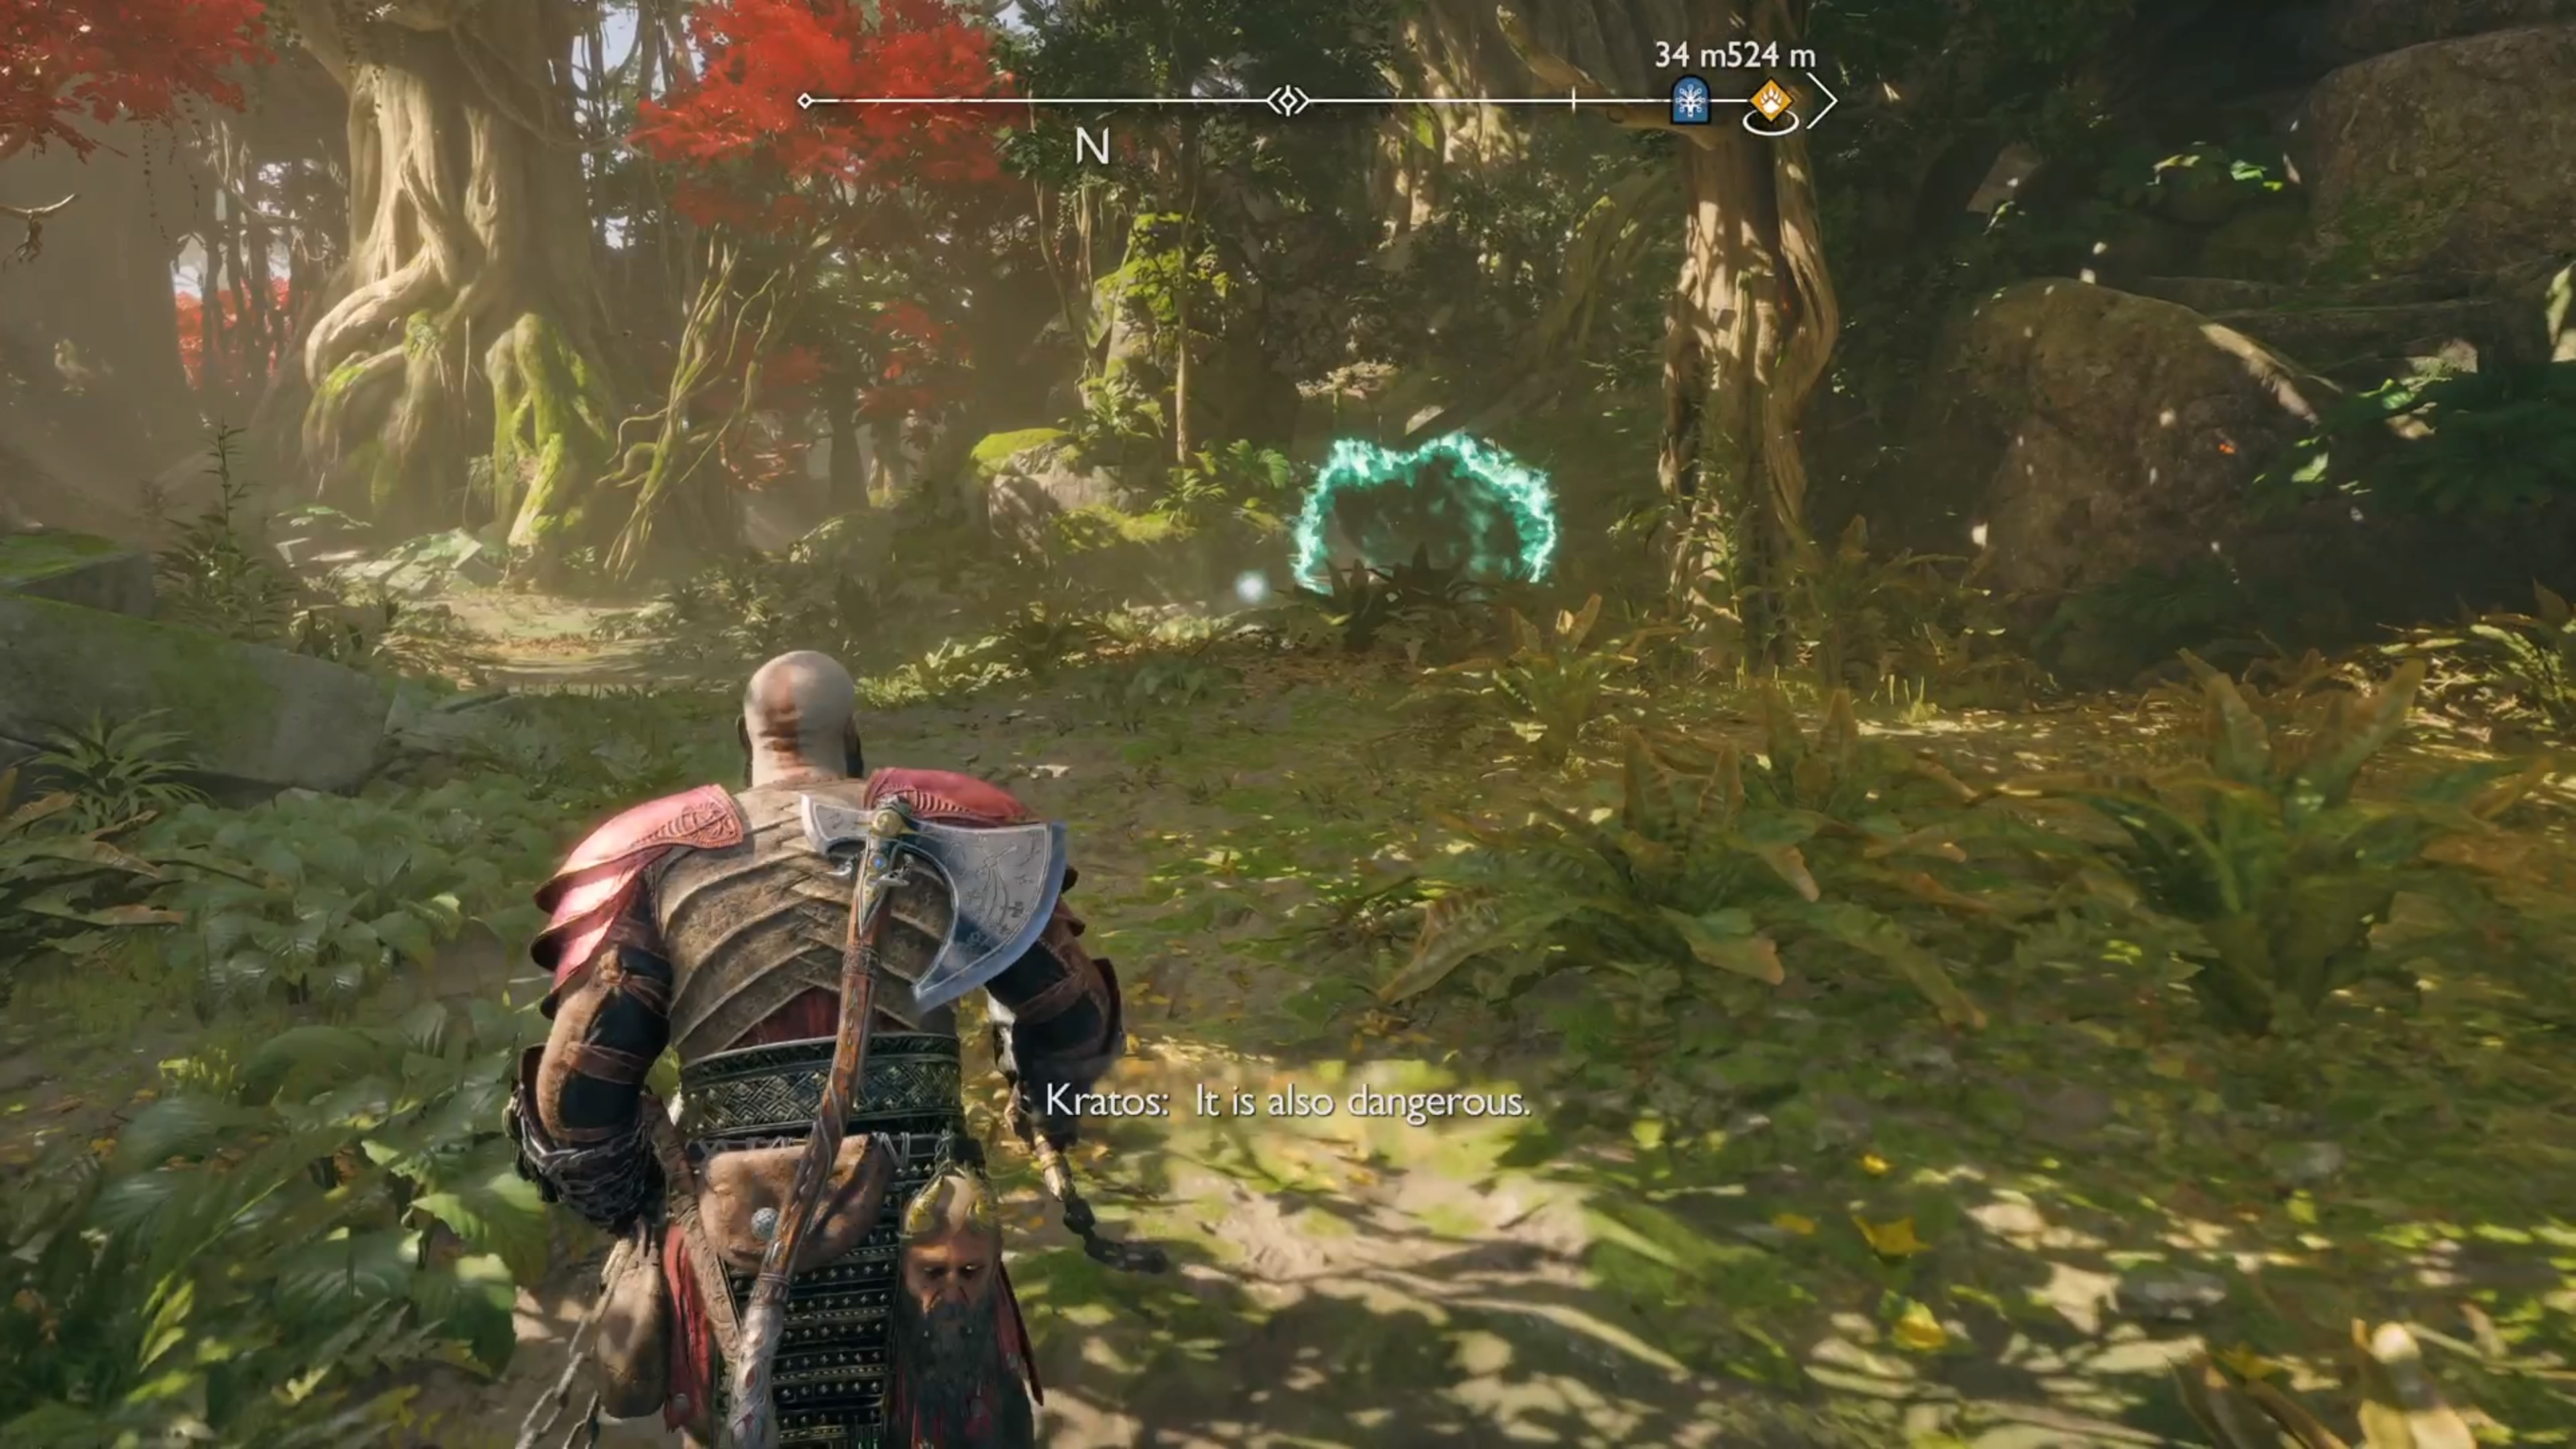
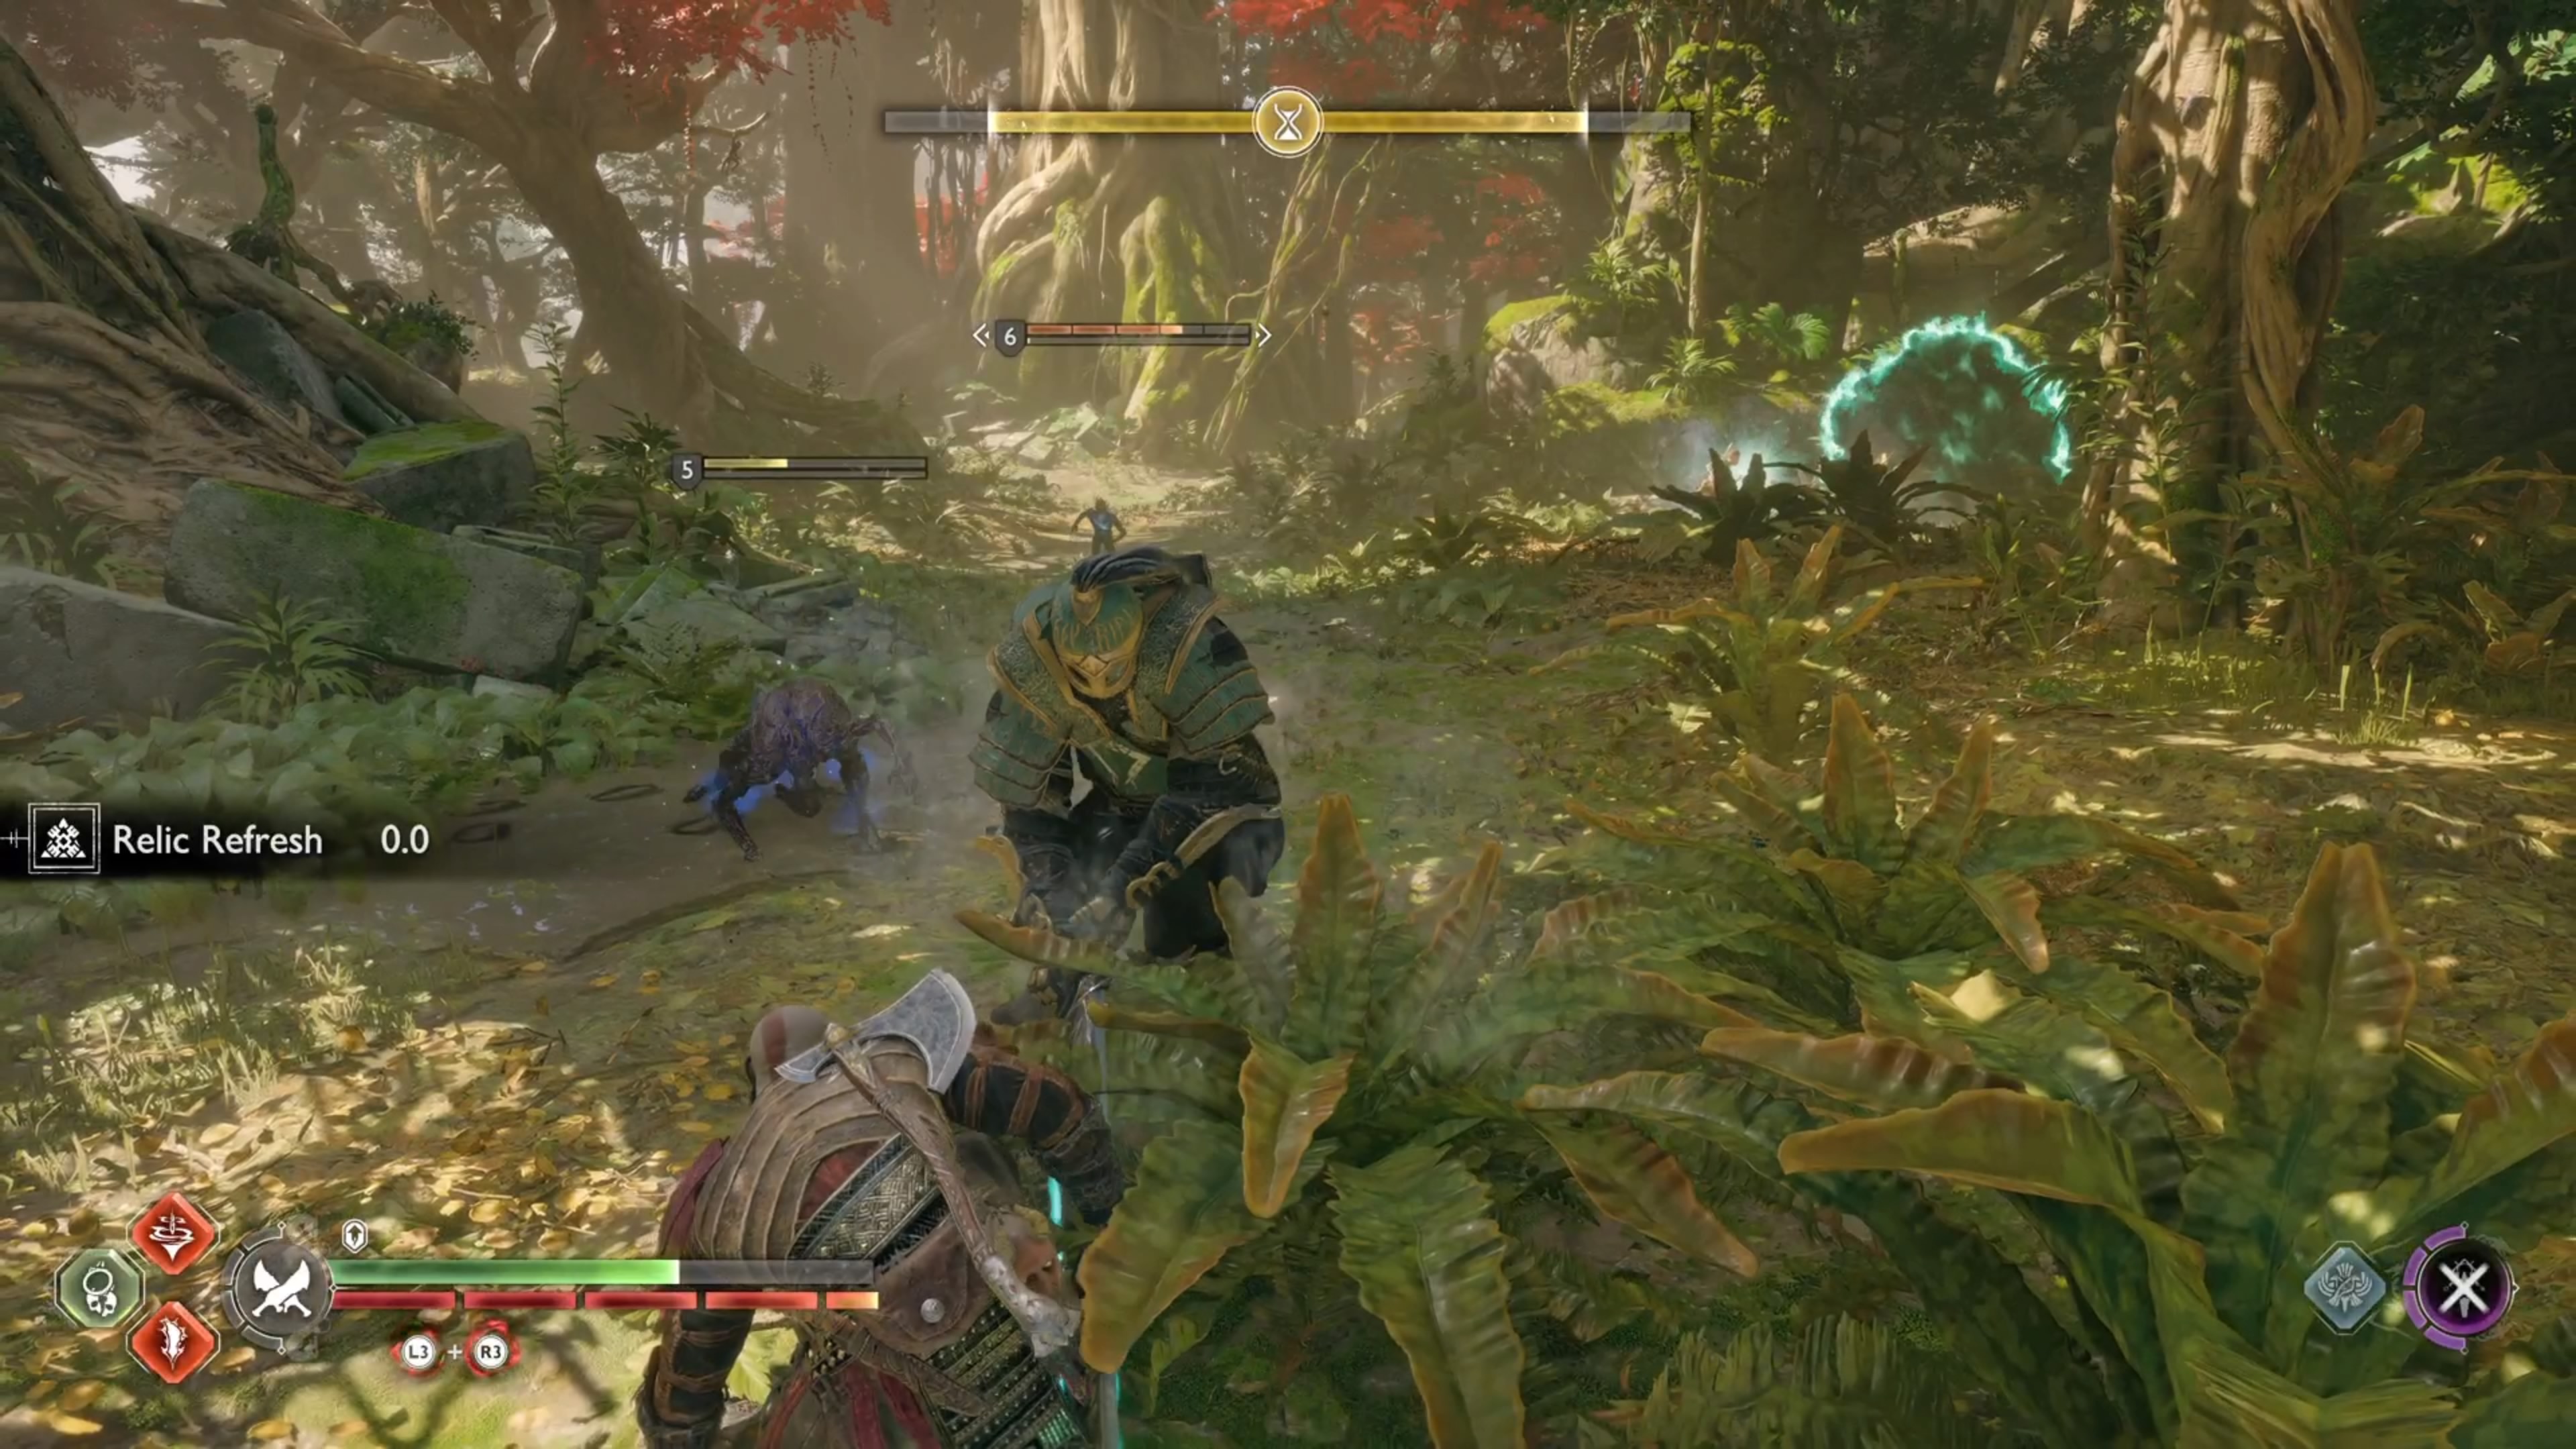
(1 of 2) The Hel Tear will be just south of The Strond gateway
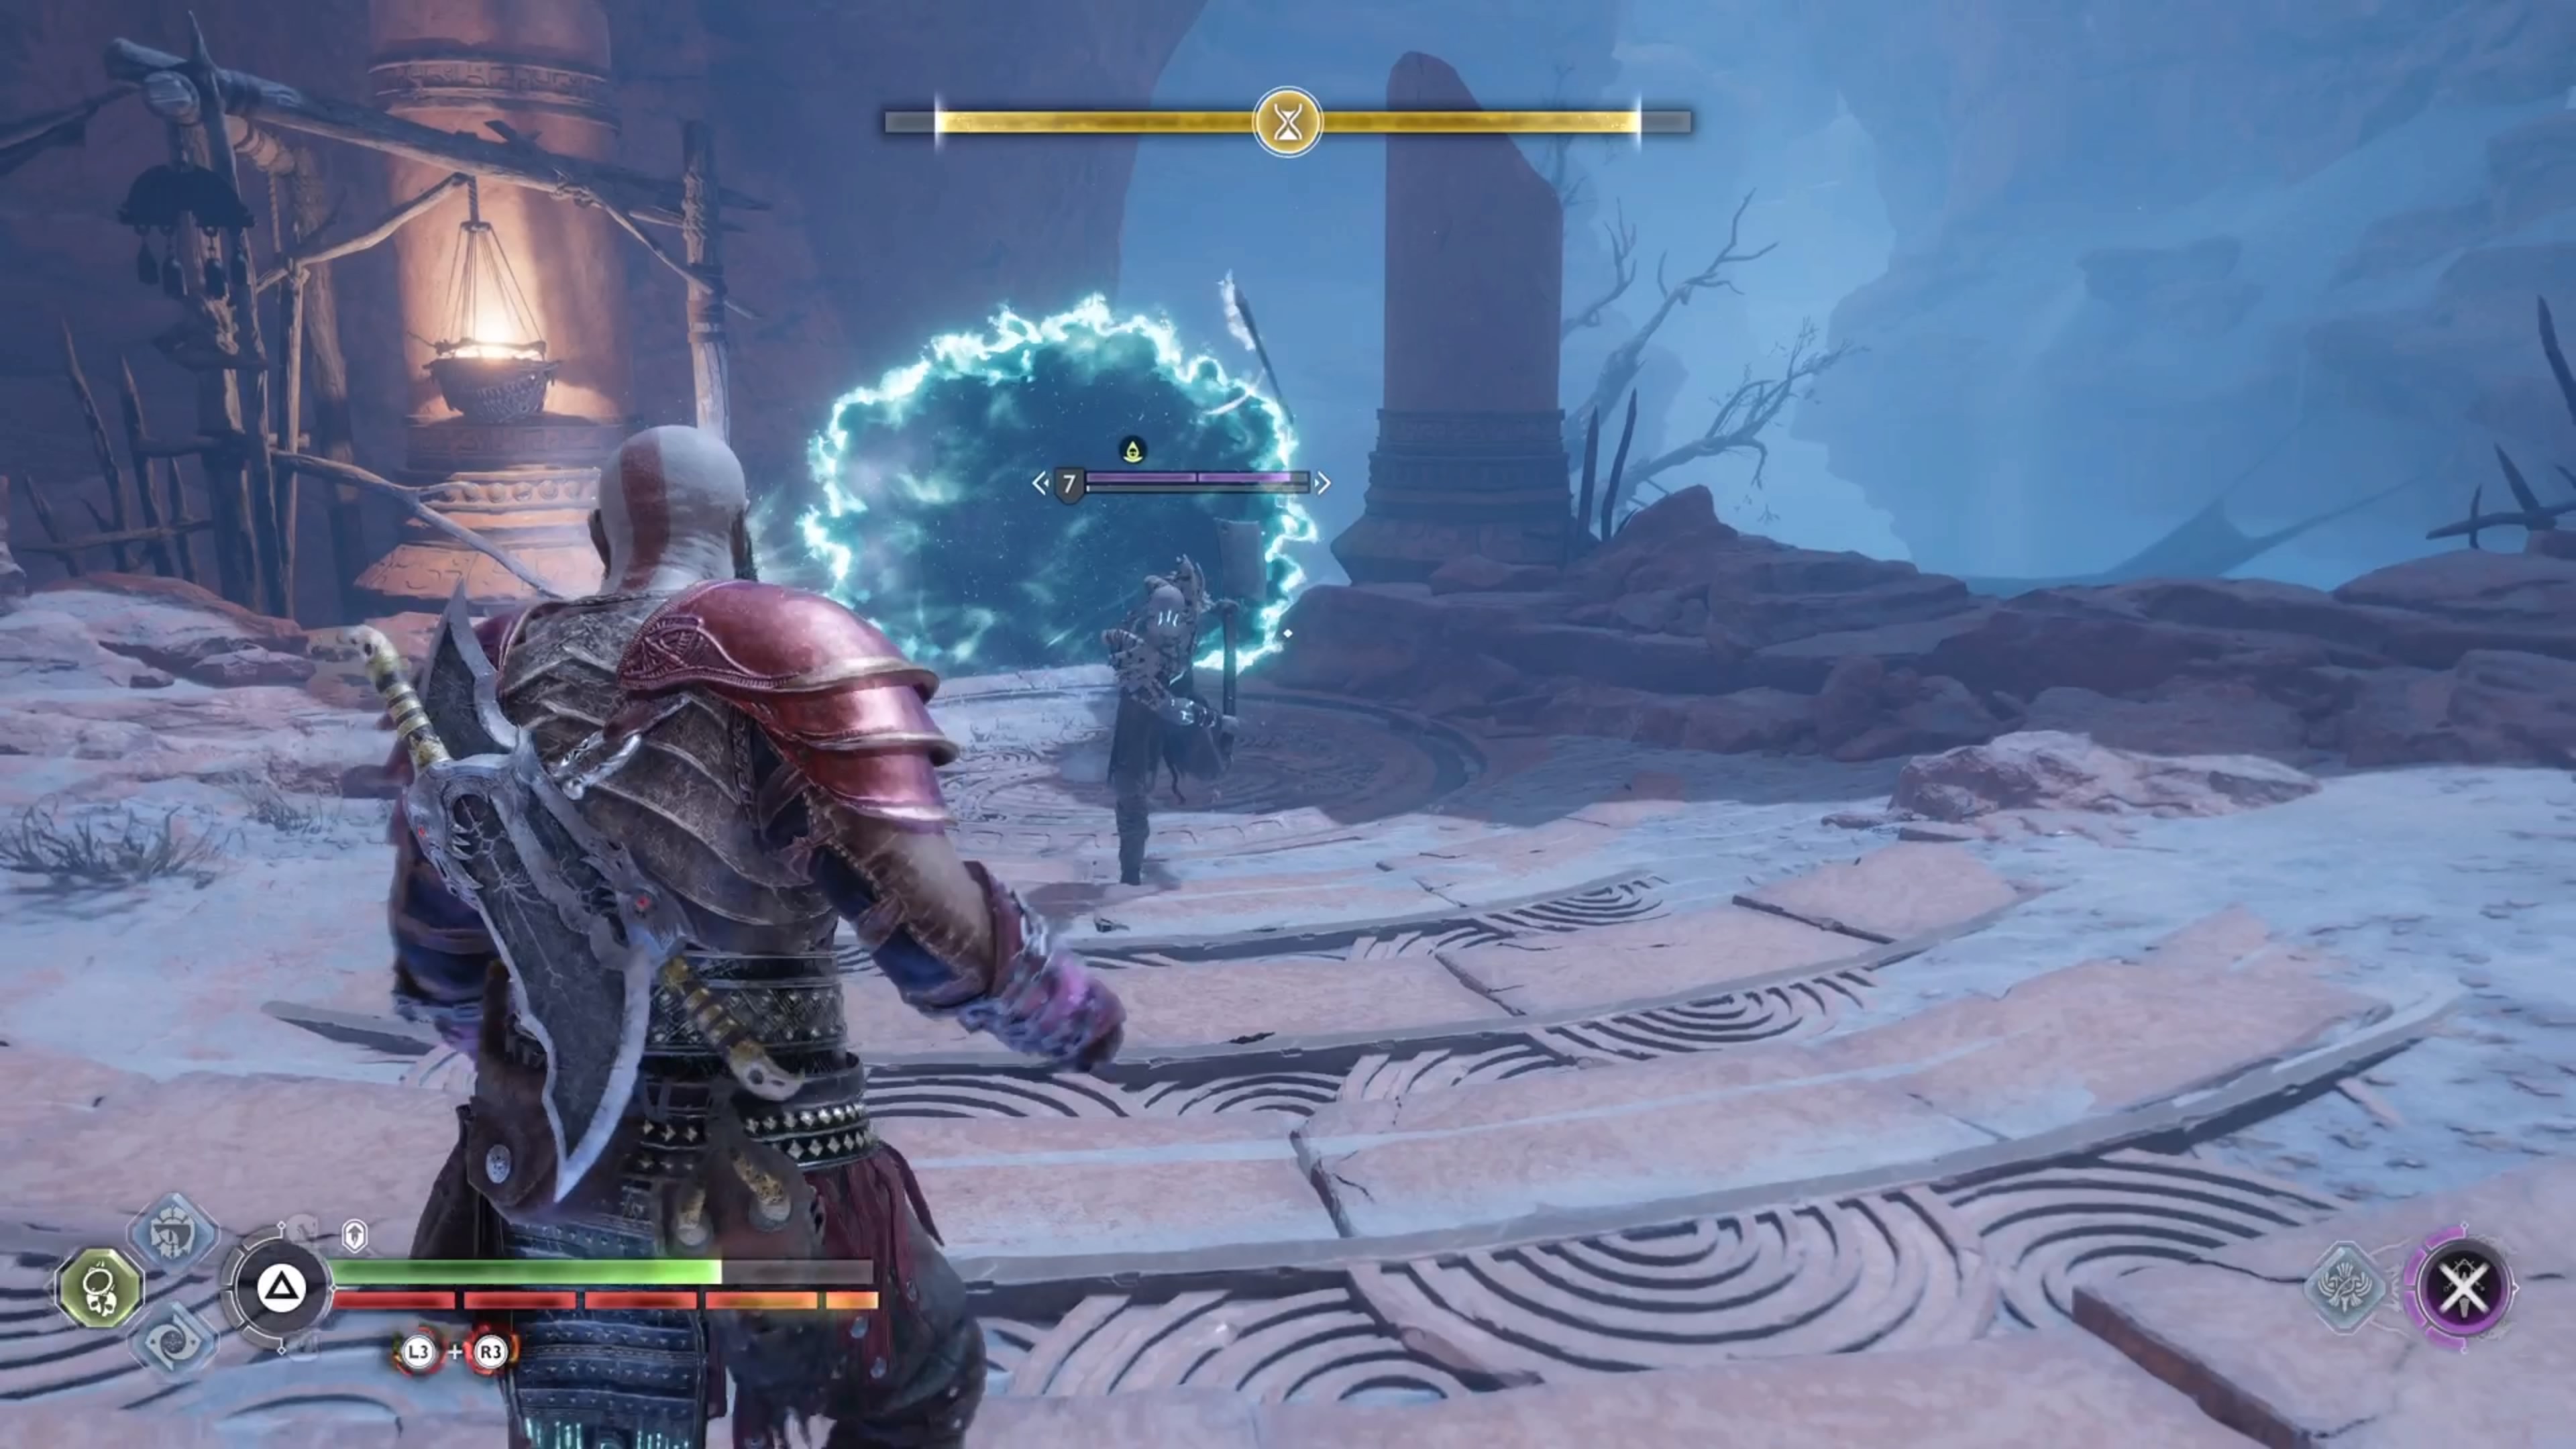
The Hel Tear will be just south of The Strond gateway (left), The enemies here are the highest level out of the whole set of tears (right)
Stinnr and Sterkr
Teleport to The Strond Mystic Gateway, then go south a little bit and drop off the ledge to find the Hel Tear right there. This might be one of the more challenging ones, since you will be up against some level 7 enemies here. If you are likely doing this as soon as it’s available, then you will probably be around level 5. Of particular danger is the Hel-Viken, so try to avoid that enemy, if you can, and just concentrate on protecting your companion/surviving.
Where to Find the Hel Tear in Vanaheim
(1 of 2) The tear is just north of the Southern Wilds gateway
The tear is just north of the Southern Wilds gateway (left), You have a Traveler here, as well as a bunch of Brood (right)
You won’t have to go far for this Hel Tear, so teleport to The Southern Wilds gateway, then head north a little bit. The Hel Tear will be right along the main path, so it’s pretty hard to miss. You’ll be pitted against a Hel-Traveler here, along with many Brood. While the Traveler is a bit slow in its movements, the Brood are the complete opposite and will try to swarm you. However, they don’t have much health, so they should go down rather quickly, while the Traveler is quite meaty, in terms of health.
Where to Find the Hel Tear in Midgard
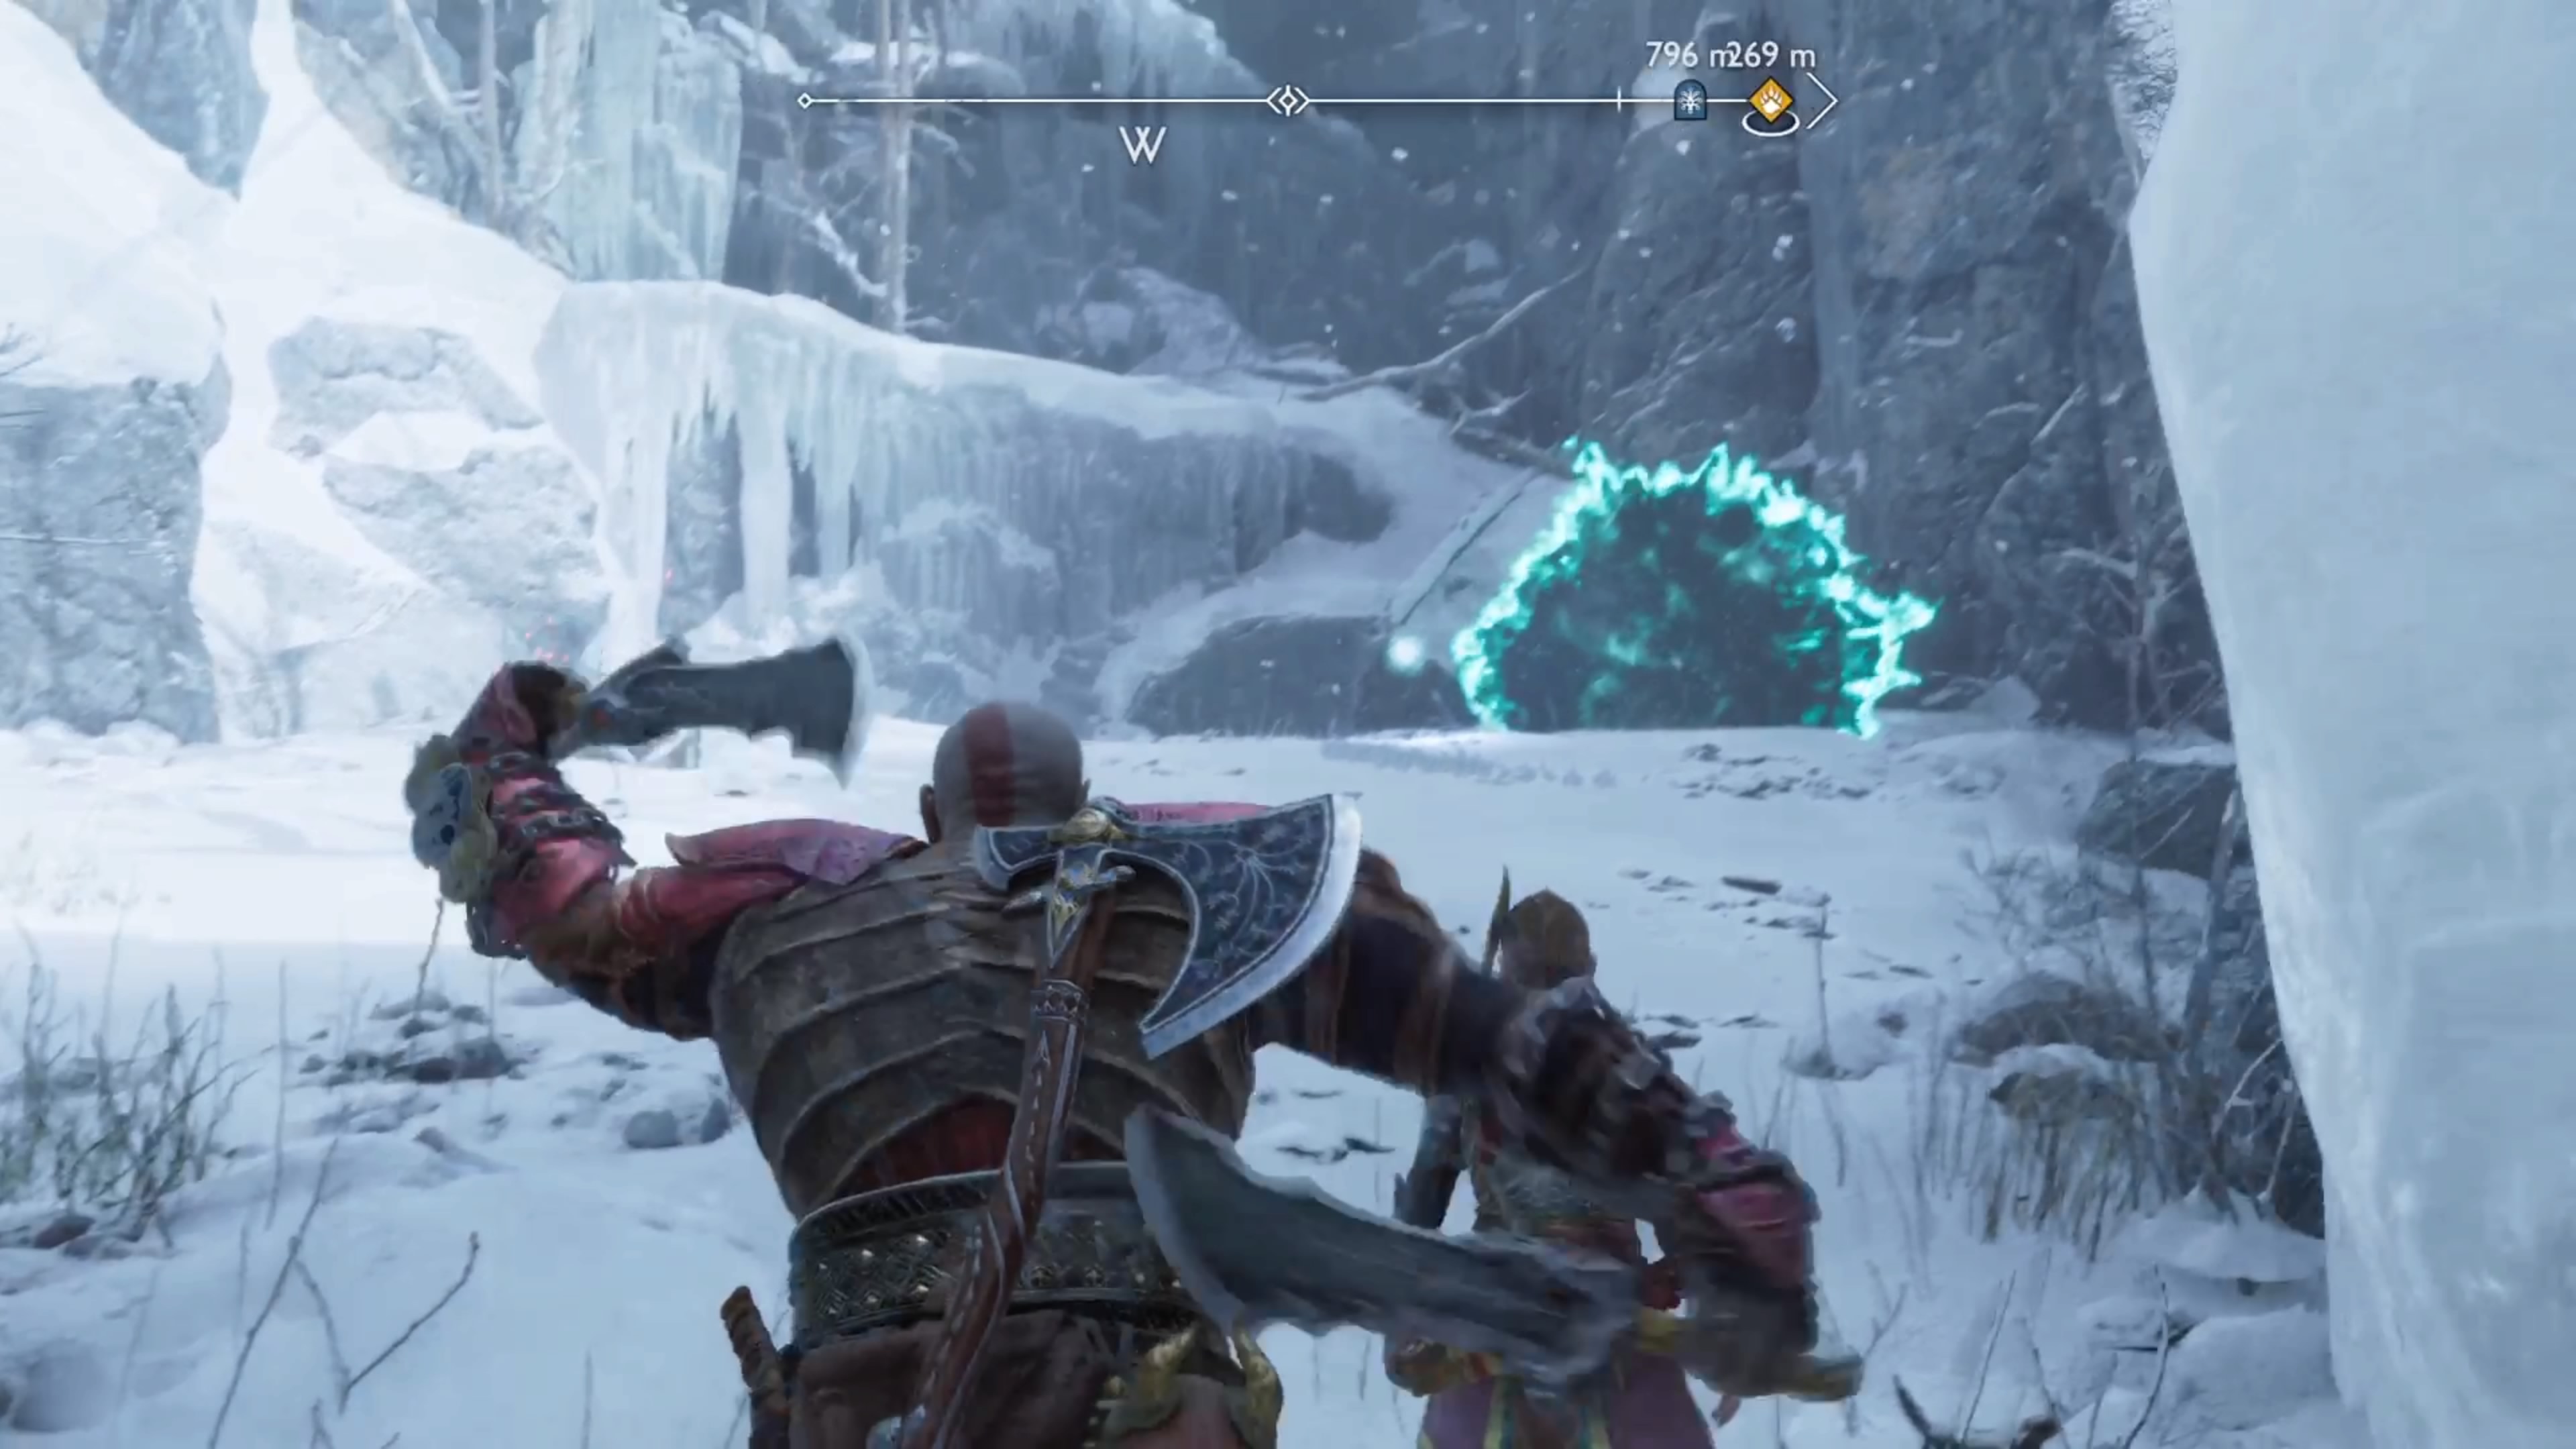
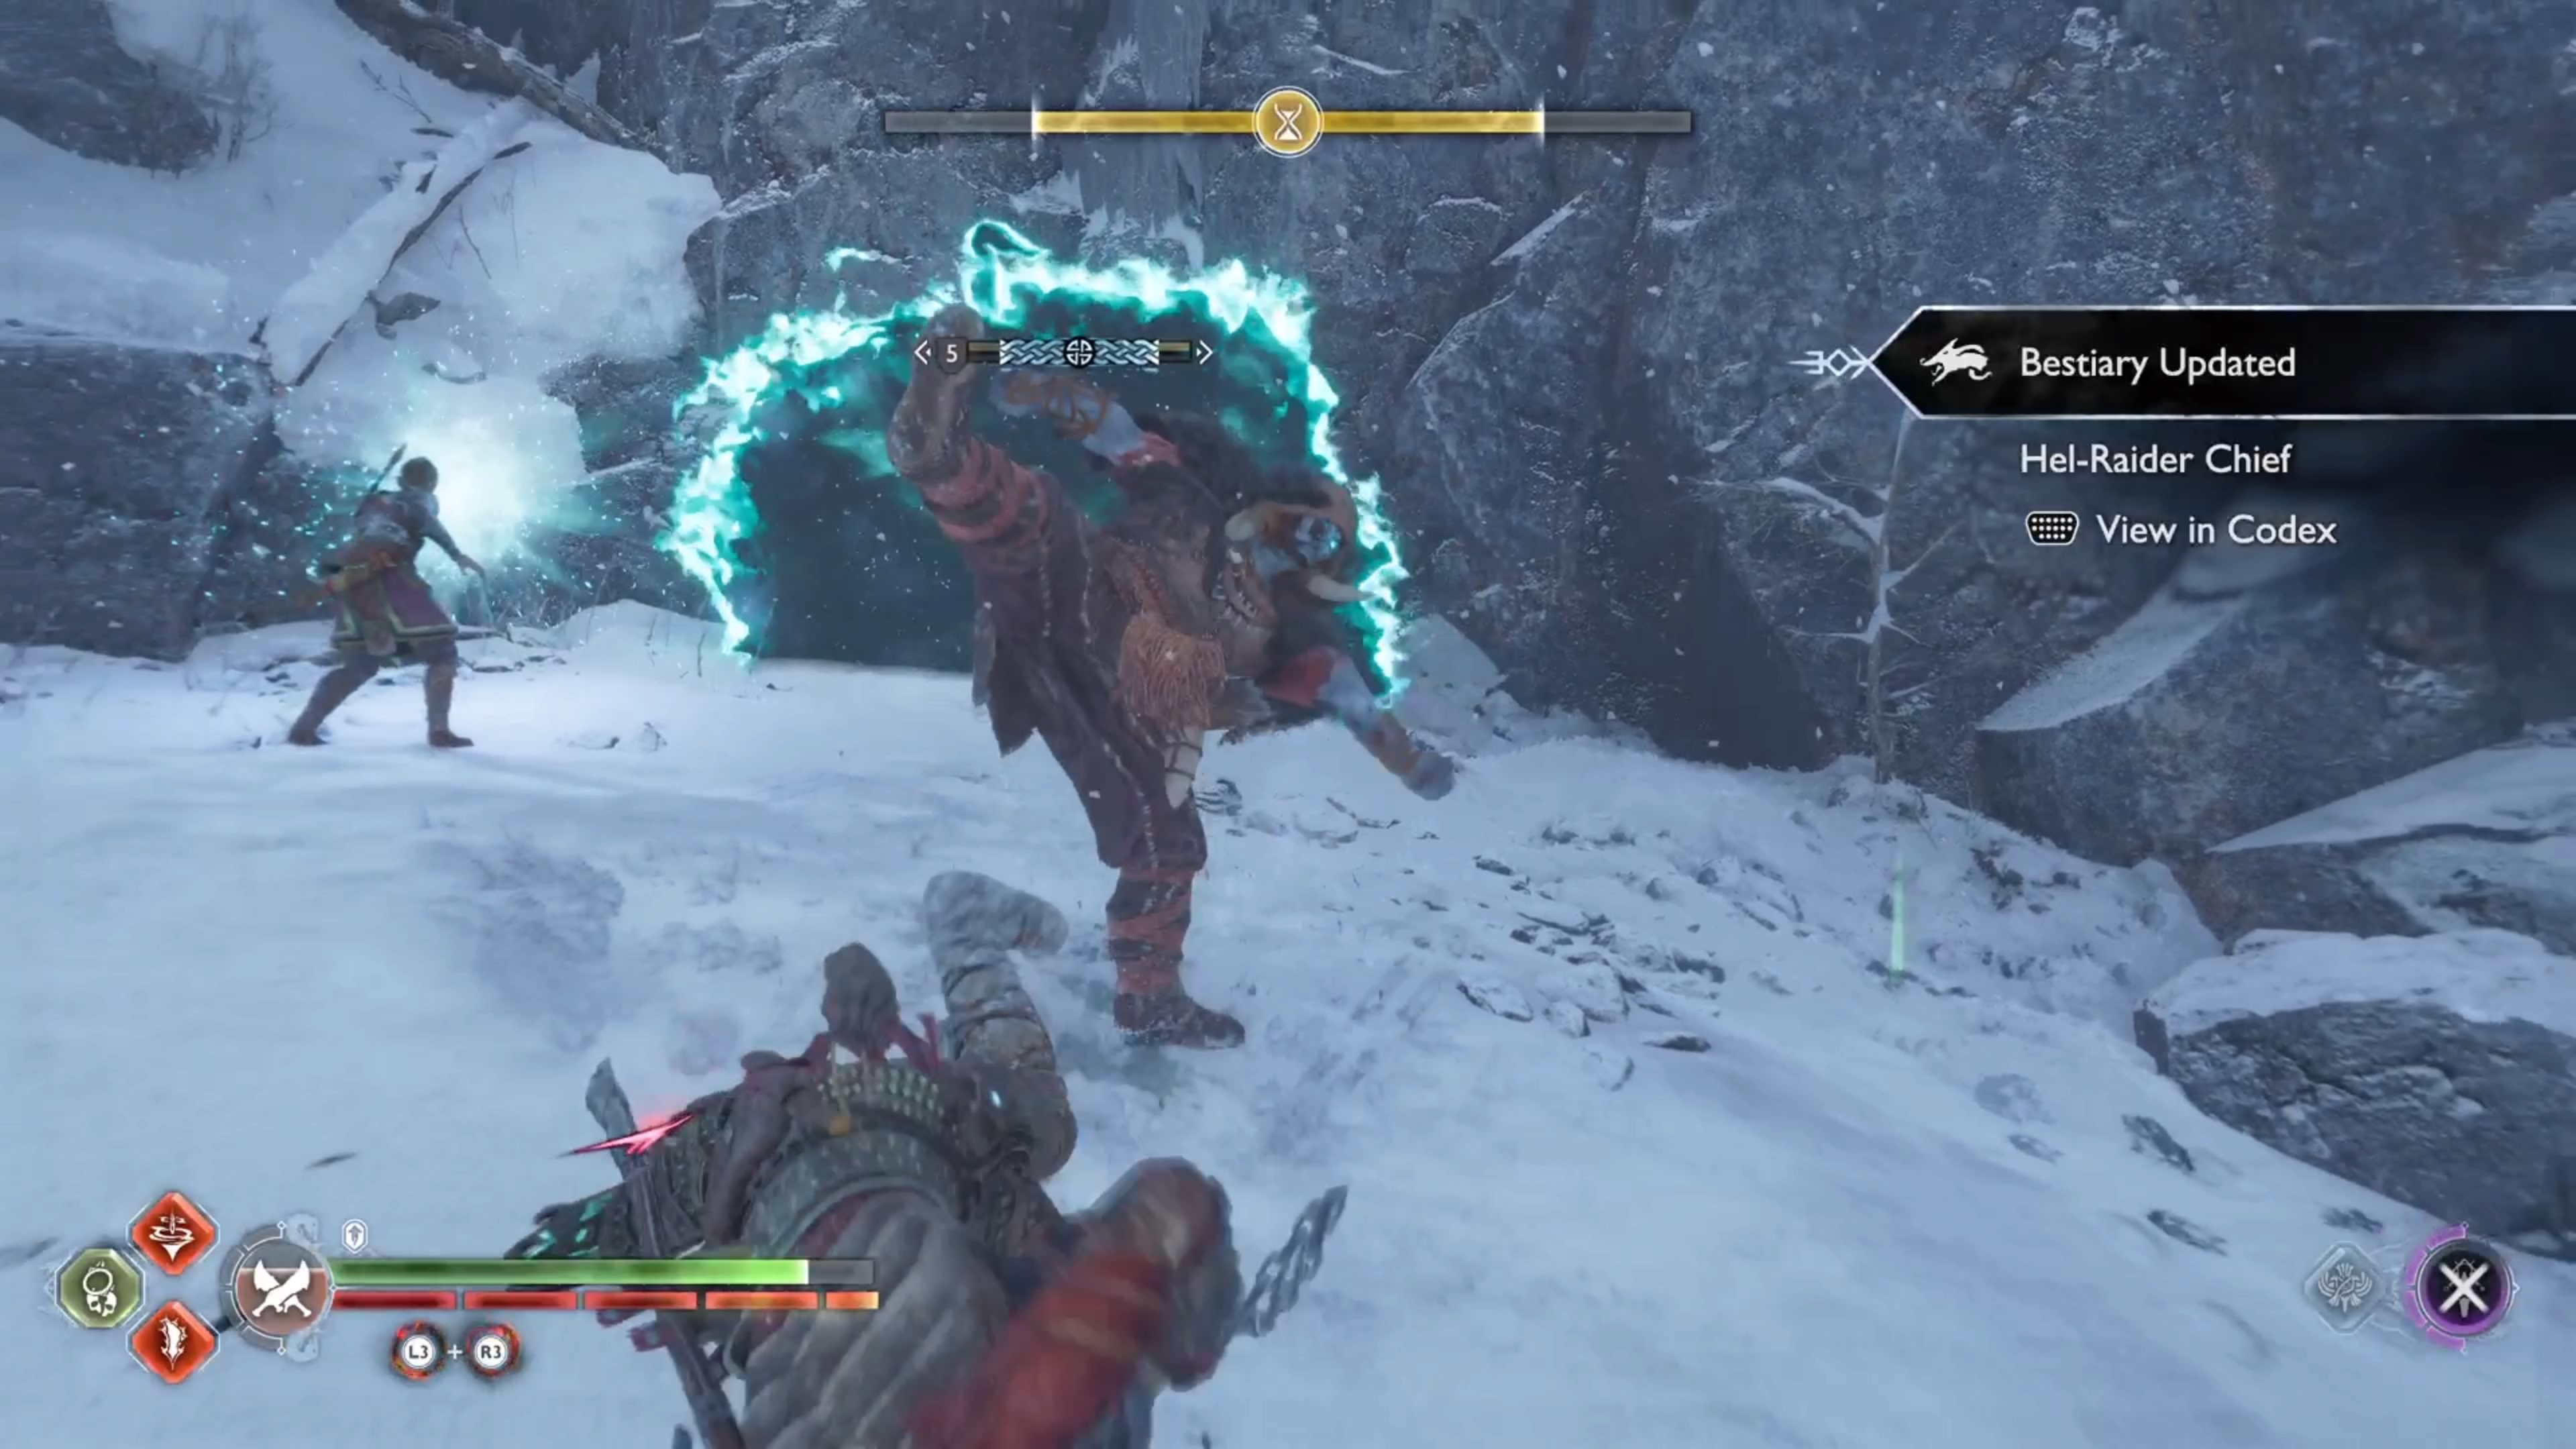
The Hel Tear will be found on the way to the Well of Urd. Start out at the Lake of Nine Mystic Gateway, then head north-northwest. As you climb the path here, you will eventually run into the Hel Tear. This might be one of the easier ones, due to there being so few enemies, and all of them being level 5, too. The Raider Chiefs are a little more challenging to defeat, but shouldn’t pose much of a problem.
(1 of 2) The tear is on the way to the Well of Urd
The tear is on the way to the Well of Urd (left), The Raider Chiefs will be your primary problem here (right)
Once you close the final Hel Tear, that will be the end of the Favor. You will also receive the Frozen Flame after closing the sixth tear.

 Sign up
No Comments