Siege of Paris: What Are Rebel Missions?
The Siege of Paris DLC introduces a new game mode called Rebel Missions. These are first given to you by Pierre in Melun, after you’ve completed Warlord of Melun. A Rebel Mission is essentially a contract to weaken the Frankish loyal forces. You can do this by eliminating patrols, camps, specific individuals who are causing trouble in a particular area, or by stealing information from them. You can speak with Pierre at any time to accept a new quests, and each time you complete a quest you’ll find that new ones become available to you.
Rebel Missions, Siege of Paris DLC.
There are two main types of allies that you can choose to fight alongside you during a Rebel Mission. These are defined by being either melee or ranged focused troops. You start off with two rebel allies available to you, but you can upgrade the amount by purchasing upgrades from Pierre with Silver Deniers. In addition to missions fought alongside allies, you’ll gain access to solo missions as you progress through the Infamy ranks.
How to Level Infamy
The measure of progression for Rebel Missions is tracked as Infamy. You’ll have level 1 Infamy to begin with, and this will jump to level 2 when you complete your first mission. After this the Infamy level progression will be much slower, with a max level of 4. The only way to earn Infamy is by completing Rebel Missions. Each mission provides an unspecified amount of Infamy, but the amount of Infamy that you have contributes to the Silver Deniers which you earn from a mission. The higher the Infamy level, the more reward in terms of silver deniers.
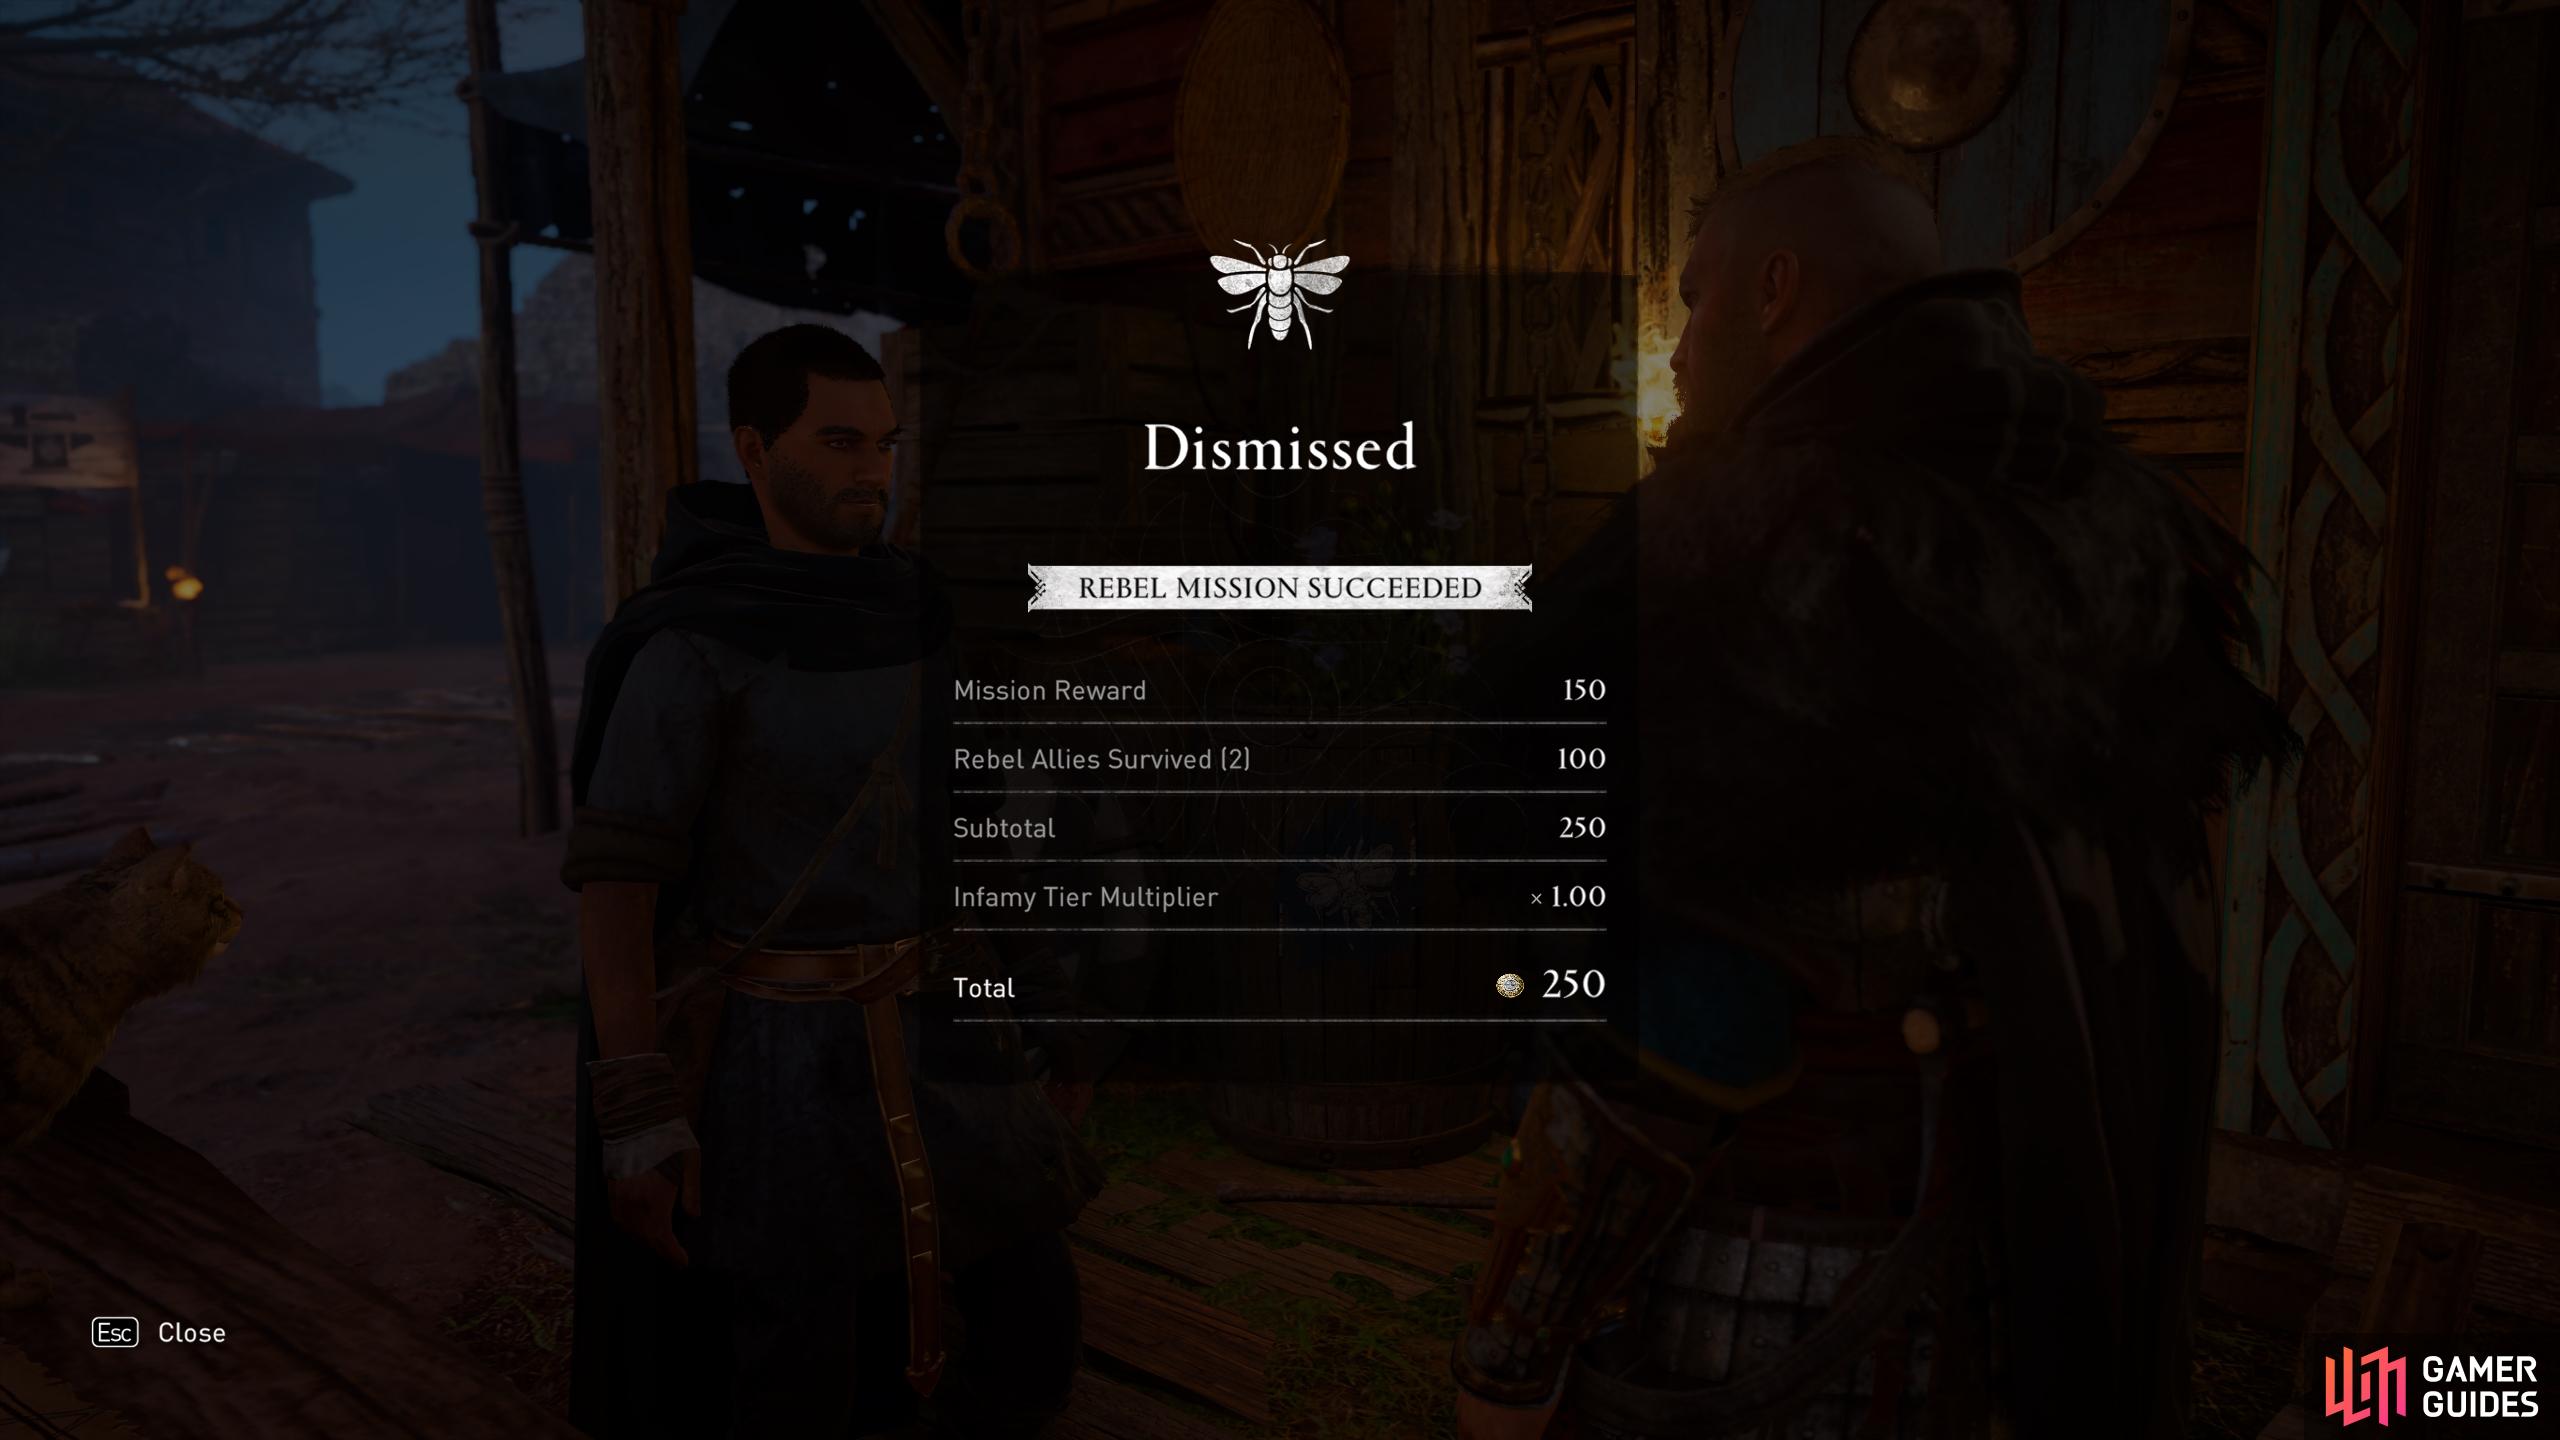
To begin with, it doesn’t matter whether you complete Rebel Missions with allies or solo, since you’ll earn the same bonus from each in the form of +50 Silver Deniers for each ally that survives, or +100 Silver Deniers when you complete a solo mission. You can increase the silver deniers bonus earned after each mission once you upgrade to get more allies in your squad, providing you with additional +50 Silver Deniers for each ally that survives. The solo missions can be more reliable however, as you only need to look out for yourself, and not take care of NPCs who can sometimes get themselves into some very sticky situations.
How to Maximize Silver Deniers
As silver deniers are the key to your rewards from Rebel Missions, you’ll want to maximize the amount that you earn. You can do this by ensuring that all of your allies remain alive during each Rebel Mission, since you earn an extra +50 Silver Deniers for each ally that survives a mission. The best way to do this is to kill the enemy as quickly as possible, and use stealth where possible so that you don’t have to bring any allies into the fight needlessly. If you’re on a stealth focused mission and you’re detected, your allies will rush into the fight. If this happens you should focus on eliminating all the enemies before they get a chance to kill one of your allies, thereby reducing your overall silver deniers gain. As you level through Infamy ranks, you’ll earn a multiplier of your silver deniers reward after completing a Rebel Mission.
Rebel Mission Rewards
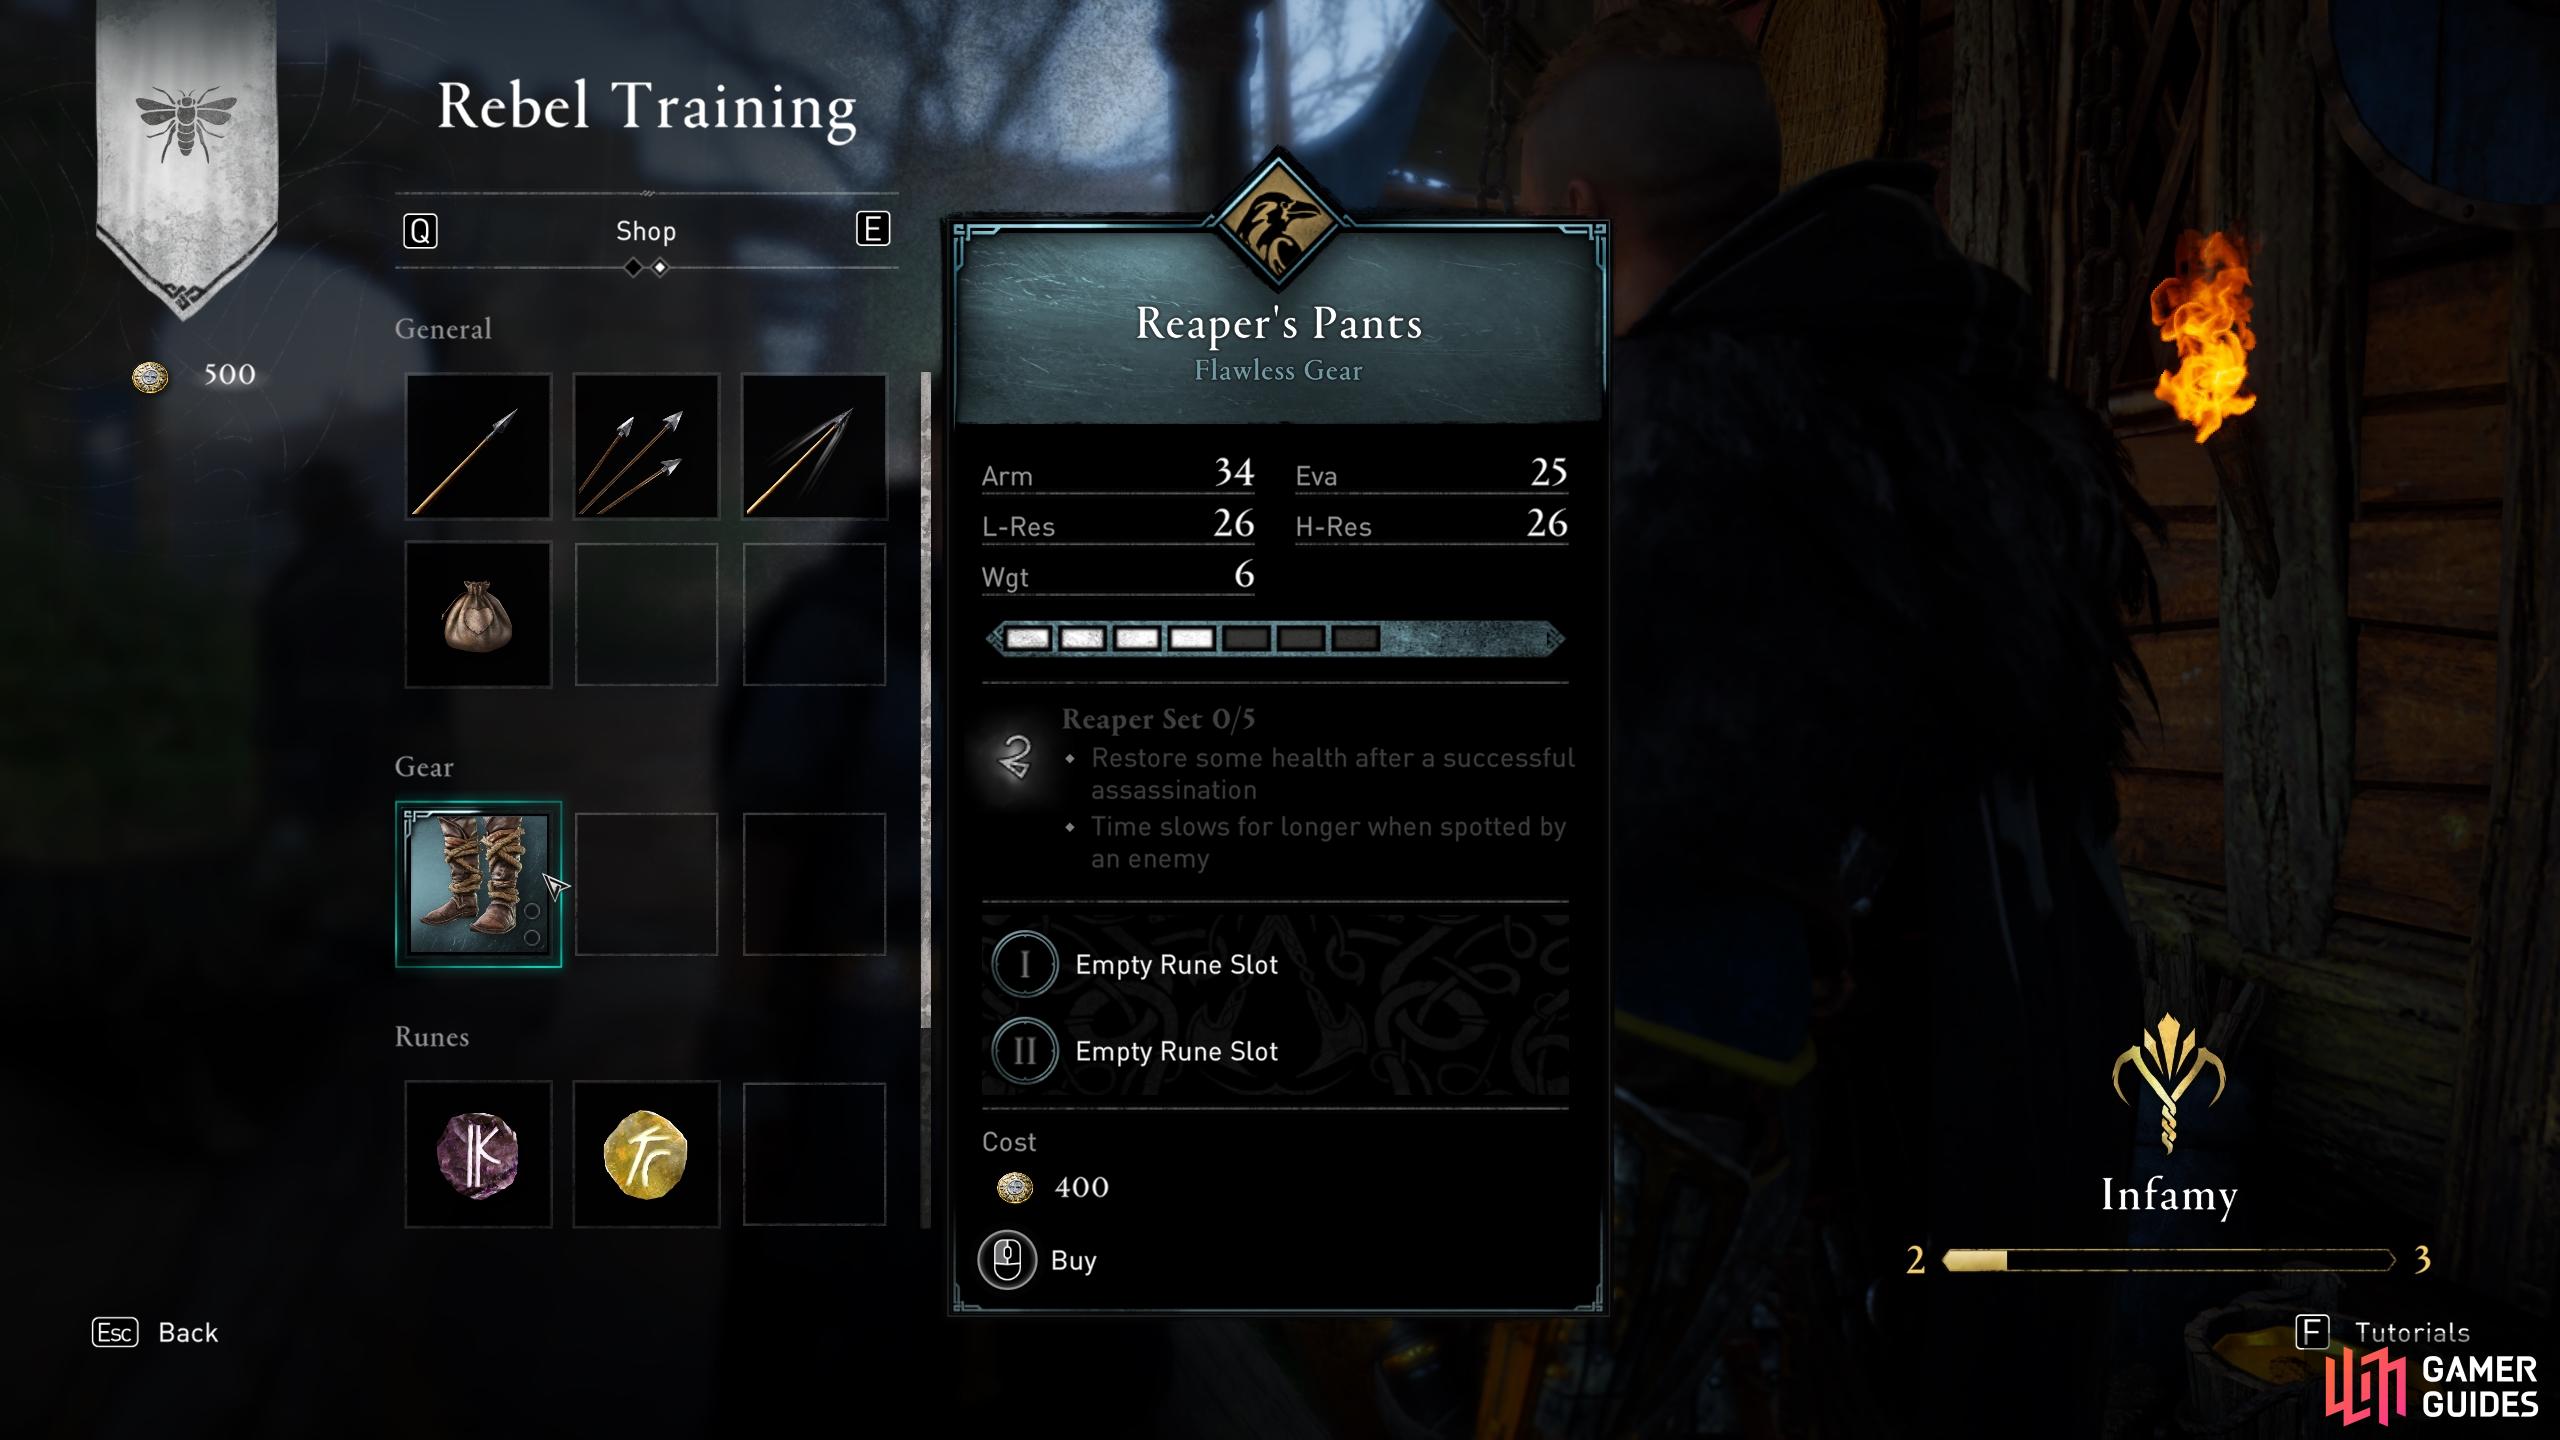
Silver deniers are the currency that you earn from completing Rebel Missions. You can use this currency to purchase upgrades for your rebel forces, such as adding allies to the squad (both melee and ranged types) or improving their effectiveness in combat. You can also use silver deniers to purchase unique gear such as the Reaper’s set, unique runes, and unique rebel cosmetics in the form of hairstyles and a raven. In addition, you’ll find some basic supplies such as arrows and rations from Pierre and his associates. The more Infamy you earn, the more rewards will become available to you, including more pieces of the Reaper set.
How to Get the Reaper Armor Set
The below table details the Infamy level at which you can purchase pieces of the Reaper armor set, and how much they cost in terms of Silver Deniers. You’ll receive each armor piece upgraded to Flawless quality, but the stats below are those reflected at Mythical quality, without any material upgrades.
| Reaper Set Piece | Stats | Cost |
|---|---|---|
| Reaper Pants | Armor 34, Evasion 25, Light Resistance 26, Heavy Resistance 26 | 400 Silver Deniers (requires Infamy level 2) |
| Reaper Bracers | Armor 33, Evasion 24, Light Resistance 26, Heavy Resistance 26 | Free upon reaching Infamy level 3 |
| Reaper Helm | Armor 33, Evasion 24, Light Resistance 26, Heavy Resistance 26 | 450 Silver Deniers (requires Infamy level 3) |
| Reaper Cloak | Armor 33, Evasion 24, Light Resistance 26, Heavy Resistance 26 | 450 Silver Deniers (requires Infamy level 3) |
| Reaper Torso | Armor 34, Evasion 24, Light Resistance 26, Heavy Resistance 26 | 750 Silver Deniers (requires Infamy level 4) |
The set bonuses for the Reaper Set are the following:
-
Restore some health after a successful assassination
-
Time slows for longer when spotted by an enemy
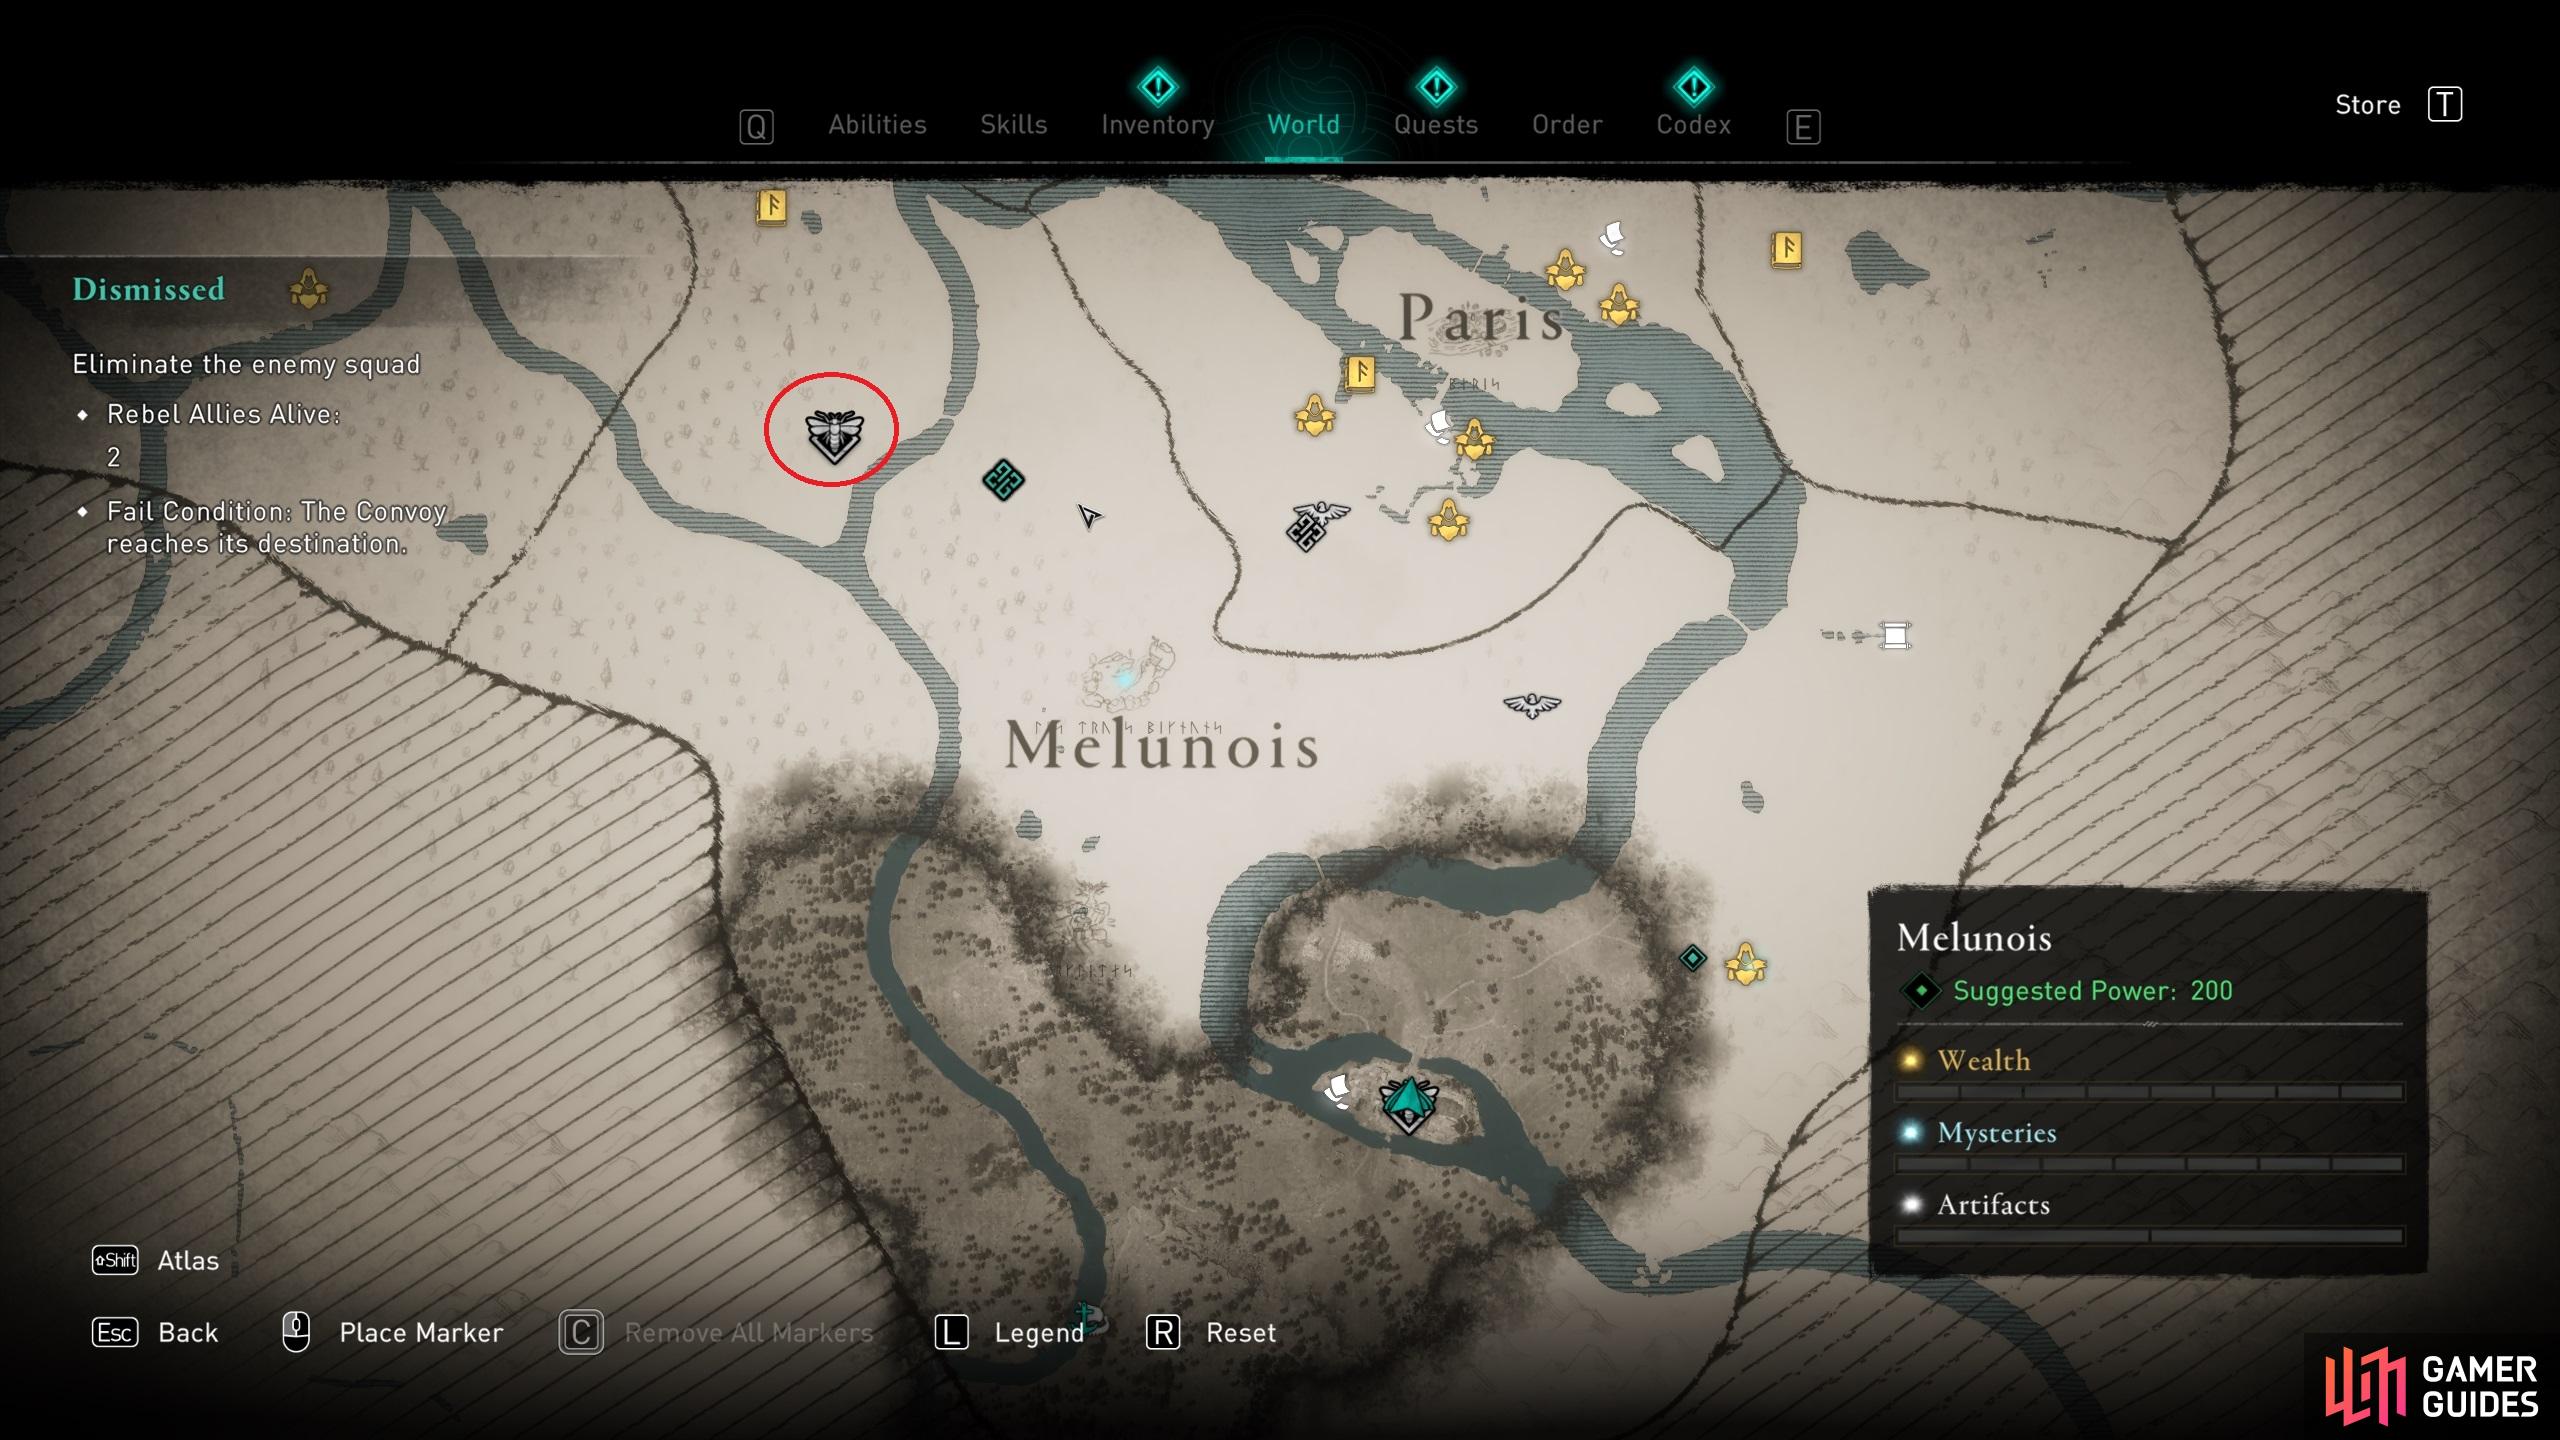
(1 of 5) You can find Pierre’s rebel associates on the map by looking for moth icons, as shown here.


 Sign up
No Comments