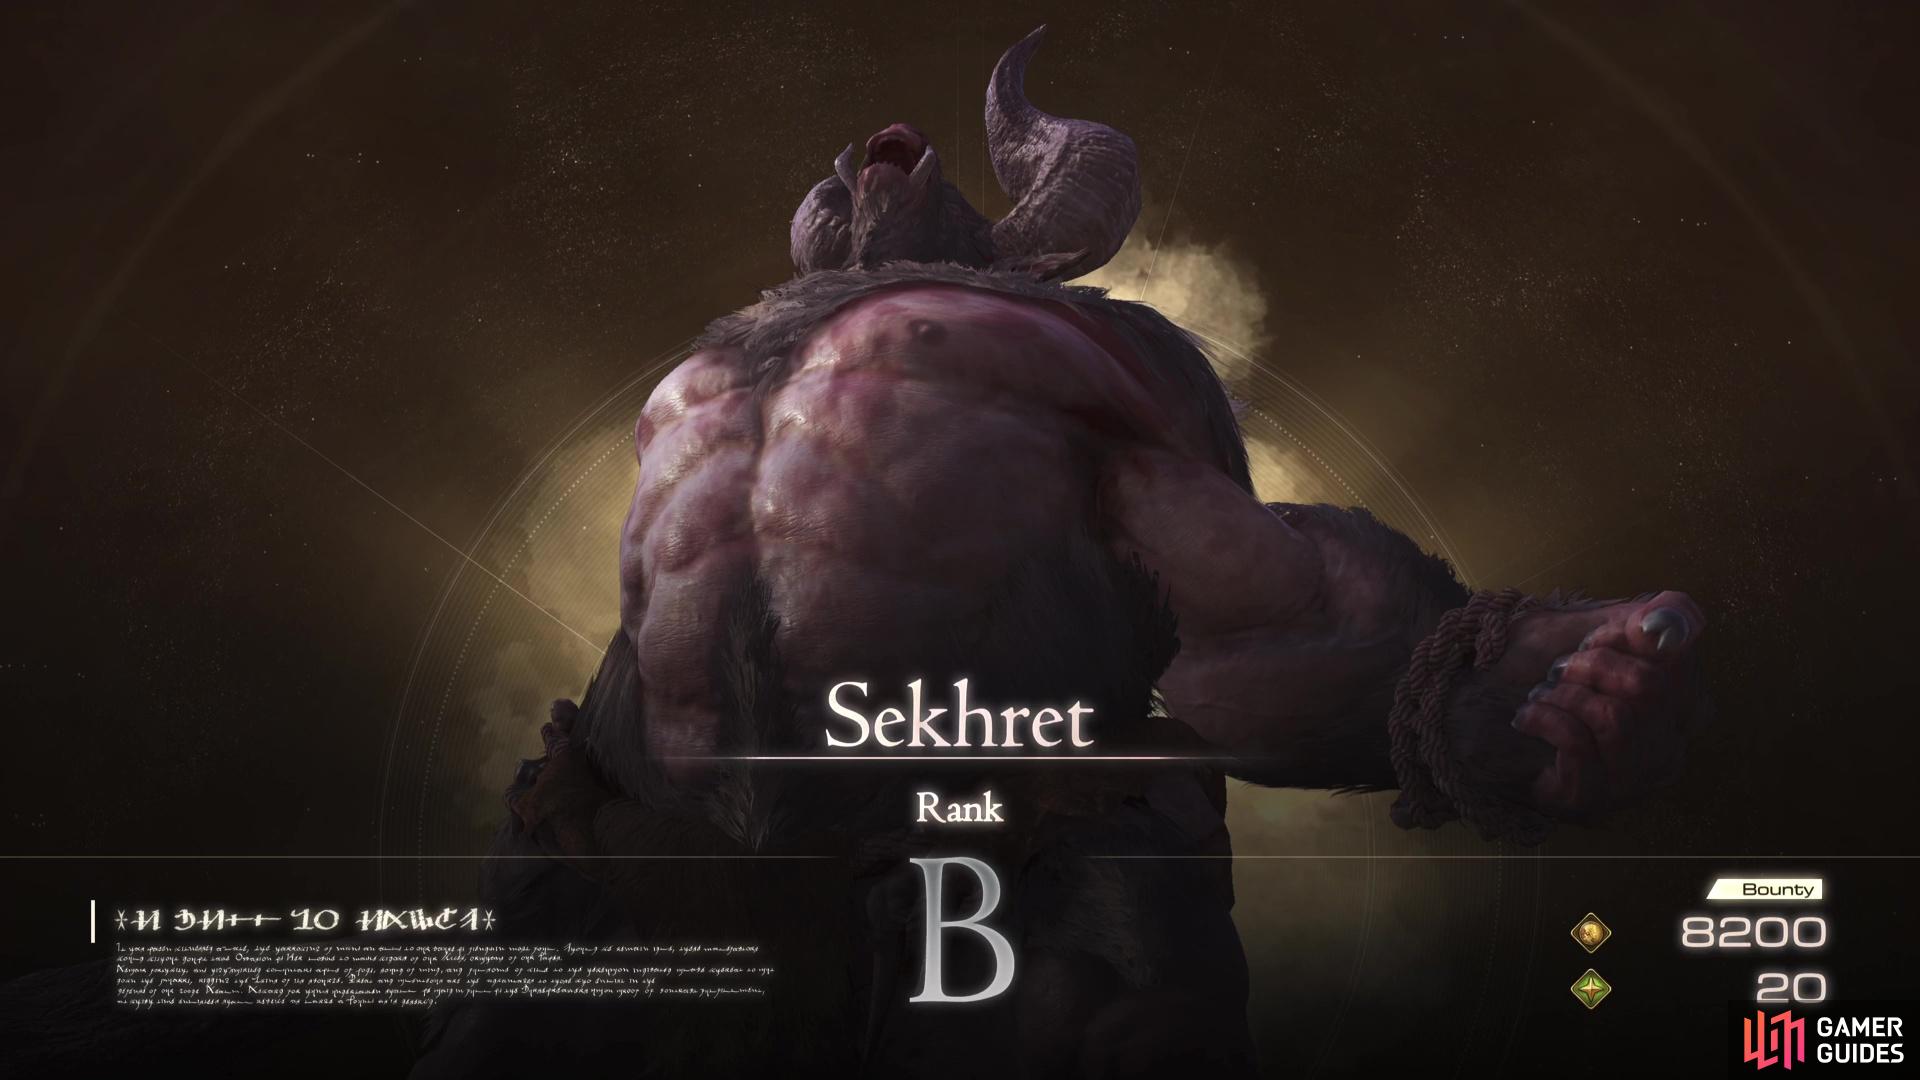
Sekhret is a stronger Minotaur than those that you encountered back in the Kingsfall earlier in the Main Quest. There are plenty of Notorious Marks available for Clive to take on in Final Fantasy 16, and finding them is just the beginning. This page will show you where you can find ![]() Sekhret, and how you can defeat it.
Sekhret, and how you can defeat it.
!Sekhret is a B Rank Mark in Final Fantasy 16.
Where is the Sekhret Mark Location?
| Location | Level | Bounty |
|---|---|---|
| West of Rhiannon’s Ride, Rosaria | 32 | 8,200 Gil, 20 Renown |
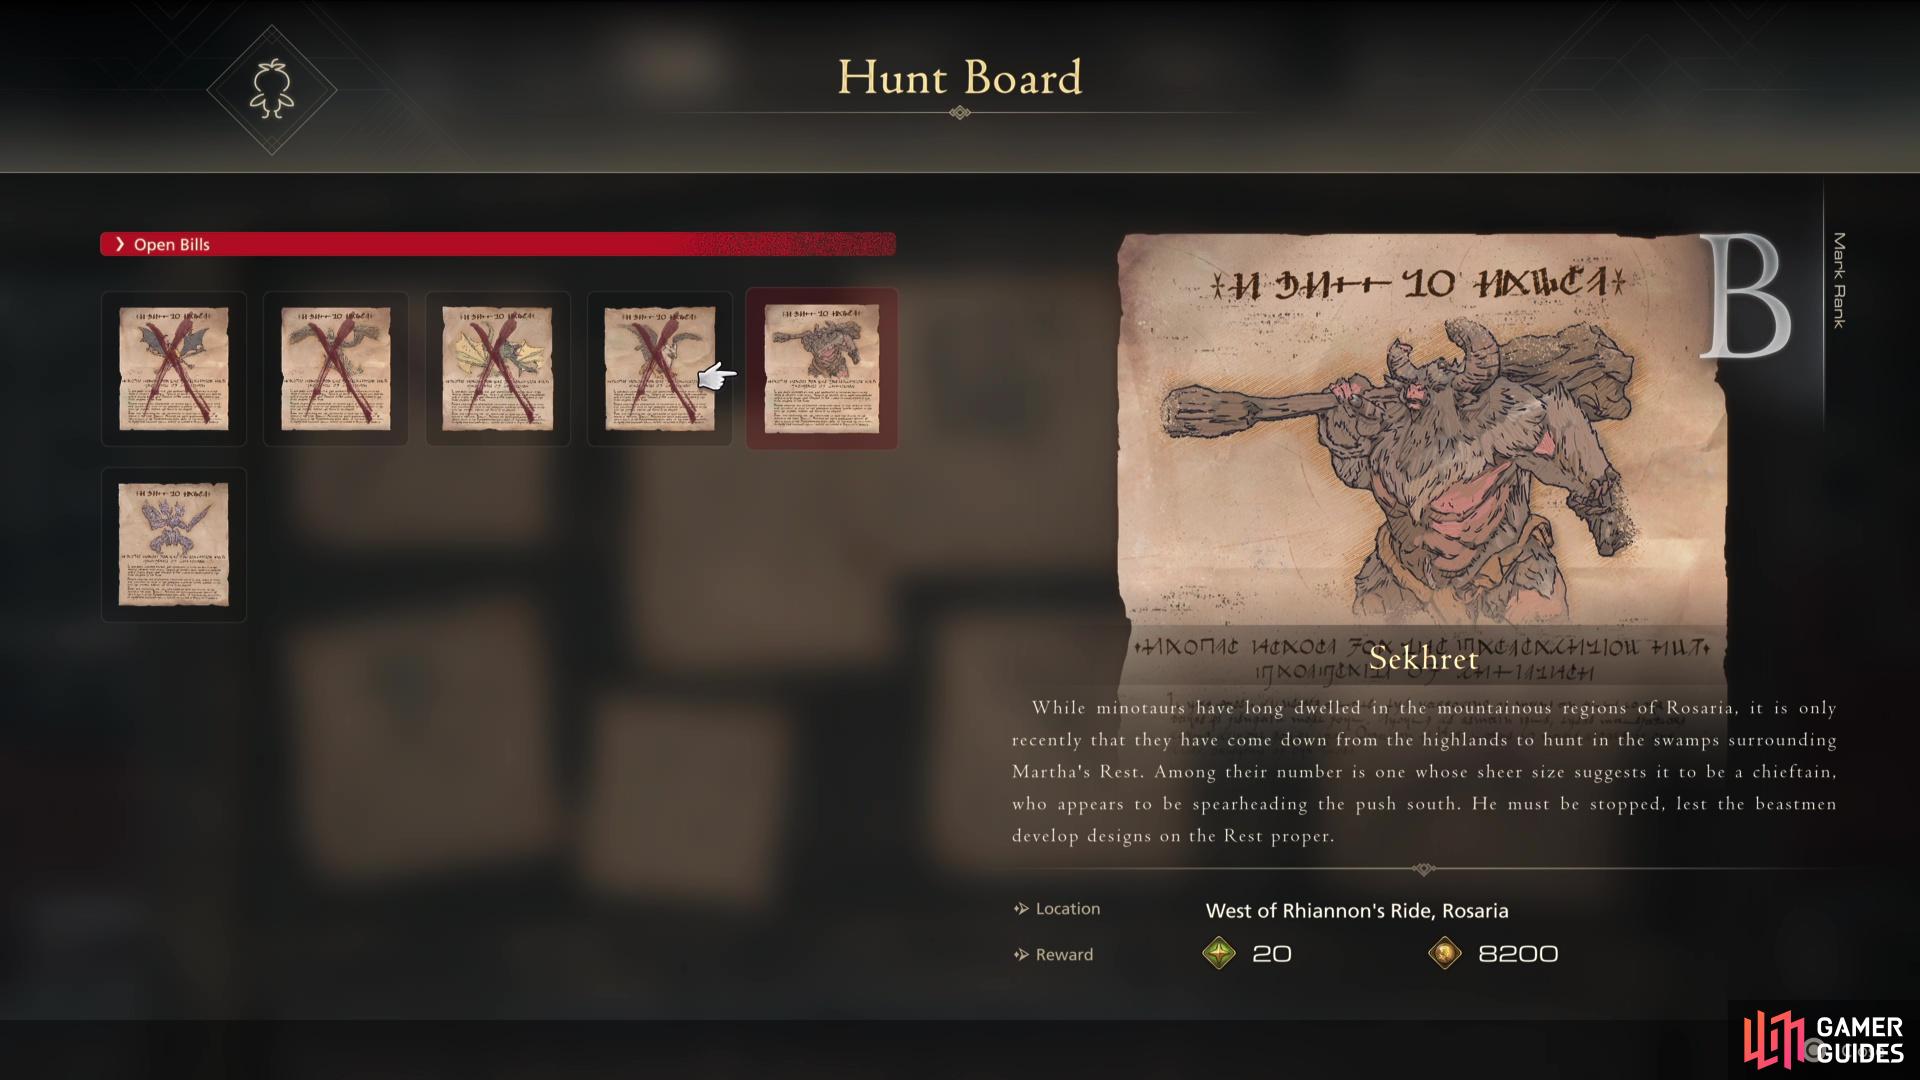
Before you can unlock this Hunt, you must progress the Main Quest until you reach the After the Storm Quest. Once you do, pay a visit to the Hideaway and check out the Hunt Board to view the bills on both Sekhret and Severian ![]() Notorious Marks that are now out in the world.
Notorious Marks that are now out in the world.
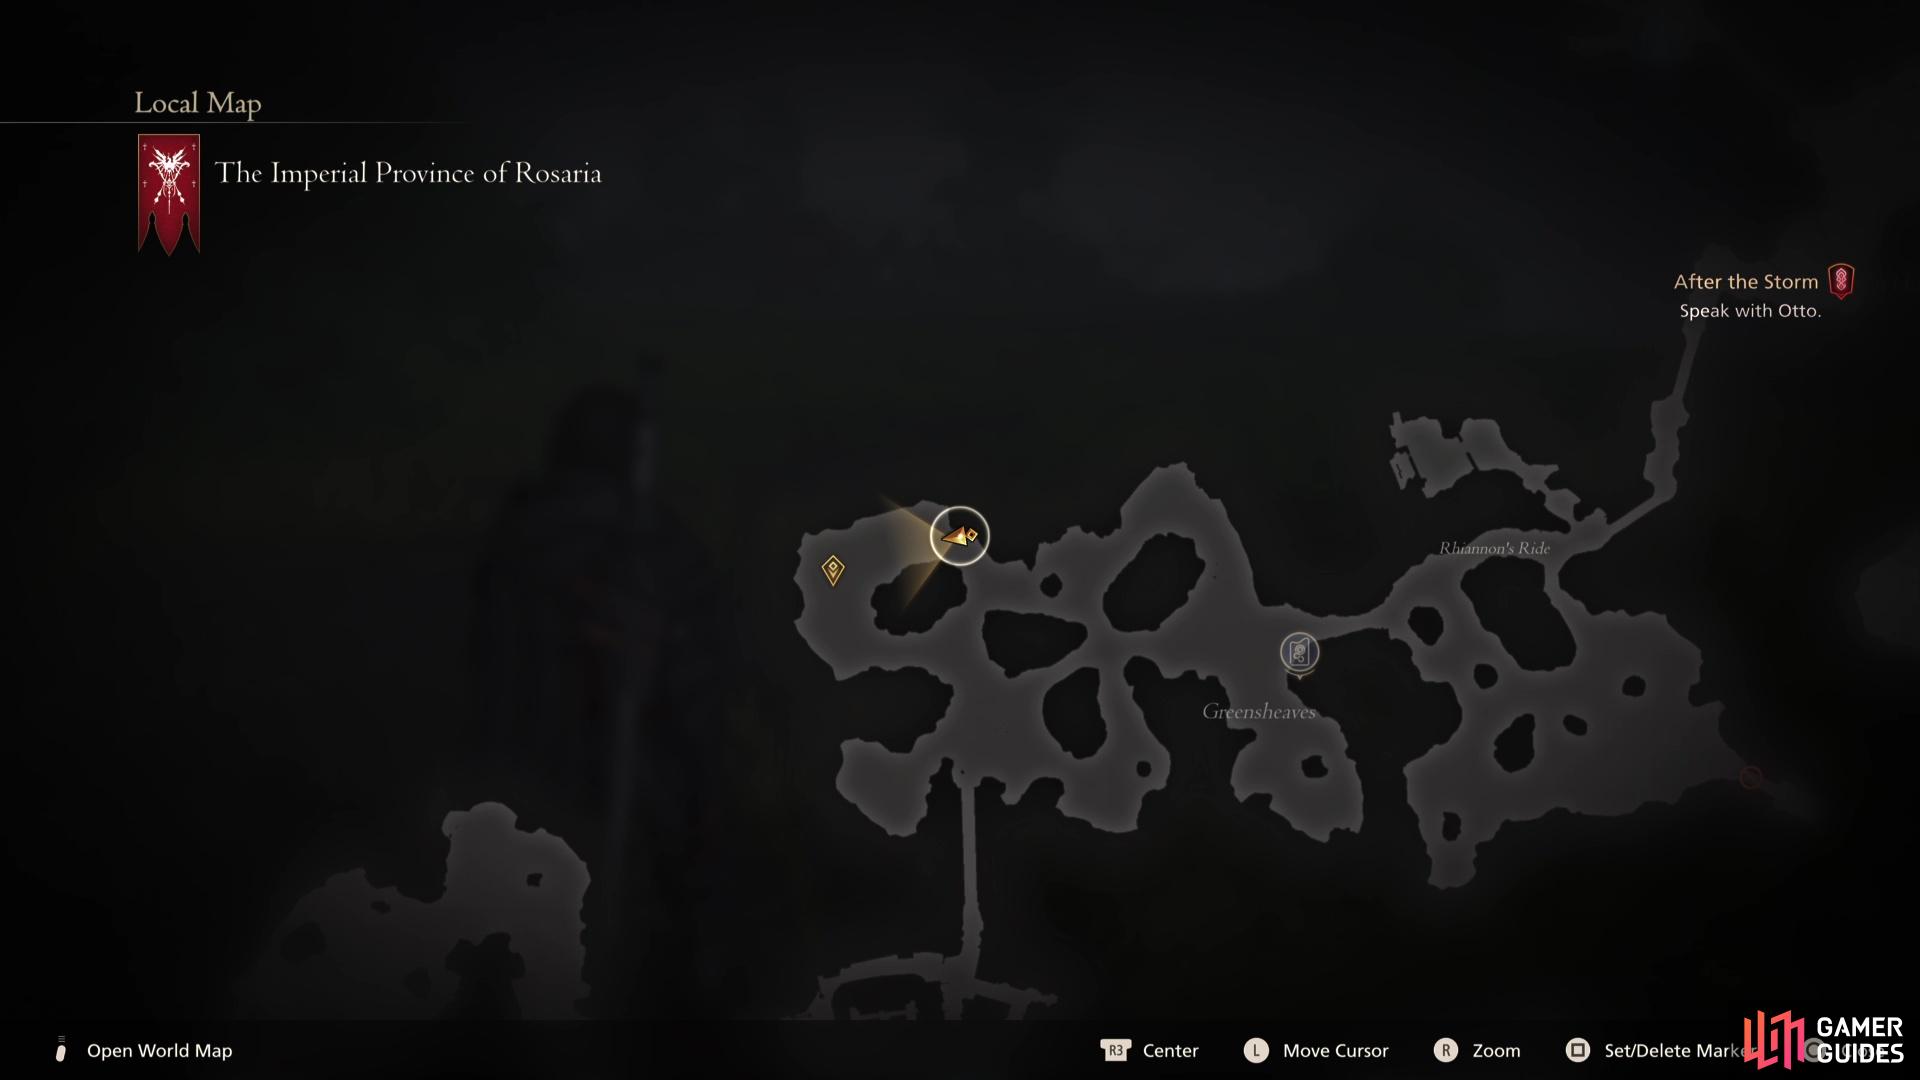
As seems to be the trend, the more difficult the Hunt, the less useful the location description is. The bill doesn’t give you much to go on, beyond the West of Rhiannon’s Ride so begin your search by heading to the ![]() Martha’s Rest
Martha’s Rest ![]() Obelisk and leaving via the northern exit. Head as far north as you can, then go west and you’ll spot Sekhret.
Obelisk and leaving via the northern exit. Head as far north as you can, then go west and you’ll spot Sekhret.
(1 of 2) Take a look at the bill on the Hunt Board
Take a look at the bill on the Hunt Board (left), then head here in Rosaria to find !Sekhret. (right)
Sekhret’s Attacks
Below you’ll find all the attacks that Sekhret has in its arsenal:
| Attack | Description | Counter |
|---|---|---|
| Bull Charge | Sekhret lowers its head and charges towards you, before turning around doing a second charge. | This is an easy attack to dodge if you’re at least at mid-range, but be prepared for the second charge that follows. |
| Swing | Sekhret pull back and swings his club with all its might. | You’ll deal with this attack the most as Sekhret will use it whenever you’re in close range. Look for the pull back and get ready to dodge. |
| Slam | Sekhret raises its club high in the air, then slams it into the ground. This has longer range than Swing and deals more damage. | Like most of Sekhret’s melee attacks, it has a long windup but remember to dodge to the side instead of backwards. |
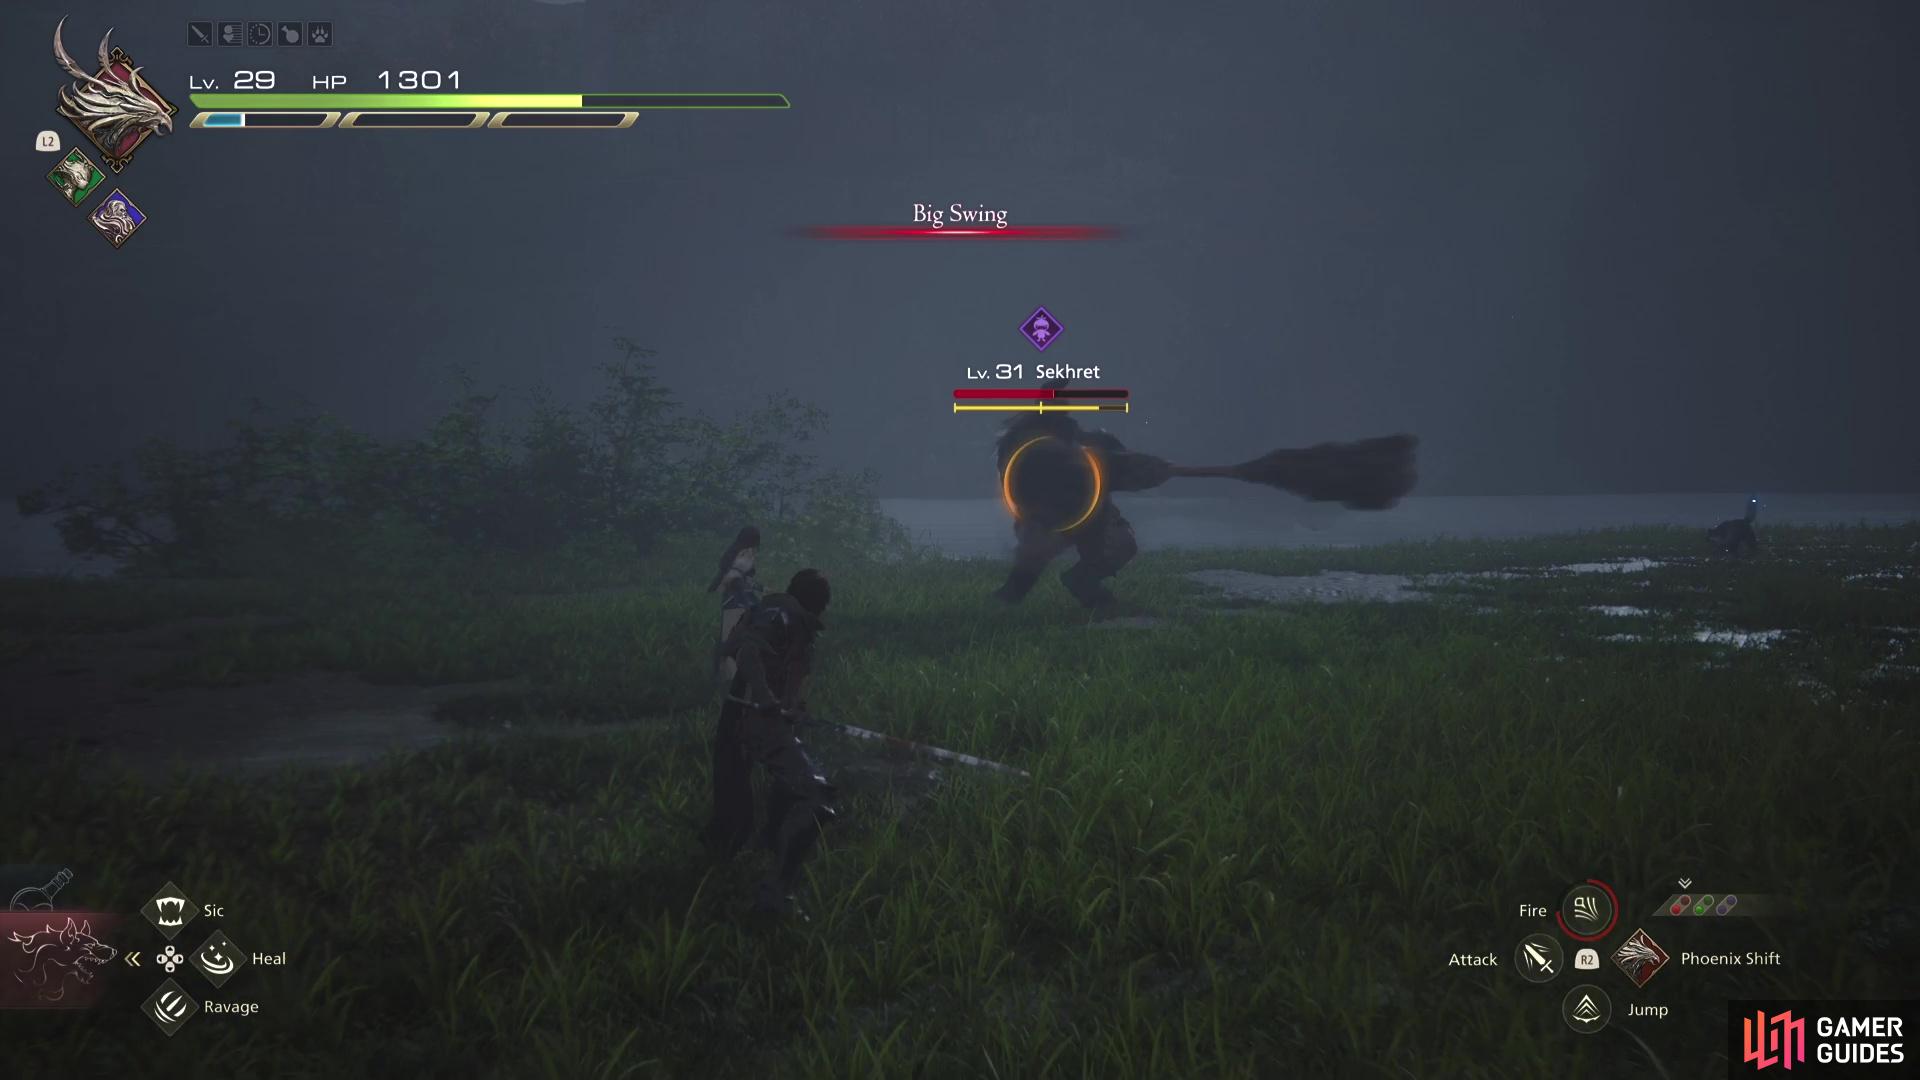
| Big Swing | Sekhret’s signature attack sees it swing its large club around its head while moving toward Clive. | While you can use |
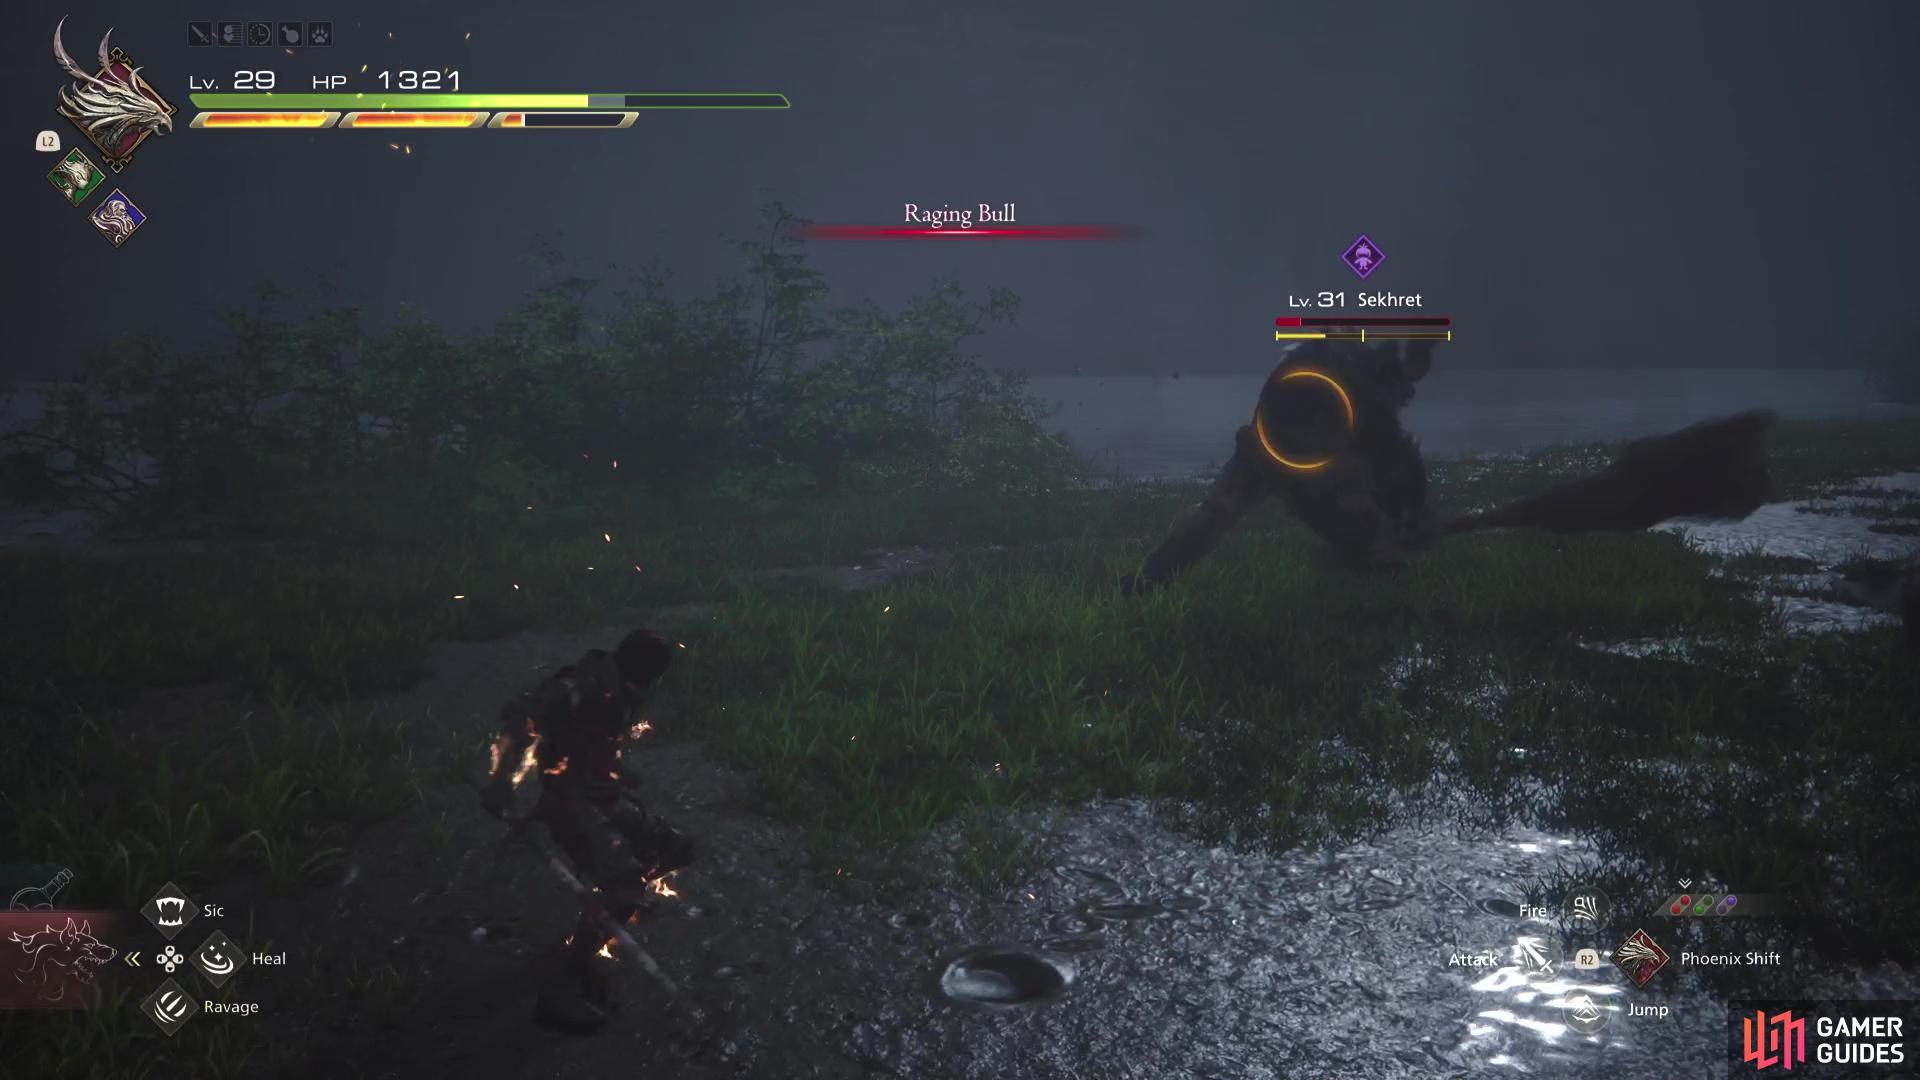
| Raging Bull | Once you get Sekhret below half HP, Sekhret will go on a frenzy of swinging his club multiple times and ending with a slam. | There are too many strikes here to worry about dodging it, as soon as you see the name, keep your distance. |
Recommended Abilities for Sekhret
Here we will list our recommended ability set up to do this effectively:
| Eikon | Ability | Damage Type |
|---|---|---|
| Phoenix/ |
Damage (1 Star), Will (2 Stars) | |
| Phoenix/ |
Damage and Will (2 Stars) | |
| Damage (2 Stars), Will (5 Stars) | ||
| Damage (2 Stars), Will (4 Stars) | ||
| Damage (4 Stars), Will (3 Stars) | ||
| Damage (2 Stars), Will (3 Stars) |
As has become a mainstay since unlocking it, Will-o’-the-Wykes not only offers protection from being hit, but it adds to the damage you do during a Stagger phase, and can help proc the fantastic ![]() Lightning Rod. There are no projectiles to deal with from Sekhret, so
Lightning Rod. There are no projectiles to deal with from Sekhret, so ![]() Heatwave isn’t as useful there but it still works fine as a ranged option.
Heatwave isn’t as useful there but it still works fine as a ranged option.
When you deplete half of the Will gauge, that’s your time to pull Sekhret to the ground with Deadly Embrace and use ![]() Gouge to hopefully bring Sekhret to Stagger (you may need to damage Sekhret a little more after). Likewise,
Gouge to hopefully bring Sekhret to Stagger (you may need to damage Sekhret a little more after). Likewise, ![]() Aerial Blast is useful for this, but it’s less reliable as Sekhret charges around a lot. Both
Aerial Blast is useful for this, but it’s less reliable as Sekhret charges around a lot. Both ![]() Judgment Bolt and Lightning Rod are your go-to abilities during a Stagger. Use Lightning Rod in front of the Staggered Sekhret and then follow up with a
Judgment Bolt and Lightning Rod are your go-to abilities during a Stagger. Use Lightning Rod in front of the Staggered Sekhret and then follow up with a ![]() Limit Break and Judgment Bolt, everything you do here will proc the shocks from Lightning Rod adding to the overall damage.
Limit Break and Judgment Bolt, everything you do here will proc the shocks from Lightning Rod adding to the overall damage.
Recommended Items and Equipment for Sekhret
Gear
For your Weapon, Belt, and Vambraces, you should have the following:
| Weapon | Belt | Vambraces |
|---|---|---|
If you don’t have what’s listed above, use the highest Attack for Weapon, and highest Defense and Health for the Belt and Vambraces.
Accessories
For your Accessories, this is more subjective, so here is what we used:
| Accessory 1 | Accessory 2 | Accessory 3 |
|---|---|---|
| Berserker’s Ring - Increase attack proficiency with each Precision Dodge | The Heat of Fire ( |
Items
Finally, we have items. This is more of a preference thing, but we chose the following items:
| Shortcut 1 | Shortcut 2 | Shortcut 3 |
|---|---|---|
More Healing is always a good thing which is why we went with ![]() Elixir for the third slot. These are costly, so if you don’t want to waste your Gil, take either a
Elixir for the third slot. These are costly, so if you don’t want to waste your Gil, take either a ![]() Strength Tonic or a
Strength Tonic or a ![]() Stoneskin Tonic to reduce damage by 30%.
Stoneskin Tonic to reduce damage by 30%.
Sekhret Boss Strategy
Sekhret is a B Rank Hunt, which means you can expect a bit more from it rather than the rather tame C Rank battles. Still, if you can remember how the regular Minotaur battles went, this plays out in a very similar fashion.
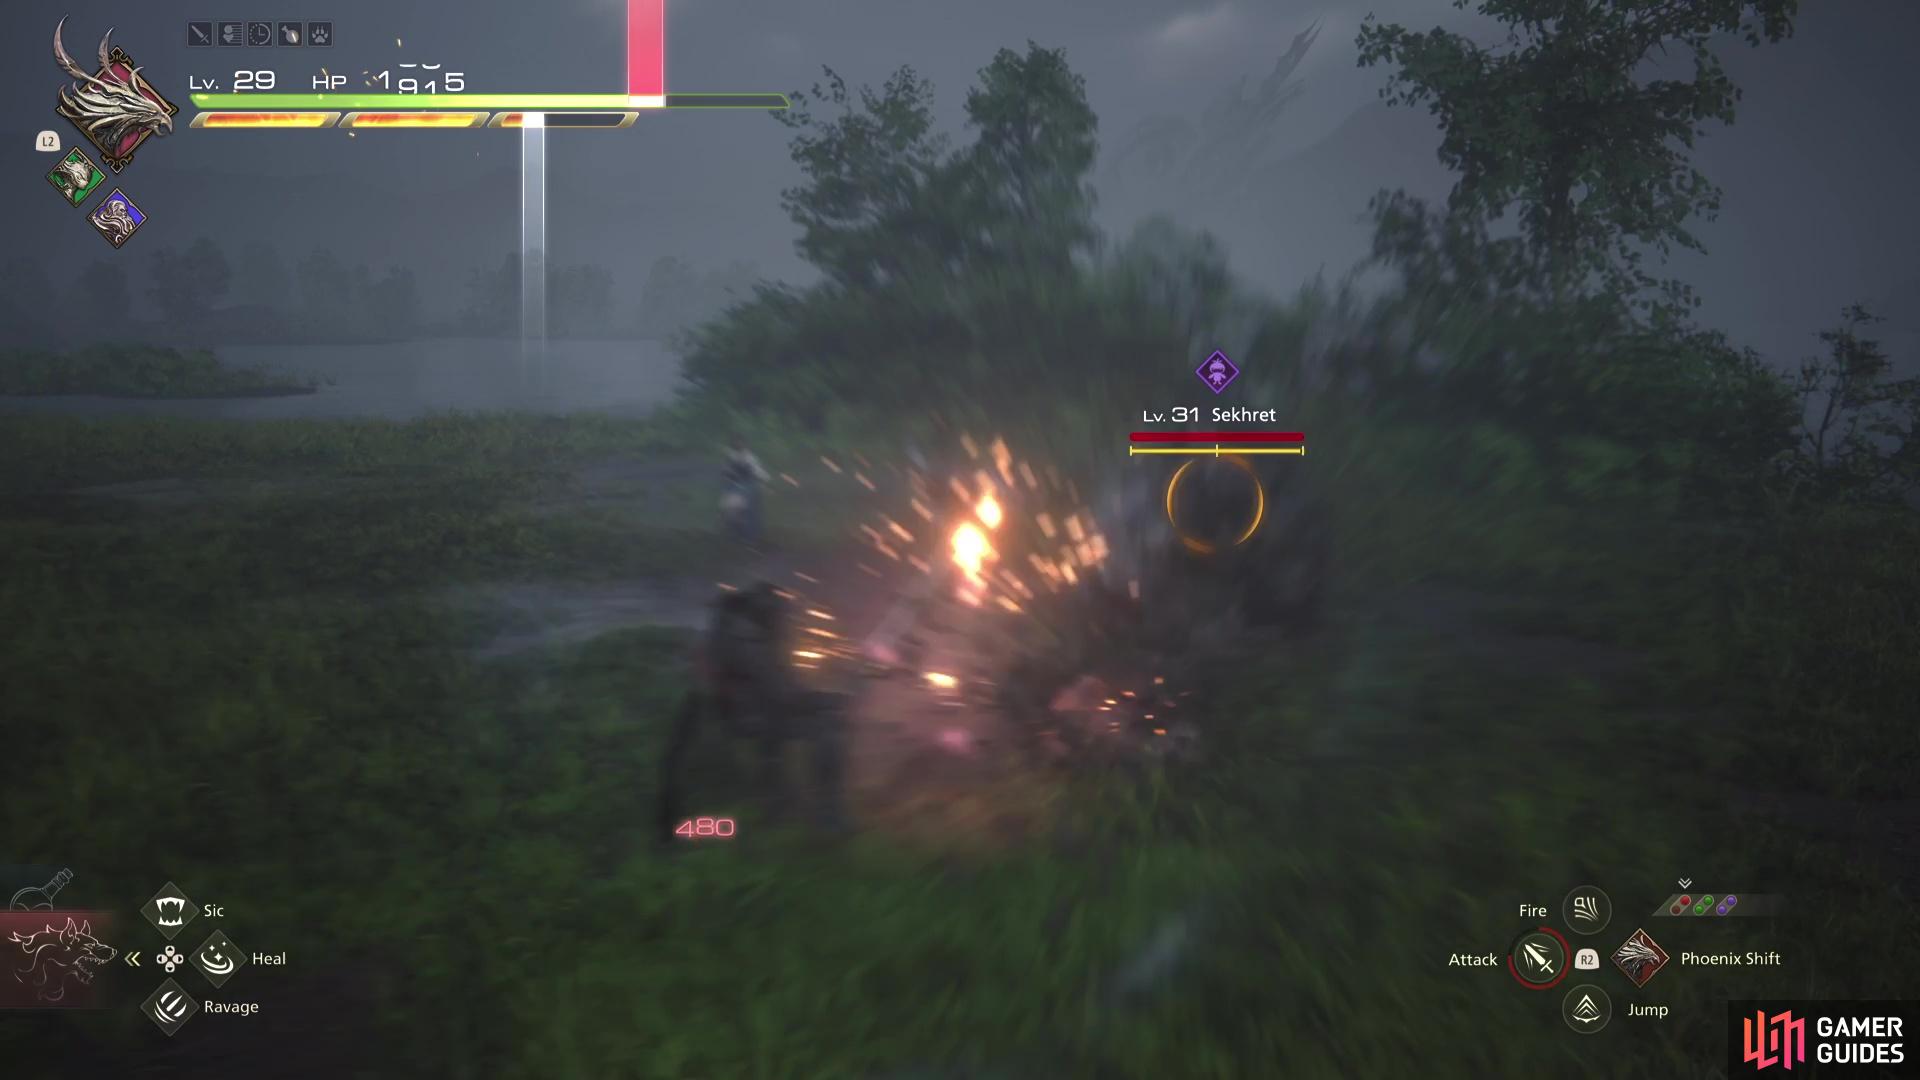
As such, you’ll be dealing with Sekhret’s Swing and Slam attacks often when you find yourself at close-range, and the wind-up time on them is so slow that they’re simple attacks to just dodge to the side of. Where Sekhret does change it up a little is with the Bull Charge attack, whereas the regular ![]() Minotaurs will do a single charge, Sekhret will turn around and follow it up with a second, catching you out if you go in for an attack after avoiding the first.
Minotaurs will do a single charge, Sekhret will turn around and follow it up with a second, catching you out if you go in for an attack after avoiding the first.
Big Swing sounds more fearsome than it actually is, Sekhret will just swing his club in a circle and edge closer to you. Take this as a moment to keep back, charge Clive’s sword and go in for an attack once Sekhret is recovering from it.
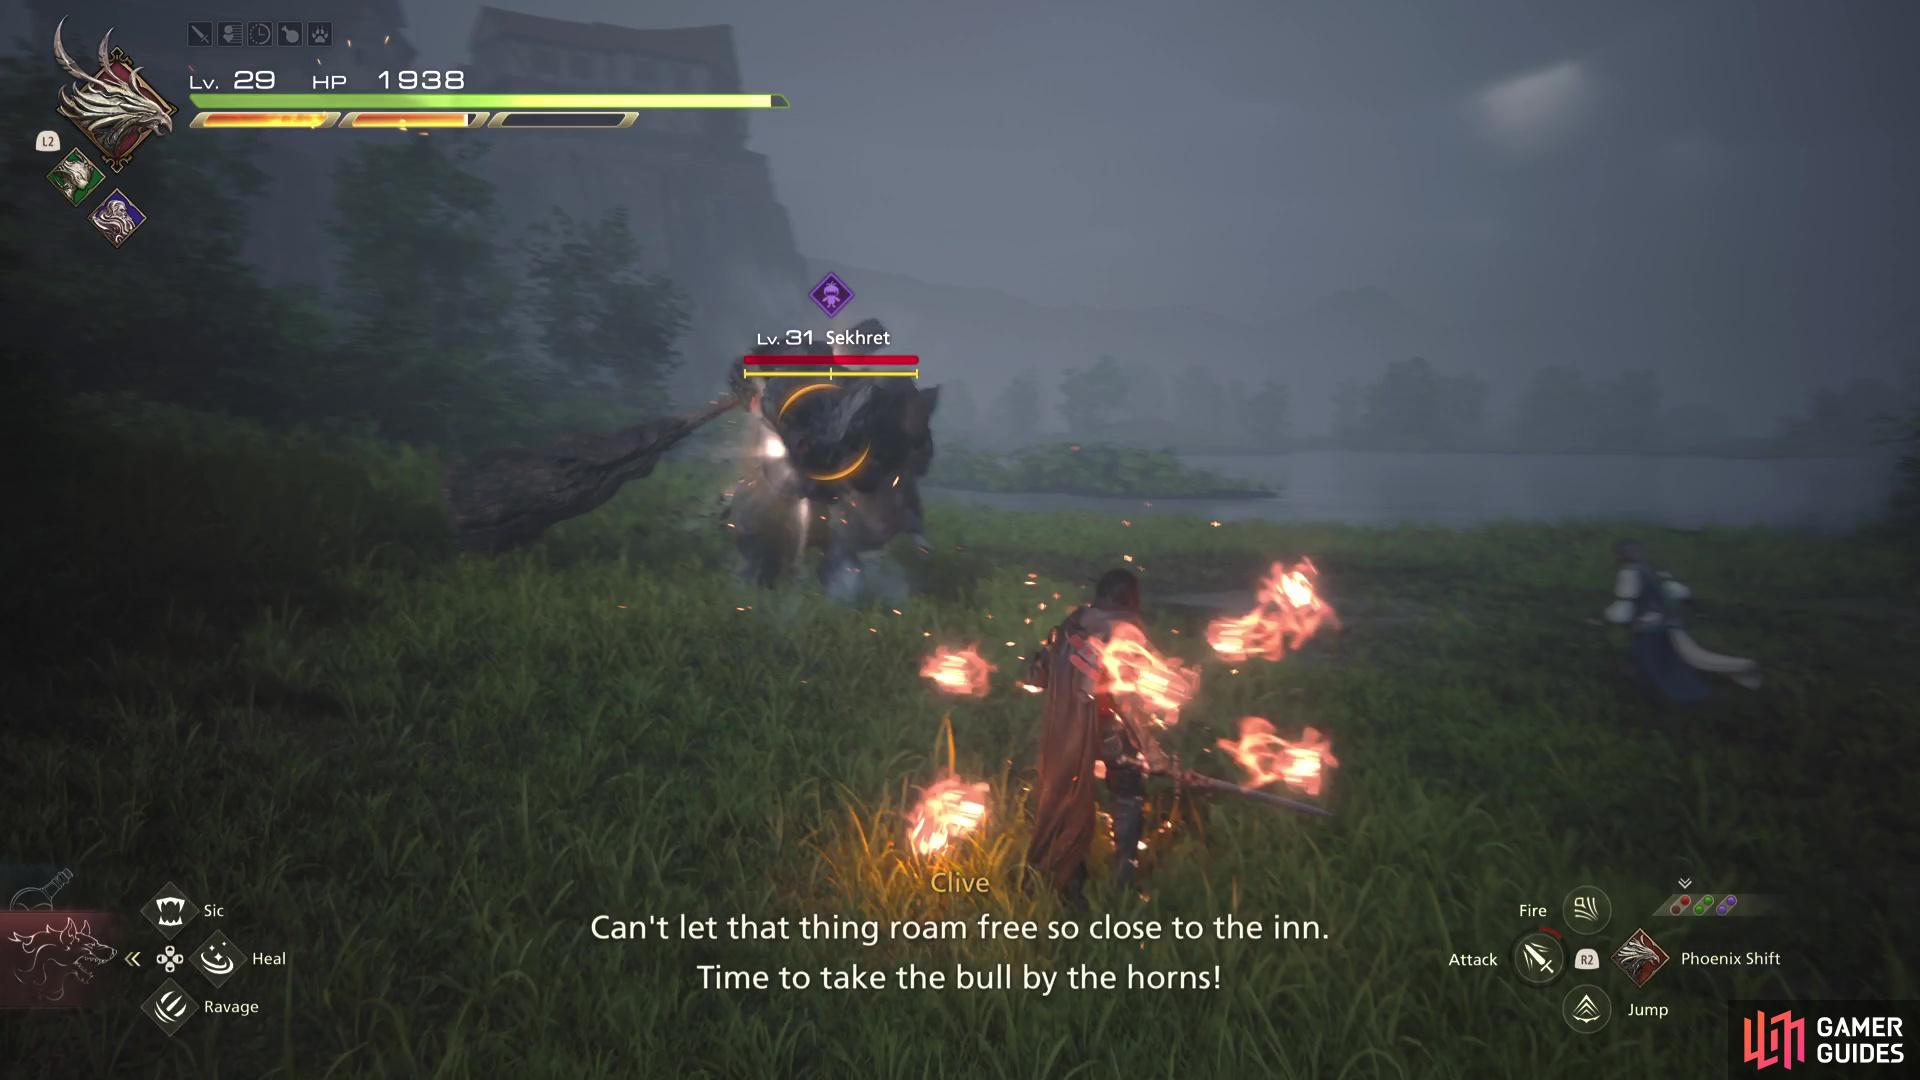
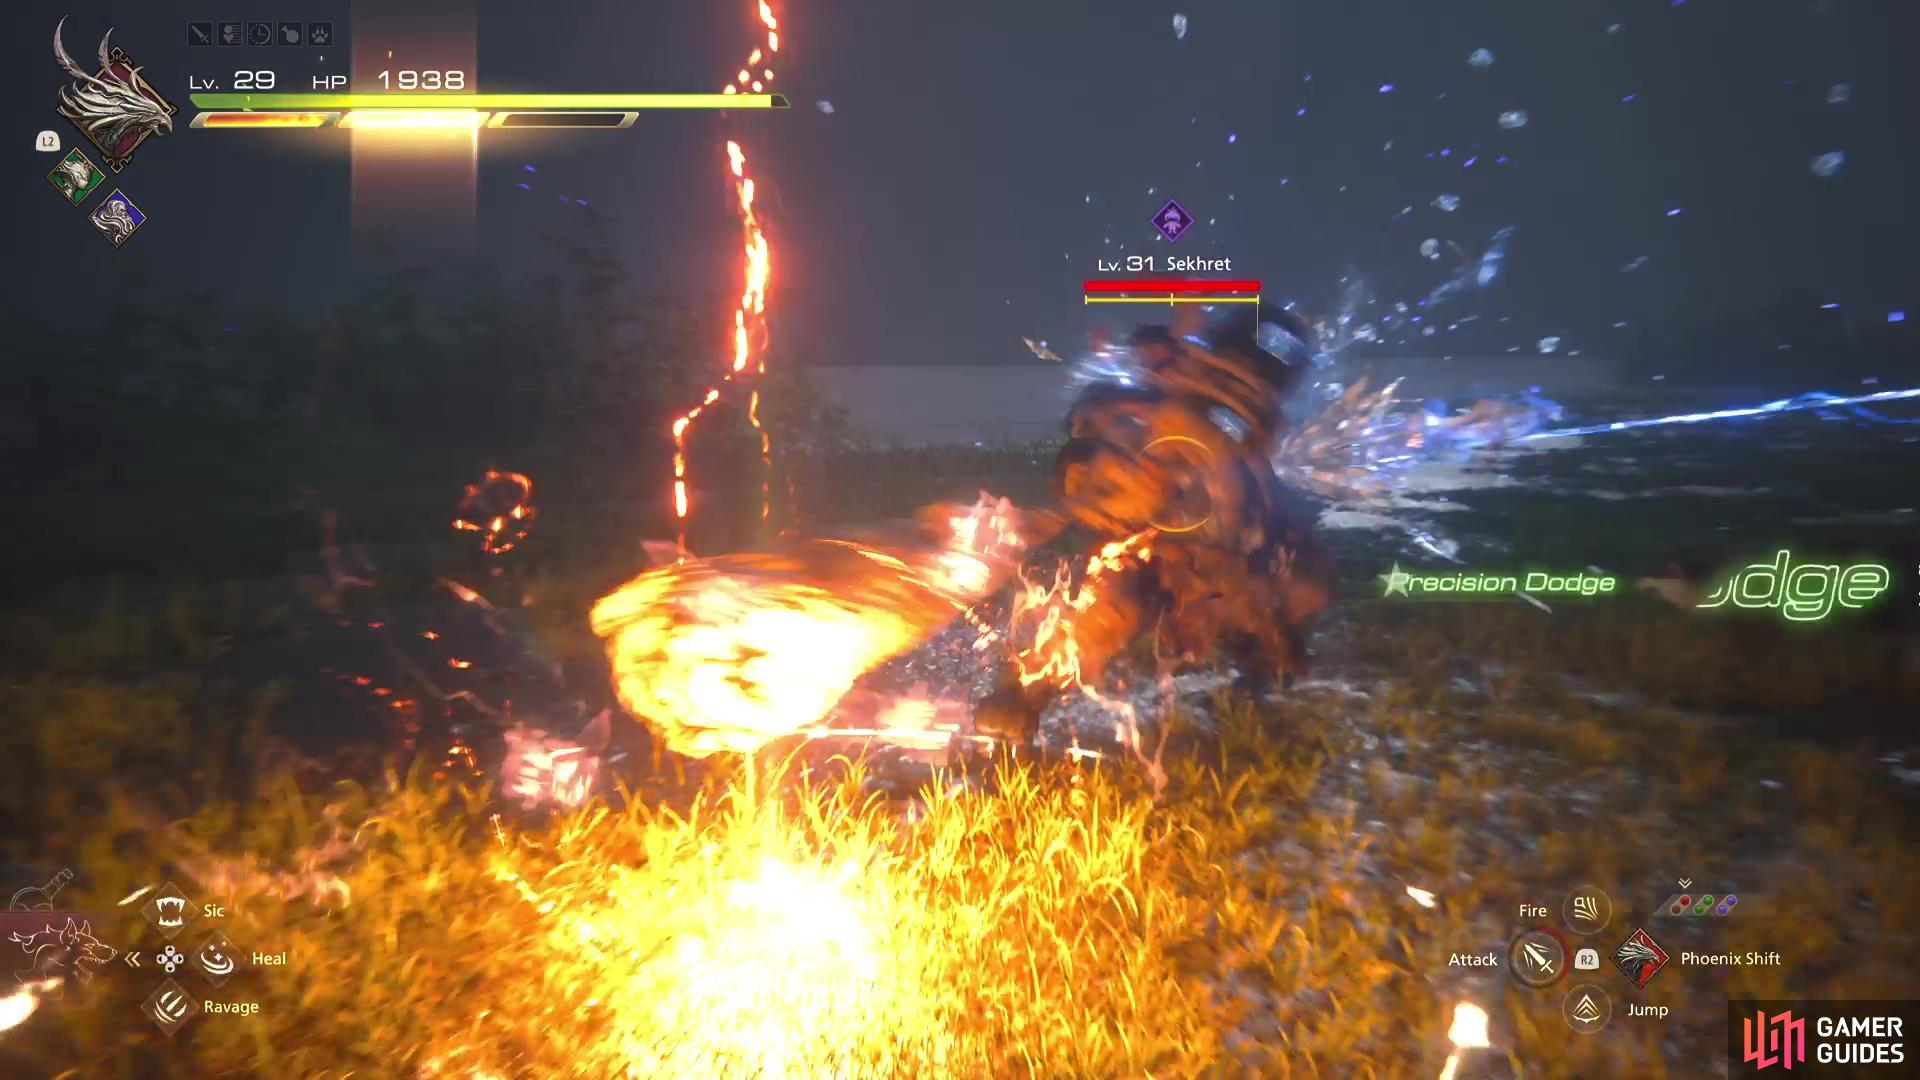
Use !Lighting Rod when !Sekhret is Stagger and then pop !Limit Break to use your most devastating attacks.
The other major attack from Sekhret is Raging Bull, which can be deadly if it catches you off-guard, fortunately the name is displayed on the screen. Like Big Swing, you can avoid it easy enough by keeping your distance but should you get caught in its barrage of strikes, you’ll be in a world of hurt.
So, the best way to attack Sekhret then? There’s plenty of openings, such as avoiding the melee strikes with a Precision Dodge. Once you’ve Staggered Sekhret once, waiting for Big Swing or Raging Bull to play our will give you huge openings as Sekhret gets its breath from the attack. As always, save your Limit Break for when you Stagger it and then pop a Lightning Rod on top of it before unleashing your hardest hitting attacks.
Once Sekhret falls, you’ll complete the Hunt and obtain 8,200 Gil and 20 Renown along with a ![]() Minotaur Mane.
Minotaur Mane.
More Final Fantasy 16 Hunts
For information on some of the other Notorious Marks you can take on in Final Fantasy XVI, check out these pages below:


 Sign up
No Comments