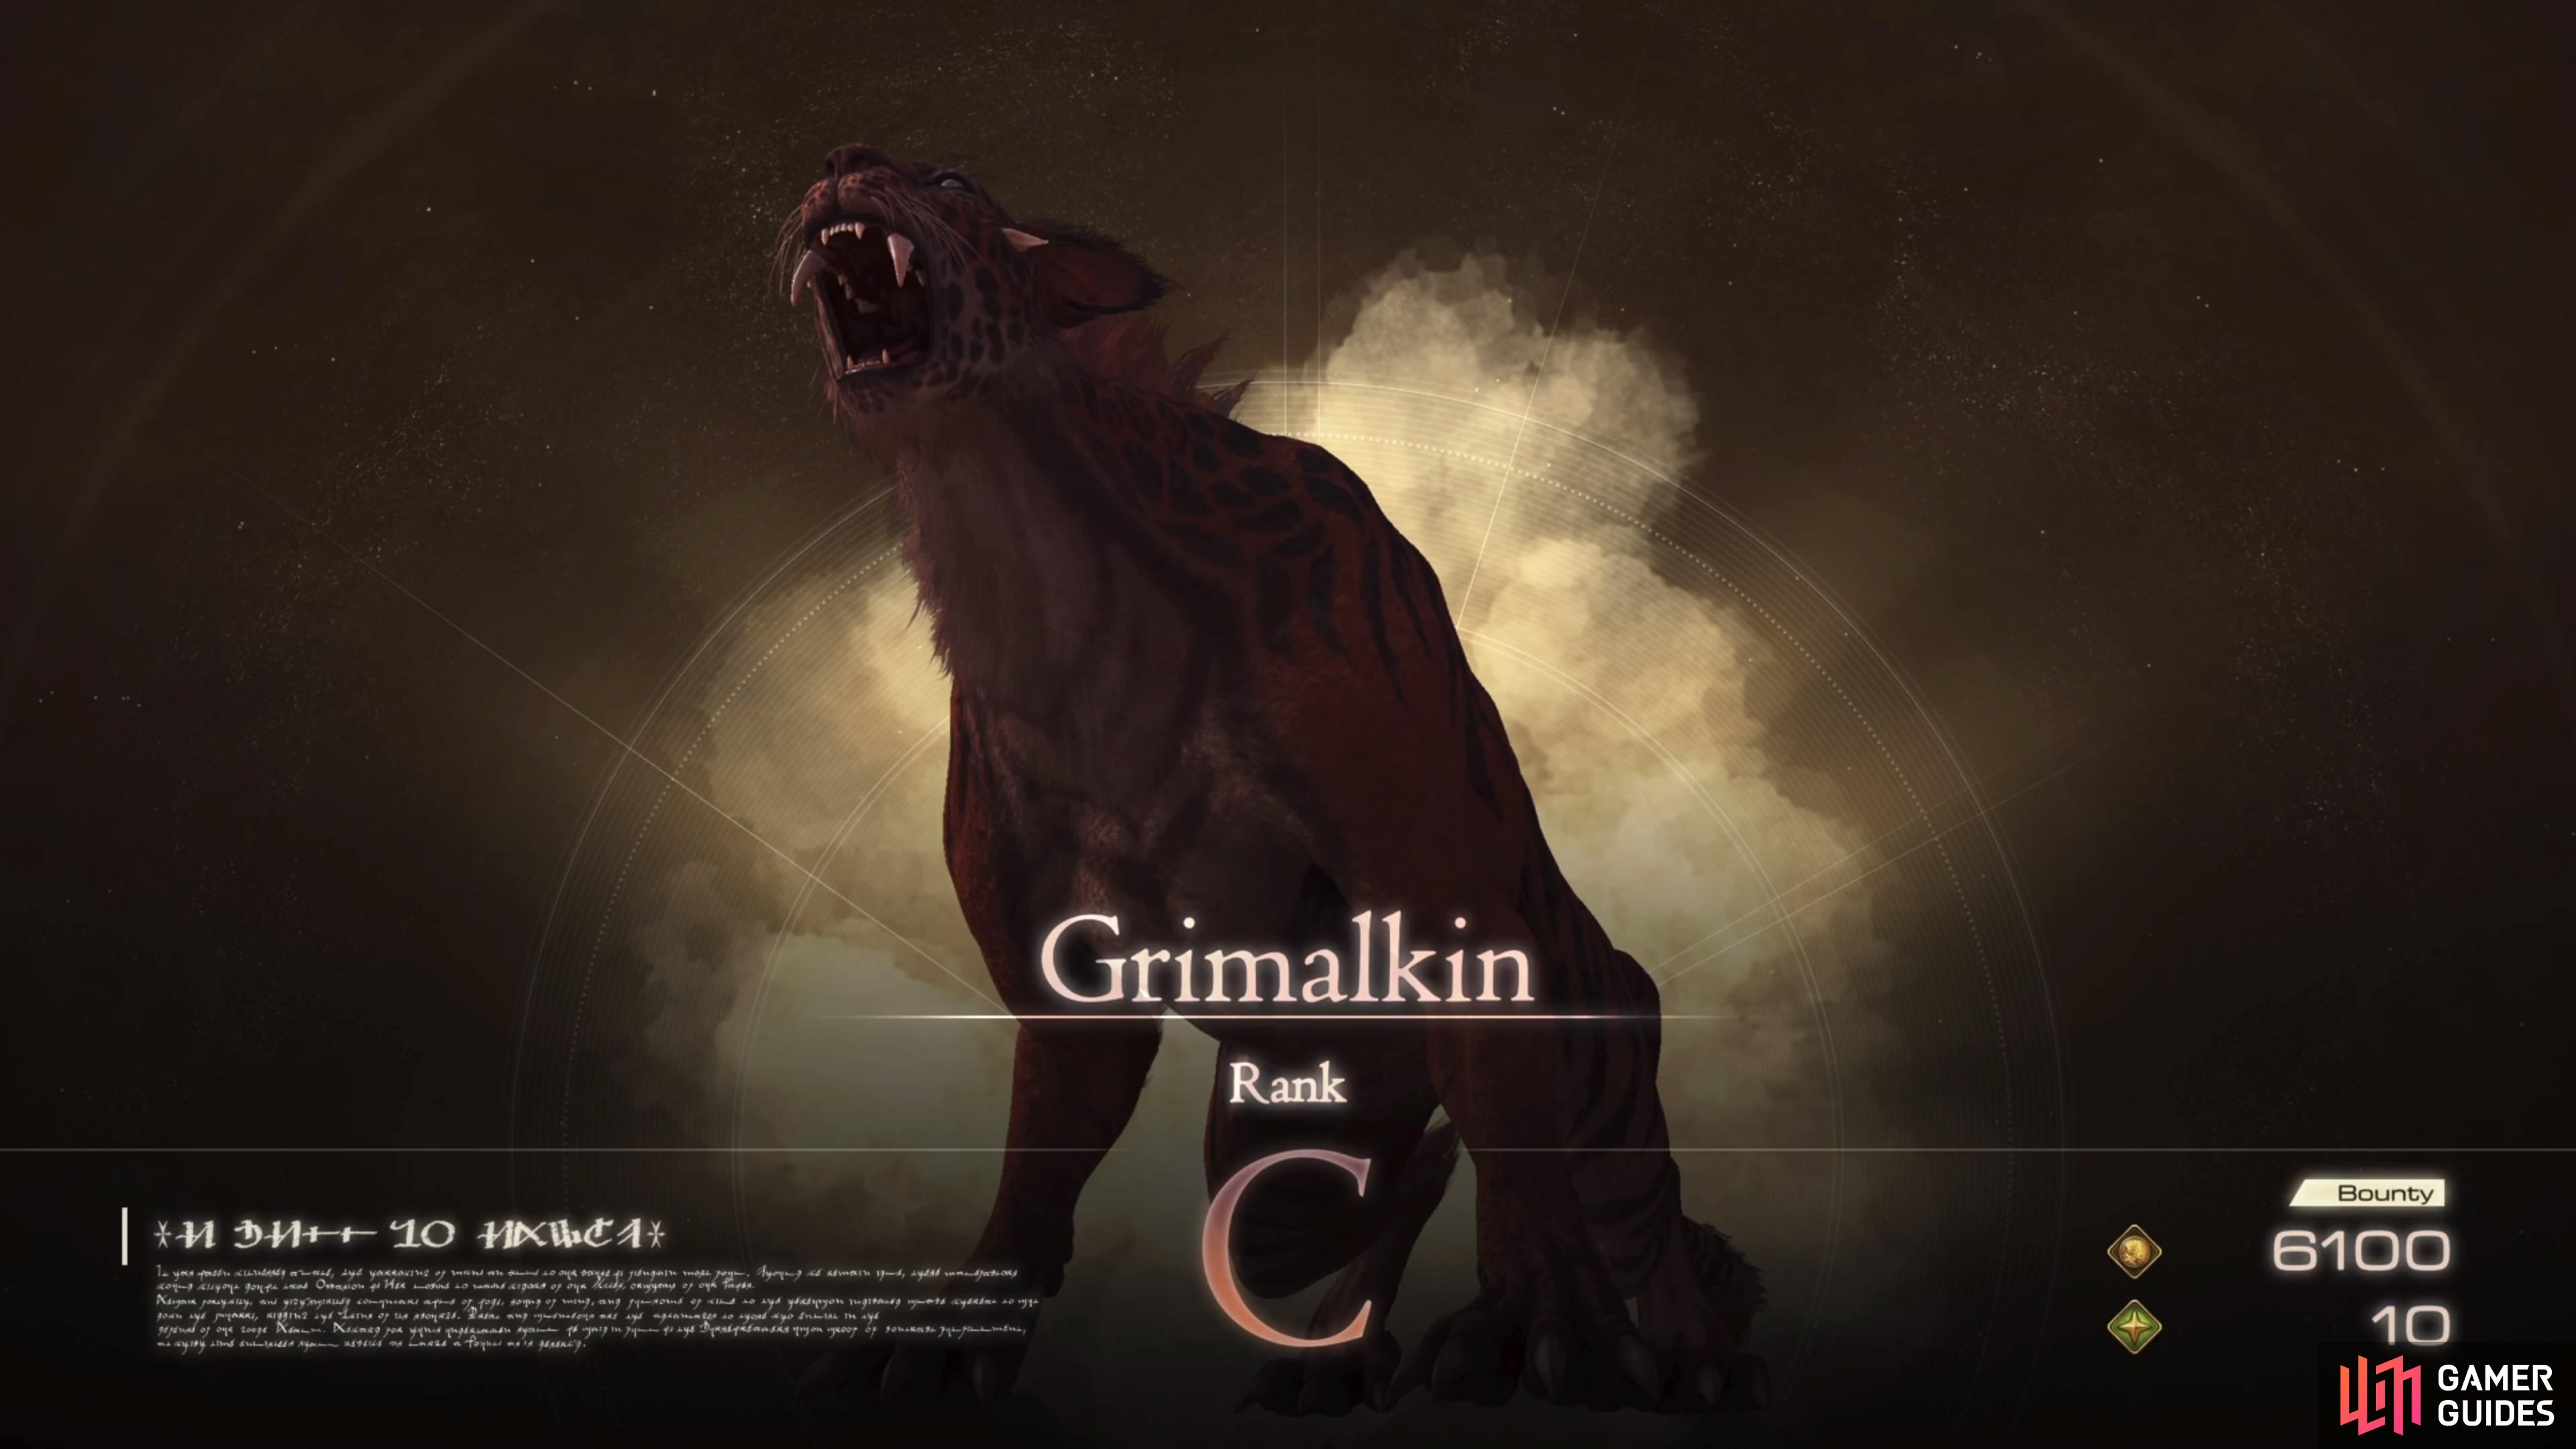
You will unlock a number of new hunts after you start the Out of the Shadow main story quest, and ![]() Grimalkin will be one of those. This Notorious Mark will be a little different than the others, but only in how the fight goes. You will definitely want to do this hunt, since it drops an item required to forge a rarer sword.
Grimalkin will be one of those. This Notorious Mark will be a little different than the others, but only in how the fight goes. You will definitely want to do this hunt, since it drops an item required to forge a rarer sword.
Grimalkin should be a pretty easy hunt at this stage of the game.
Where to Find the Notorious Mark, Grimalkin
| Location | Level | Bounty |
|---|---|---|
| The Cattery, Dhalmekia | 32 | 6,100 |
As mentioned above, this hunt will not appear until you reach the Out of the Shadow main story quest. Once you have, head on over to the Hunt Board in ![]() The Hideaway to see the poster for this mark (along with three others). The poster says that the hunt is located in The Cattery, in Dhalmekia.
The Hideaway to see the poster for this mark (along with three others). The poster says that the hunt is located in The Cattery, in Dhalmekia.
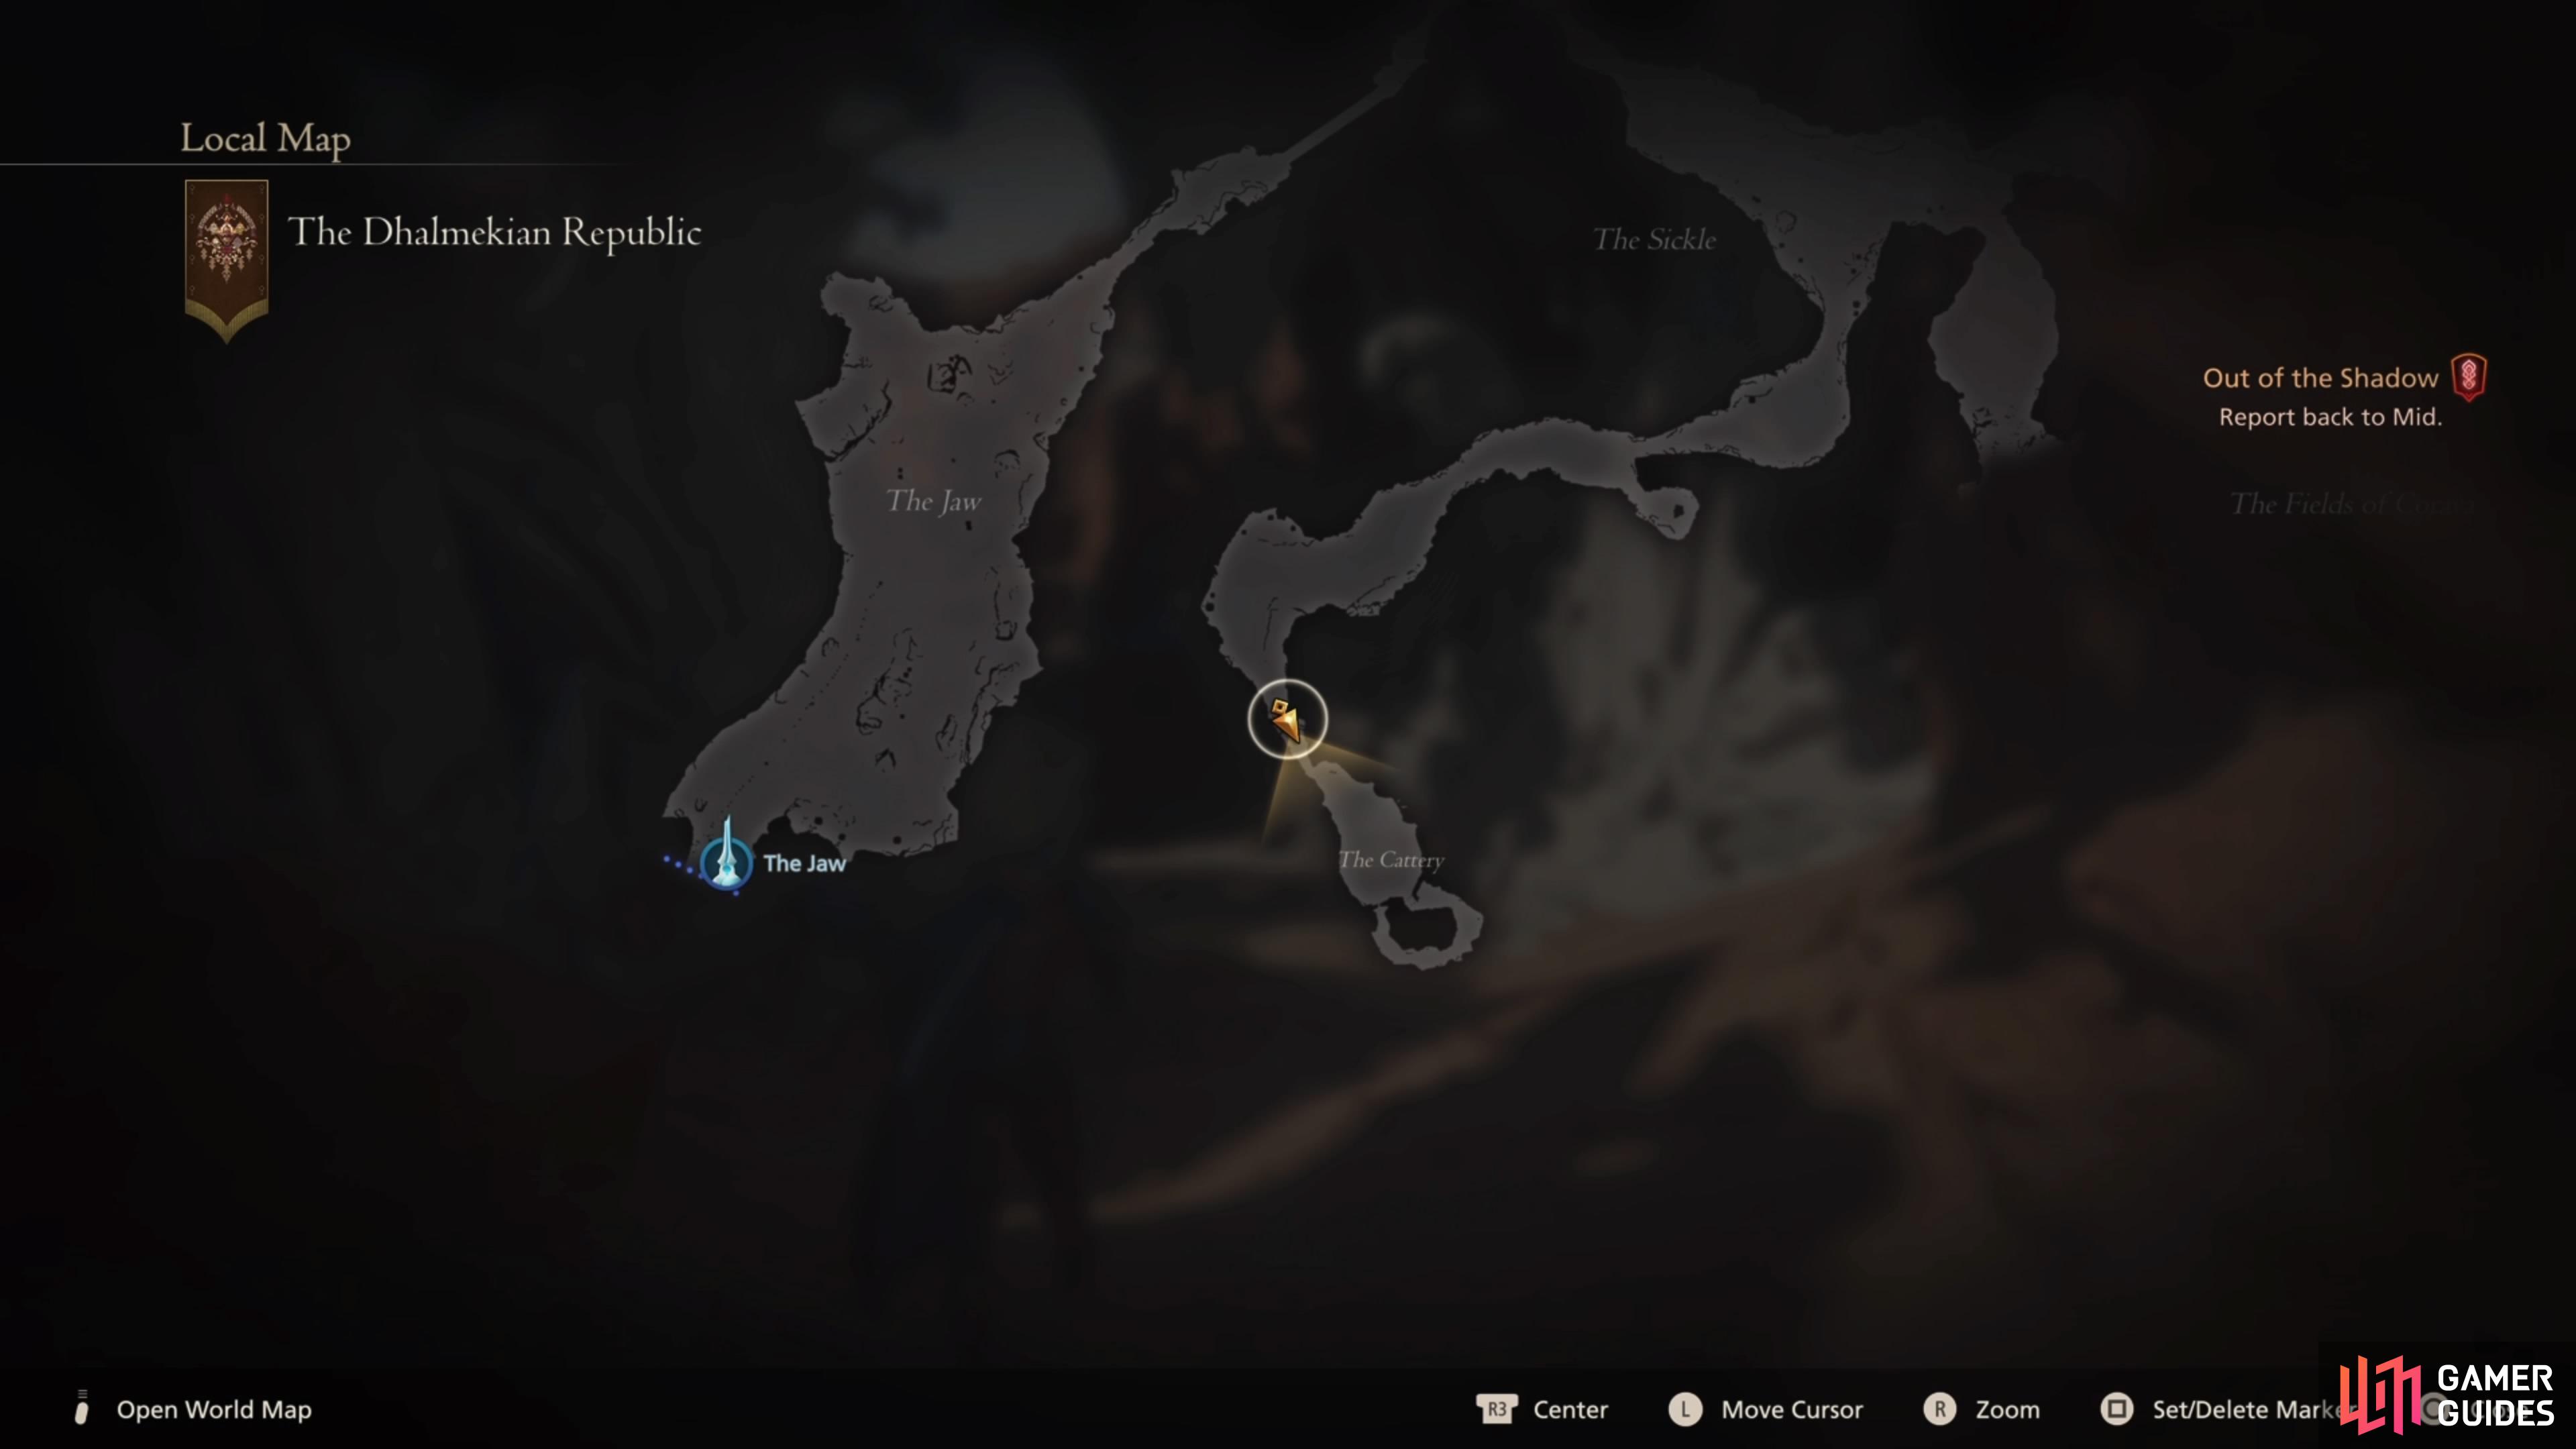
If you haven’t really explored the Dhalmekian region, then you might have no clue on where The Cattery is located. The easiest way to get to this place is from ![]() The Jaw
The Jaw ![]() Obelisk. Go north and follow the only path, until you reach a split, which is where you want to go east. You should eventually arrive in The Sickle, where there are many paths open before you. As soon as you enter The Sickle, look at your map and take the first trail heading south (the western of the two). This will put you on the path that leads to The Cattery at the very end.
Obelisk. Go north and follow the only path, until you reach a split, which is where you want to go east. You should eventually arrive in The Sickle, where there are many paths open before you. As soon as you enter The Sickle, look at your map and take the first trail heading south (the western of the two). This will put you on the path that leads to The Cattery at the very end.
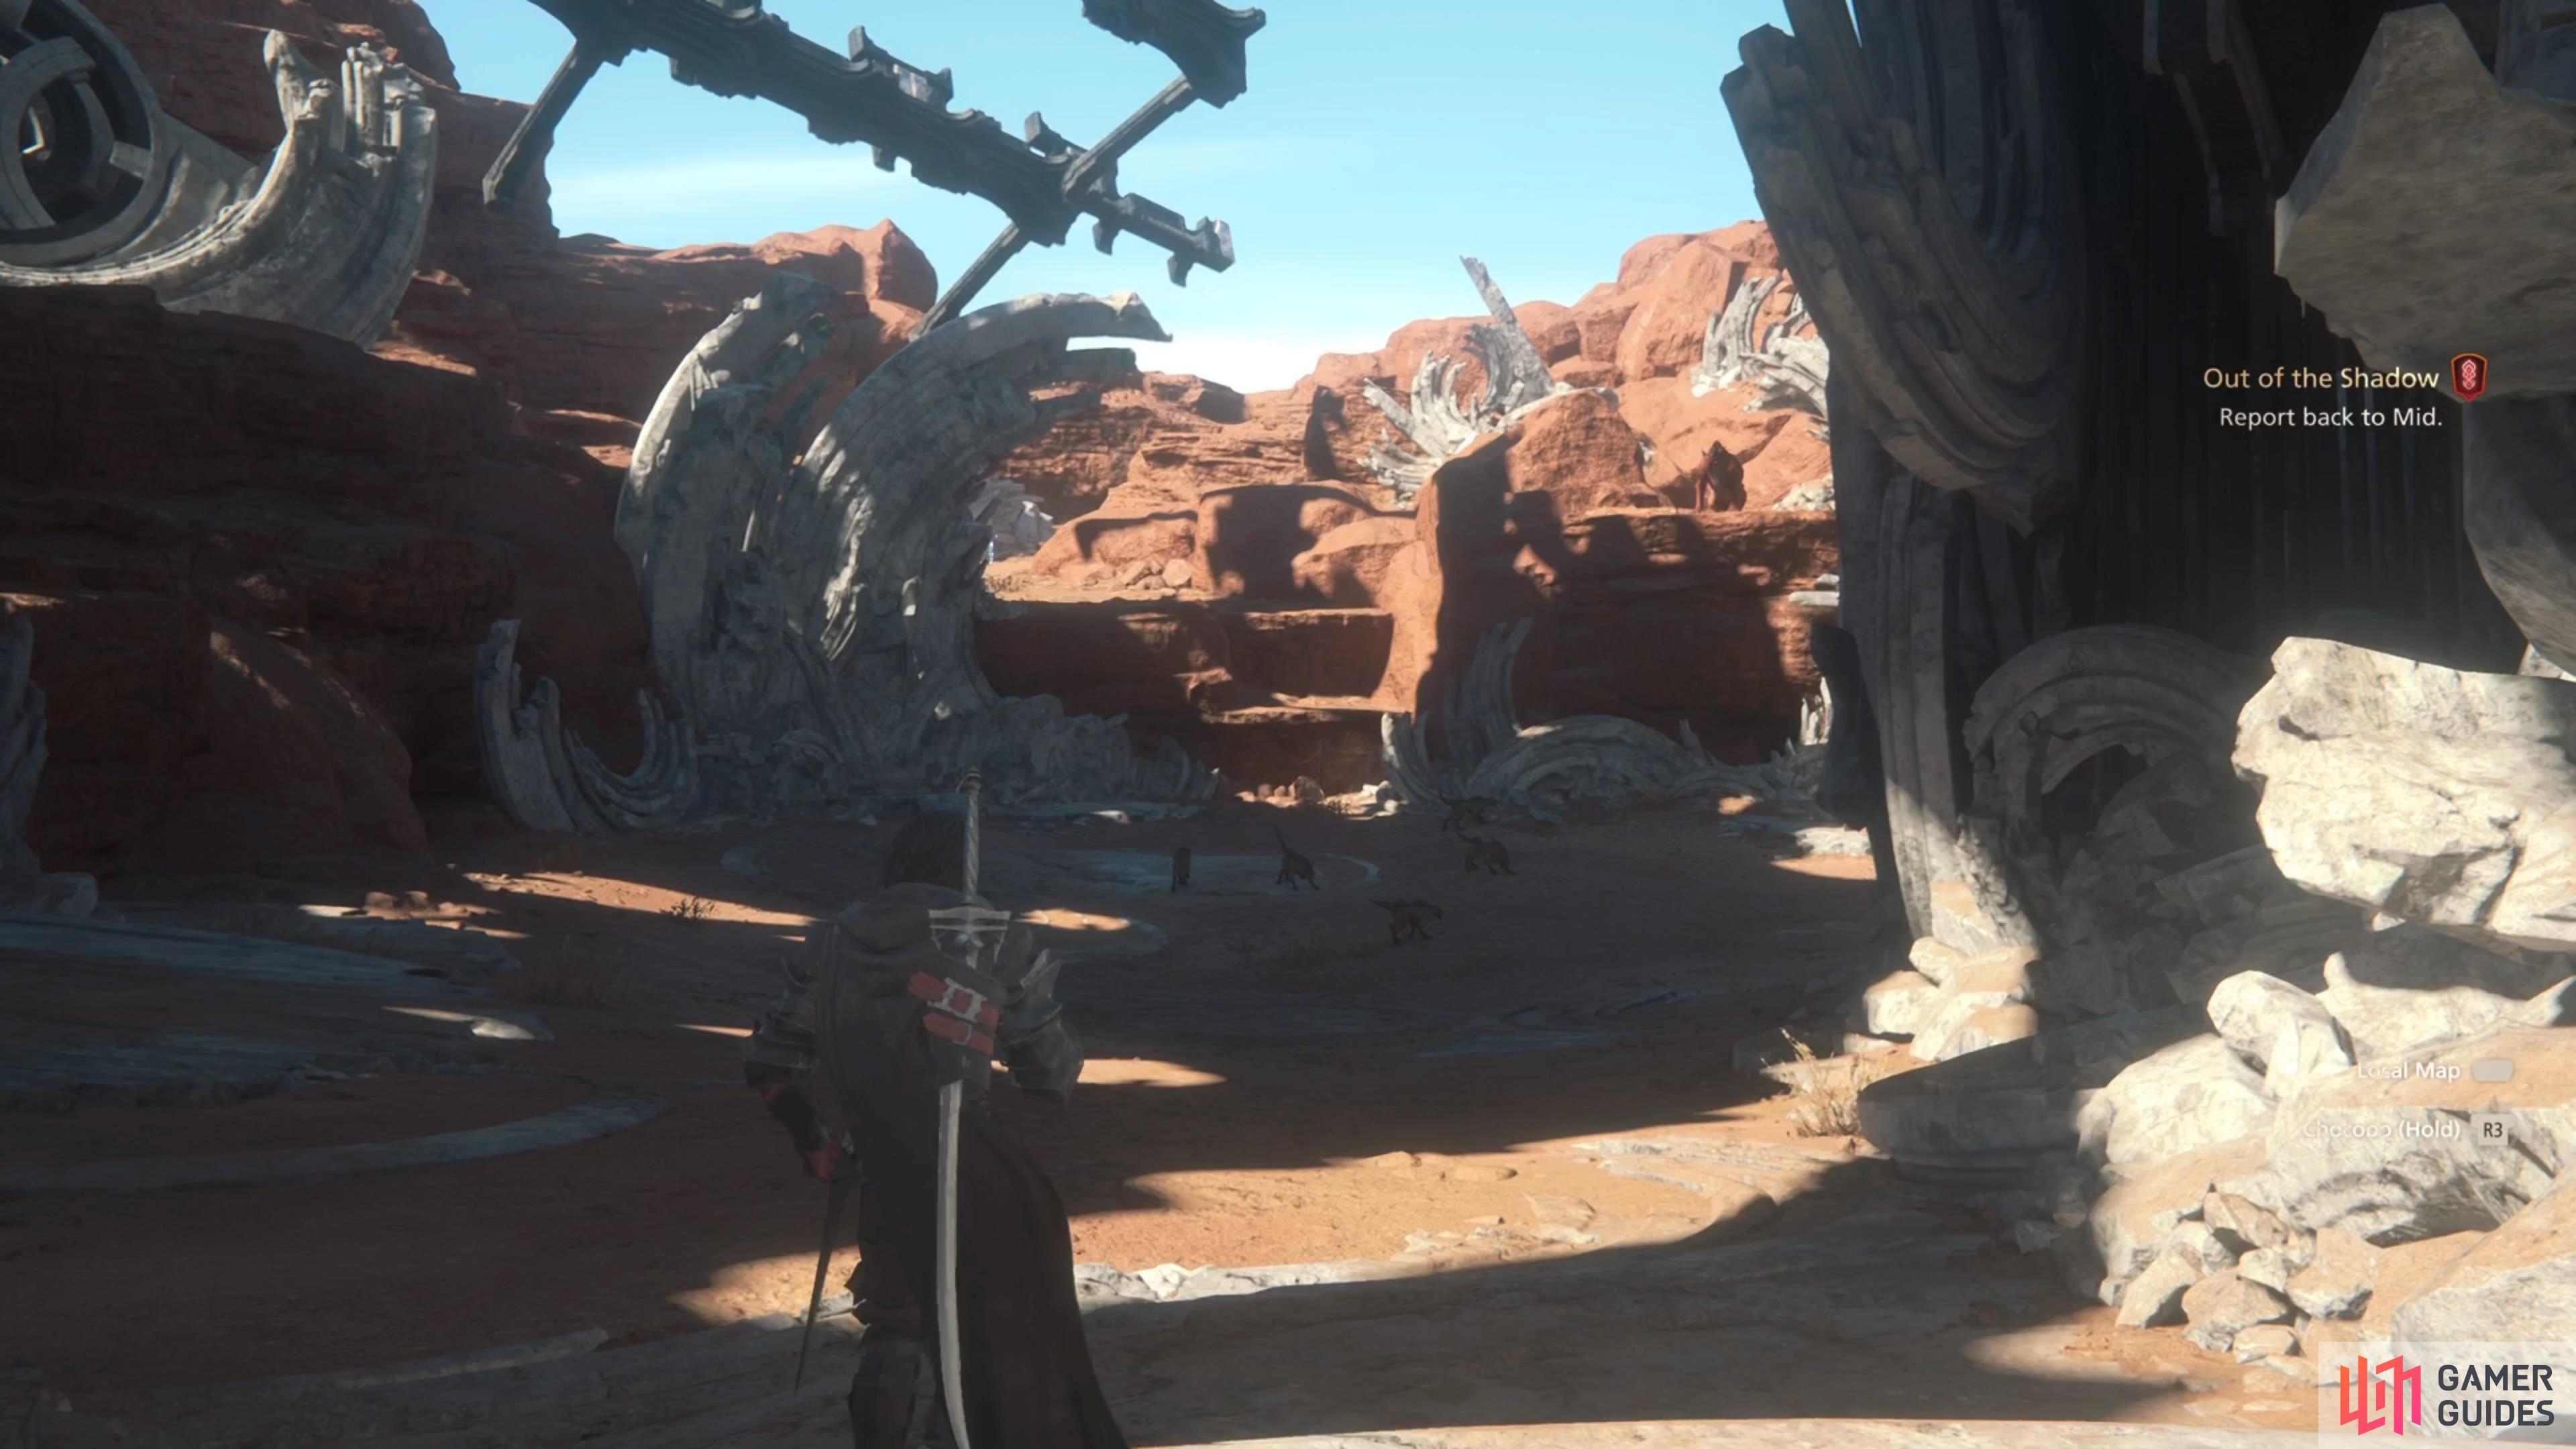
(1 of 2) The Cattery is closest to The Jaw Obelisk, although it’s not a straight path there.
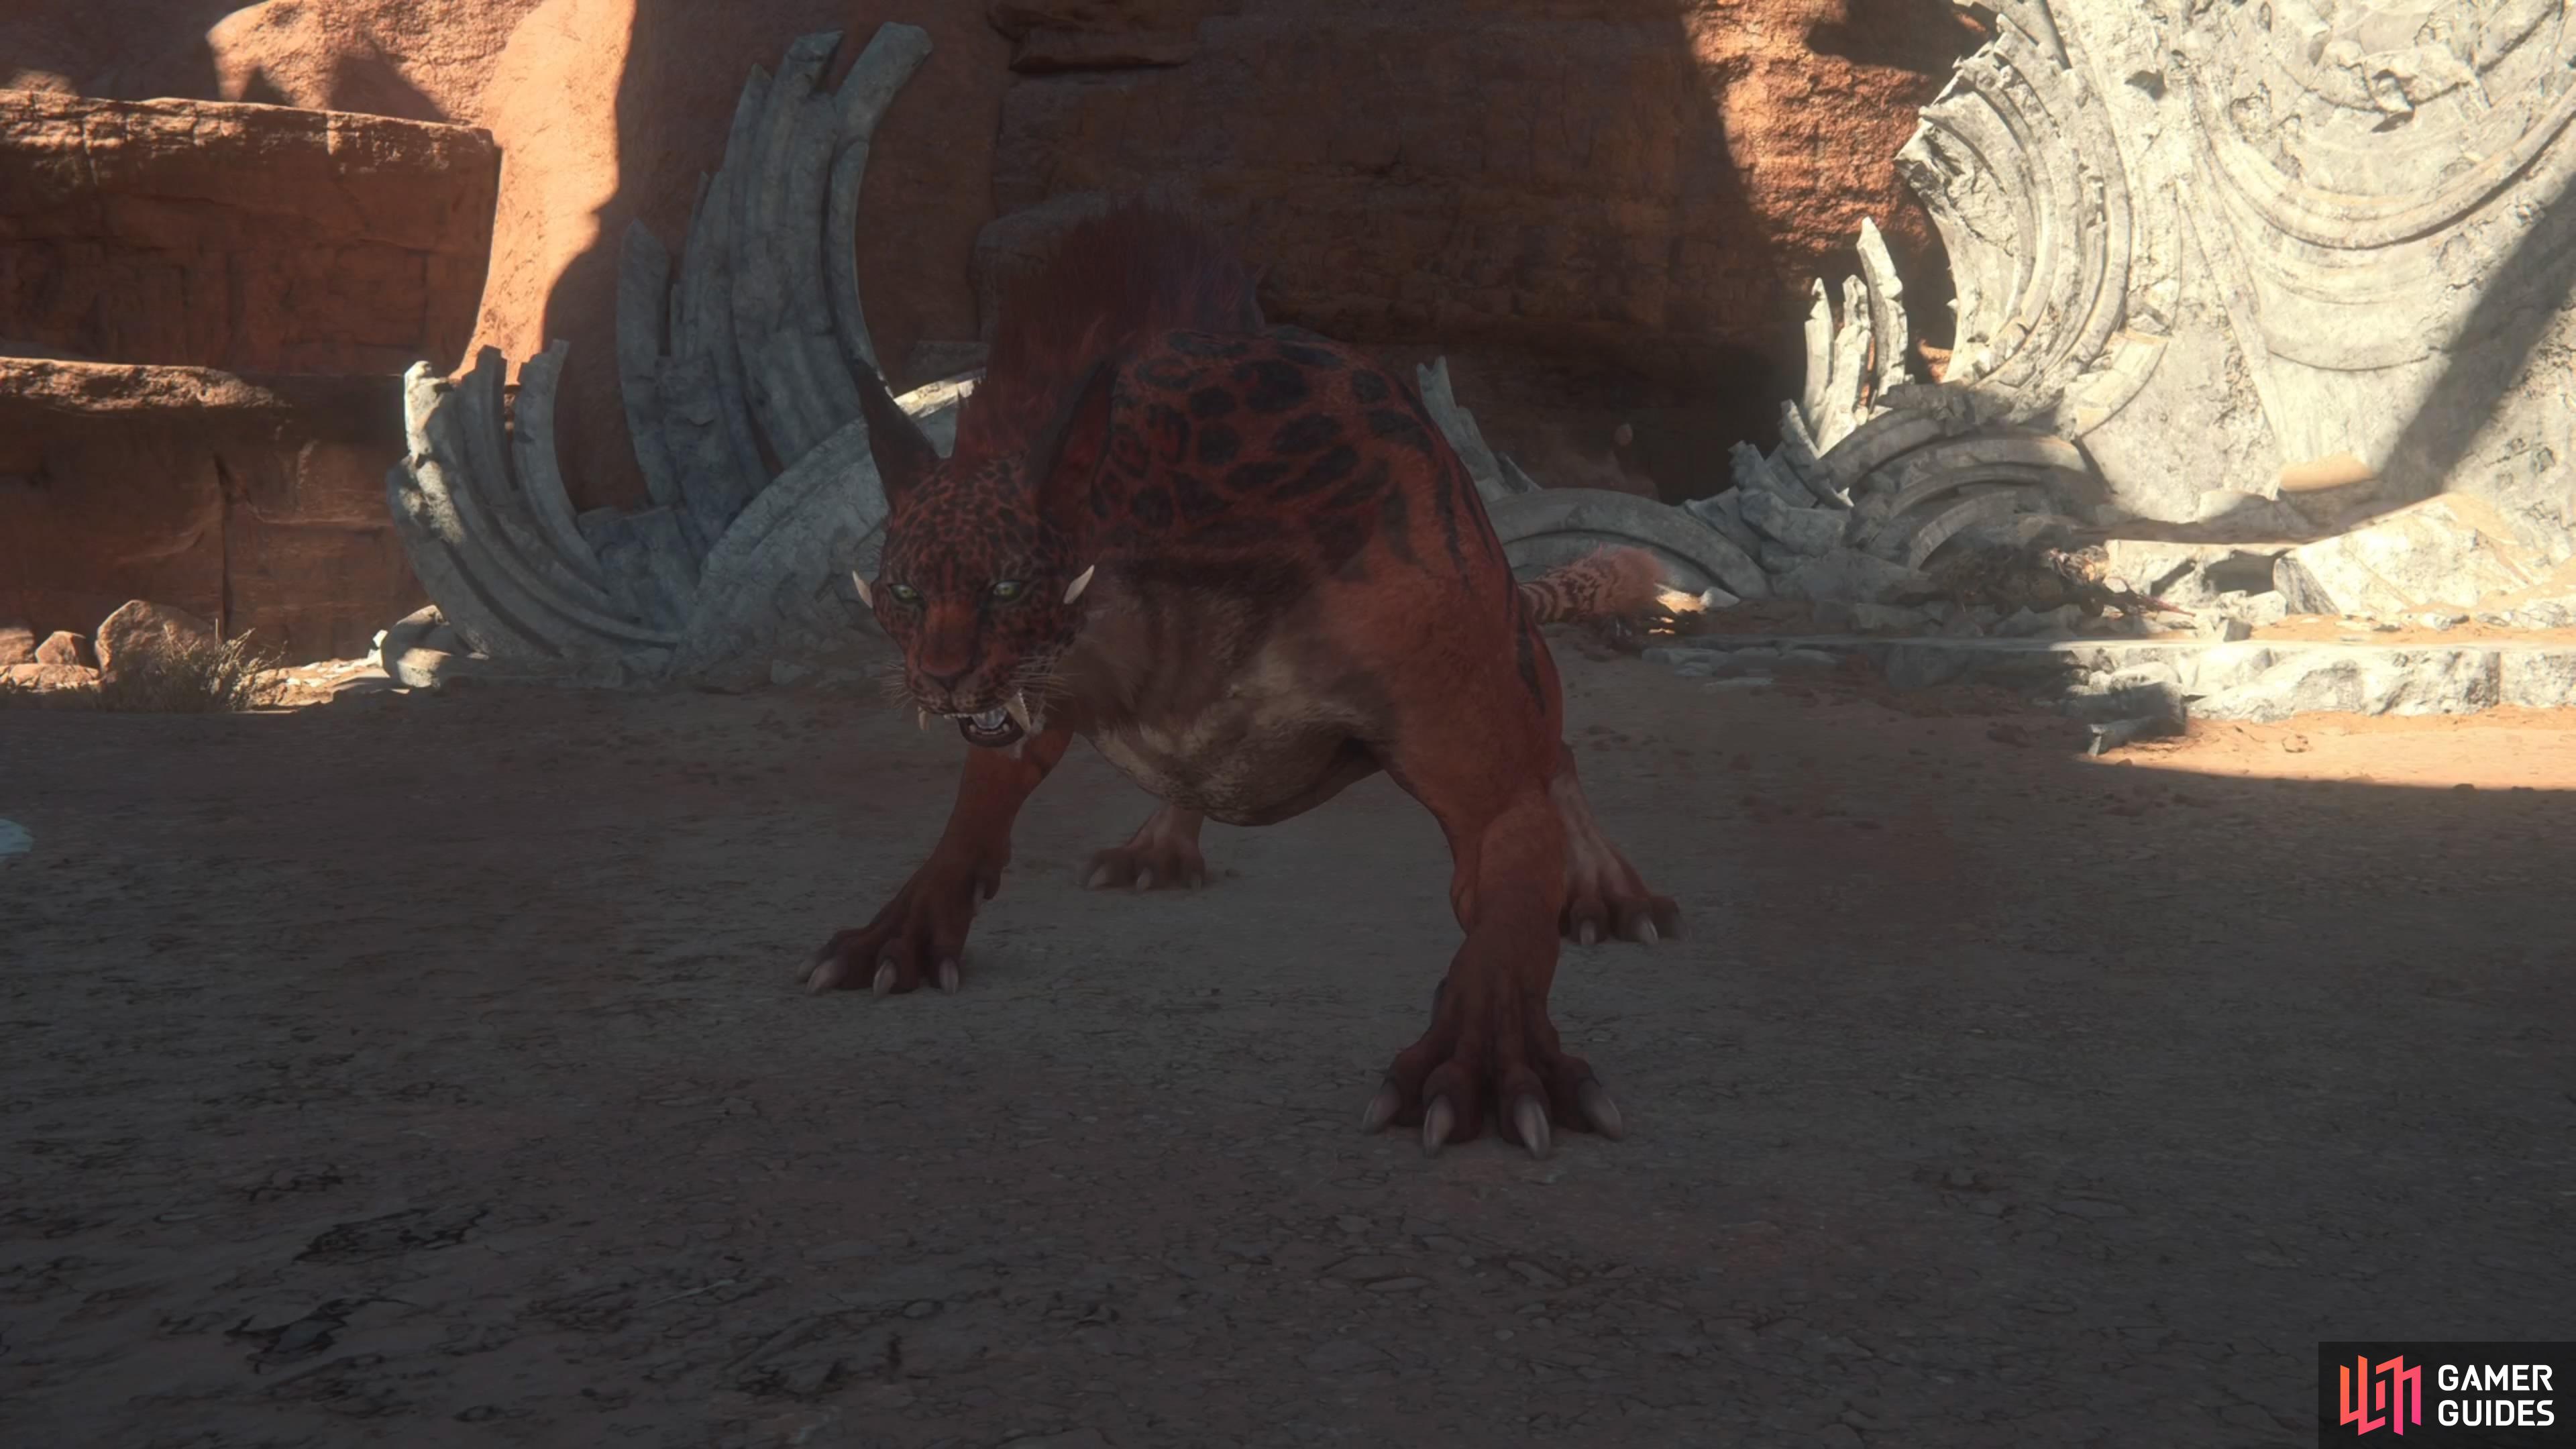
The Cattery is closest to The Jaw Obelisk, although it’s not a straight path there. (left), The Grimalkin will be sitting on a ledge upon entering the area. (right)
Grimalkin’s Attacks
Below, you’ll find all of the attacks that Grimalkin has in its arsenal.
| Attack | Description | Counter |
|---|---|---|
| Claw Swipe | Grimalkin will lunge forward and swipe with its paw. | Just dodge in any direction. |
| Spinning Attack | Grimalkin hops in place, then does a spinning attack. | Move away from it when it does the little hop. |
| Lunge | Grimalkin will do a short hop back, then lunge right at you. | Easy enough to dodge. |
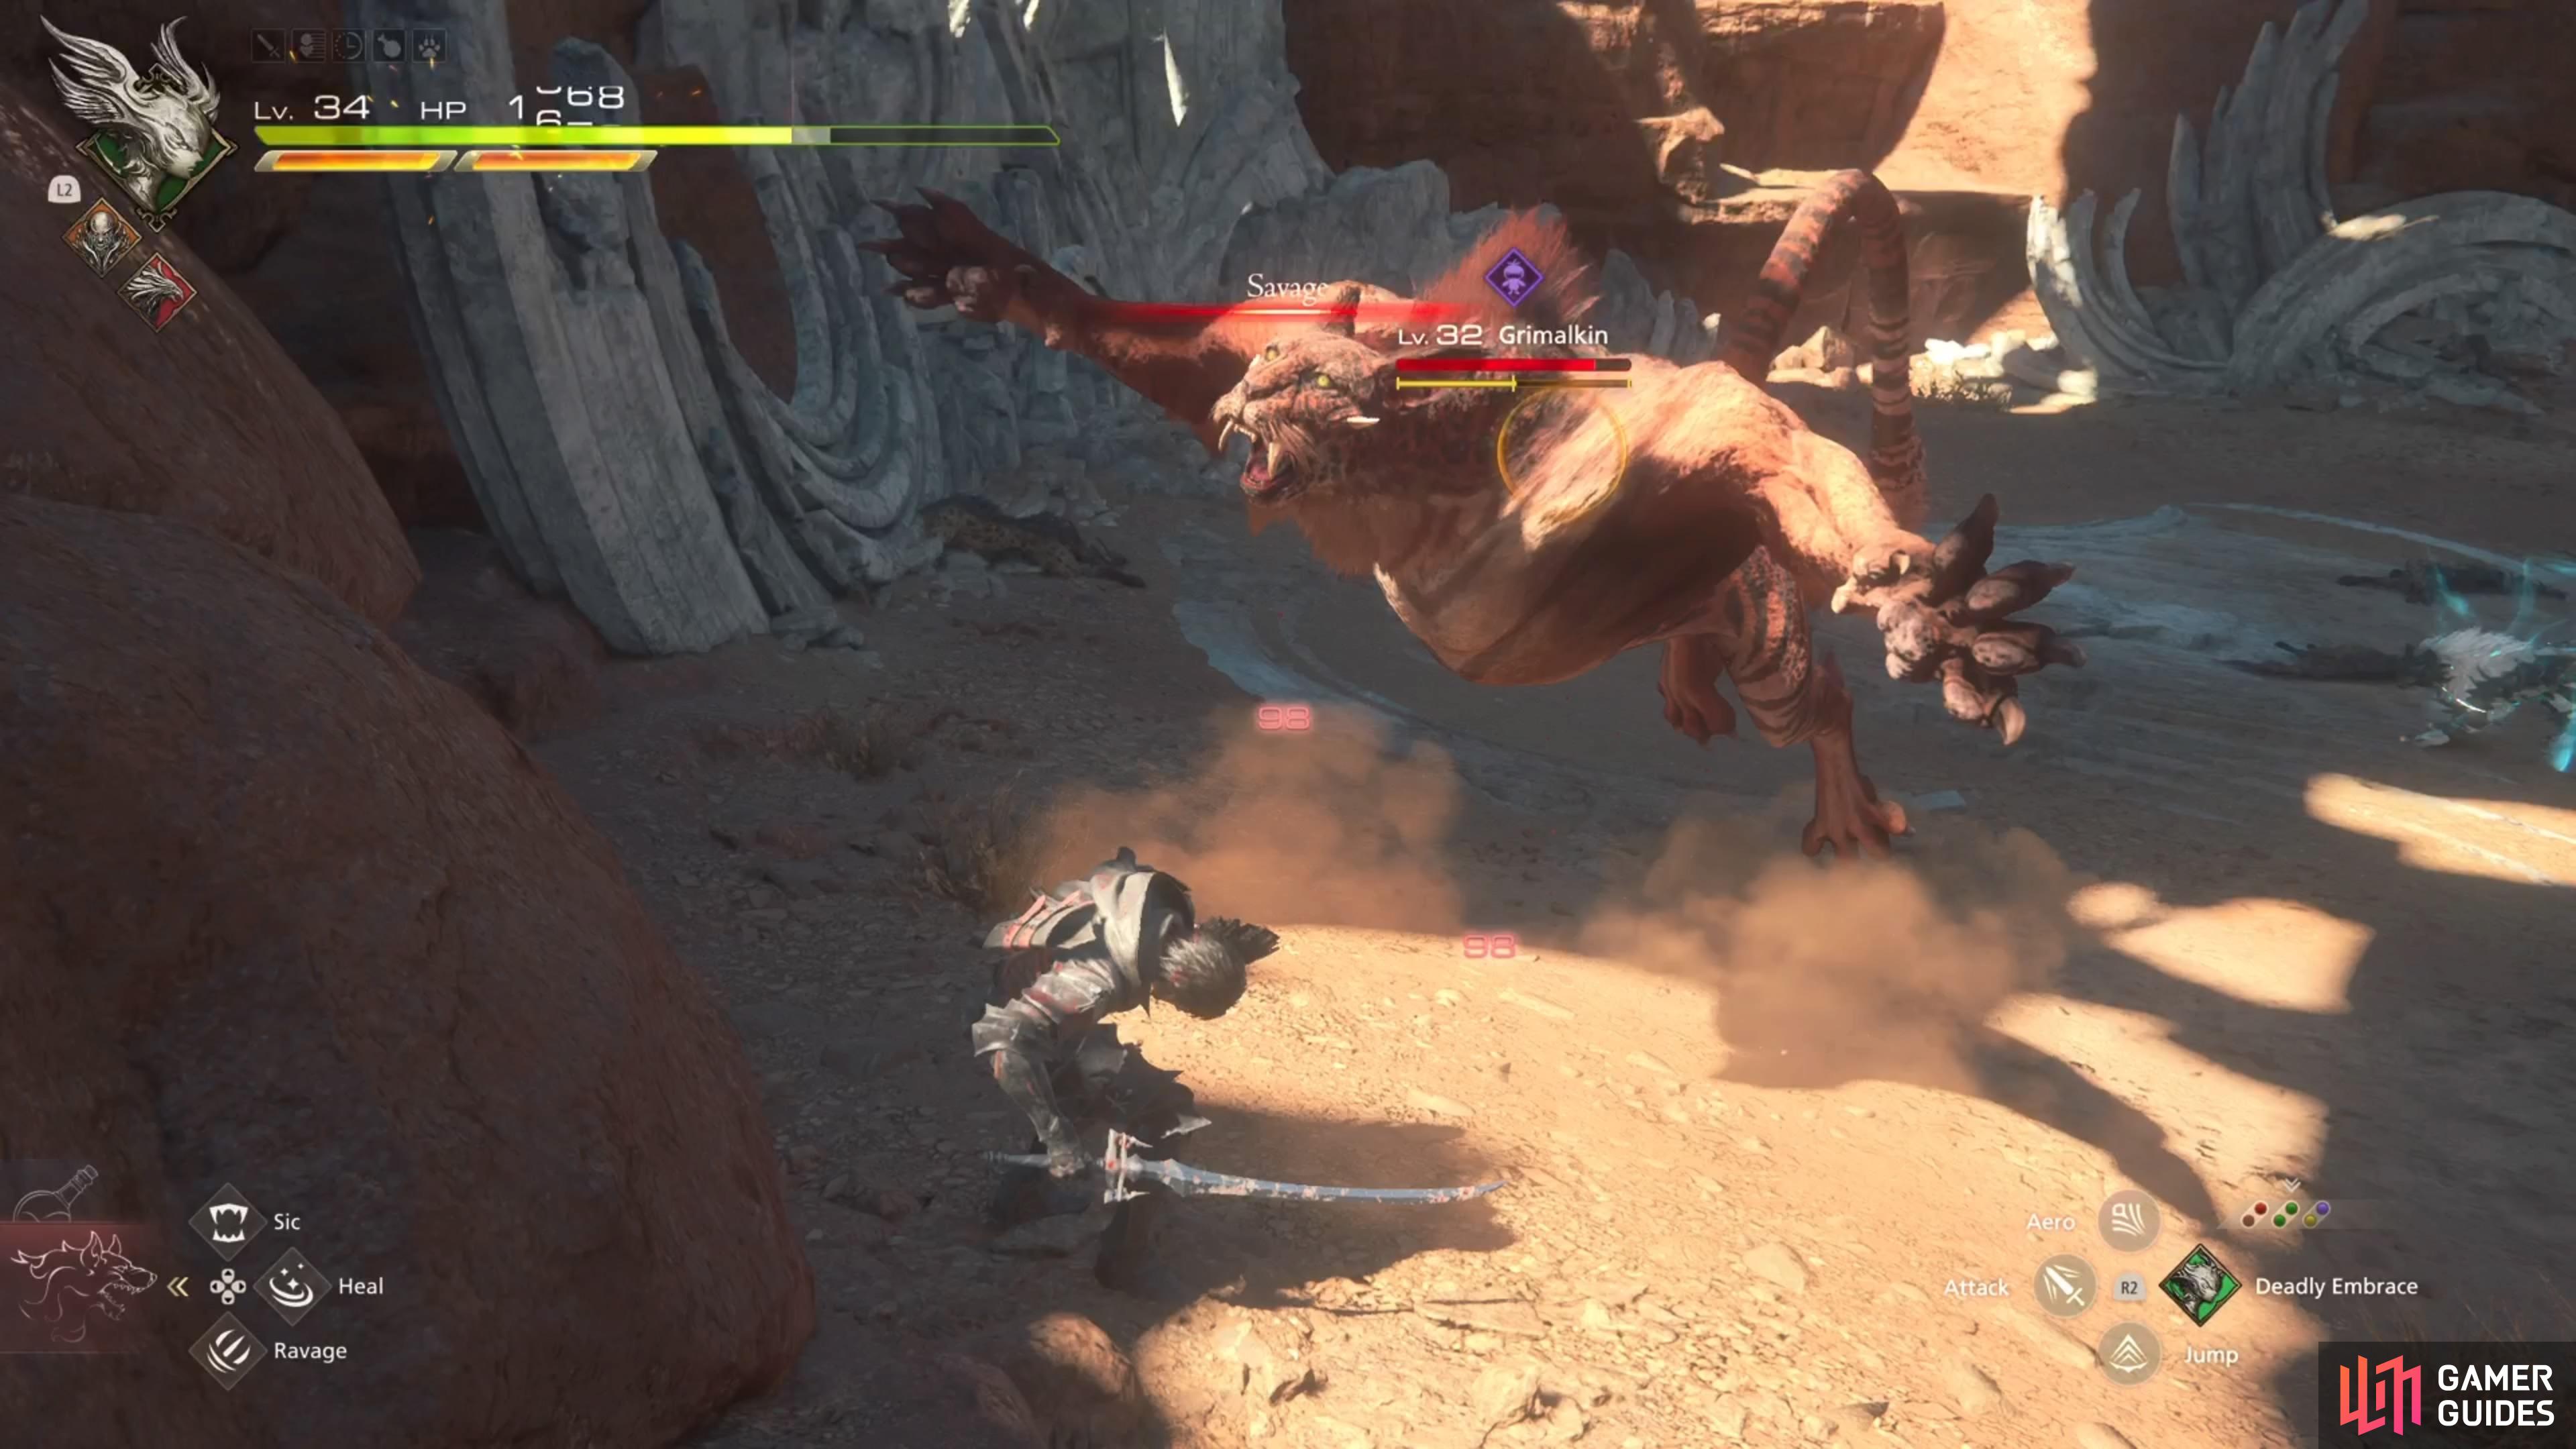
| Savage | Pounce forward, with two claw swipes, then another lunge. Jumps backwards to do one more lunging bite. | Quick attack, might be hard to dodge all hits. |
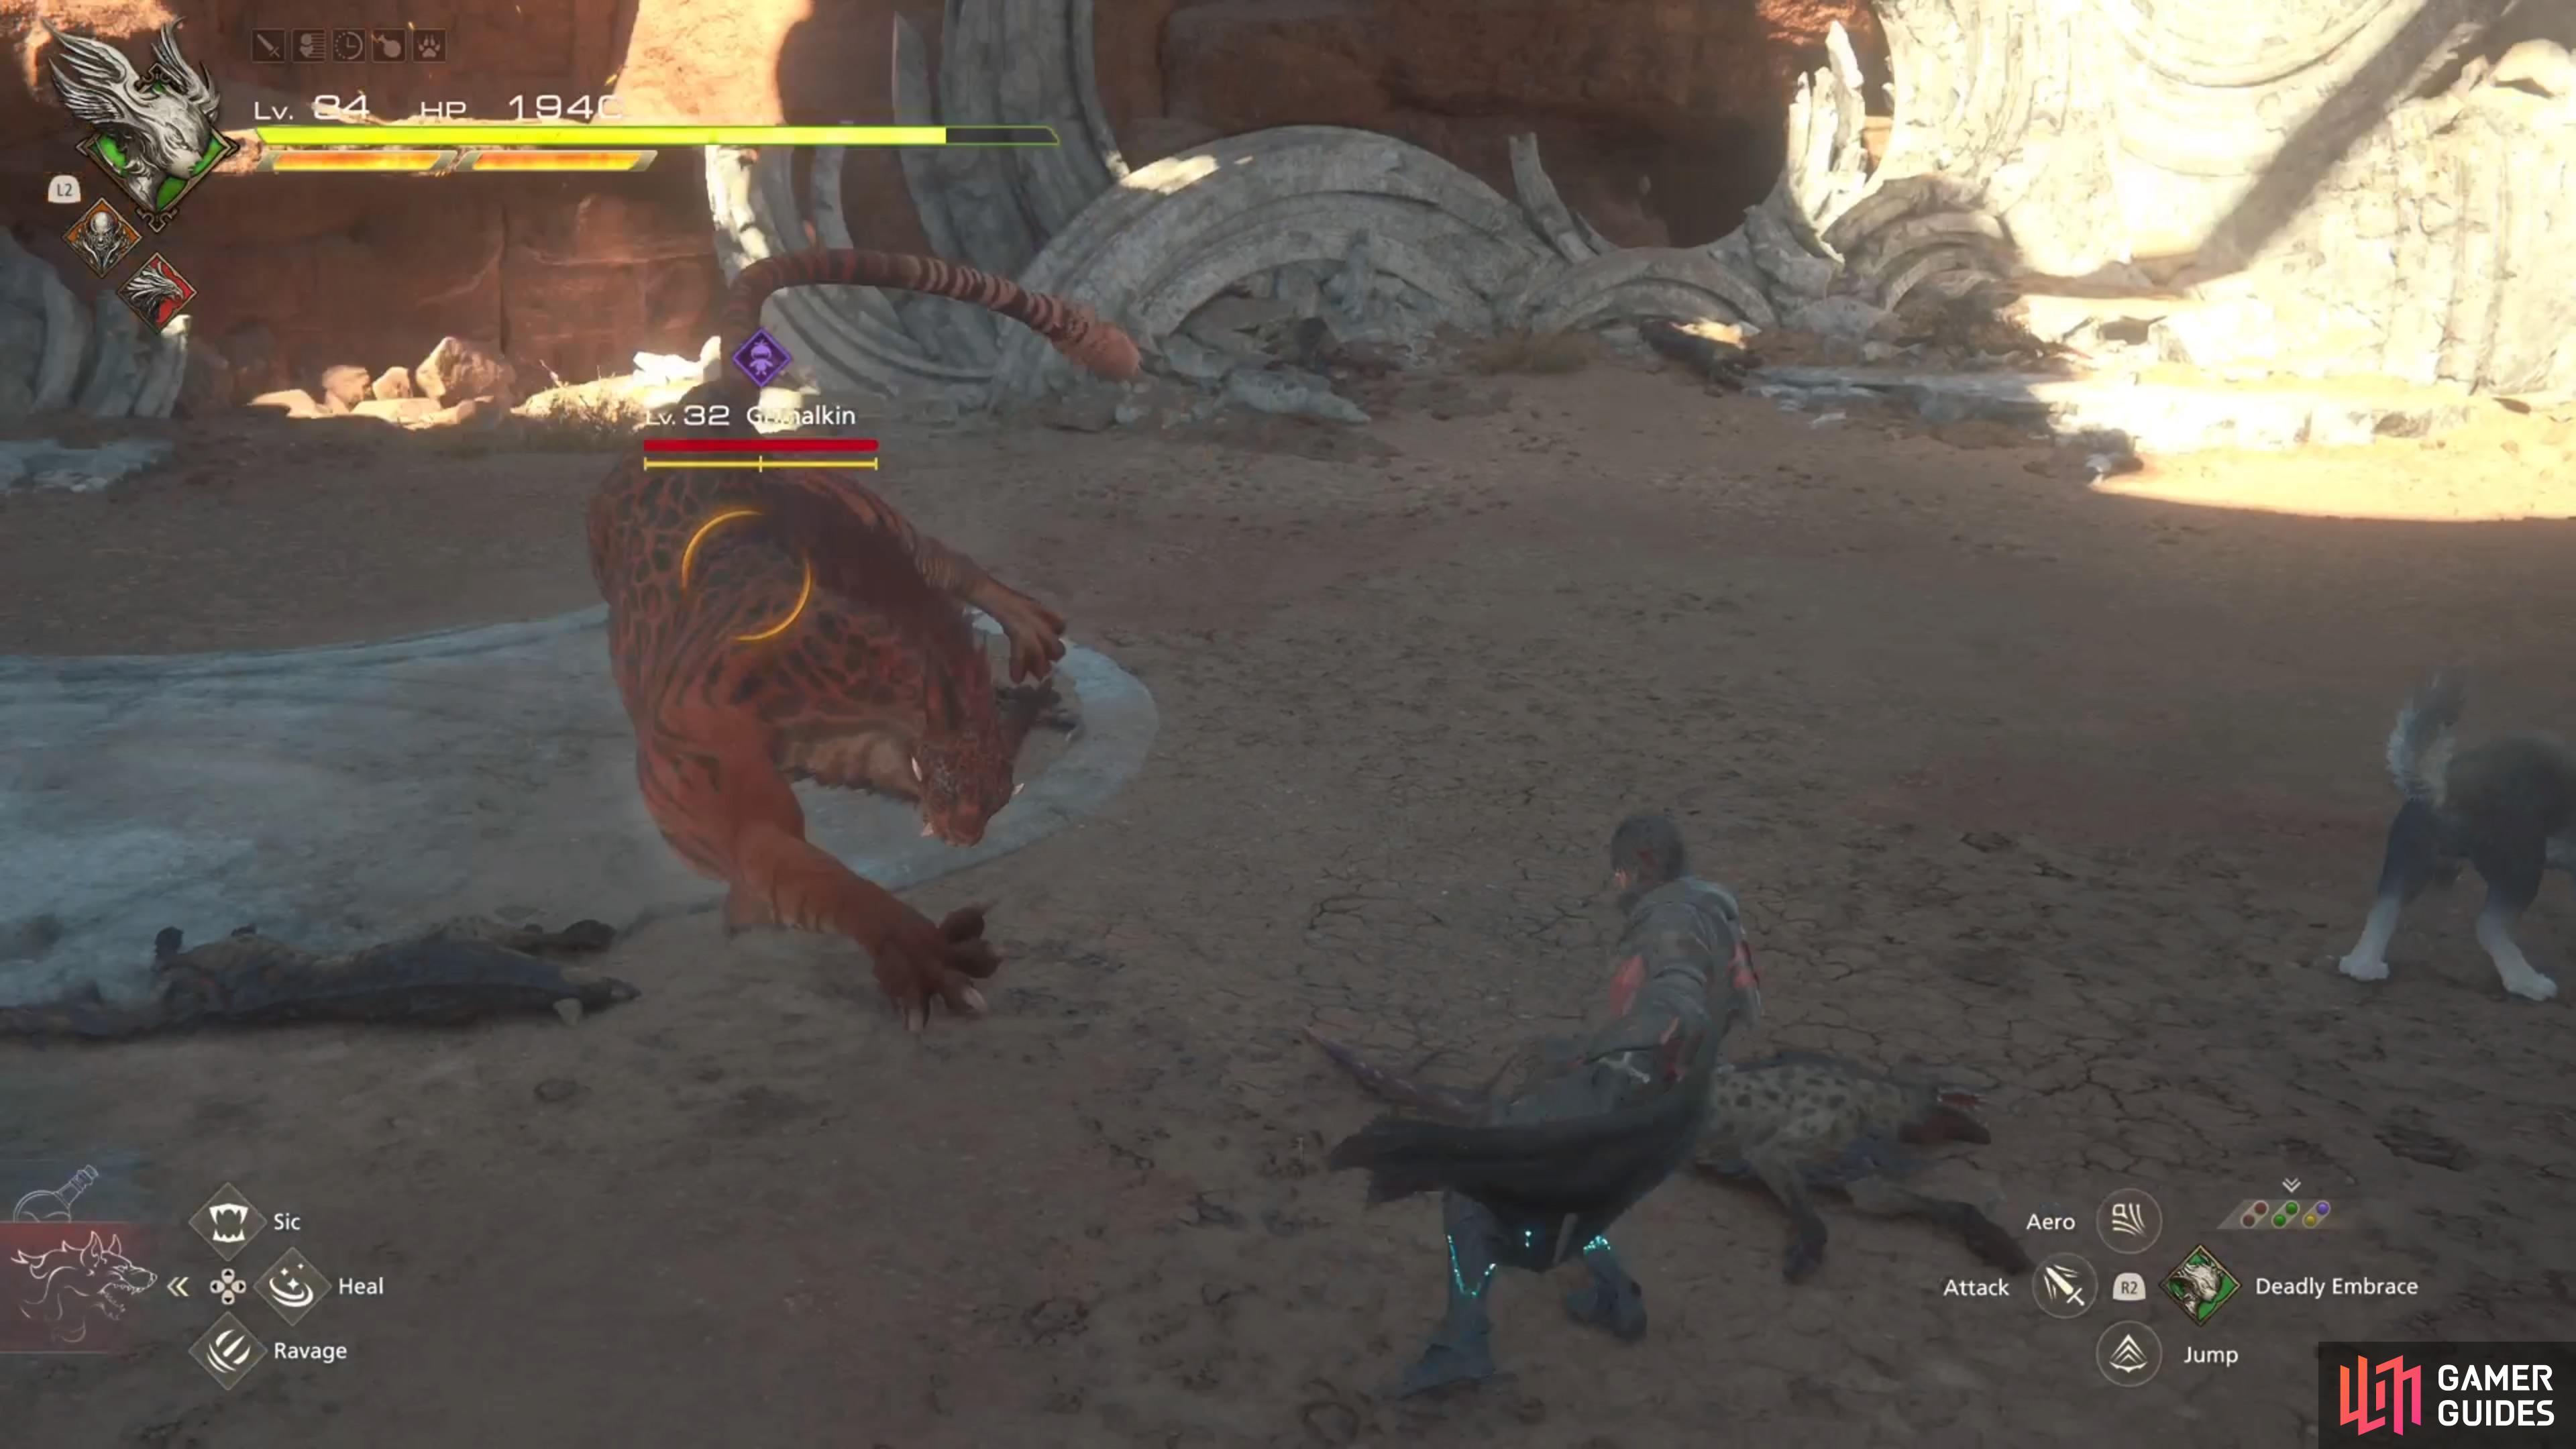
(1 of 4) This is a pretty standard claw swipe move and very easy to avoid.
Recommended Abilities for Grimalkin
Here, we will list our recommended ability set up to complete this hunt successfully.
| Eikon | Ability | Damage Type |
|---|---|---|
| Phoenix/ |
Damage (3 Stars), |
|
| Phoenix/Ifrit | Damage (3 Stars), Will (3 Stars) | |
| Damage (2 Stars), Will (4 Stars) | ||
| Garuda | Damage (2 Stars), Will (3 Stars) | |
| Damage (2 Stars), Will (3 Stars) | ||
| Titan | Damage (3 Stars), Will (3 Stars) |
Grimalkin doesn’t have any projectiles, so you won’t need anything like ![]() Heatwave here. Other than that, the above loadout was used just because it’s a good all round setup. Rising Flames and Flames of Rebirth are good for damage, while Gouge and Wicked Wheel are more for stagger damage. Considering the Grimalkin’s attacks, you can kind of get it to attack the Lightning Rod, once you’ve placed it. Raging Fists is used as a counter, when the enemy does attack (reduces its cooldown this way), as well as for its cinematic nature in that manner, too.
Heatwave here. Other than that, the above loadout was used just because it’s a good all round setup. Rising Flames and Flames of Rebirth are good for damage, while Gouge and Wicked Wheel are more for stagger damage. Considering the Grimalkin’s attacks, you can kind of get it to attack the Lightning Rod, once you’ve placed it. Raging Fists is used as a counter, when the enemy does attack (reduces its cooldown this way), as well as for its cinematic nature in that manner, too.
Recommended Items and Equipment for Grimalkin
Gear
| Weapon | Belt | Vambraces |
|---|---|---|
These are what we used for this hunt, but should you not have them, just use whatever you have that’s the strongest.
Accessories
| Accessory 1 | Accessory 2 | Accessory 3 |
|---|---|---|
This is what we used for this battle, although you can use whatever you want. If you have trouble with the action-based fights in the game, you could use the Timely accessories to help with dodging or issuing commands to Torgal.
Items
| Shortcut 1 | Shortcut 2 | Shortcut 3 |
|---|---|---|
These are the items we had on the shortcuts for this battle. Potions and High Potions are always great, in case you need healing, and the Stoneskin Tonic is useful for increasing your defense, especially should you get hit by Savage.
Grimalkin Boss Strategy in Final Fantasy XVI
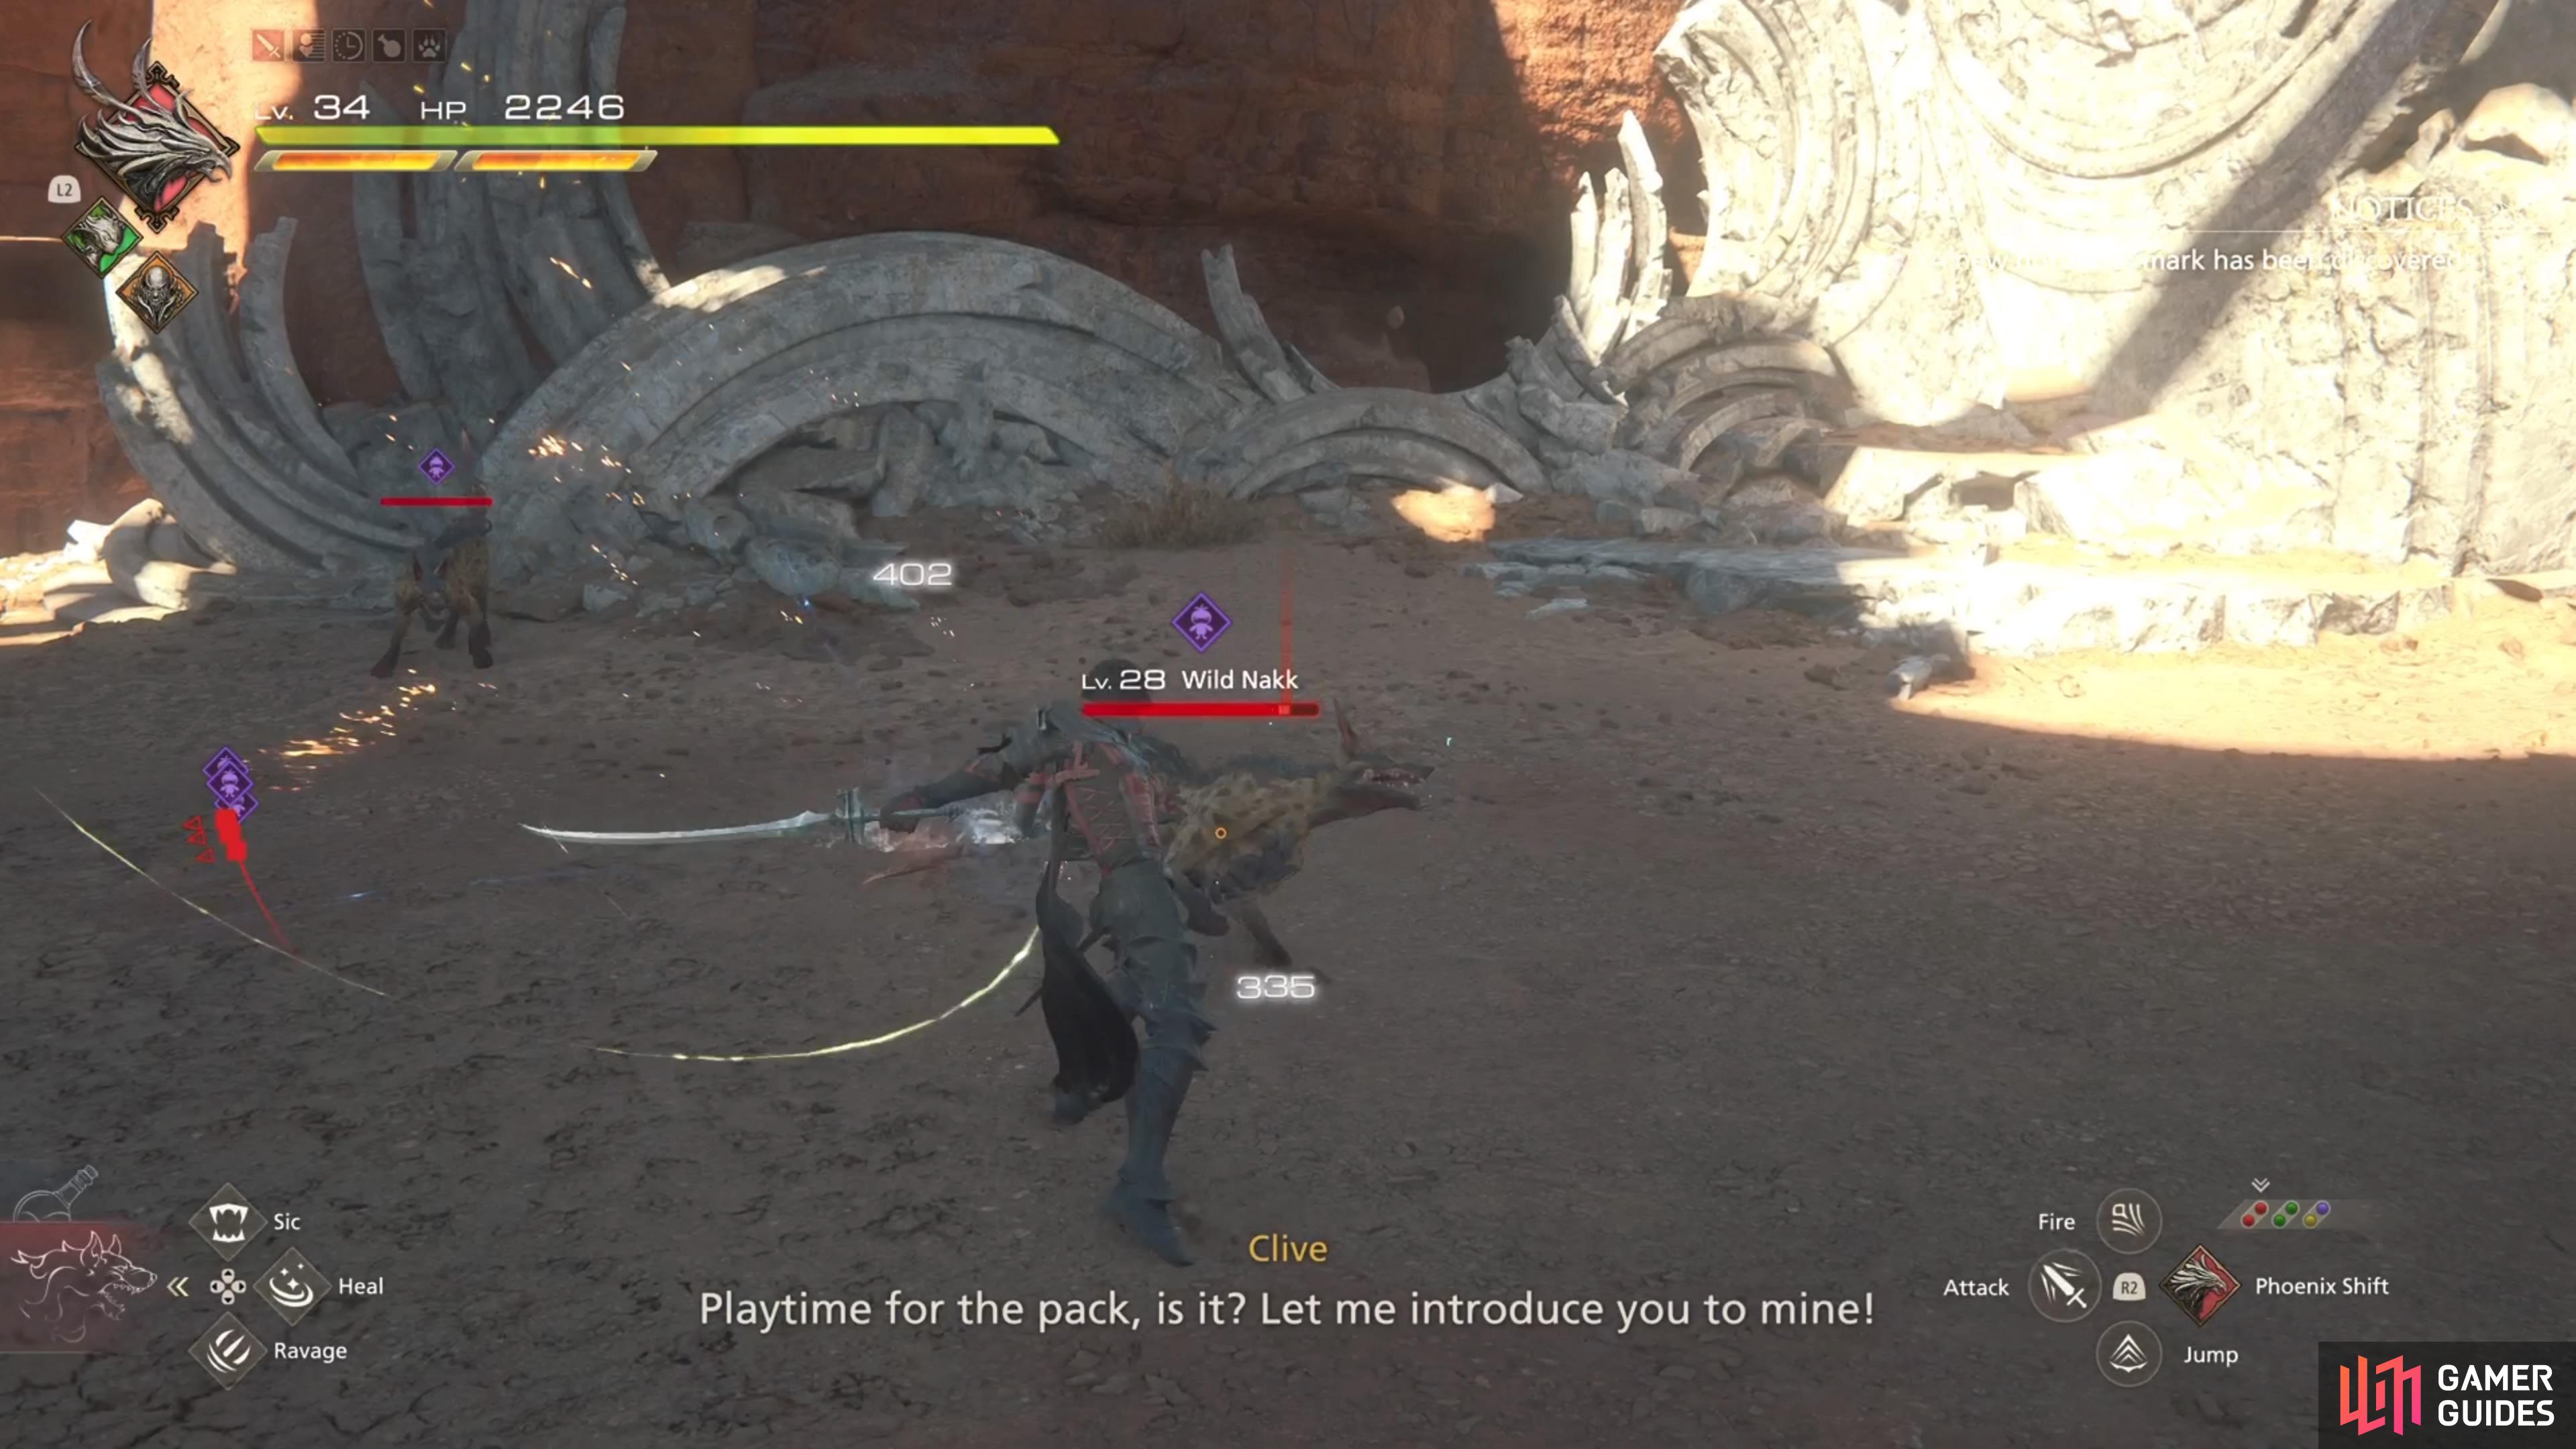
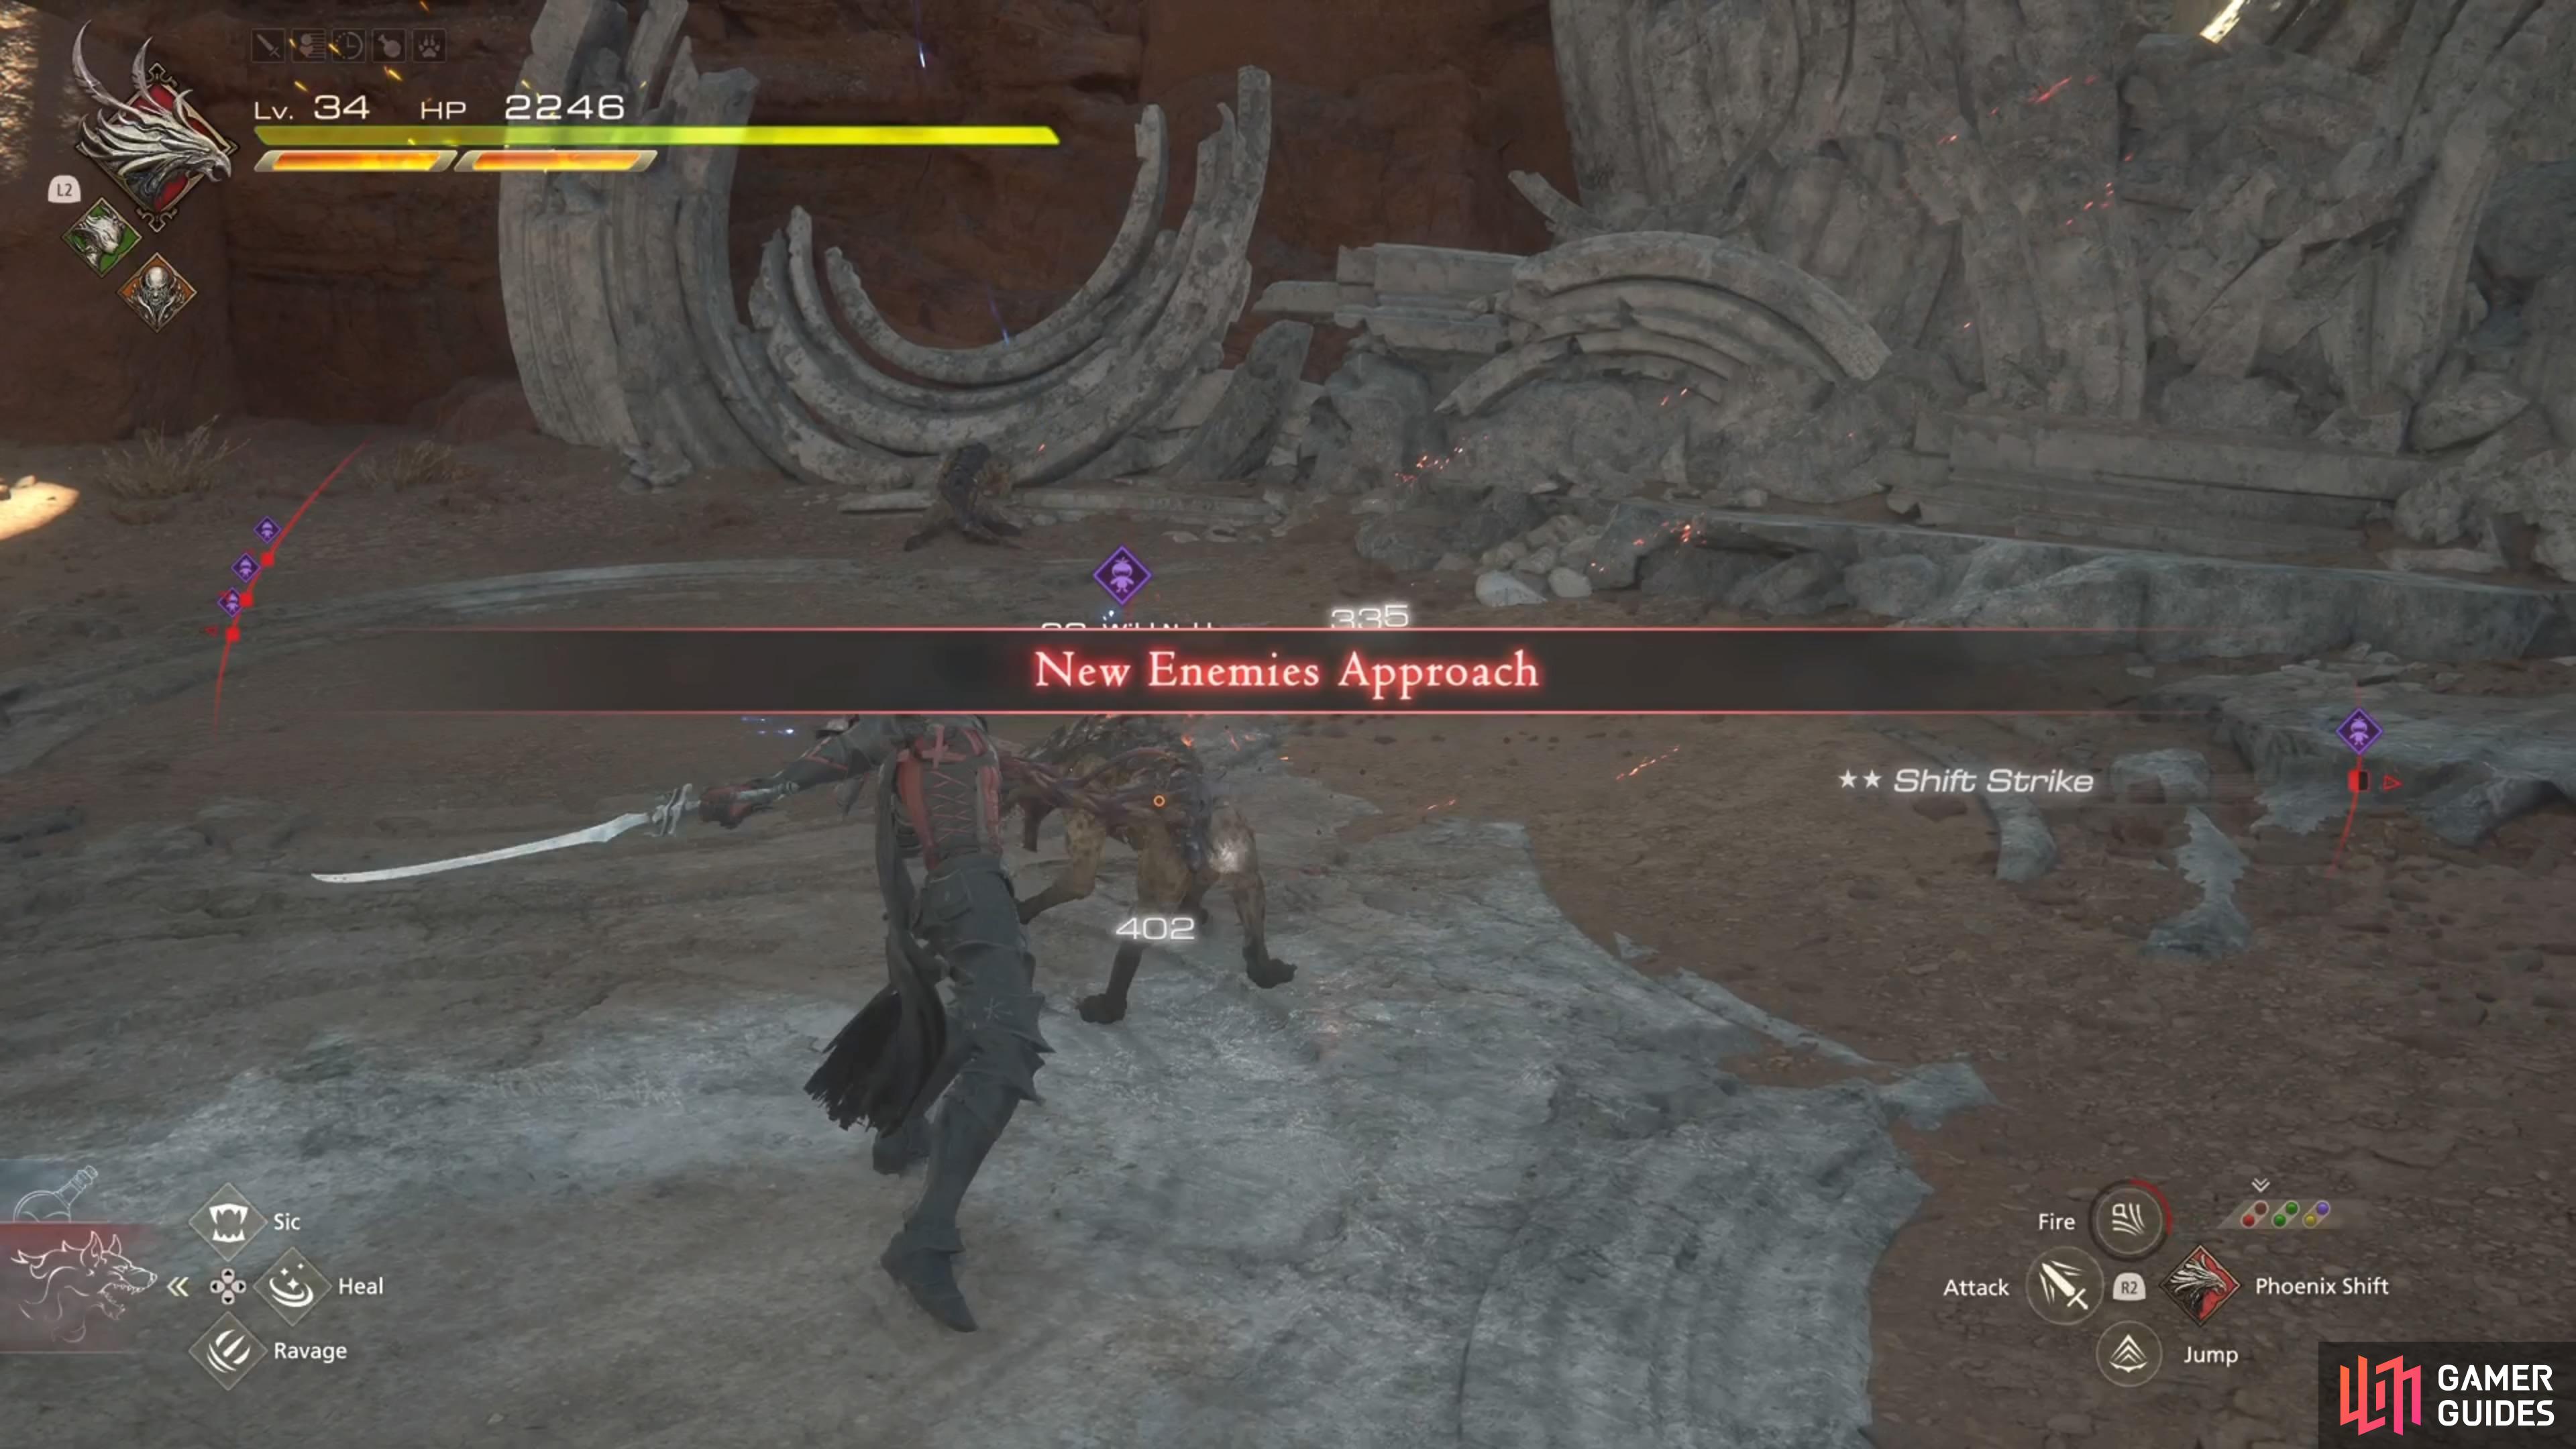
When you first arrive at Grimalkin, you won’t be fighting it directly. Instead, you will have some lesser enemies, called Wild Nakks. There will be four waves of these enemies, all of which are level 28 or so, but they aren’t anything new and really easy. If you have any area-of-effect Eikon abilities, then this is a great time to make things go quickly. Upon defeating all waves, Grimalkin will finally join the fight and it will be one-on-one.
(1 of 3) You’ll have to fight some normal enemies at the start.
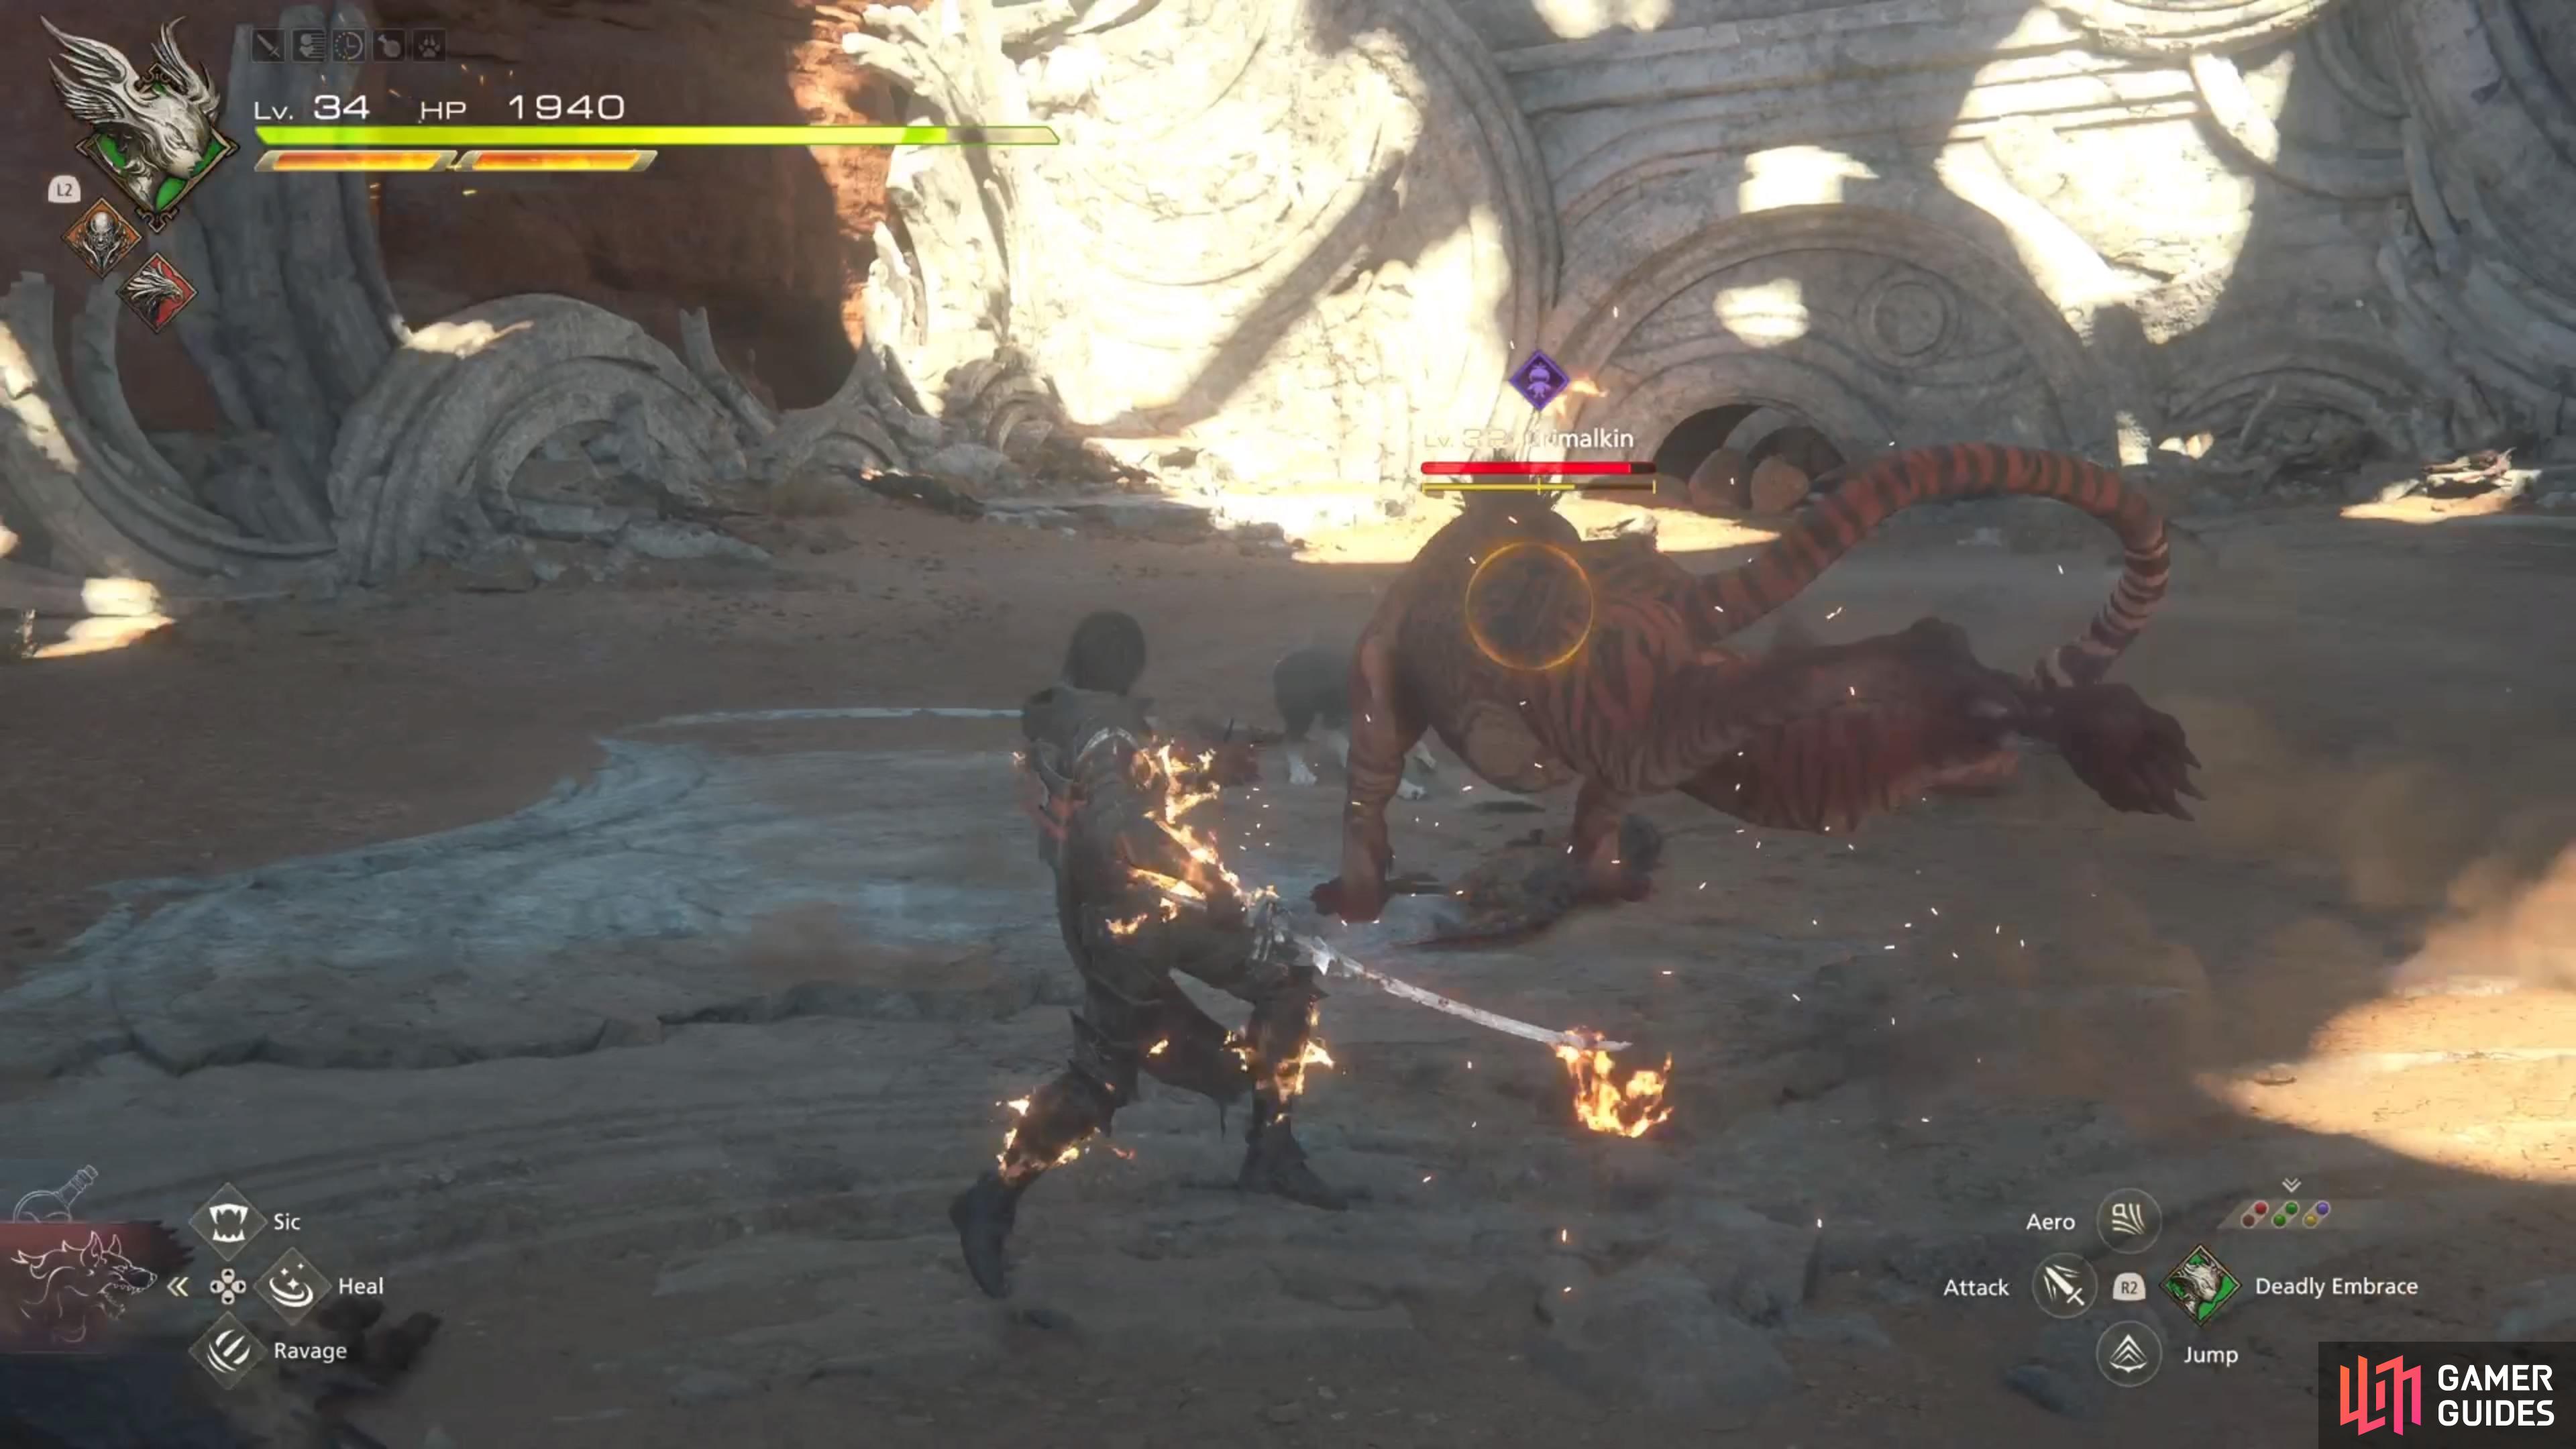
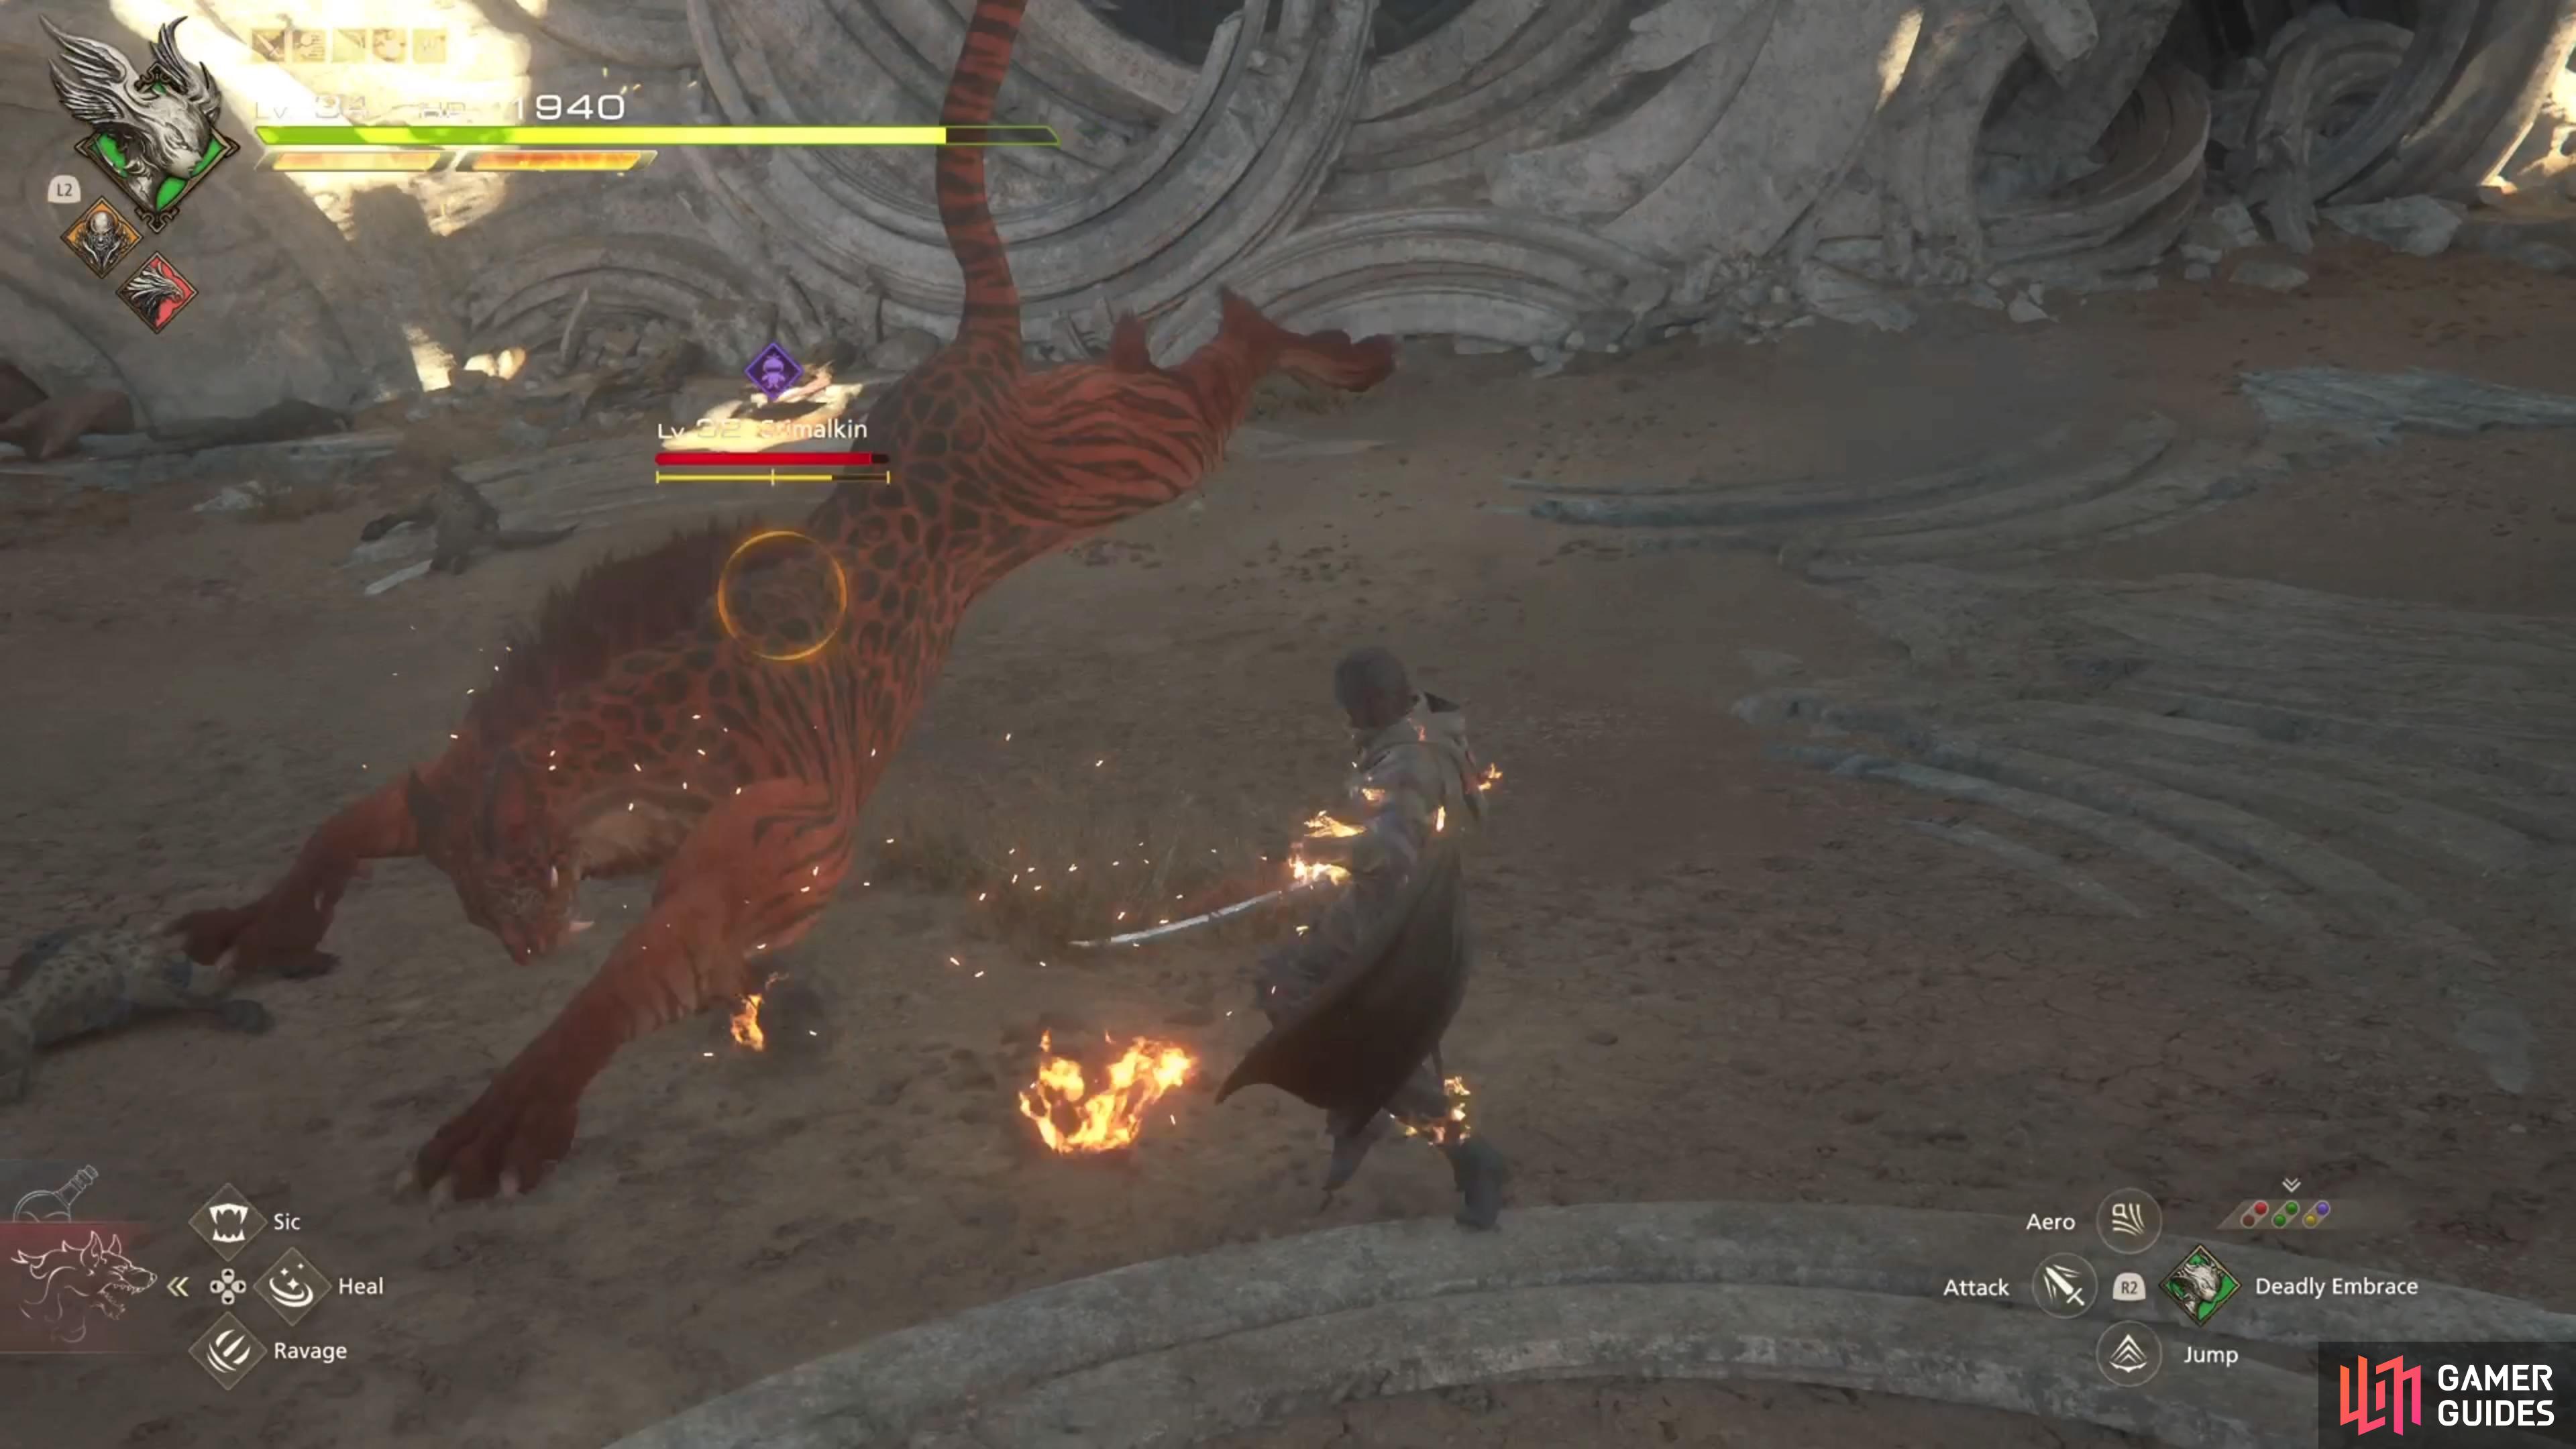
Overall, Grimalkin is pretty easy, as it doesn’t really do anything new at a health threshold, or after staggering it. That means you will see all of its attacks right away, which means you won’t have any surprises. The only really bad attack in the bunch is Savage, as the first two parts of it come out very quick, so they can be a little difficult to dodge. There will be a slight delay before the last lunge is executed for Savage, so if you do get hit by the first parts, you should have enough time to dodge the last one.
Since Grimalkin has a limited moveset, which isn’t really anything special, you should have no problem in defeating it quickly. You will receive 500 XP, 45 AP, 6,100 ![]() Gil, and 10 Renown, as well as a
Gil, and 10 Renown, as well as a ![]() Grimalkin Hide for your spoils. If you intend to craft the
Grimalkin Hide for your spoils. If you intend to craft the ![]() Excalibur sword, then you will need to do this hunt, for the hide.
Excalibur sword, then you will need to do this hunt, for the hide.
More Final Fantasy 16 Hunts
For information on some of the other ![]() Notorious Marks you can take on in Final Fantasy XVI, check out these pages below:
Notorious Marks you can take on in Final Fantasy XVI, check out these pages below:

 Sign up
No Comments