Zelda: Tears of the Kingdom brings some new additions, such as The Depths which is an underground island. However, navigating can be very tricky if you aren’t prepared, so we’ve compiled a list of Tips that will help you progress.
You can enter the Depths via any of the chasms on the surface.
Best Way To Navigate The Depths
There are several ways to get about down there, so let’s check on that the best methods are.
#1 How to Tame an Undead Horse
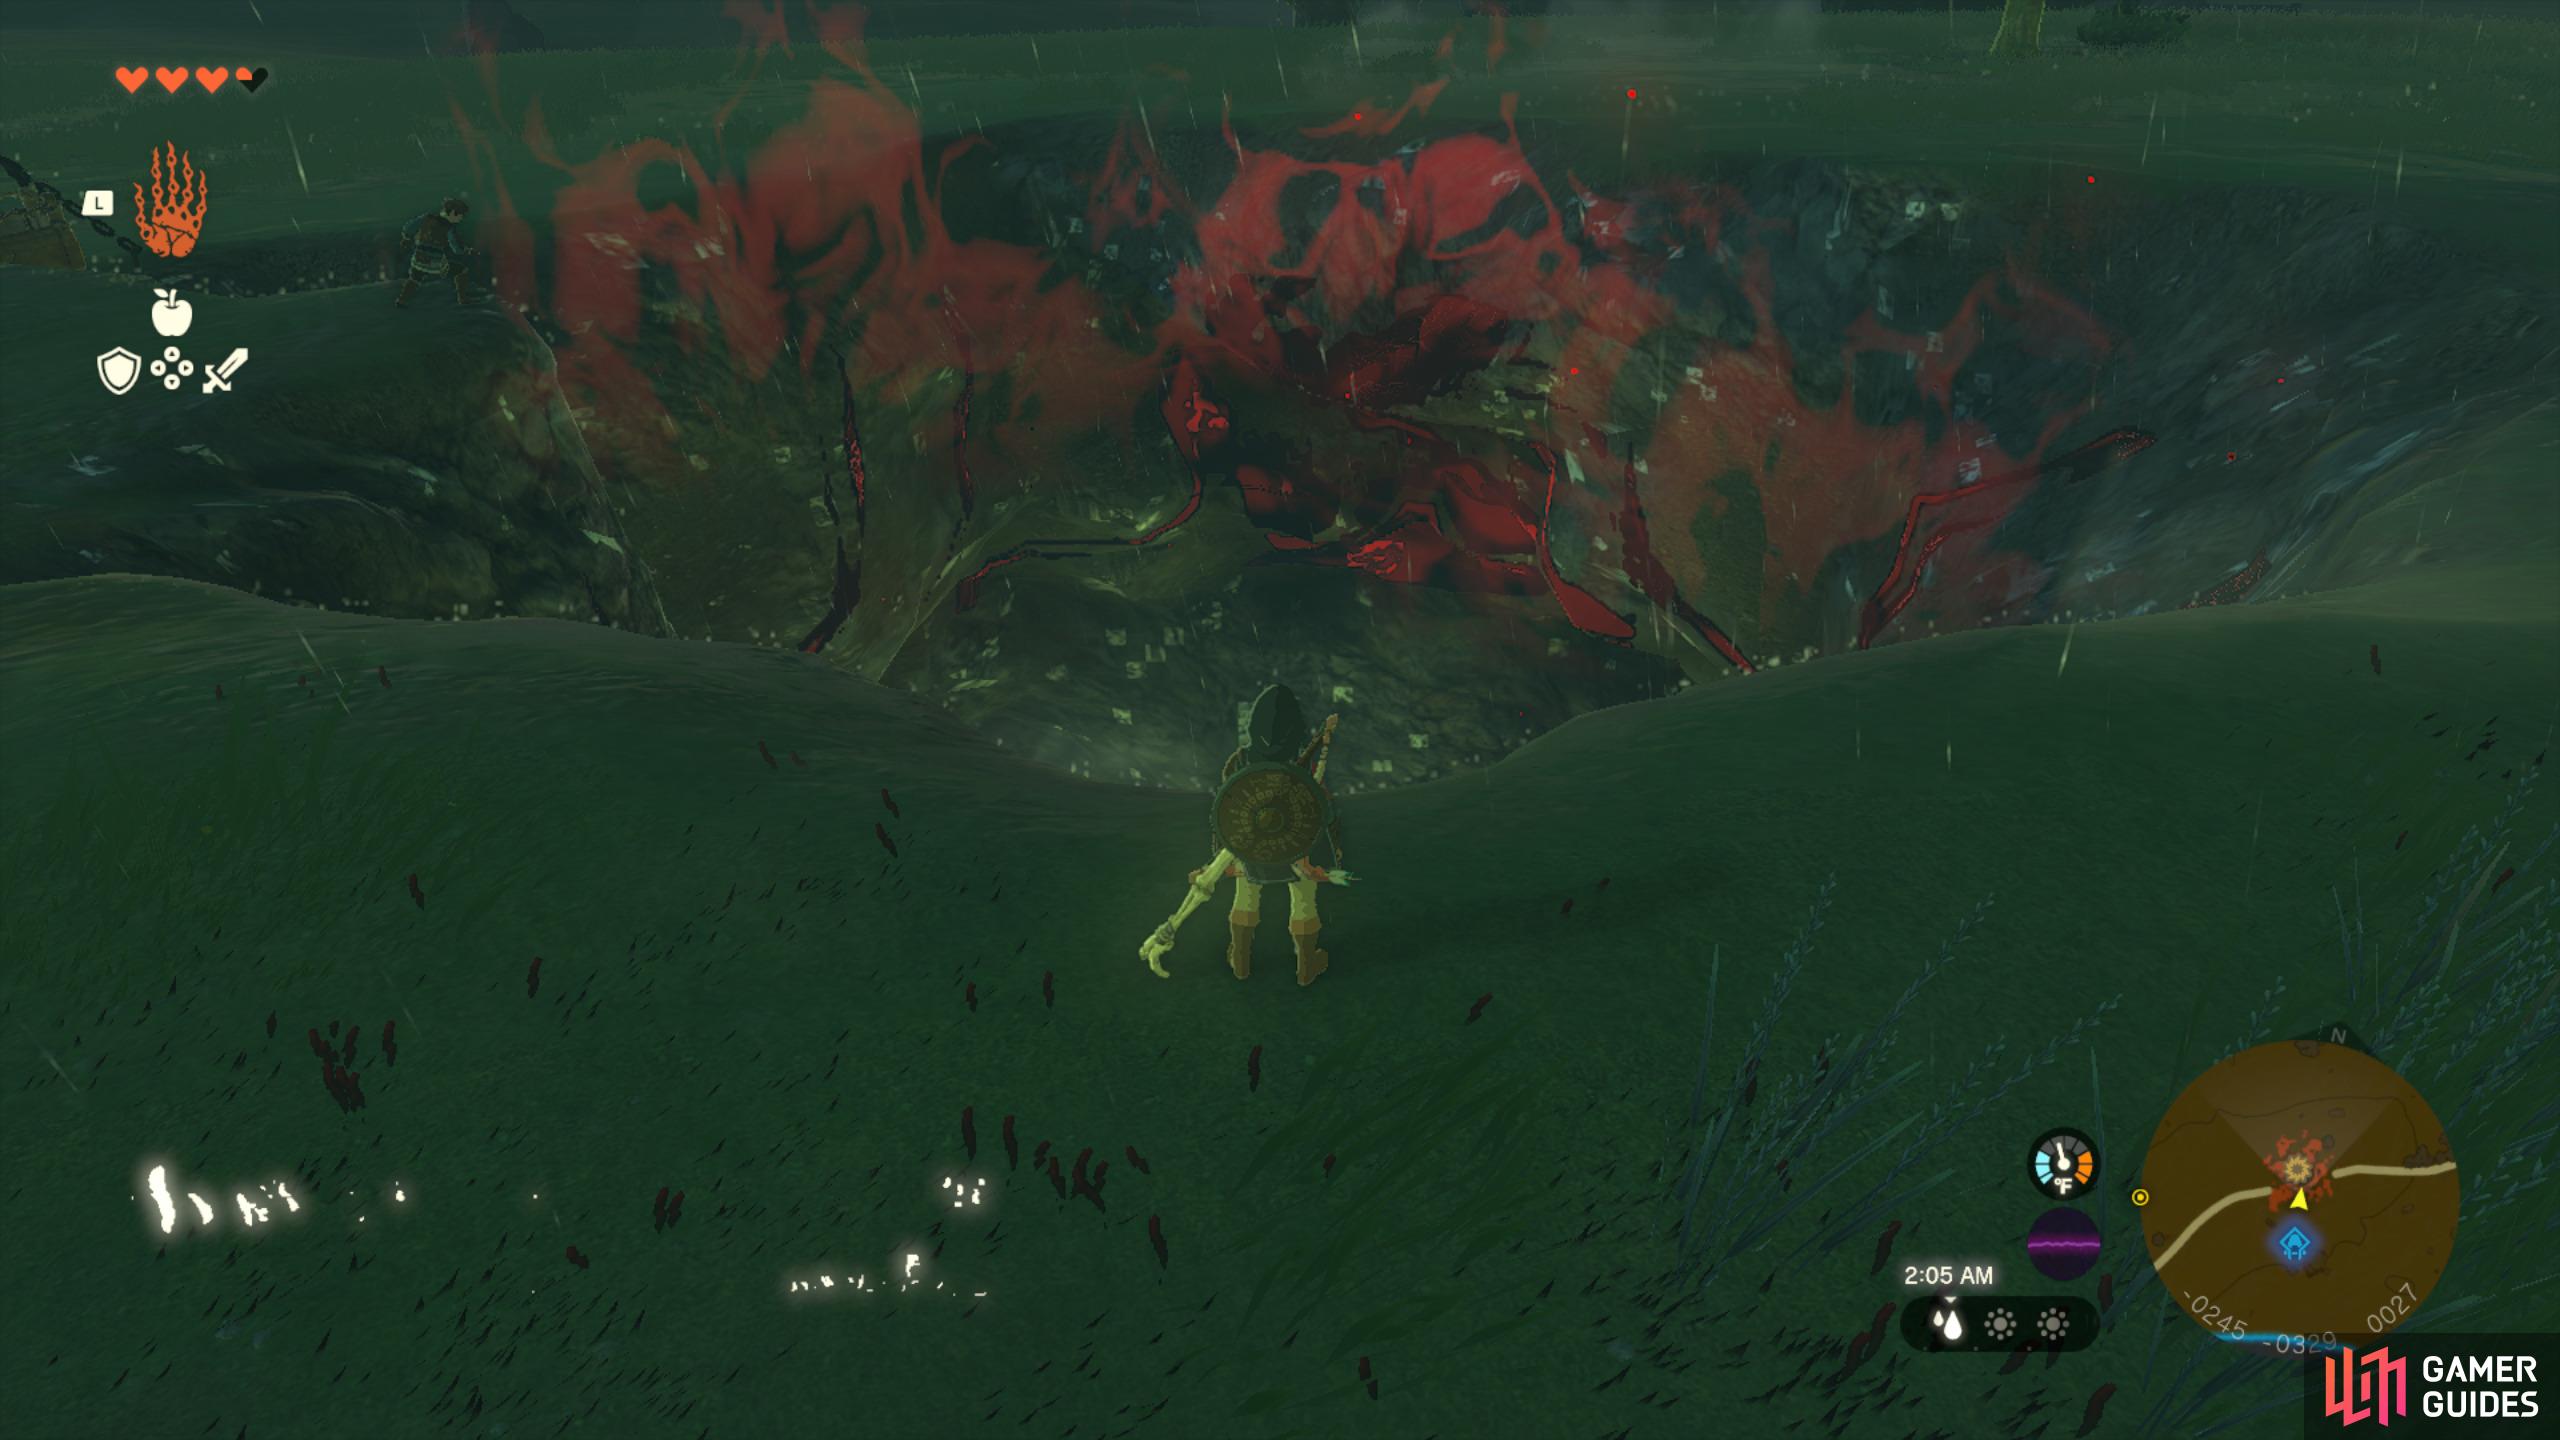
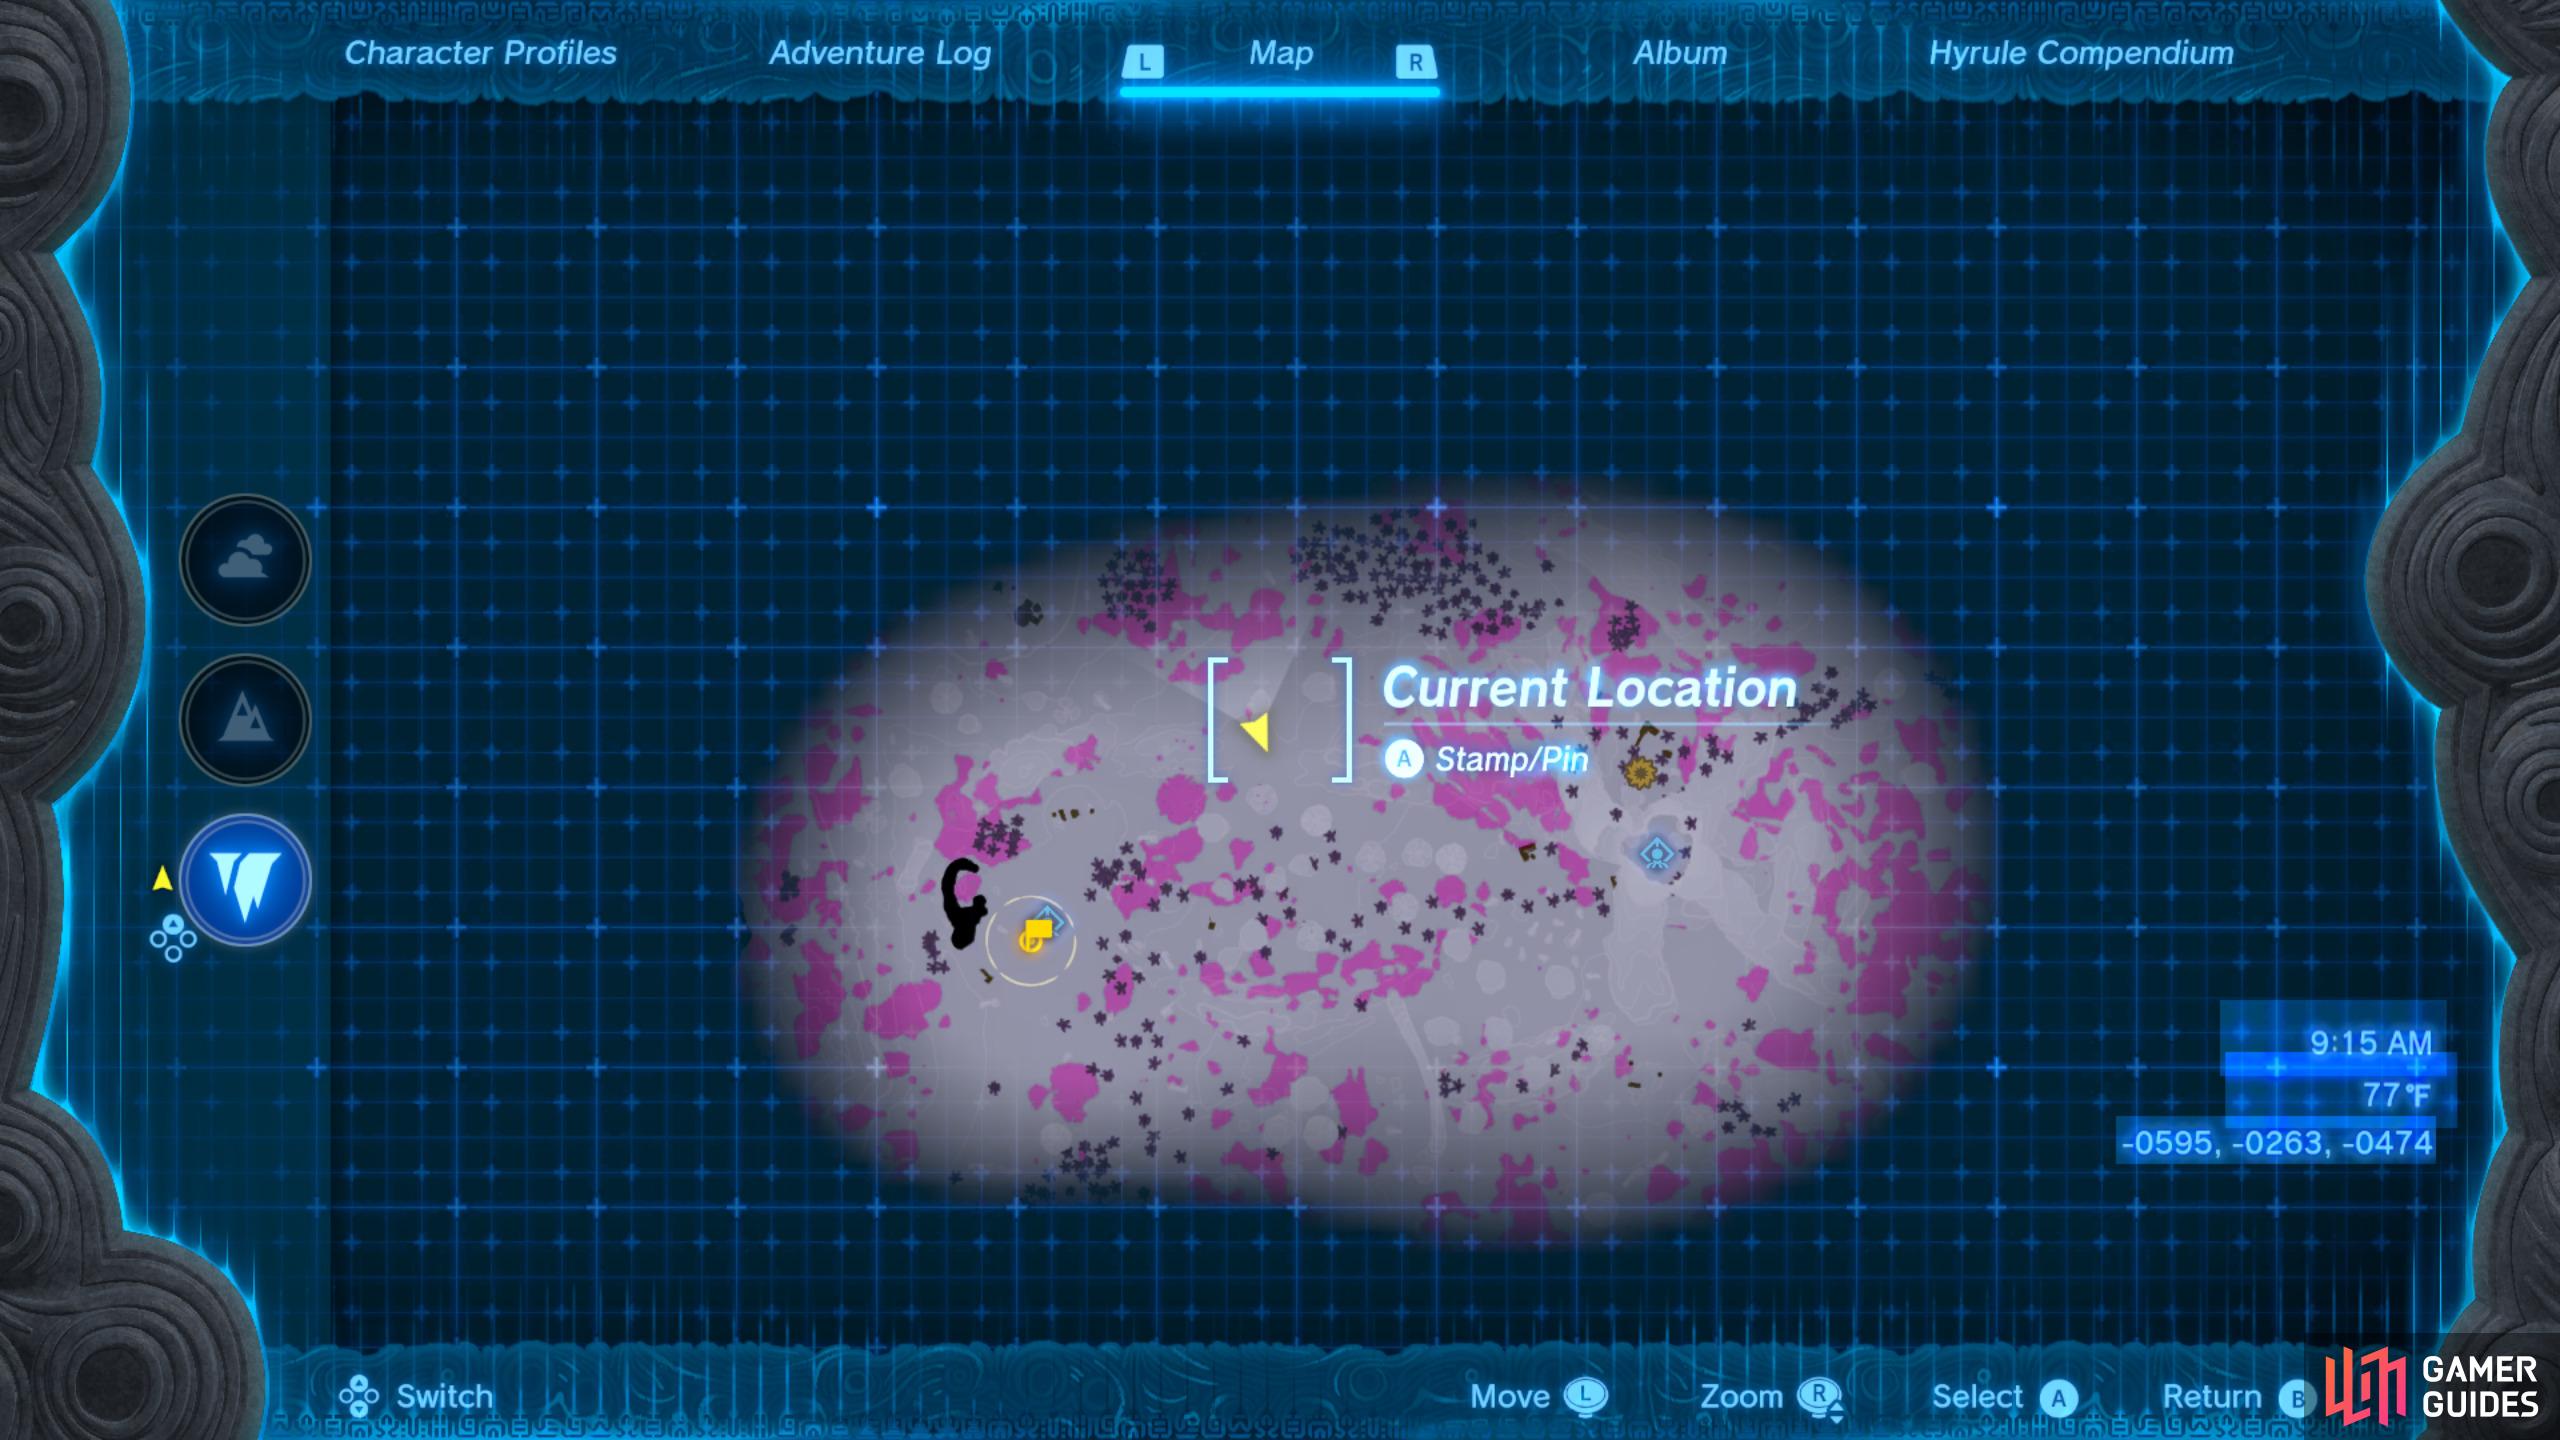
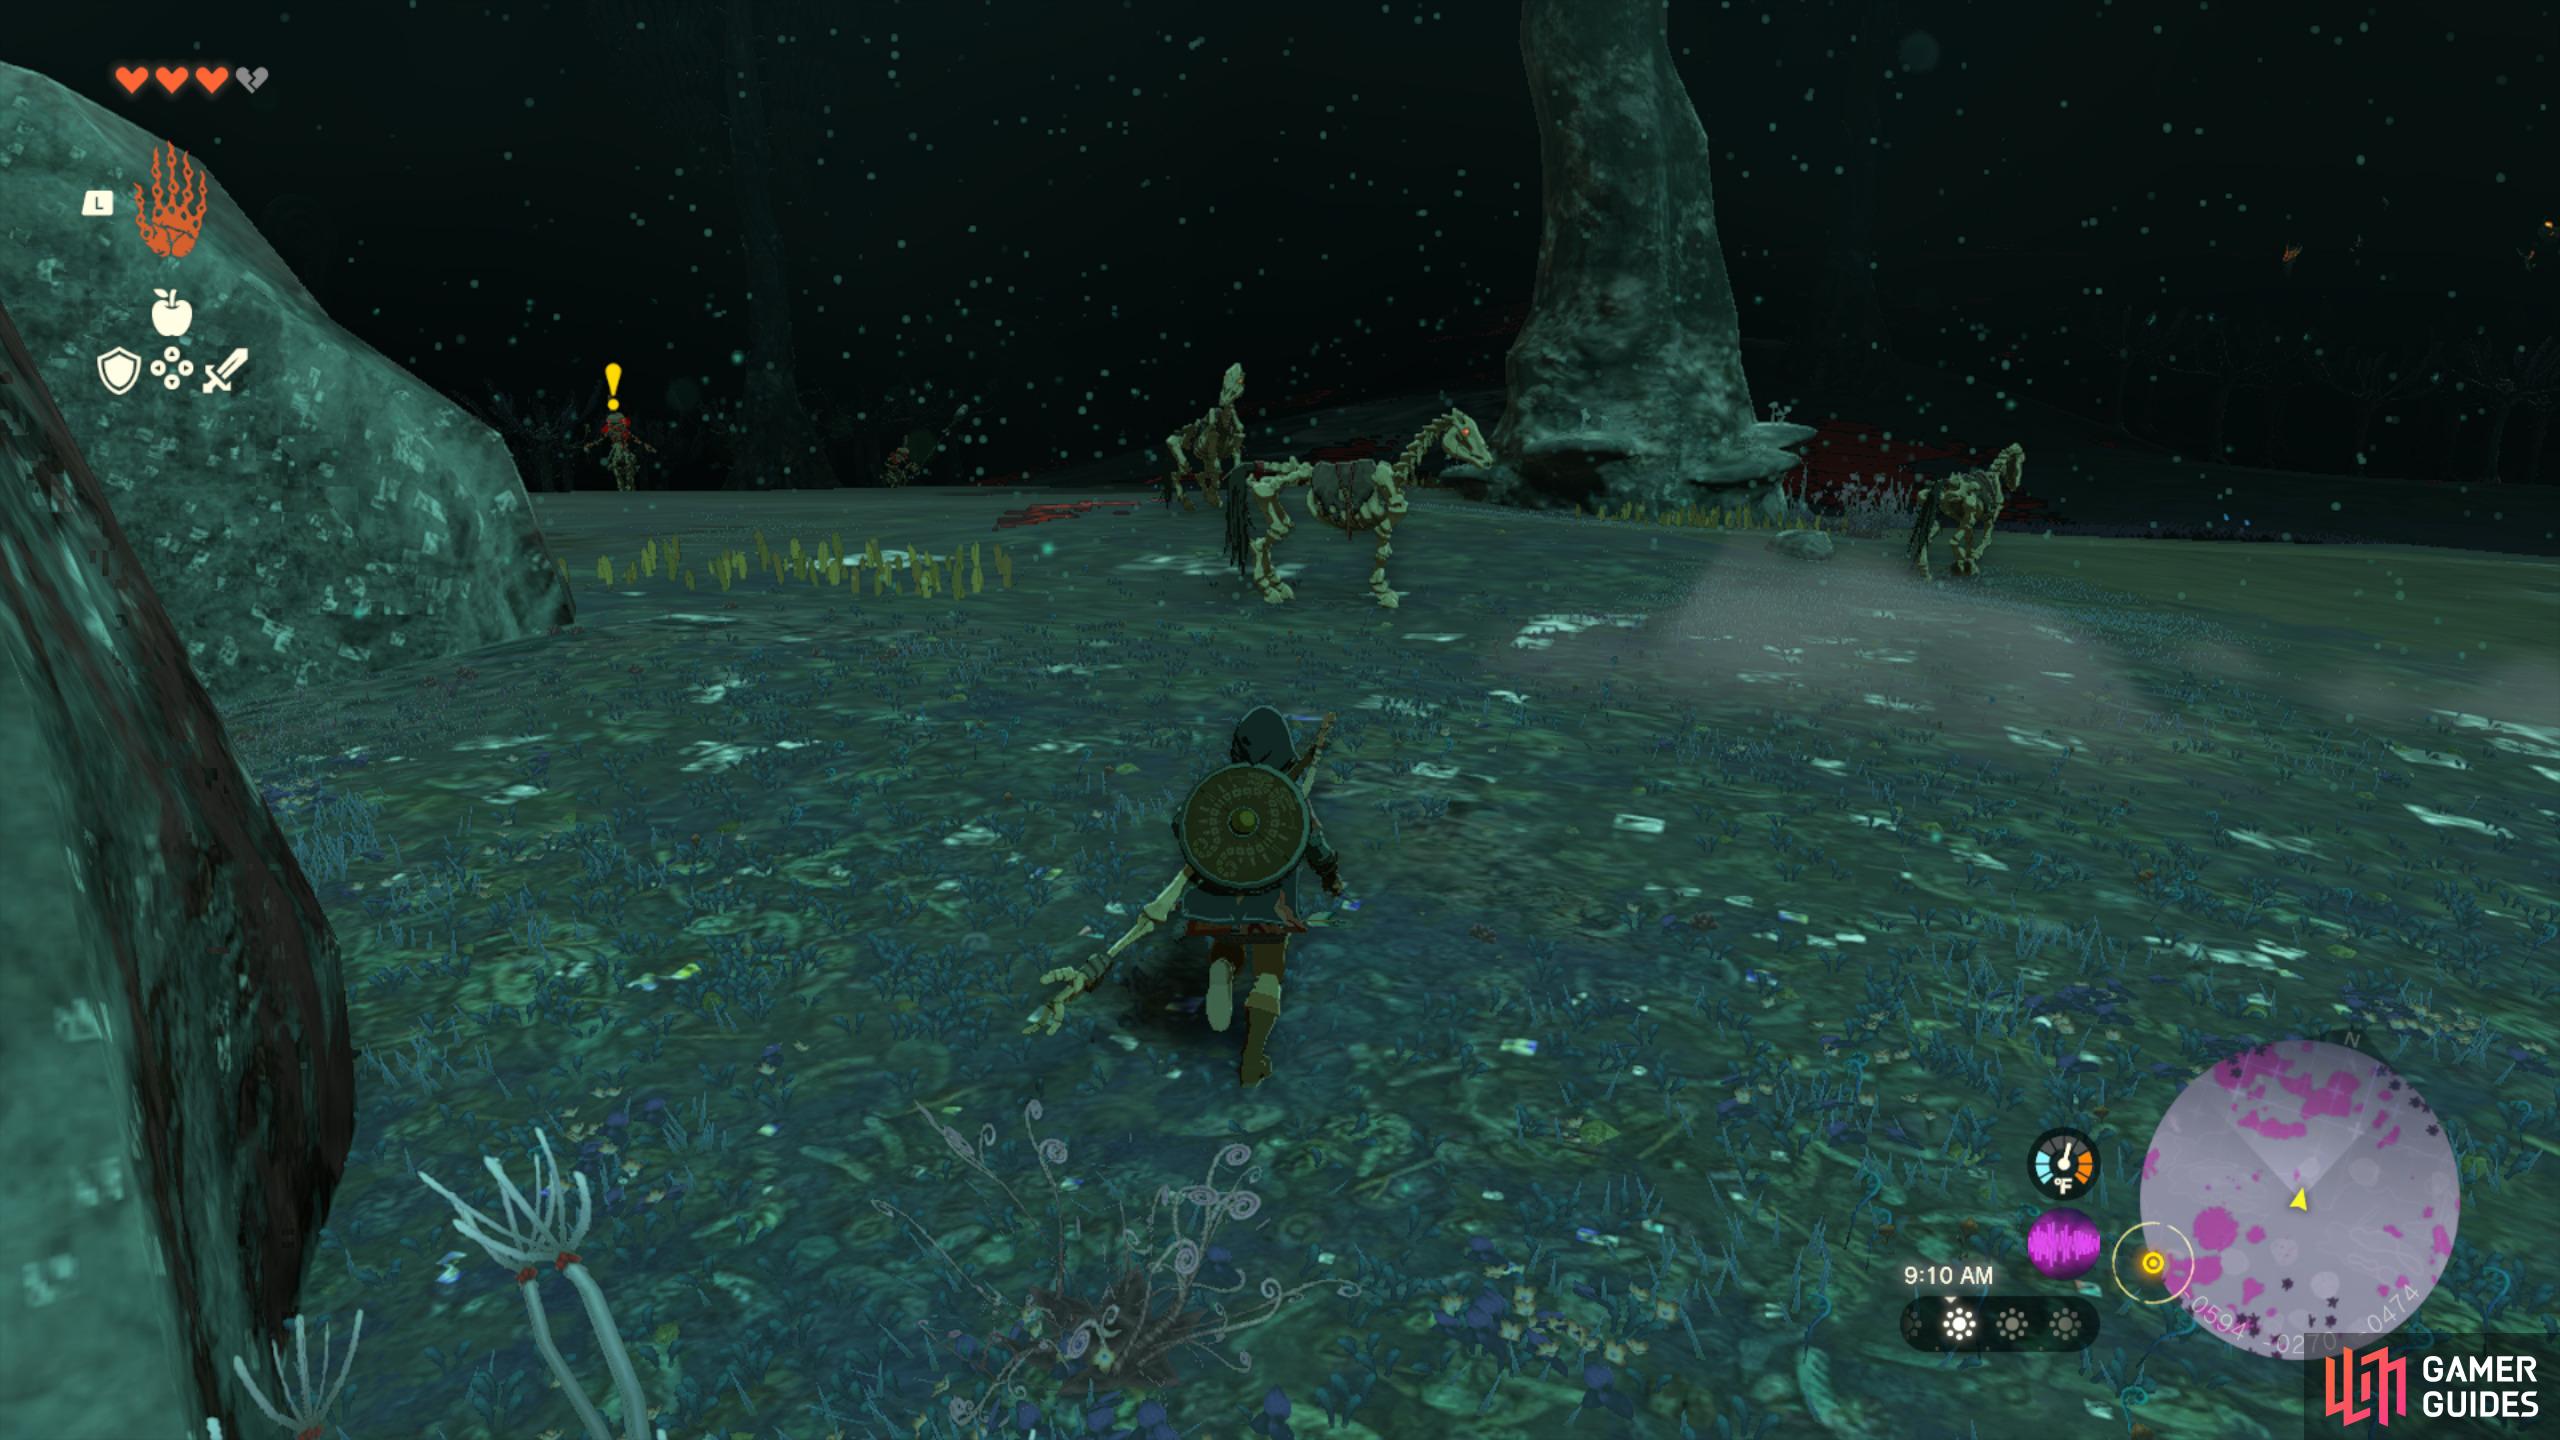
One of the first few things you’ll notice when you start exploring the Depths is that it is very dark and gloom will temporarily take away your hearts and will cause you to gradually take damage, so exploring will be difficult. However, you can find yourself an undead horse which is called a Shulhorse. These horses can be controlled the same way as the horses on the surface, but they allow you to ride over the gloom. As a result you’ll be able to navigate the depths a lot quicker.
(1 of 2) Head to this location on the map
Head to this location on the map (left), to find yourself a (right)
Shulhorse’s will also offer more then just transport, as they will defend you if they are attacked by enemies which will shift the enemies attention onto the horse, so you can have a chance tackle other enemies or heal up. Be sure to help them out when you’re ready, as they could be easily killed, so you’ll have to find another one. For more information on how to tame a horse you’ll want to checkout this page: How to Catch and Tame Horses in Tears of the Kingdom.
#2 How to Unlock Autobuild
Whilst you’re exploring in Tears of The Kingdom you’ll need to constantly build structures and vehicles to get around. This can be tricky if you don’t know the blueprint for what you want to build. However, you can unlock ![]() Autobuild by speaking with the
Autobuild by speaking with the ![]() Steward Construct who is located at the Great Abandoned Cave Mine in the Depths. If you’re struggling to find, then checkout our guide here: How to Get Autobuild in Tears of the Kingdom
Steward Construct who is located at the Great Abandoned Cave Mine in the Depths. If you’re struggling to find, then checkout our guide here: How to Get Autobuild in Tears of the Kingdom
#3 Make Use of Brightbloom Seeds
You’ll notice that the Depths is very dark, so trying to get around without a light source will be tricky. In order to combat this you’ll find ![]() Brightbloom Seeds and Large Brightbloom Seeds scattered around the map. You can attach these to your arrows with the
Brightbloom Seeds and Large Brightbloom Seeds scattered around the map. You can attach these to your arrows with the ![]() Fuse Ability to set them on fire, then you can shoot them around the map to illuminate the area which will be useful until you find the next Lightroot tree. Normal Brightbloom Seeds only provide a little bit of light whereas the large seeds will provide a huge amount of light.
Fuse Ability to set them on fire, then you can shoot them around the map to illuminate the area which will be useful until you find the next Lightroot tree. Normal Brightbloom Seeds only provide a little bit of light whereas the large seeds will provide a huge amount of light.
#4 Use Lightroots to Reveal The Map and Illuminate The Darkness
(1 of 2) Interact with the Lightroot Trees
Interact with the Lightroot Trees (left), then you can fast travel to them. (right)
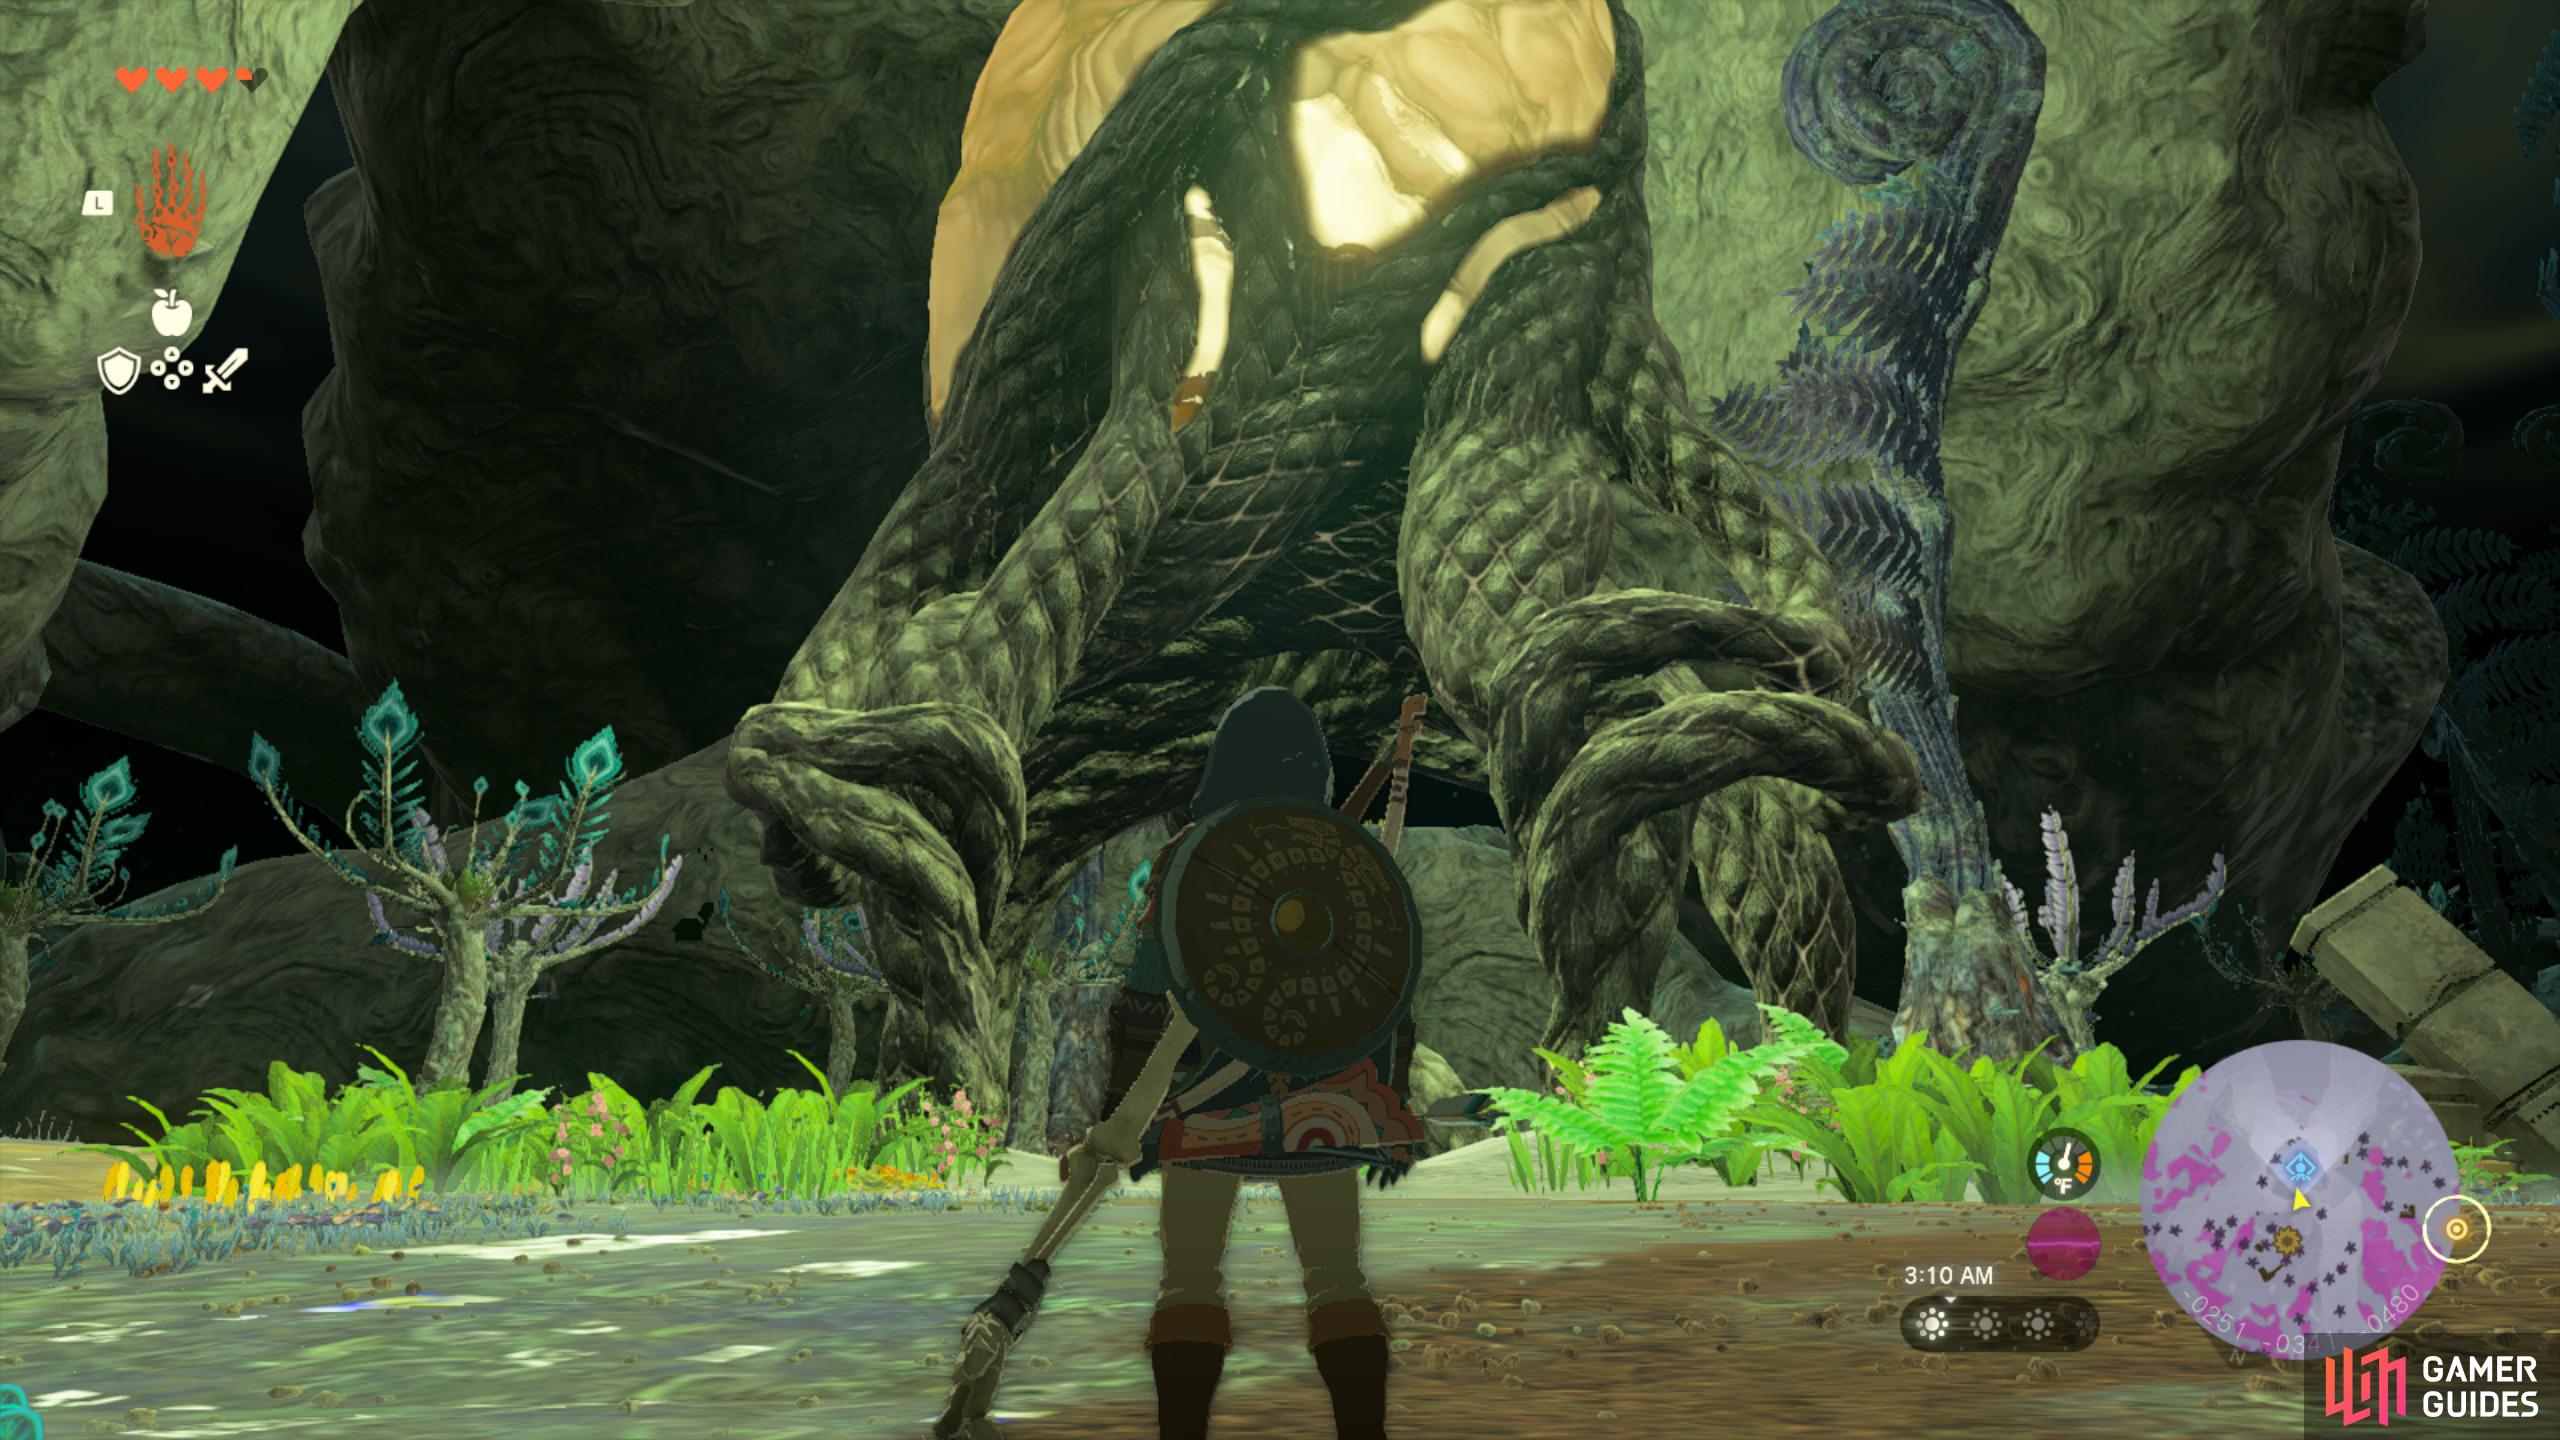
Lightroot Trees are orange/yellow trees that you can often see faintly in the distance. They are the Depths version of Towers which are up on the surface and they will illuminate a large area around them which means you won’t have to rely on Brightbloom Seeds when exploring and they will reveal a portion of the map. In order to activate them you’ll want to stand underneath them and interact with it by pressing Y 
#5 Make Use of Lightroot Fast Travel
Lightroots Trees don’t only reveal a large area of the map and illuminate it from the darkness so that you can see properly, but they also act as a sort of fast travel network which you can use to instantly travel from one Lightroot to another, cutting down on travel time immensely. This makes finding all the Lightroots even more valuable as the light radius and map reveal are really useful on their own and this is the icing on the cake.
#6 Gather Poe
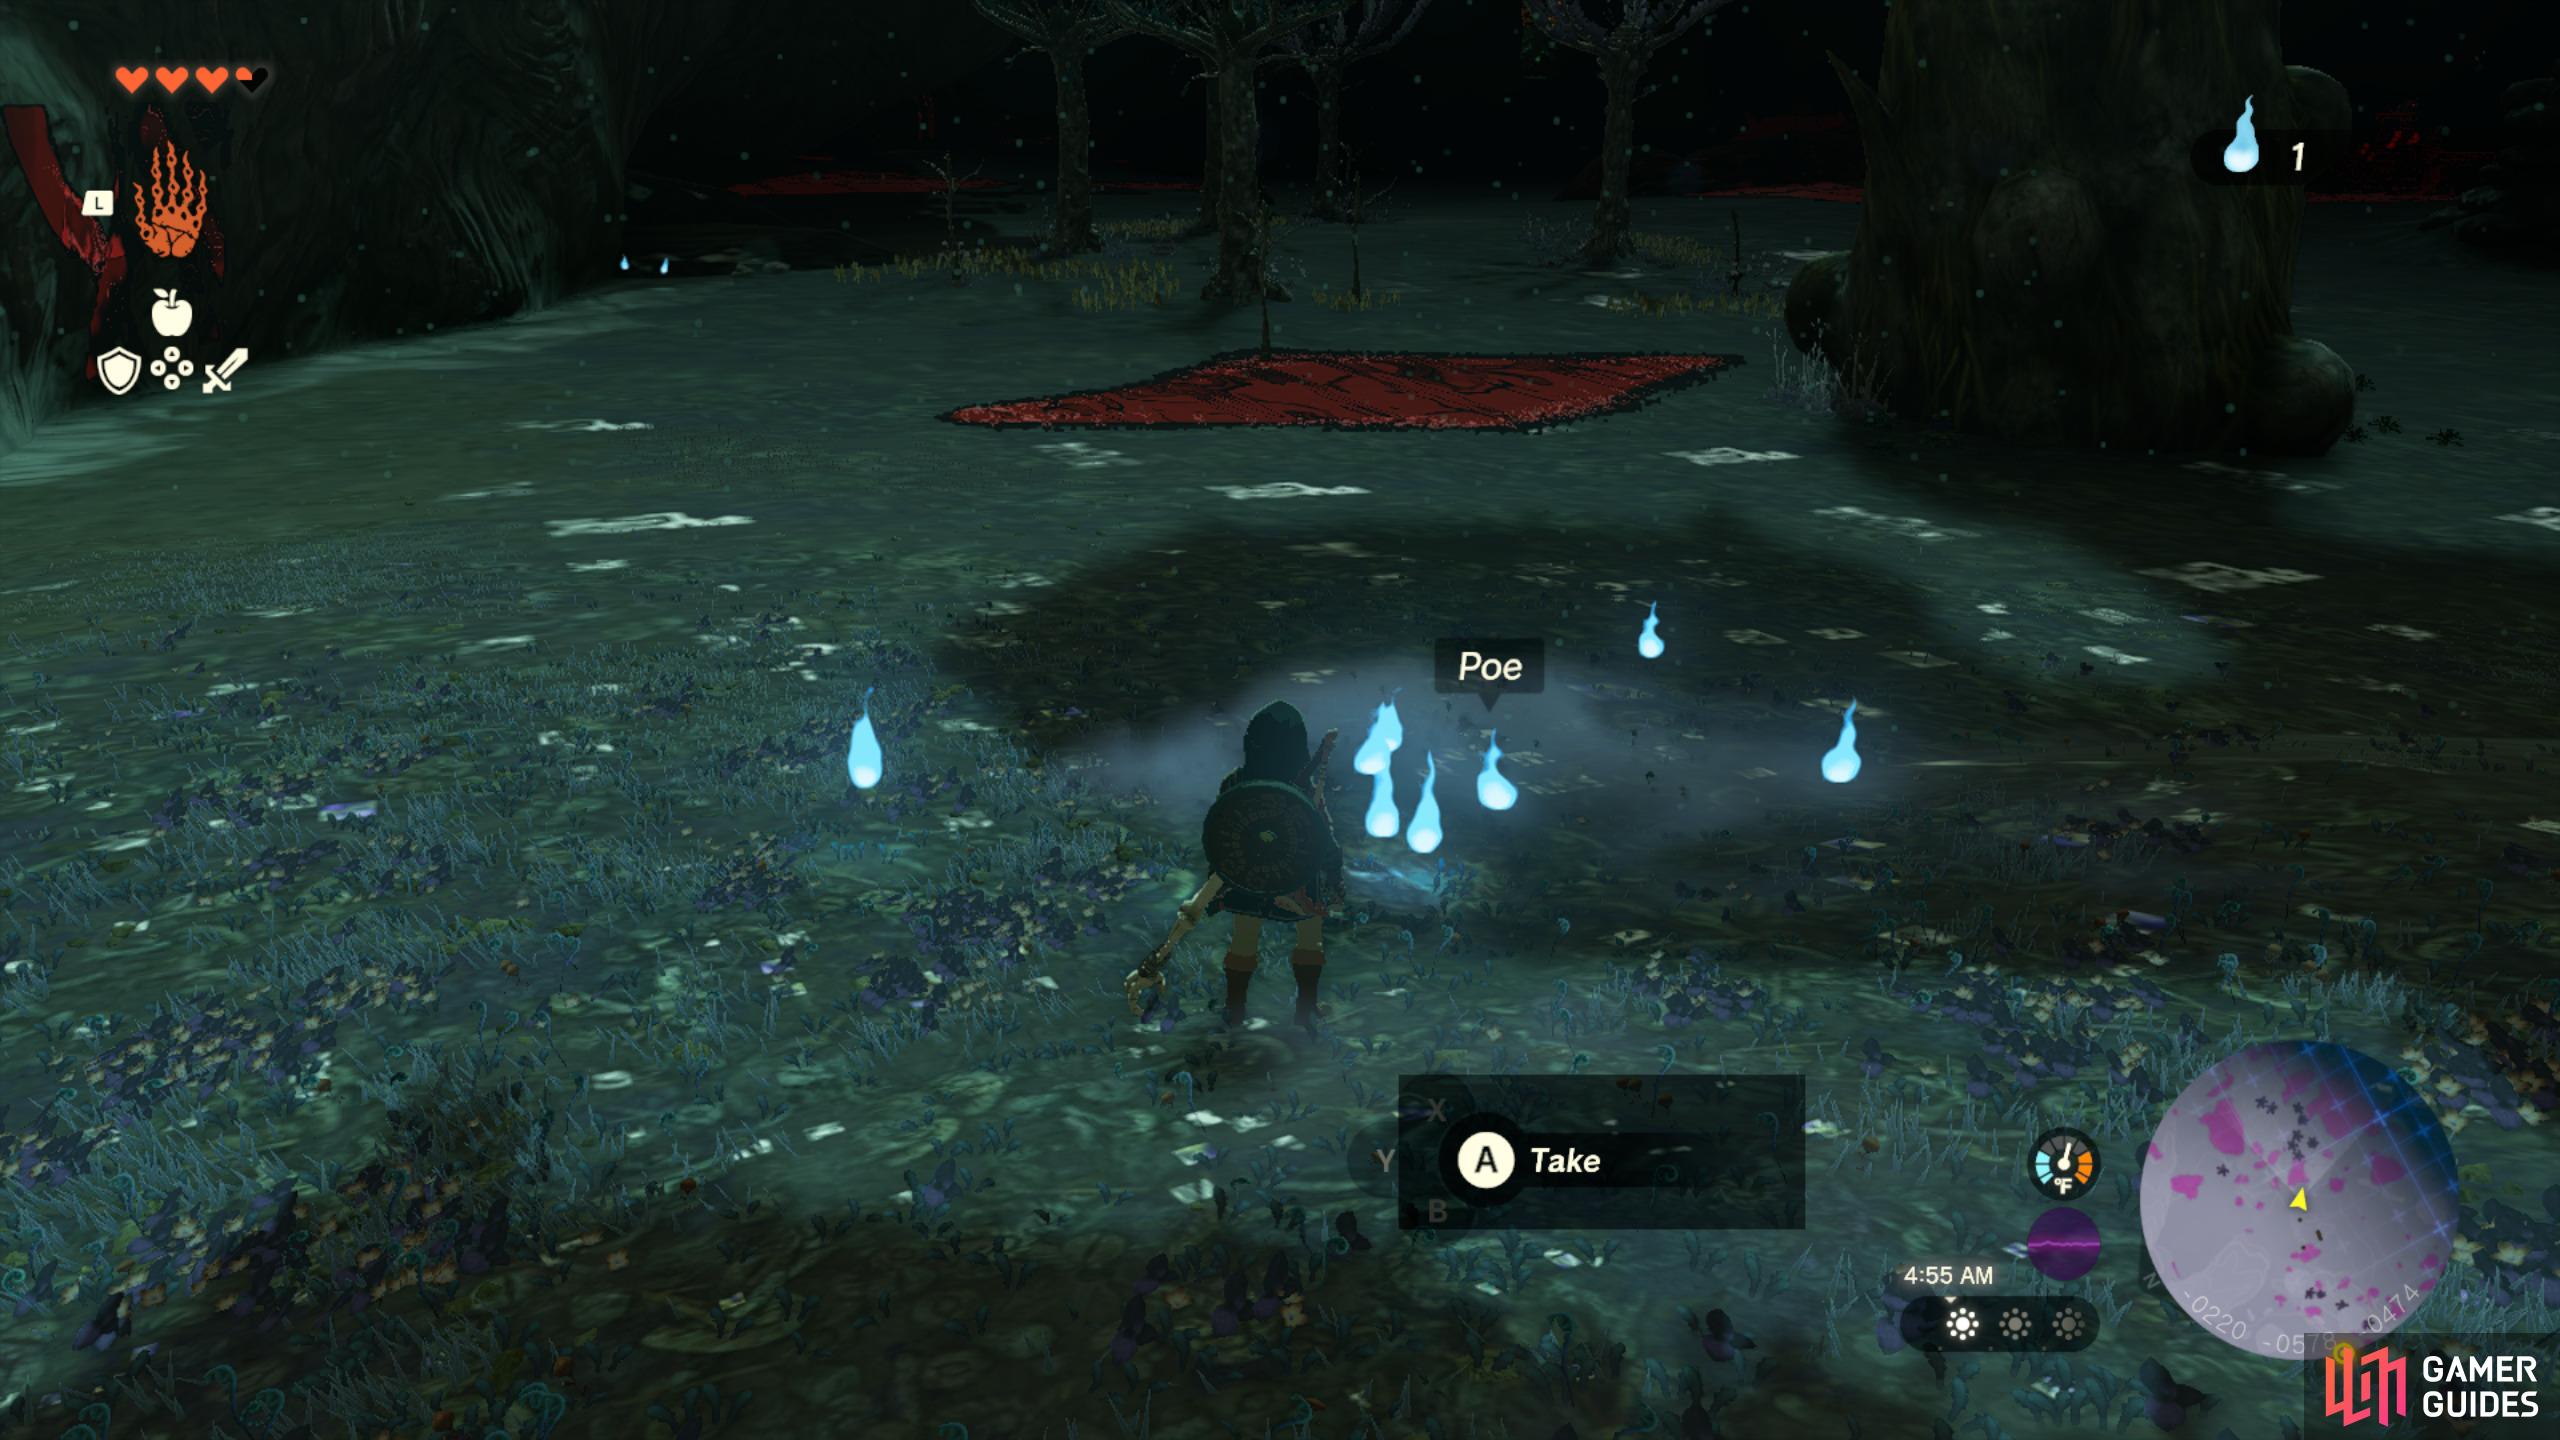
(1 of 3) Collect Poe by exploring in the Depths
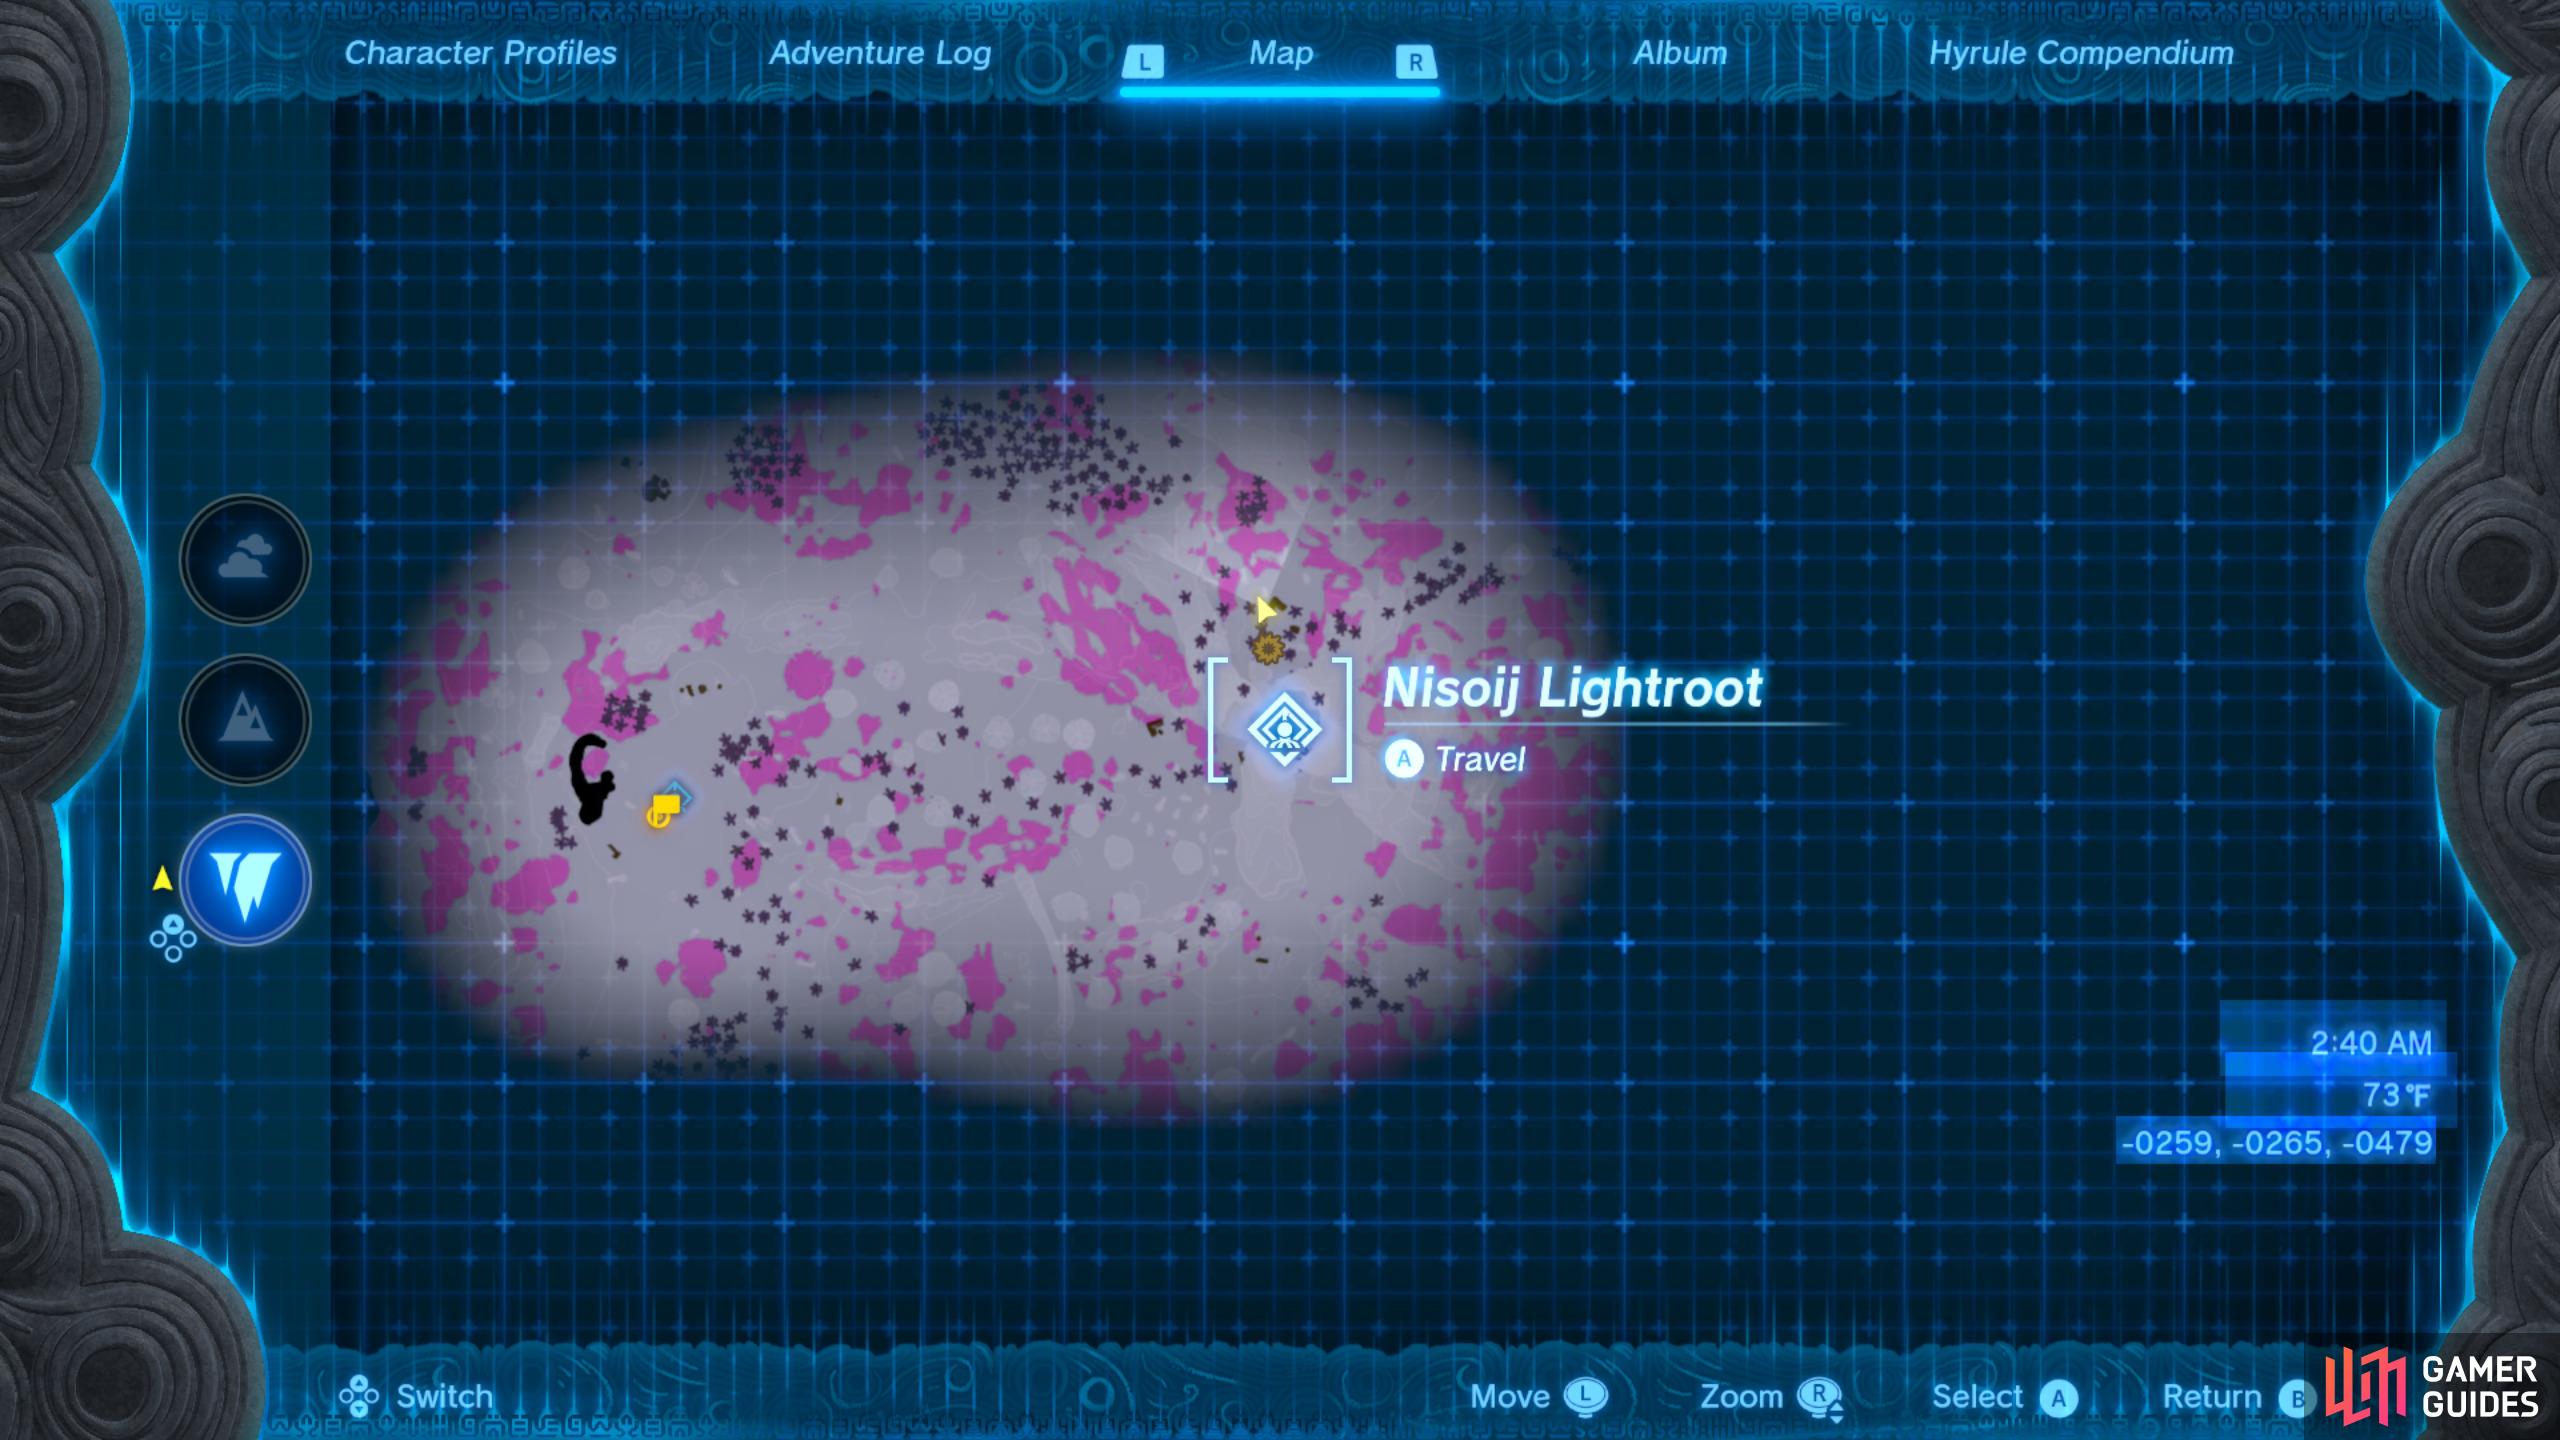
![]() Poe is a special currency that can be found in clusters and their own in the Depths. They come in three variants. Regular Poe (1), Large Poe (5) and Grand Poe (20) and they can be spent at the Bargainers Statue in
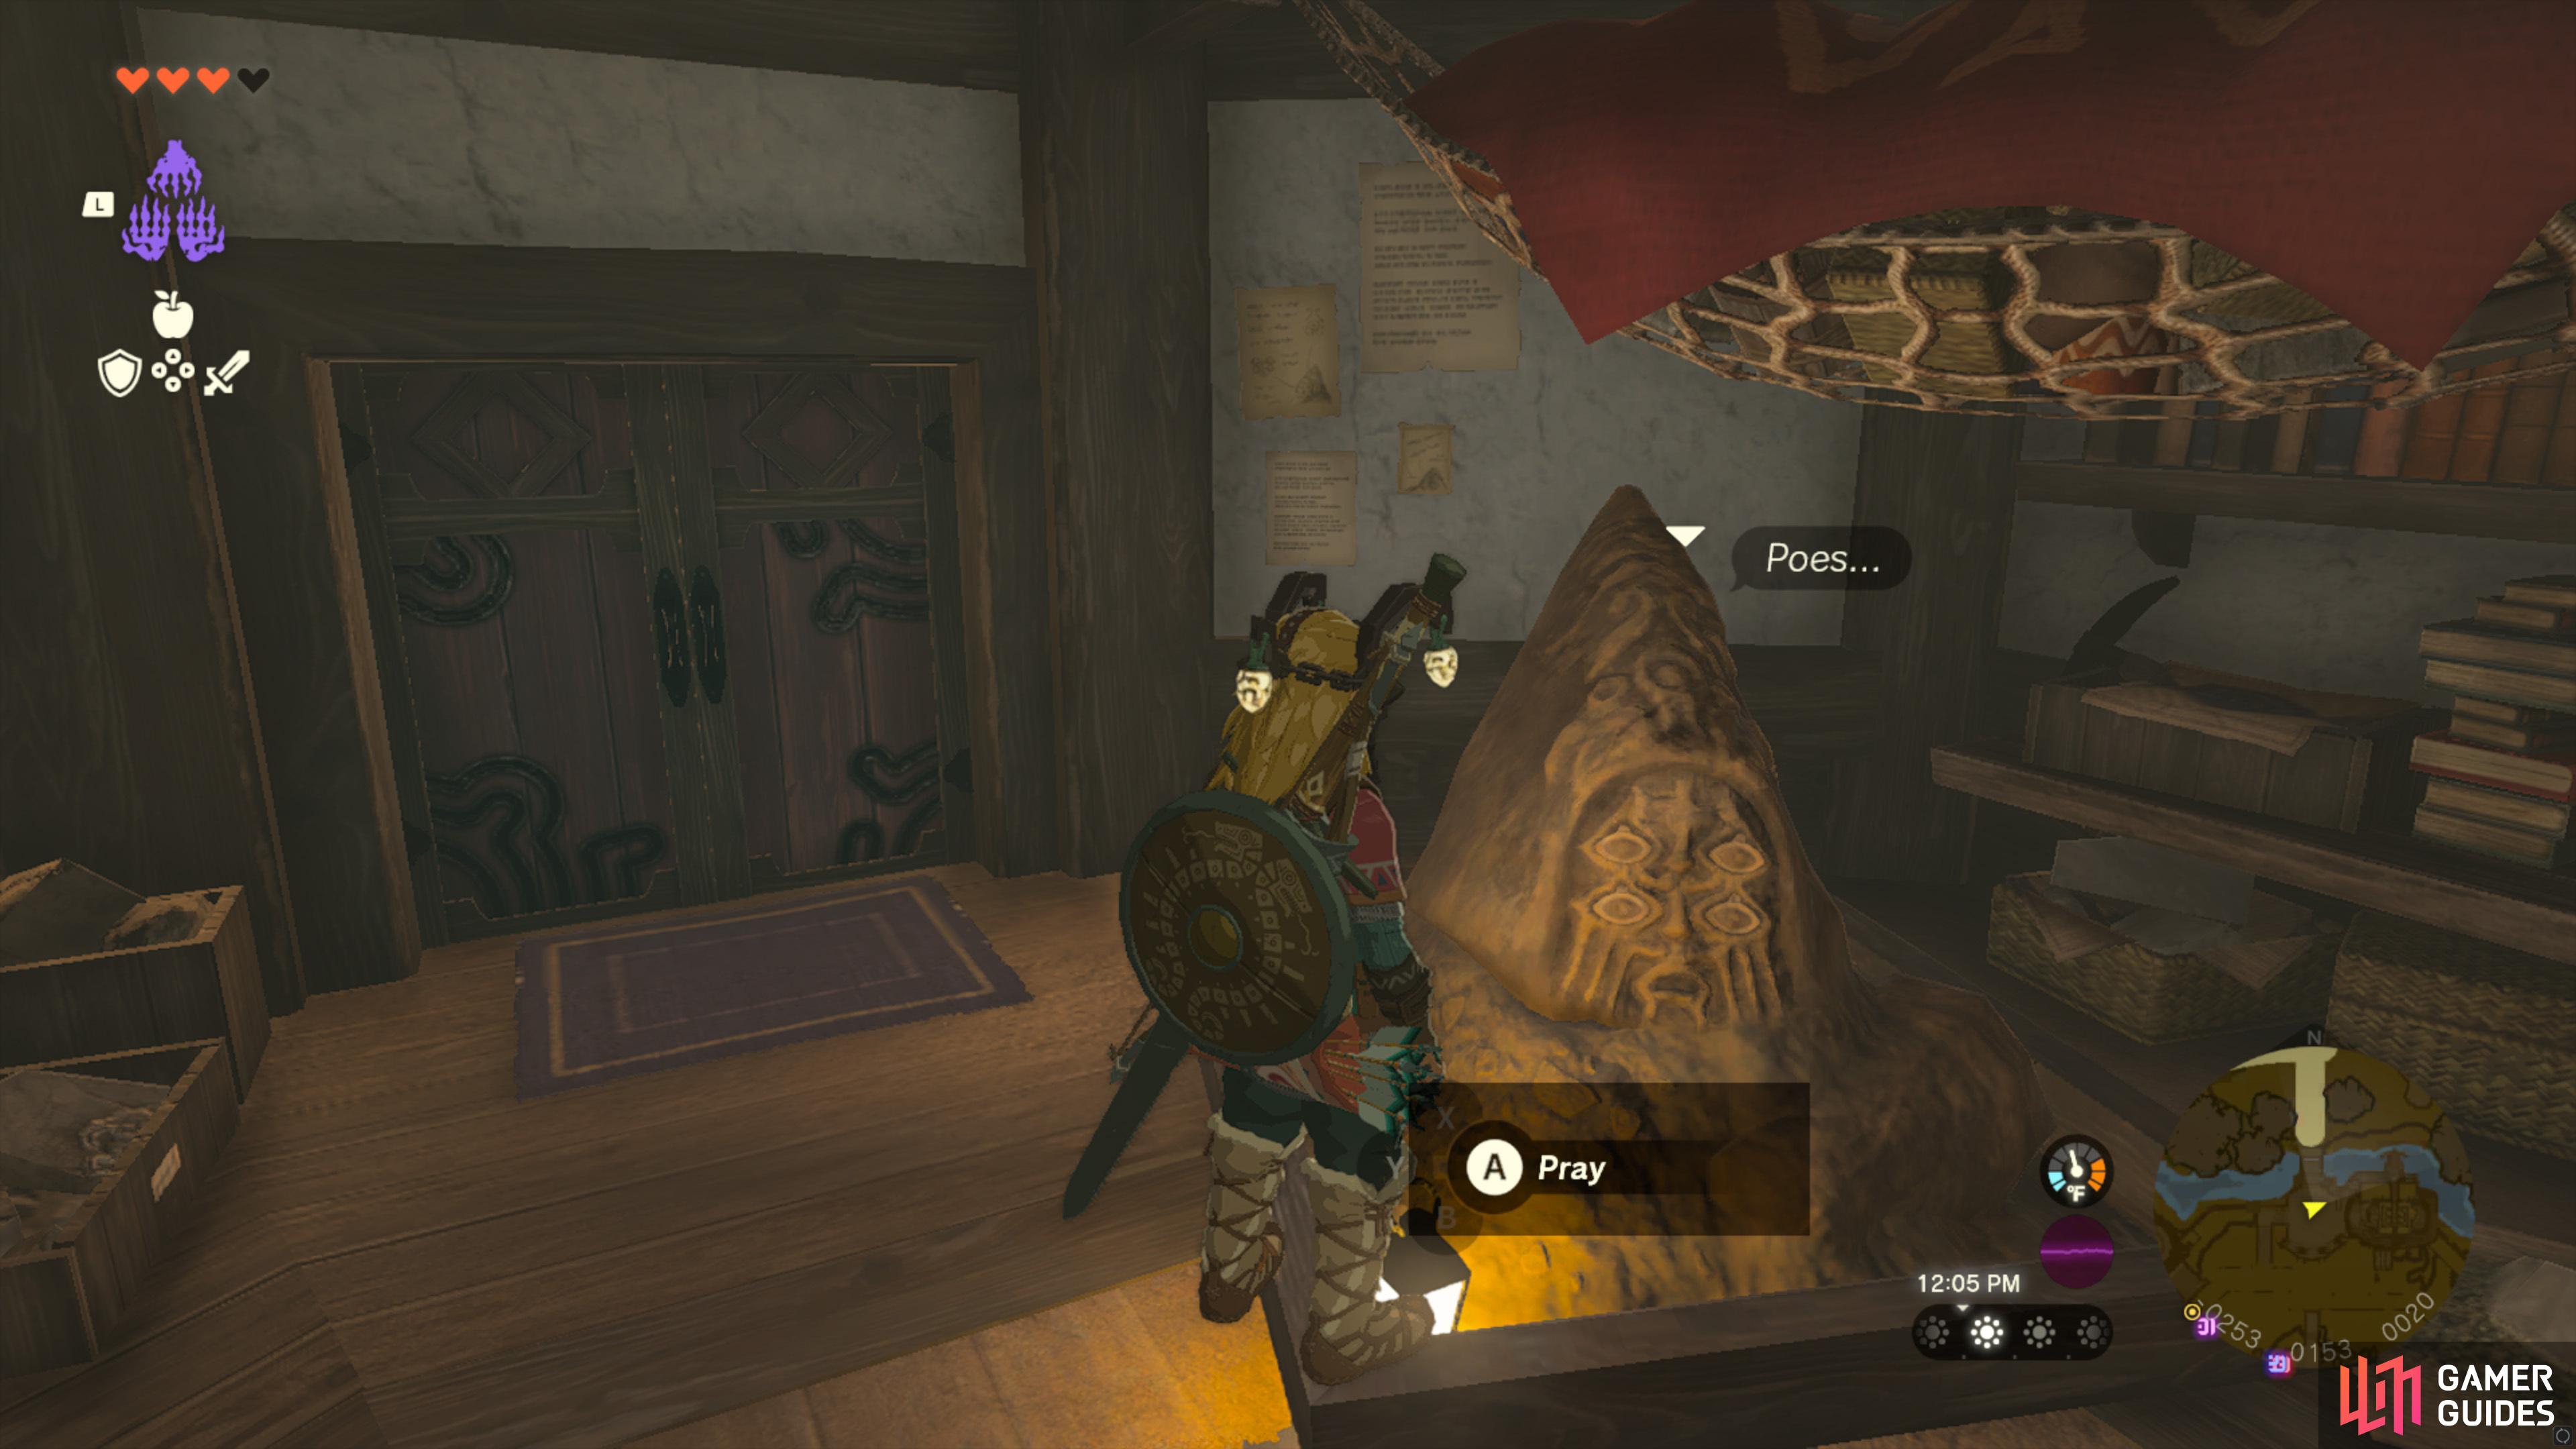
Poe is a special currency that can be found in clusters and their own in the Depths. They come in three variants. Regular Poe (1), Large Poe (5) and Grand Poe (20) and they can be spent at the Bargainers Statue in ![]() Lookout Landing. Here you can purchase some useful items, such as Armor with Gloom Resistance for 150 Poes,
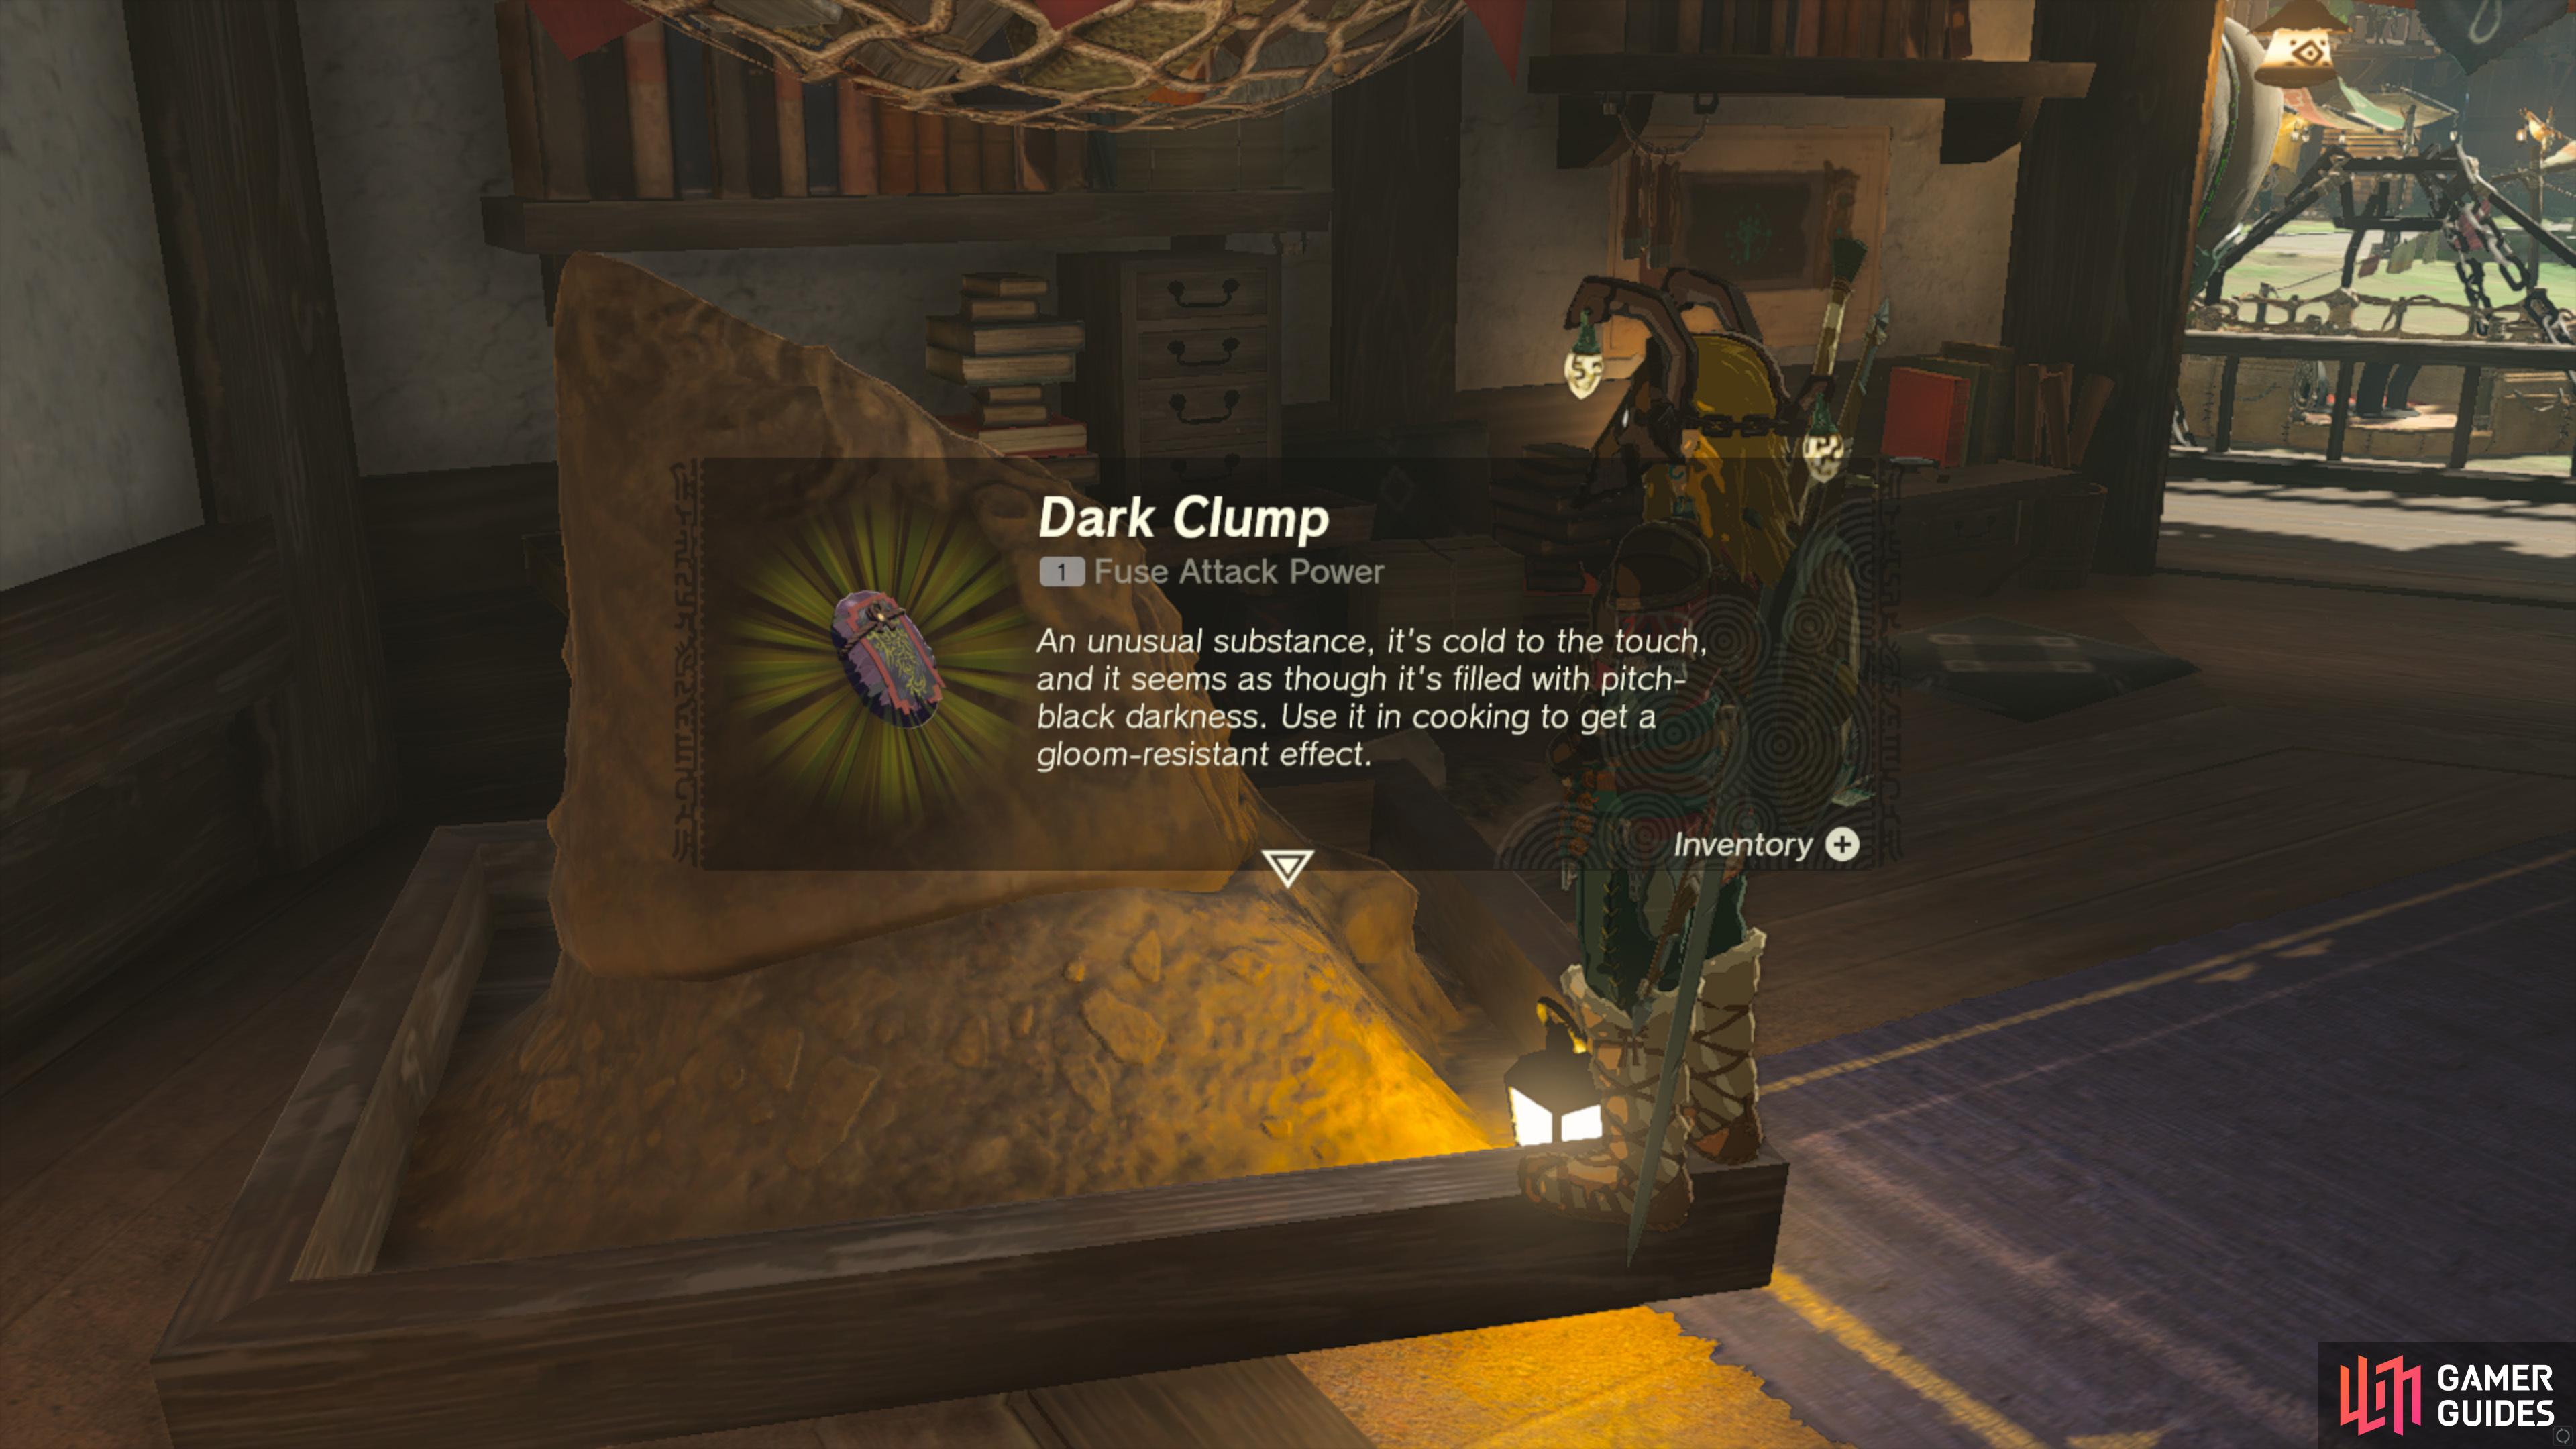
Lookout Landing. Here you can purchase some useful items, such as Armor with Gloom Resistance for 150 Poes, ![]() Dark Clumps which can be used to add the Gloom Resistance in your dishes and more. However,
Dark Clumps which can be used to add the Gloom Resistance in your dishes and more. However, ![]() Grand Poe isn’t so easy to come across, so be sure to check out our map for their locations! - Hyrule Depths Map.
Grand Poe isn’t so easy to come across, so be sure to check out our map for their locations! - Hyrule Depths Map.
#7 Make Use of our Depths Interactive Map
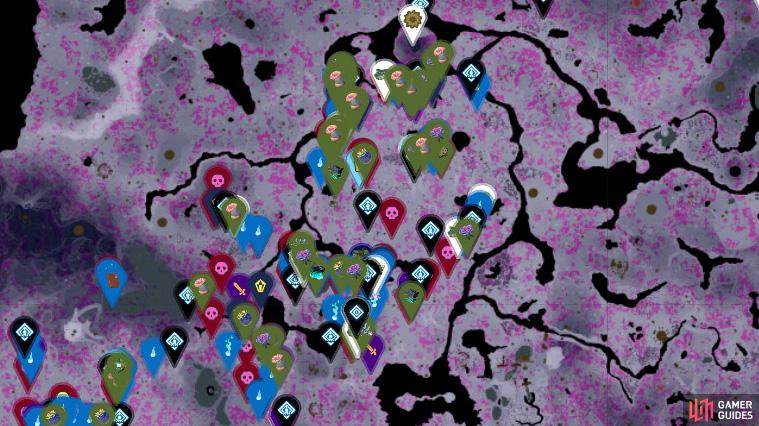
Our Map of the Depths features everything, such as enemies/bosses, weapons and more.
However, Lightroot Trees are tricky to find in the darkness, so we wouldn’t blame you if you would like some help with finding the next Lightroot Tree on your journey. Check out our handy map here: Hyrule Depths Map. Our map also features everything you can find in the Depths, such as ![]() Zonaite nodes, enemies/bosses, named locations, weapons and much more.
Zonaite nodes, enemies/bosses, named locations, weapons and much more.
#8 Obtain Ghost Soldier Weapons
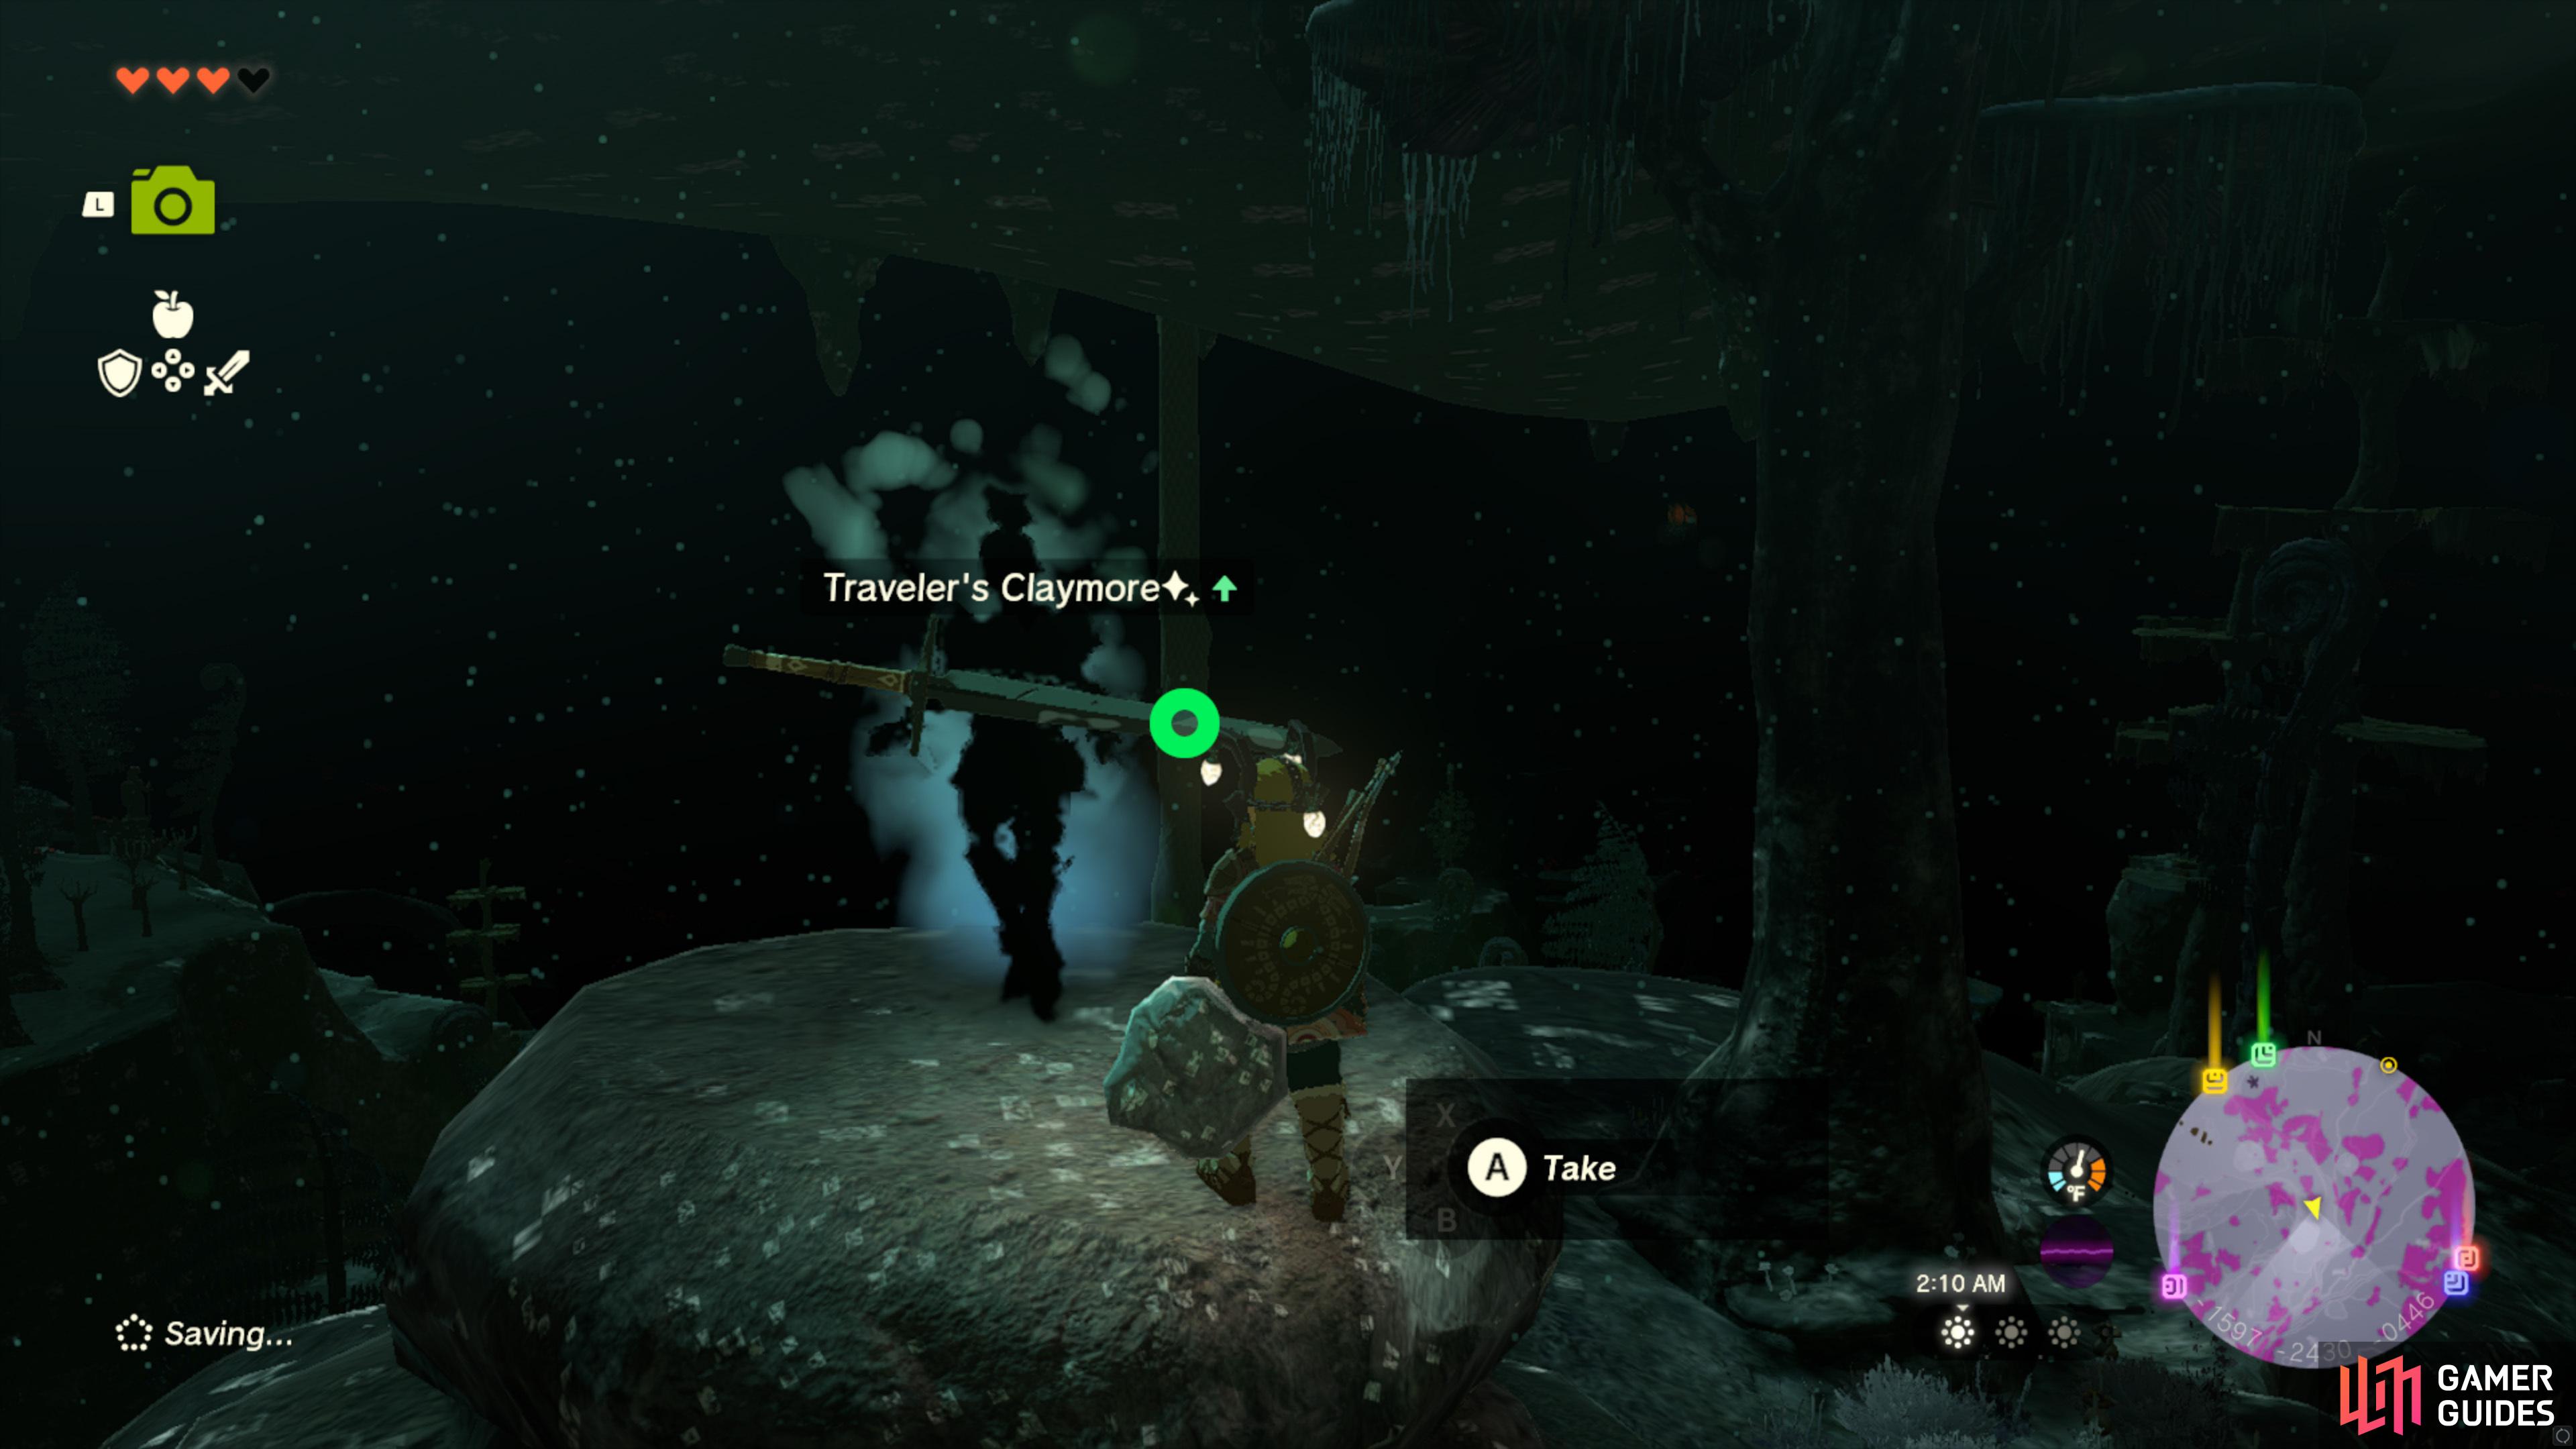
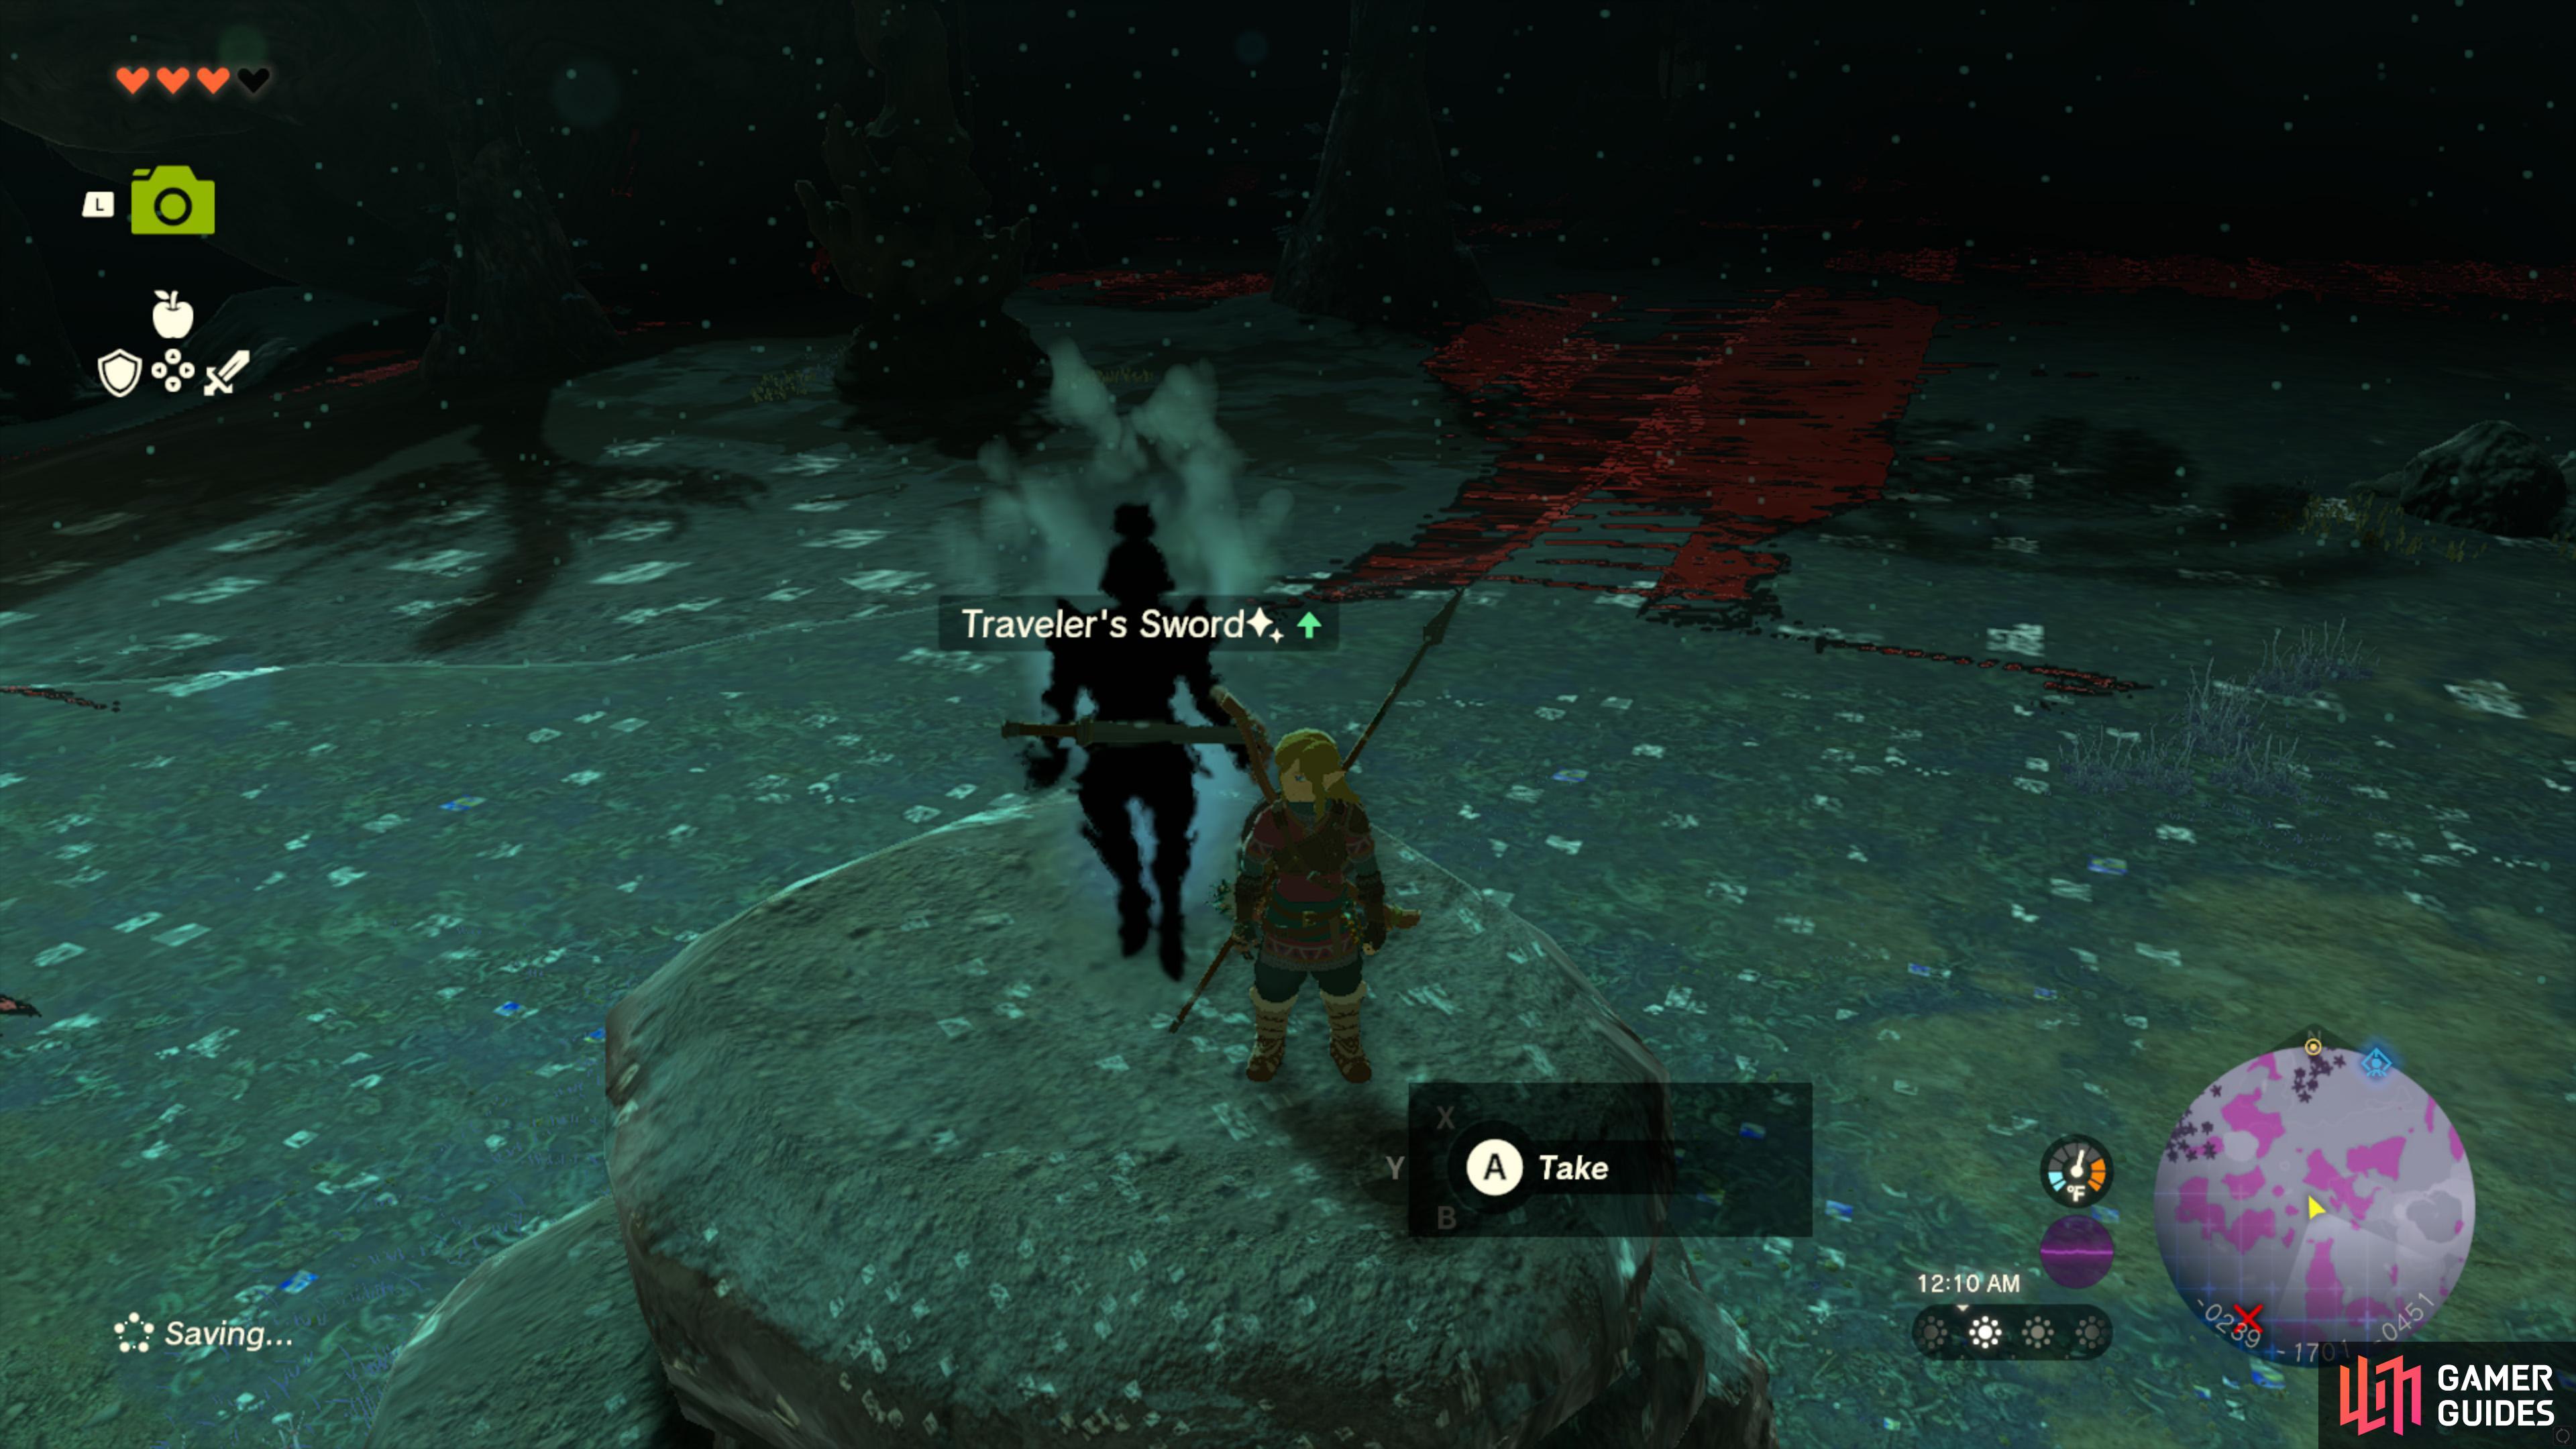
(1 of 2) Ghost Soldiers can drop powerful weapons such as the Travelers Claymore
Ghost Soldiers can drop powerful weapons such as the Travelers Claymore (left), and Travelers Sword and more. (right)
Once you’ve activated a good amount of Lightroot Trees you’ll want to start looking for Ghost Soldiers which can be found standing on top of vertical rock pedestals. Defeating them will cause them to drop undamaged weapons such as the following: ![]() Traveler’s Sword (♦),
Traveler’s Sword (♦), ![]() Traveler’s Spear (♦) and
Traveler’s Spear (♦) and ![]() Traveler’s Claymore (♦). These weapons deal more damage then their regular versions and their increased durability will allow you to get more hits out of them before they break. These are fairly common in the Depths but if you are fighting a lot they will come in very handy for maximizing the length of time you can spend in the Depths before returning to the surface.
Traveler’s Claymore (♦). These weapons deal more damage then their regular versions and their increased durability will allow you to get more hits out of them before they break. These are fairly common in the Depths but if you are fighting a lot they will come in very handy for maximizing the length of time you can spend in the Depths before returning to the surface.
#9 Obtain Armor With The Glow Effect
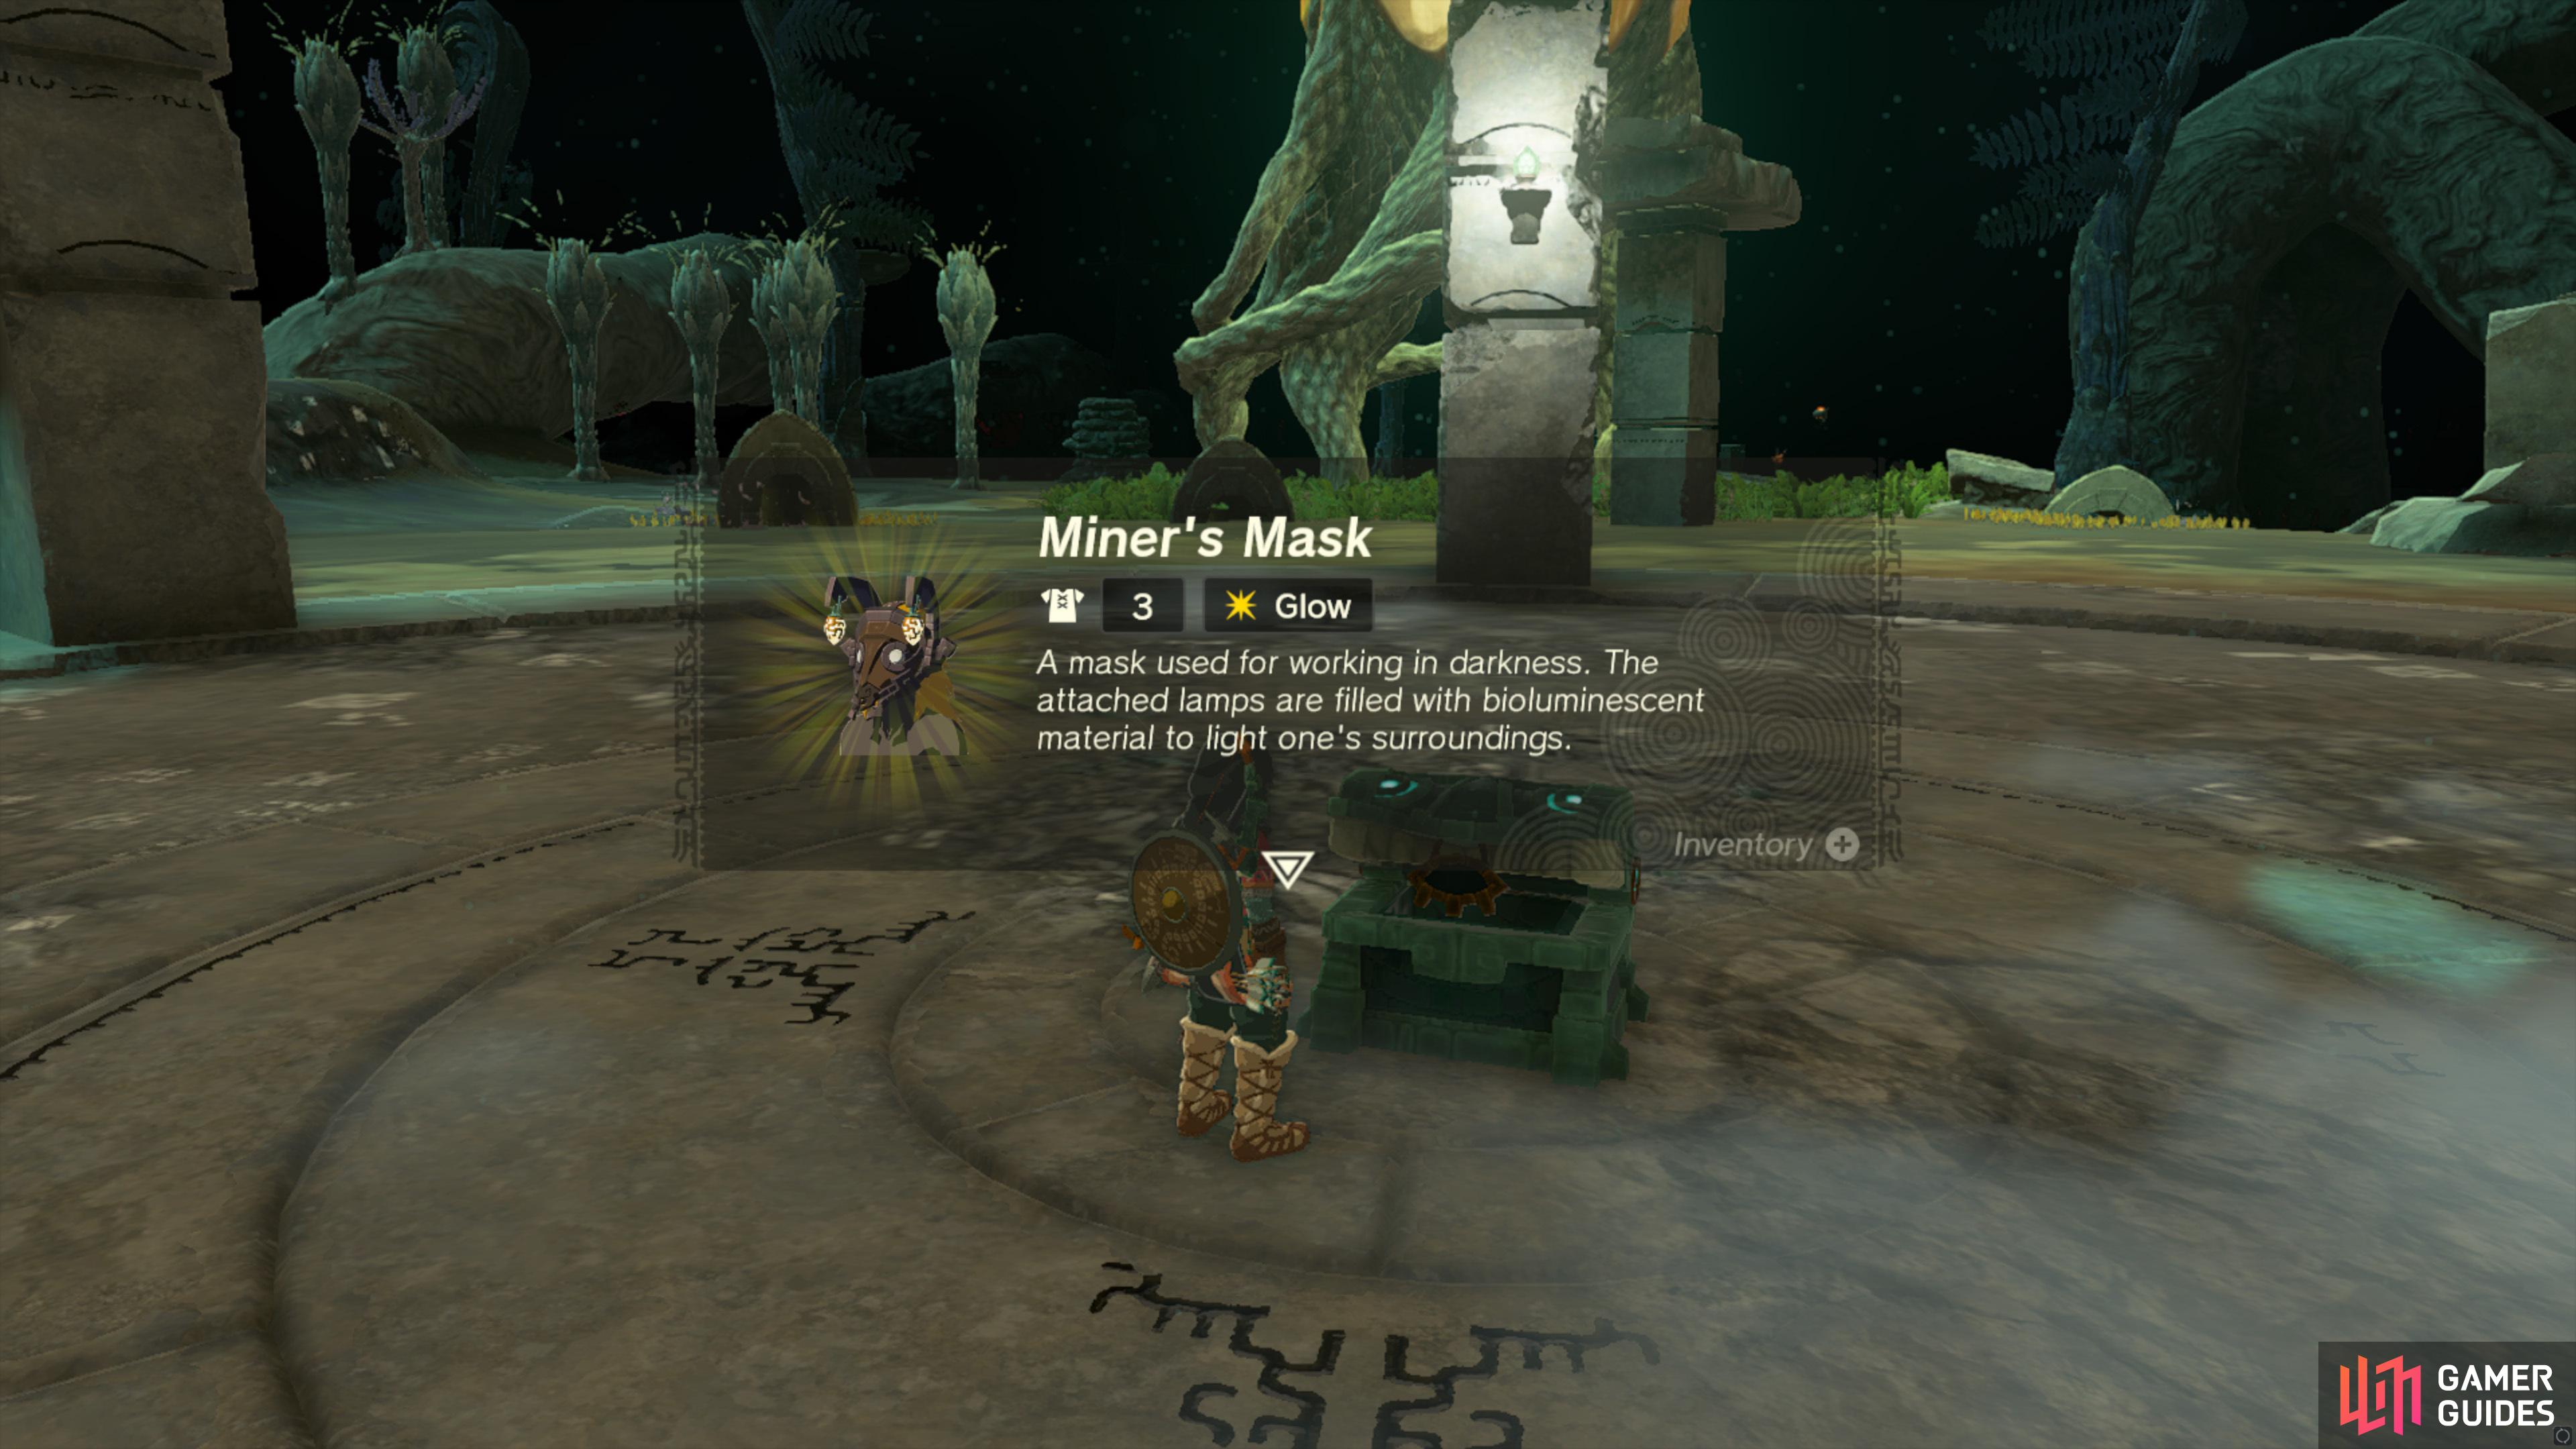
(1 of 2) Equip the Miners Mask
Equip the Miners Mask (left), to have a permanent glow around you. (right)
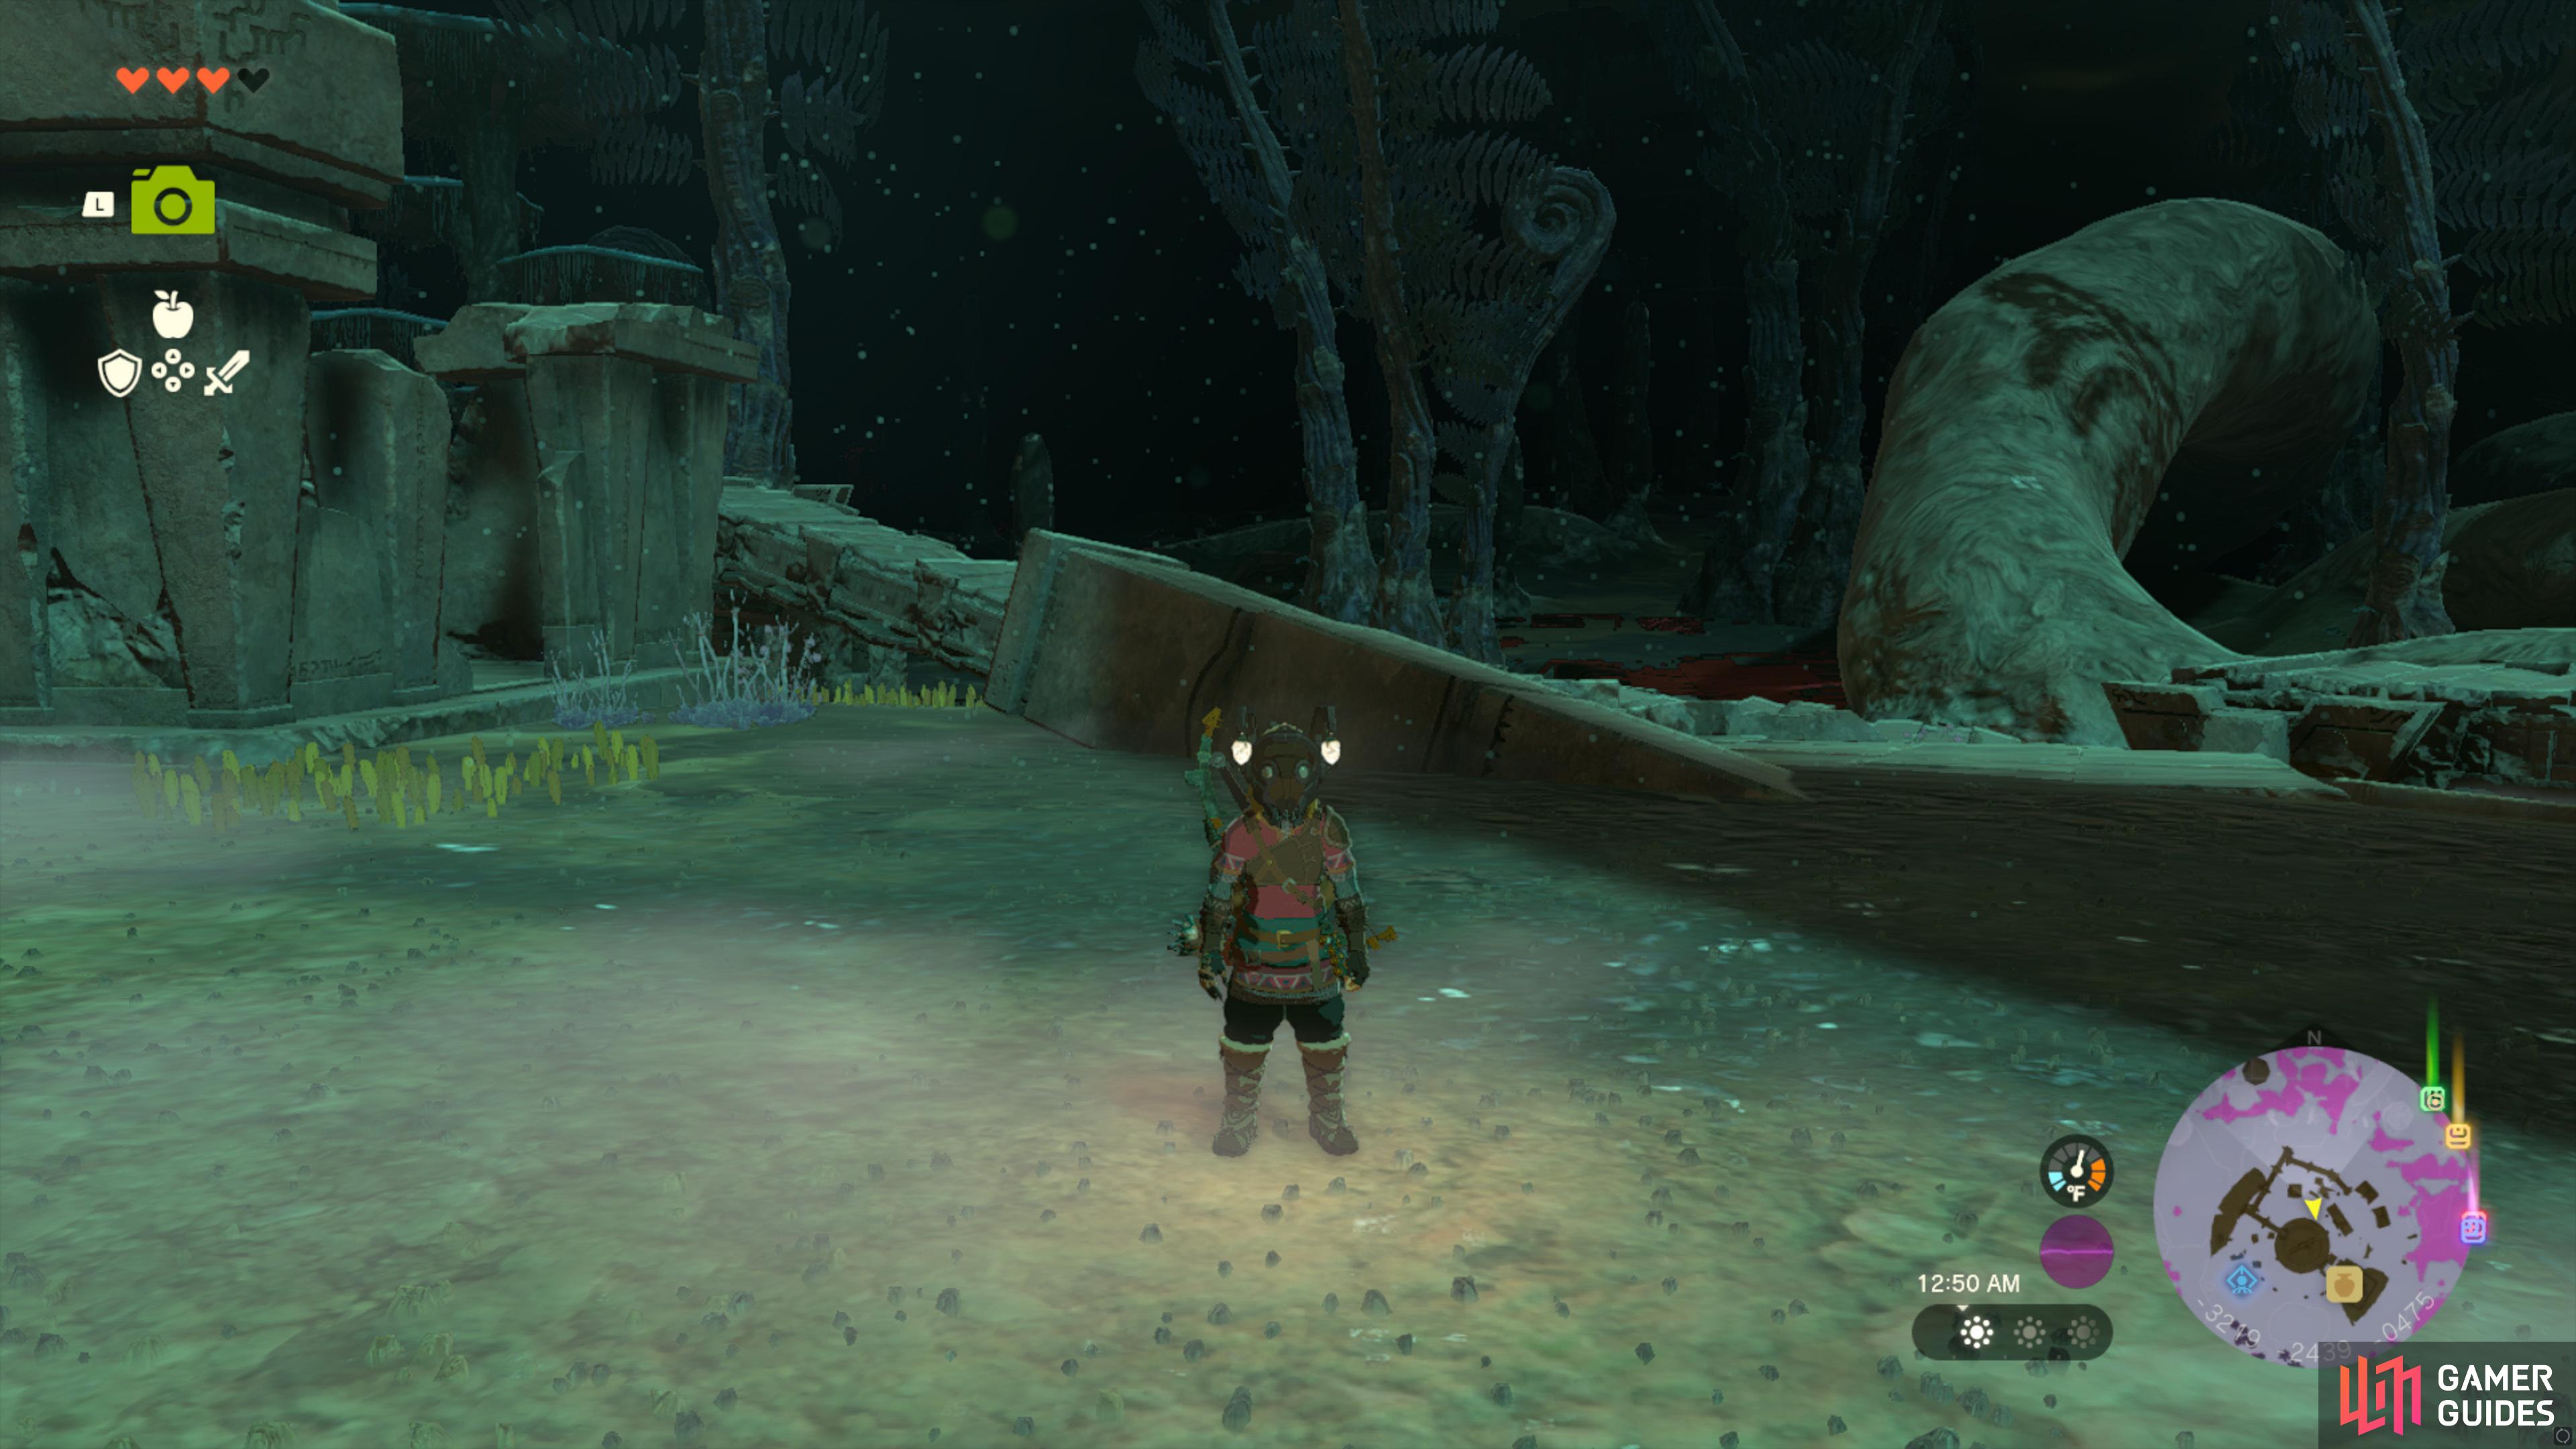
Whilst you’re exploring the Depths you’ll want to lookout for Chests, as these can contain useful Armor, such as the ![]() Miner’s Mask which has the Glow effect attached to it. This will illuminate the area around you which is good to use alongside Brightbloom Seeds until you activate the Lightroot Trees. Our map will feature all the Chests within the Depths, so be sure to check back regularly.
Miner’s Mask which has the Glow effect attached to it. This will illuminate the area around you which is good to use alongside Brightbloom Seeds until you activate the Lightroot Trees. Our map will feature all the Chests within the Depths, so be sure to check back regularly.
#10 Obtain Gloom Resistant Food
If you don’t have a Shulhorse to get through the gloom, then you can cook up food that has Gloom Resistance. In order to do this you’ll need to purchase Dark Clumps from the ![]() Purahs for 10 Poe in Lookout Landing, then combine it with other ingredients to make an interesting dish that has Gloom Resistance attached. Additionally, if you add more Dark Clumps to the dish, then the duration of the resistance will be increased.
Purahs for 10 Poe in Lookout Landing, then combine it with other ingredients to make an interesting dish that has Gloom Resistance attached. Additionally, if you add more Dark Clumps to the dish, then the duration of the resistance will be increased.
#11 Beware of Dangerous Monsters and Bosses!
As you’re exploring the Depths you’ll come across certain monsters which are especially dangerous and should be tackled when you’ve acquired stronger weapons and Armor and as if you try to fight them without preparation then there is a good chance you will die! Below is a list of all the most dangerous Monsters/Bosses in the Depths.
| Name | Type | Map Link |
|---|---|---|
| Boss | Map Link | |
| Boss | Map Link | |
| Boss | Map Link | |
| Boss | Map Link | |
| Boss | Map Link | |
| Boss | Map Link | |
| Boss | Map Link | |
| Boss | Map Link | |
| Boss | Map Link | |
| Boss | Map Link | |
| Boss | Map Link | |
| Boss | Map Link | |
| Regular Monsters | Map Link | |
| Regular Monsters | Map Link | |
| Regular Monsters | Map Link | |
| Regular Monsters | Map Link |

 Sign up
No Comments