Shrines are one of the core gameplay elements in The Legend of Zelda: Tears of the Kingdom. Scattered throughout Hyrule, shrines typically require you to solve some sort of puzzle or combat trial, upon the completion of which you’ll be rewarded with a ![]() Light of Blessing and potentially equipment. Once completed, the shrine will also serve as a fast travel point. Since completing shrines will make your character stronger and provide exploration footholds, it’s essential that you conquer them whenever possible. This page will provide a walkthrough for
Light of Blessing and potentially equipment. Once completed, the shrine will also serve as a fast travel point. Since completing shrines will make your character stronger and provide exploration footholds, it’s essential that you conquer them whenever possible. This page will provide a walkthrough for ![]() Kamizun Shrine.
Kamizun Shrine.
Where to find Kamizun Shrine in Tears of the Kingdom
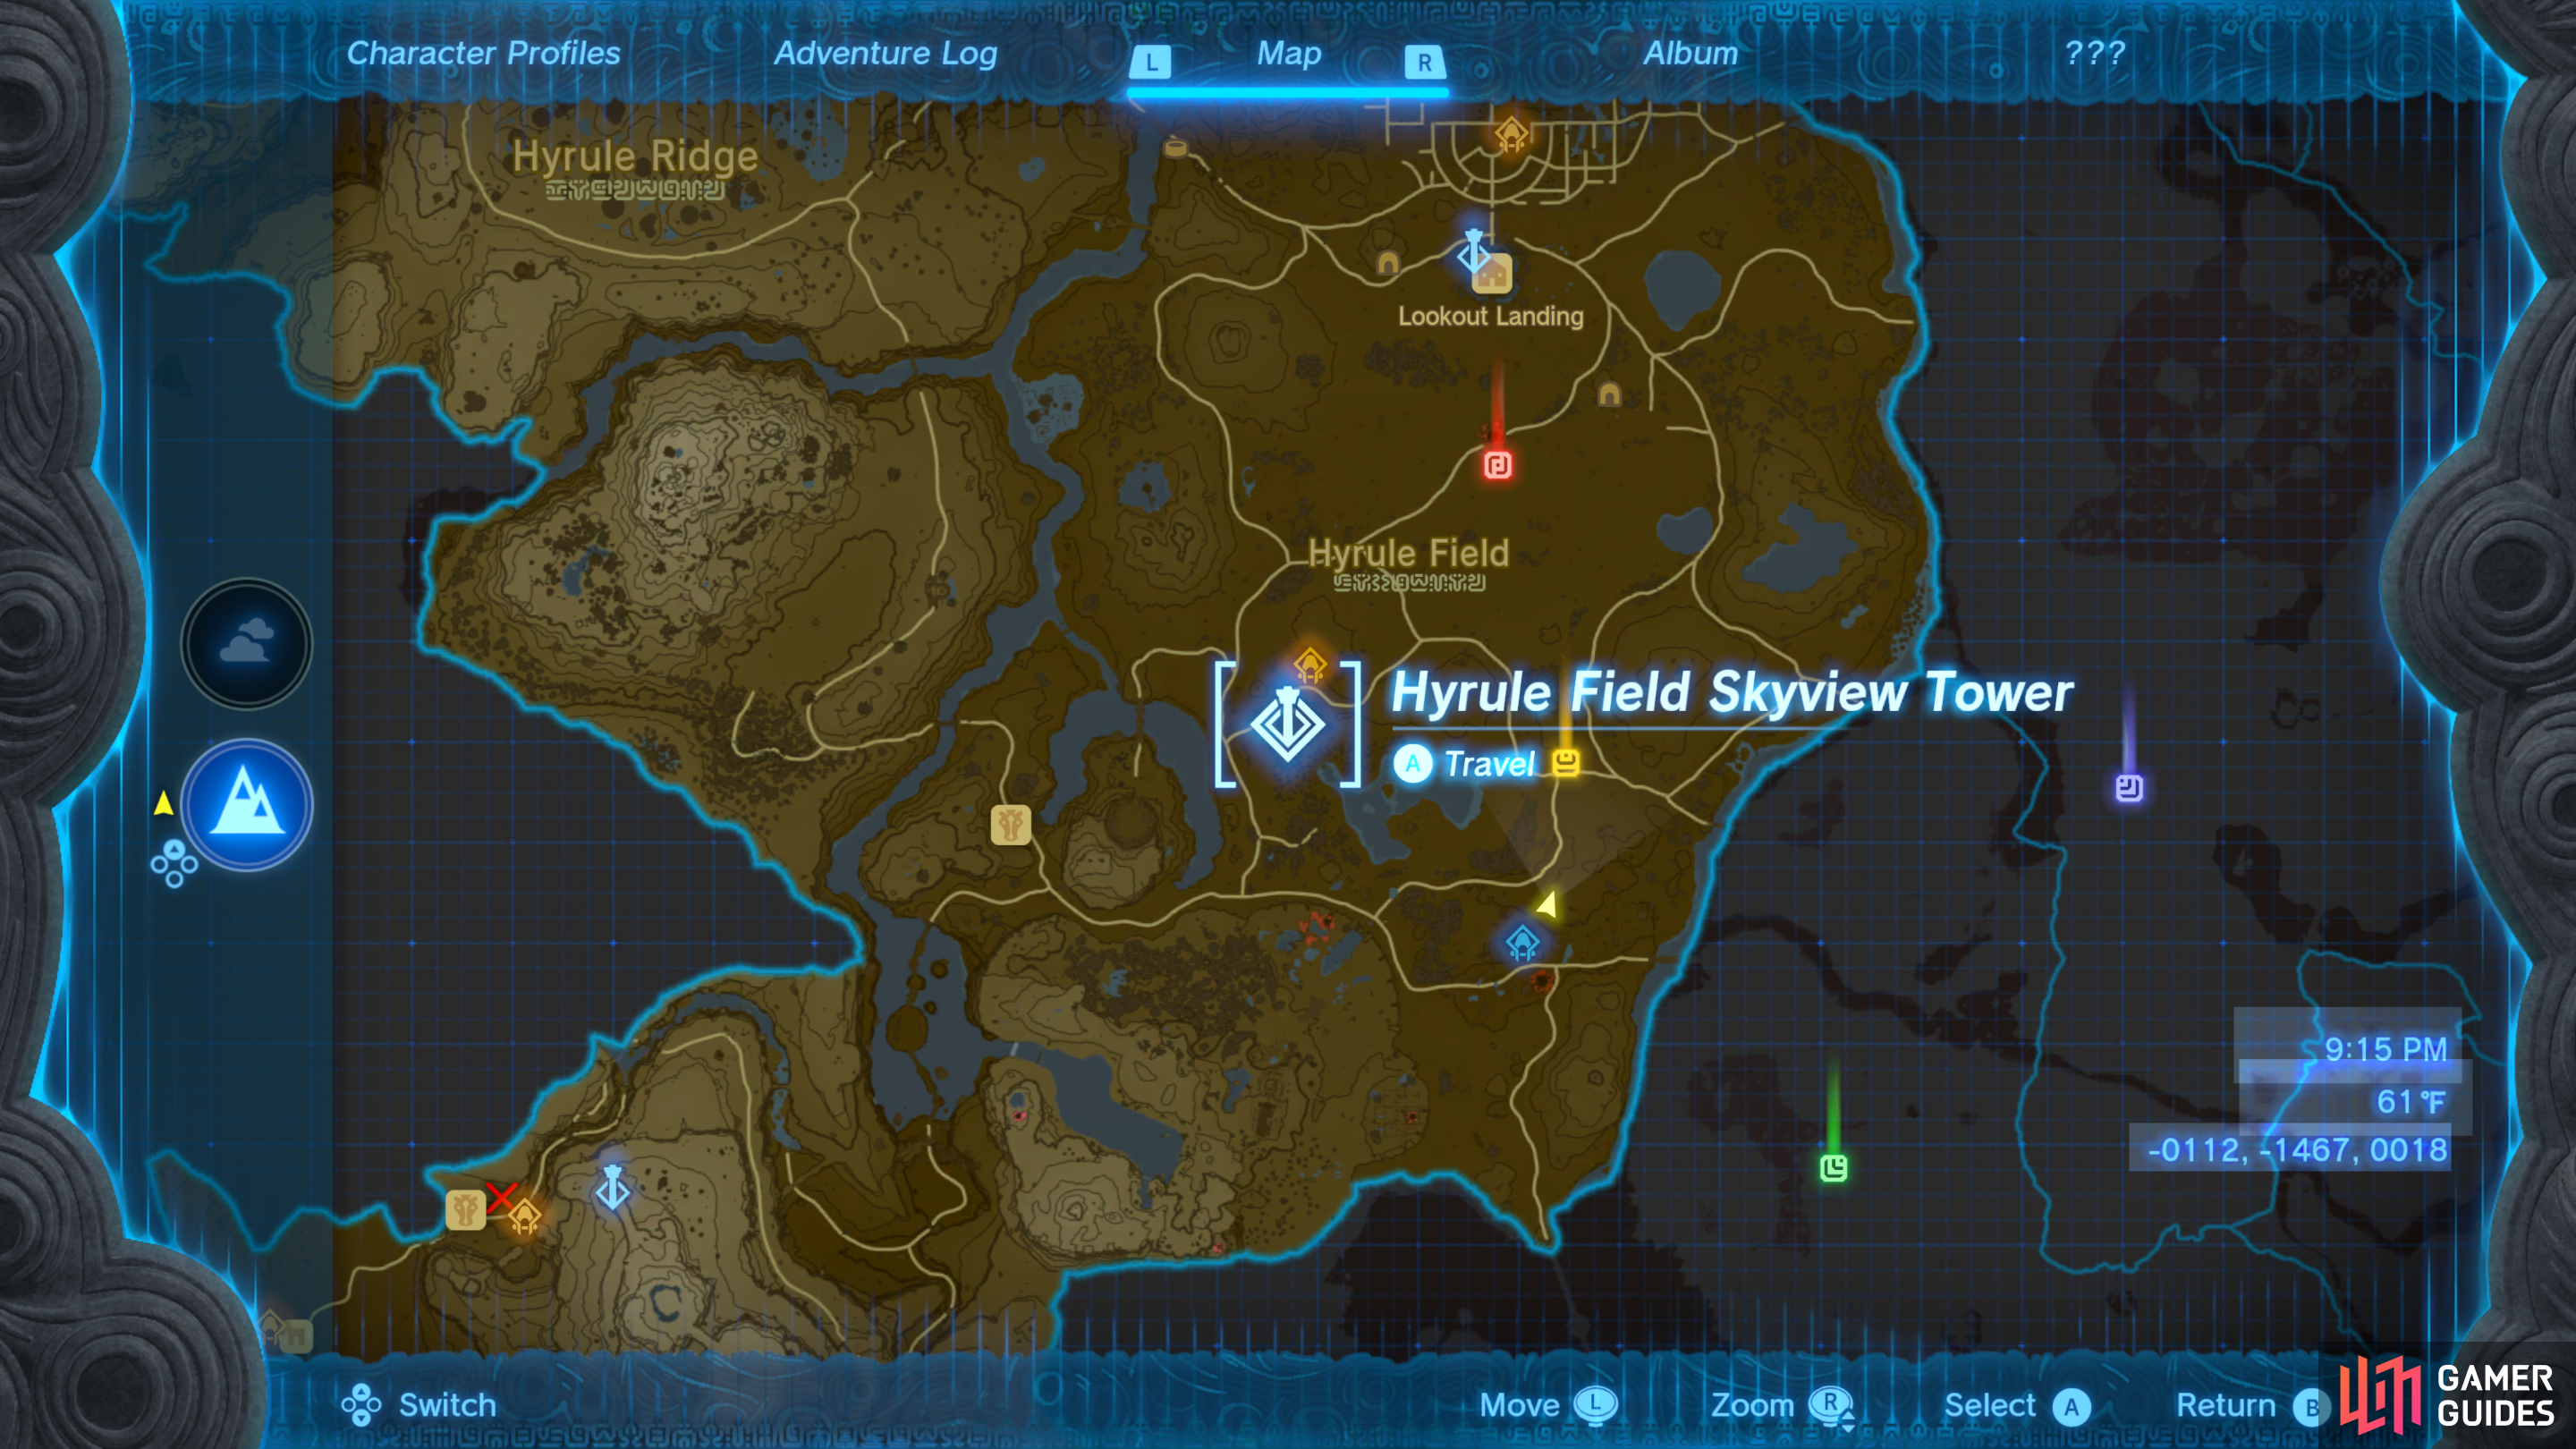
Kamizun Shrine isn’t too far afield, located a fair bit south from ![]() Lookout Landing, southeast of the Hyrule Field Skyview Tower in the Hyrule Field region. It’s not too harrowing of a trip for new players, but there is a camp full of
Lookout Landing, southeast of the Hyrule Field Skyview Tower in the Hyrule Field region. It’s not too harrowing of a trip for new players, but there is a camp full of ![]() Bokoblins and
Bokoblins and ![]() Moblins nearby that you may want to sneak past… unless you’re keen on farming the former for
Moblins nearby that you may want to sneak past… unless you’re keen on farming the former for ![]() Blue Bokoblin Horns, which will significantly enhance weapons when fused. Not that any of these enhancements will help you during this trial…
Blue Bokoblin Horns, which will significantly enhance weapons when fused. Not that any of these enhancements will help you during this trial…
You can find Kamizun Shrine south of Lookout Landing.
How to Complete the Kamizun Shrine in Tears of the Kingdom
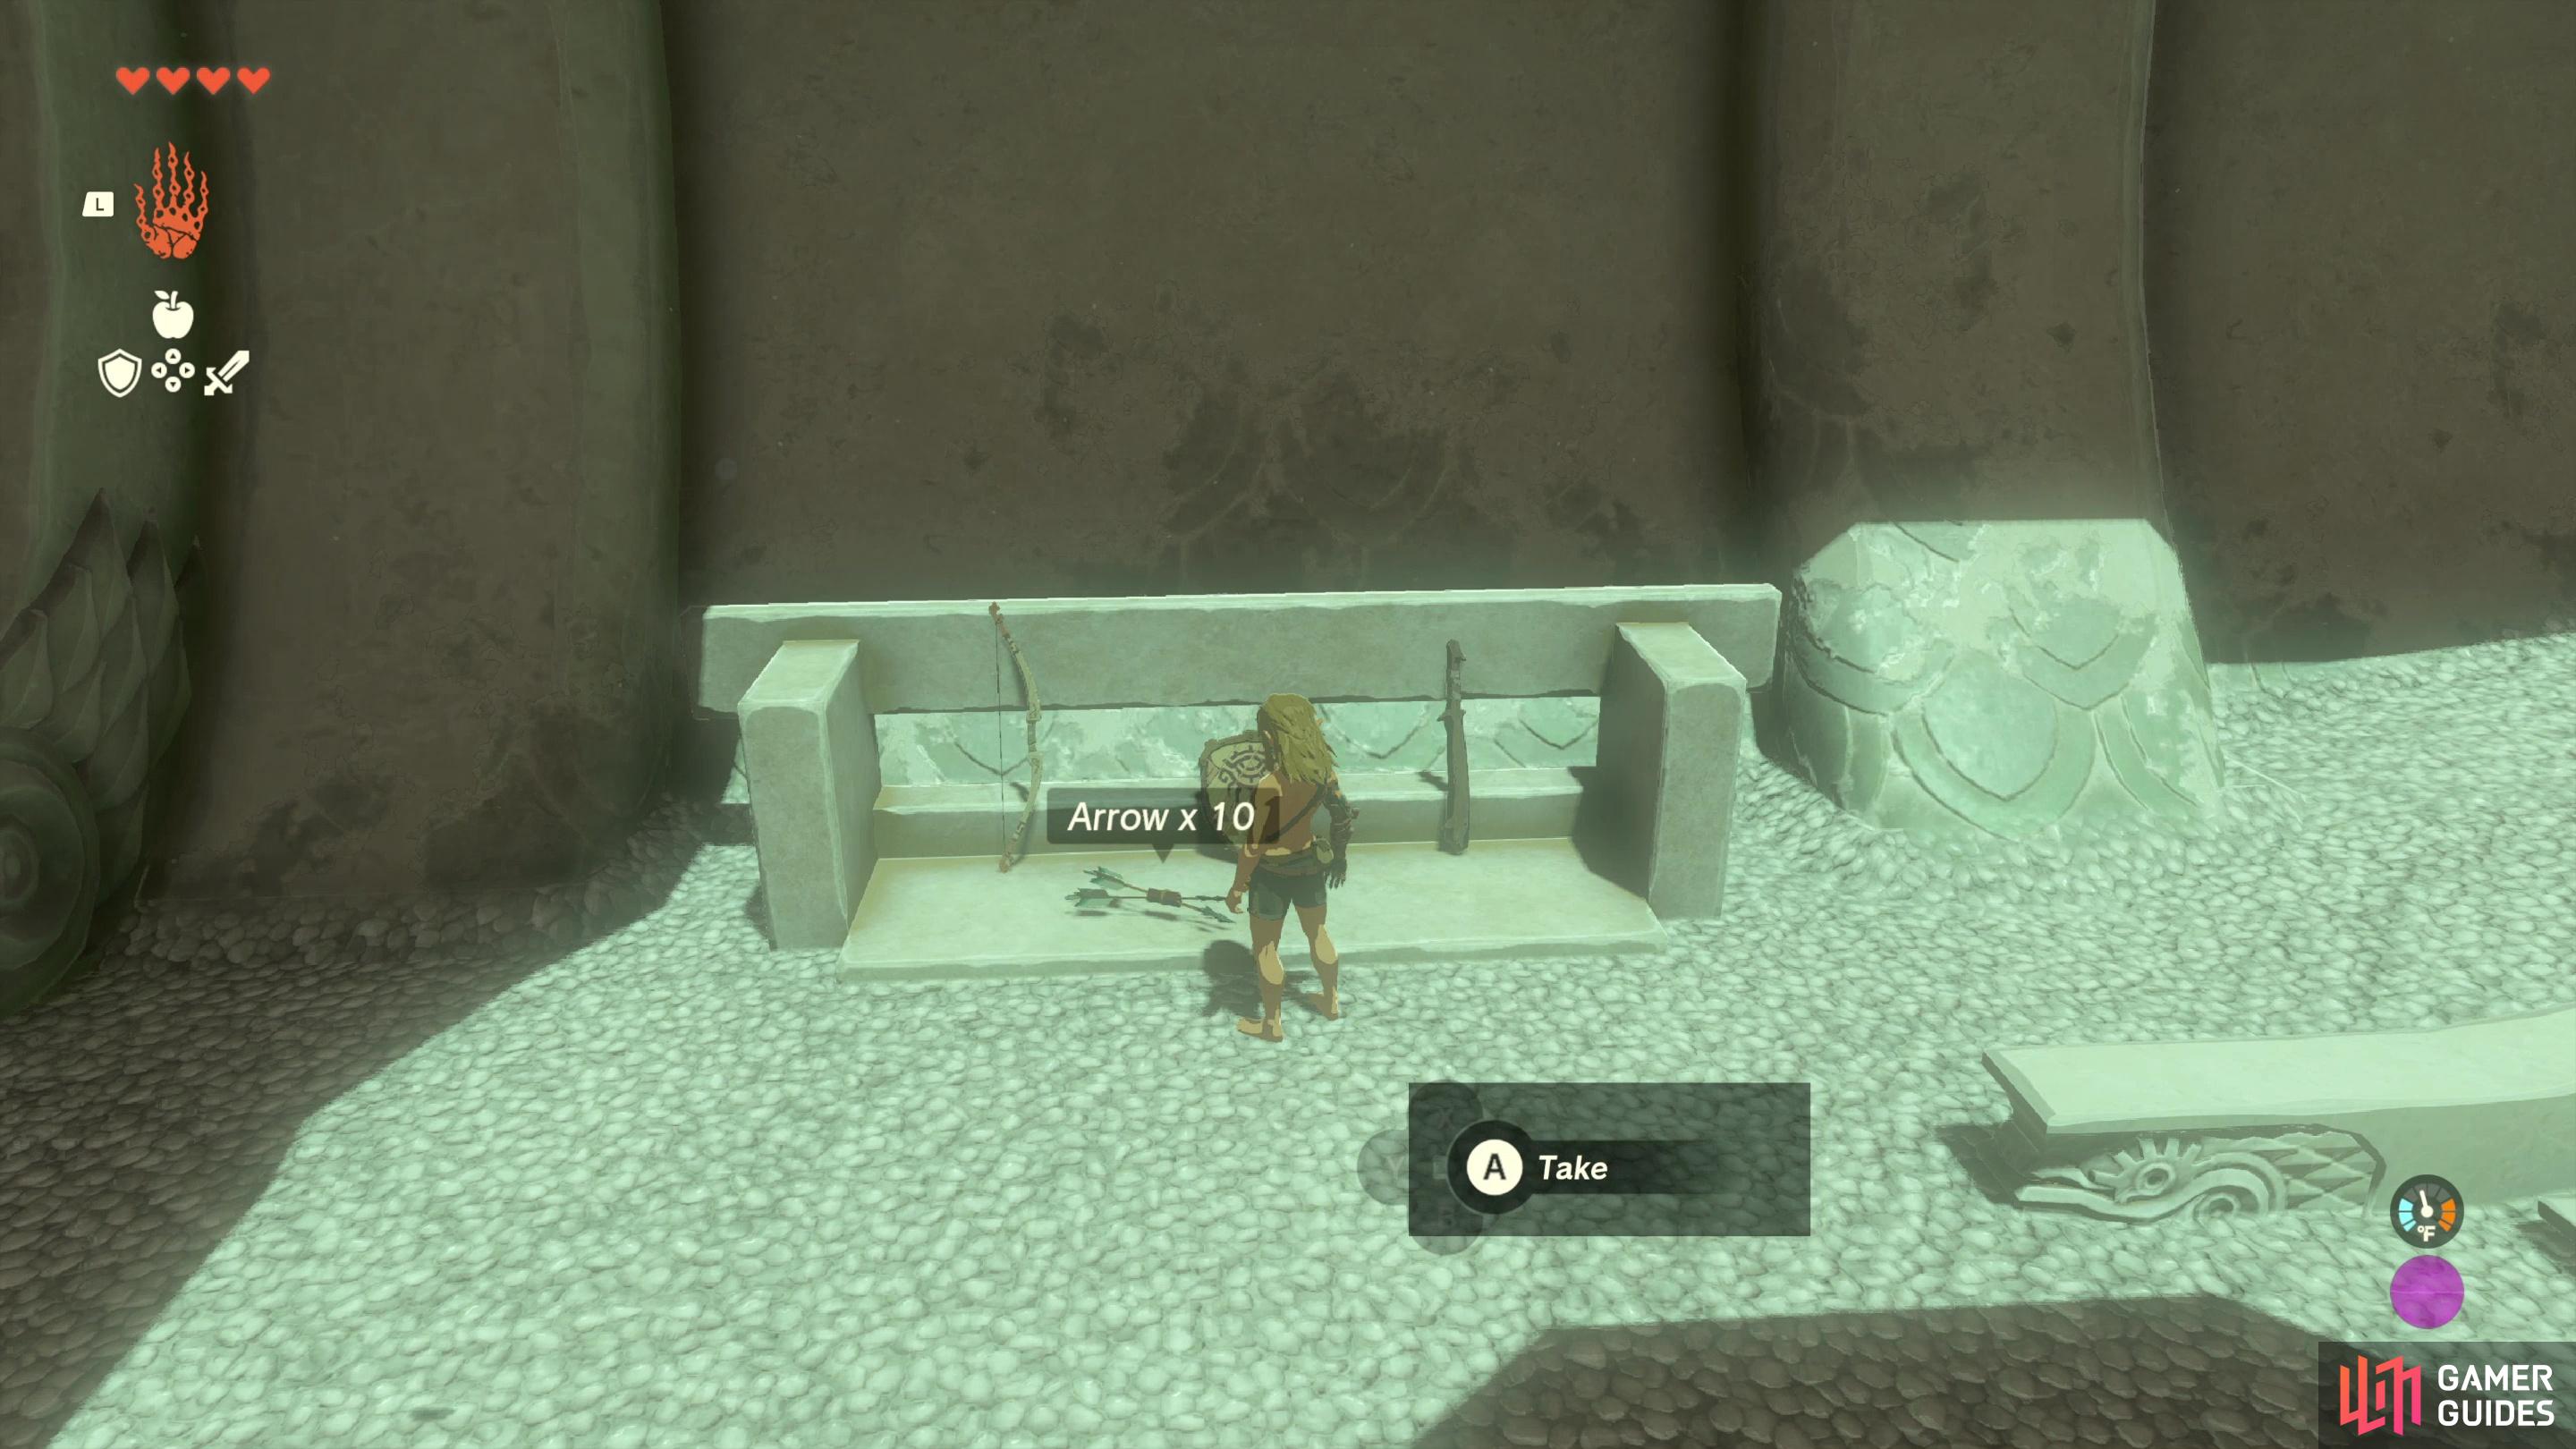
Enter Kamizun Shrine when you find it and inside you’ll find that Link’s possessions have been removed, including his weapons, shields, bows and armor. This is a combat trial, so you must use the tools provided. That said, you’re given some starter kit to use, and there are opportunities to further enhance your new gear. Search a rack to the right to find the following:
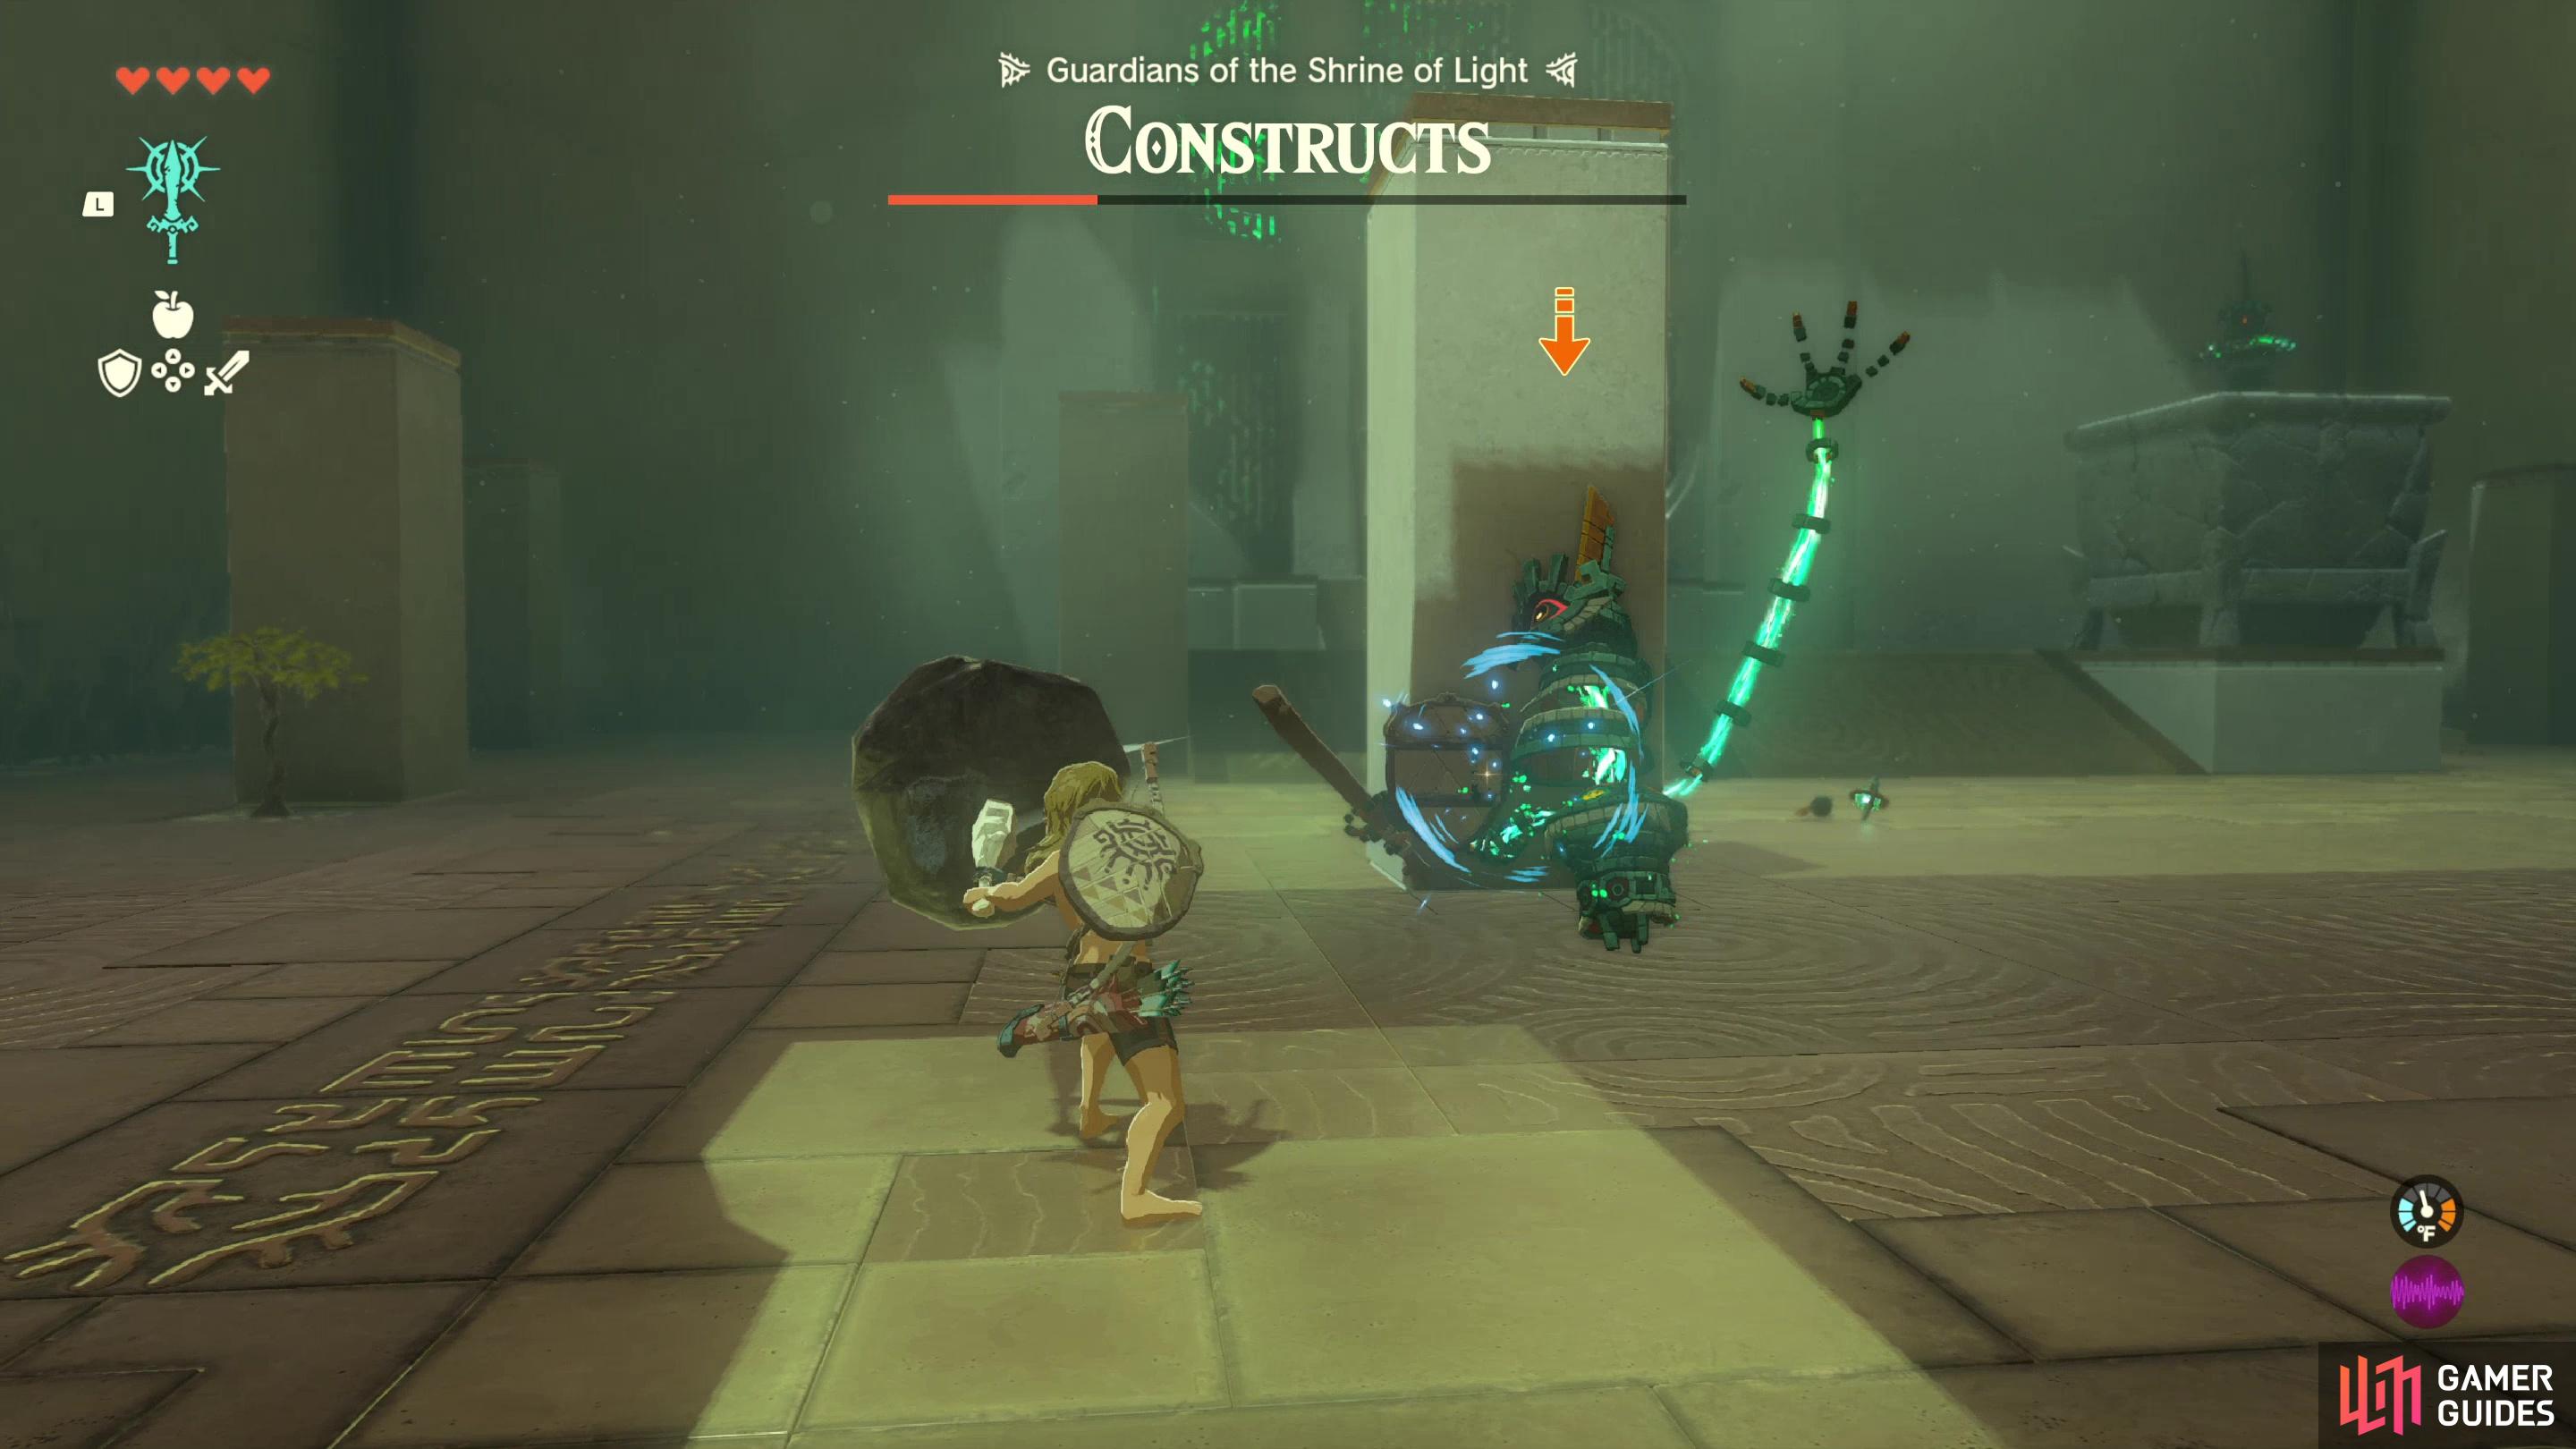
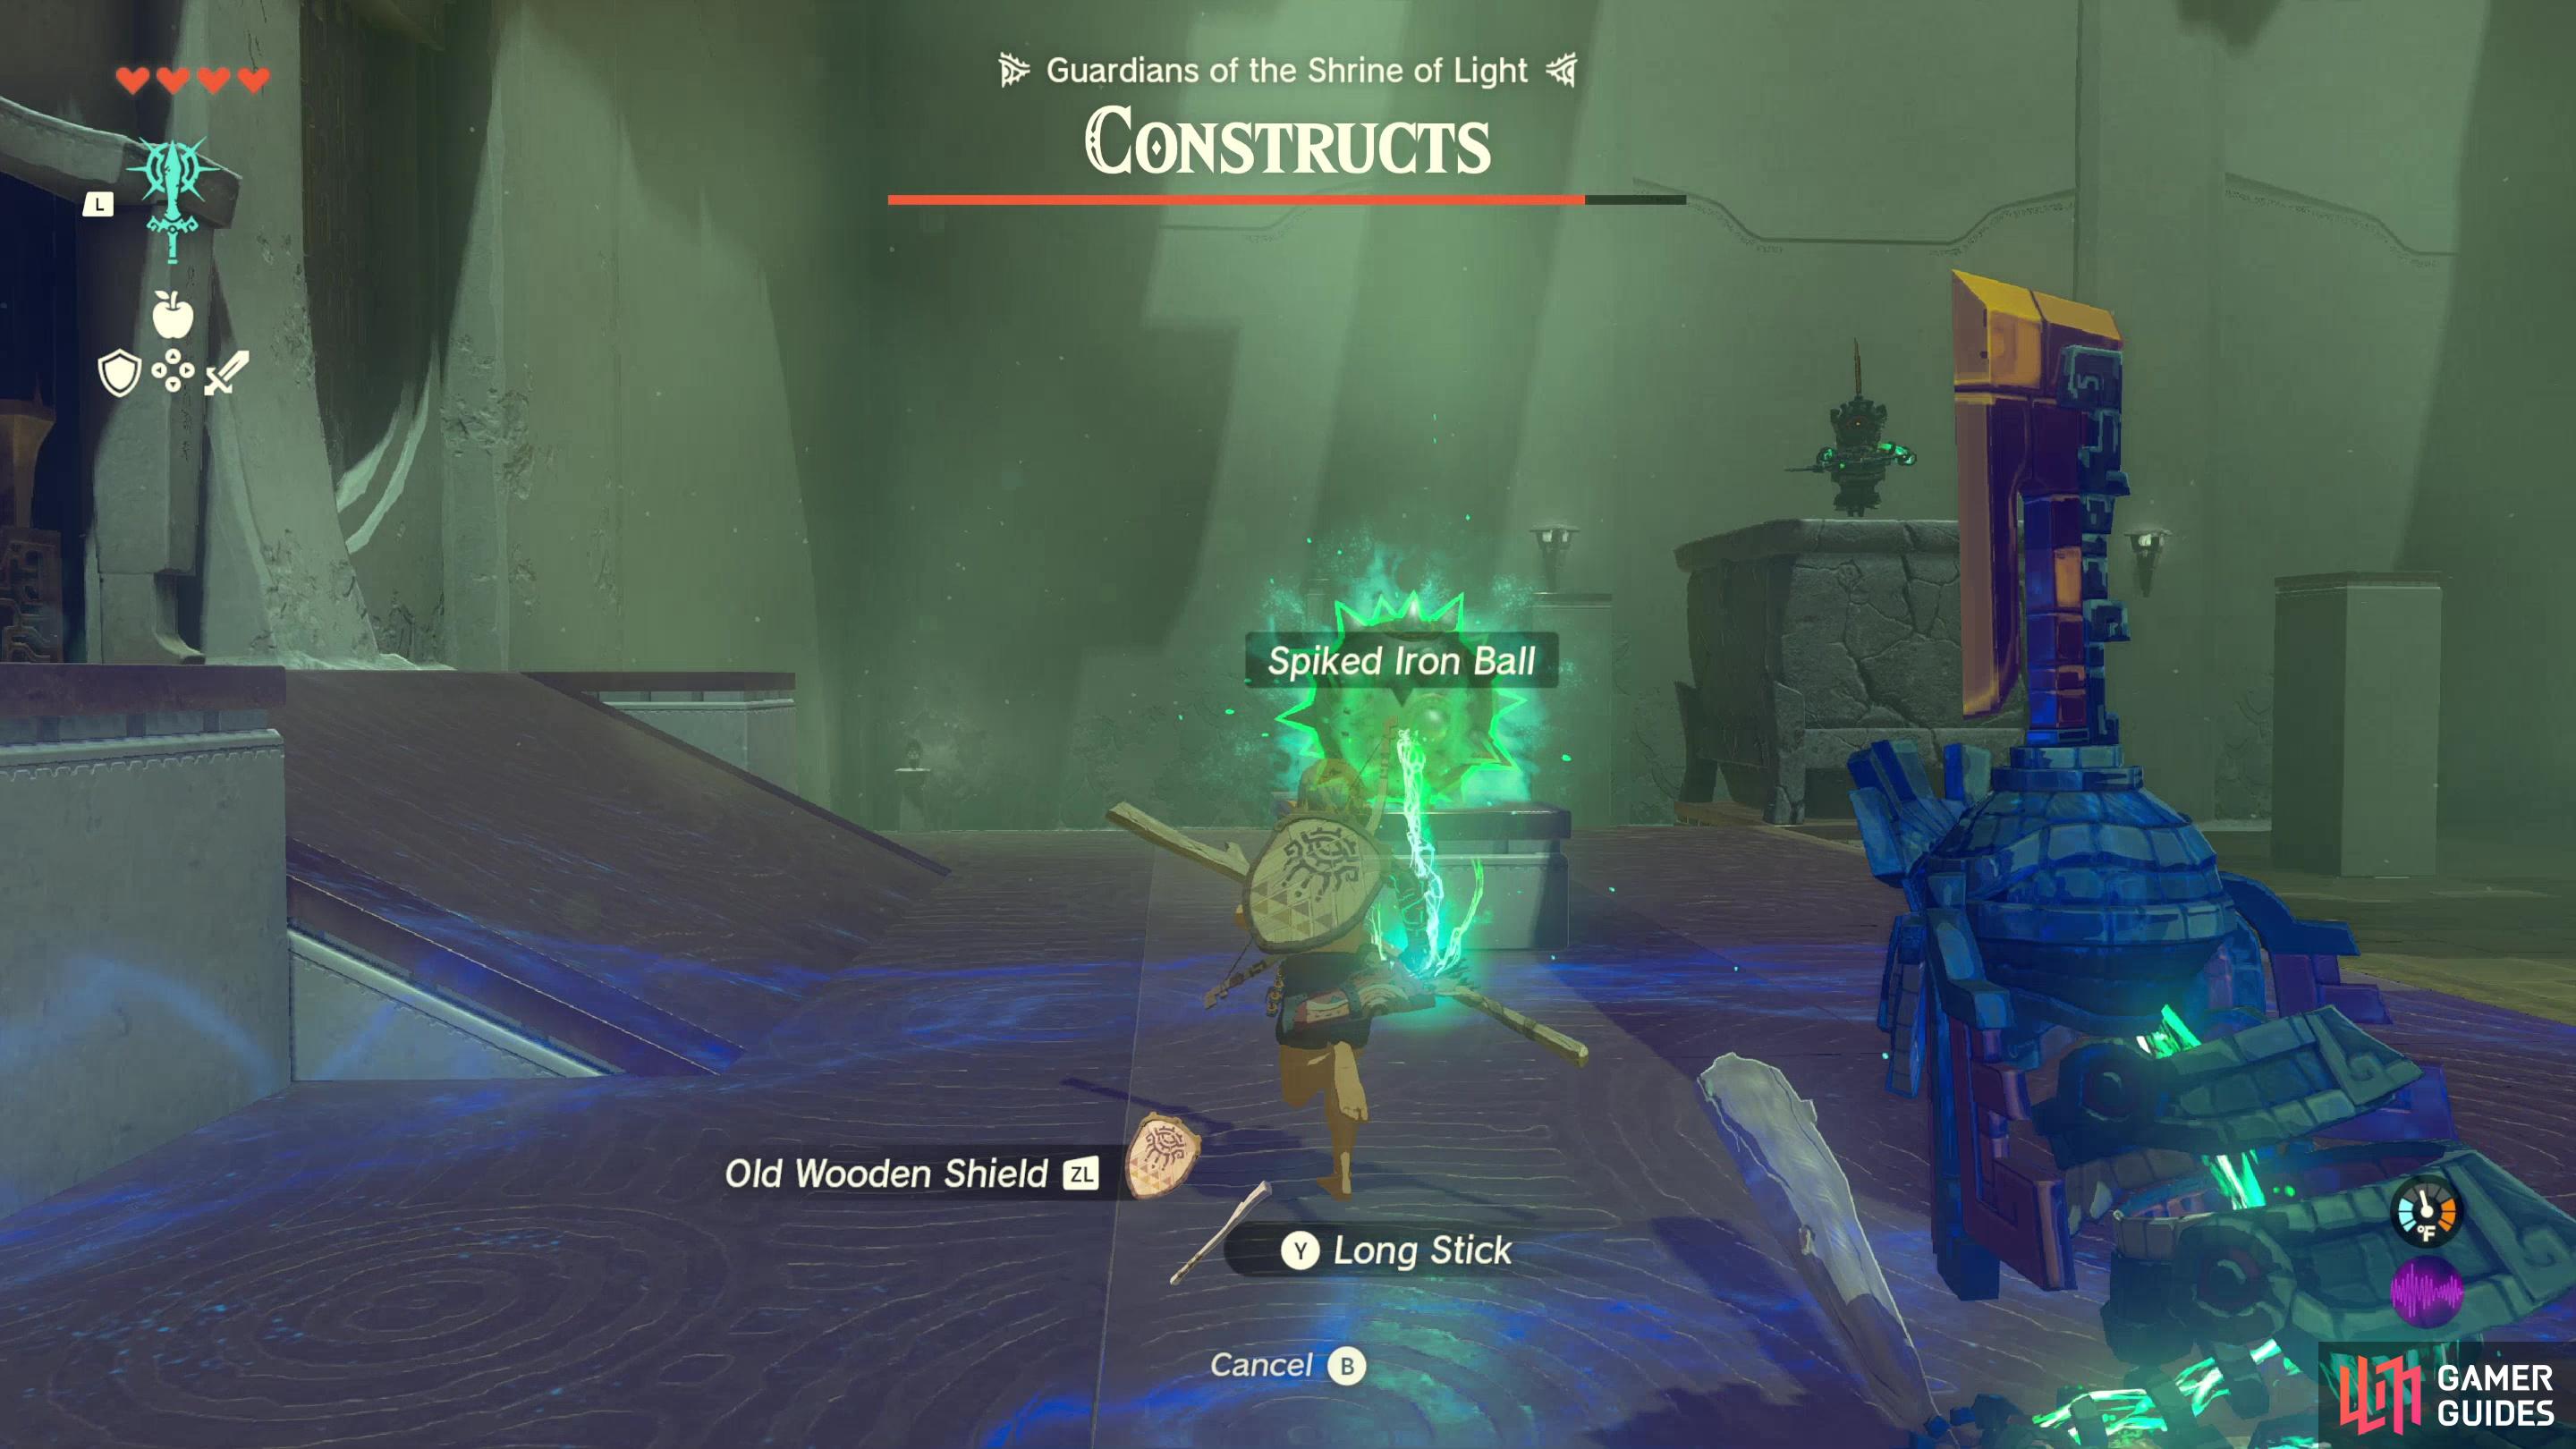
Once you’re equipped, head down some stairs to find an arena, where numerous pillars will break up the terrain. Your foes, which you must defeat to complete the trial, are four Constructs, including an archer atop a pillar (this enemy is more a nuisance than a threat. If you keep moving it won’t hit you, especially if you use the pillars as shielding. As for the three melee Constructs, one has a ![]() Long Stick, another has a
Long Stick, another has a ![]() Thick Stick and the third has a Wooden Stick and an Old
Thick Stick and the third has a Wooden Stick and an Old ![]() Wooden Shield. The one with the shield is the only relatively problematic one, as it can block frontal attacks, the other two are mostly fodder, although the one with the Thick Stick can pack a wallop if you let it hit you.
Wooden Shield. The one with the shield is the only relatively problematic one, as it can block frontal attacks, the other two are mostly fodder, although the one with the Thick Stick can pack a wallop if you let it hit you.
(1 of 4) Your gear will be removed in this shrine, so pick up the equipment provided.
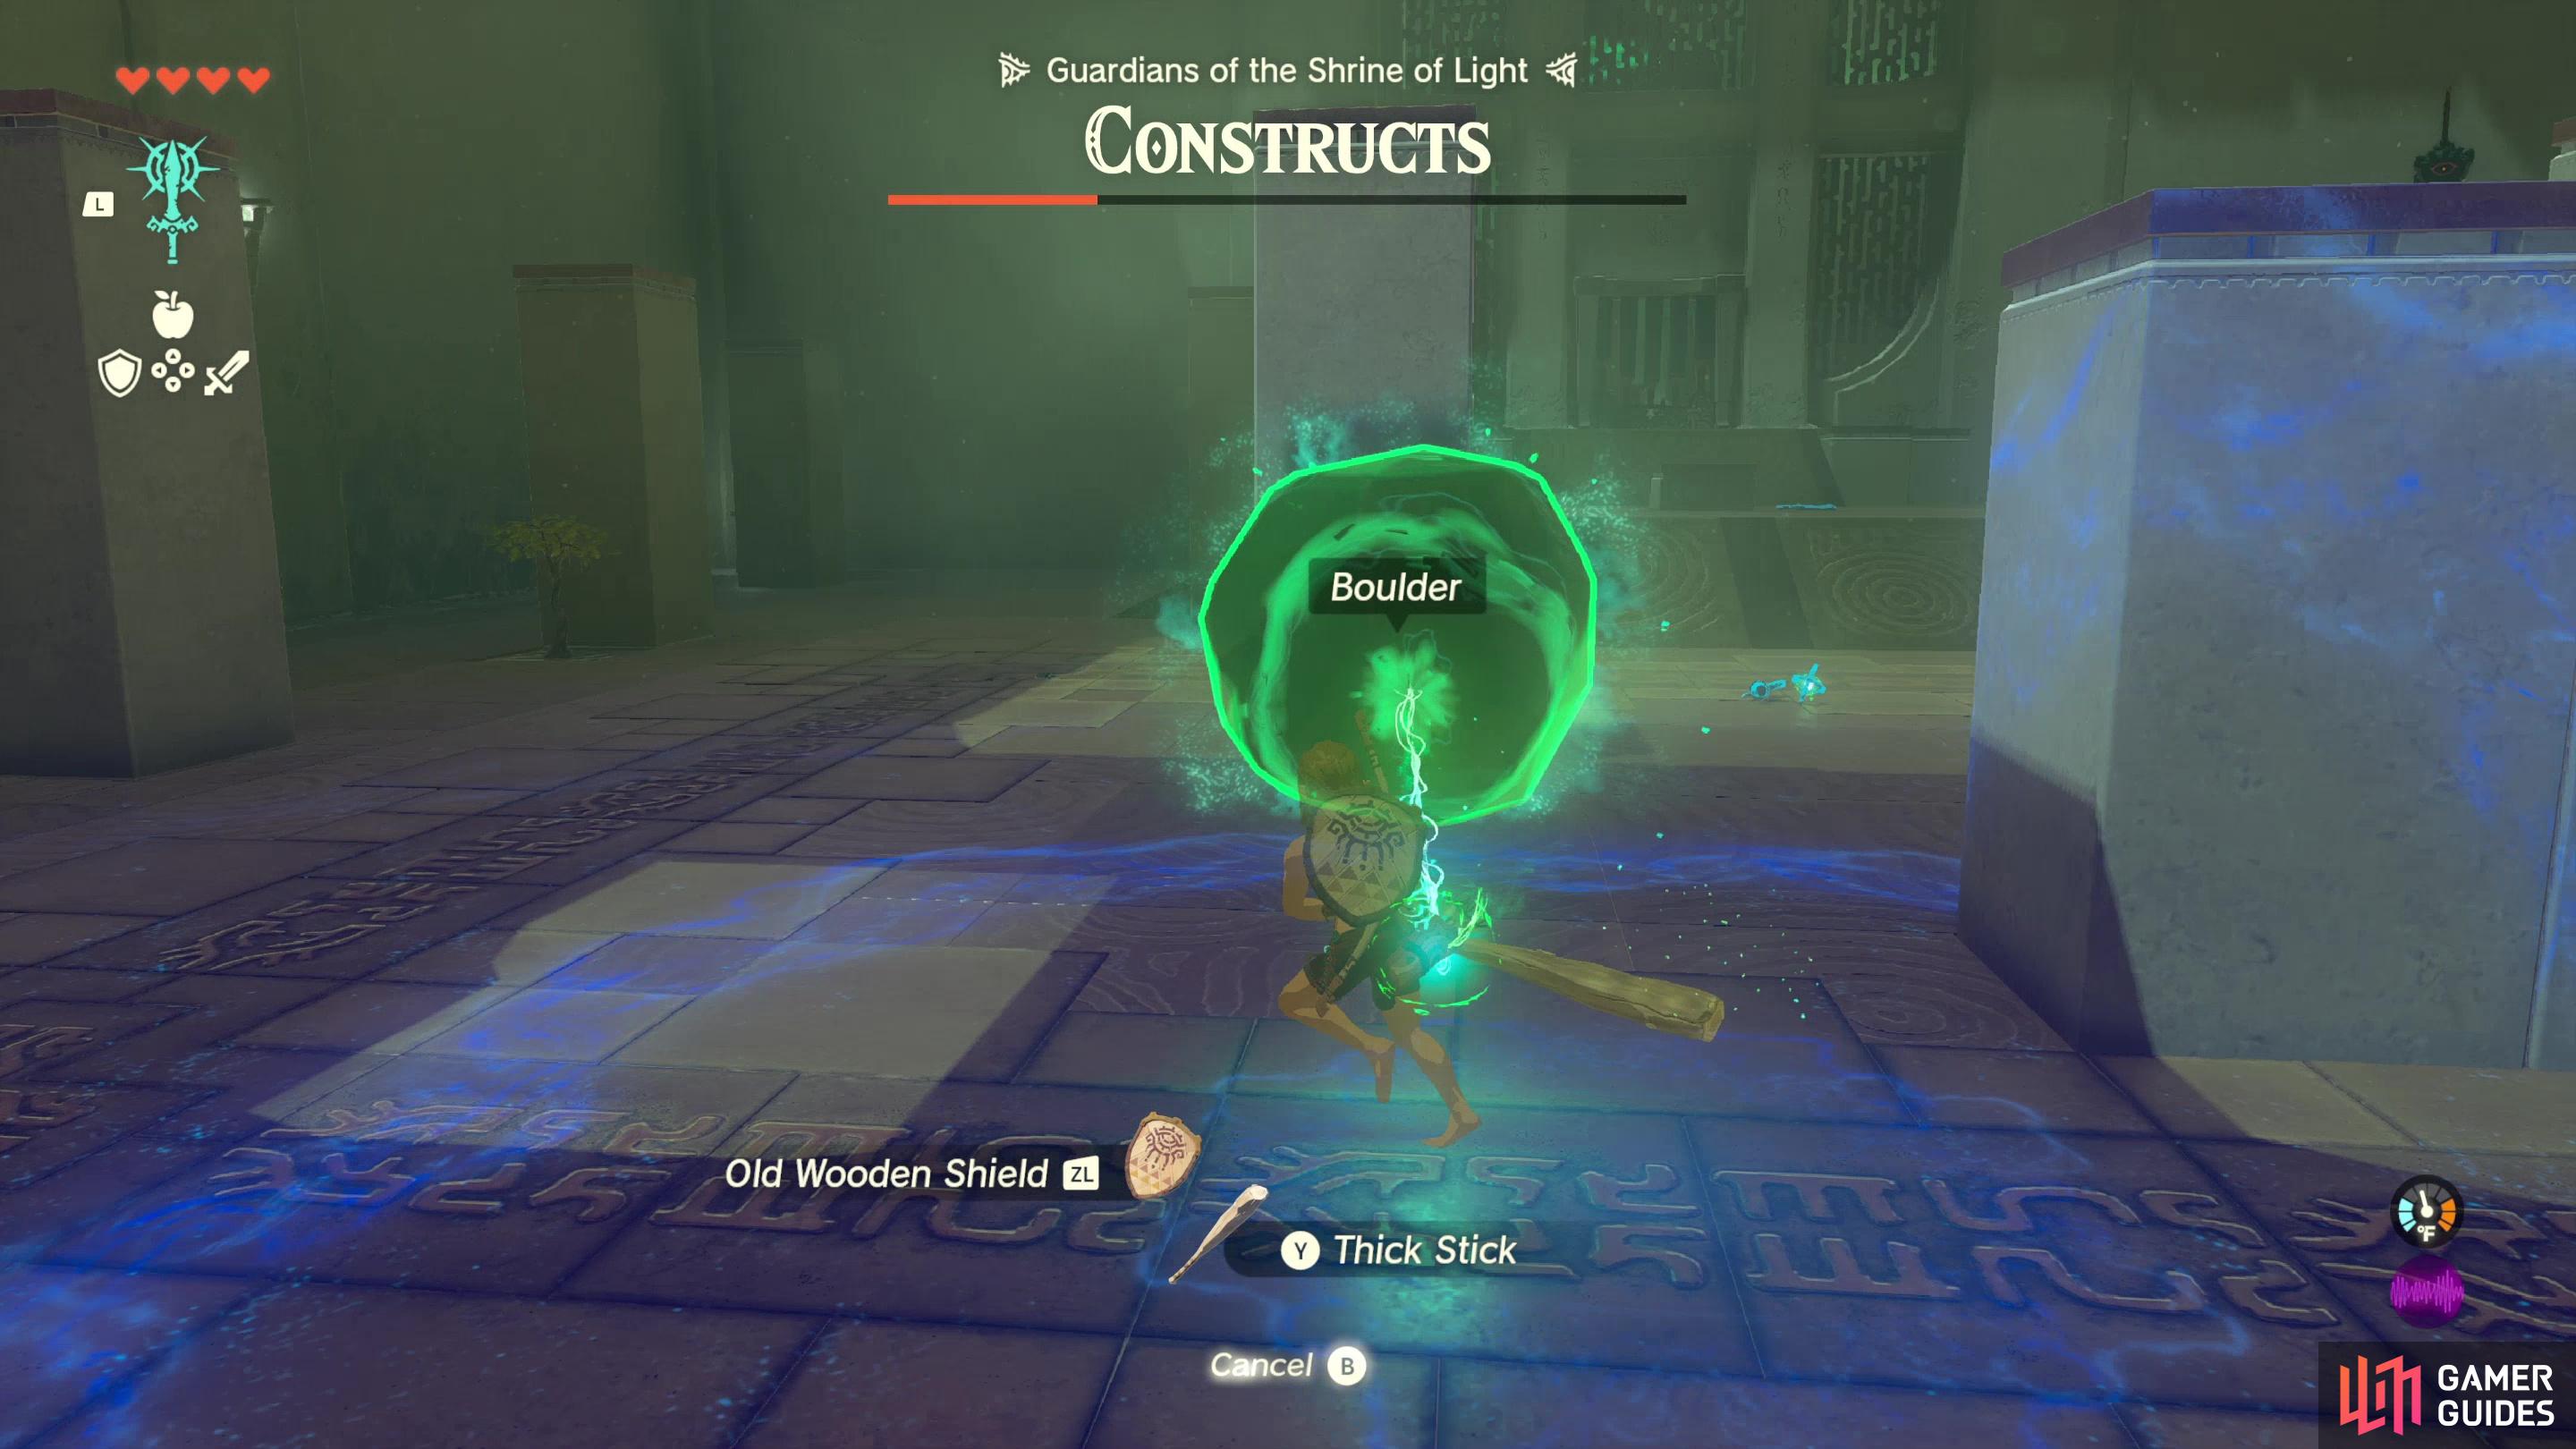
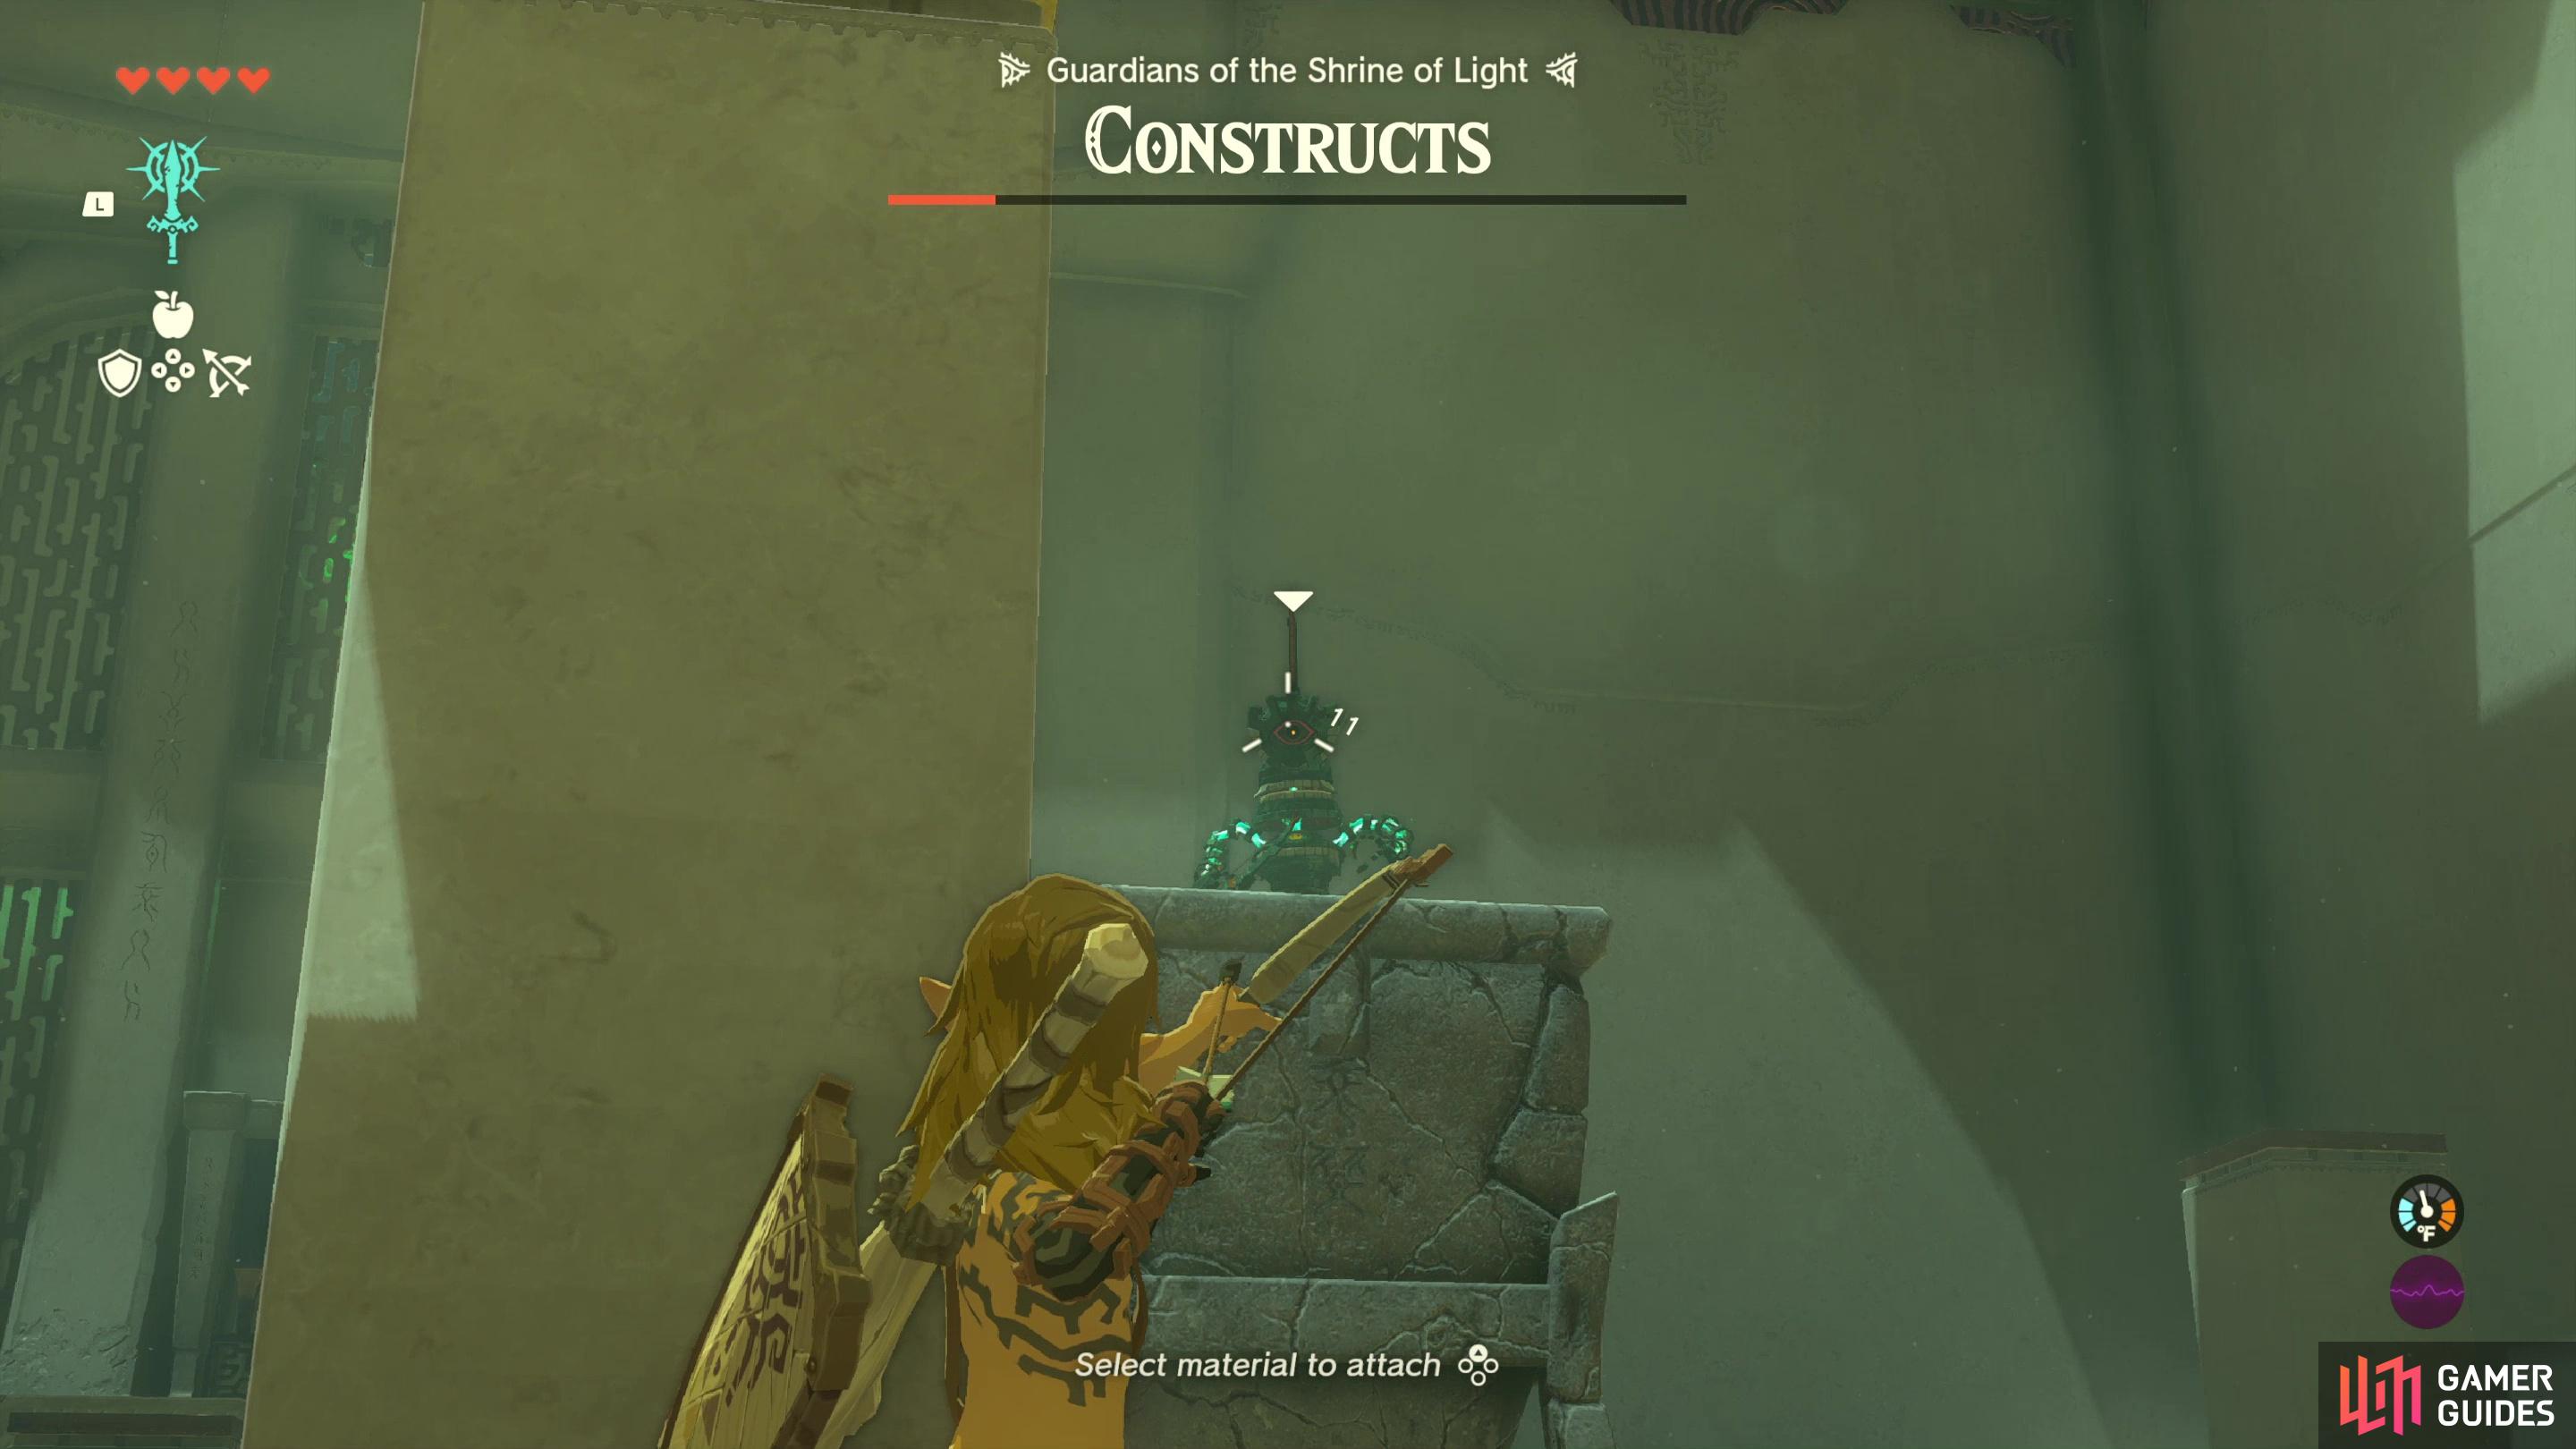
Make sure you have the ![]() Fuse power equipped, then seek out a boulder and fuse it to one of your weapons - this will provide it with enough heft to poke through the defense of the shield-bearing Construct. Run around and wait for an opportunity to strike the shield-bearing Construct and smash it, after which it should be a simple matter to kill the other two. If you want to make this even easier, equip a Long Stick, head up to the elevated part of the room (where the Constructs started) and fuse a Spiked Iron Ball to your weapon to increase its lethality. After the three melee Constructs are dead, take cover behind a pillar and snipe the archer Construct - one shot in the eye should suffice.
Fuse power equipped, then seek out a boulder and fuse it to one of your weapons - this will provide it with enough heft to poke through the defense of the shield-bearing Construct. Run around and wait for an opportunity to strike the shield-bearing Construct and smash it, after which it should be a simple matter to kill the other two. If you want to make this even easier, equip a Long Stick, head up to the elevated part of the room (where the Constructs started) and fuse a Spiked Iron Ball to your weapon to increase its lethality. After the three melee Constructs are dead, take cover behind a pillar and snipe the archer Construct - one shot in the eye should suffice.
(1 of 2) Finally snipe the archer Construct
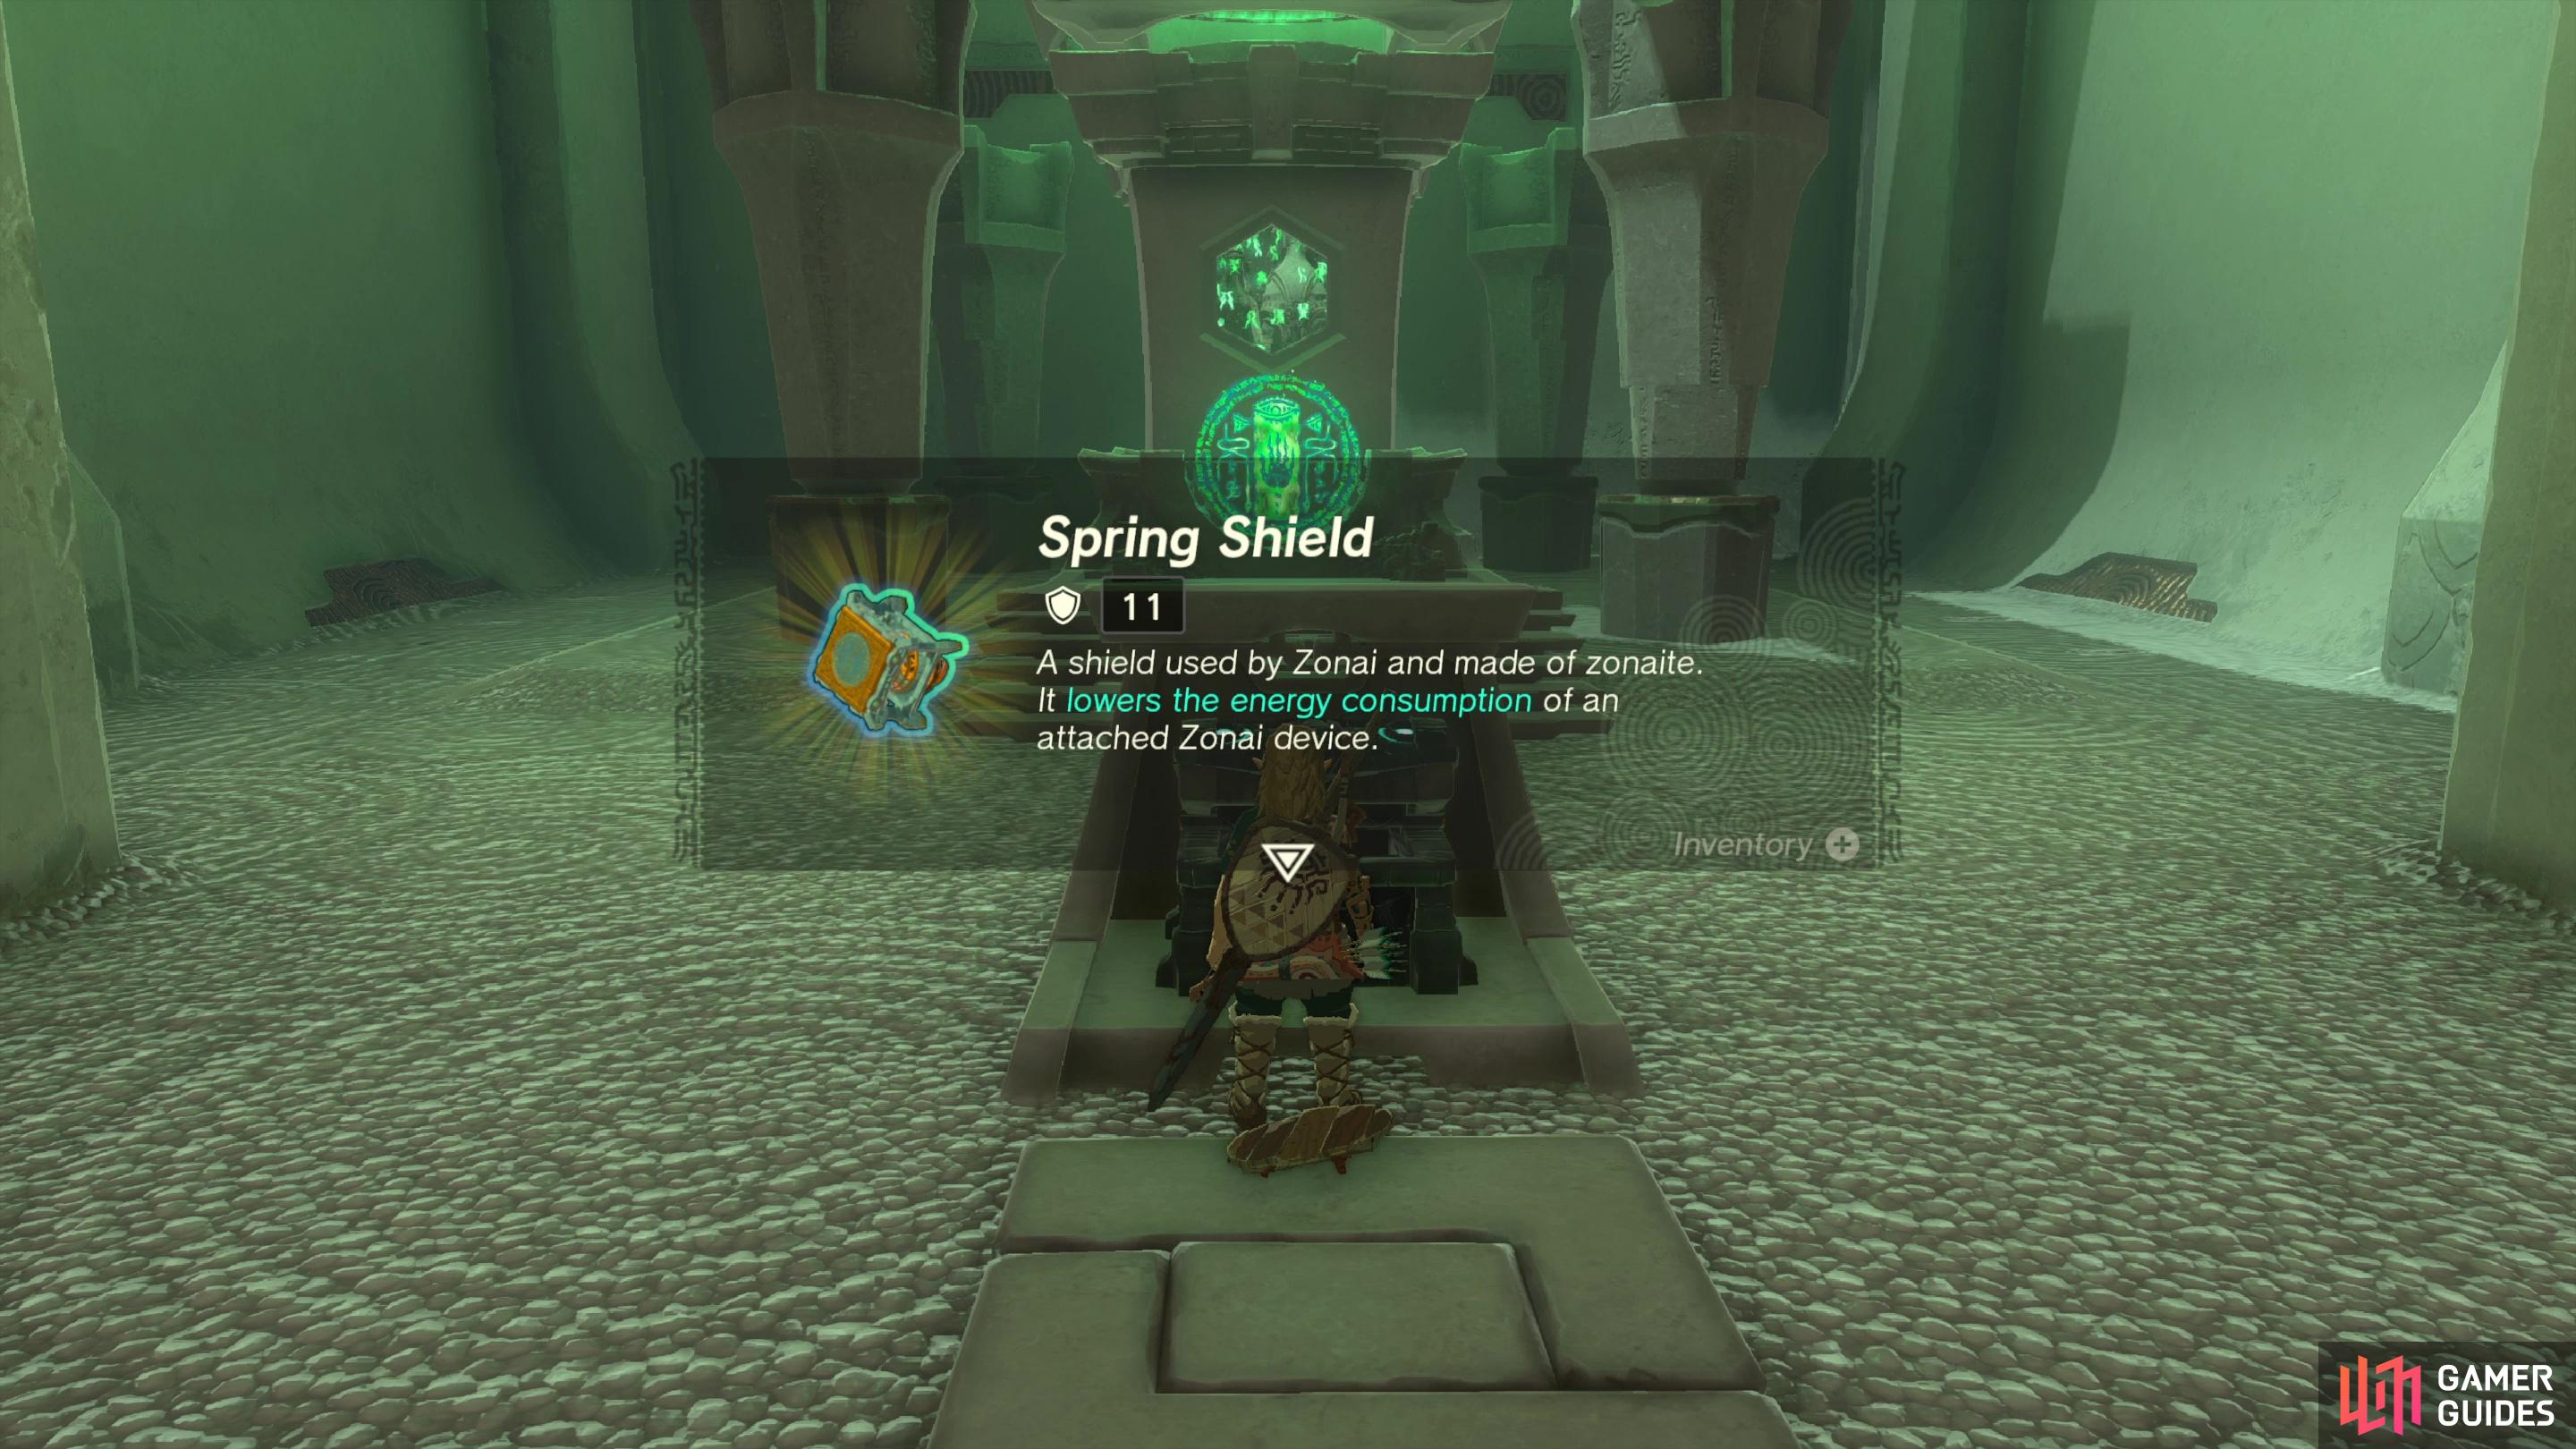
Finally snipe the archer Construct (left), then continue to the end of the shrine to obtain the Spring Shield. (right)
Defeat all four Constructs and you’ll complete the combat trial, getting your gear back in the process. Go through the gate that opened and loot a chest to obtain the Spring Shield, then interact with the green disc to complete the shrine, unlock it as a fast travel point, and obtain a Light of Blessing

 Sign up
No Comments