There are plenty of side adventures to keep you entertained while exploring Hyrule in The Legend of Zelda: Tears of The Kingdom. Many quests, like A Monstrous Collection need you to complete several prerequisites in order to both start and complete them. This can be a bit confusing as Tears of The Kingdom is a large game with lots to do. The guide below goes over how to start !A Monstrous Collection, complete all five parts, and what the rewards for each part of the quest line are.
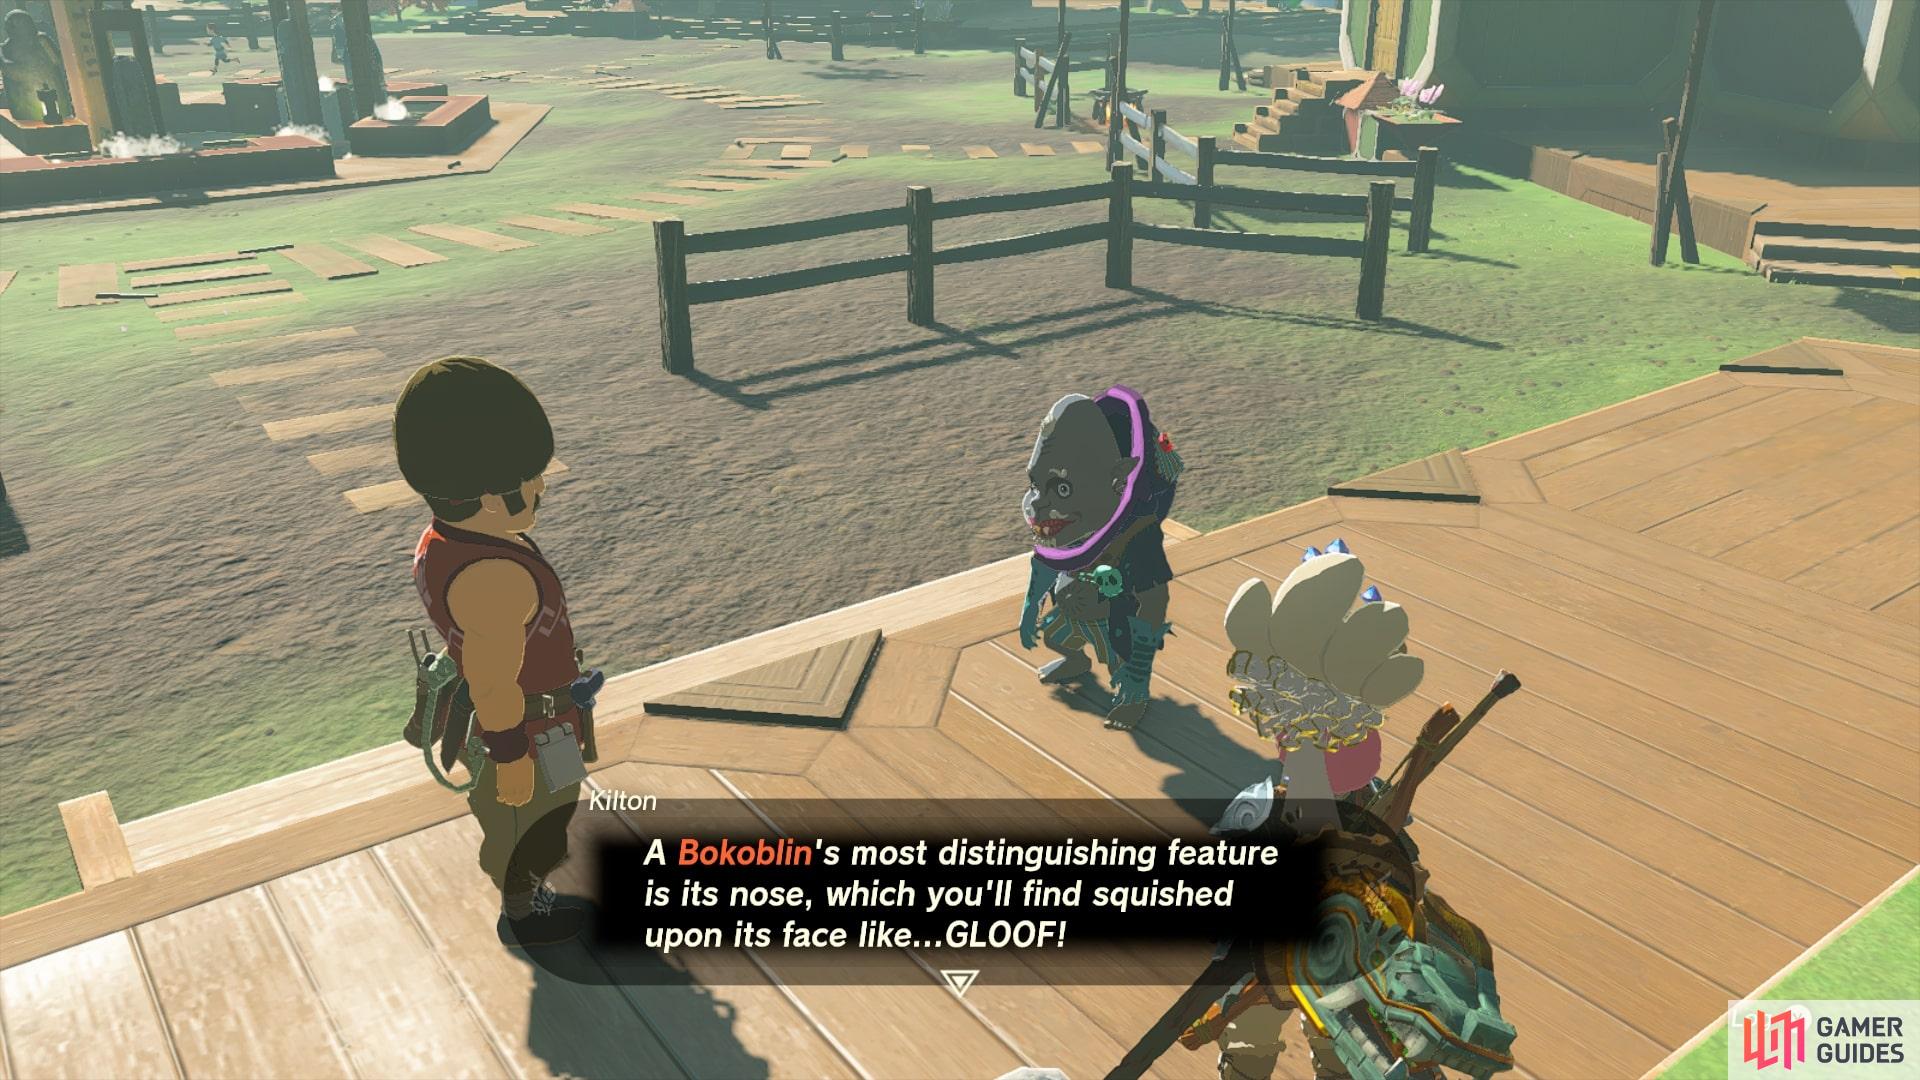
Kilton talking about A Monstrous Collection I.
All Kilton Quests in Tears of The Kingdom and Where to Find Them
Once you finish The Hunt For Bubbul Gems! at Pico Pond in Eldin, ![]() Kilton will move to his new home in Tarry Town. Upon first talking with him there, he will tell you where to find his brother Koltin. Once this is done, a quest bubble will appear above his name if you have finished the side adventure Mattison’s Independence. Kilton has five different side adventures to give you, that are all part of a quest line focused on photographing monsters. Below are the names of all five quests Kilton will ask Link to do.
Kilton will move to his new home in Tarry Town. Upon first talking with him there, he will tell you where to find his brother Koltin. Once this is done, a quest bubble will appear above his name if you have finished the side adventure Mattison’s Independence. Kilton has five different side adventures to give you, that are all part of a quest line focused on photographing monsters. Below are the names of all five quests Kilton will ask Link to do.
- A Monstrous Collection I
- A Monstrous Collection II
- A Monstrous Collection III
- A Monstrous Collection IV
- A Monstrous Collection V
You can obtain each of these by speaking with Kilton in front of the display in Tarry Town. Each level of the quest gets a bit harder, but with a bit of knowledge, you can easily find and photograph all five monsters without having to worry. Before you can complete these quests you will need to obtain the ![]() Camera. If you have yet to get this item, then check out our guide here to quickly acquire it.
Camera. If you have yet to get this item, then check out our guide here to quickly acquire it.
After completing each of these side adventures, you will be able to place a figurine on the display beside Kilton. To do this, simply use ![]() Ultrahand to pick up the sculpture and lower it onto the display anywhere you would like, this will complete each quest.
Ultrahand to pick up the sculpture and lower it onto the display anywhere you would like, this will complete each quest.
Where to Find Every Monster in The Monstrous Collection Quest Line
Each of the five quests requests for Link to capture a photograph of a single monster. The danger level grows with each level as the monsters you need to find become more and more powerful. Each part of the Monstrous Collection quest line comes with its own reward and allows you to decorate the miniature display in the Tarry Town plaza. The chart below goes over all five !A Monstrous Collections quests, where to easily find the monsters in them, where they are located on the map, and the quest reward.
| Quest | Monster | Monster Location | Map Marker | Quest Reward |
|---|---|---|---|---|
| Map Marker | Monster Extract | |||
| Horroblin | Map Marker | Monster Extract, Sneaky Monster Soup | ||
| Battle Talus | Akkala Highlands | Map Marker | Monster Extract, Monster Bridle | |
| The Depths Under |
Map Marker | Monster Extract, Monster Saddle | ||
| Gleeok Den | Map Marker | Monster Extract, |
You should note that for A Monstrous Collection III you can choose your own monster or ask Kilton for a suggestion, which will be the Battle Talus. Submitting any other monsters will not complete the quest despite the illusion of choice. If you already have a photograph ready to go of any of the monsters above, just hand it in to quickly resolve this quest.
Once the quest is over you can speak with Kilton at any time to show him more photos of monsters. He will create a sculpture of them to place on the display, just like the quests monsters. You can do this as much as you’d like so feel free to customize Tarry Town’s display as much as you want.
To learn more about the monsters in Hyrule, check out the guide pages below:


 Sign up
No Comments