Shrines are one of the core gameplay elements in The Legend of Zelda: Tears of the Kingdom. Scattered throughout Hyrule, shrines typically require you to solve some sort of puzzle or combat trial, upon the completion of which you’ll be rewarded with a ![]() Light of Blessing and potentially equipment. Shrines can also serve as fast travel points - all you have to do is interact with them. Since completing shrines will make your character stronger and provide exploration footholds, it’s essential that you conquer them whenever possible. This page will provide a walkthrough for Taki-ihaban Shrine.
Light of Blessing and potentially equipment. Shrines can also serve as fast travel points - all you have to do is interact with them. Since completing shrines will make your character stronger and provide exploration footholds, it’s essential that you conquer them whenever possible. This page will provide a walkthrough for Taki-ihaban Shrine.
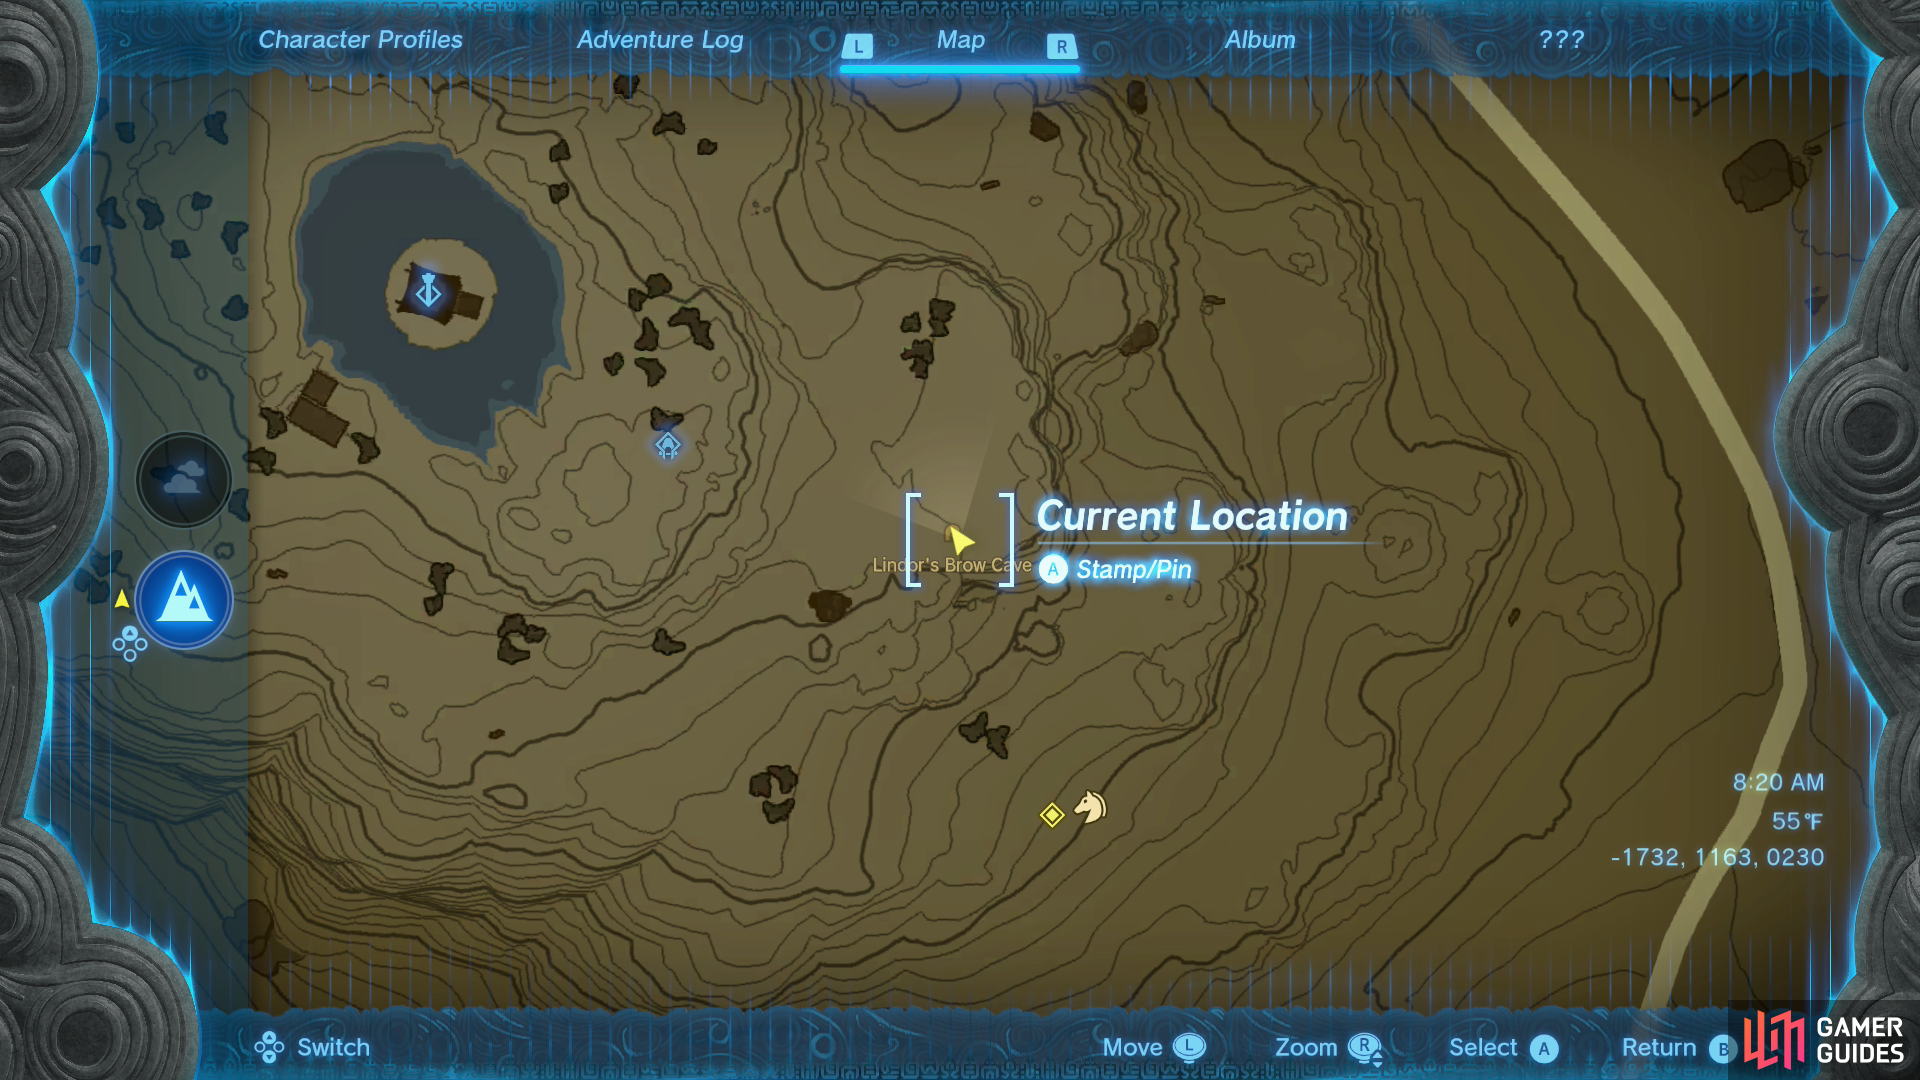
The Taki-ihaban Shrine can be found within Lindor’s Brow Cave, both of which are southeast of Lindor’s Brow Skyview Tower.
Where to find Taki-ihaban Shrine in Tears of the Kingdom
The Taki-ihaban Shrine is one of the more obtuse shrines to locate in the game, as it’s underground - no amount of surveying the landscape from on high will reveal this shrine to you, as is (ideally) your custom for most shrines. Fortunately, it’s not all that hard to find, being located in ![]() Lindor’s Brow Cave, which is just southeast of Lindor’s Brow Skyview Tower. If you launch from the tower this cave will appear as a hole you can glide down into, but it’s easier to delve into by approaching from the east.
Lindor’s Brow Cave, which is just southeast of Lindor’s Brow Skyview Tower. If you launch from the tower this cave will appear as a hole you can glide down into, but it’s easier to delve into by approaching from the east.
(1 of 2) If you launch from Lindor’s Brow Skyview Tower you’ll spot the entrance to Lindor’s Brow cave as a pit in the ground.
If you launch from Lindor’s Brow Skyview Tower you’ll spot the entrance to Lindor’s Brow cave as a pit in the ground. (left), Approach from the east to find a chute leading into the depths. (right)
How to Complete Taki-ihaban Shrine in Tears of the Kingdom
While the Taki-ihaban Shrine can be somewhat difficult to find, it’s incredibly easy to solve. There’s no puzzle here, nothing - you just walk in, loot a chest to score a ![]() Large Zonai Charge, then head to the end of the shrine to get your usual Light of Blessing.
Large Zonai Charge, then head to the end of the shrine to get your usual Light of Blessing.
That said, reaching the shrine itself can be fraught with peril, and that’s the real difficulty with this particular shrine. Assuming you approached from the east you’ll find a chute dropping down - jump in and you’ll land in a pool of water, then turn southwest to reach the shore. Continue downhill and turn northwest when you reach a cliff to spot the Taki-ihaban shrine on another ledge across a chamber to the northwest.
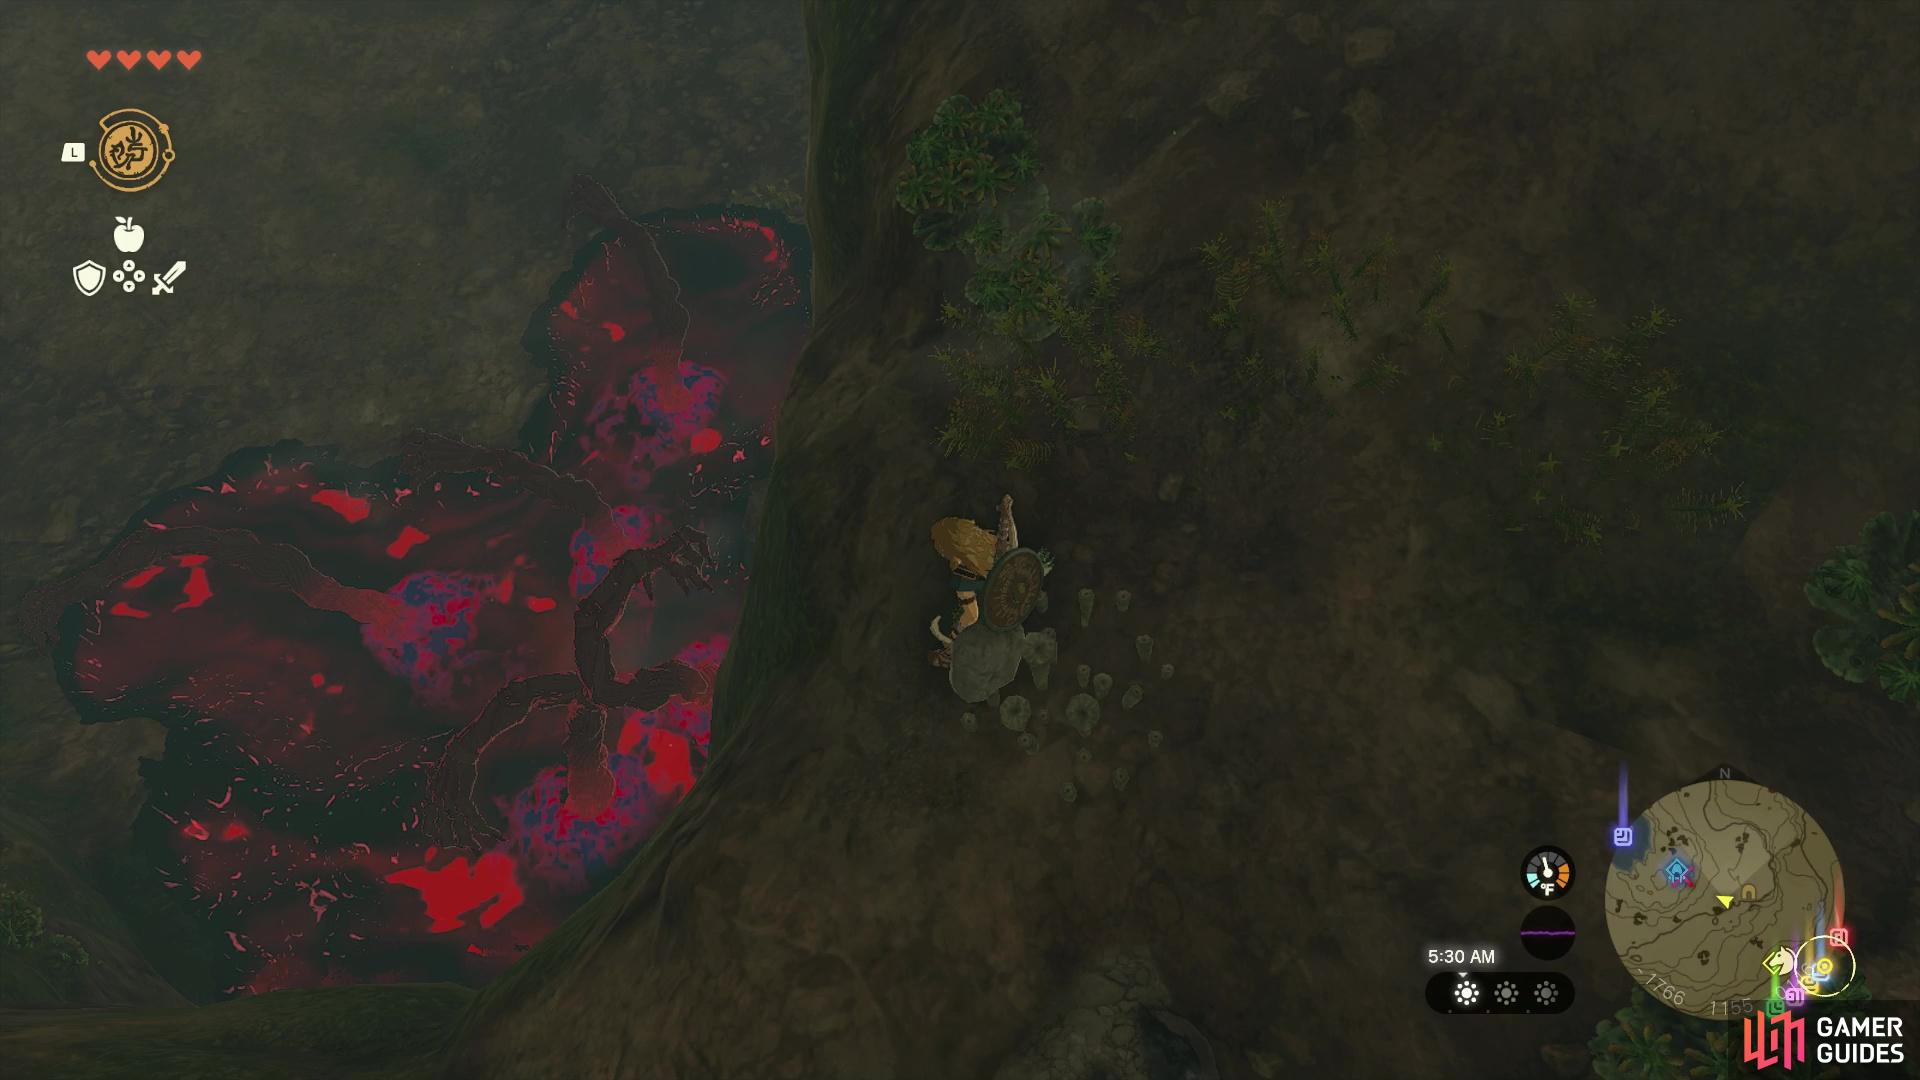
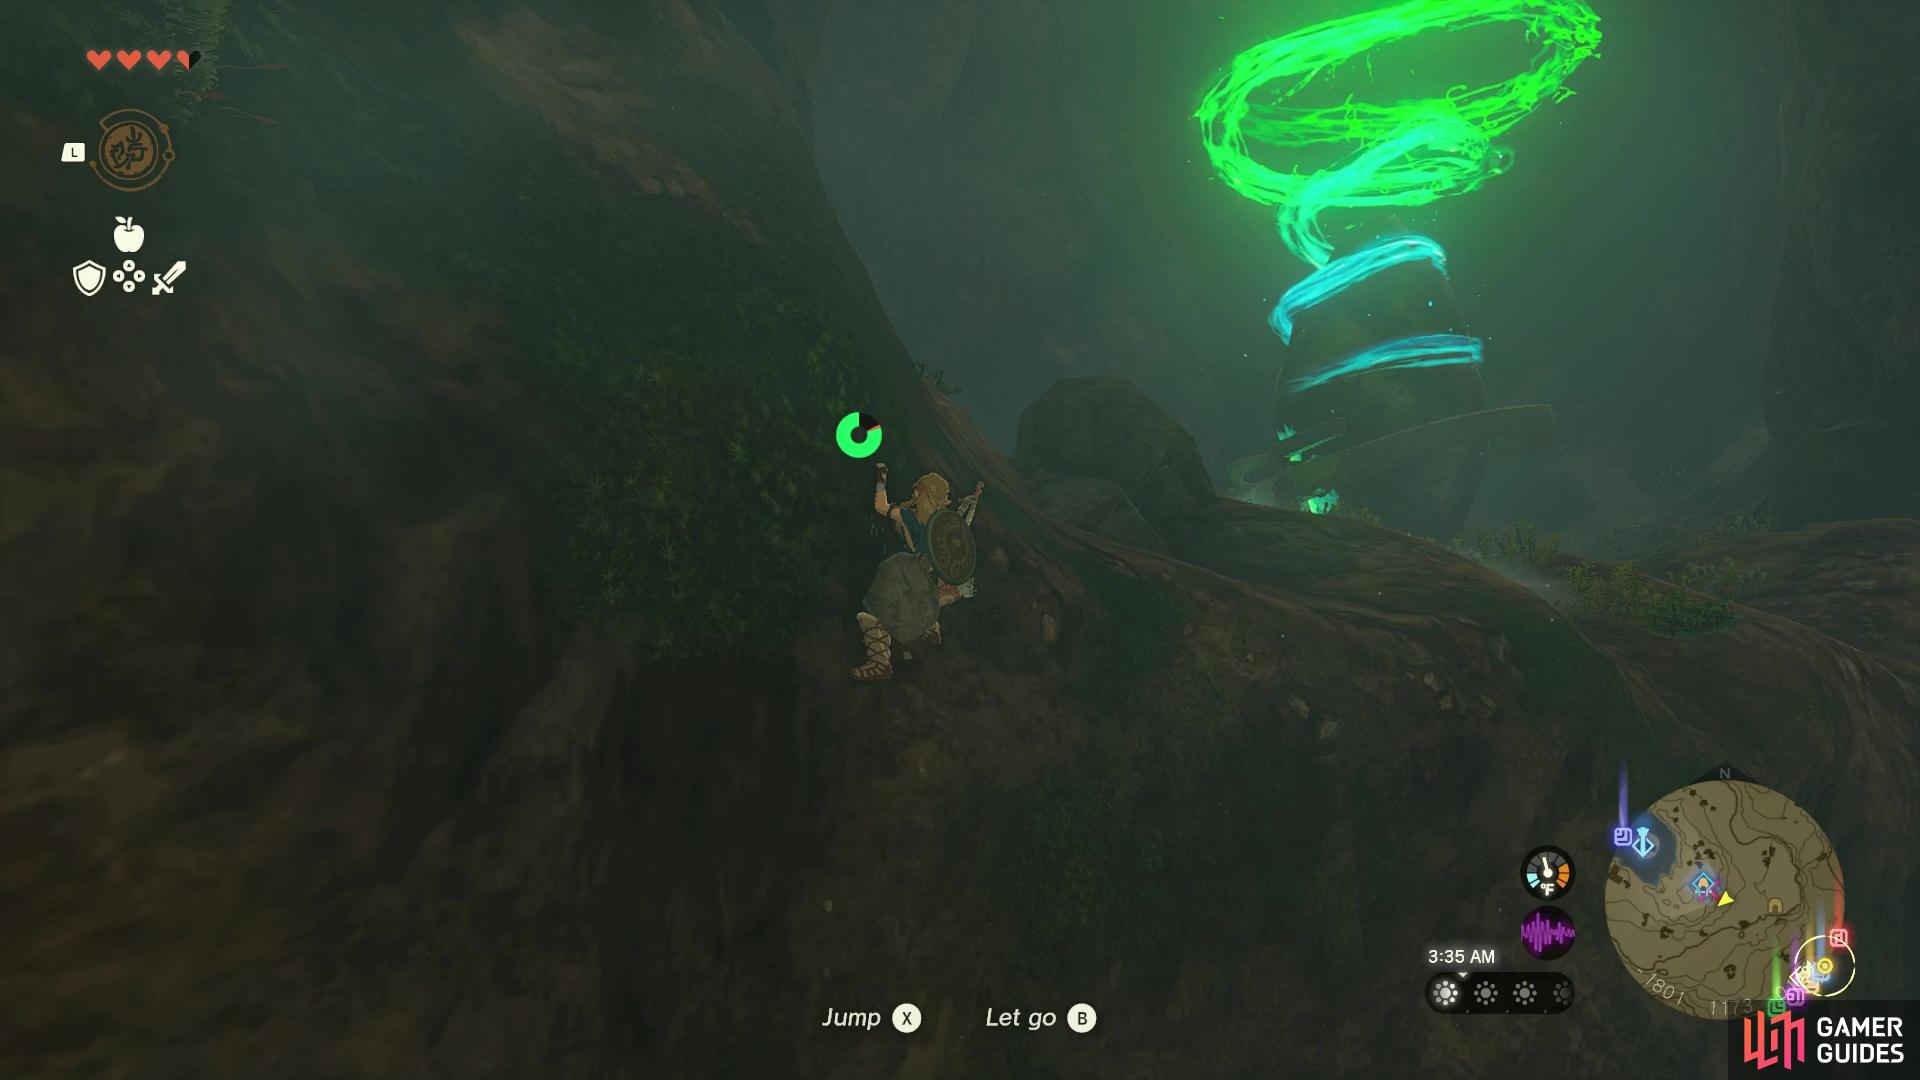
(1 of 3) Descend into the cave to reach a chamber, where you’ll find the Taki-ihaban Shrine across a chamber.
If you can cross the chamber ahead you shouldn’t have any trouble climbing the cliff to reach the shrine, but there’s a complication - the depression separating you from the shrine is full of ![]() Gloom Hands. They won’t show themselves immediately, but if you go strolling around the floor of the chamber, they’ll appear, and these are dangerous, nuisance enemies at the best of times. Your best bet is to jump down and beeline across the chamber to reach the cliff atop which the shrine is located and climb up it as quickly as possible. The Gloom Hands fortunately can’t reach you once you’re far enough off the ground, so as long as you don’t dawdle in the chamber between the cliffs and climb with haste, you should be fine.
Gloom Hands. They won’t show themselves immediately, but if you go strolling around the floor of the chamber, they’ll appear, and these are dangerous, nuisance enemies at the best of times. Your best bet is to jump down and beeline across the chamber to reach the cliff atop which the shrine is located and climb up it as quickly as possible. The Gloom Hands fortunately can’t reach you once you’re far enough off the ground, so as long as you don’t dawdle in the chamber between the cliffs and climb with haste, you should be fine.
Get across the Gloom Hand occupied chamber, enter Taki-ihaban Shrine and clear it, then use ![]() Ascend to escape the cavern, or fast travel out, as you prefer.
Ascend to escape the cavern, or fast travel out, as you prefer.


 Sign up
No Comments