The Great Sky Island is the very first area you’ll be able explore in The Legend of Zelda: Tears of the Kingdom. Here you’ll be taught the basics, such as crafting rafts, cooking and how to use the new devices. This page will navigate you through the necessary steps to reaching Gutanbac Shrine, which we recommend is the third shrine you head to during this tutorial area.
The Gutanbac Shrine will reward you with the Ascend Ability.
How to Reach The Third Shrine in Tears of the Kingdom
Once you’ve completed the In-isa Shrine you’ll now have the option to use the ![]() Fuse Ability out in the open world which means you’ll be able to make stronger weapons, so you can take down enemies quicker. You’ll also be able to destroy rocks that may lead to chests or ores. From the In-isa Shrine entrance you’ll want to head down the stairs and follow the path along to the south until you reach the Pondside Cave.
Fuse Ability out in the open world which means you’ll be able to make stronger weapons, so you can take down enemies quicker. You’ll also be able to destroy rocks that may lead to chests or ores. From the In-isa Shrine entrance you’ll want to head down the stairs and follow the path along to the south until you reach the Pondside Cave.
How to Complete The Pondside Cave in Tears of the Kingdom
There isn’t much room to explore once you get inside, so just continue following the narrow path ahead whilst picking up the ![]() Brightbloom Seeds along the way and keep a lookout for sparkly rocks, as you can mine these for Ores, such as Ruby,
Brightbloom Seeds along the way and keep a lookout for sparkly rocks, as you can mine these for Ores, such as Ruby, ![]() Diamonds
Diamonds ![]() Amber and more! You can be sell these for a lot of gems which you can use to purchase better equipment. However, before you can mine it you’ll need to activate the Fuse Ability, then find a nearby rock and combine them with one of your weapons.
Amber and more! You can be sell these for a lot of gems which you can use to purchase better equipment. However, before you can mine it you’ll need to activate the Fuse Ability, then find a nearby rock and combine them with one of your weapons.
(1 of 2) Pick up Brightbloom Seeds until you reach the Bubbulfrog
Pick up Brightbloom Seeds until you reach the Bubbulfrog (left), then dodge the bubbles whilst shooting it with arrows. (right)
Eventually you’ll reach a large open area that contains a Bubbulfrog. In order to defeat it you’ll want to keep on the move to avoid its bubbles, then you’ll want to equip your Bow by holding the L 

![]() Fire Fruit to your arrows, so you can deal extra damage. Once you’ve defeated it, pick up the
Fire Fruit to your arrows, so you can deal extra damage. Once you’ve defeated it, pick up the ![]() Bubbul Gem to complete the cave, then make a dash for the exit.
Bubbul Gem to complete the cave, then make a dash for the exit.
How to Cross The Lake in Tears of the Kingdom
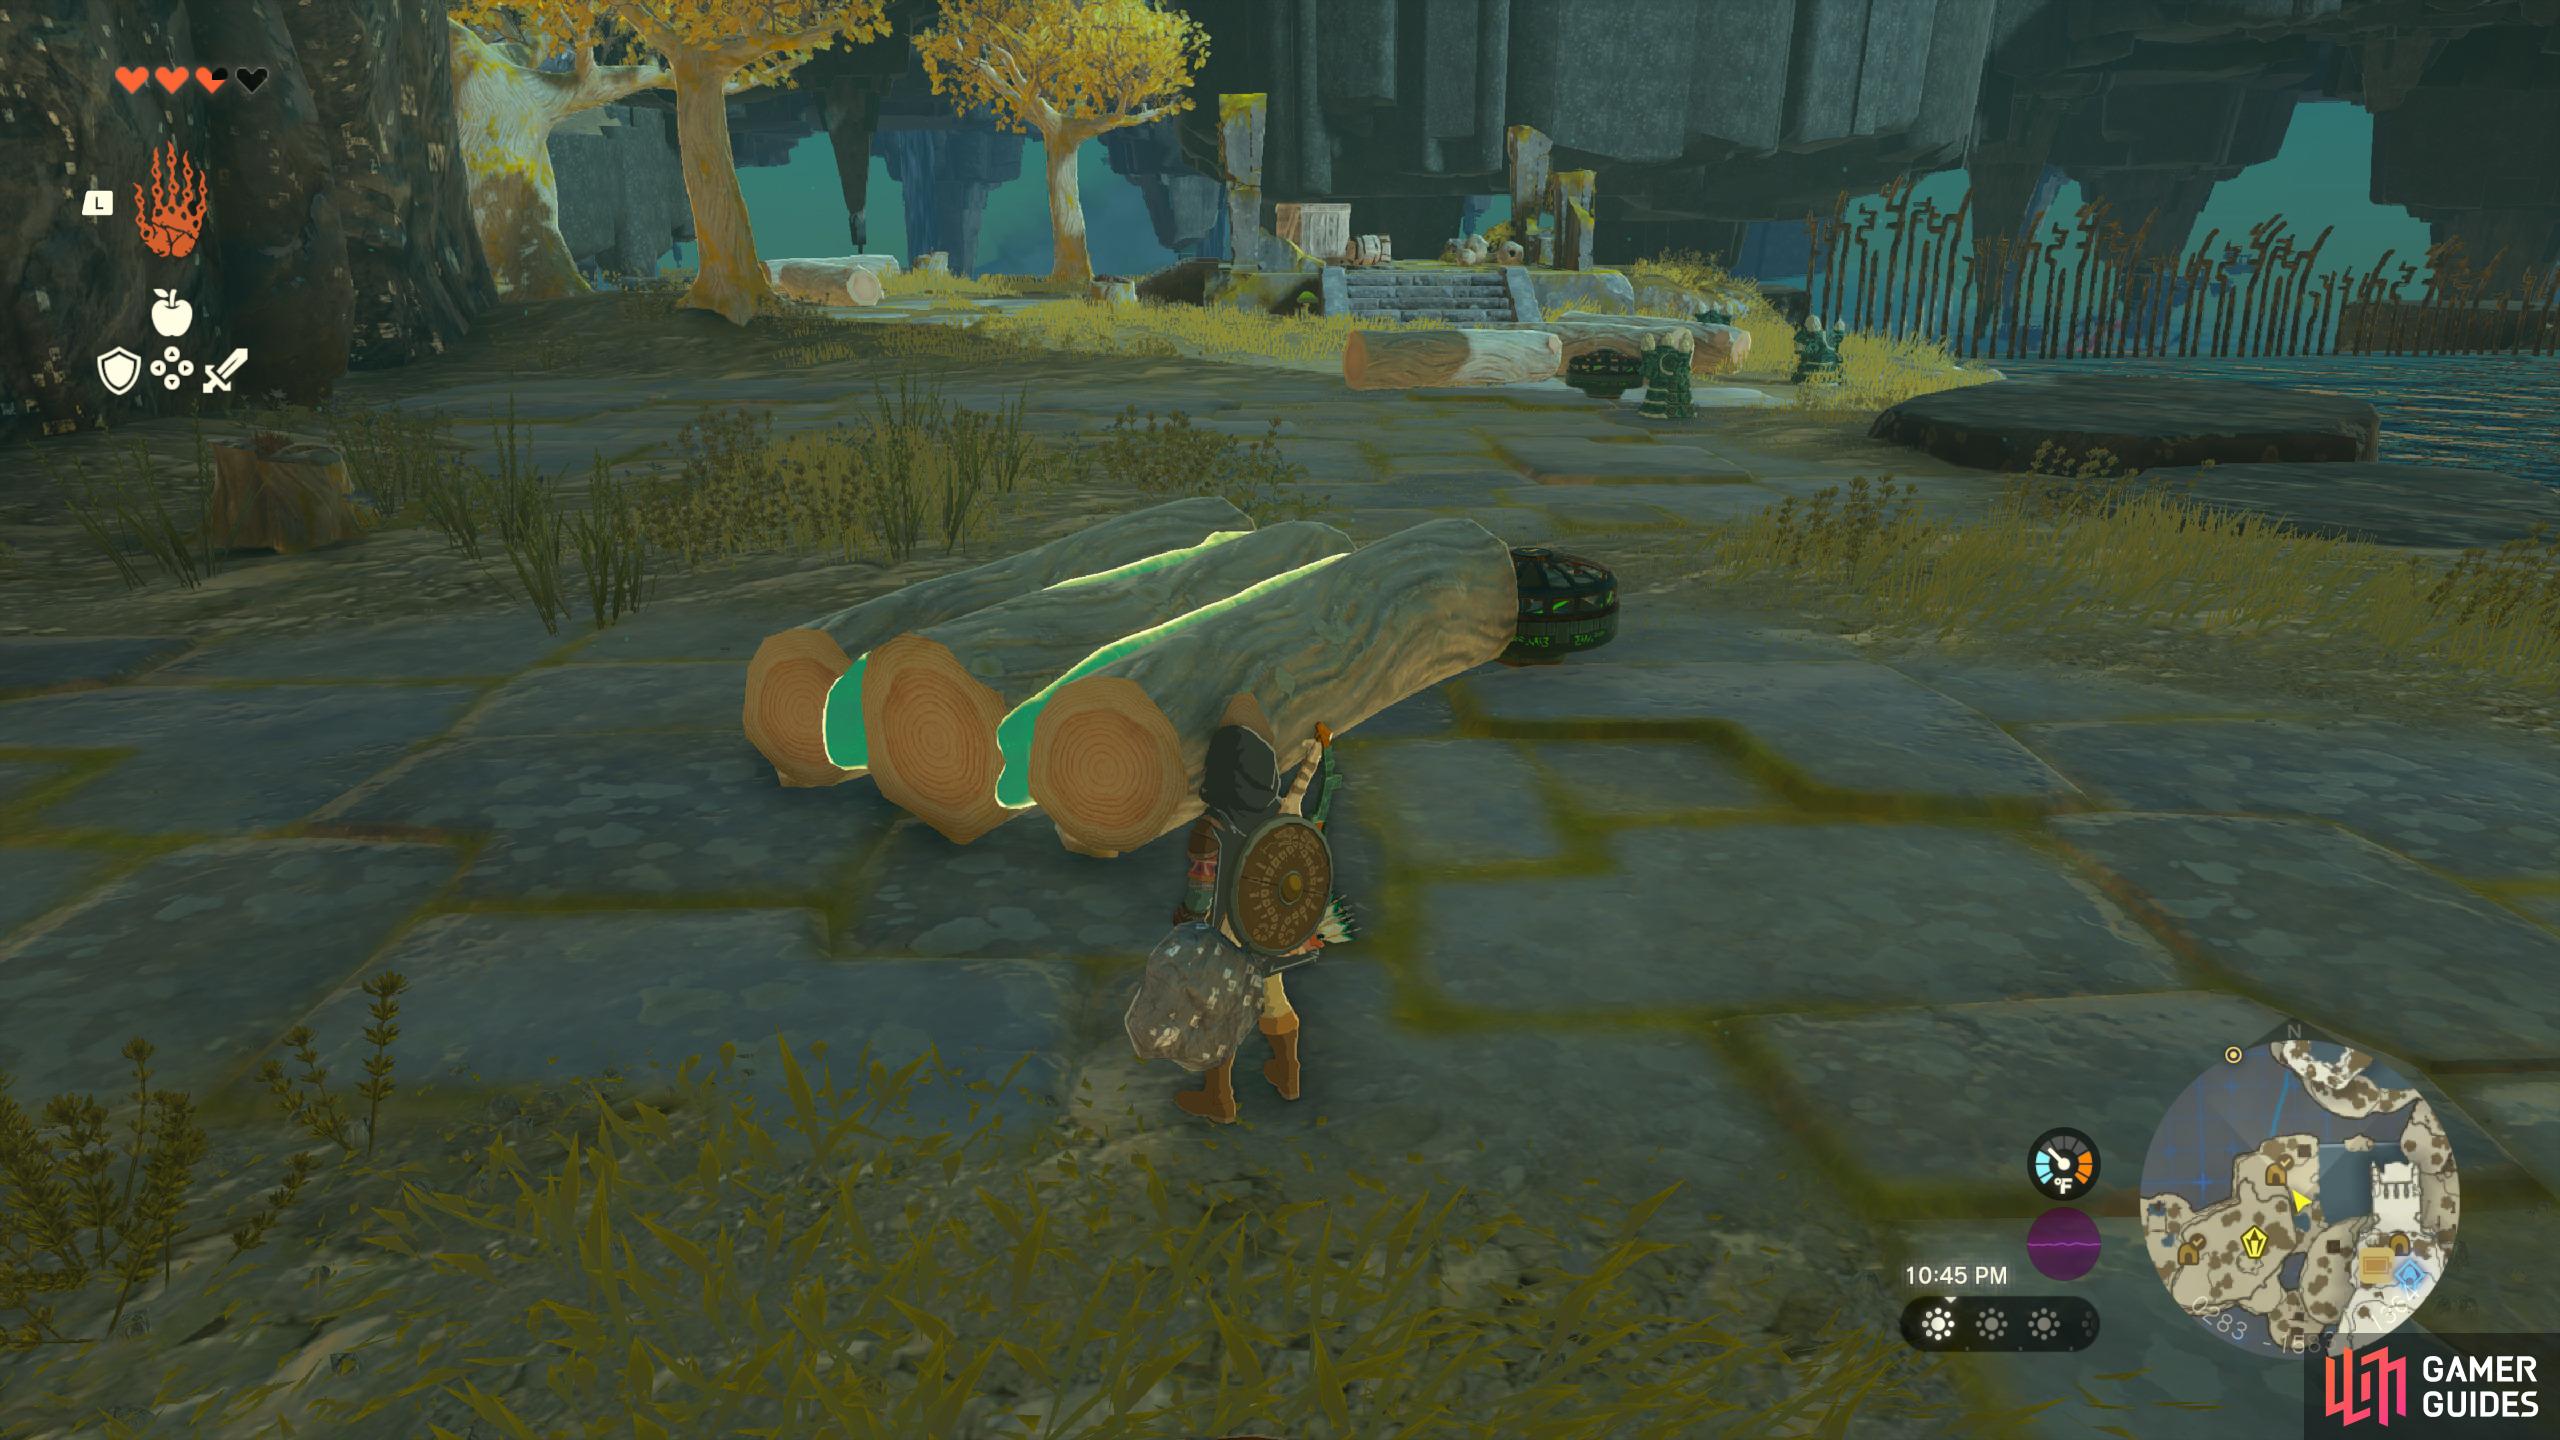
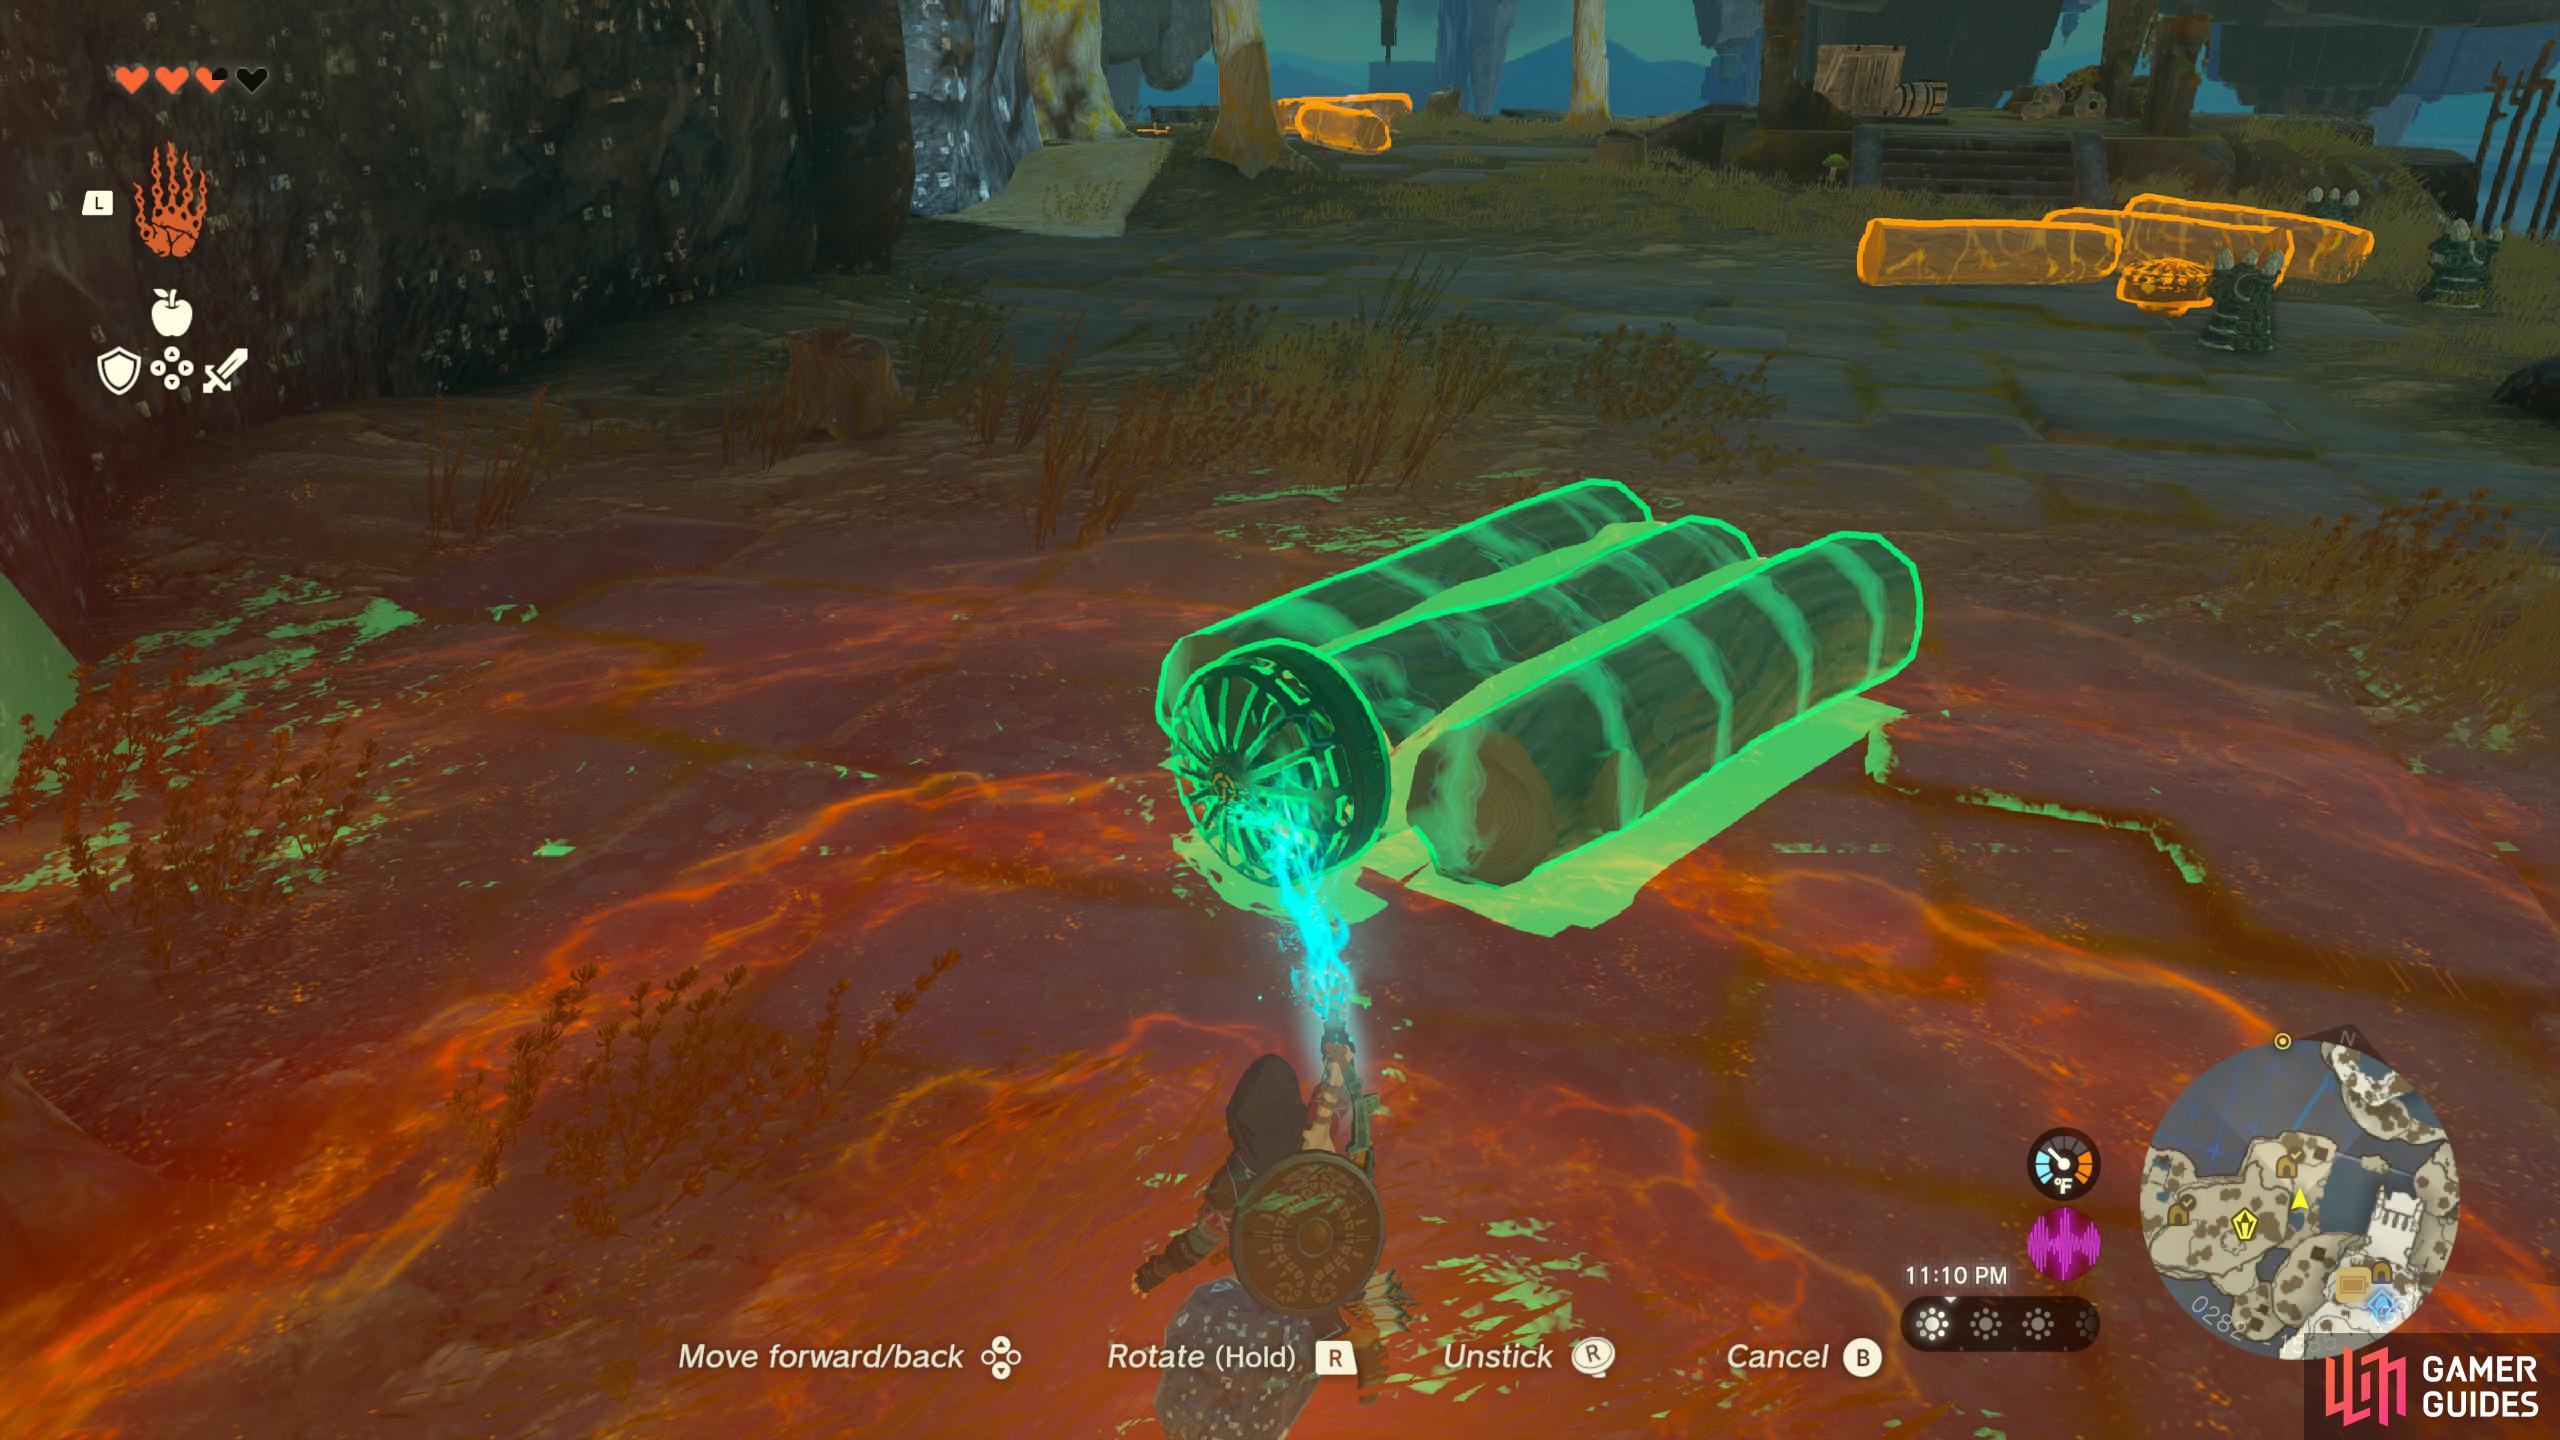
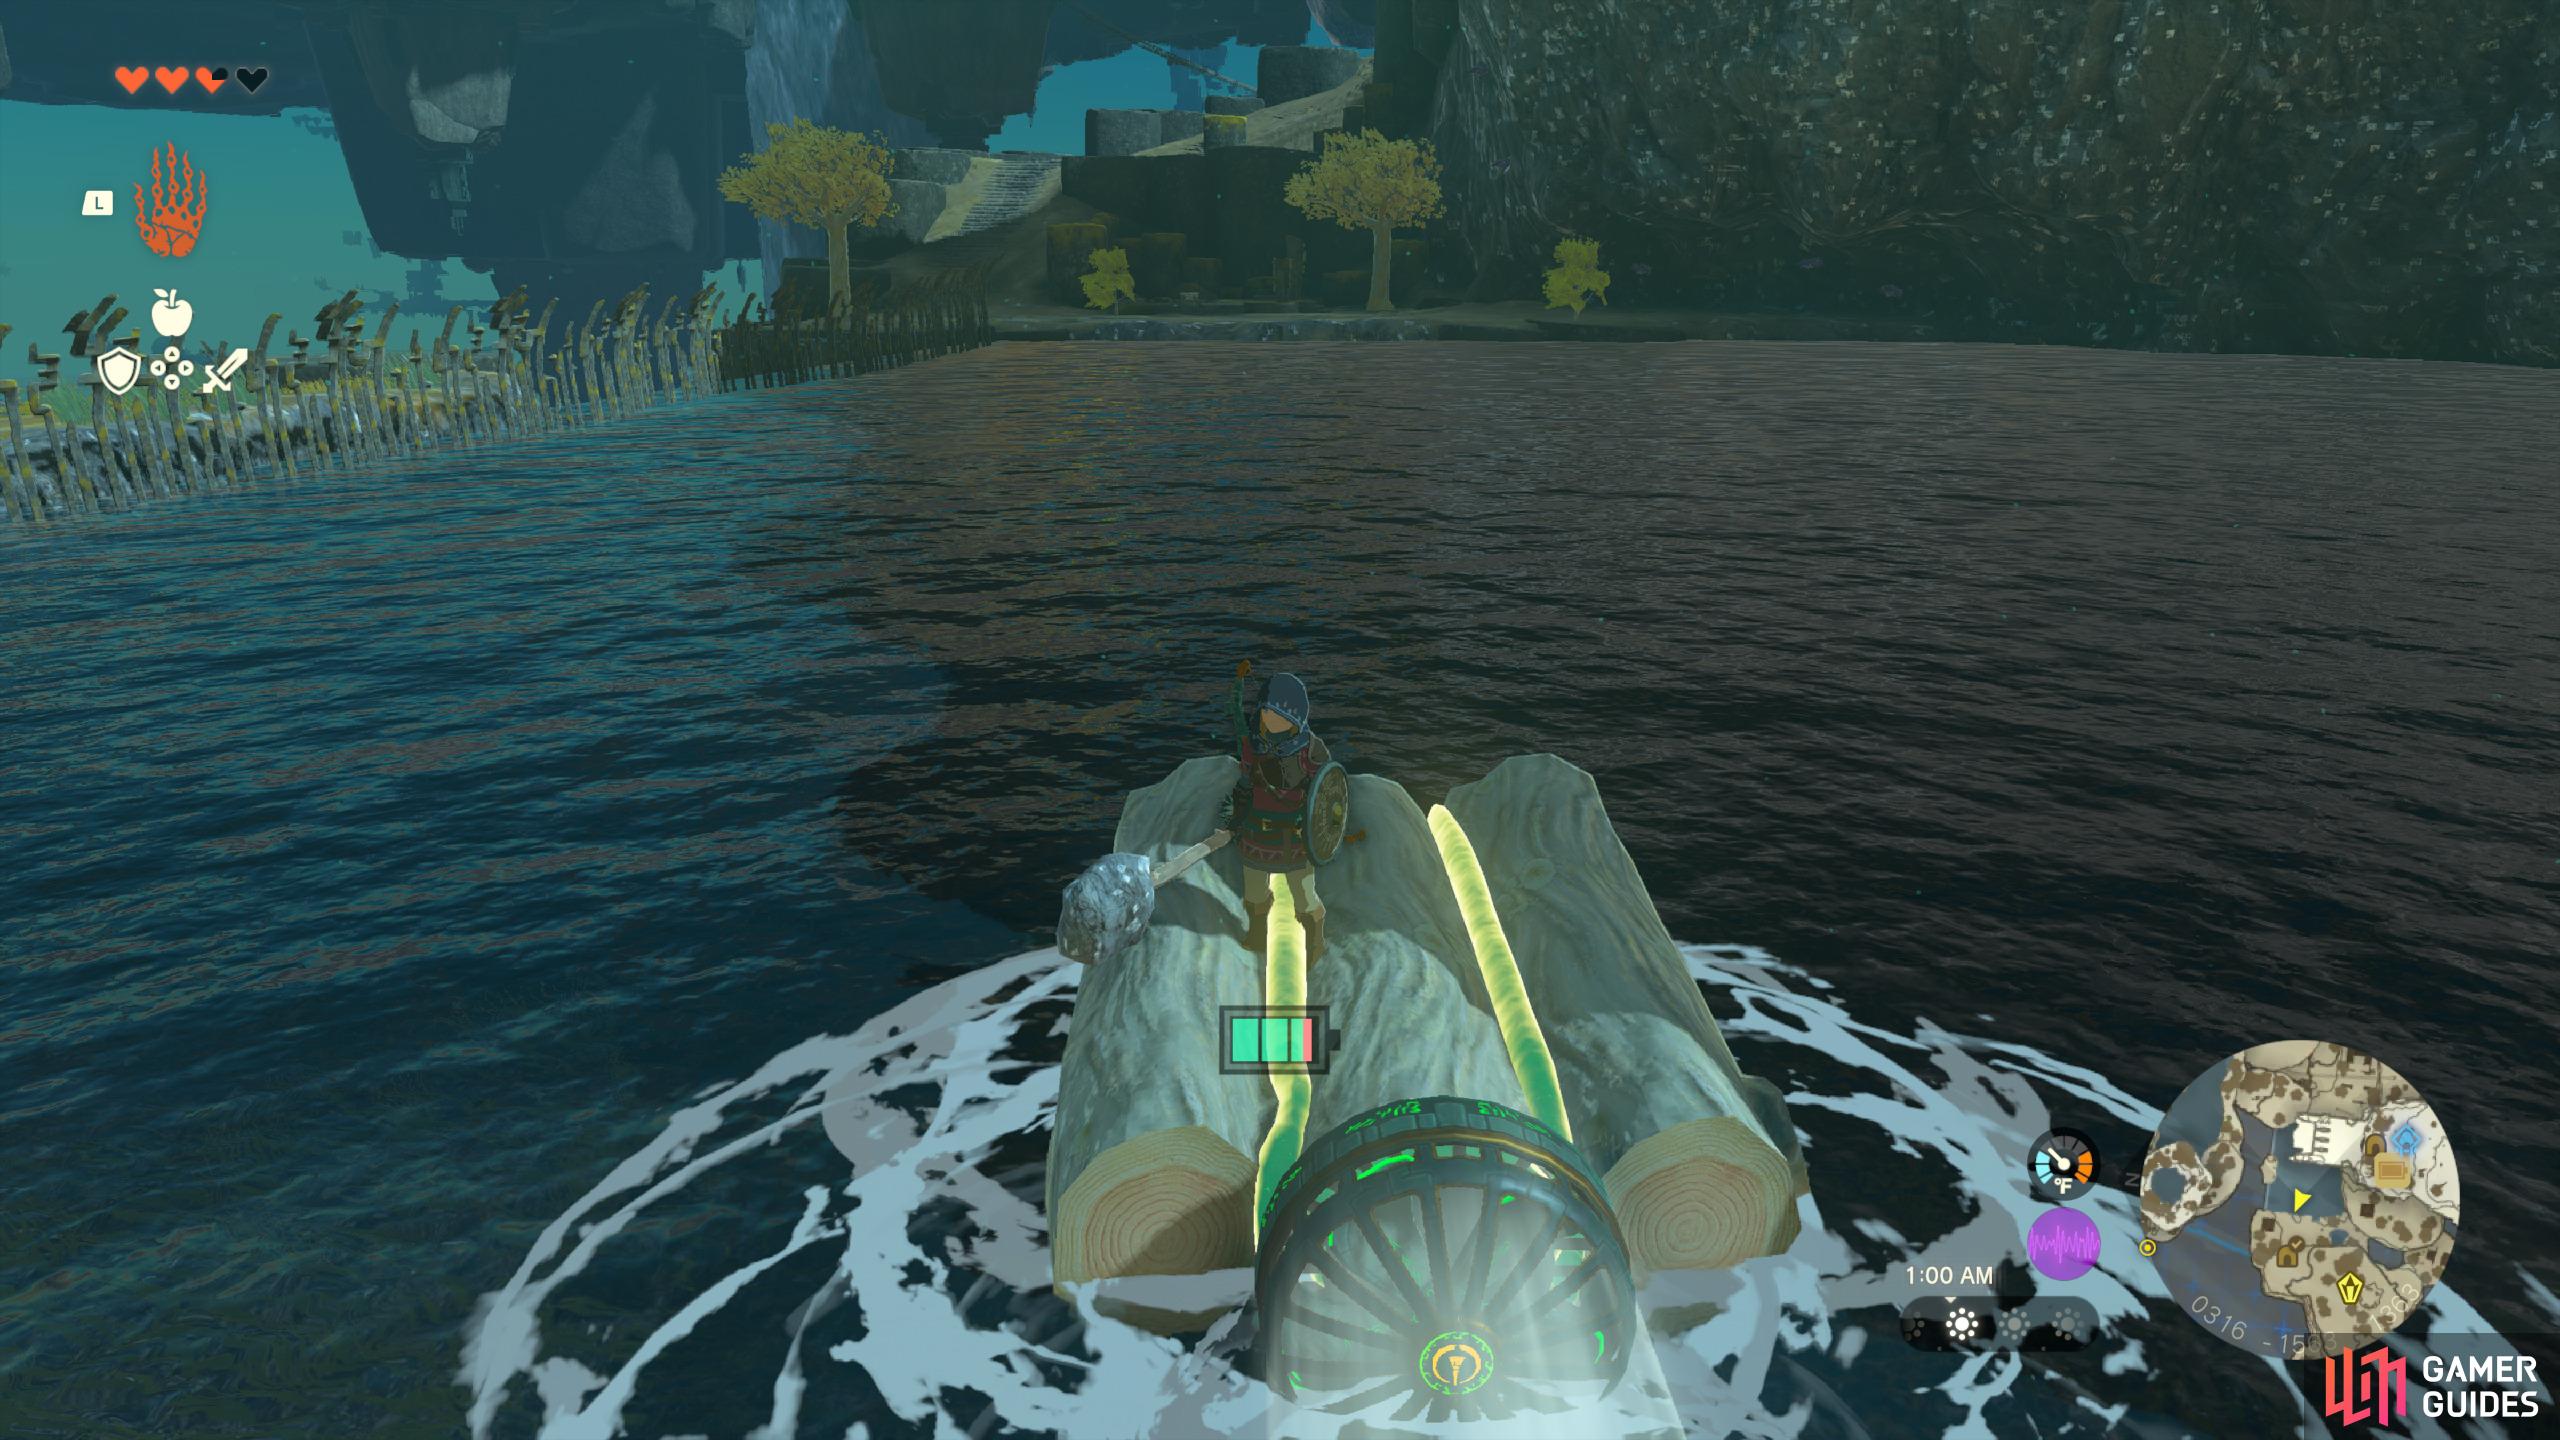
Head over to the pond on the right and collect the fish as you’ll need these later, then you’ll need to build a raft to cross the river. Thankfully, the required items are already laid out for you, so use the ![]() Ultrahand Ability and attach three logs to each other side by side, then pickup one of the nearby fans and attach them to the back in the center. If you wish to go faster, then you can attach multiple, but you’ll need to place something on the front to counter the weight.
Ultrahand Ability and attach three logs to each other side by side, then pickup one of the nearby fans and attach them to the back in the center. If you wish to go faster, then you can attach multiple, but you’ll need to place something on the front to counter the weight.
(1 of 3) Stick three logs together
Once you’ve built the raft, place it in the river and jump on, then attack the fan with your weapon and wait for it to blow you across to the other side. When you reach the other side, speak with the Ranger Construct and it’ll teach you how to start fires. In order to do this place a piece of flint near the wood, then hit it with a Metallic Weapon to ignite it!
How to Open Locked Chests in Tears of the Kingdom
Rest up until morning and head up the hill, then you’ll notice a chest that is guarded by multiple enemies to the left of the cave entrance. In order to unlock the chest you’ll need to defeat the enemies, so keep your distance and use your Bow and aim headshots to take them down. Open up the chest to retrieve an Opel, then make your way over to the Mining Cave.
How to Complete The Mining Cave in Tears of the Kingdom
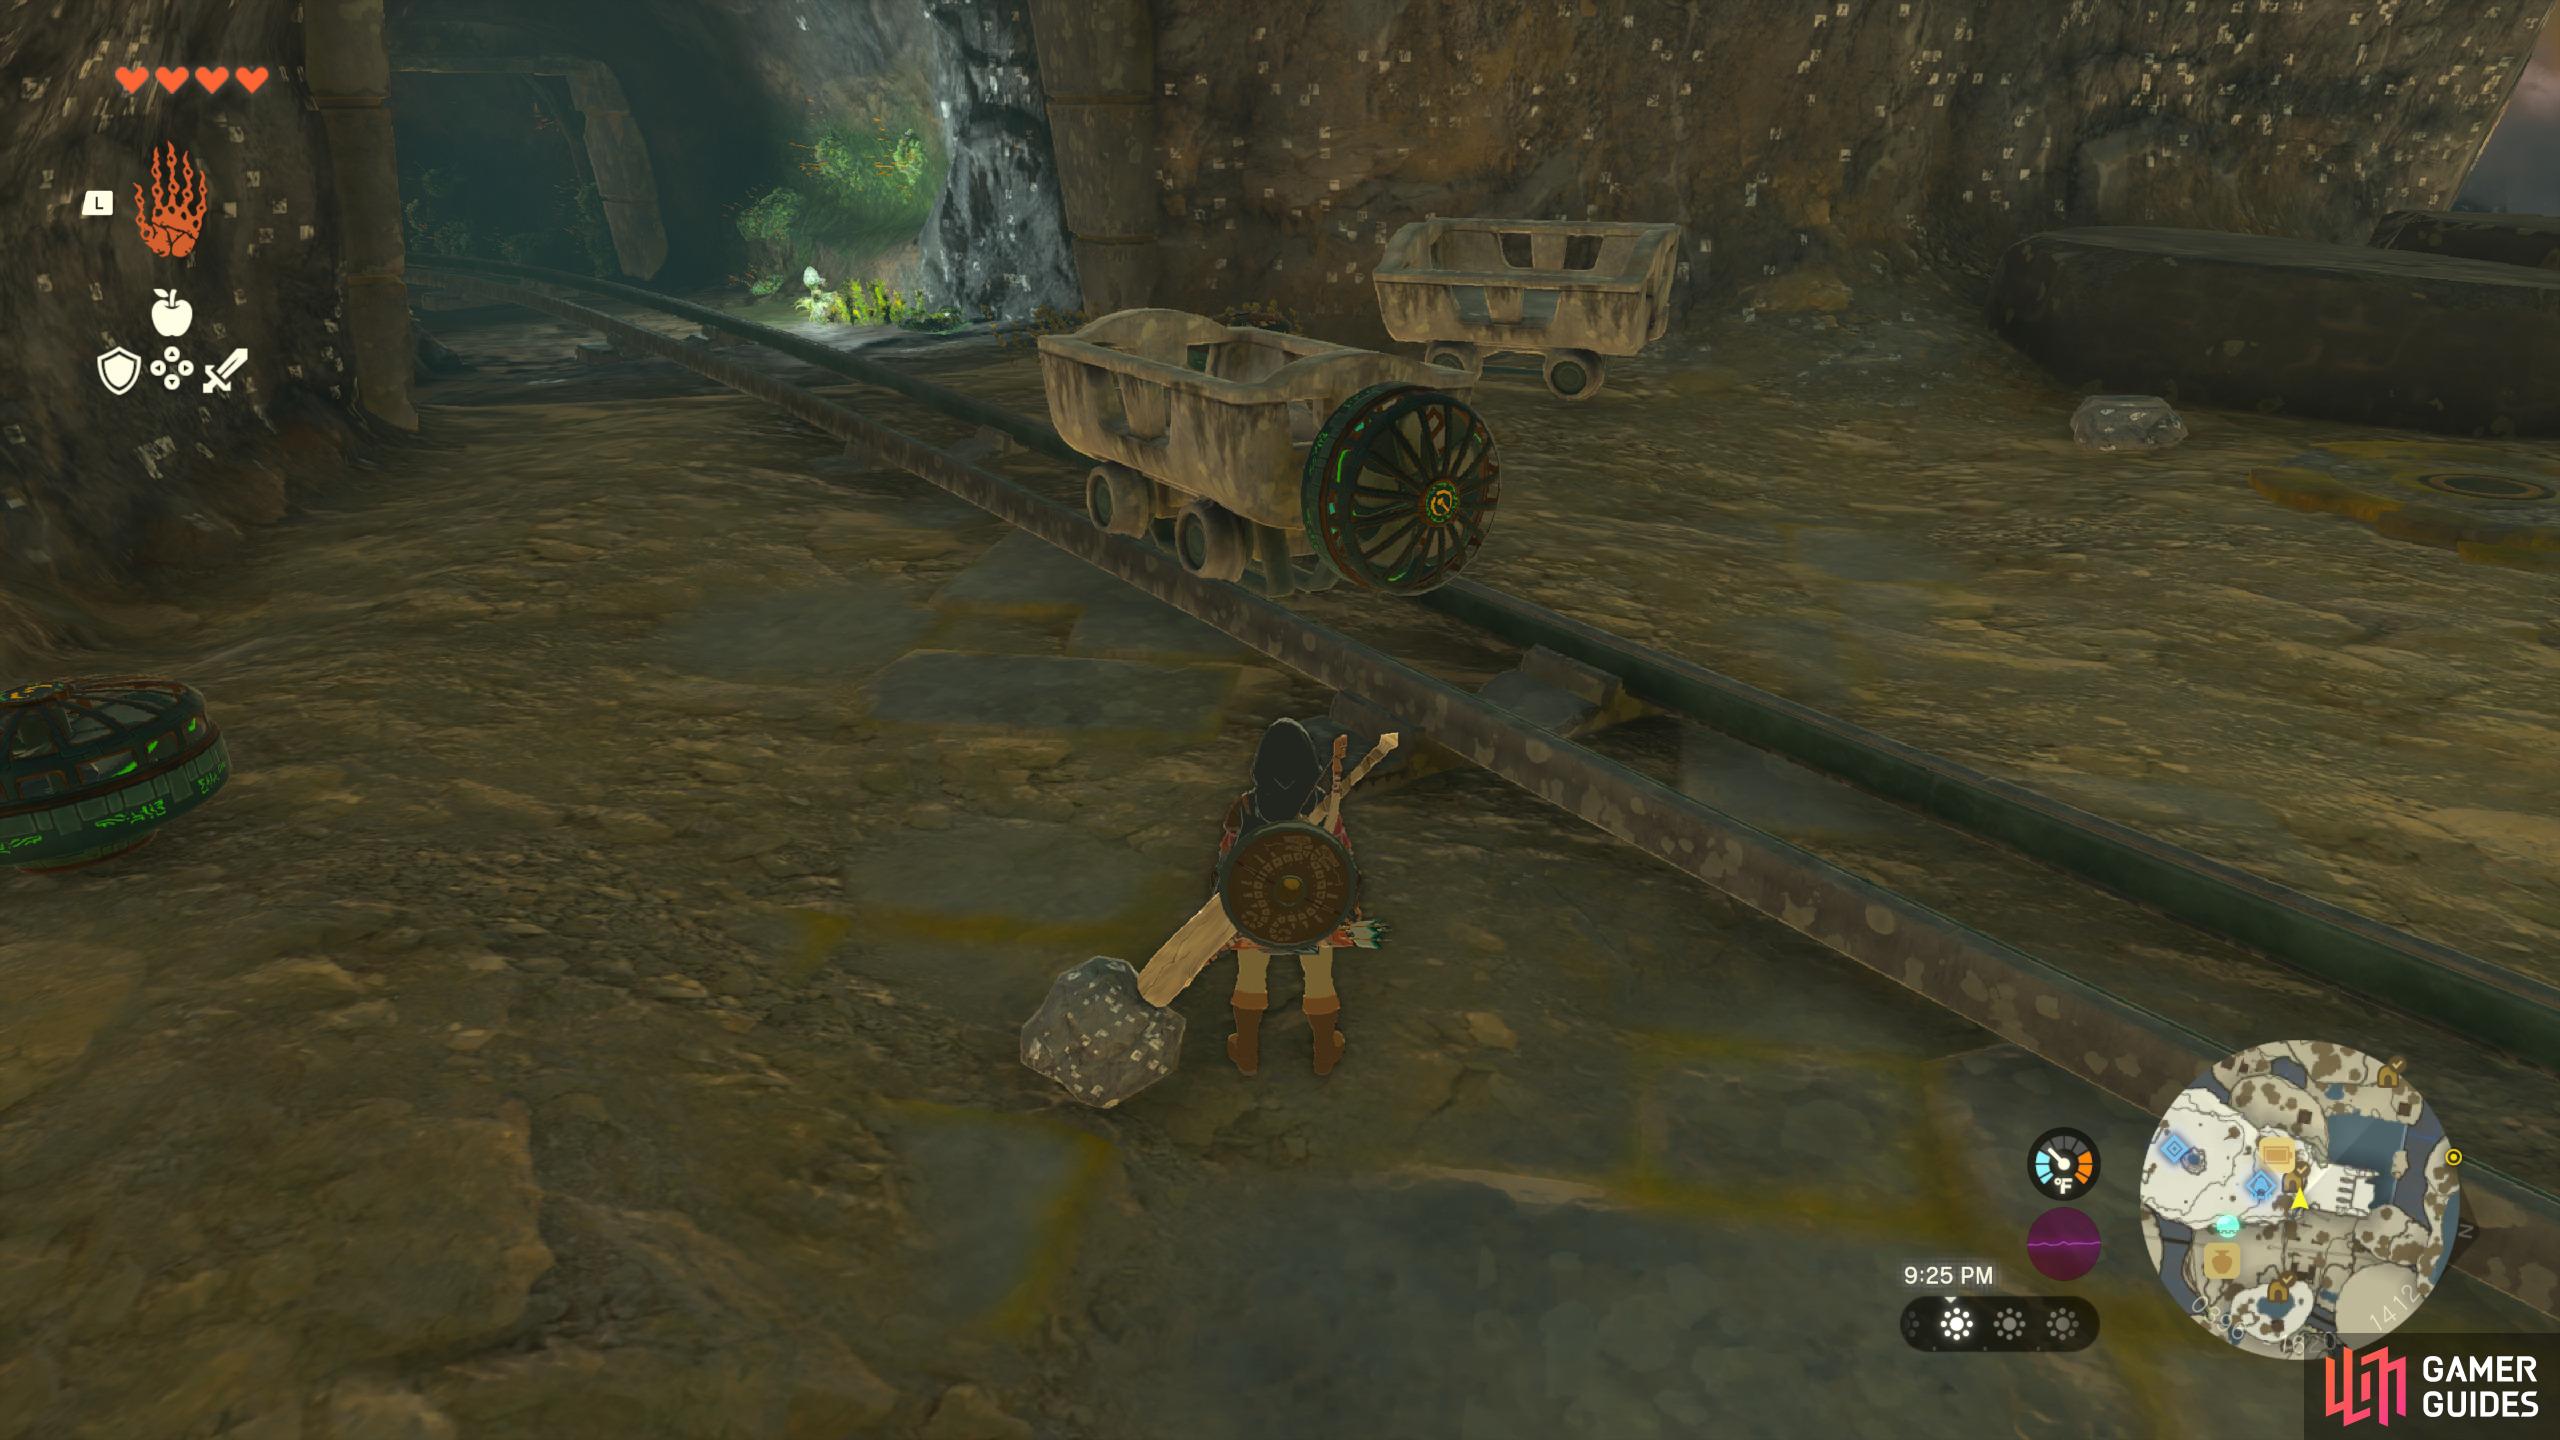
You’ll see multiple carts and fans sitting outside the cave entrance, so grab the cart with the Ultrahand Ability and place it onto the track, then pickup a fan and put it onto the back. Now jump into the cart and attack the fan and wait for it to blow you into a cave.
Jump over the wall and you’ll notice that this cave is very dark, so you can’t really see where you’re going, but if you look around you’ll see that there are multiple Brightbloom Seeds scattered all over. If you attack these with your weapon they’ll provide you with a light source, so pick up any you find and proceed further into the cave.
(1 of 3) Defeat the enemies
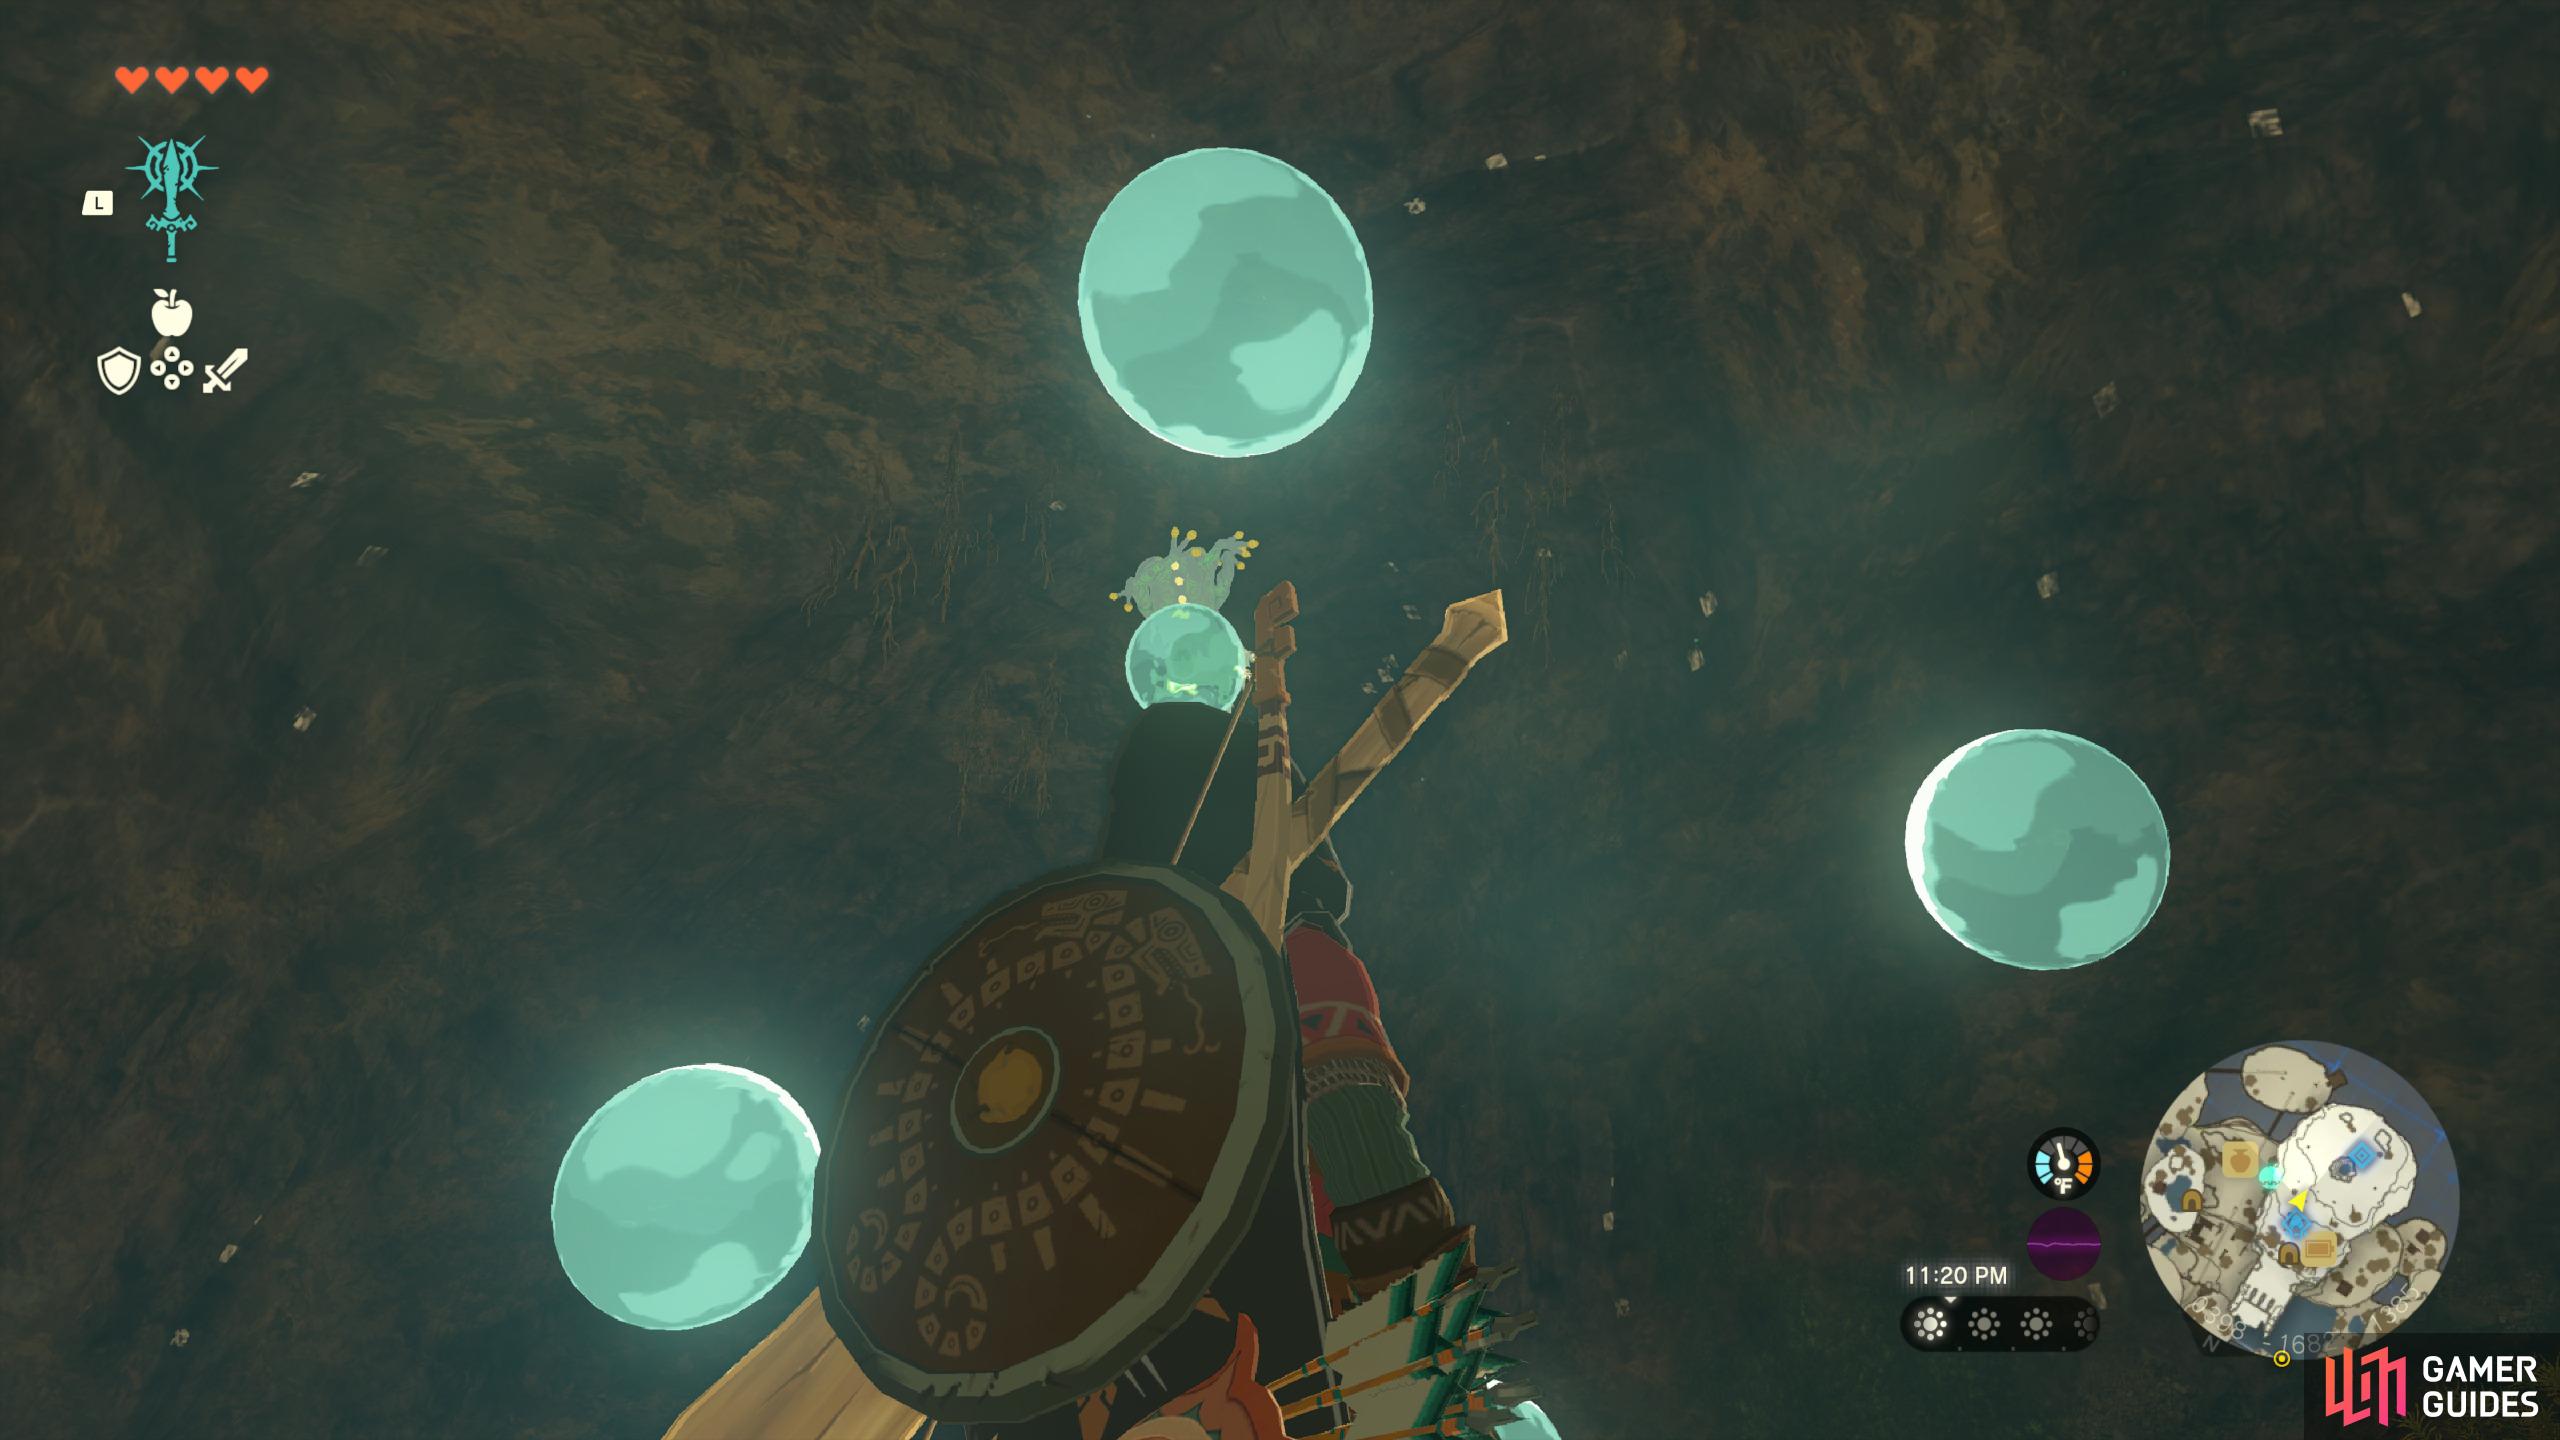
When you reach the large open area look up to the ceiling and you’ll find another Bubbulfrog. Take it down using the same method you used in the Pondside Cave, then collect the Bubbul Gem to complete the cave. Go back and grab the cart and bring it along to the next section of the cave. Place into the next track, then speak with the nearby ![]() Forge Construct to learn more about Zonaite.
Forge Construct to learn more about Zonaite.
How Do Device Dispensers Work in Tears of the Kingdom?
Trade any Zonaite you may have into either ![]() Zonai Charges or a
Zonai Charges or a ![]() Crystallized Charge, then take the cart up to the next area. Here you’ll want to speak with the
Crystallized Charge, then take the cart up to the next area. Here you’ll want to speak with the ![]() Maker Construct to learn more about Device Dispensers. In order to use it you’ll want to open up your inventory and choose to hold a Zonai Charge, then place it into the pot and it’ll reward you with a useful item.
Maker Construct to learn more about Device Dispensers. In order to use it you’ll want to open up your inventory and choose to hold a Zonai Charge, then place it into the pot and it’ll reward you with a useful item.
How to Increase Cold Resistance in Tears of the Kingdom
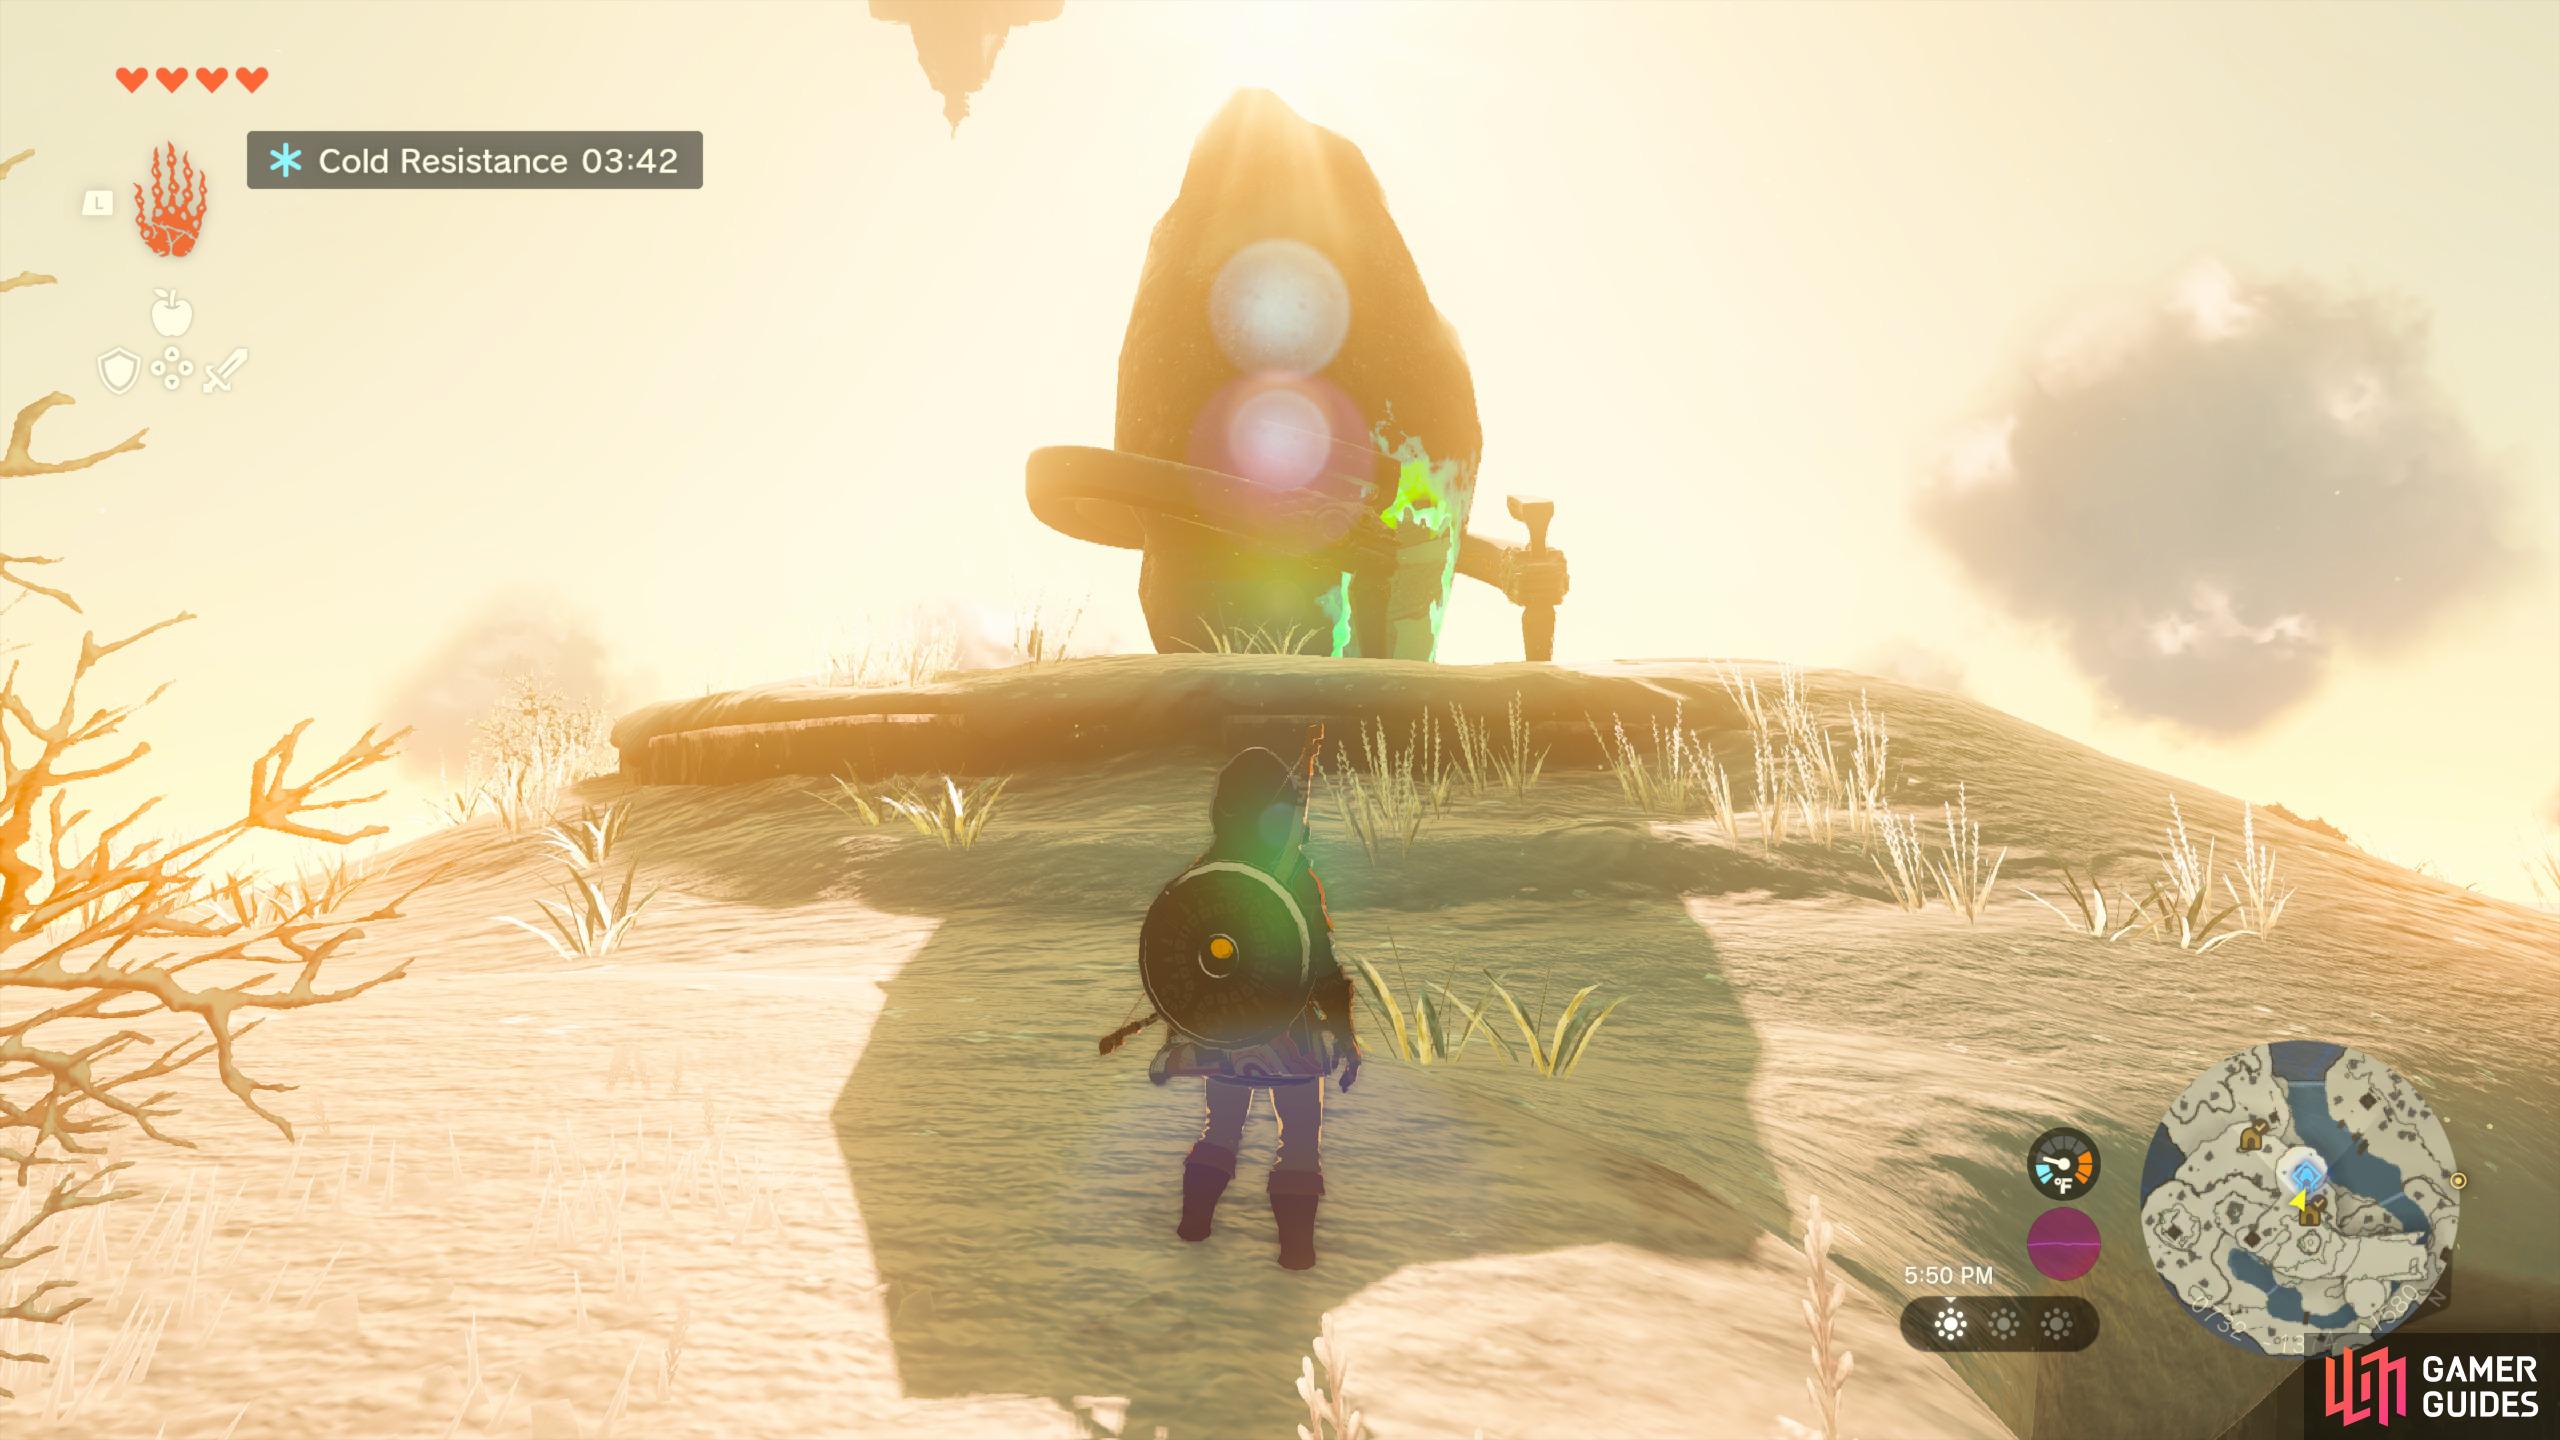
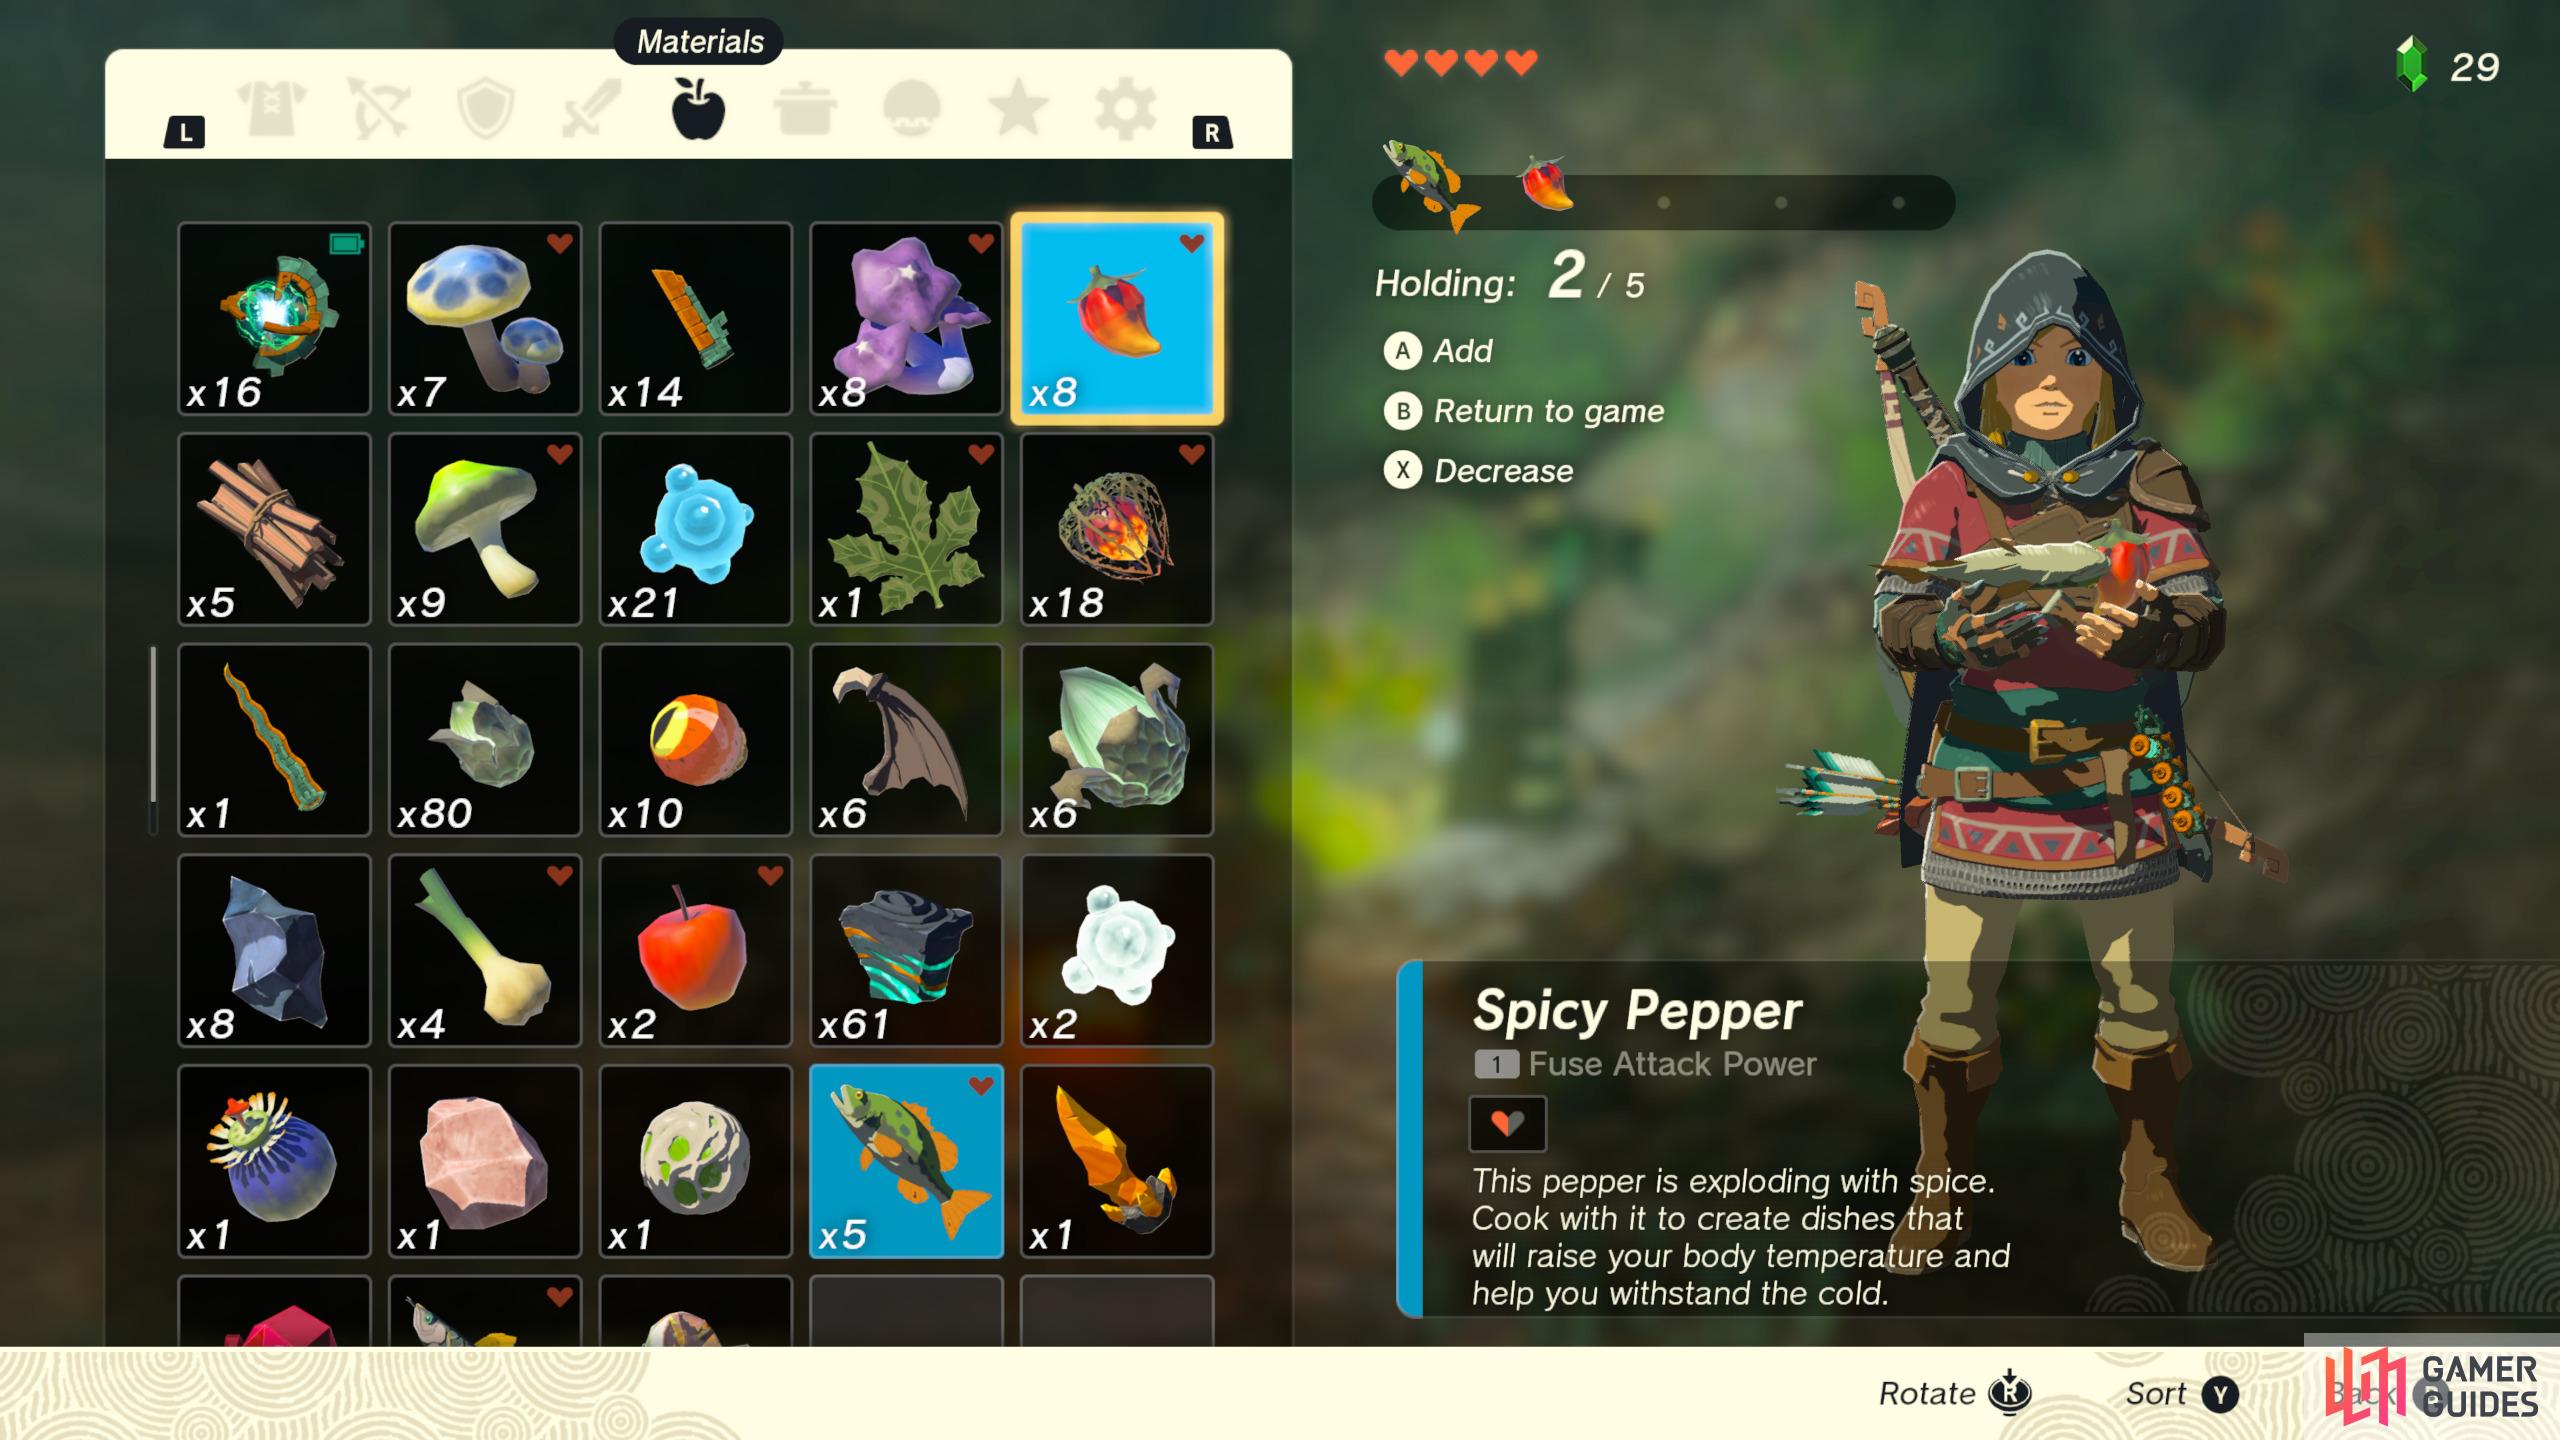
From here you’ll want to head east and enter the ![]() Pit Cave, but before you continue further in you’ll want to take a moment to cook some spicy food, as you’ll need to increase your cold resistance. In order to do this you’ll want to pick up the nearby
Pit Cave, but before you continue further in you’ll want to take a moment to cook some spicy food, as you’ll need to increase your cold resistance. In order to do this you’ll want to pick up the nearby ![]() Spicy Peppers and open up your inventory, then choose to hold both the Peppers and another ingredient, such as a Fish before dropping them into the pot to cook.
Spicy Peppers and open up your inventory, then choose to hold both the Peppers and another ingredient, such as a Fish before dropping them into the pot to cook.
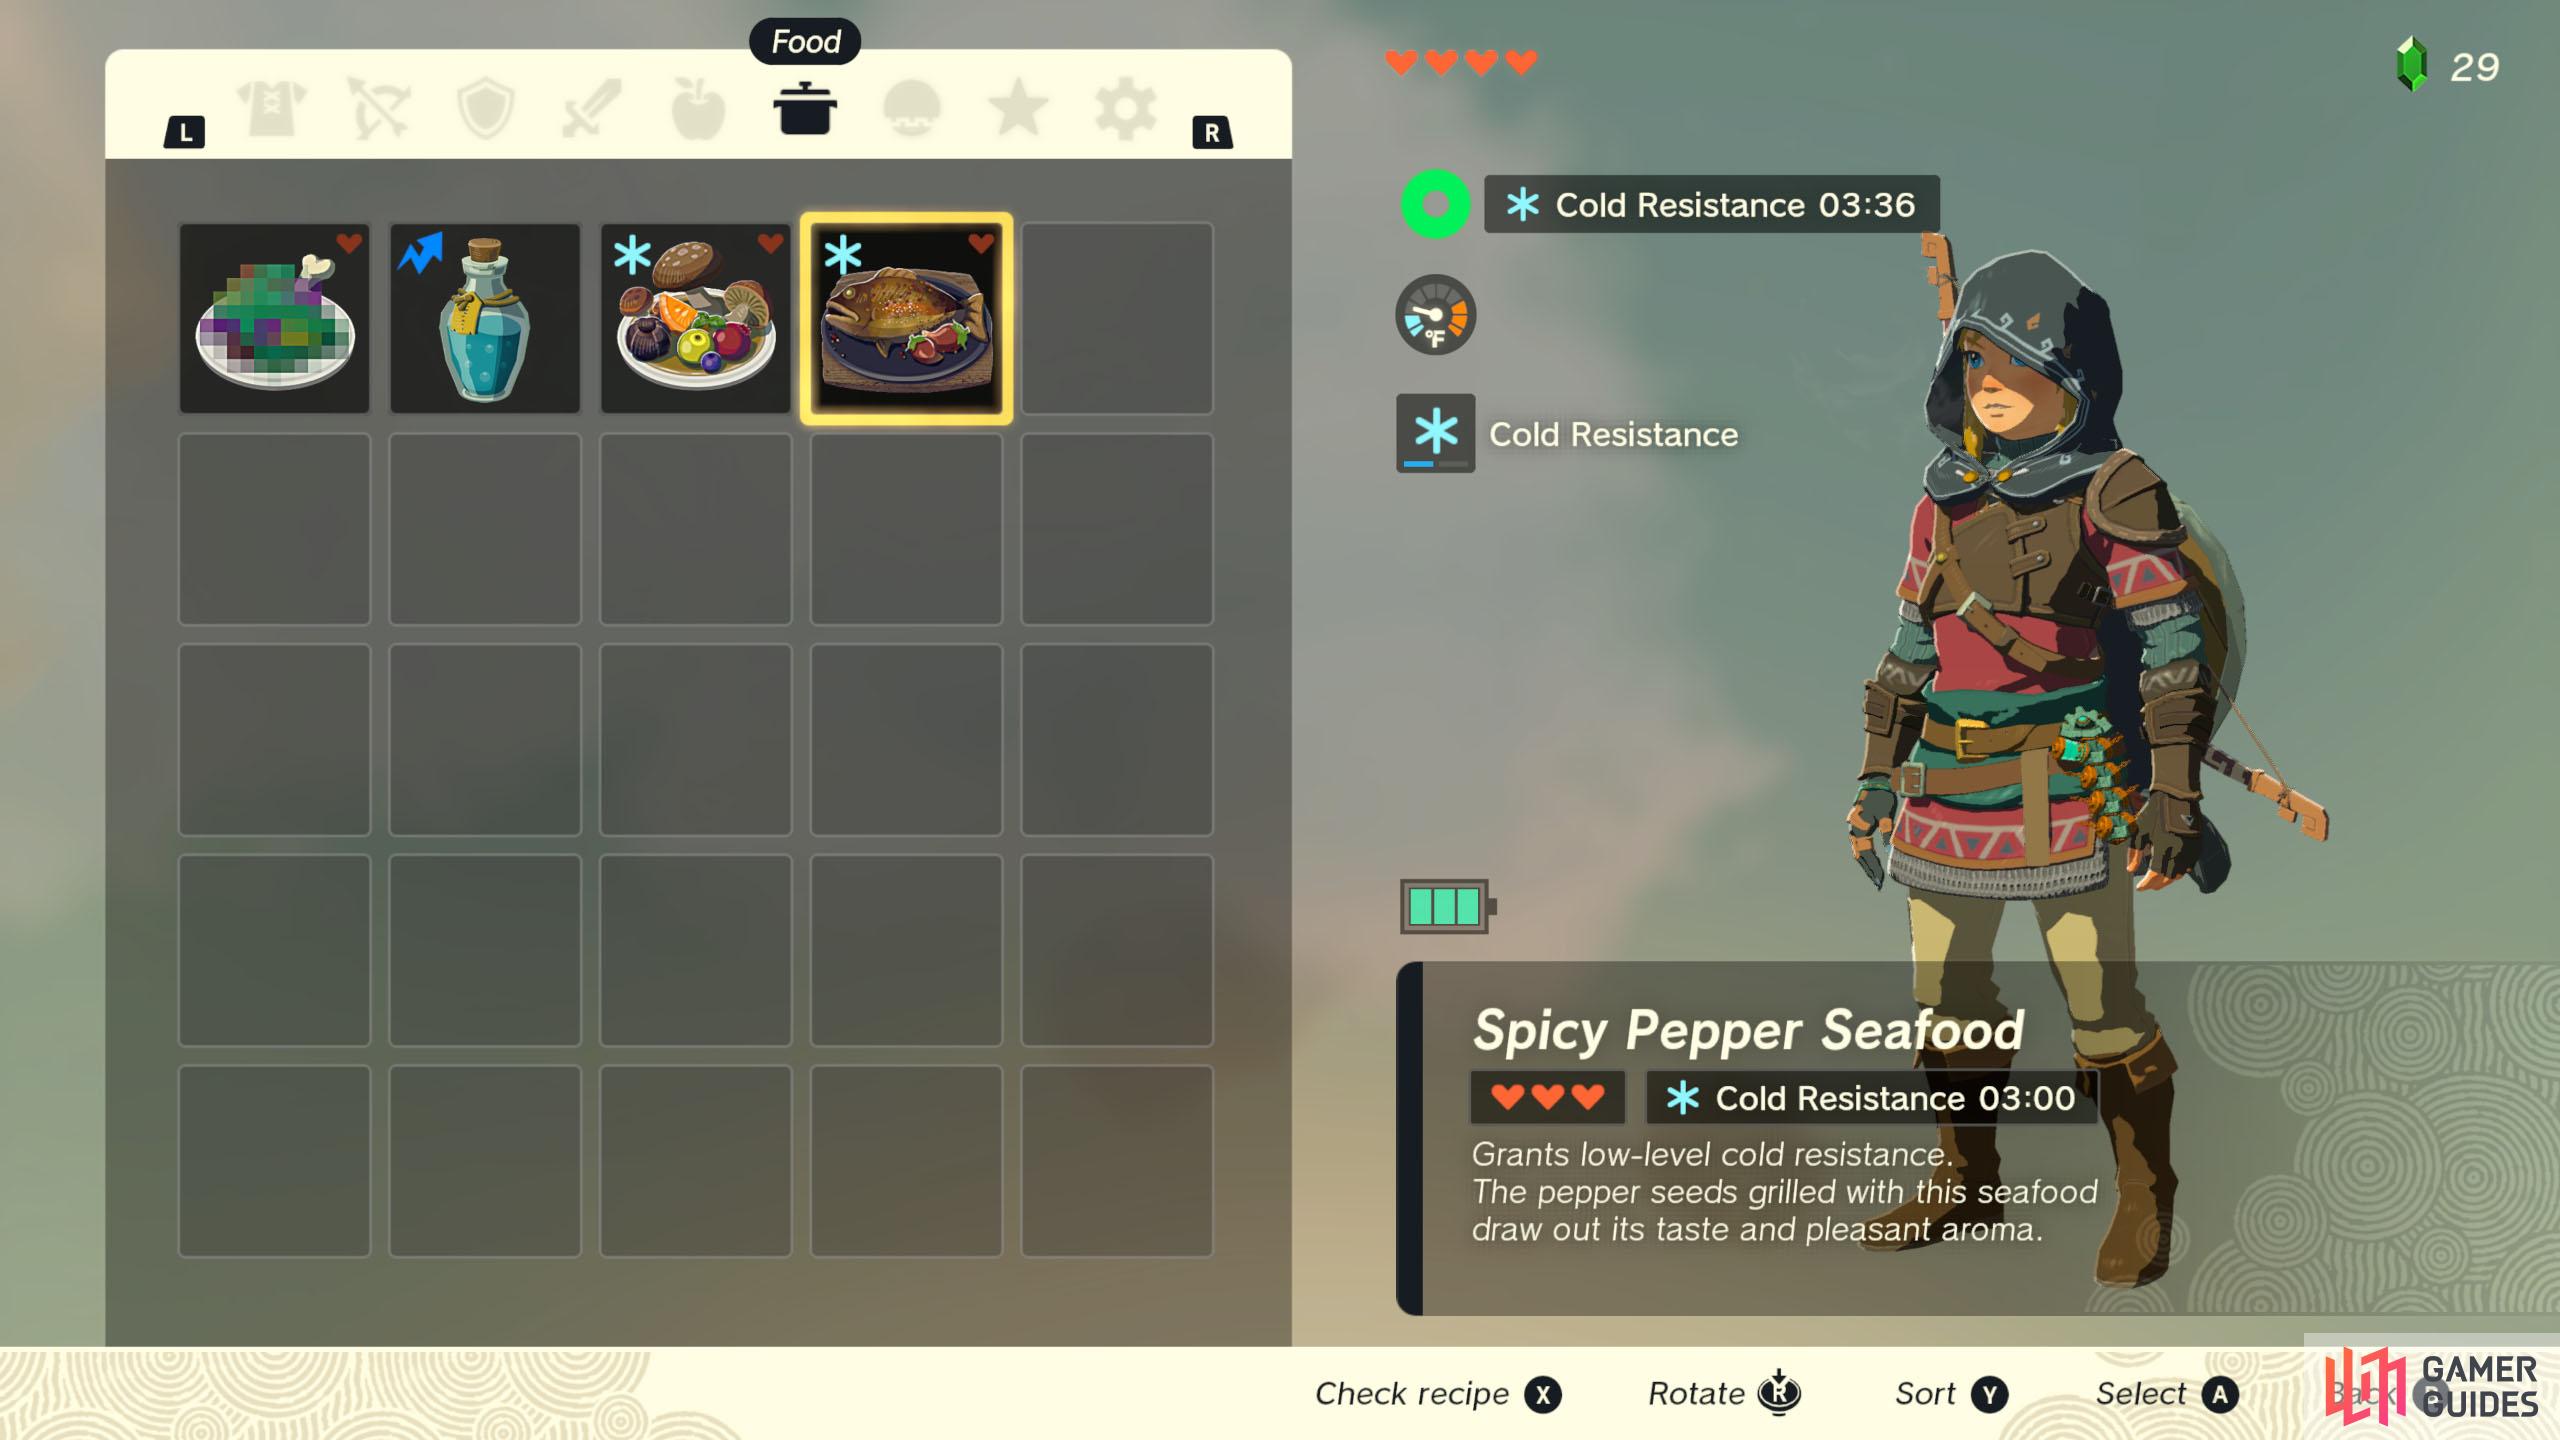
(1 of 2) Combine any ingredients with a Spicy Pepper
Combine any ingredients with a Spicy Pepper (left), to make a Spicy Dish. (right)
This will give you a spicy dish, such as the ![]() Spicy Pepper Seafood which provides you with 3 minutes of cold resistance which will be useful for exploring snowy regions without the correct armor. Climb up through the cave until you reach the snowy area, then eat some spicy food before following the path along to the north and entering the
Spicy Pepper Seafood which provides you with 3 minutes of cold resistance which will be useful for exploring snowy regions without the correct armor. Climb up through the cave until you reach the snowy area, then eat some spicy food before following the path along to the north and entering the ![]() Bottomless Cave.
Bottomless Cave.
How to Complete The Bottomless Cave in Tears of the Kingdom
Head towards the stairs and go down the narrow path to find a chest that contains an Amber, then continue up the stairs to find a new enemy - a gross worm called ![]() Like Like. In order to defeat it you’ll want to equip your bow and use it with a
Like Like. In order to defeat it you’ll want to equip your bow and use it with a ![]() Bomb Flower, then shoot it at it to reveal its weak spot. Shoot the exposed point with a normal arrow, then you’ll have a few seconds to get some hits in with your sword. Repeat this process until it’s dead, then collect an
Bomb Flower, then shoot it at it to reveal its weak spot. Shoot the exposed point with a normal arrow, then you’ll have a few seconds to get some hits in with your sword. Repeat this process until it’s dead, then collect an ![]() Opal from the chest.
Opal from the chest.
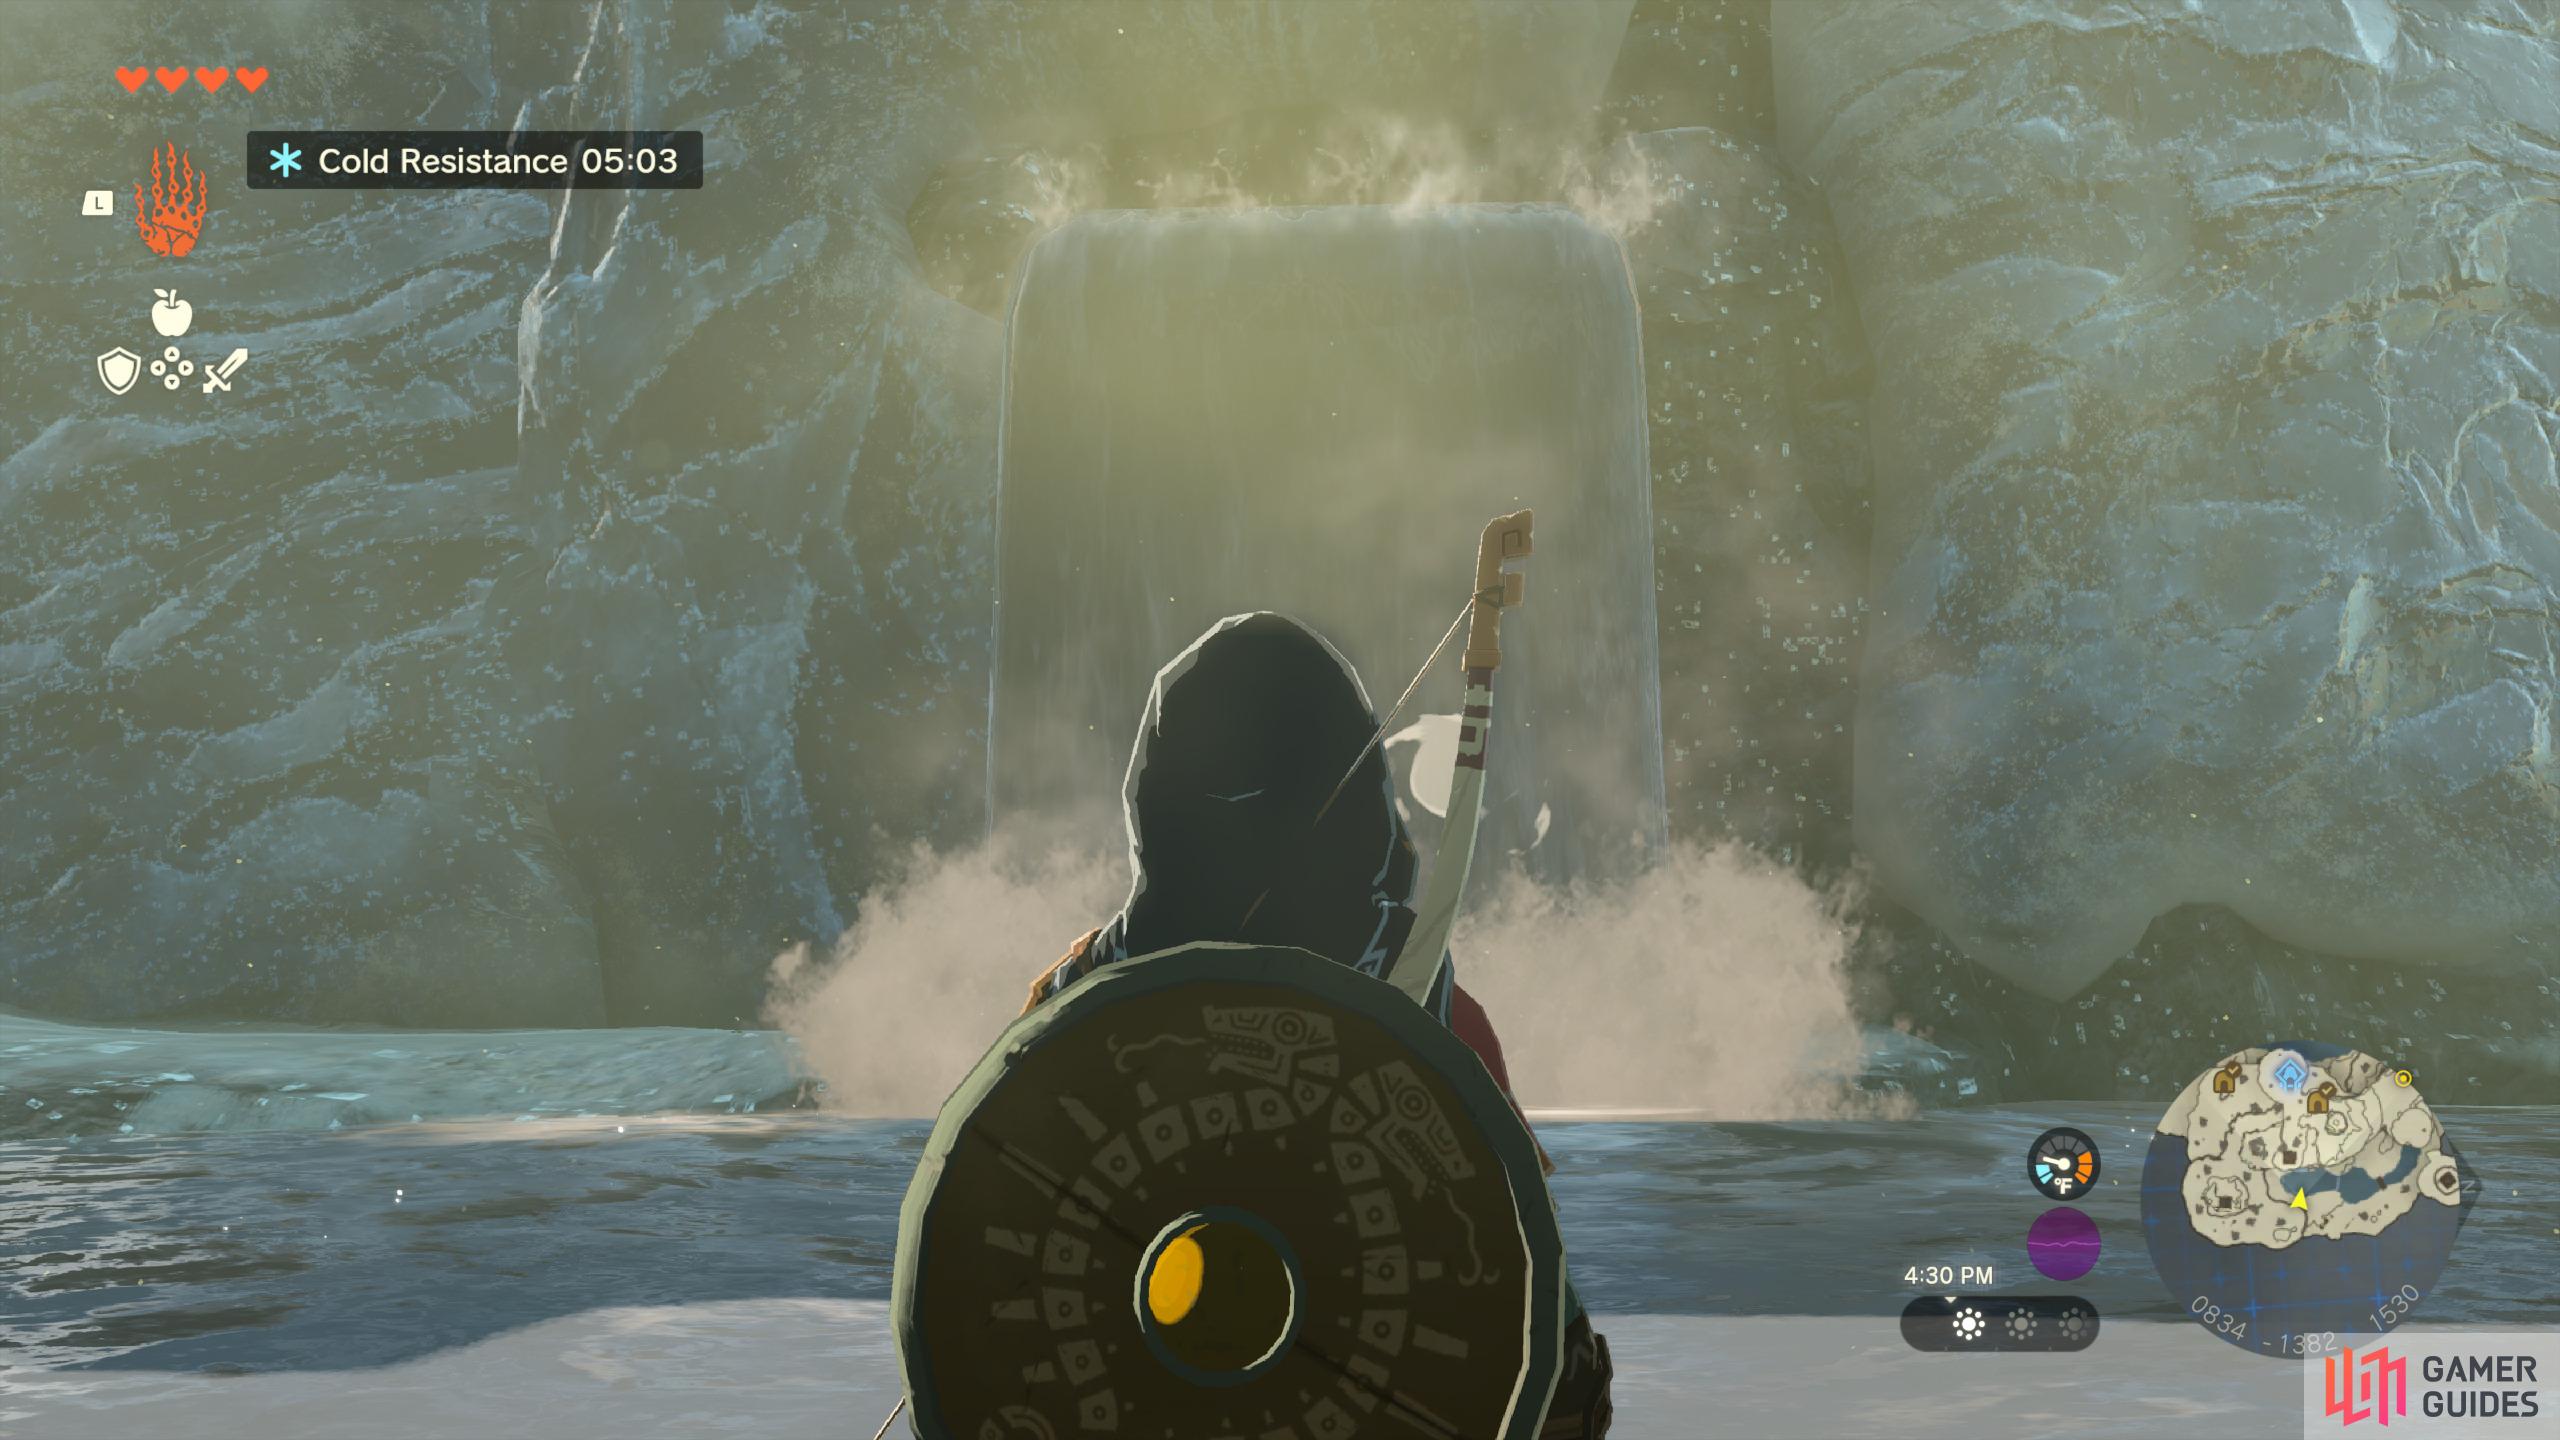
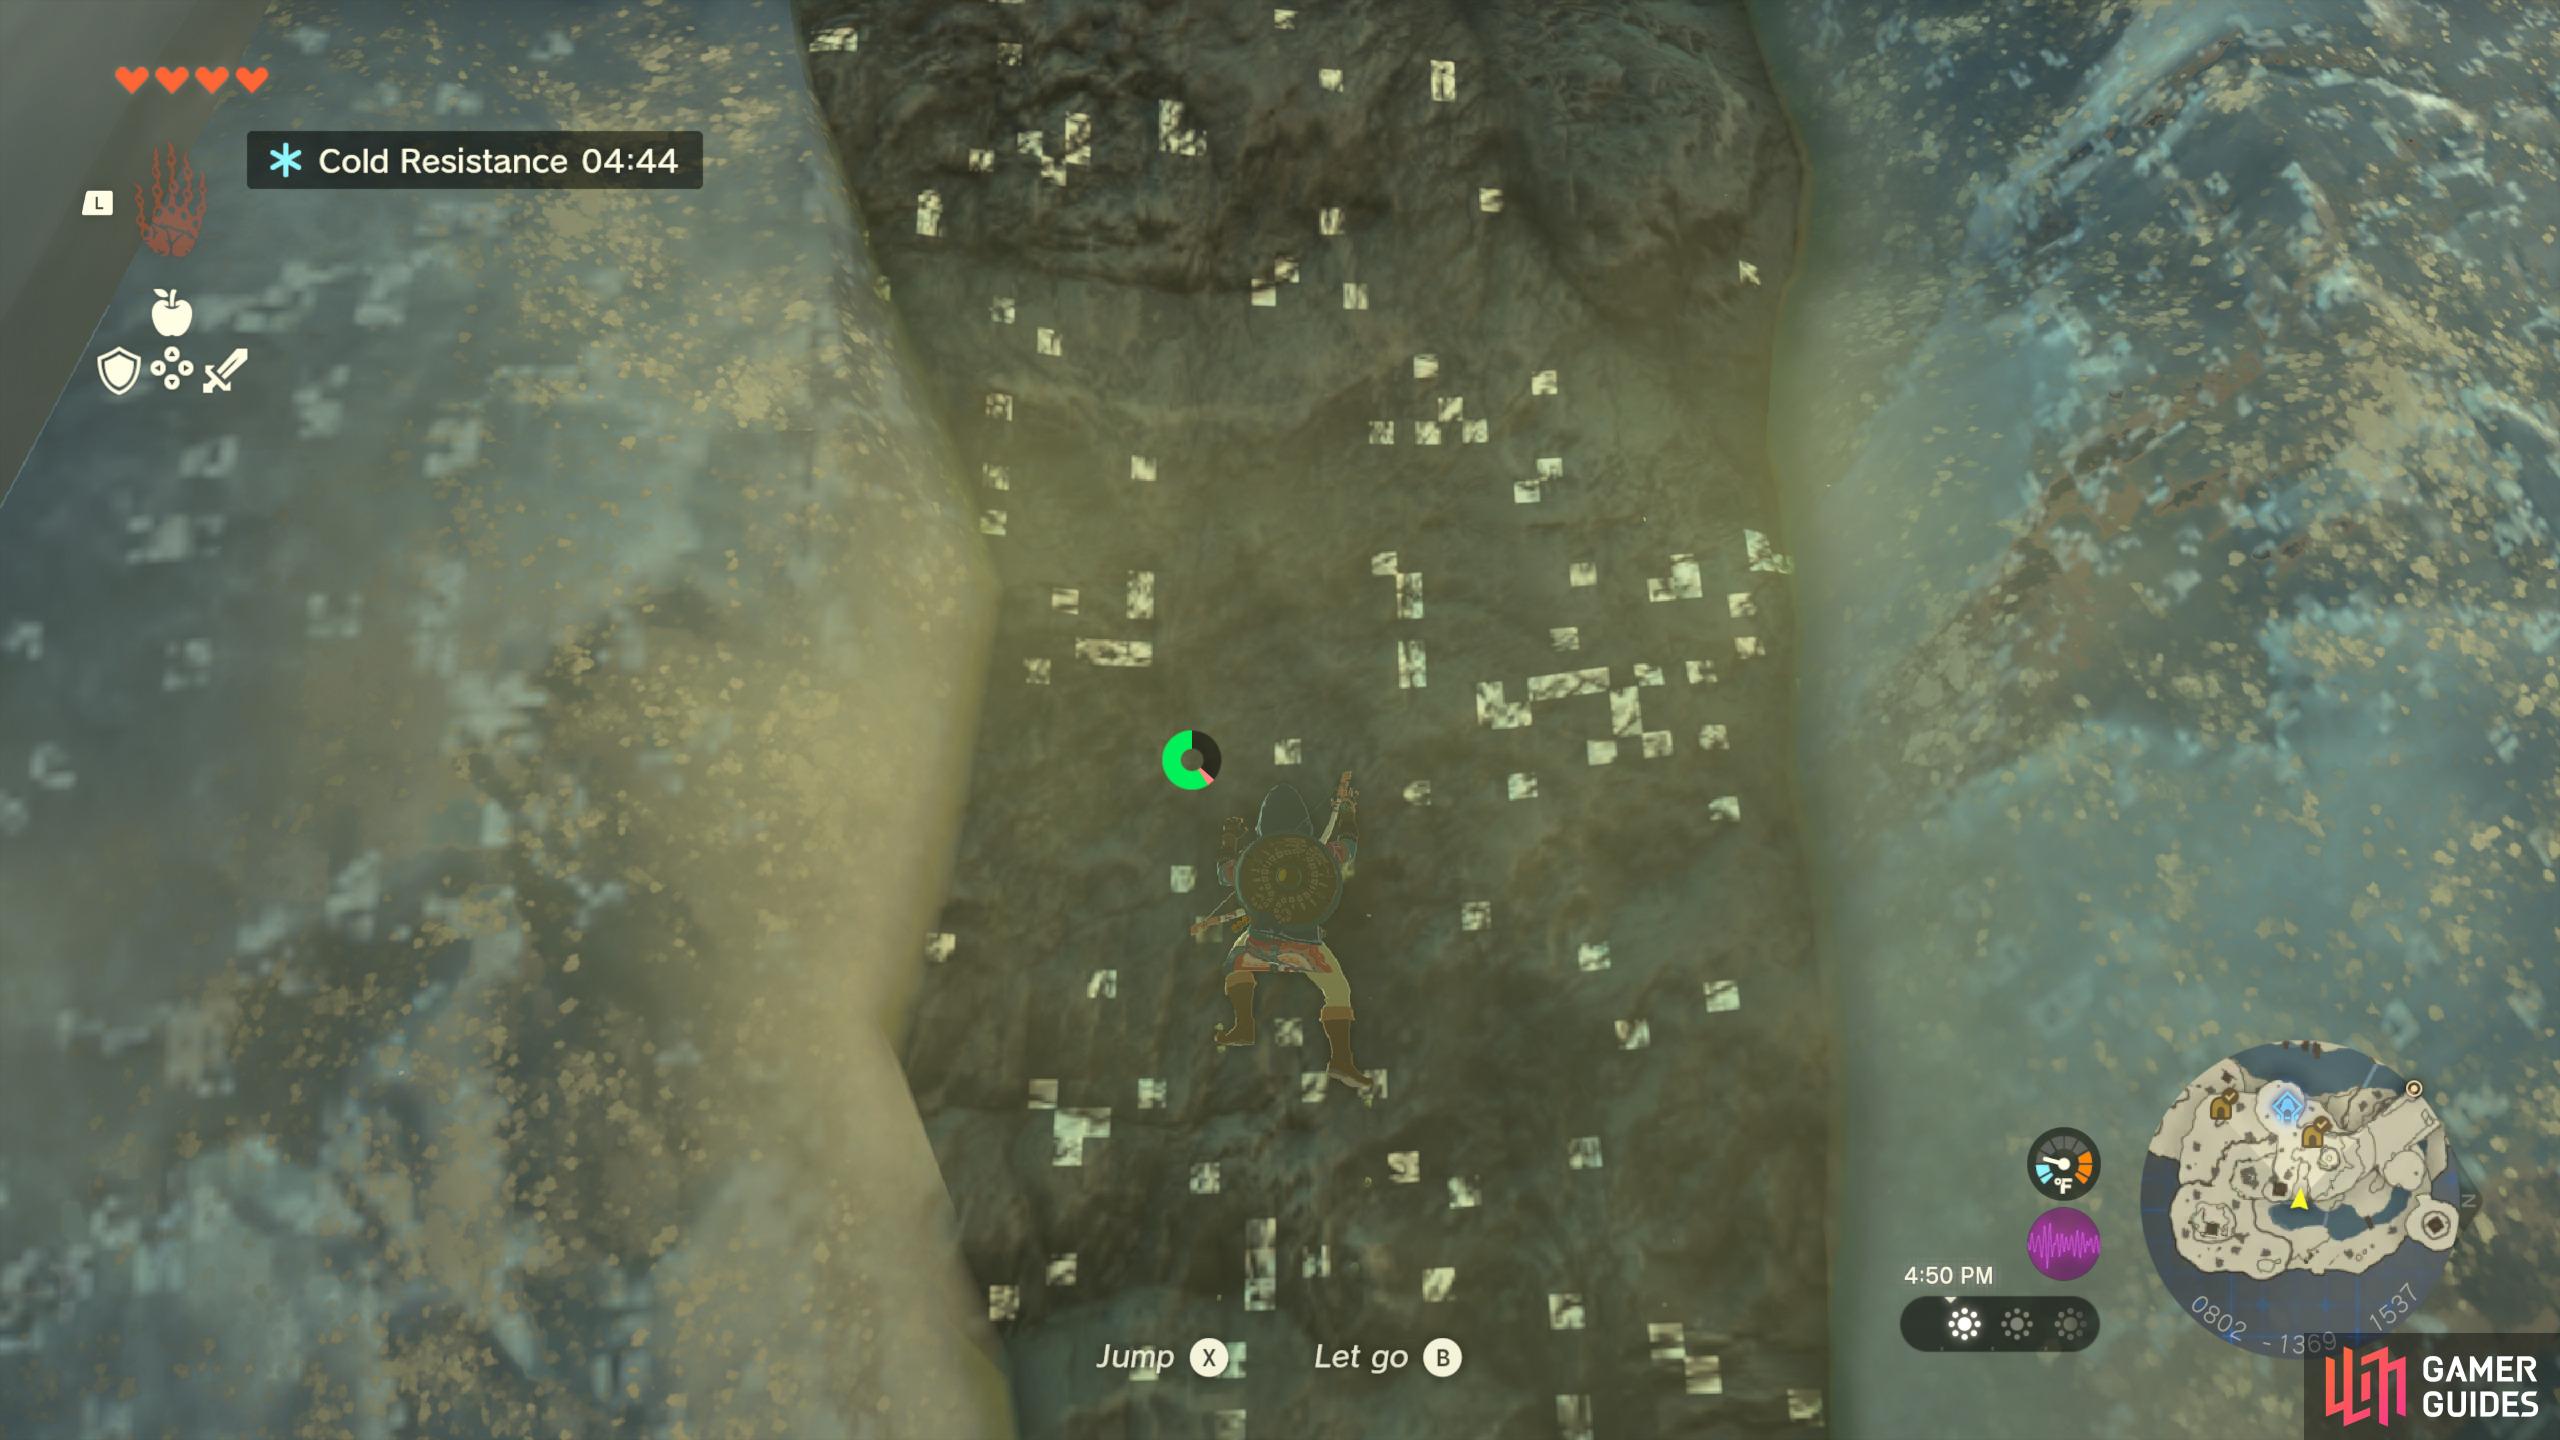
(1 of 2) Head to the waterfall
Head to the waterfall (left), and climb up the wall on the right. (right)
Continue heading up the stairs and you’ll find another one of these enemies. Repeat the same process to kill it, then collect a Flame Emitter from the chest behind it. Finally, eat some more spicy food before heading back outside, then follow the path around until you see a small waterfall. Here you’ll want to climb up the wall to the right of it and you’ll reach the Gutanbac Shrine! Head over to our guide on how to complete Gutanbac Shrine for more information on puzzle solutions and how to get the treasure chest.




 Sign up
No Comments